IMG_1612.jpg

Blog

Looking Forward

As we enter a new year, I thought I would both look back and be grateful to have started this blog and share all of these crafty wonders with all of you, and look forward to what the future of this blog holds, well at least what I'm hoping to do with the next year.

So here's the rundown of plans, hopes, and thoughts for the new year to make this year craftier than the last:

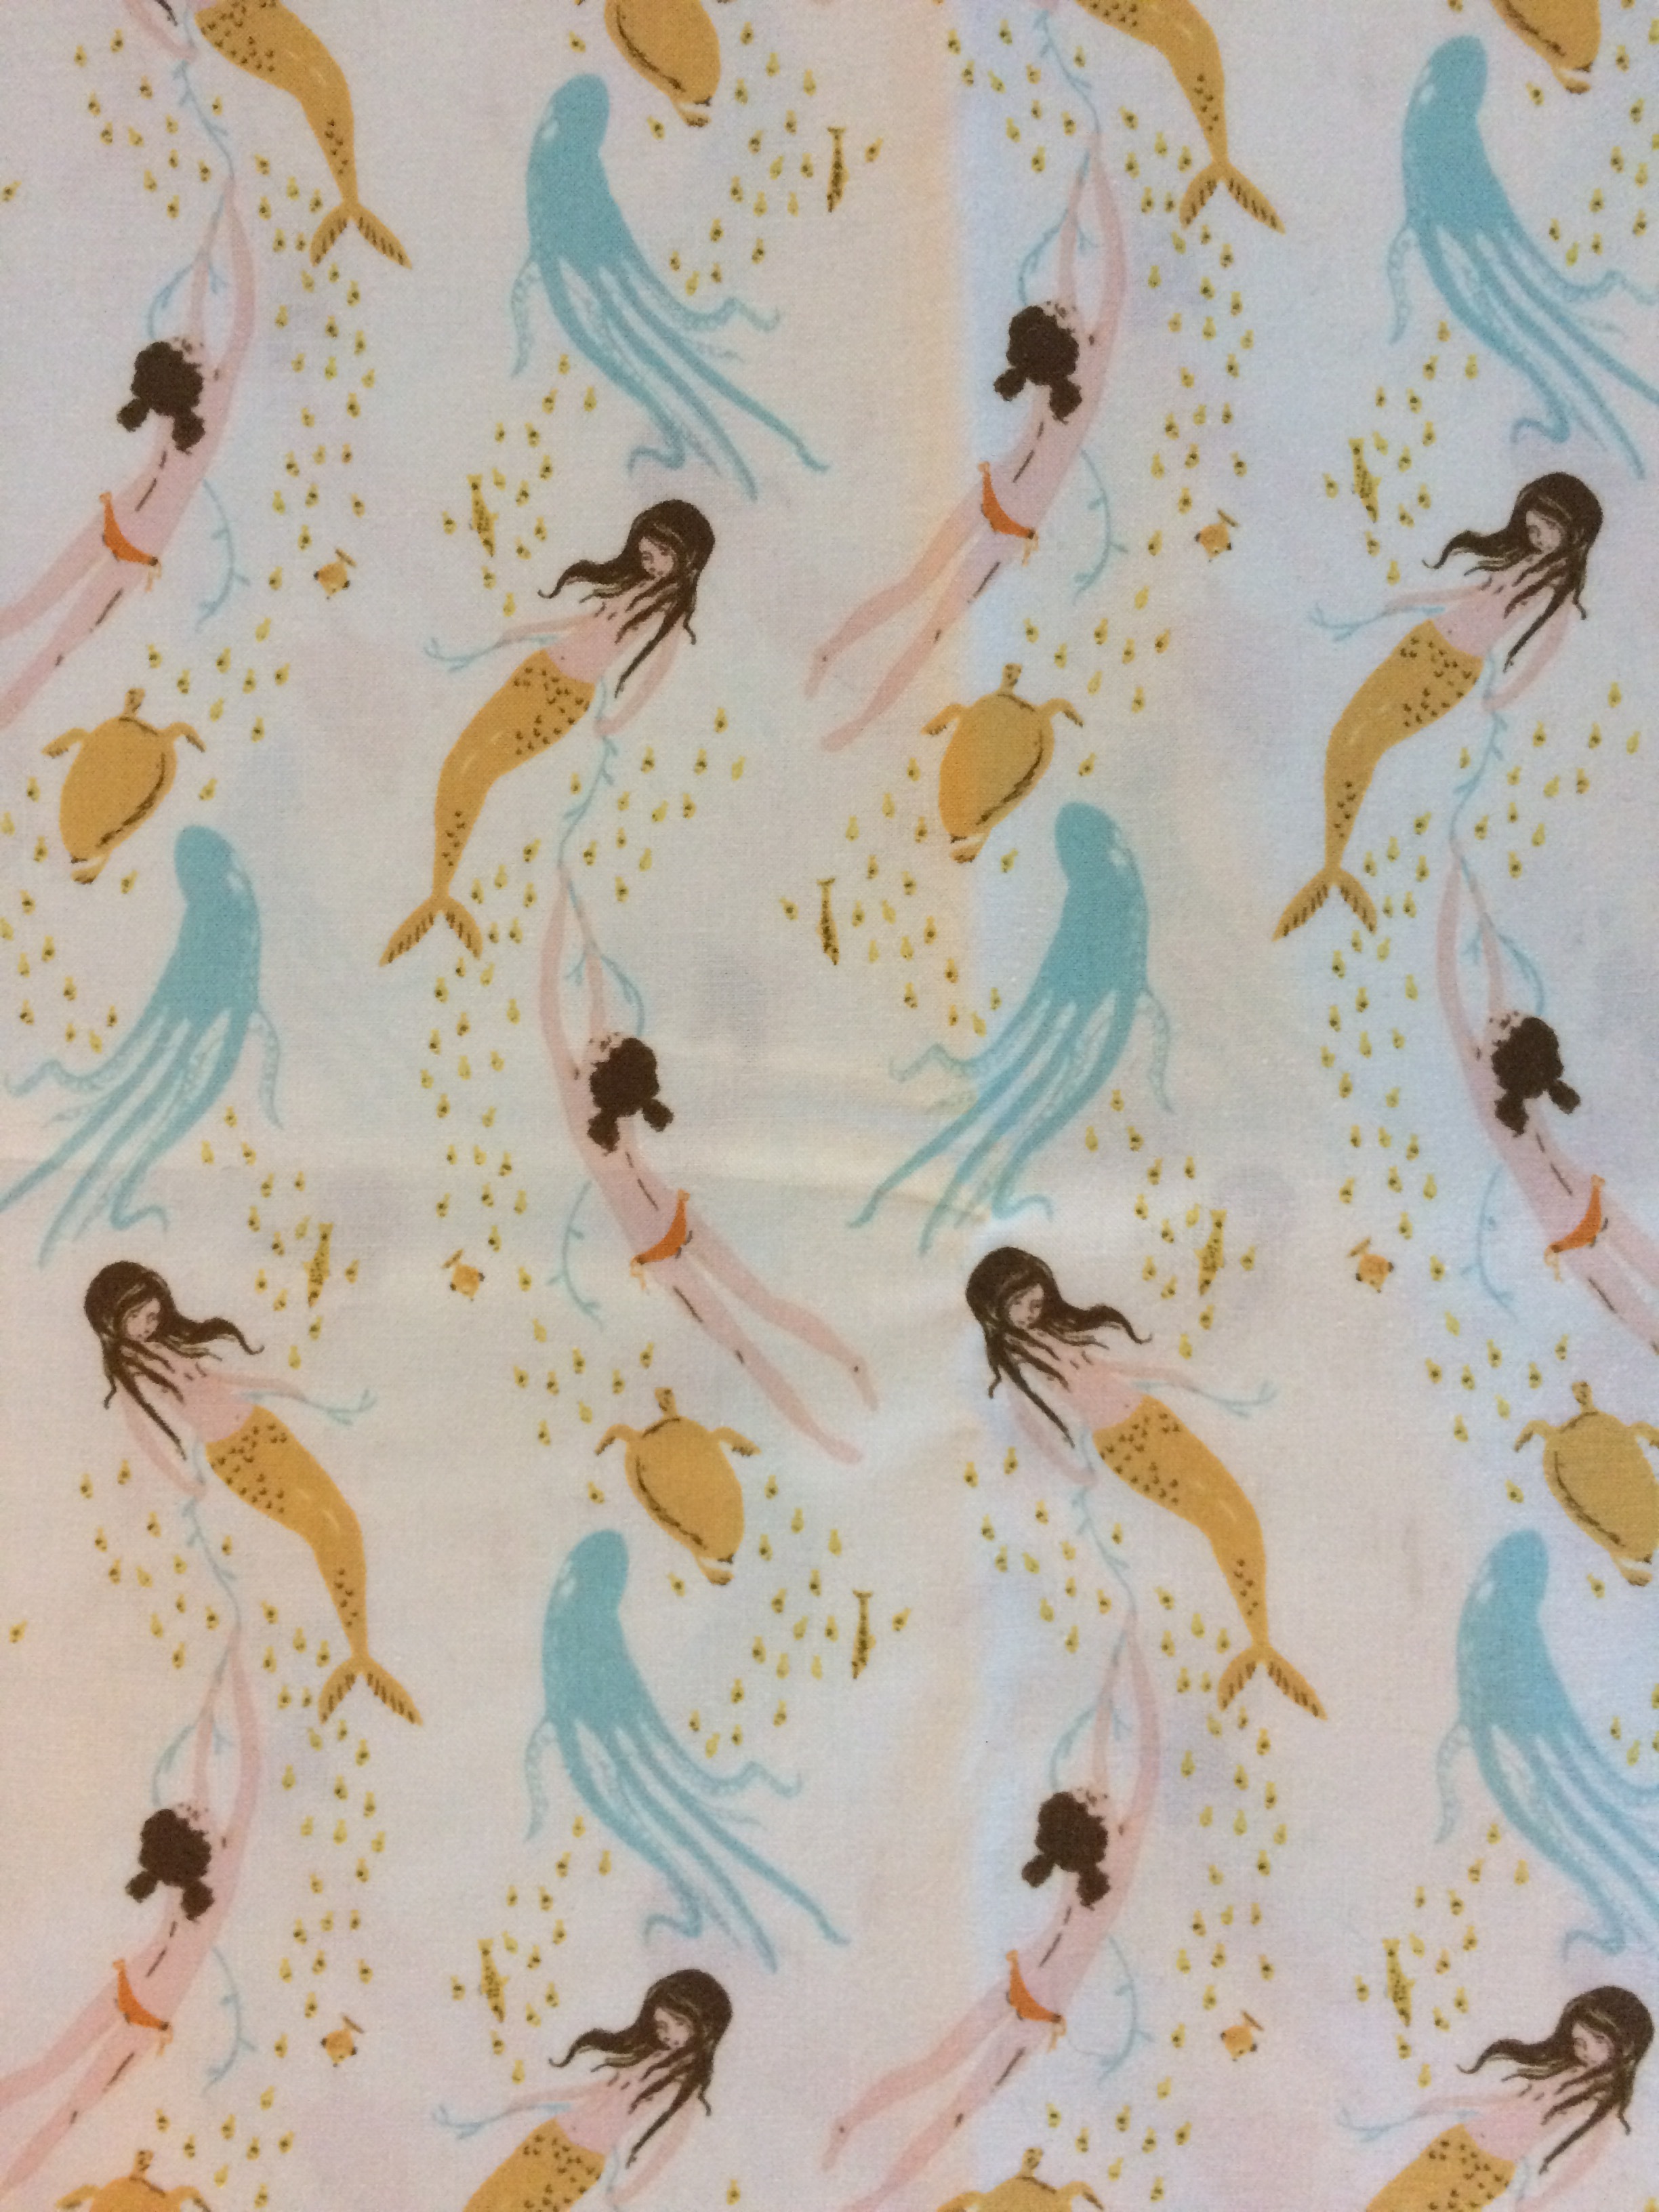
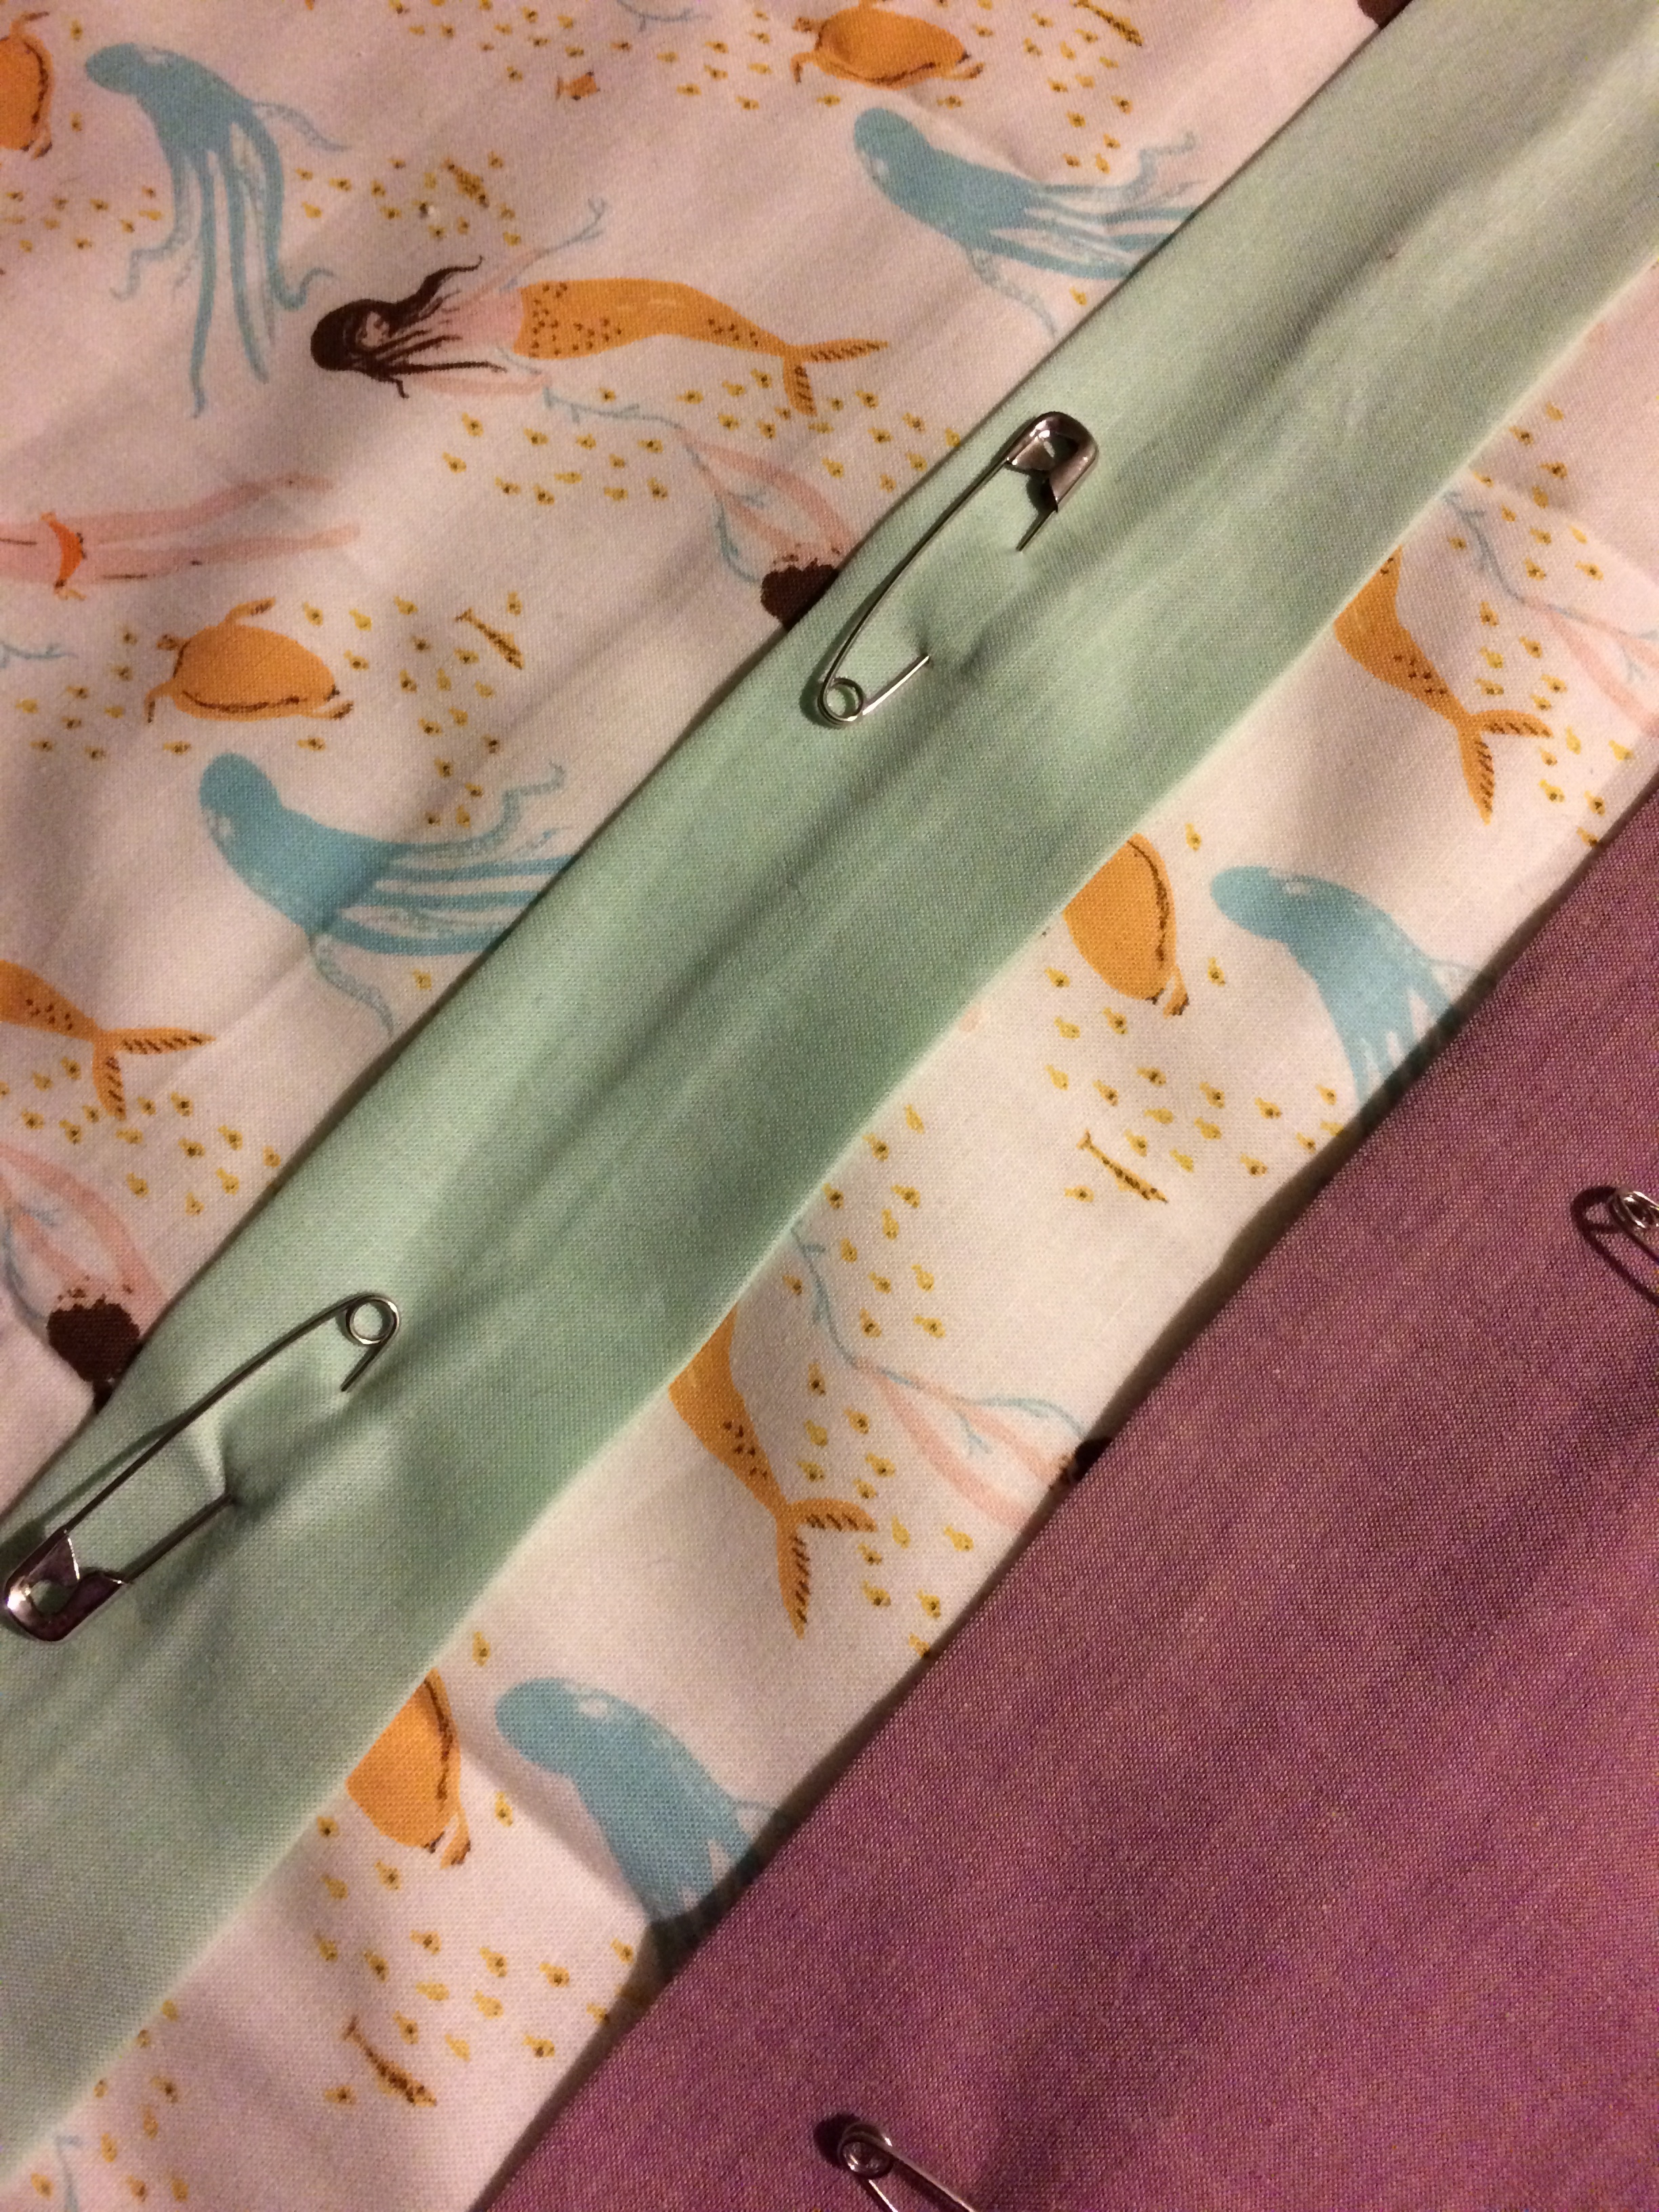
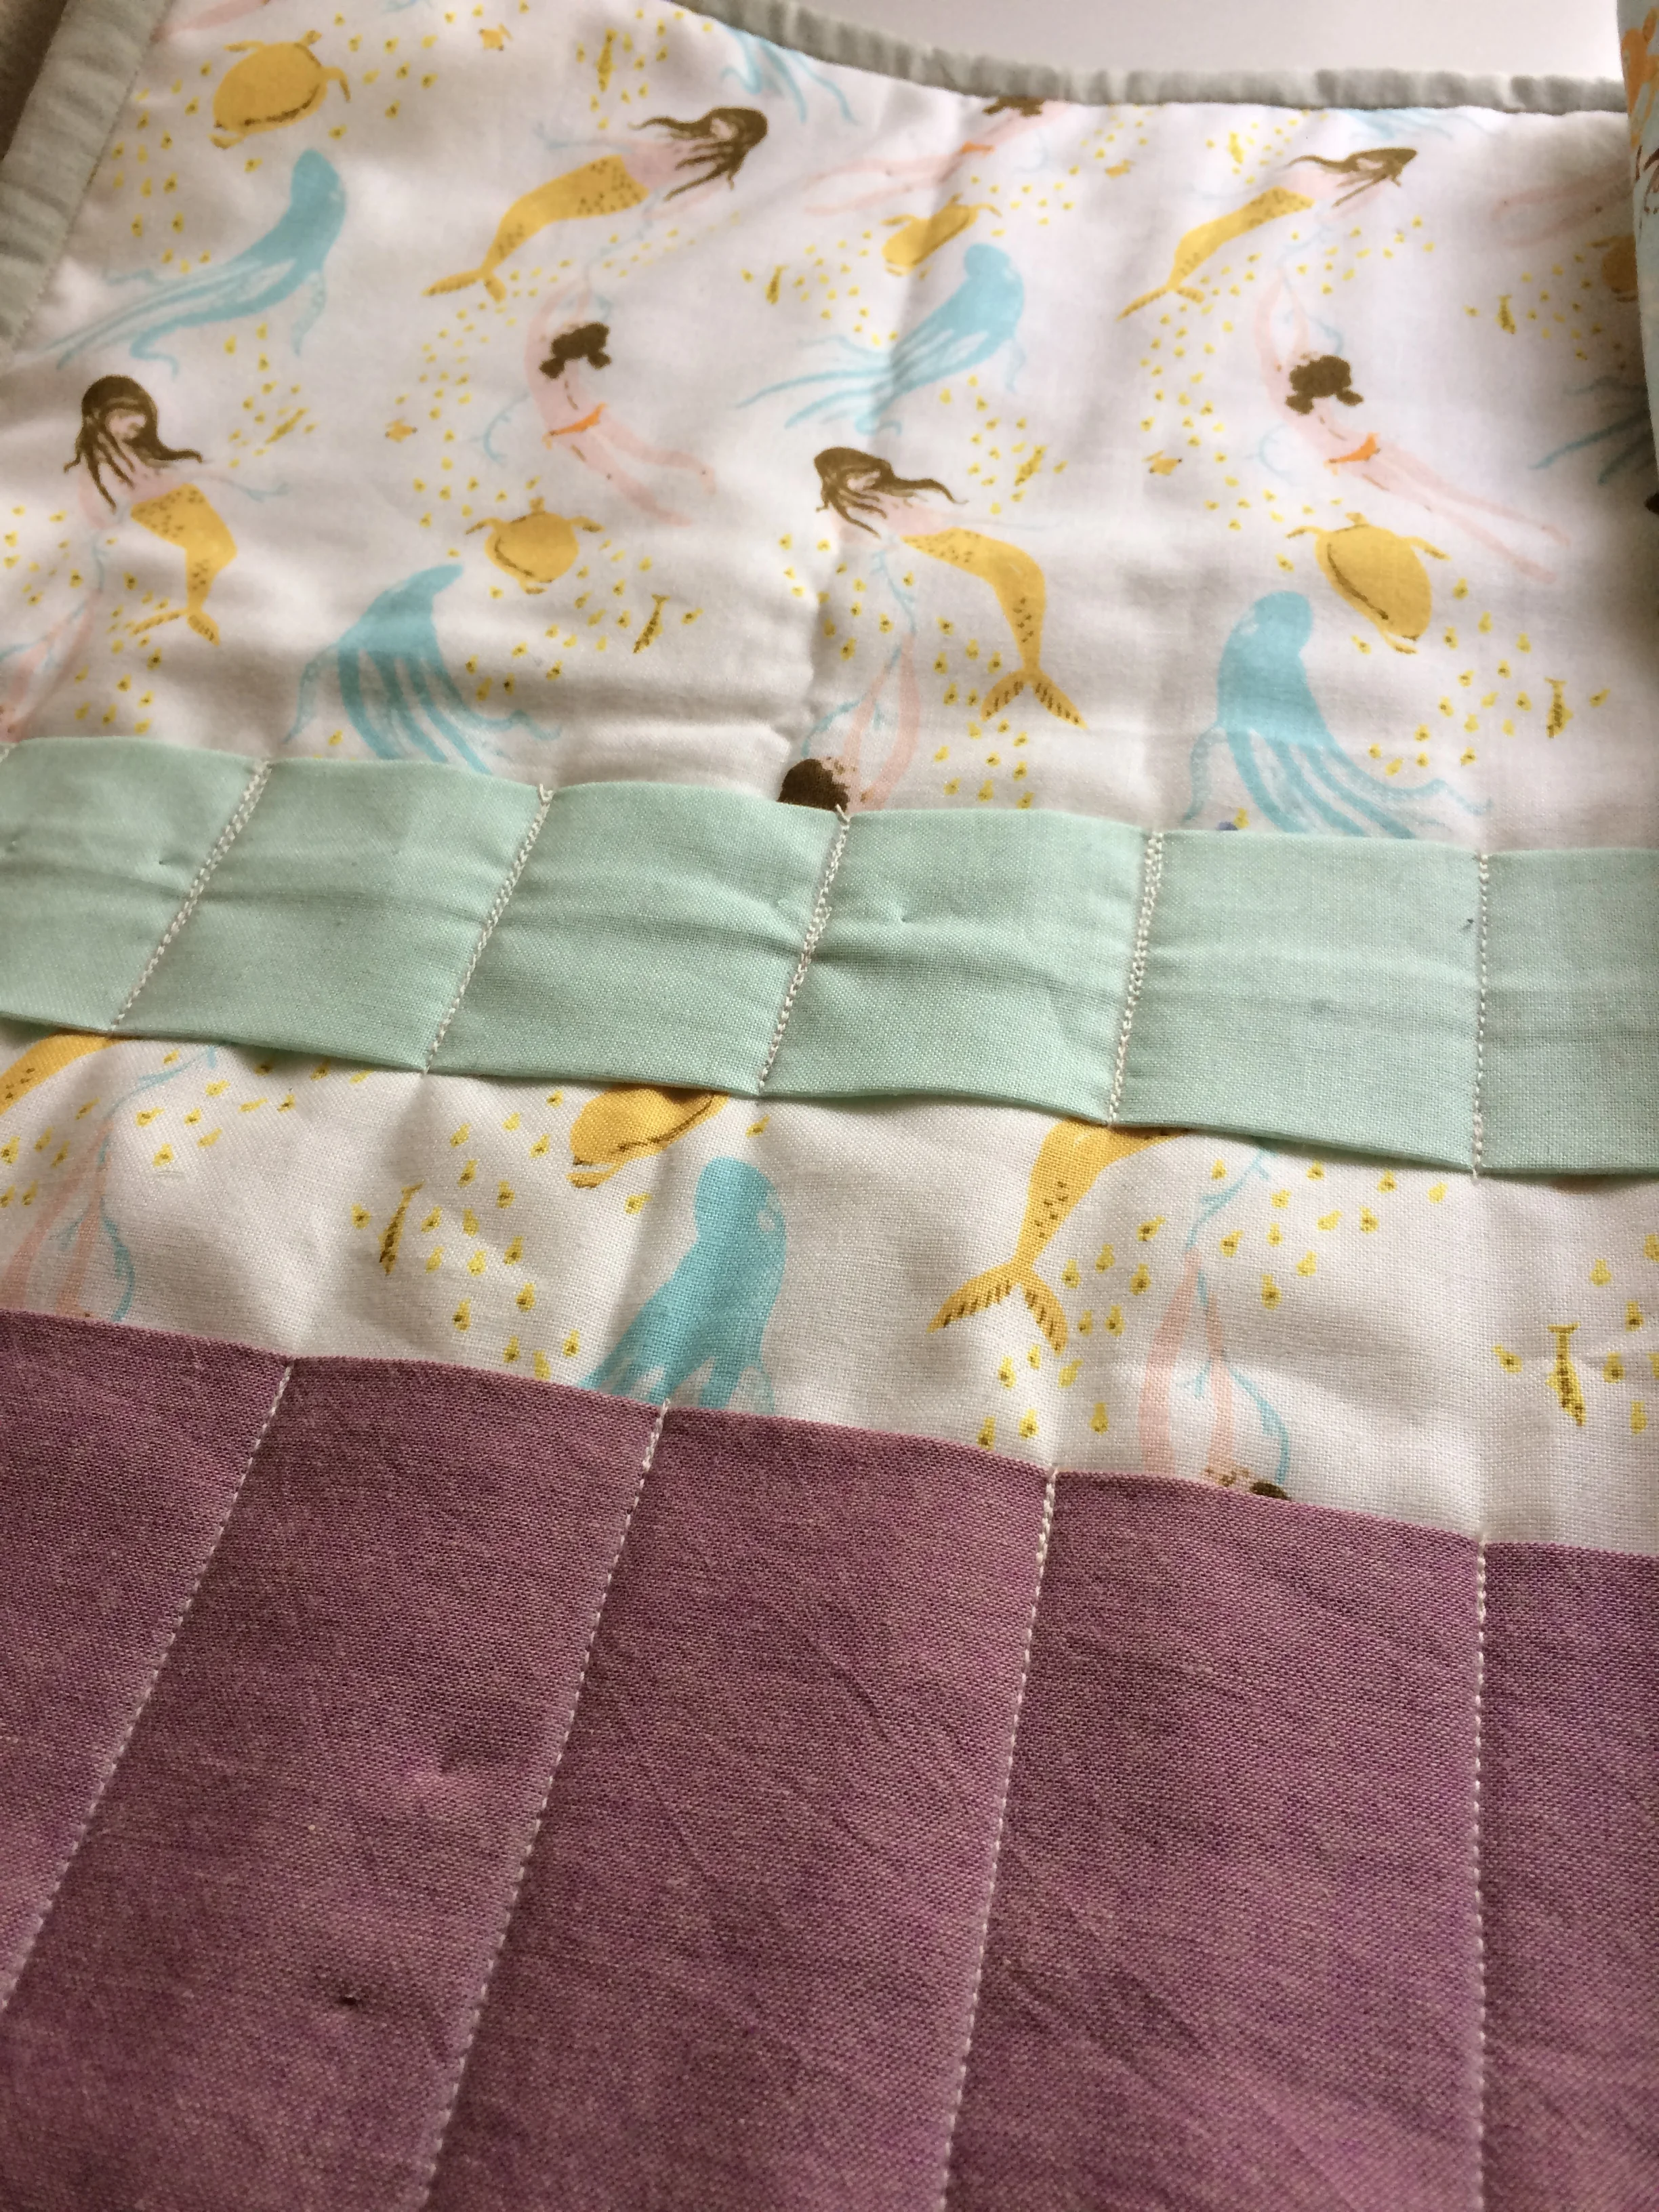
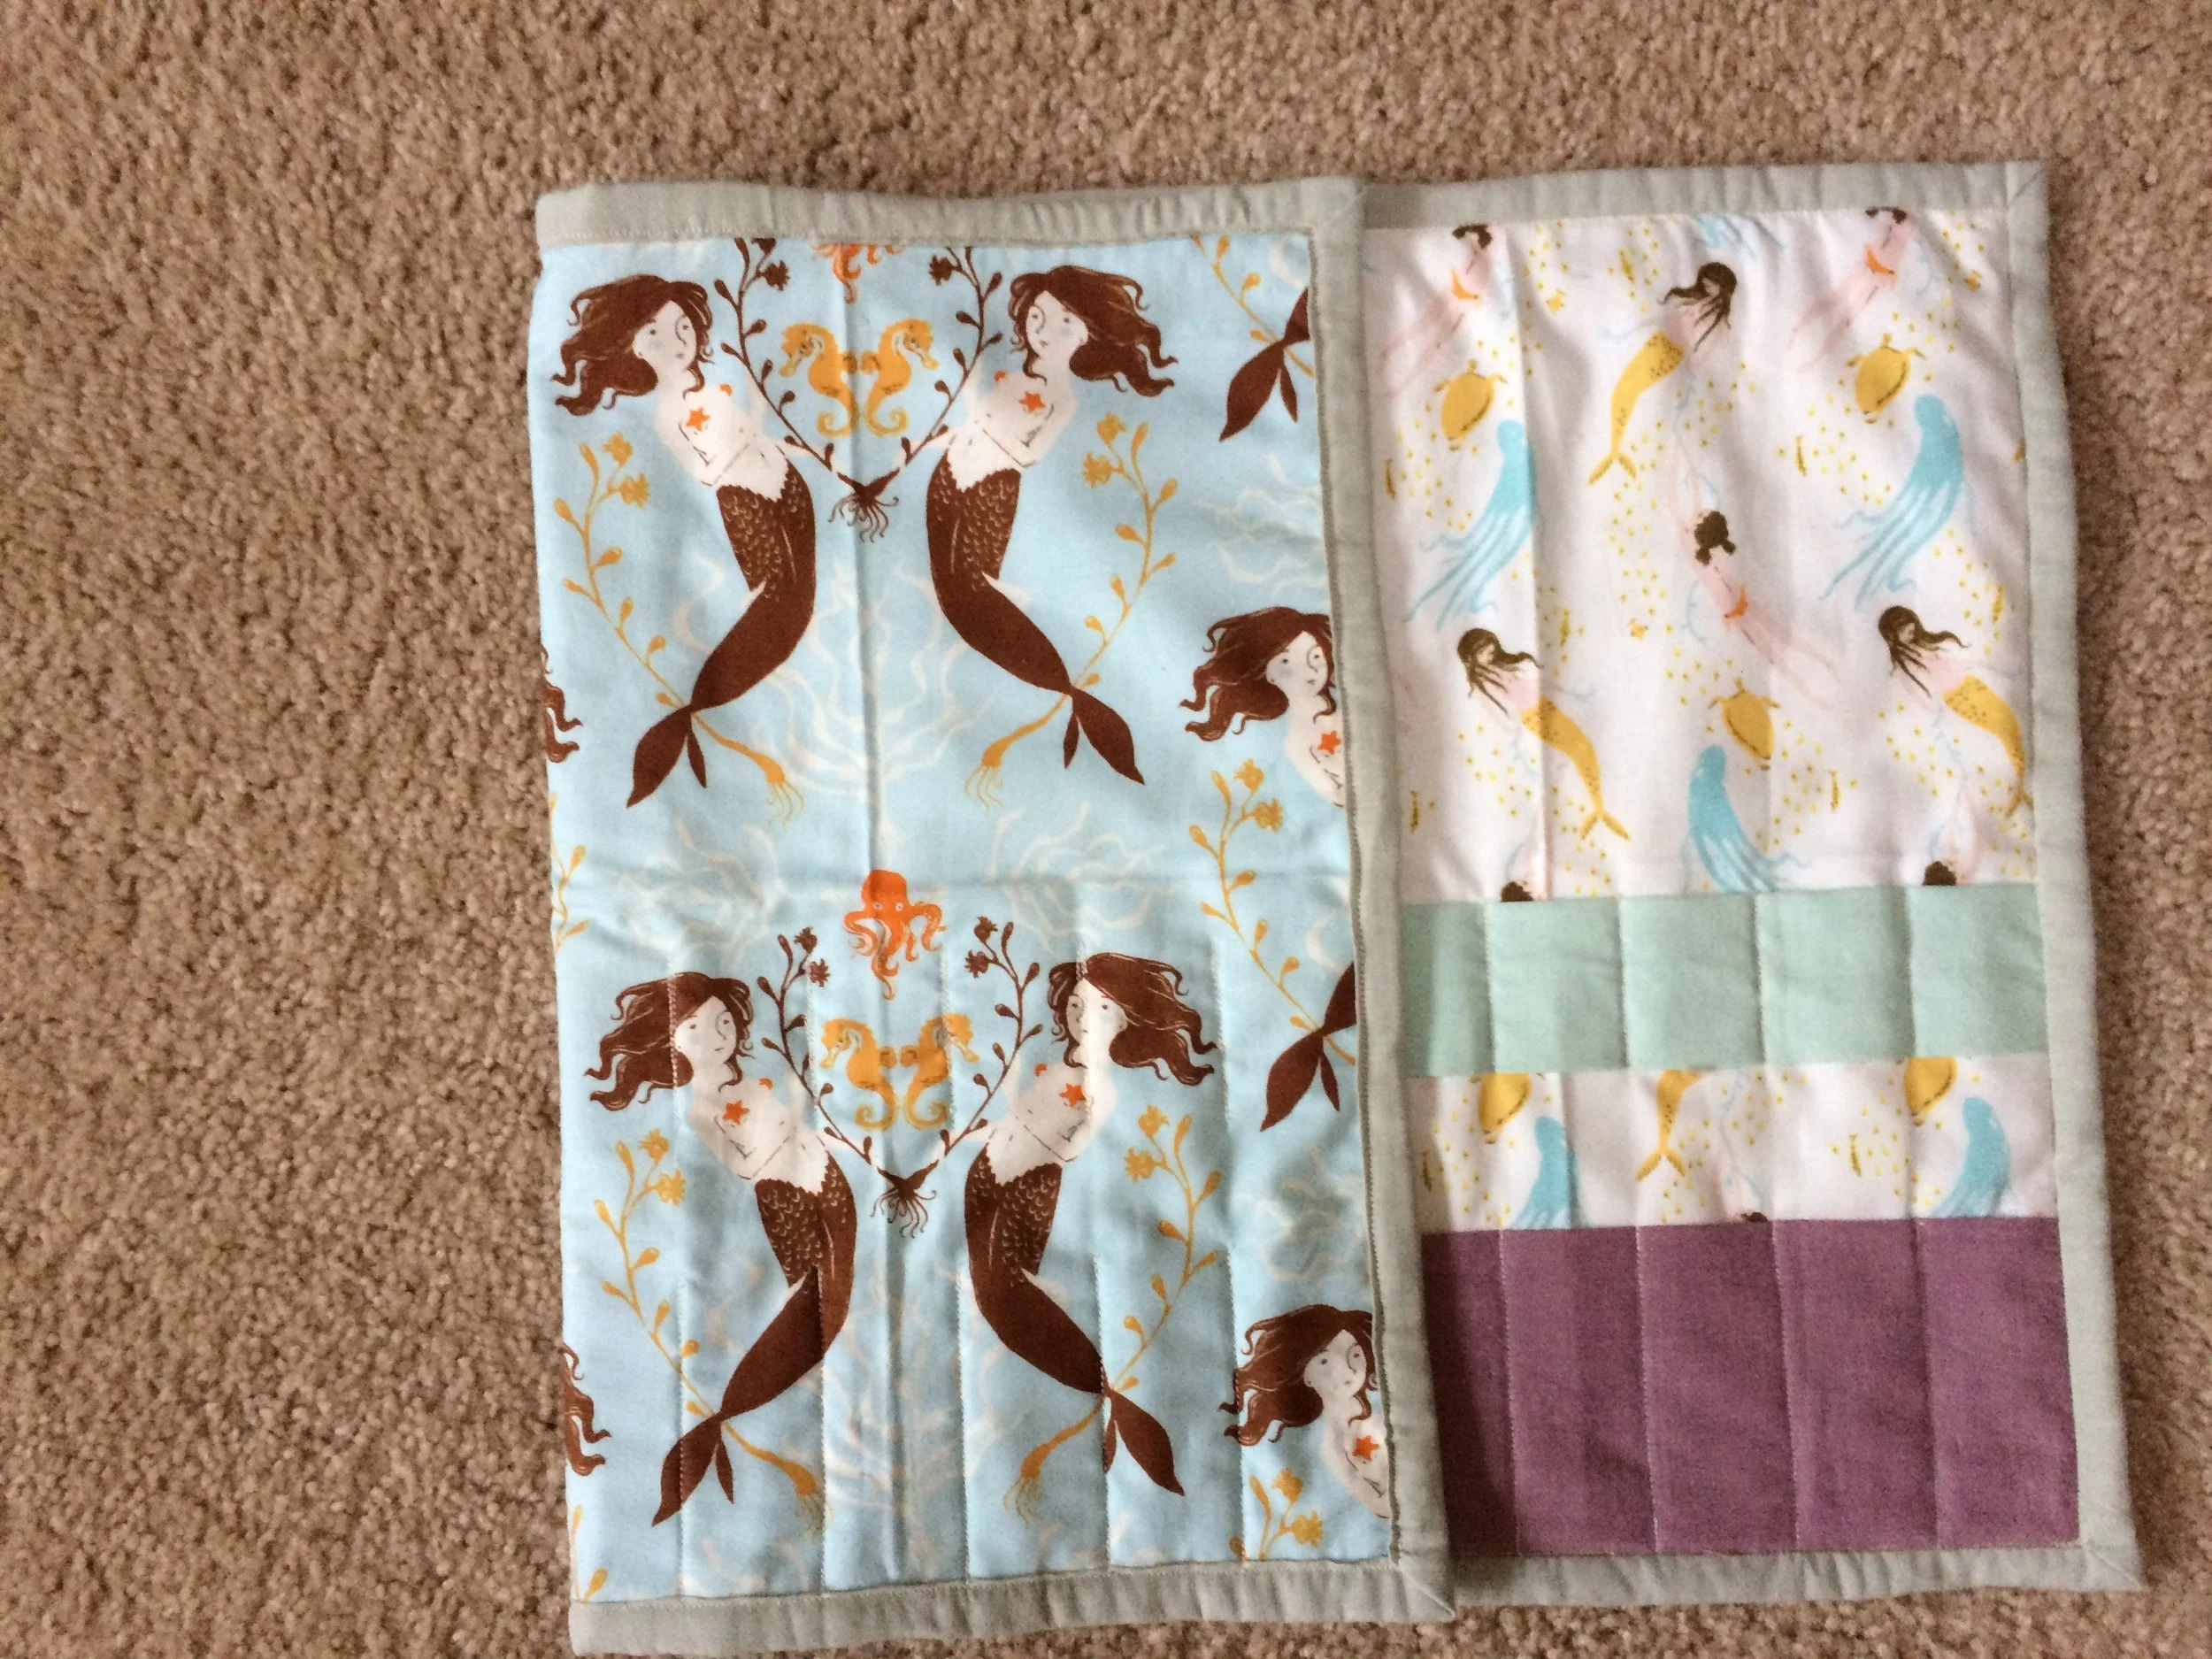
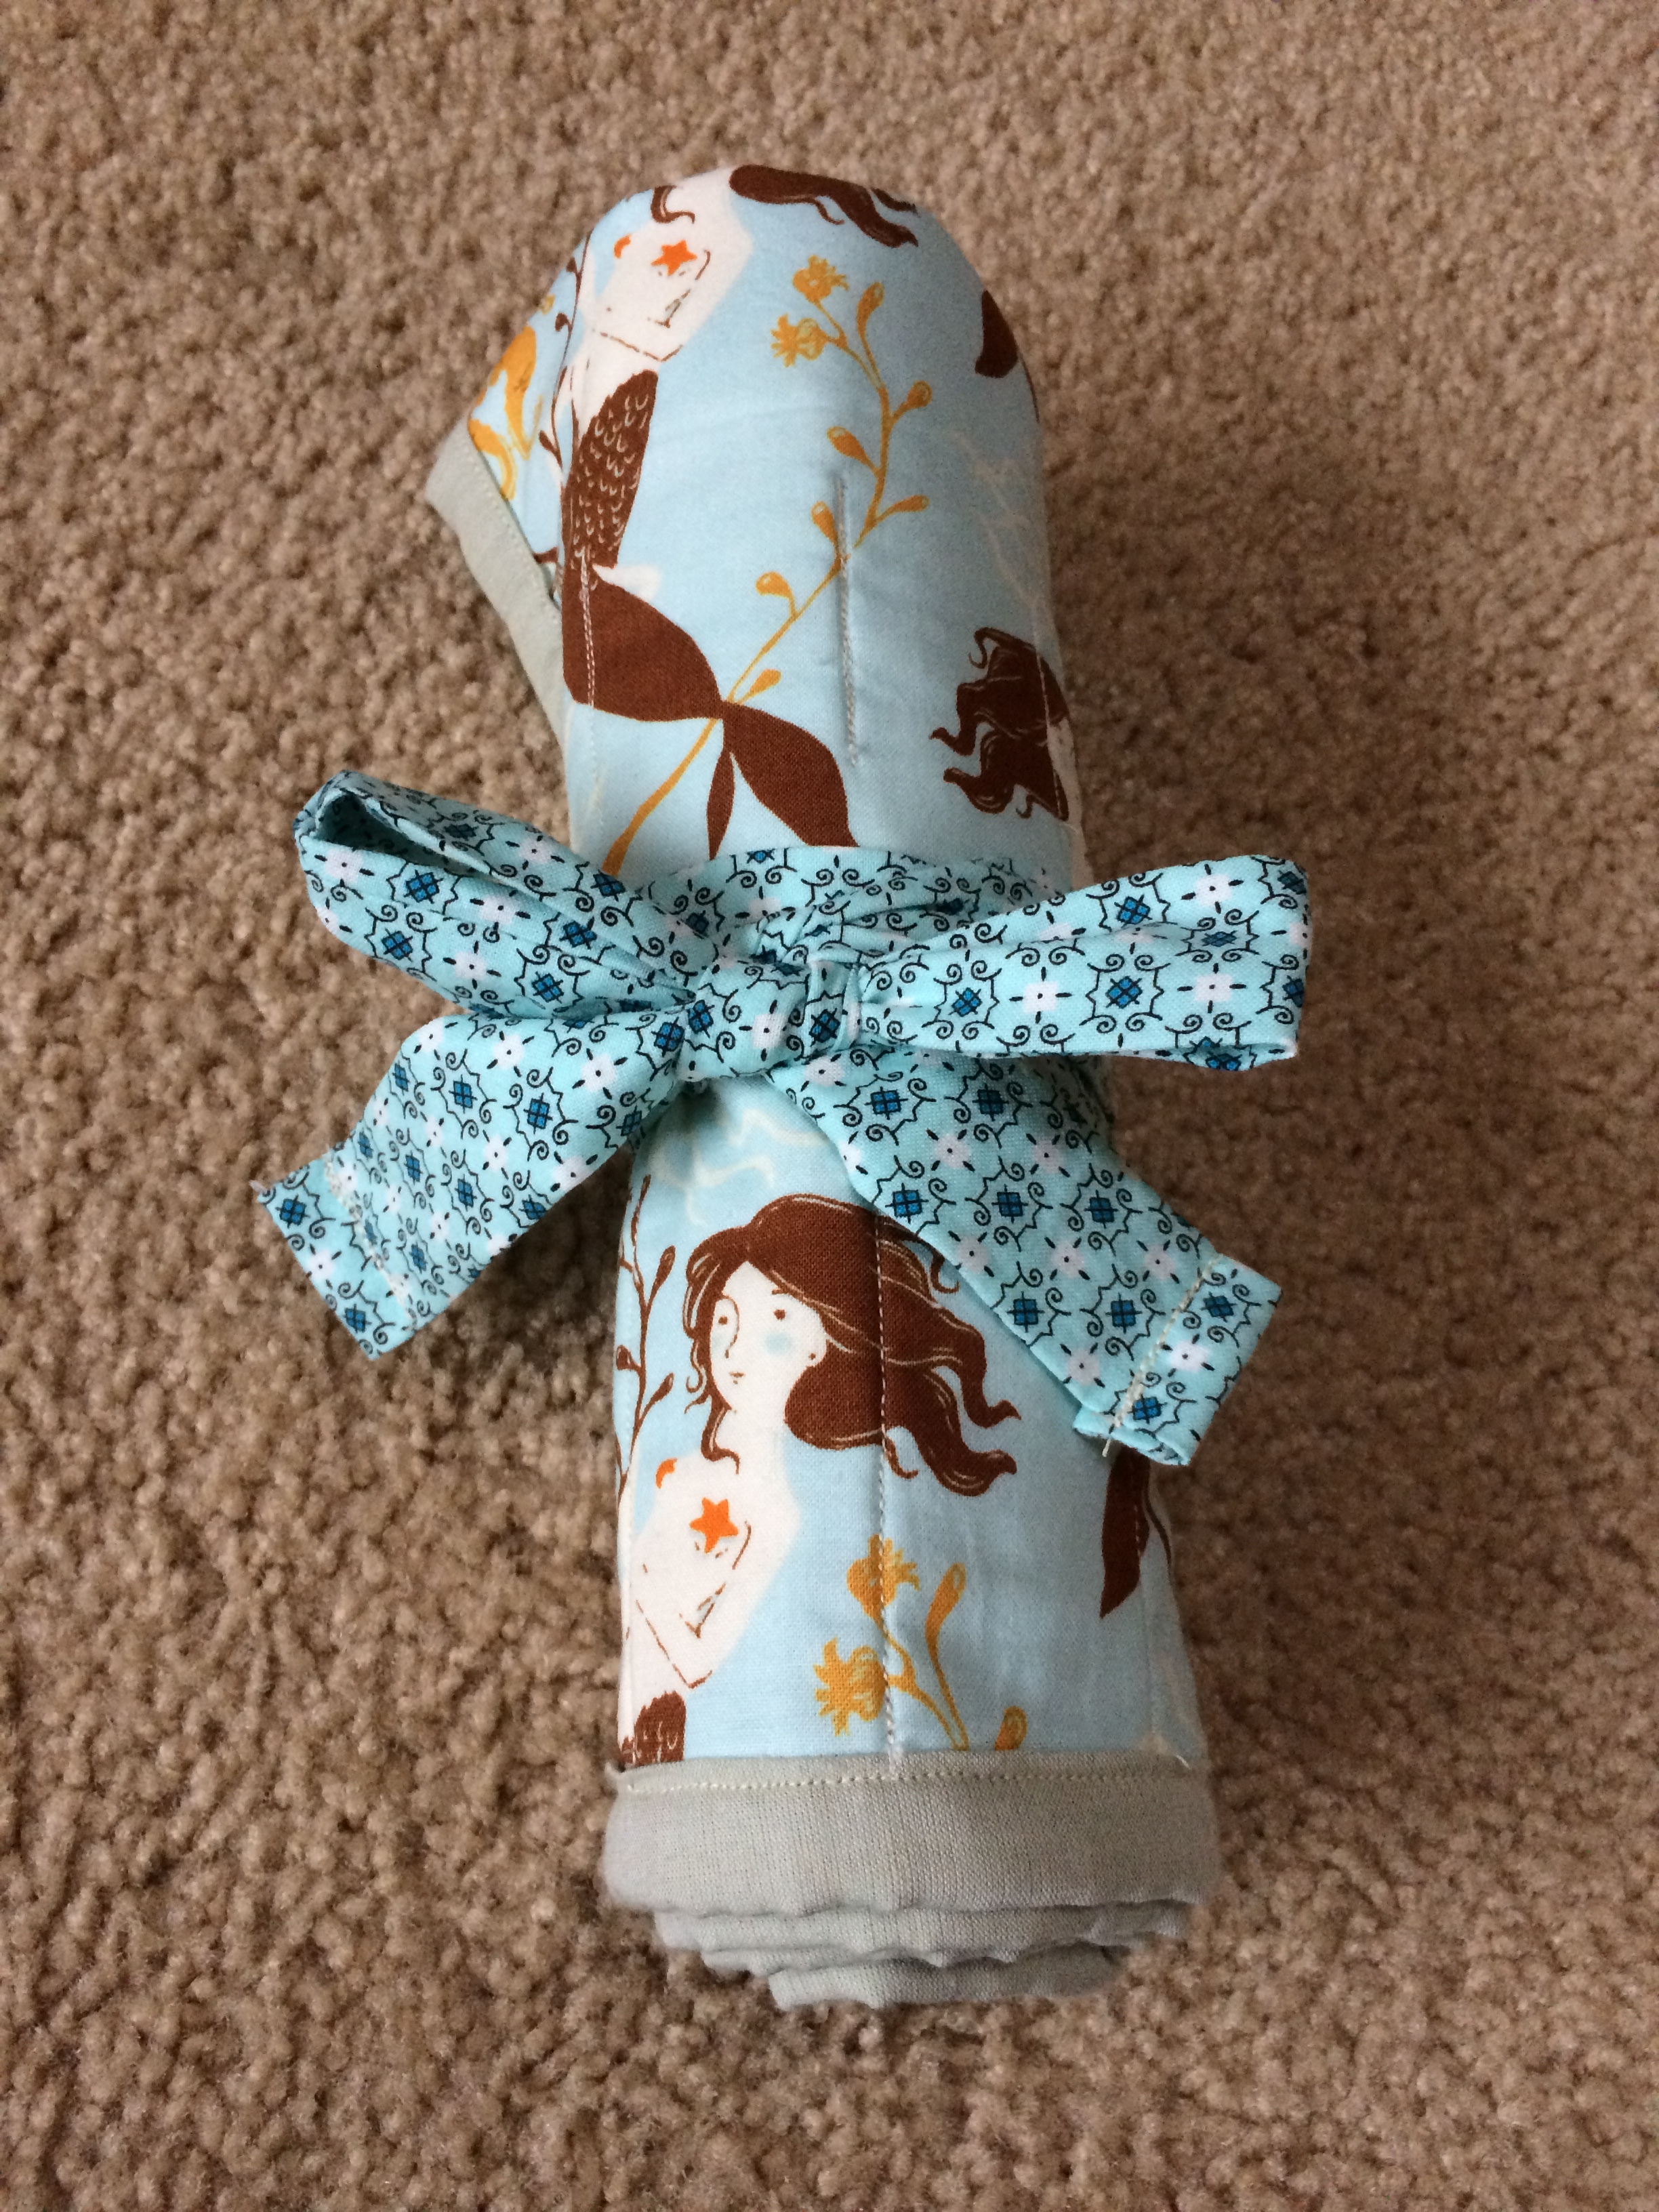
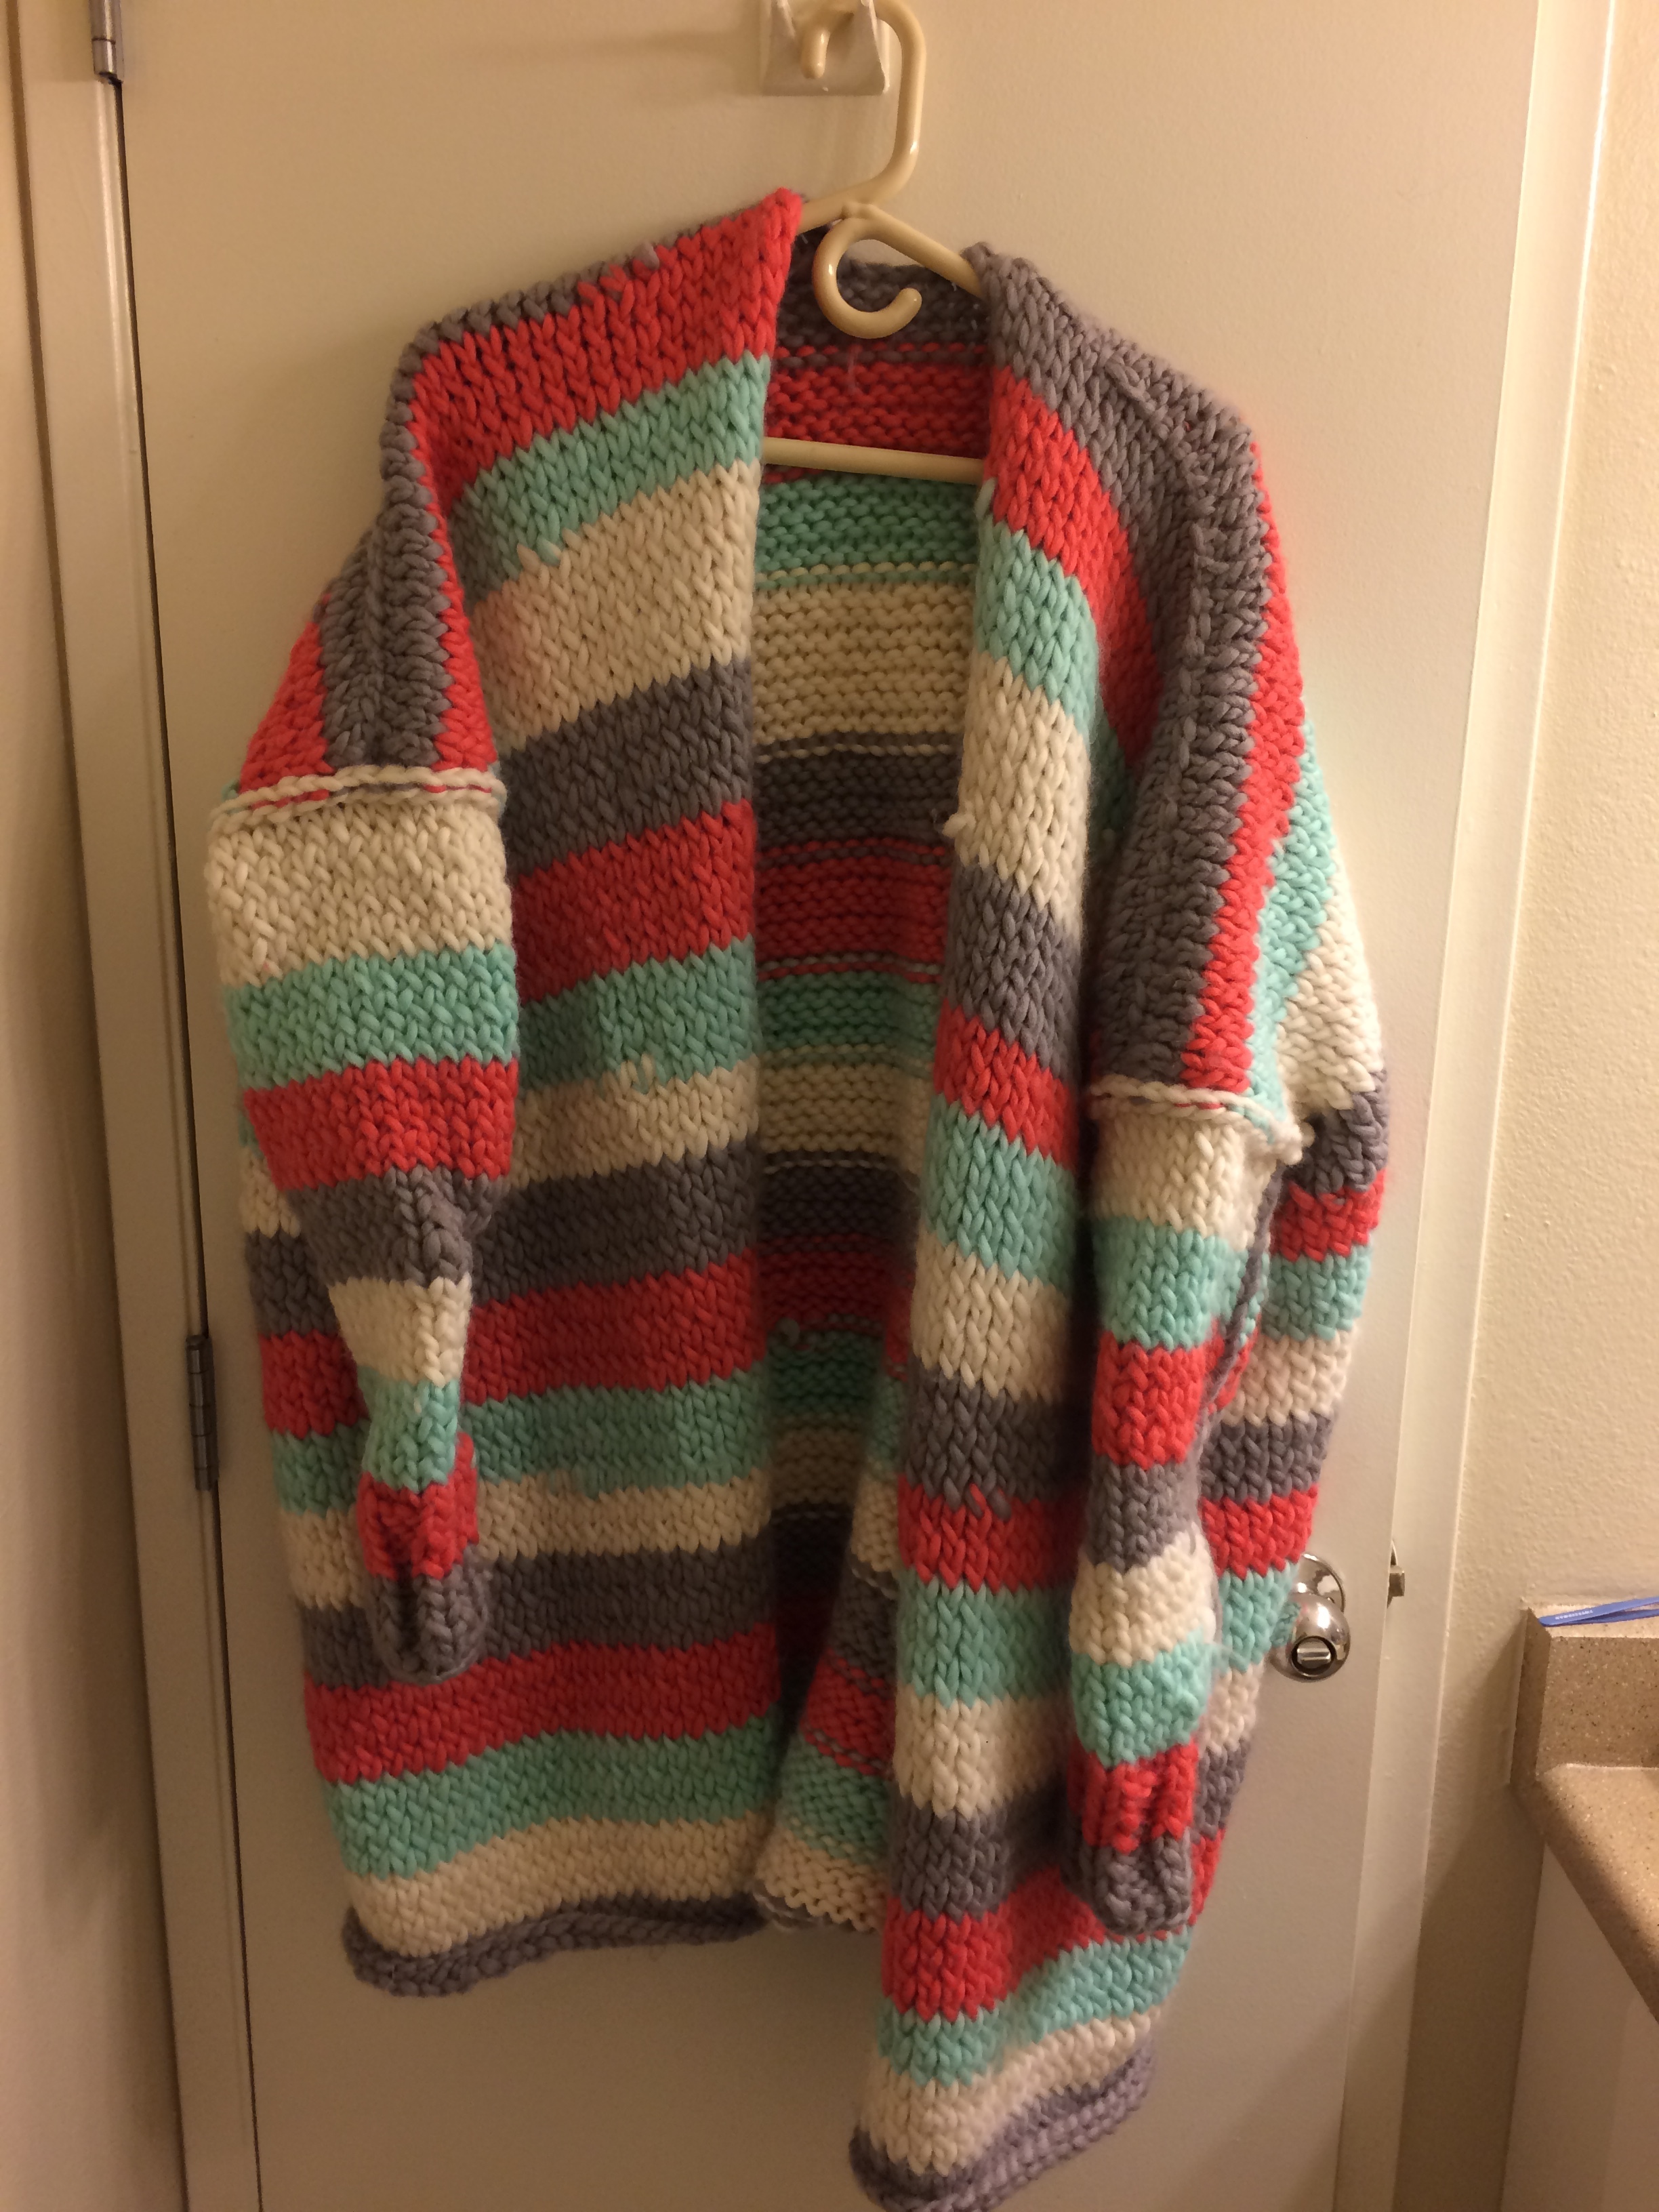
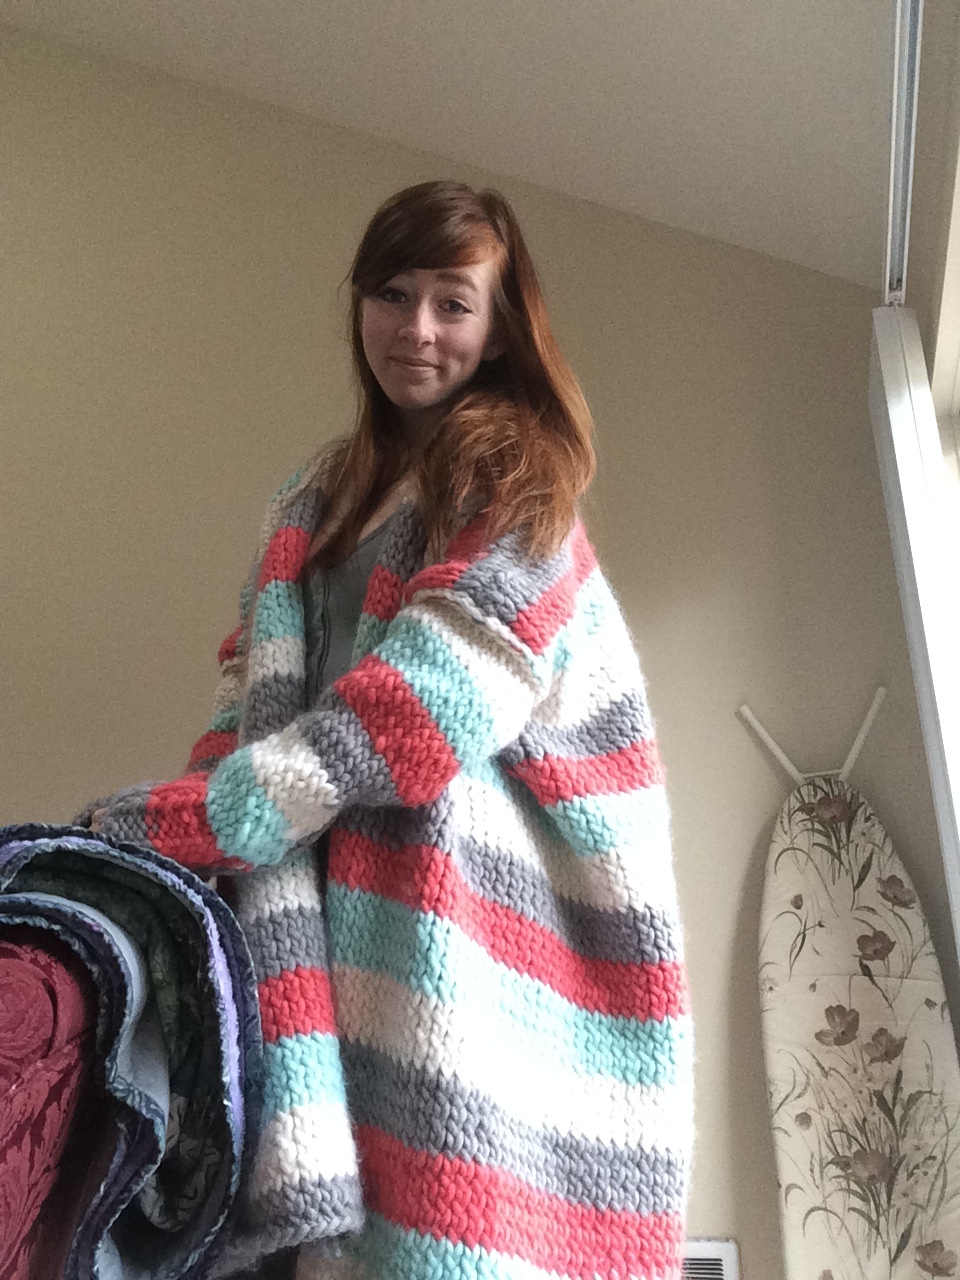
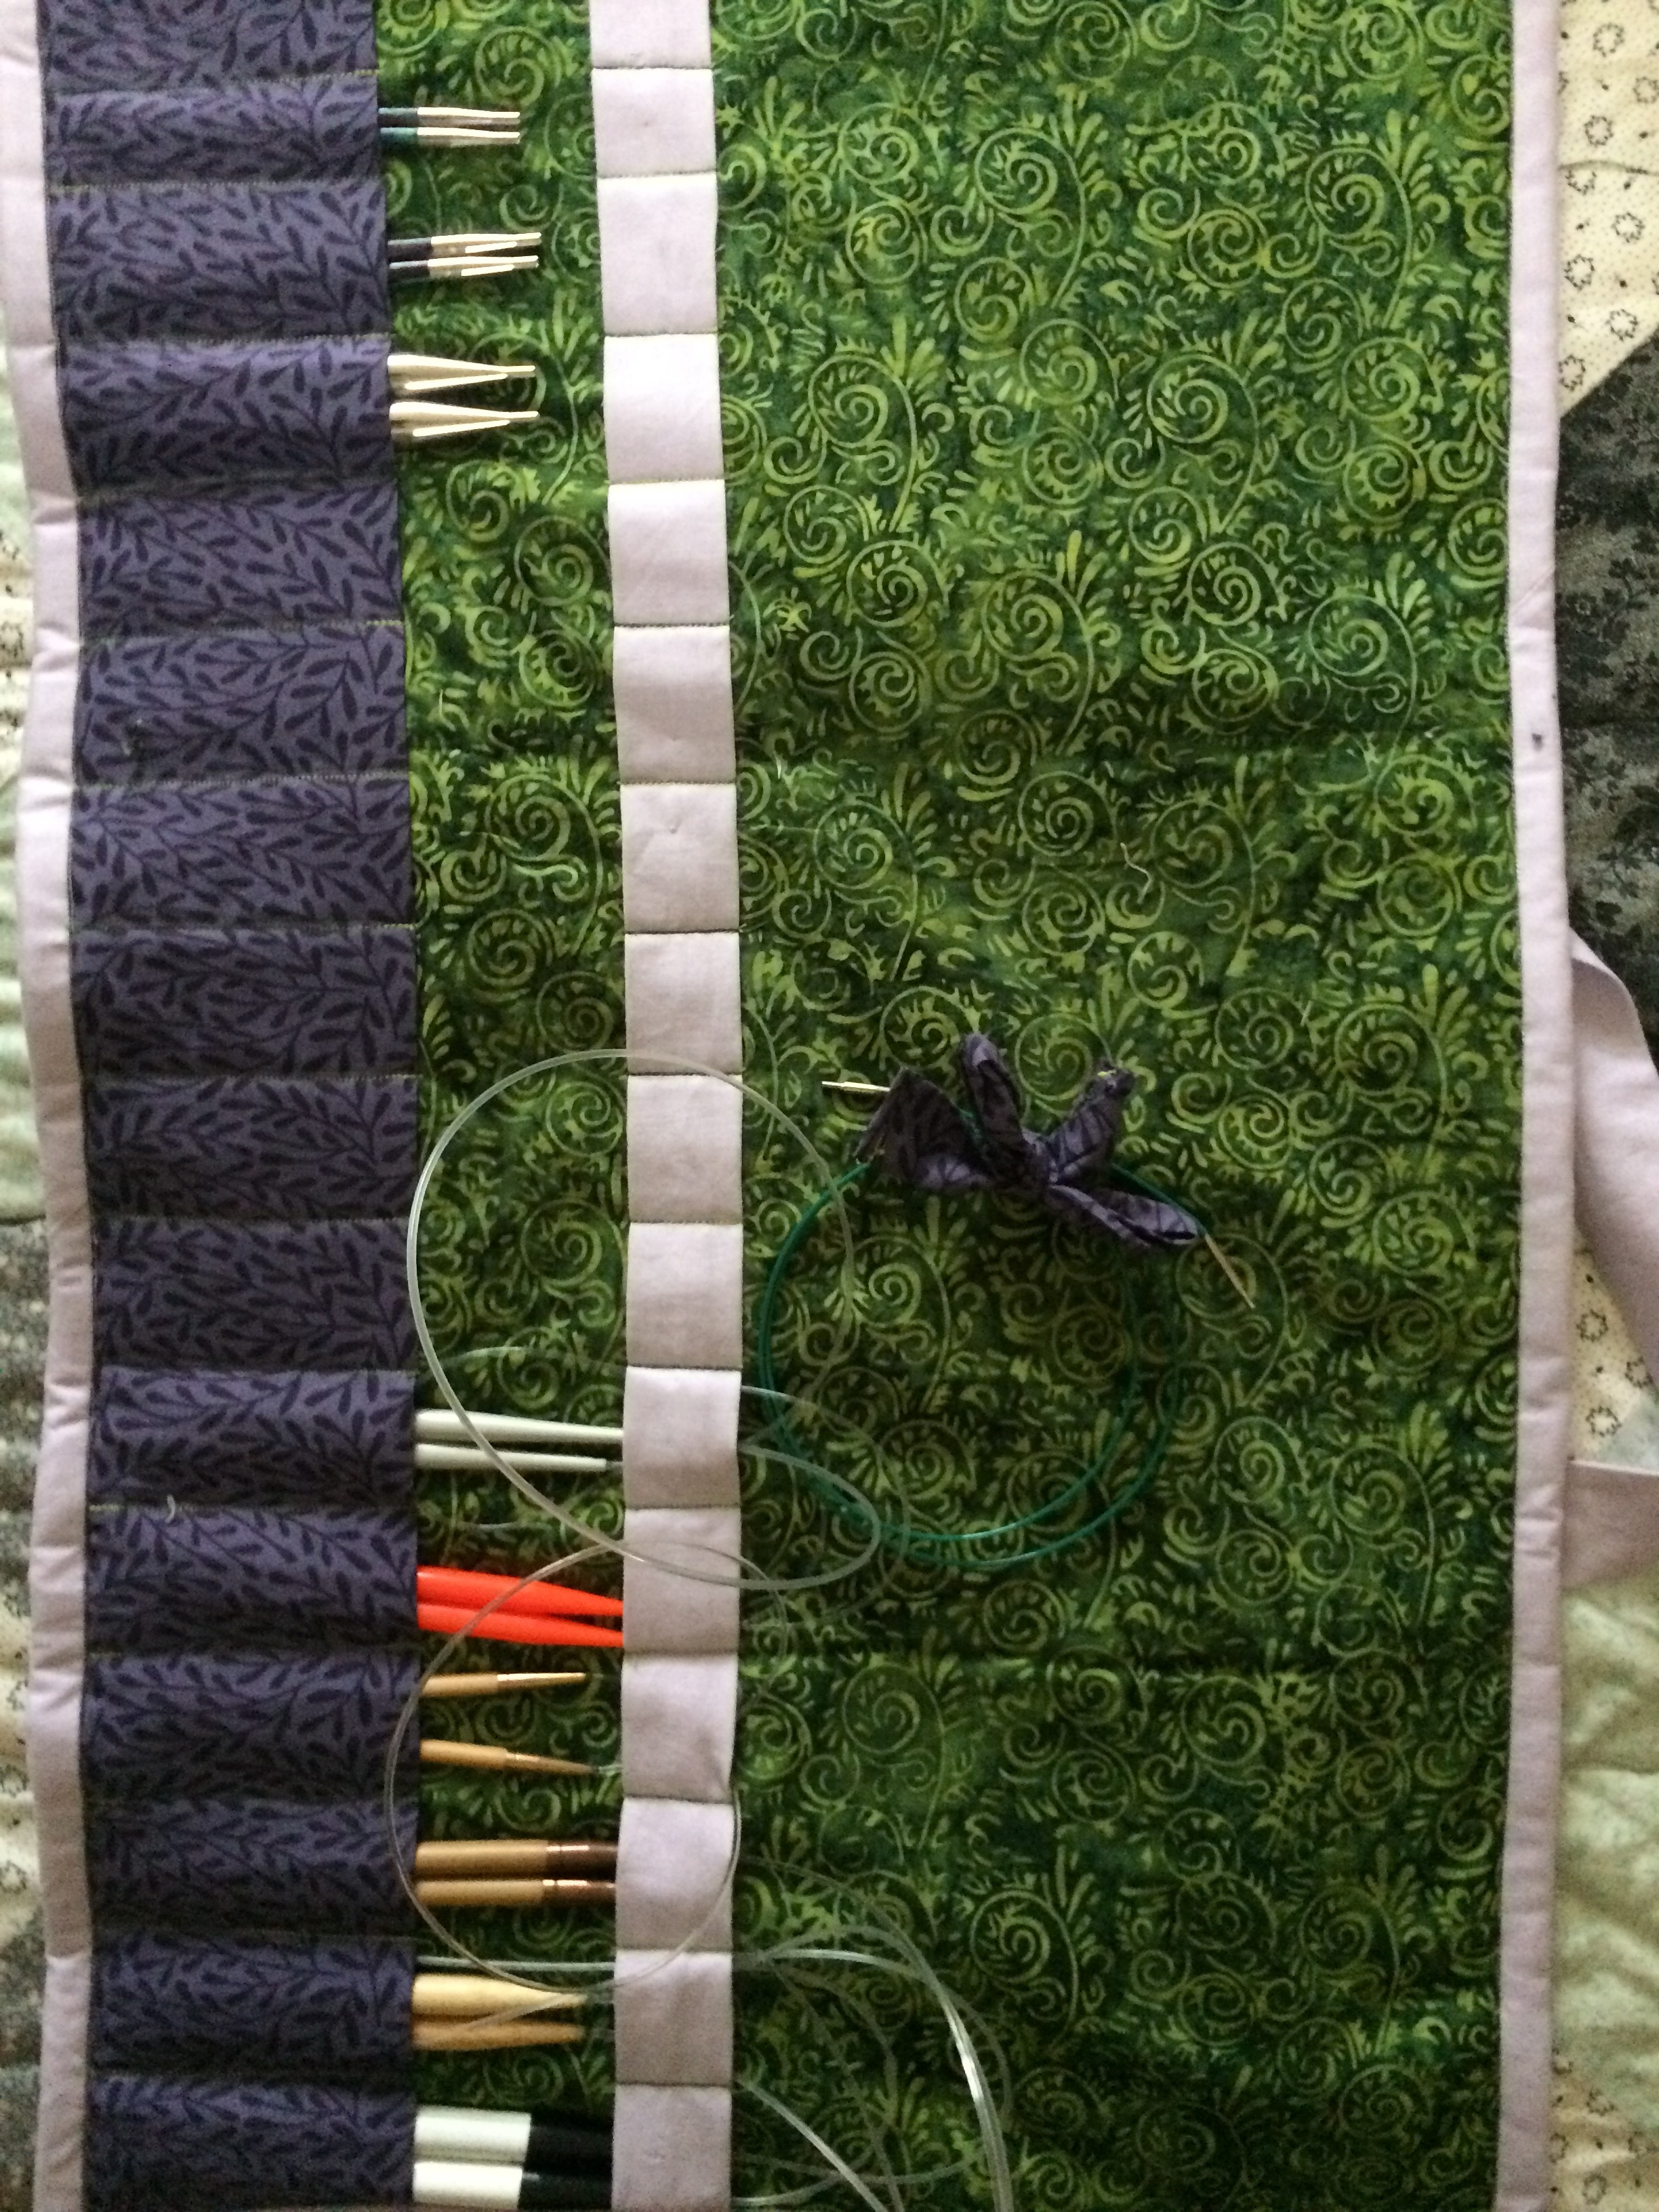
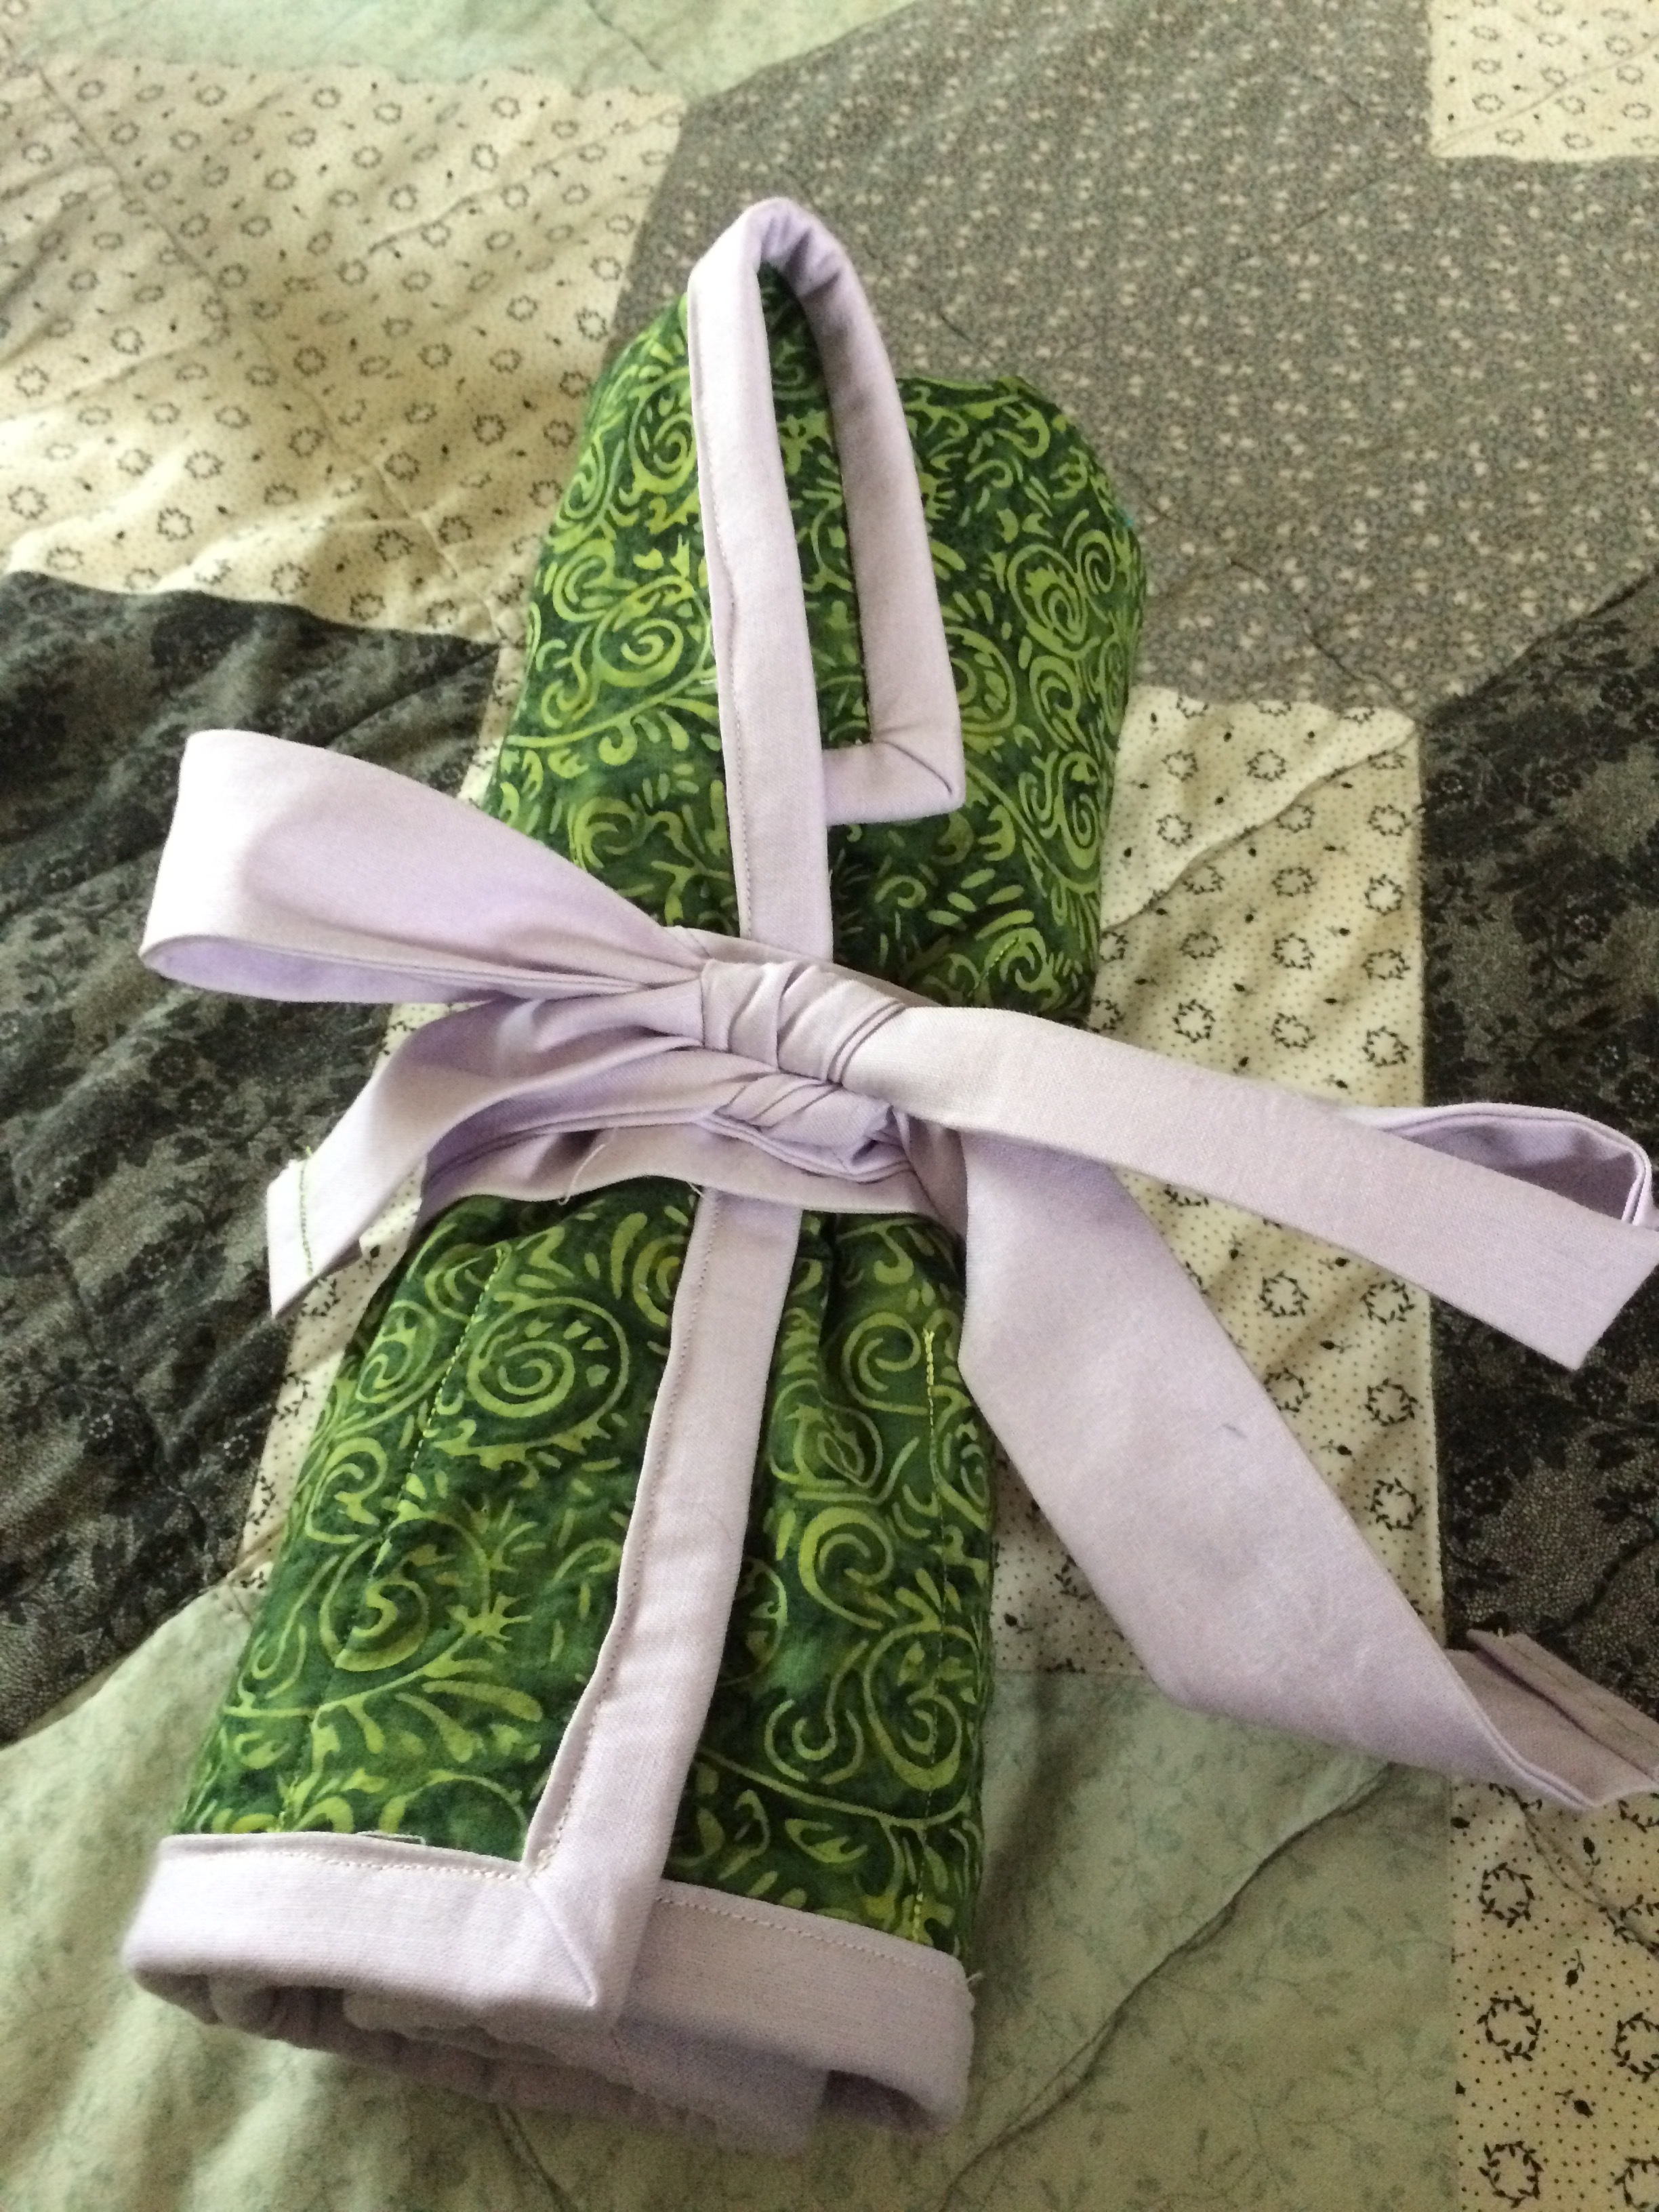
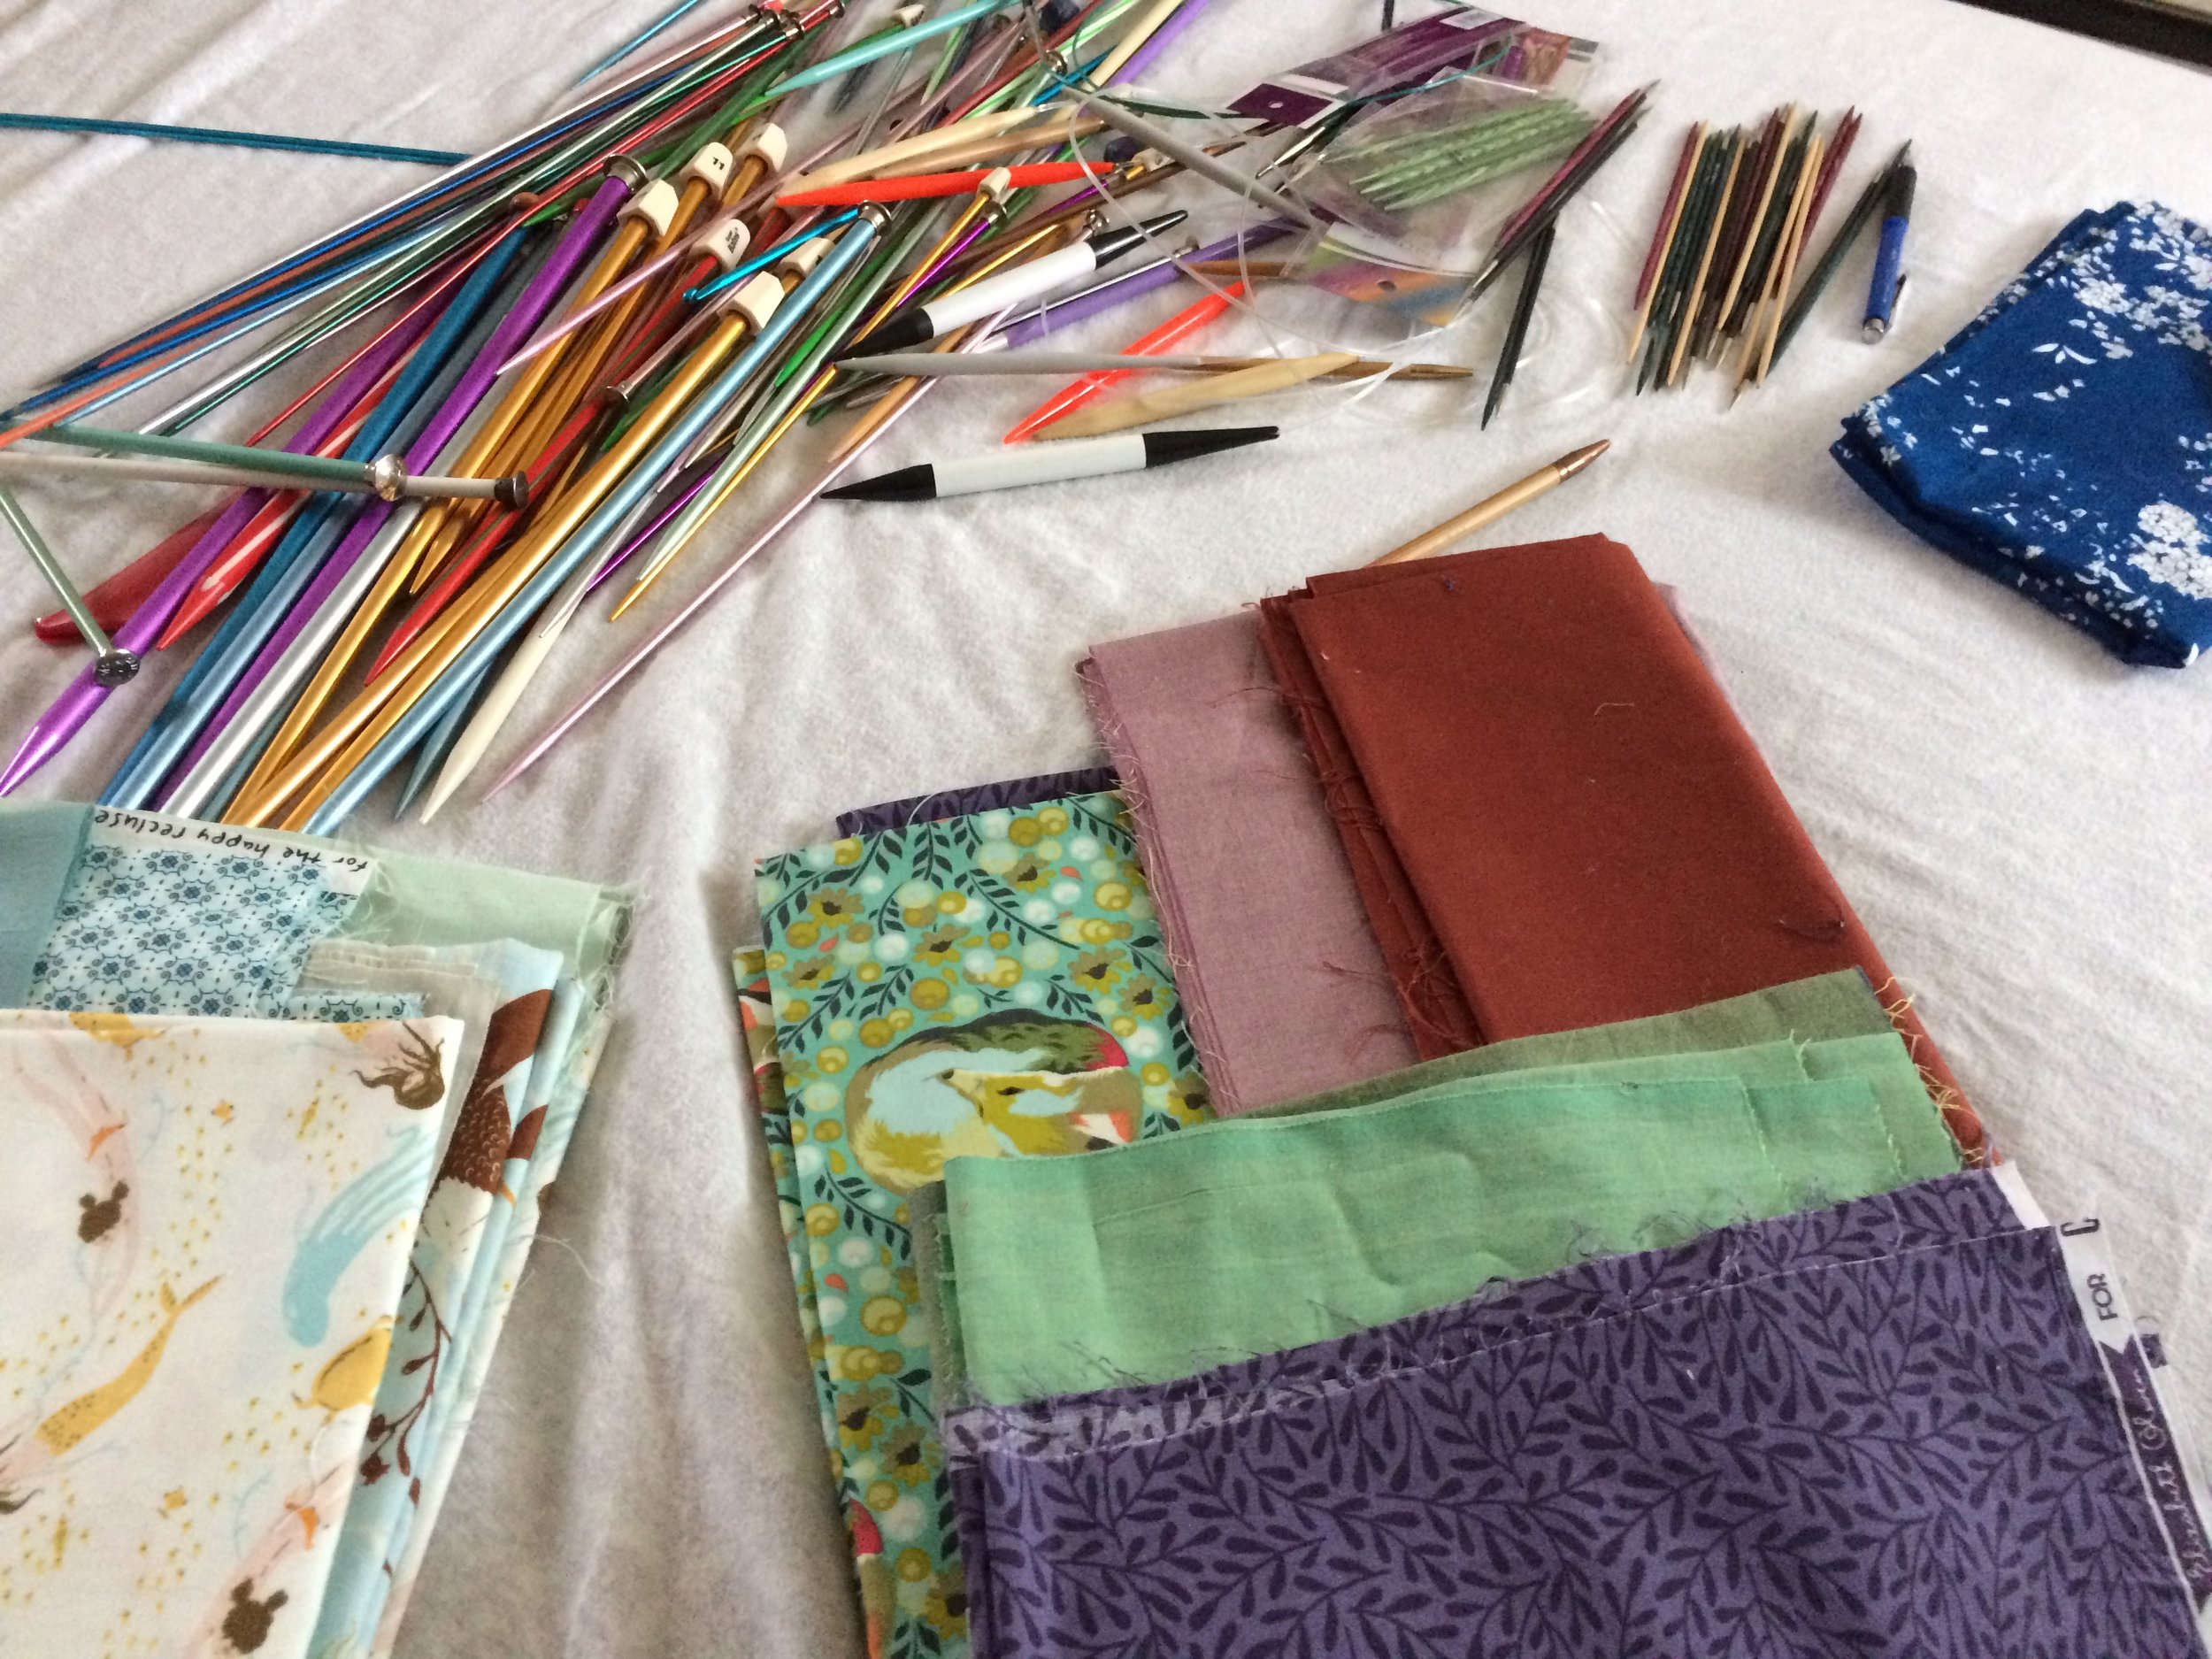
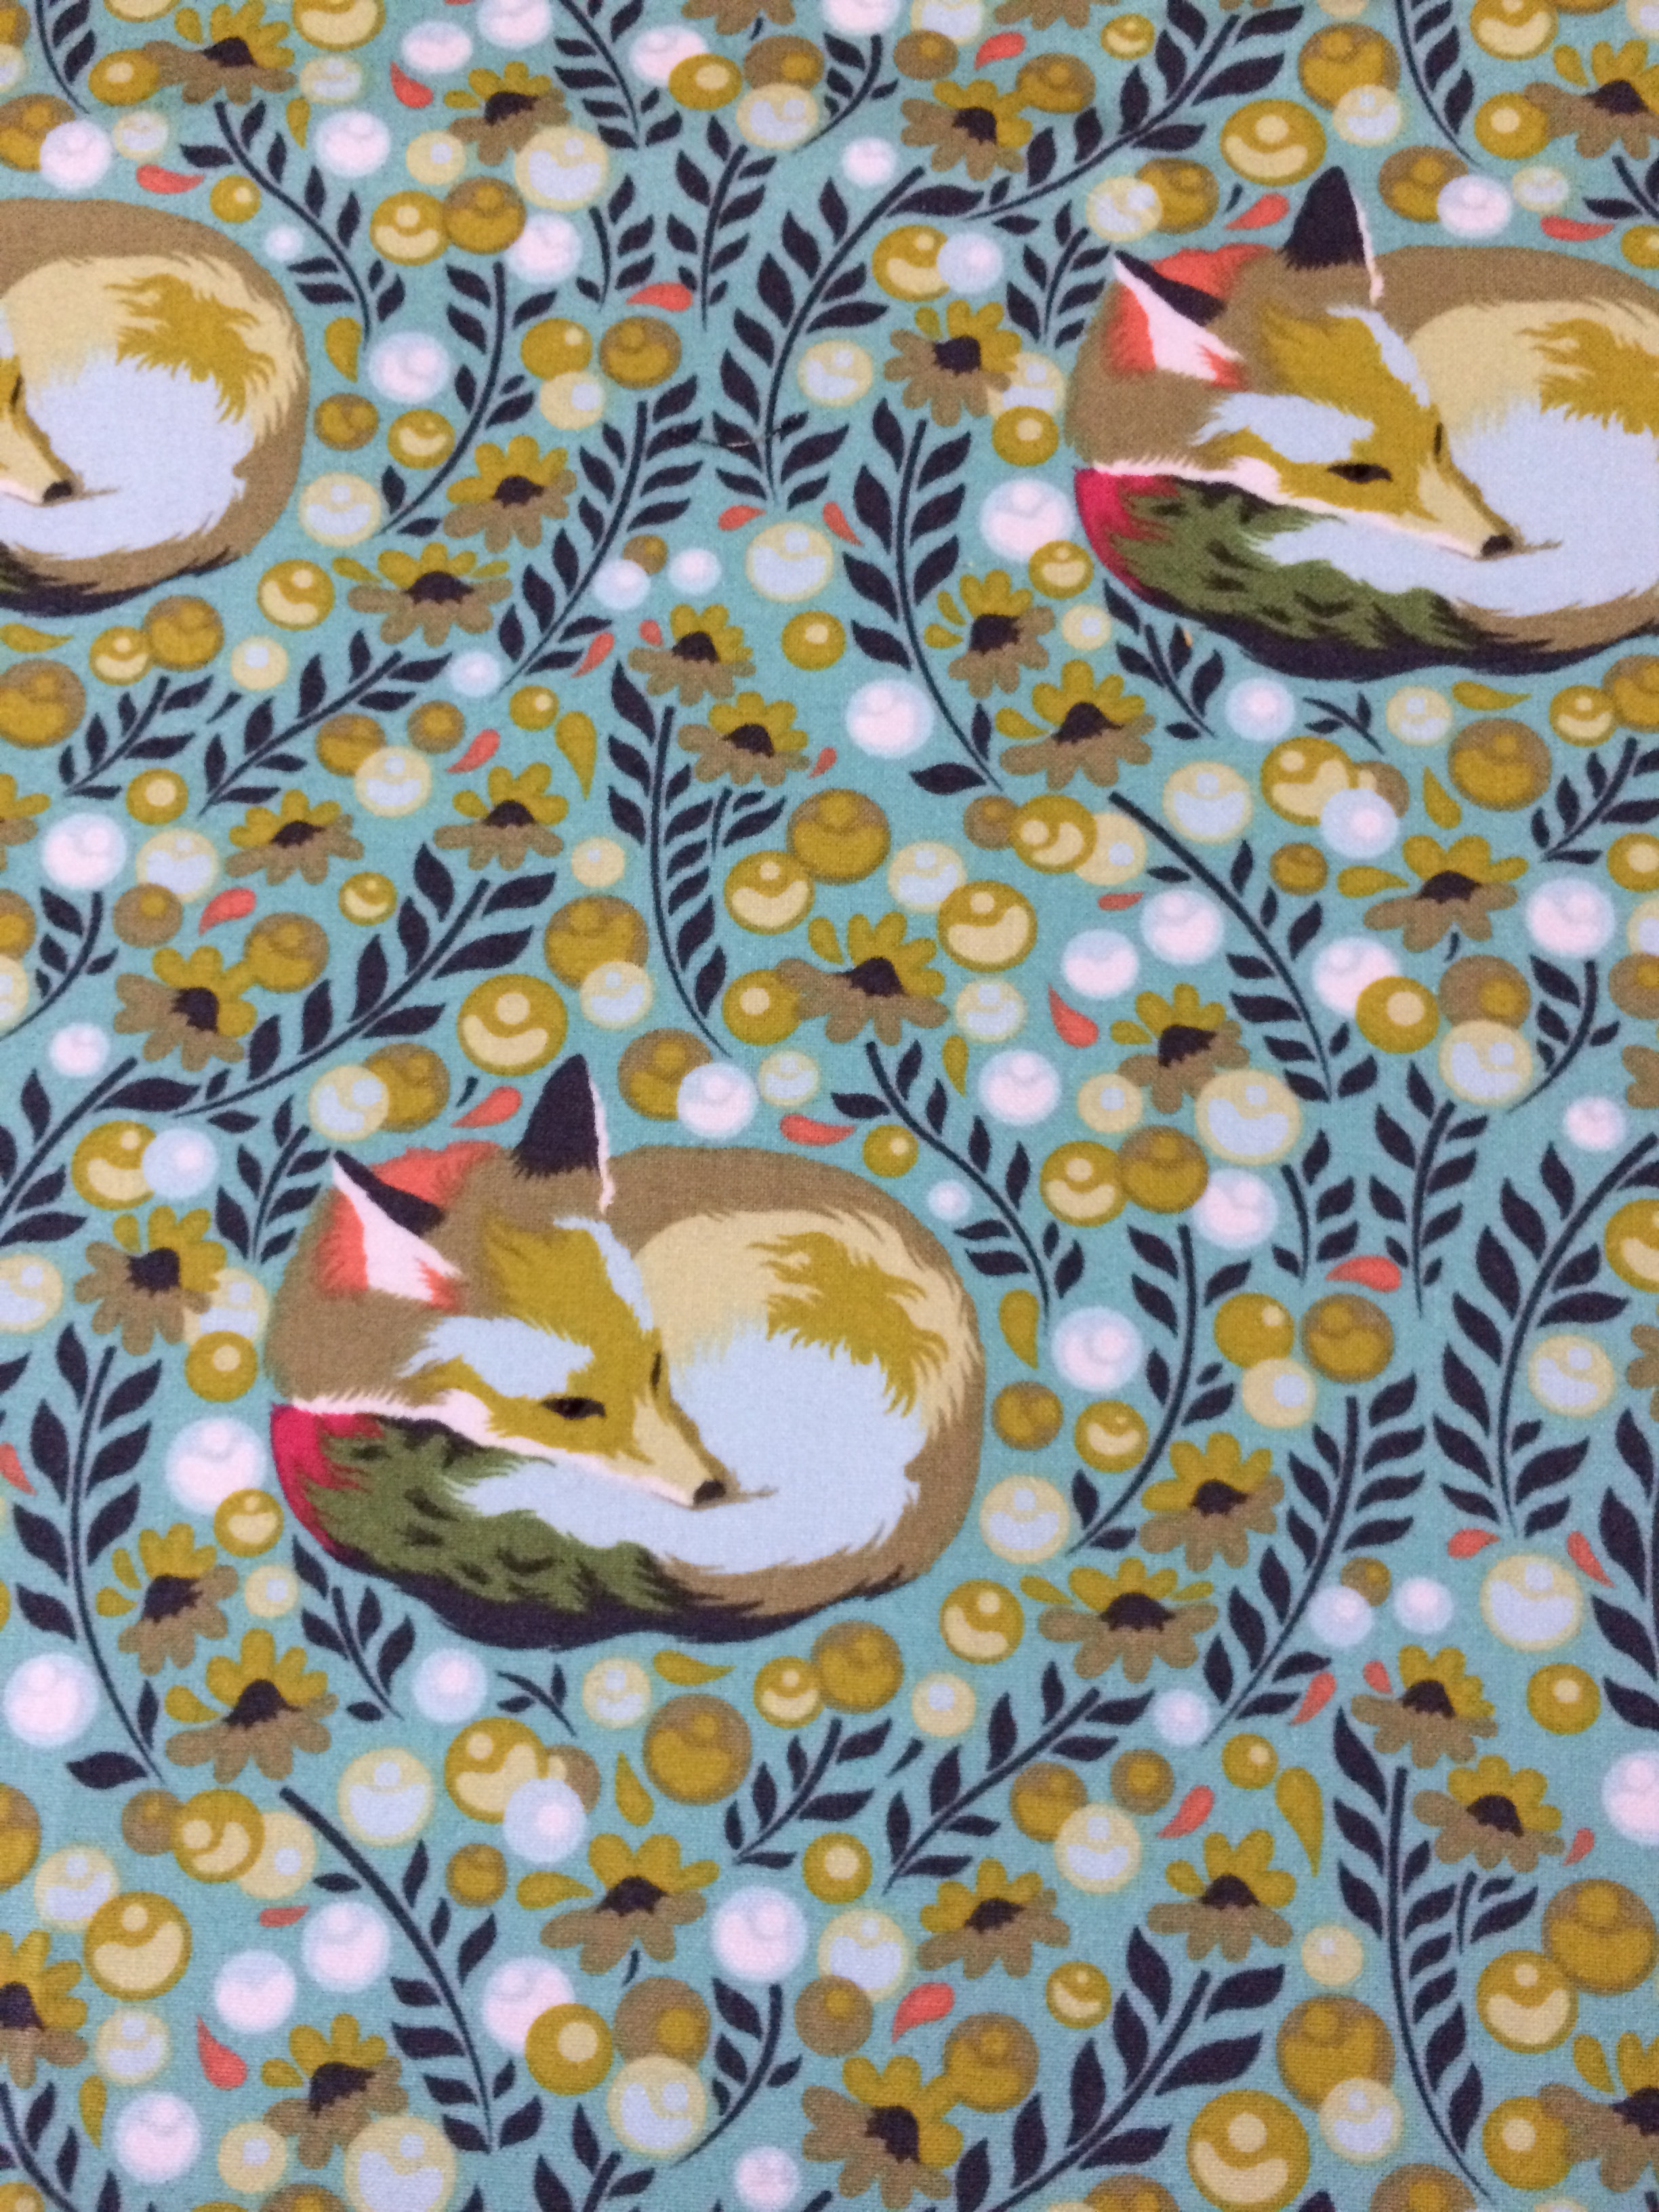
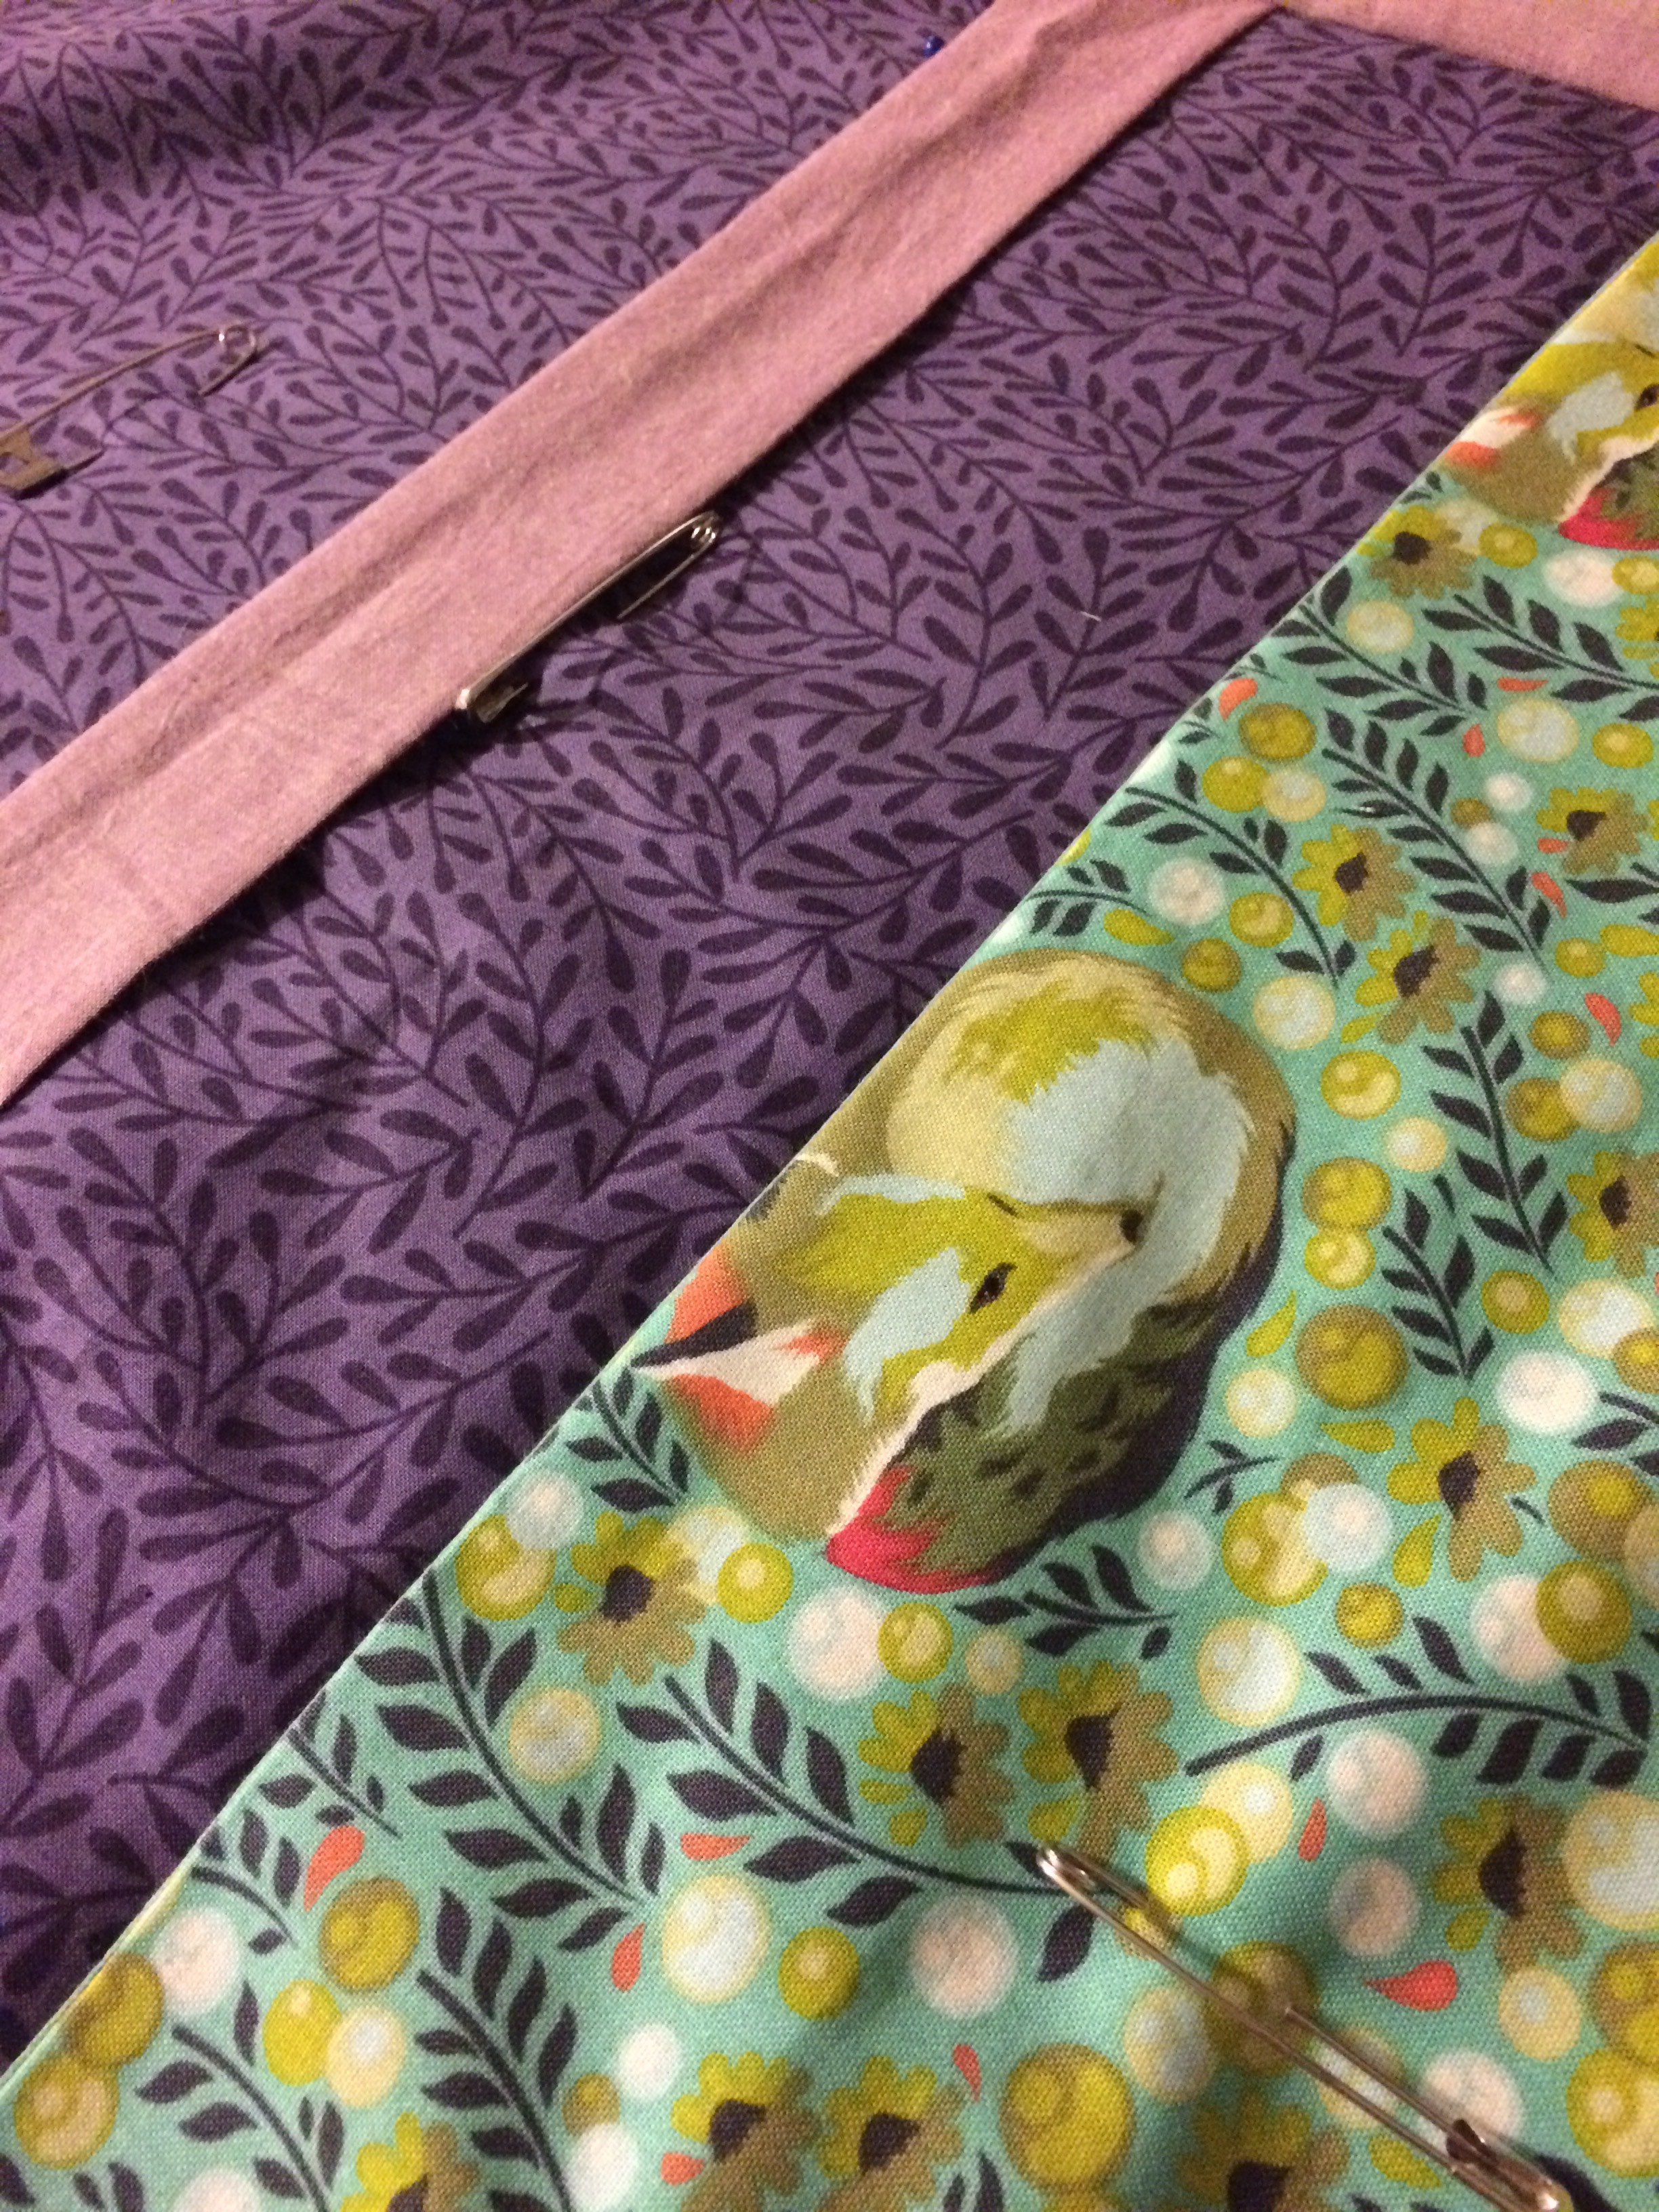
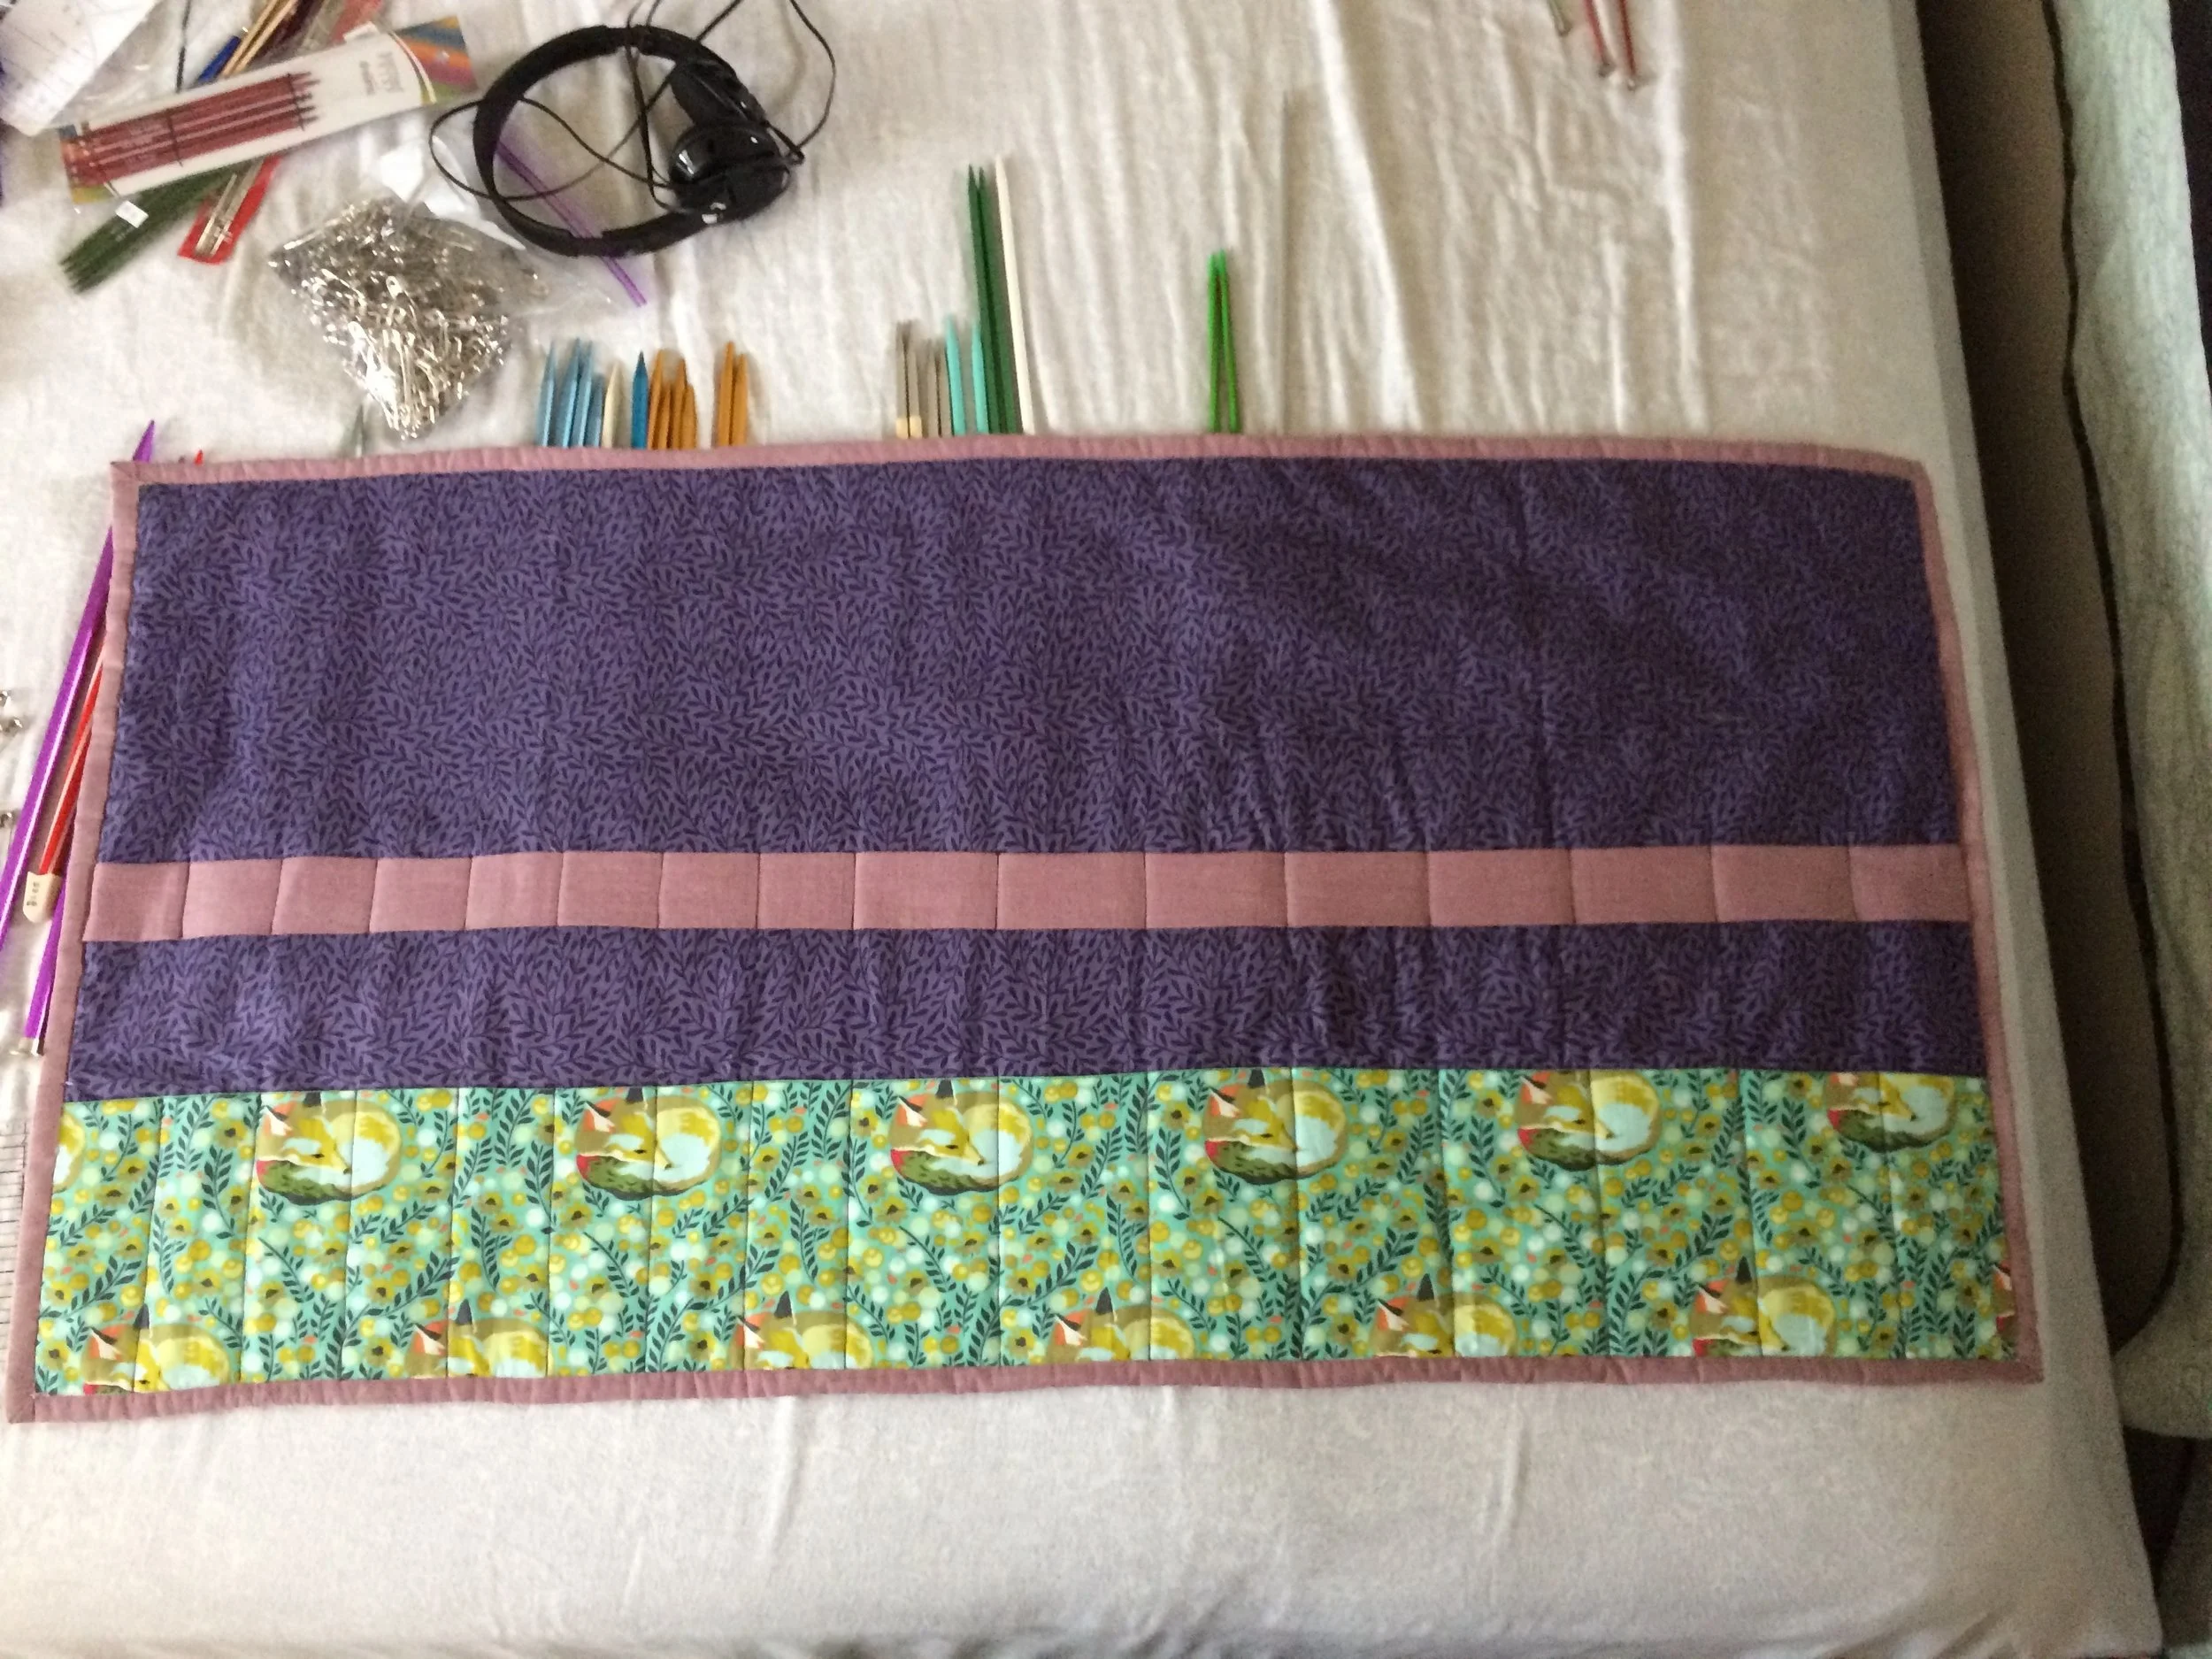
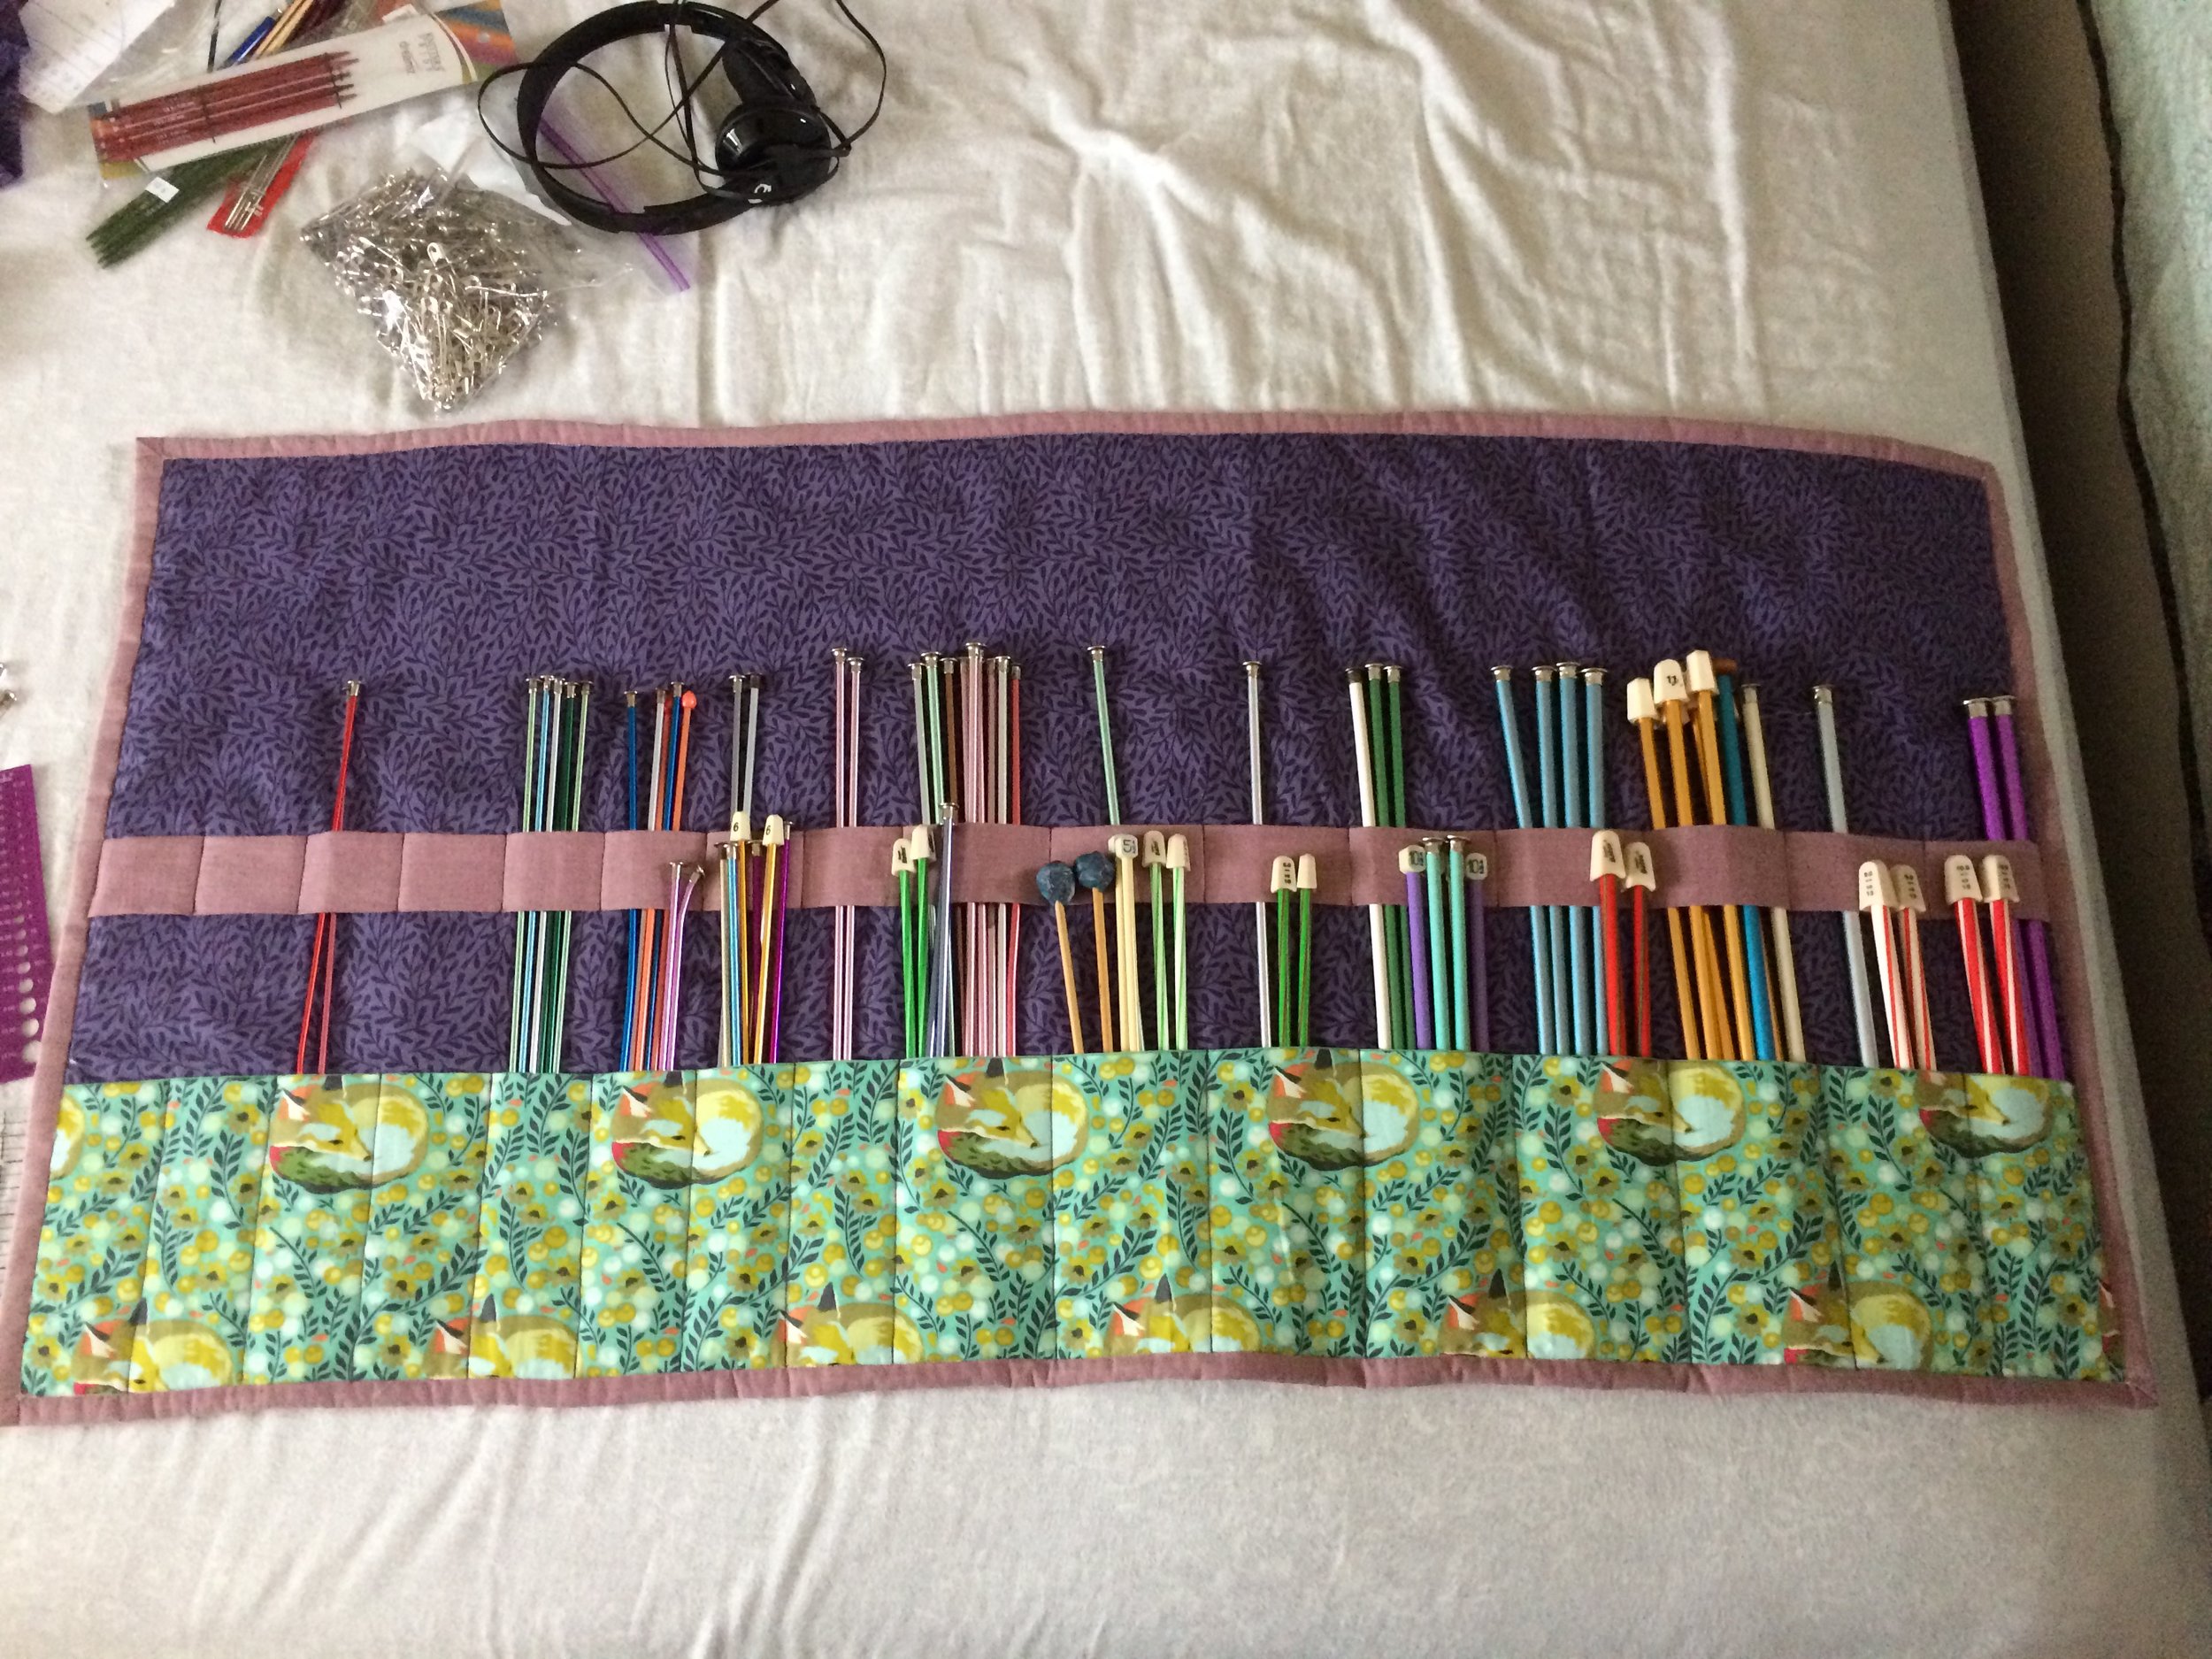
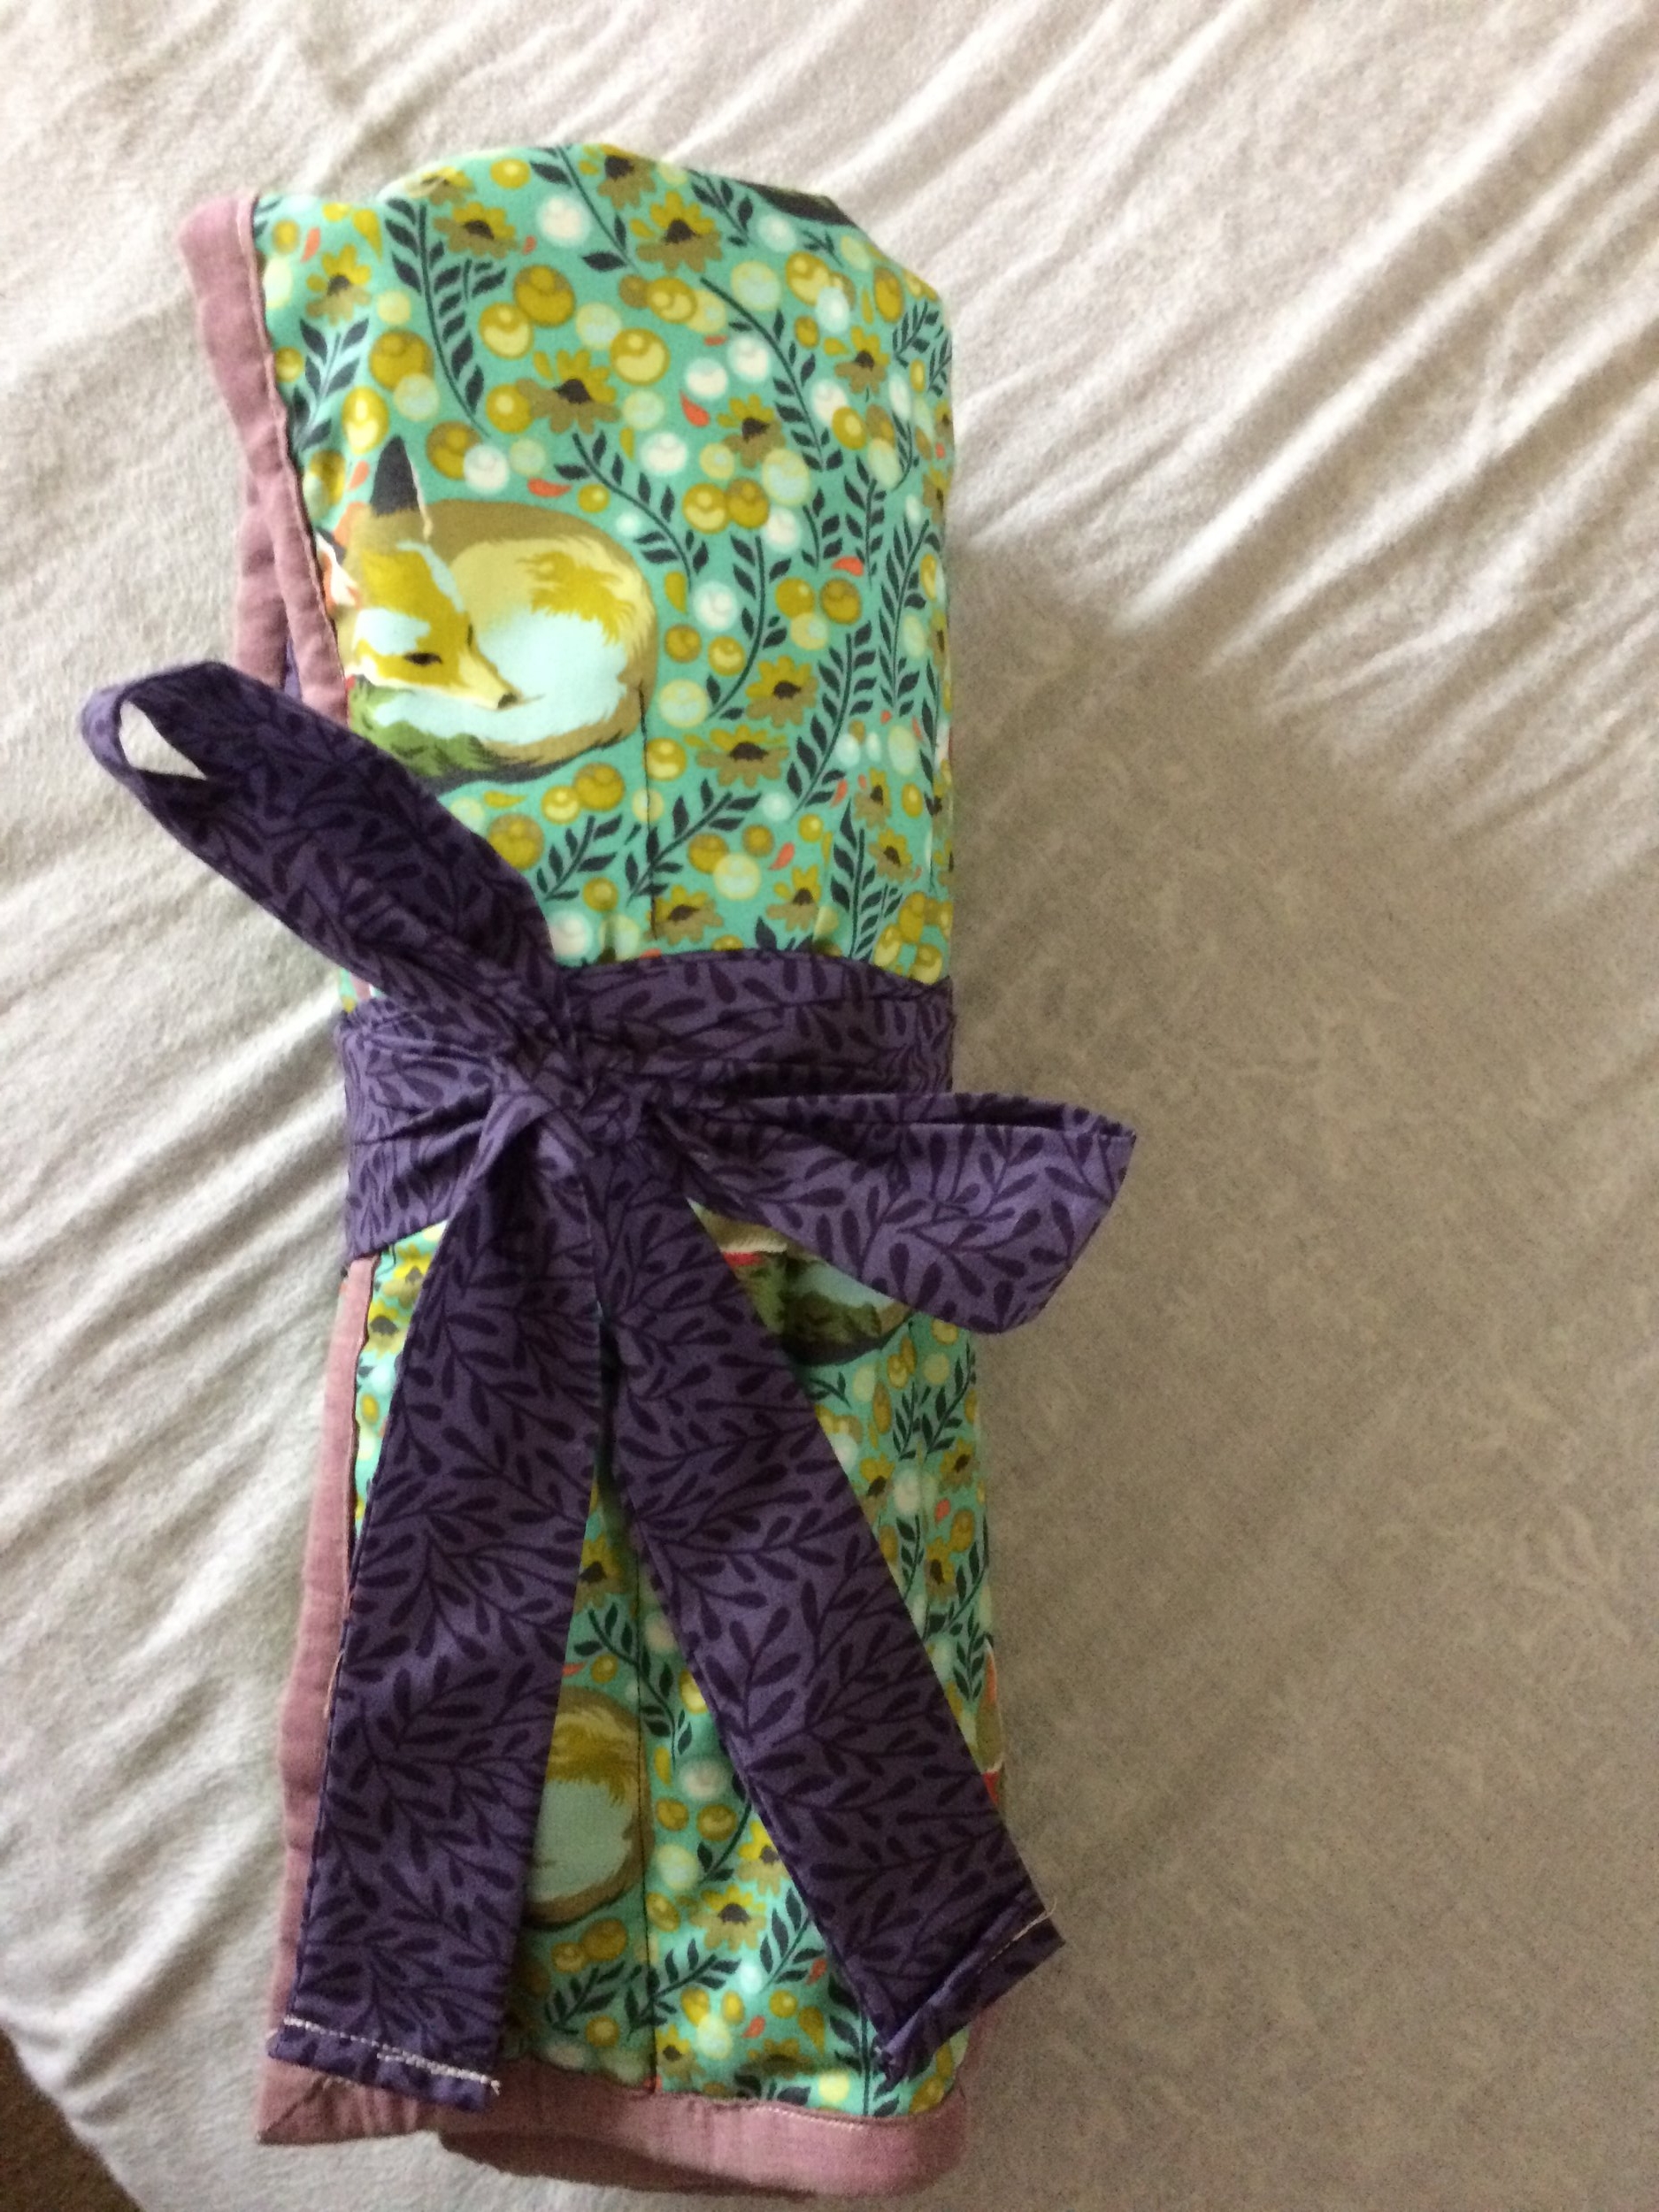
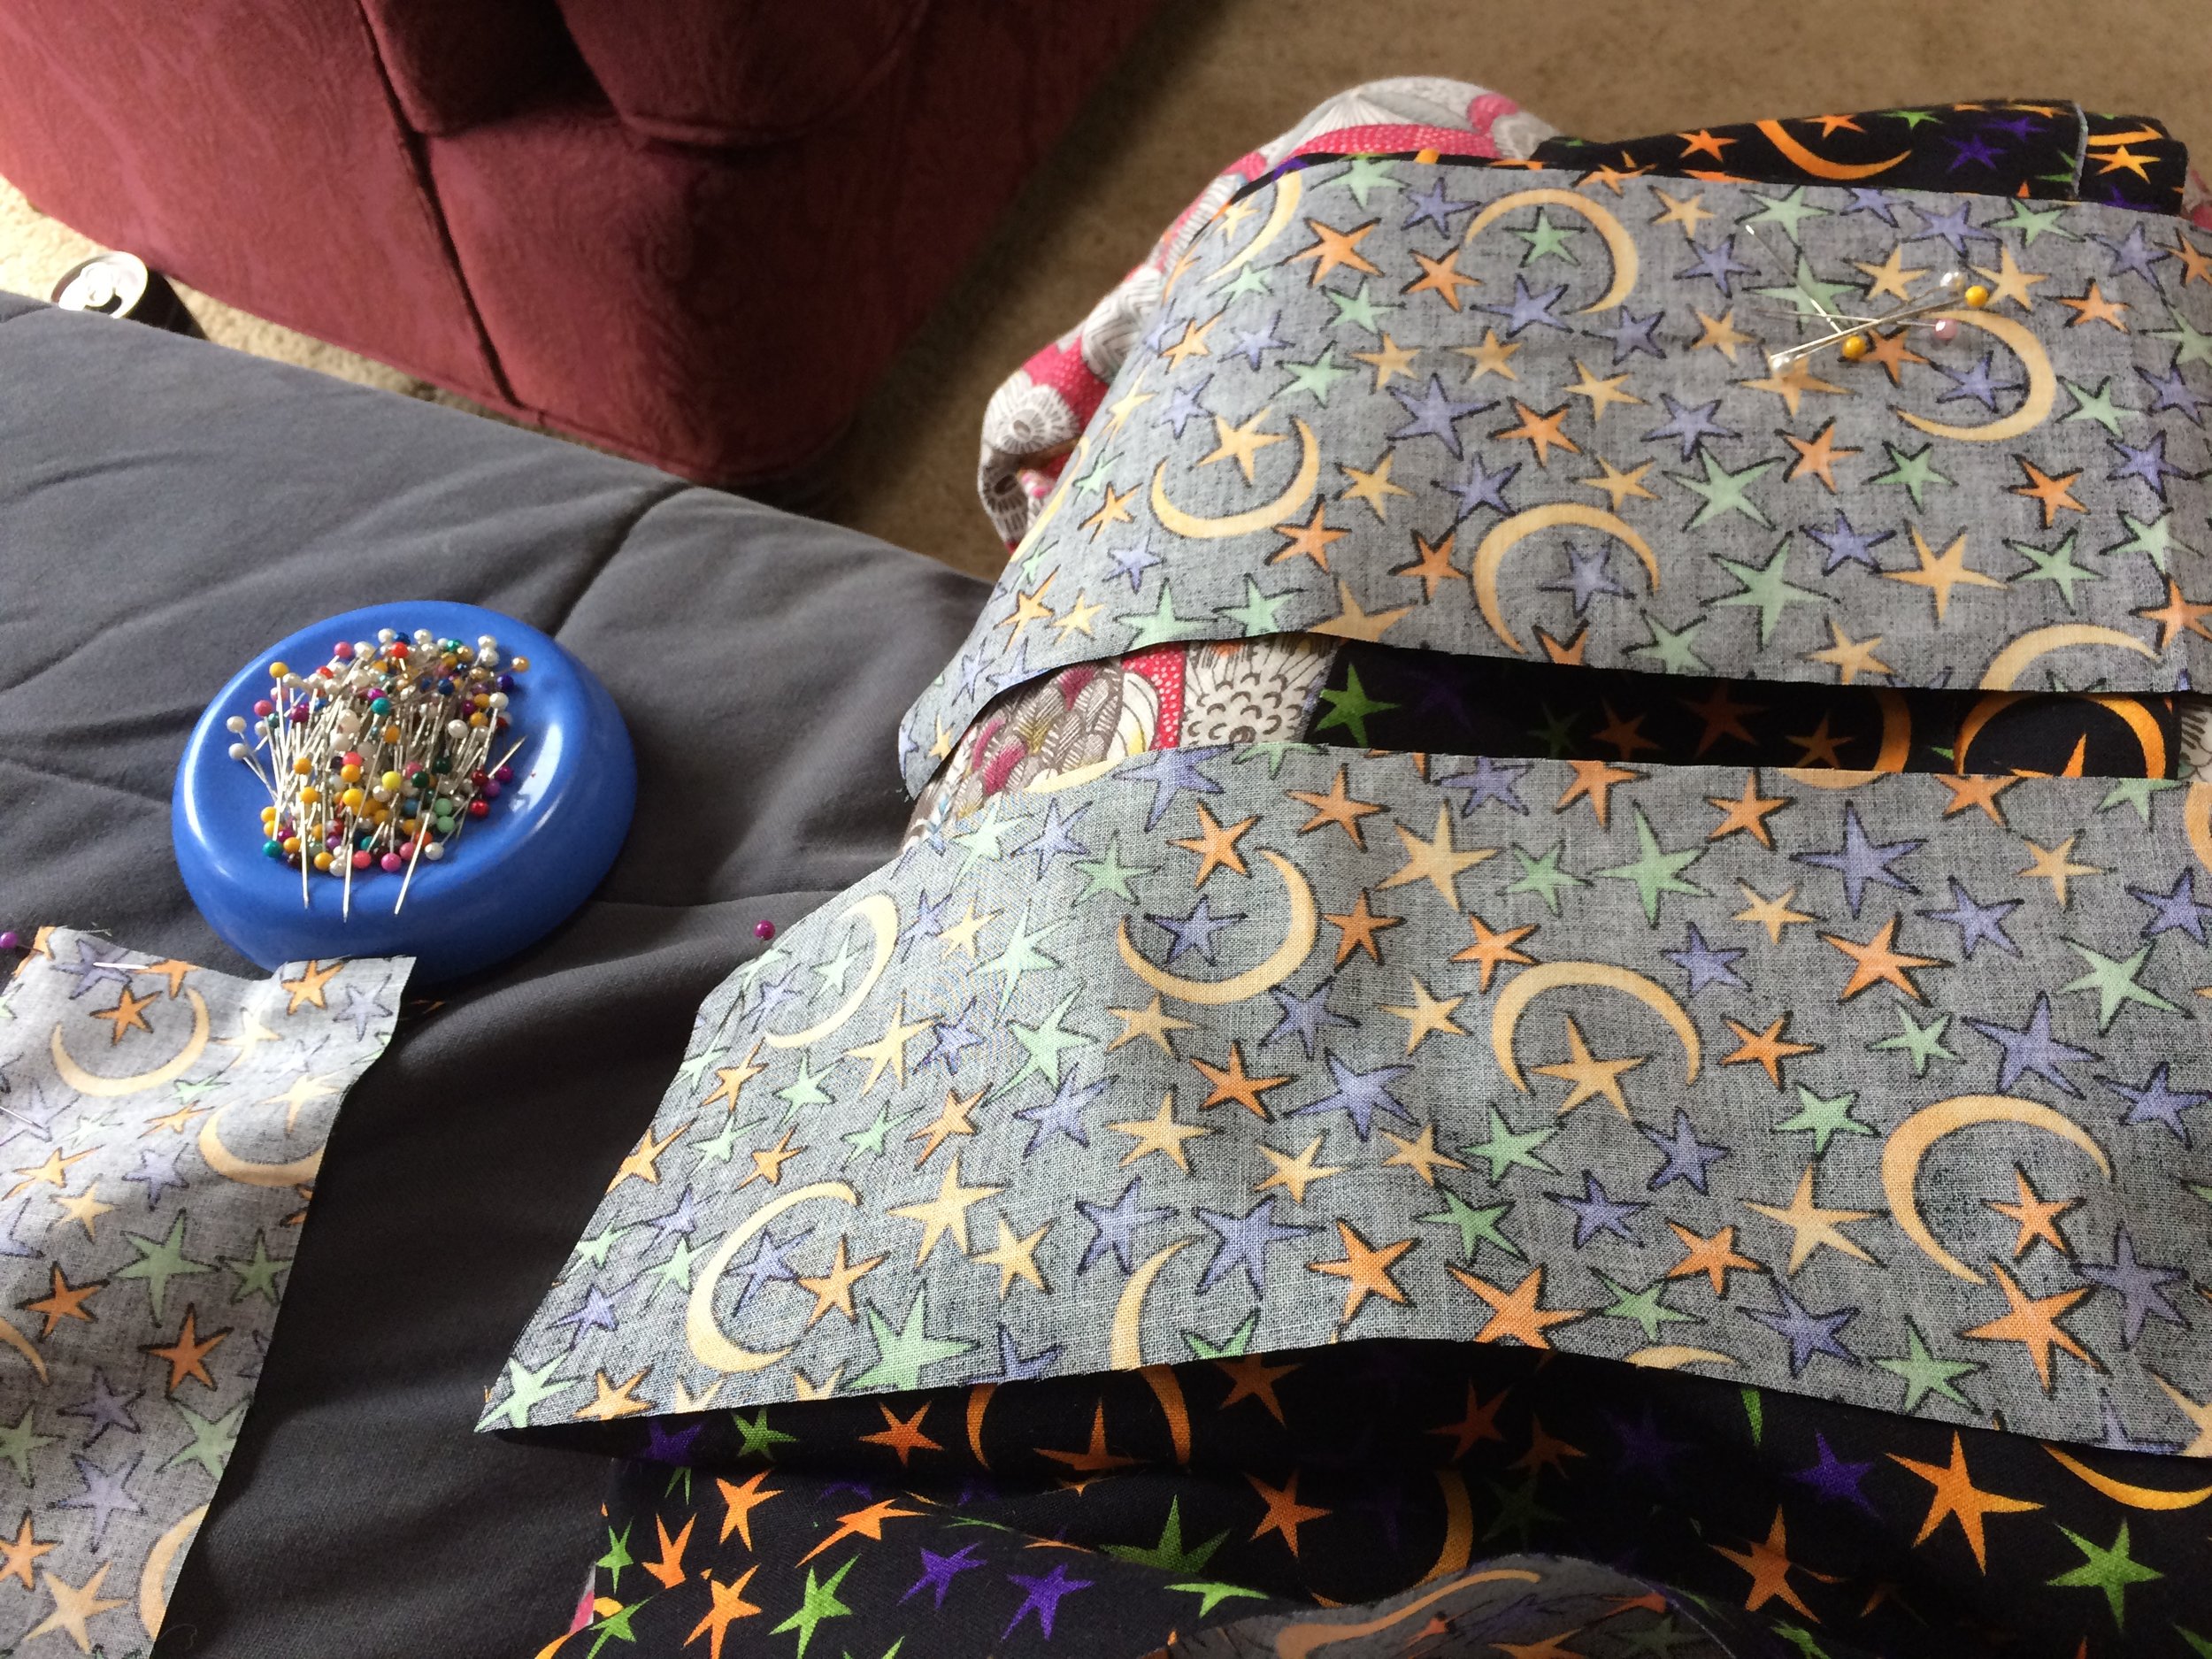
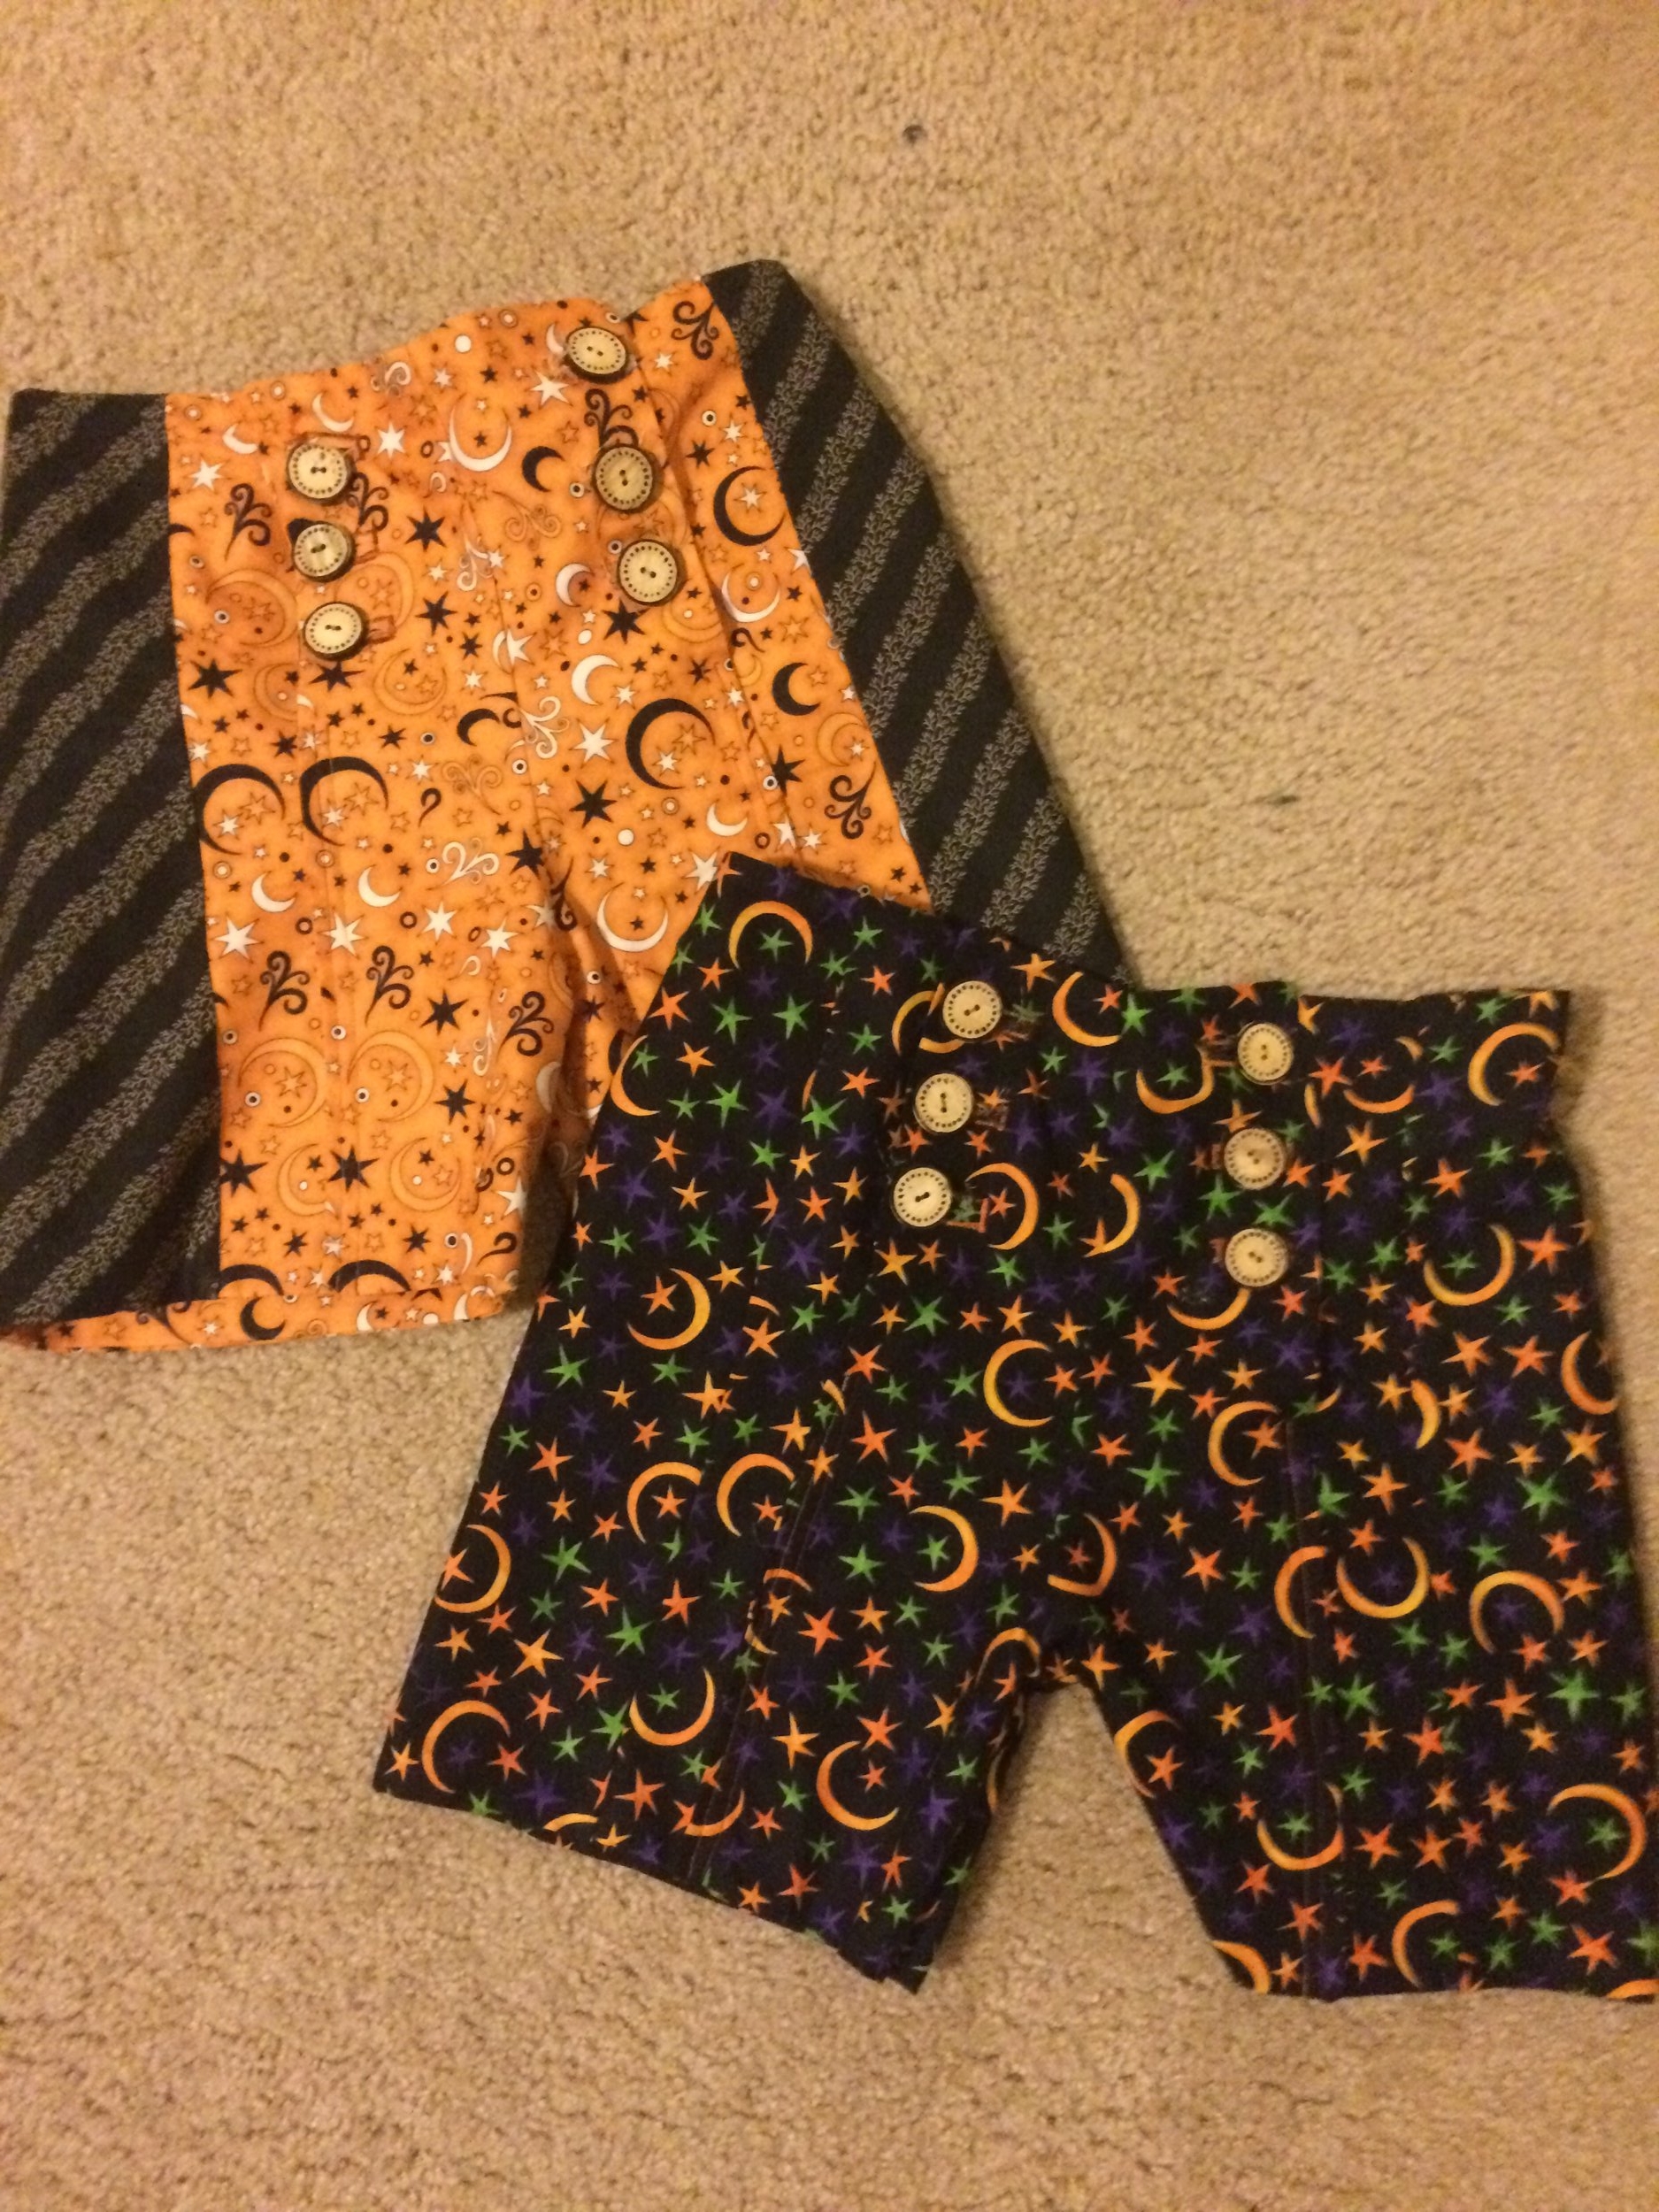
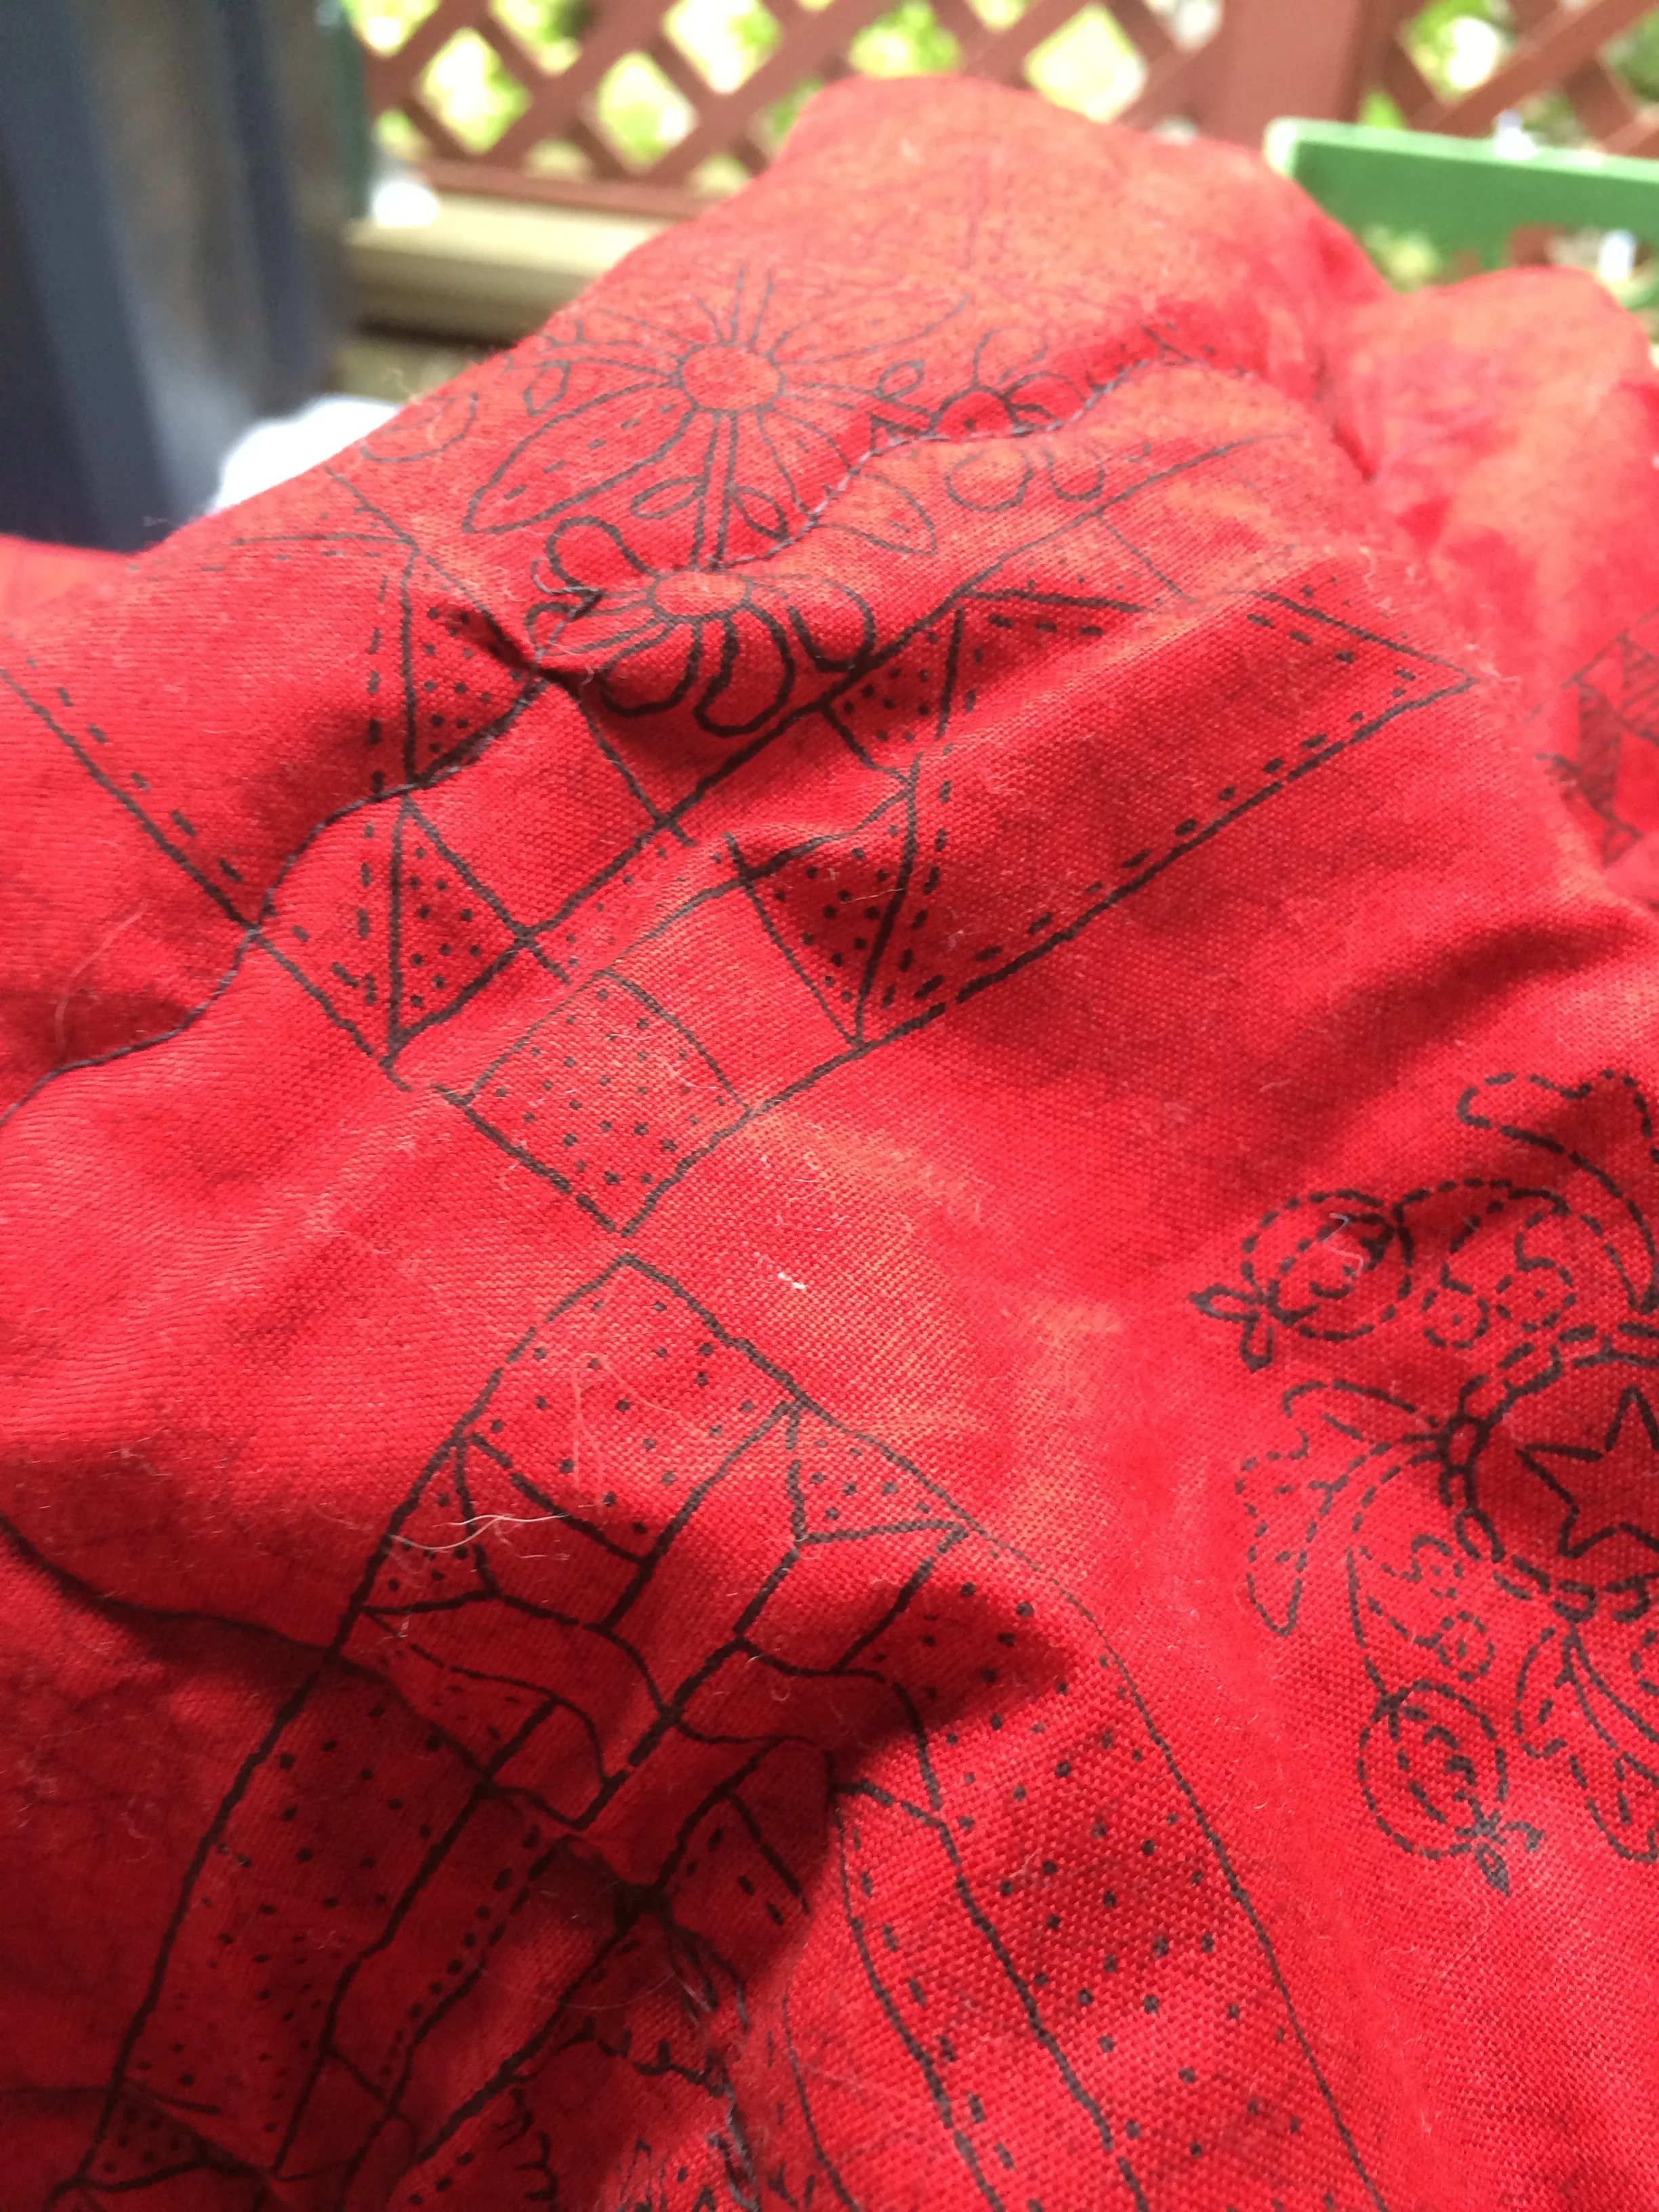
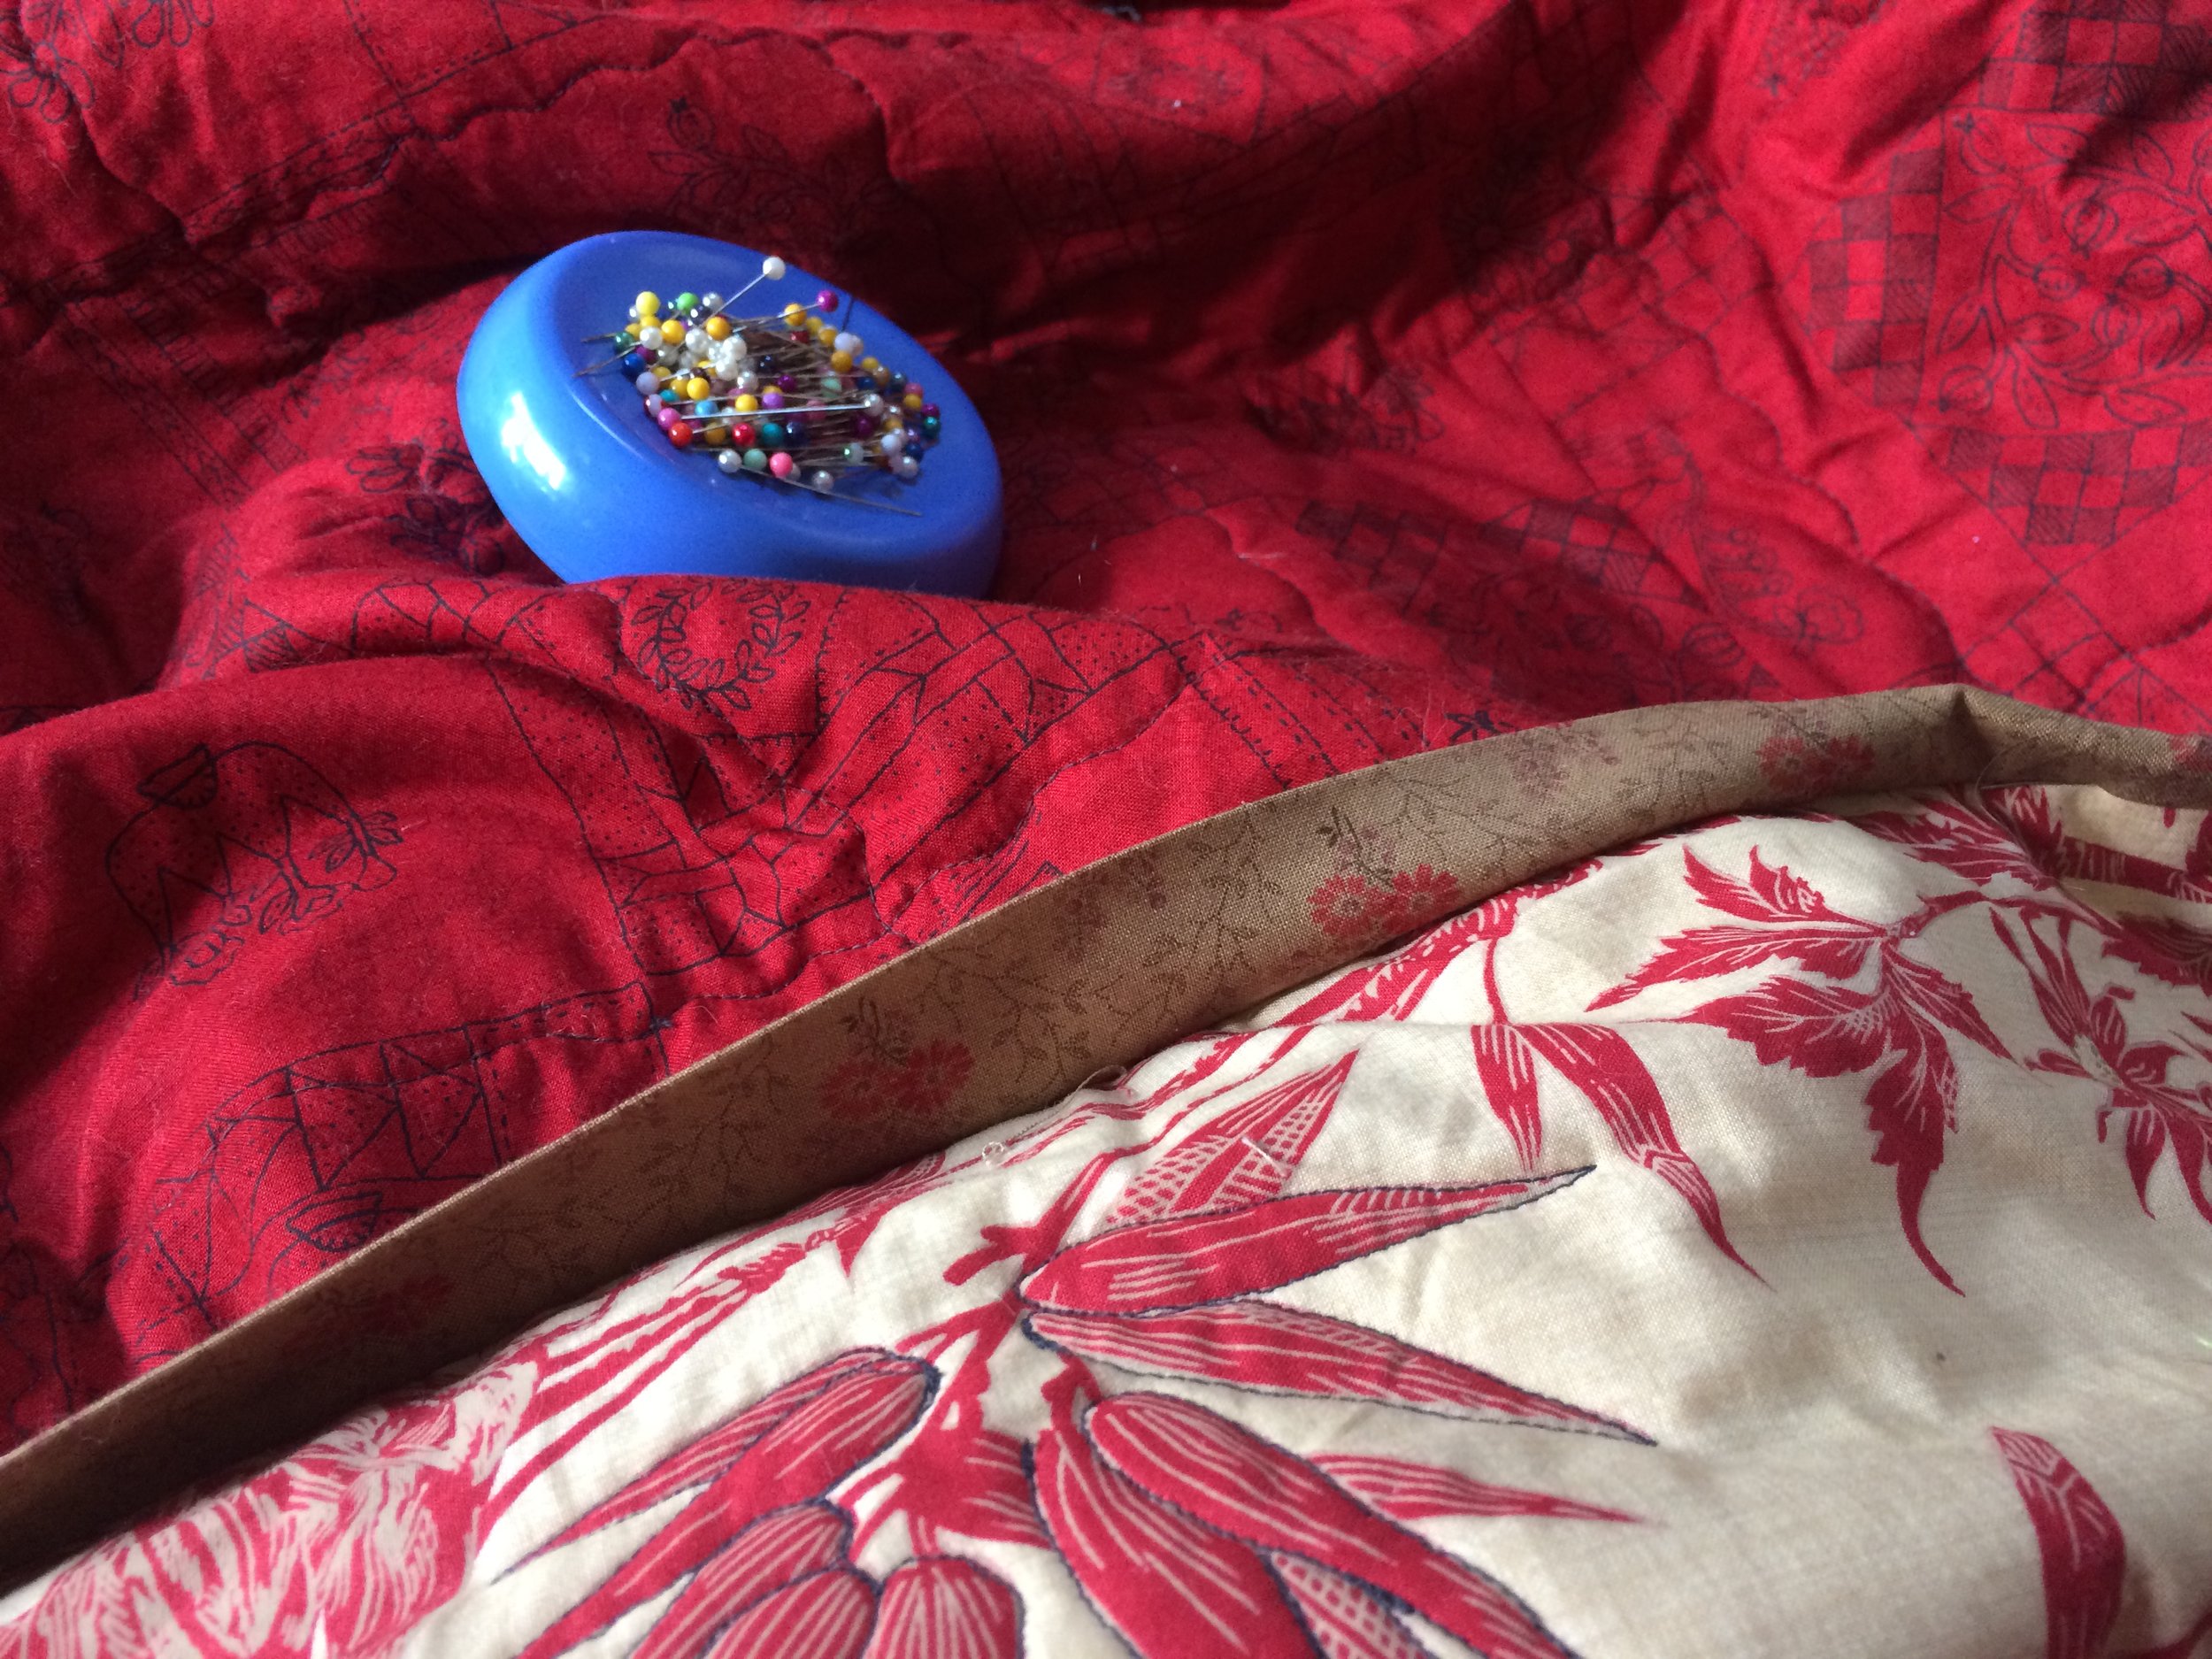
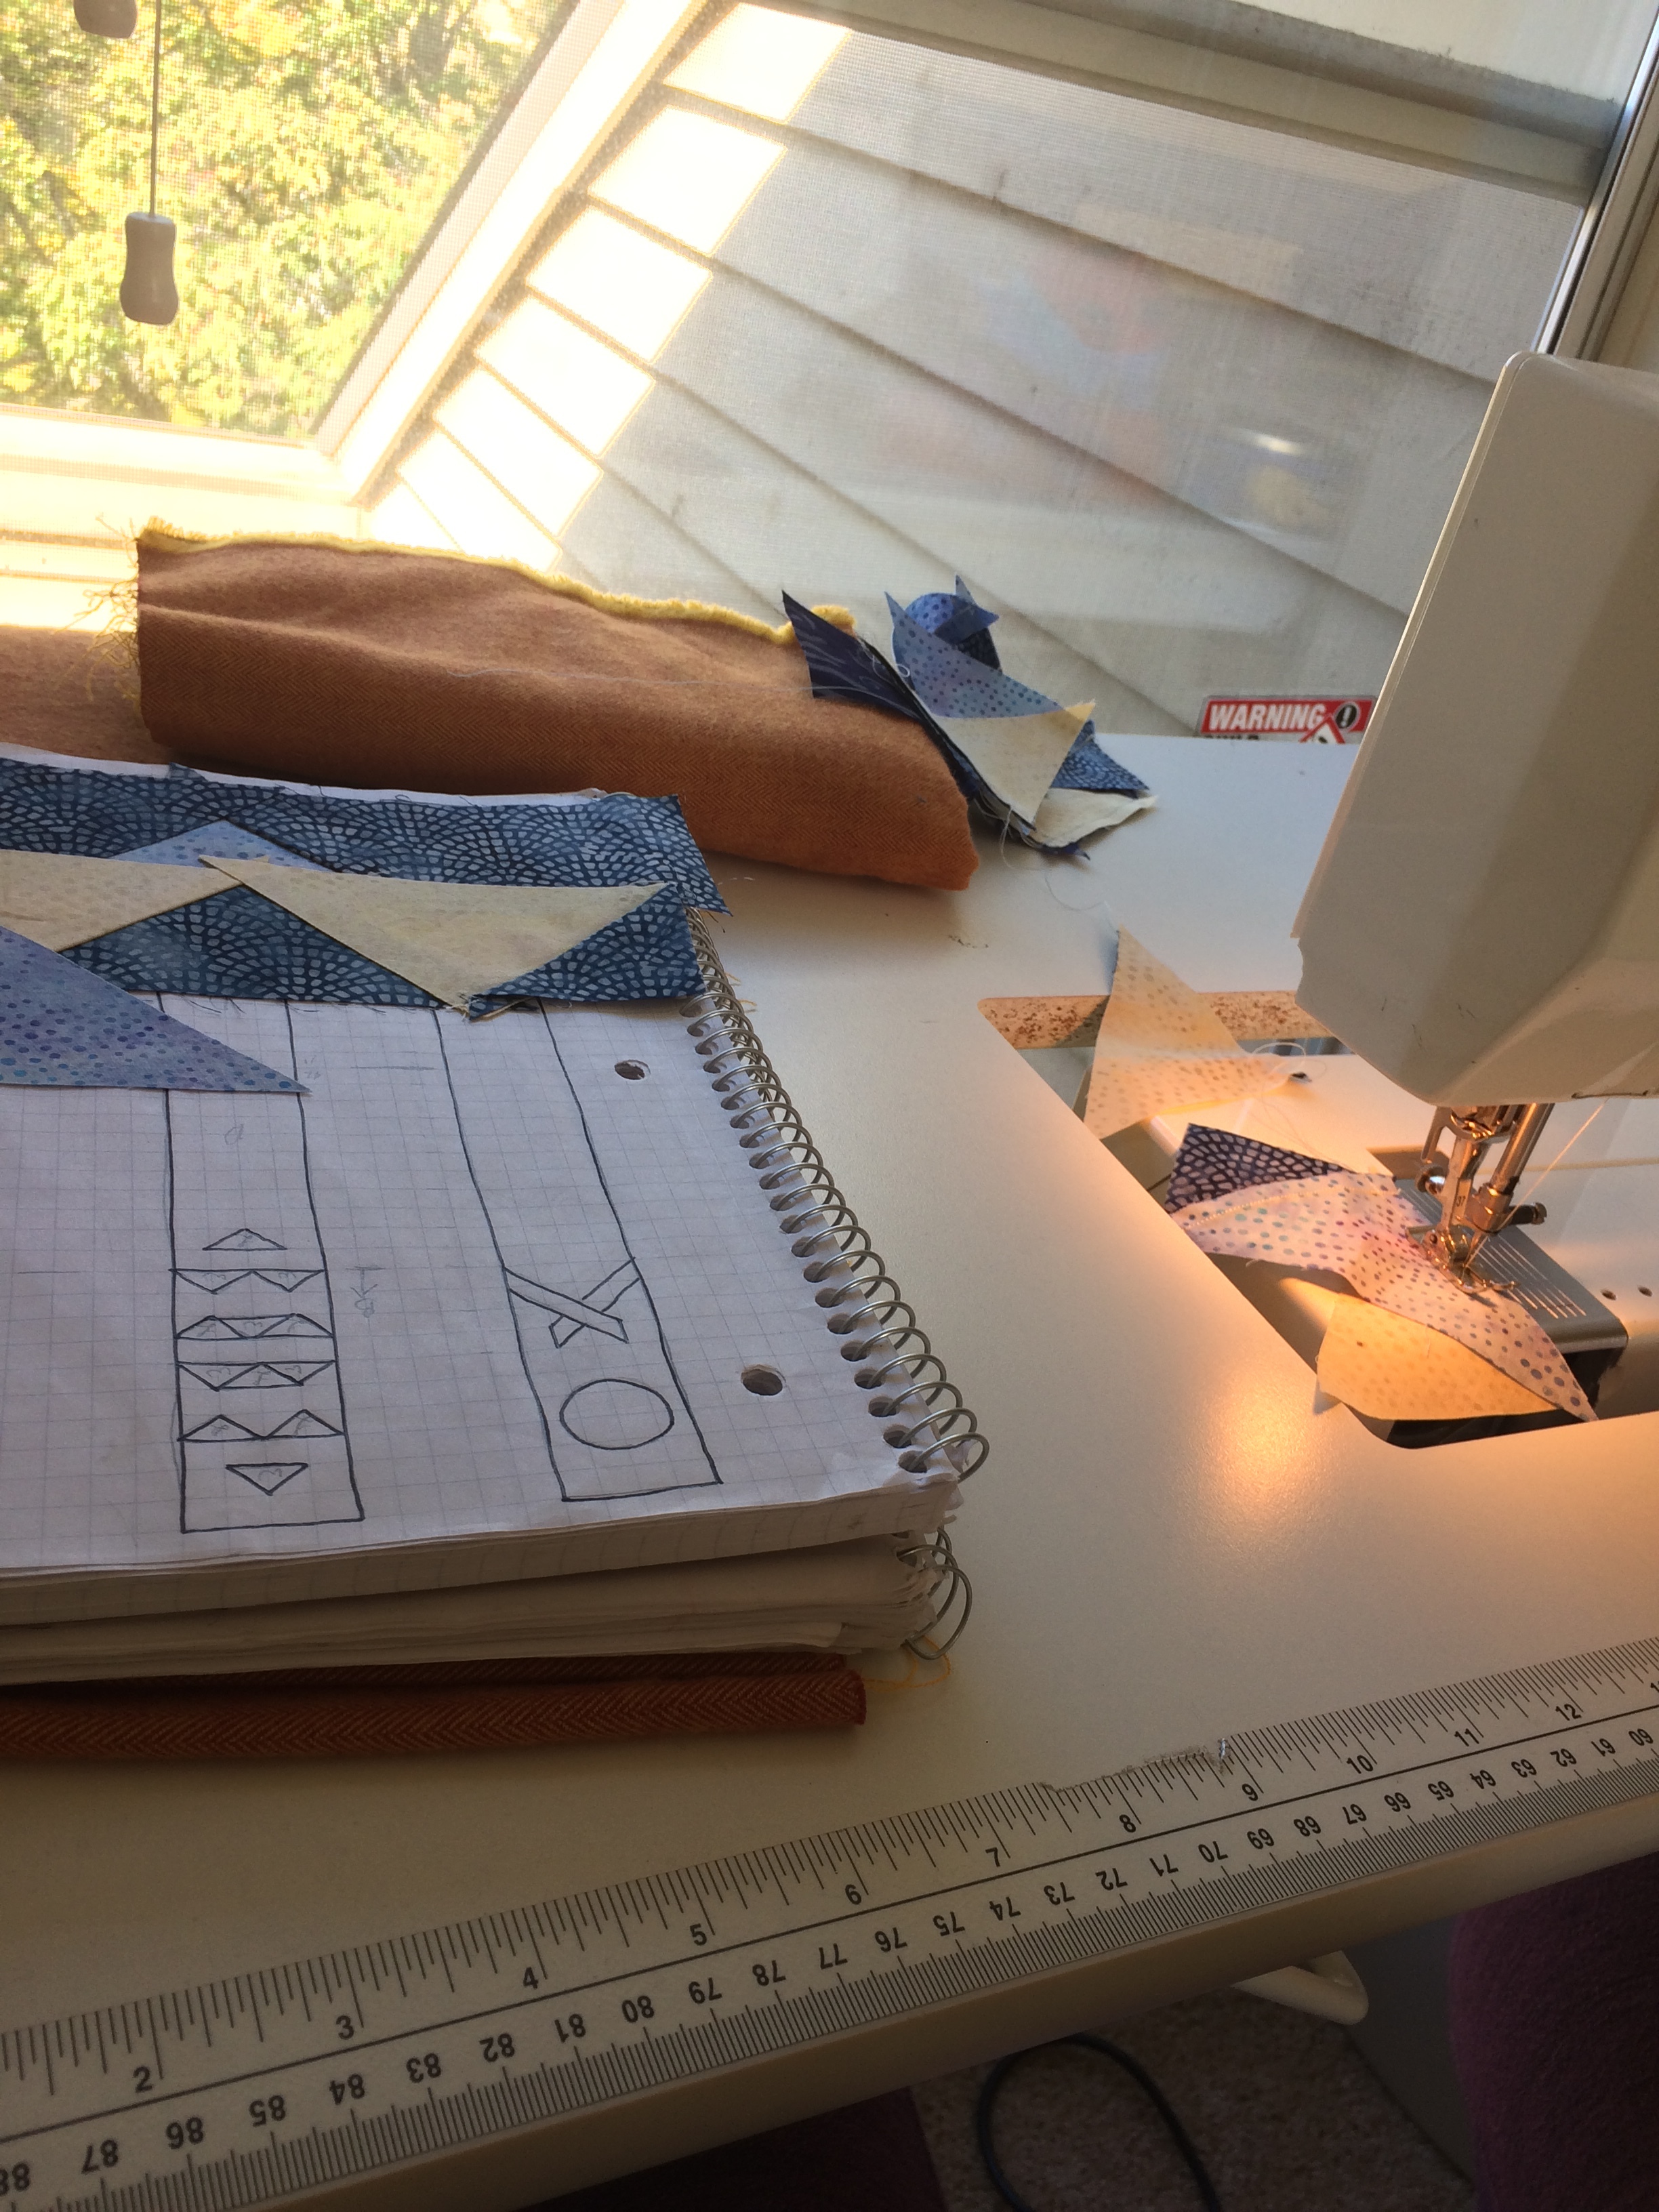
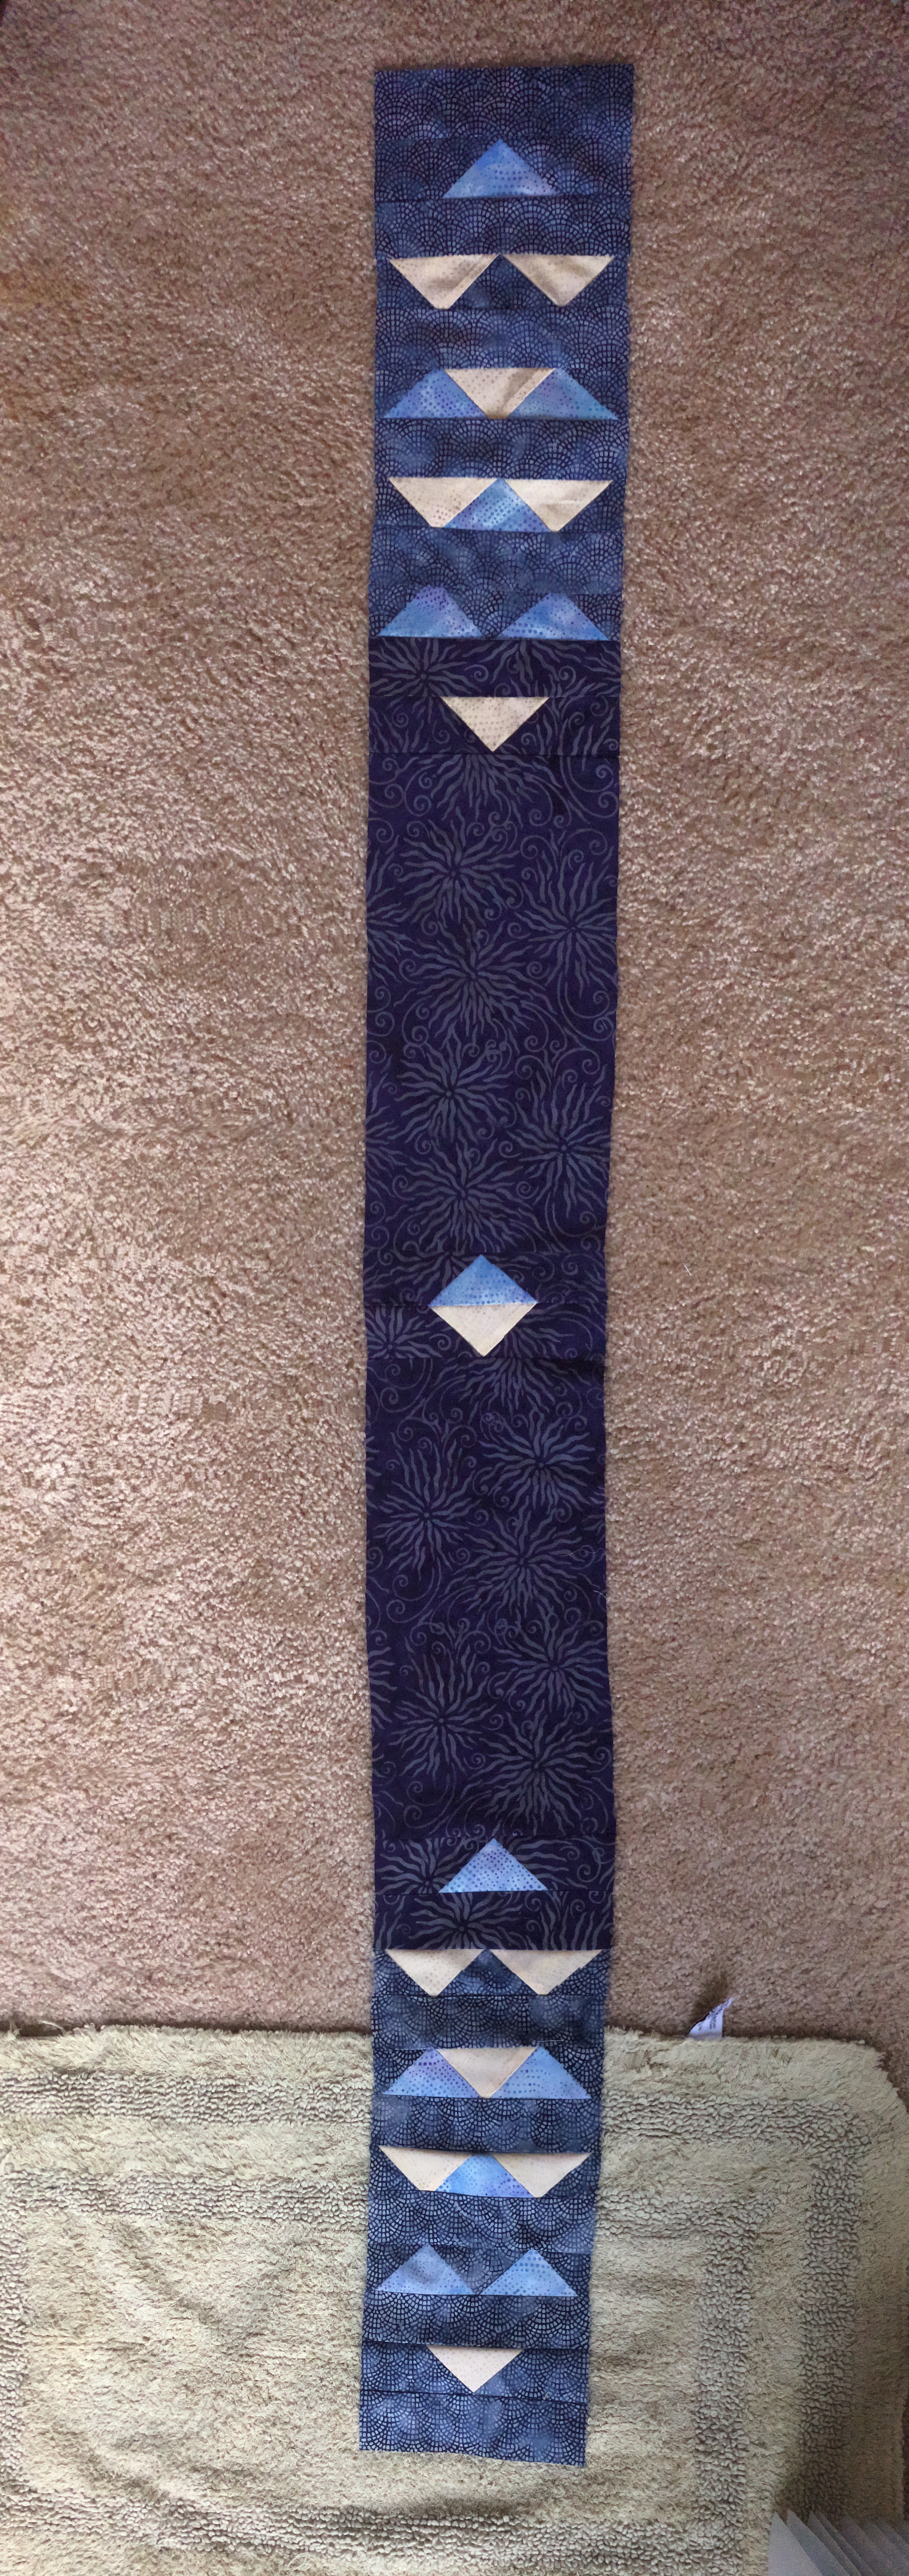
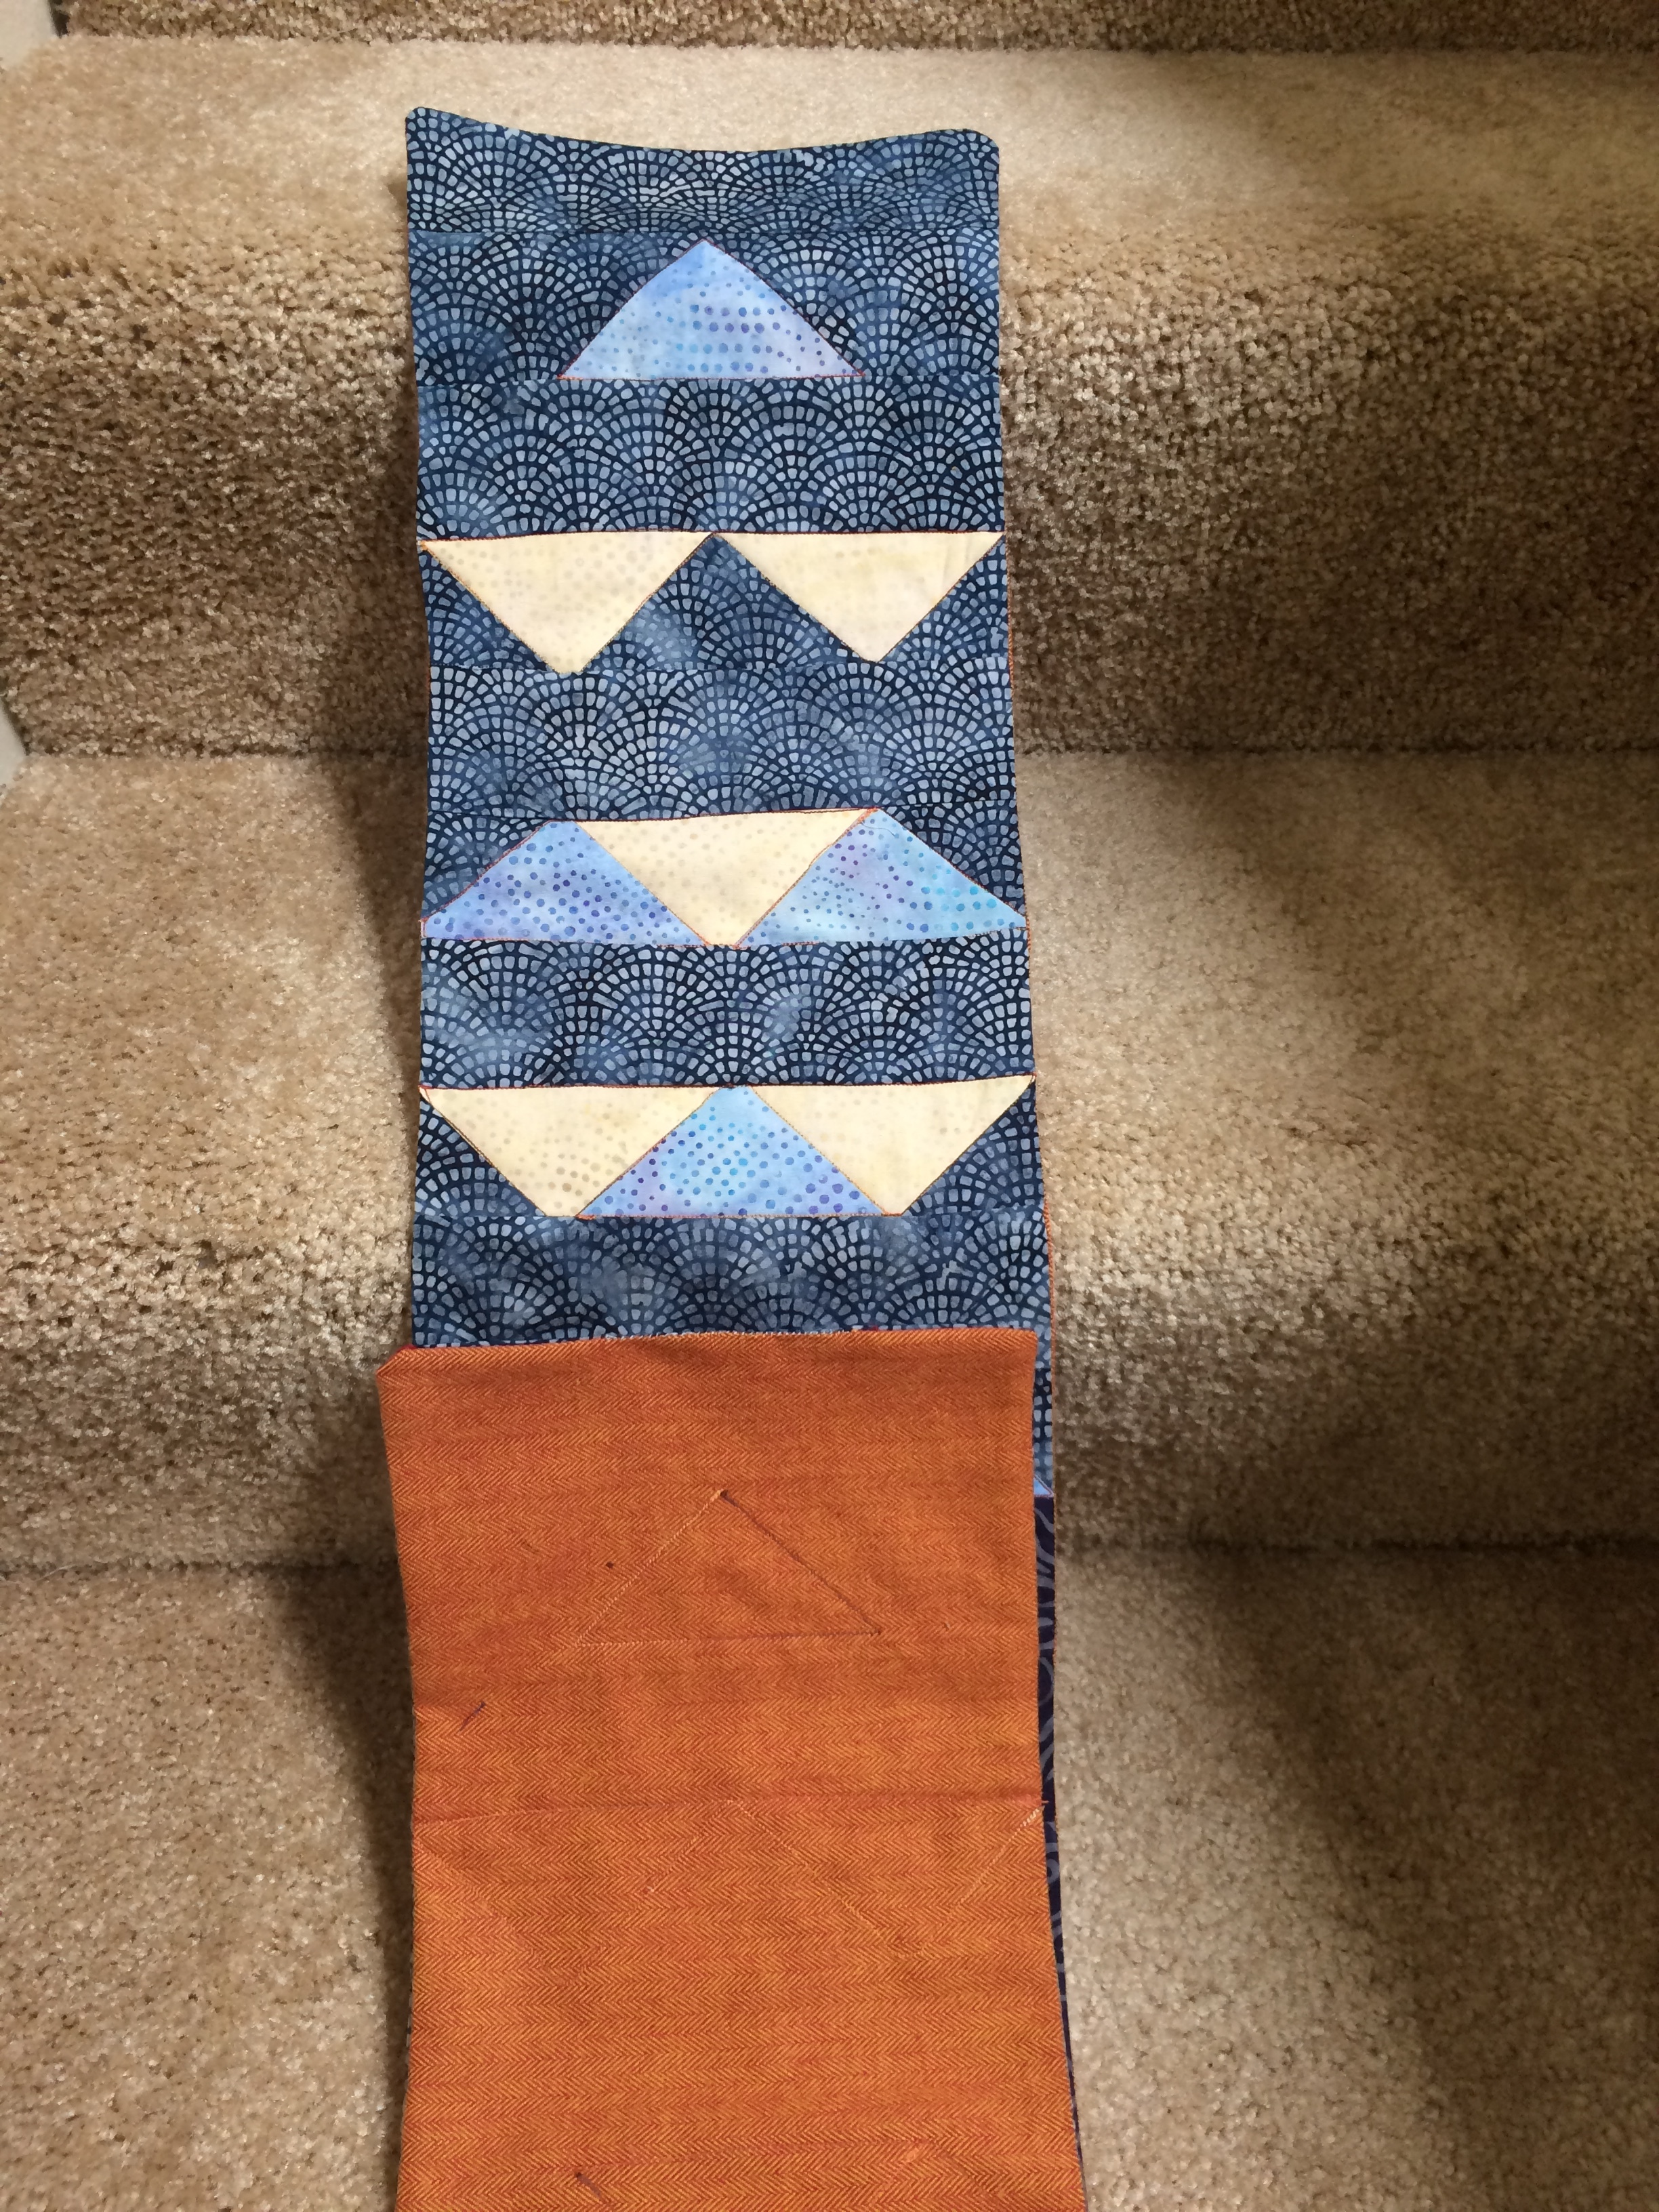
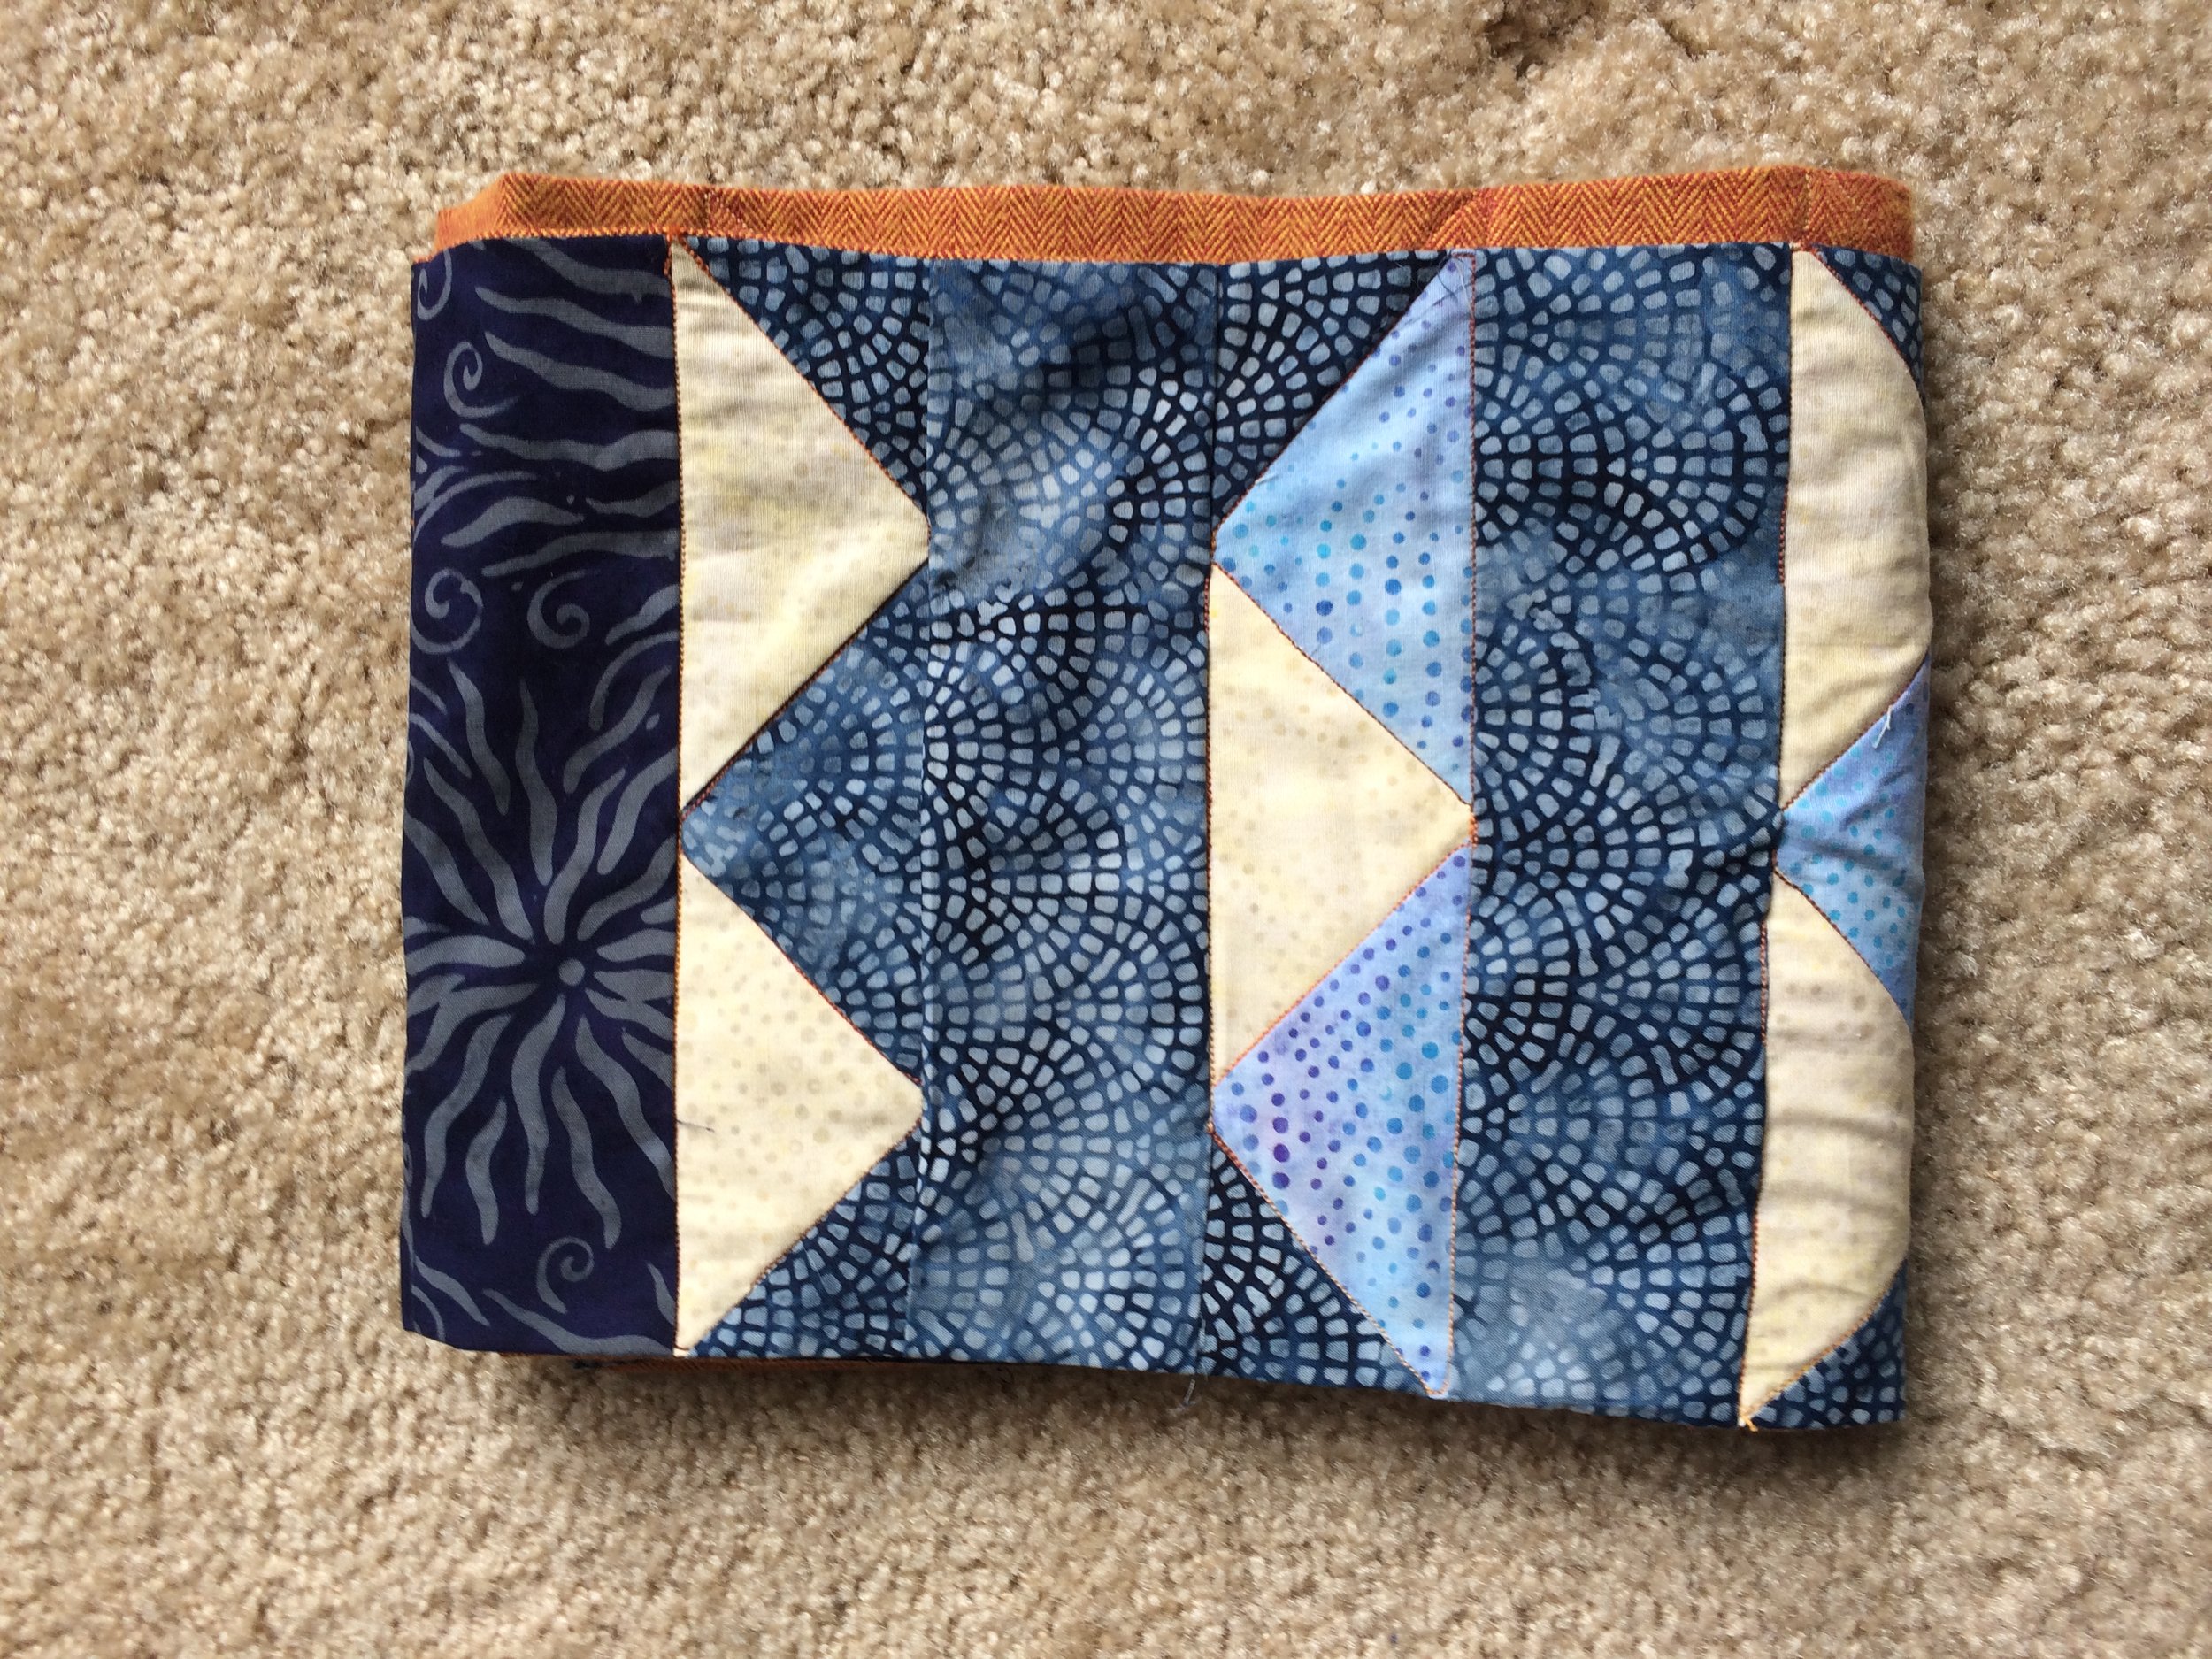
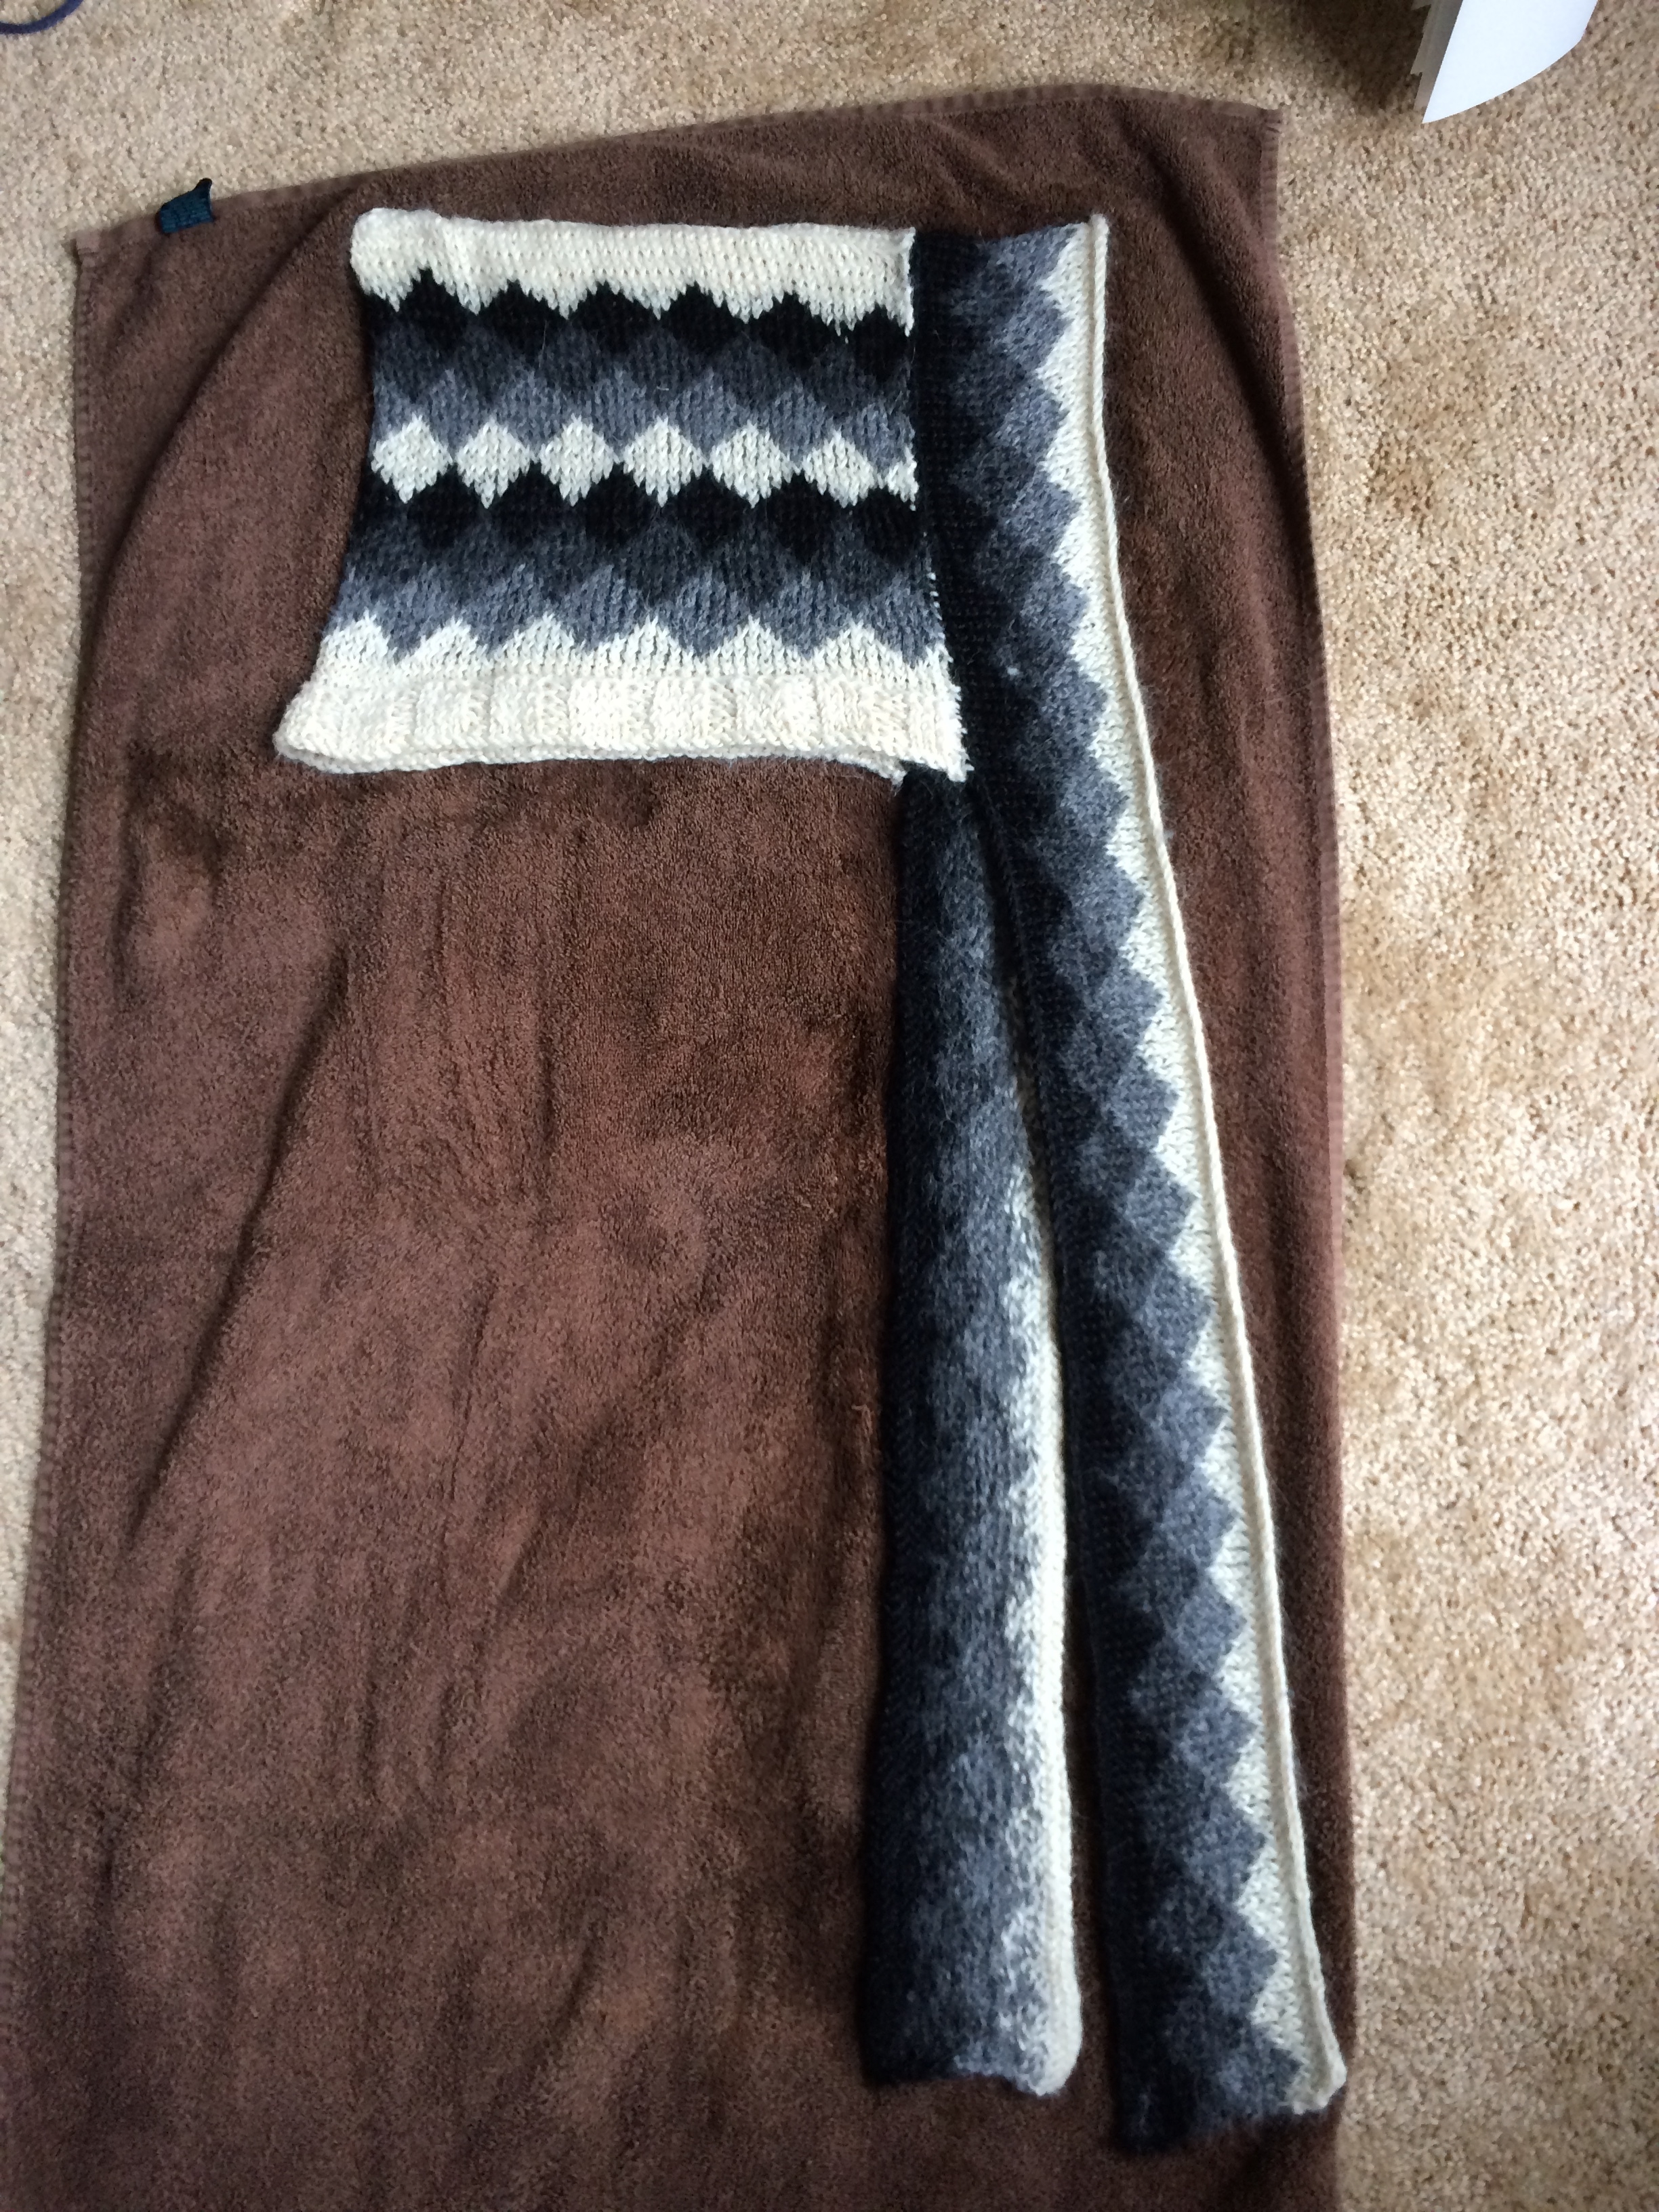
  • The shop part of my blog will be opening this year, and consequently you will be seeing quilted things aplenty in my posts.  This will include a series that will show each set of steps a quilt goes through to take it from the rough supplies to the gorgeous finished project.  
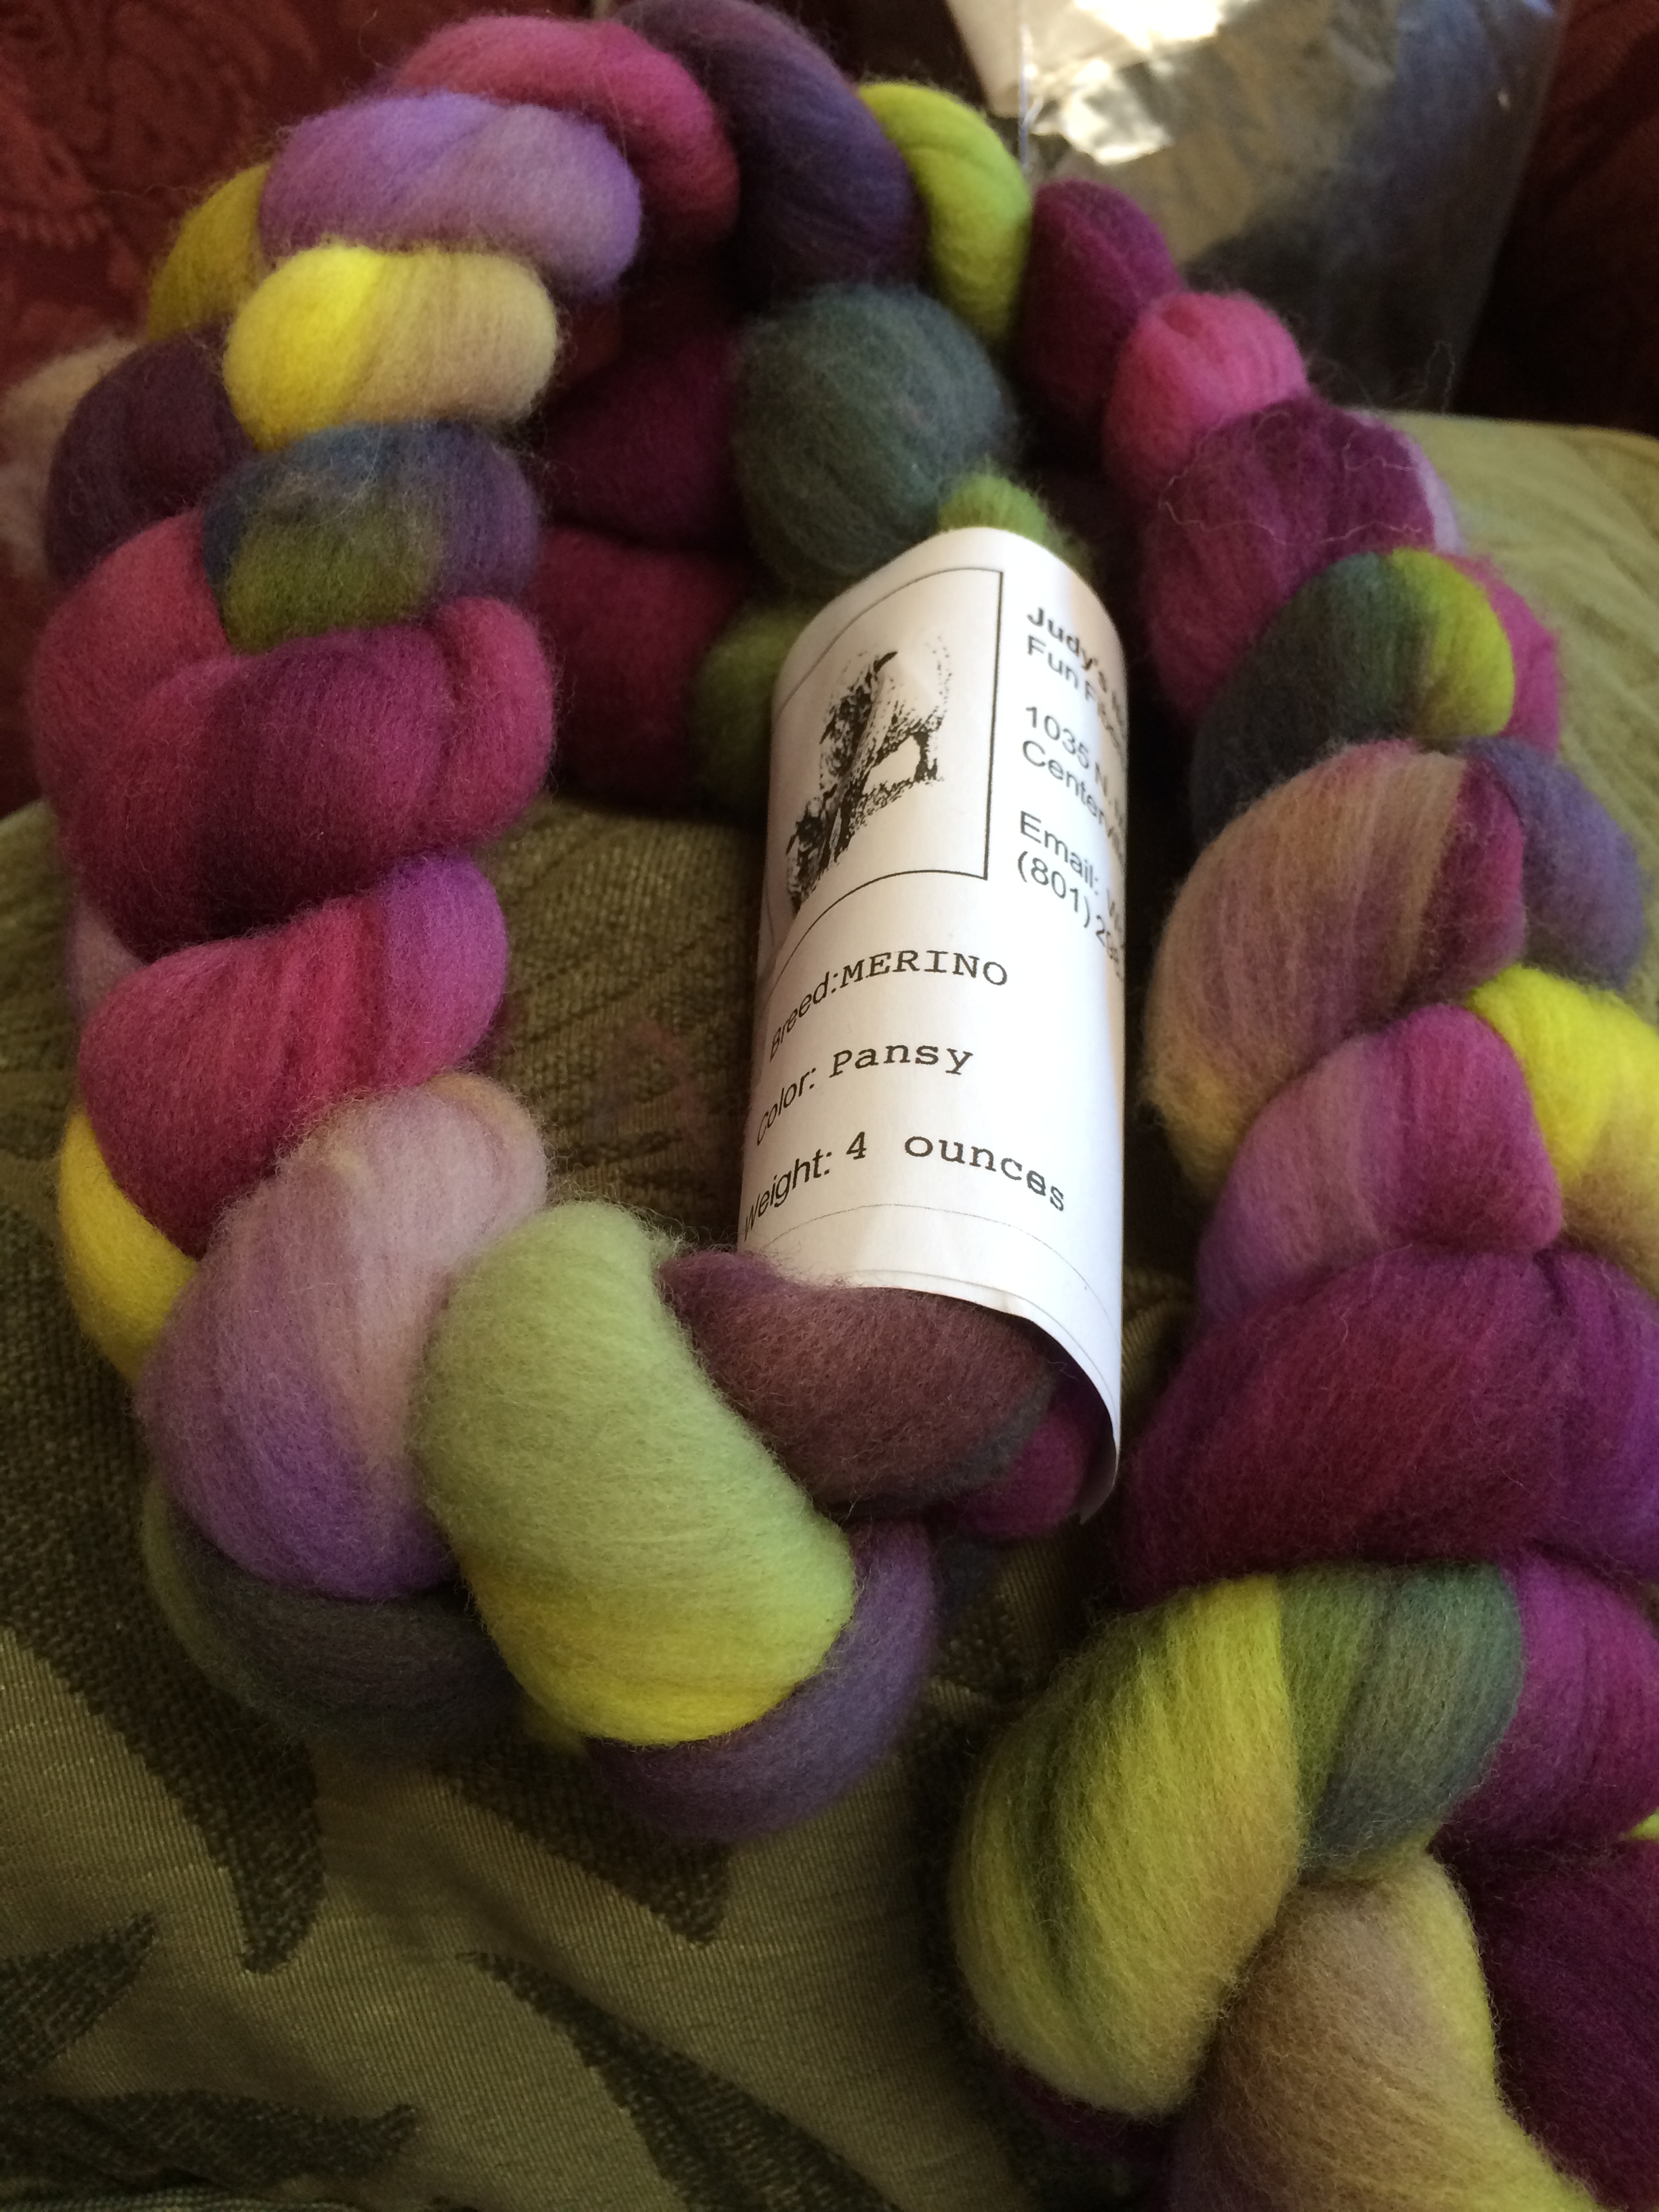
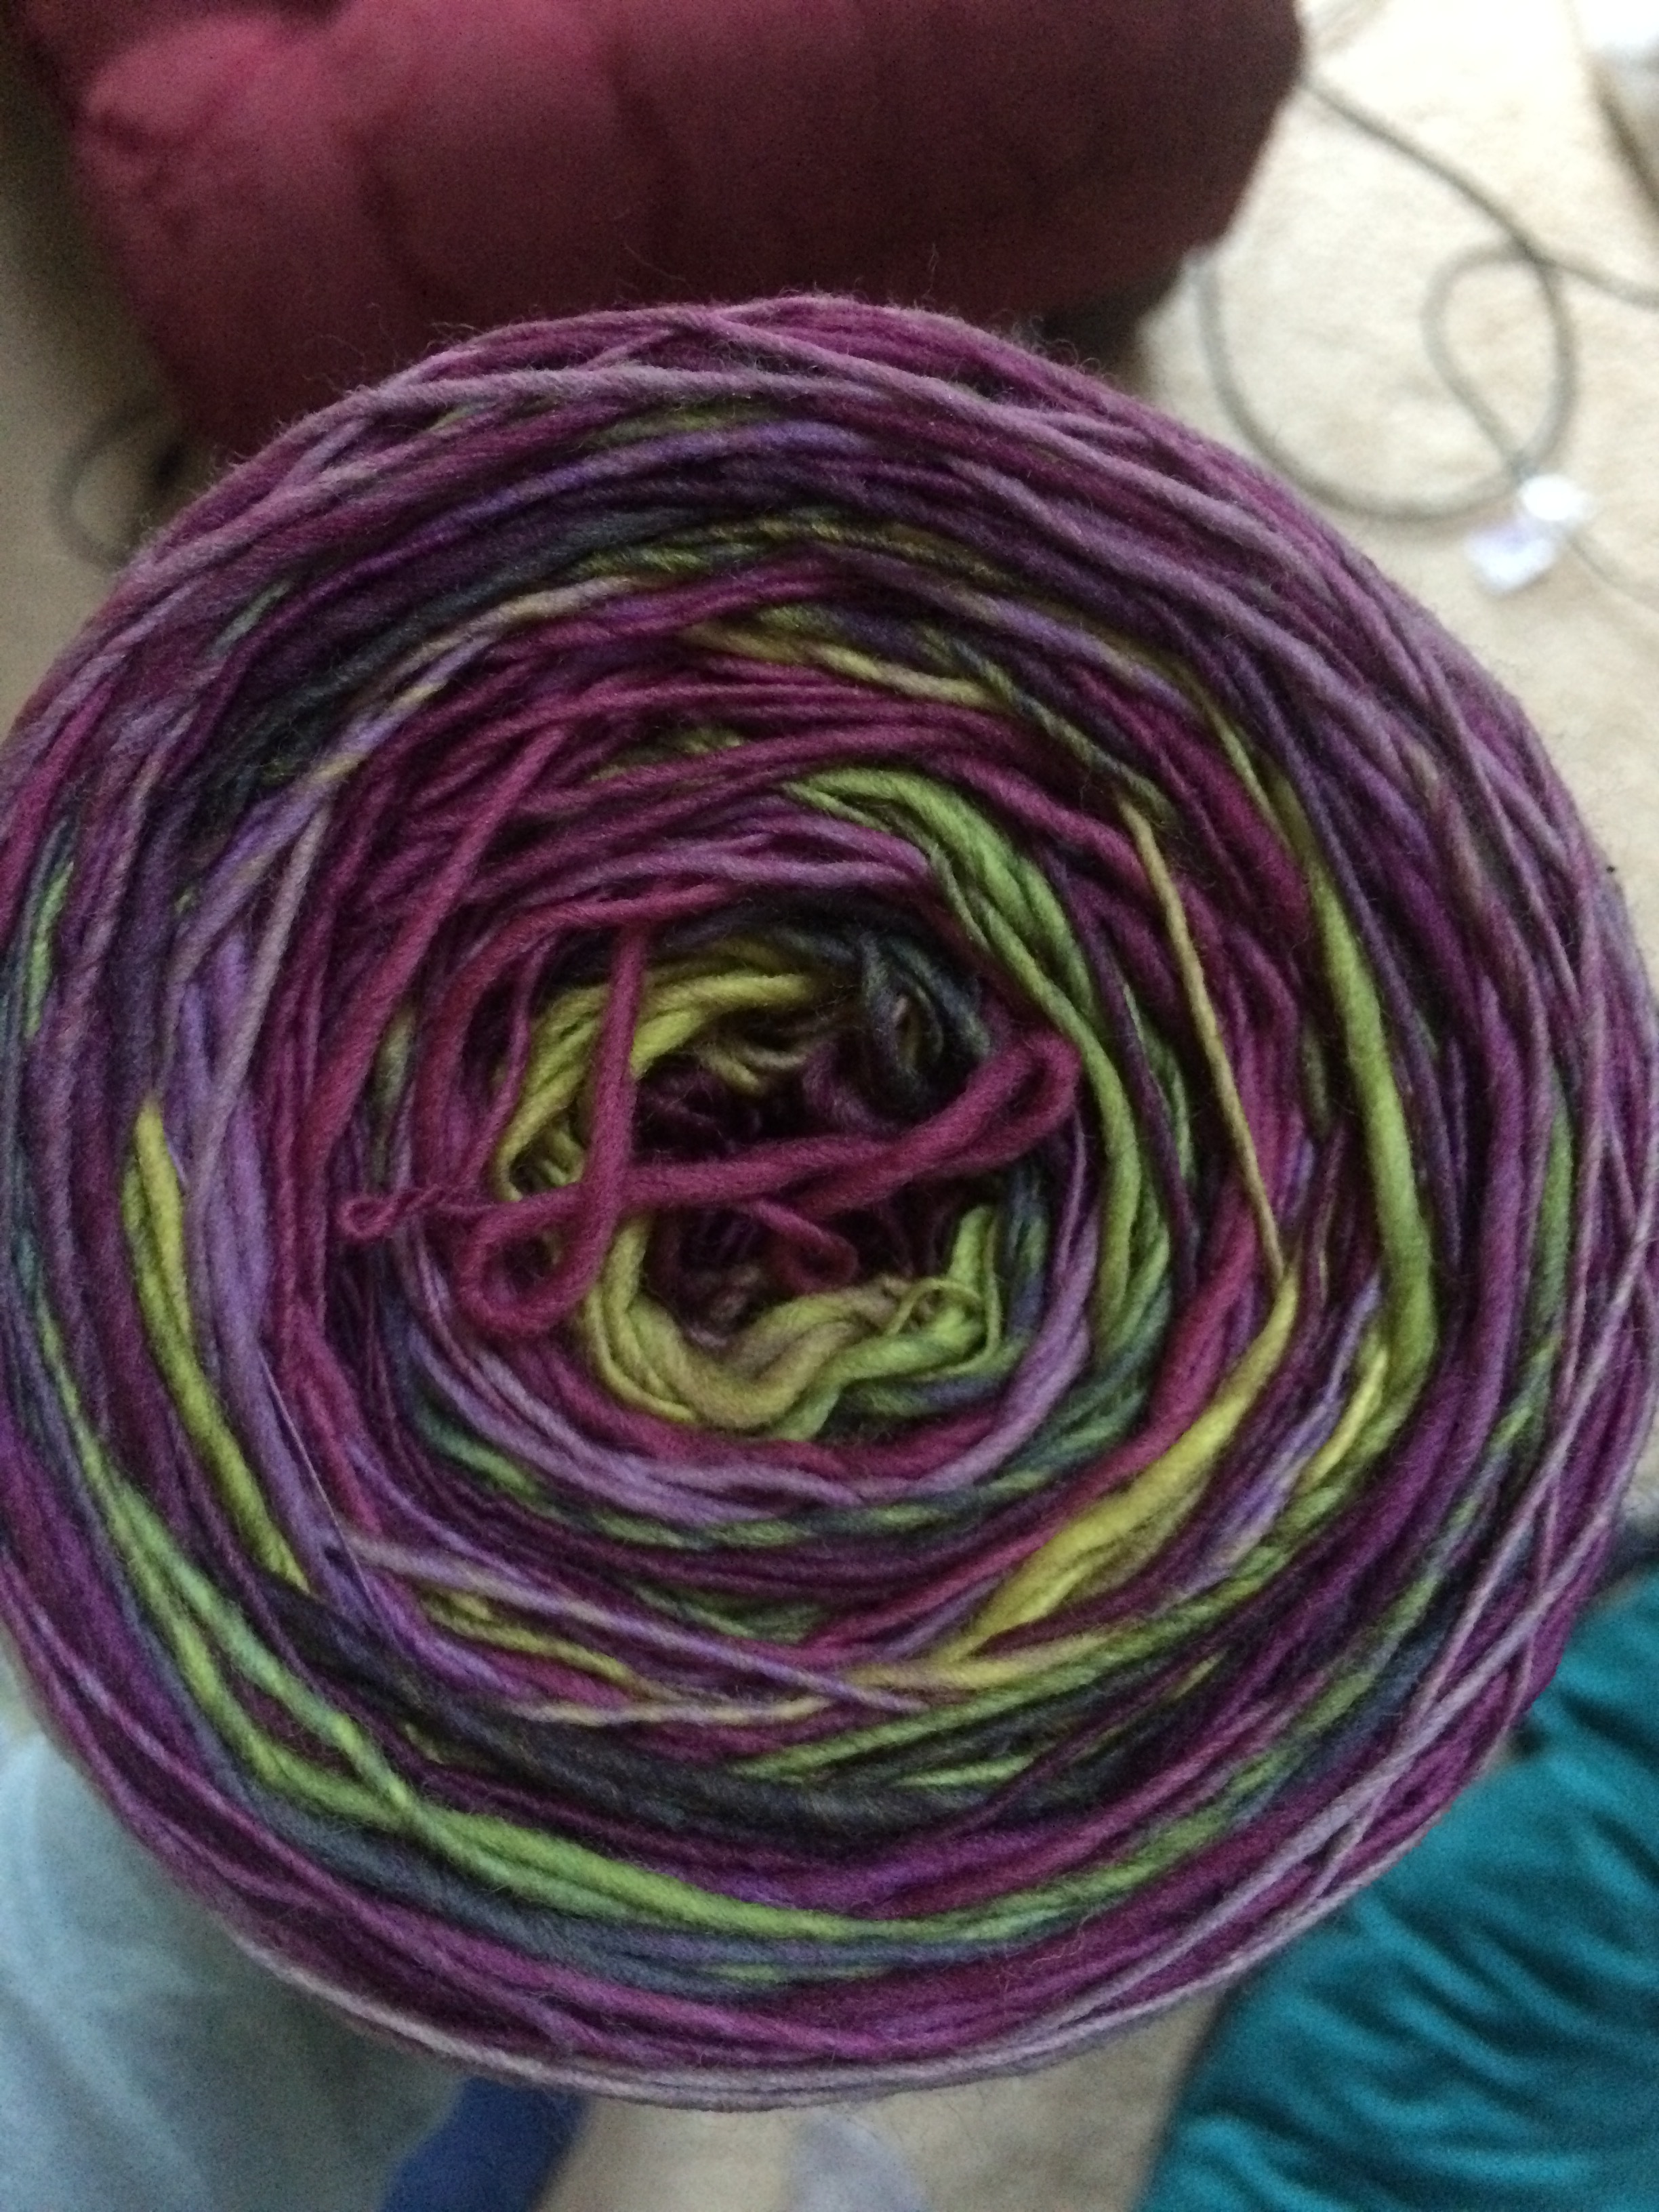
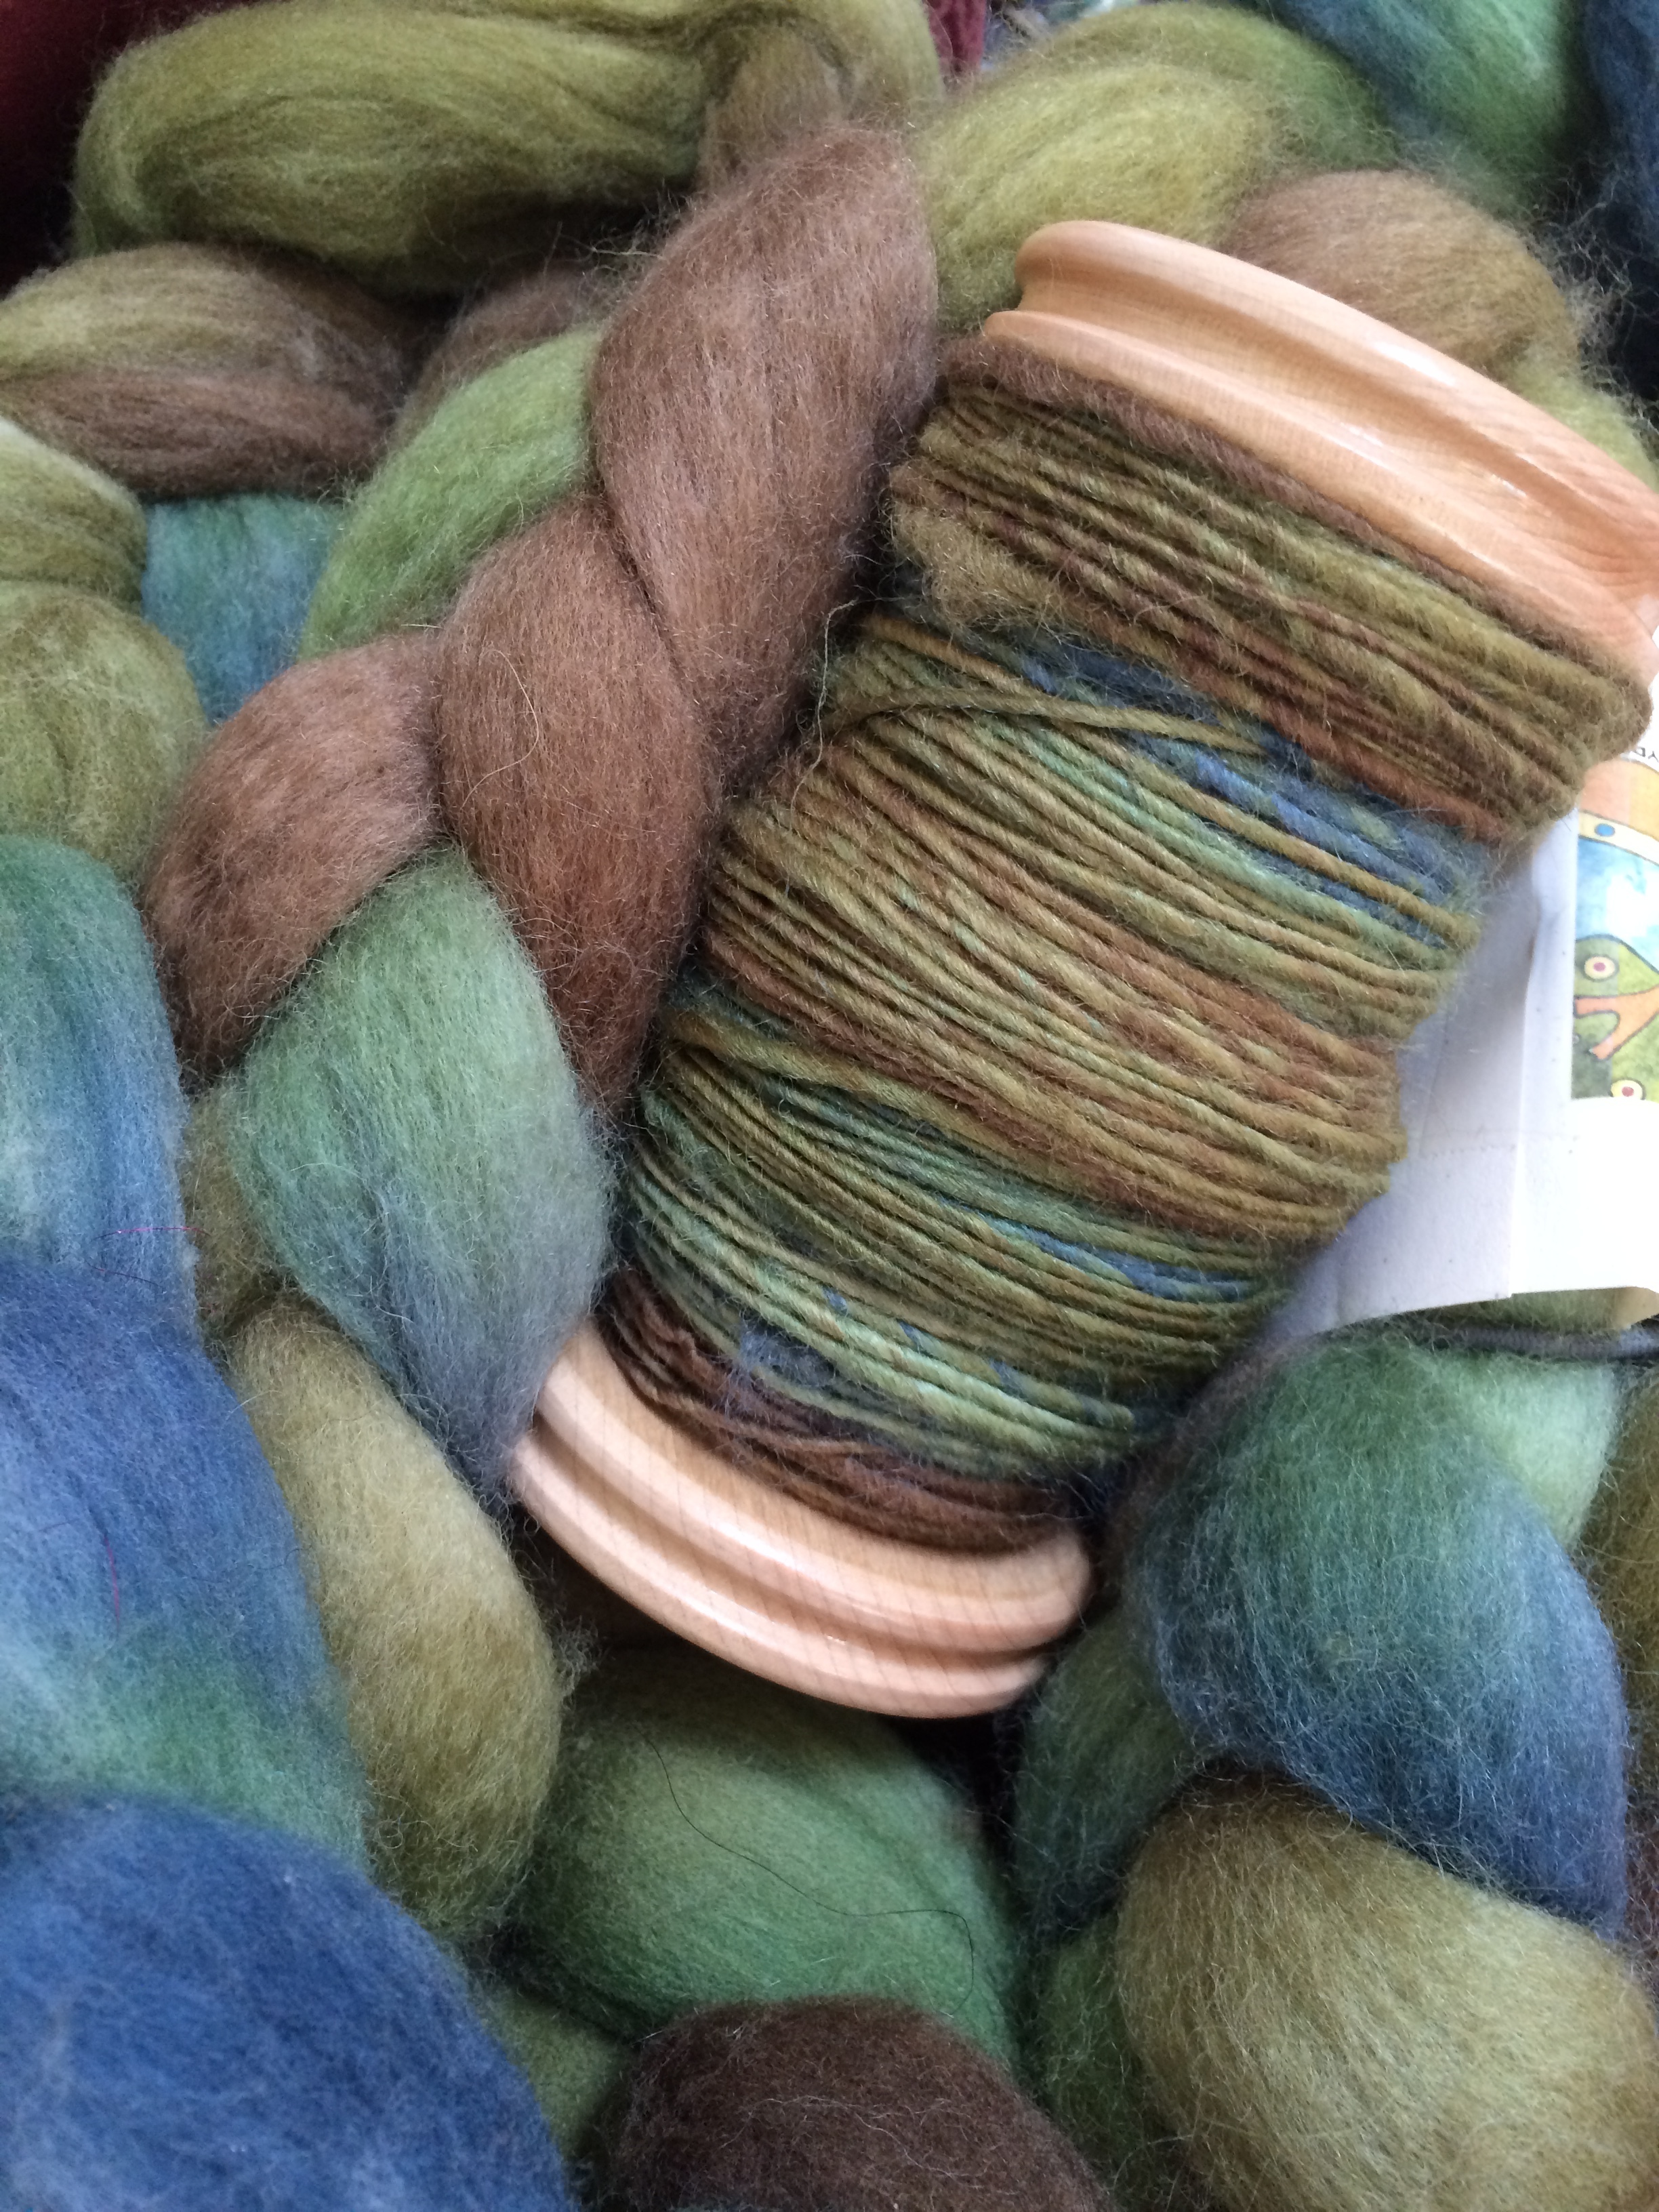
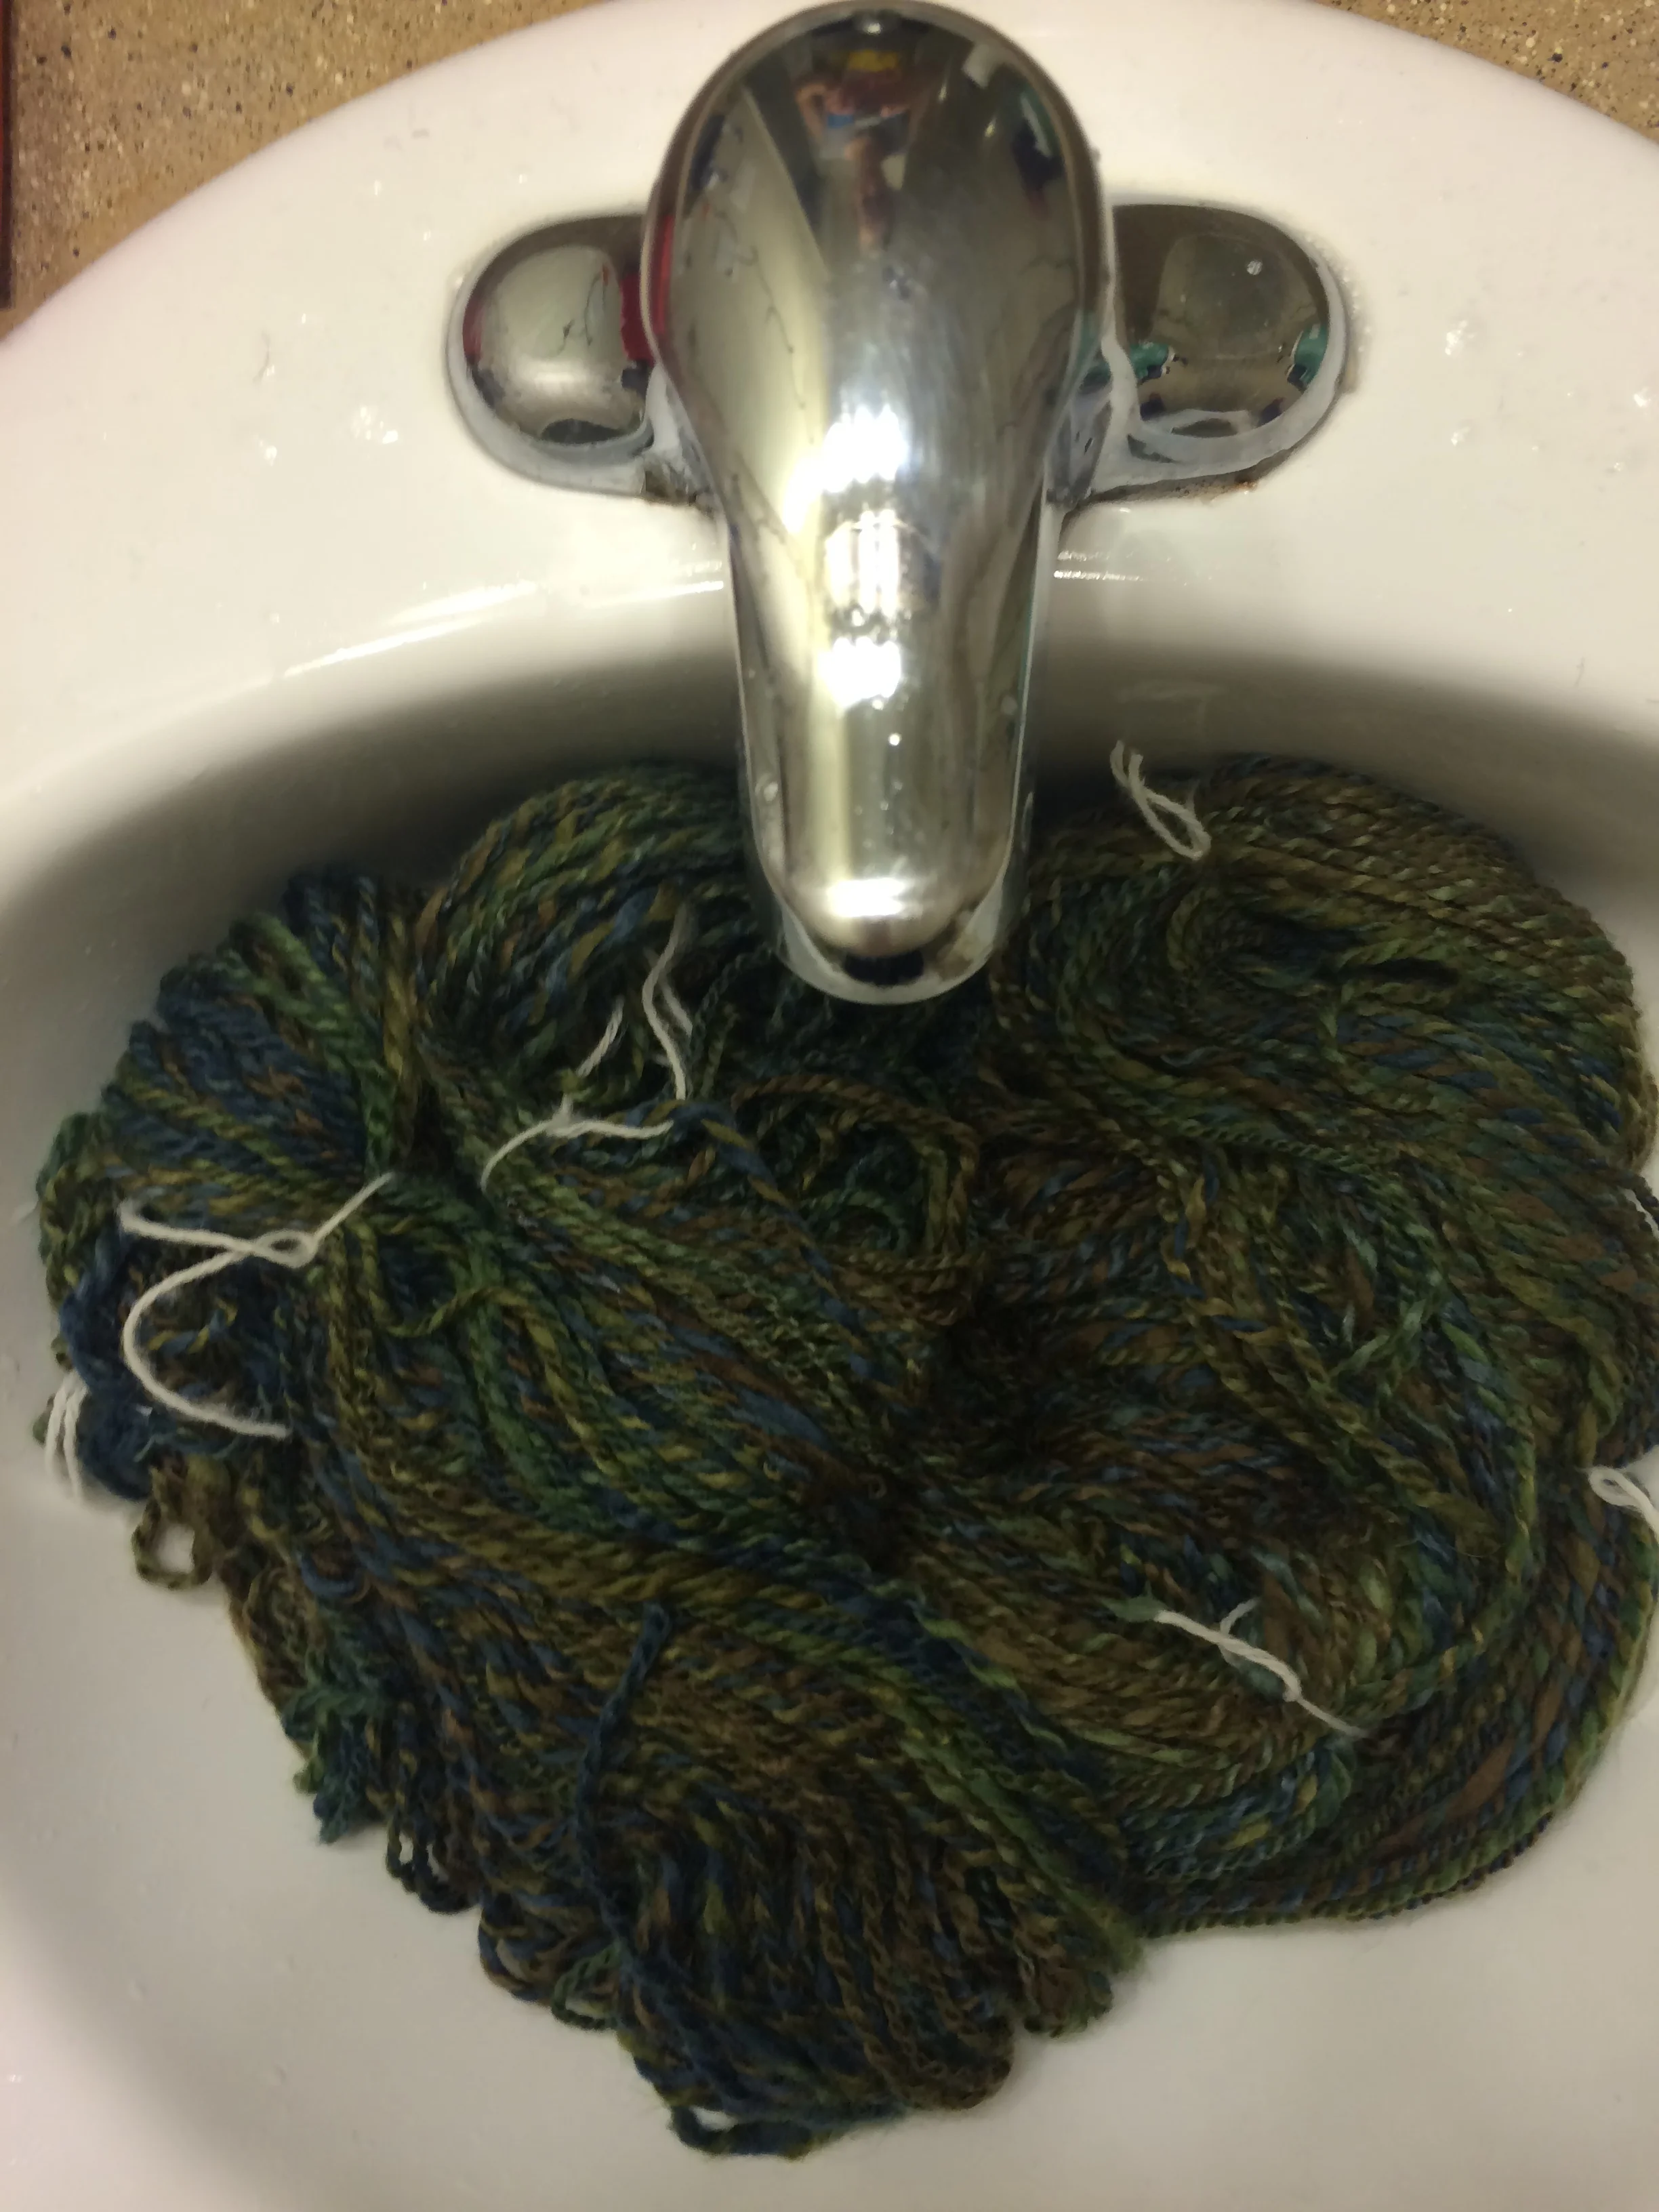
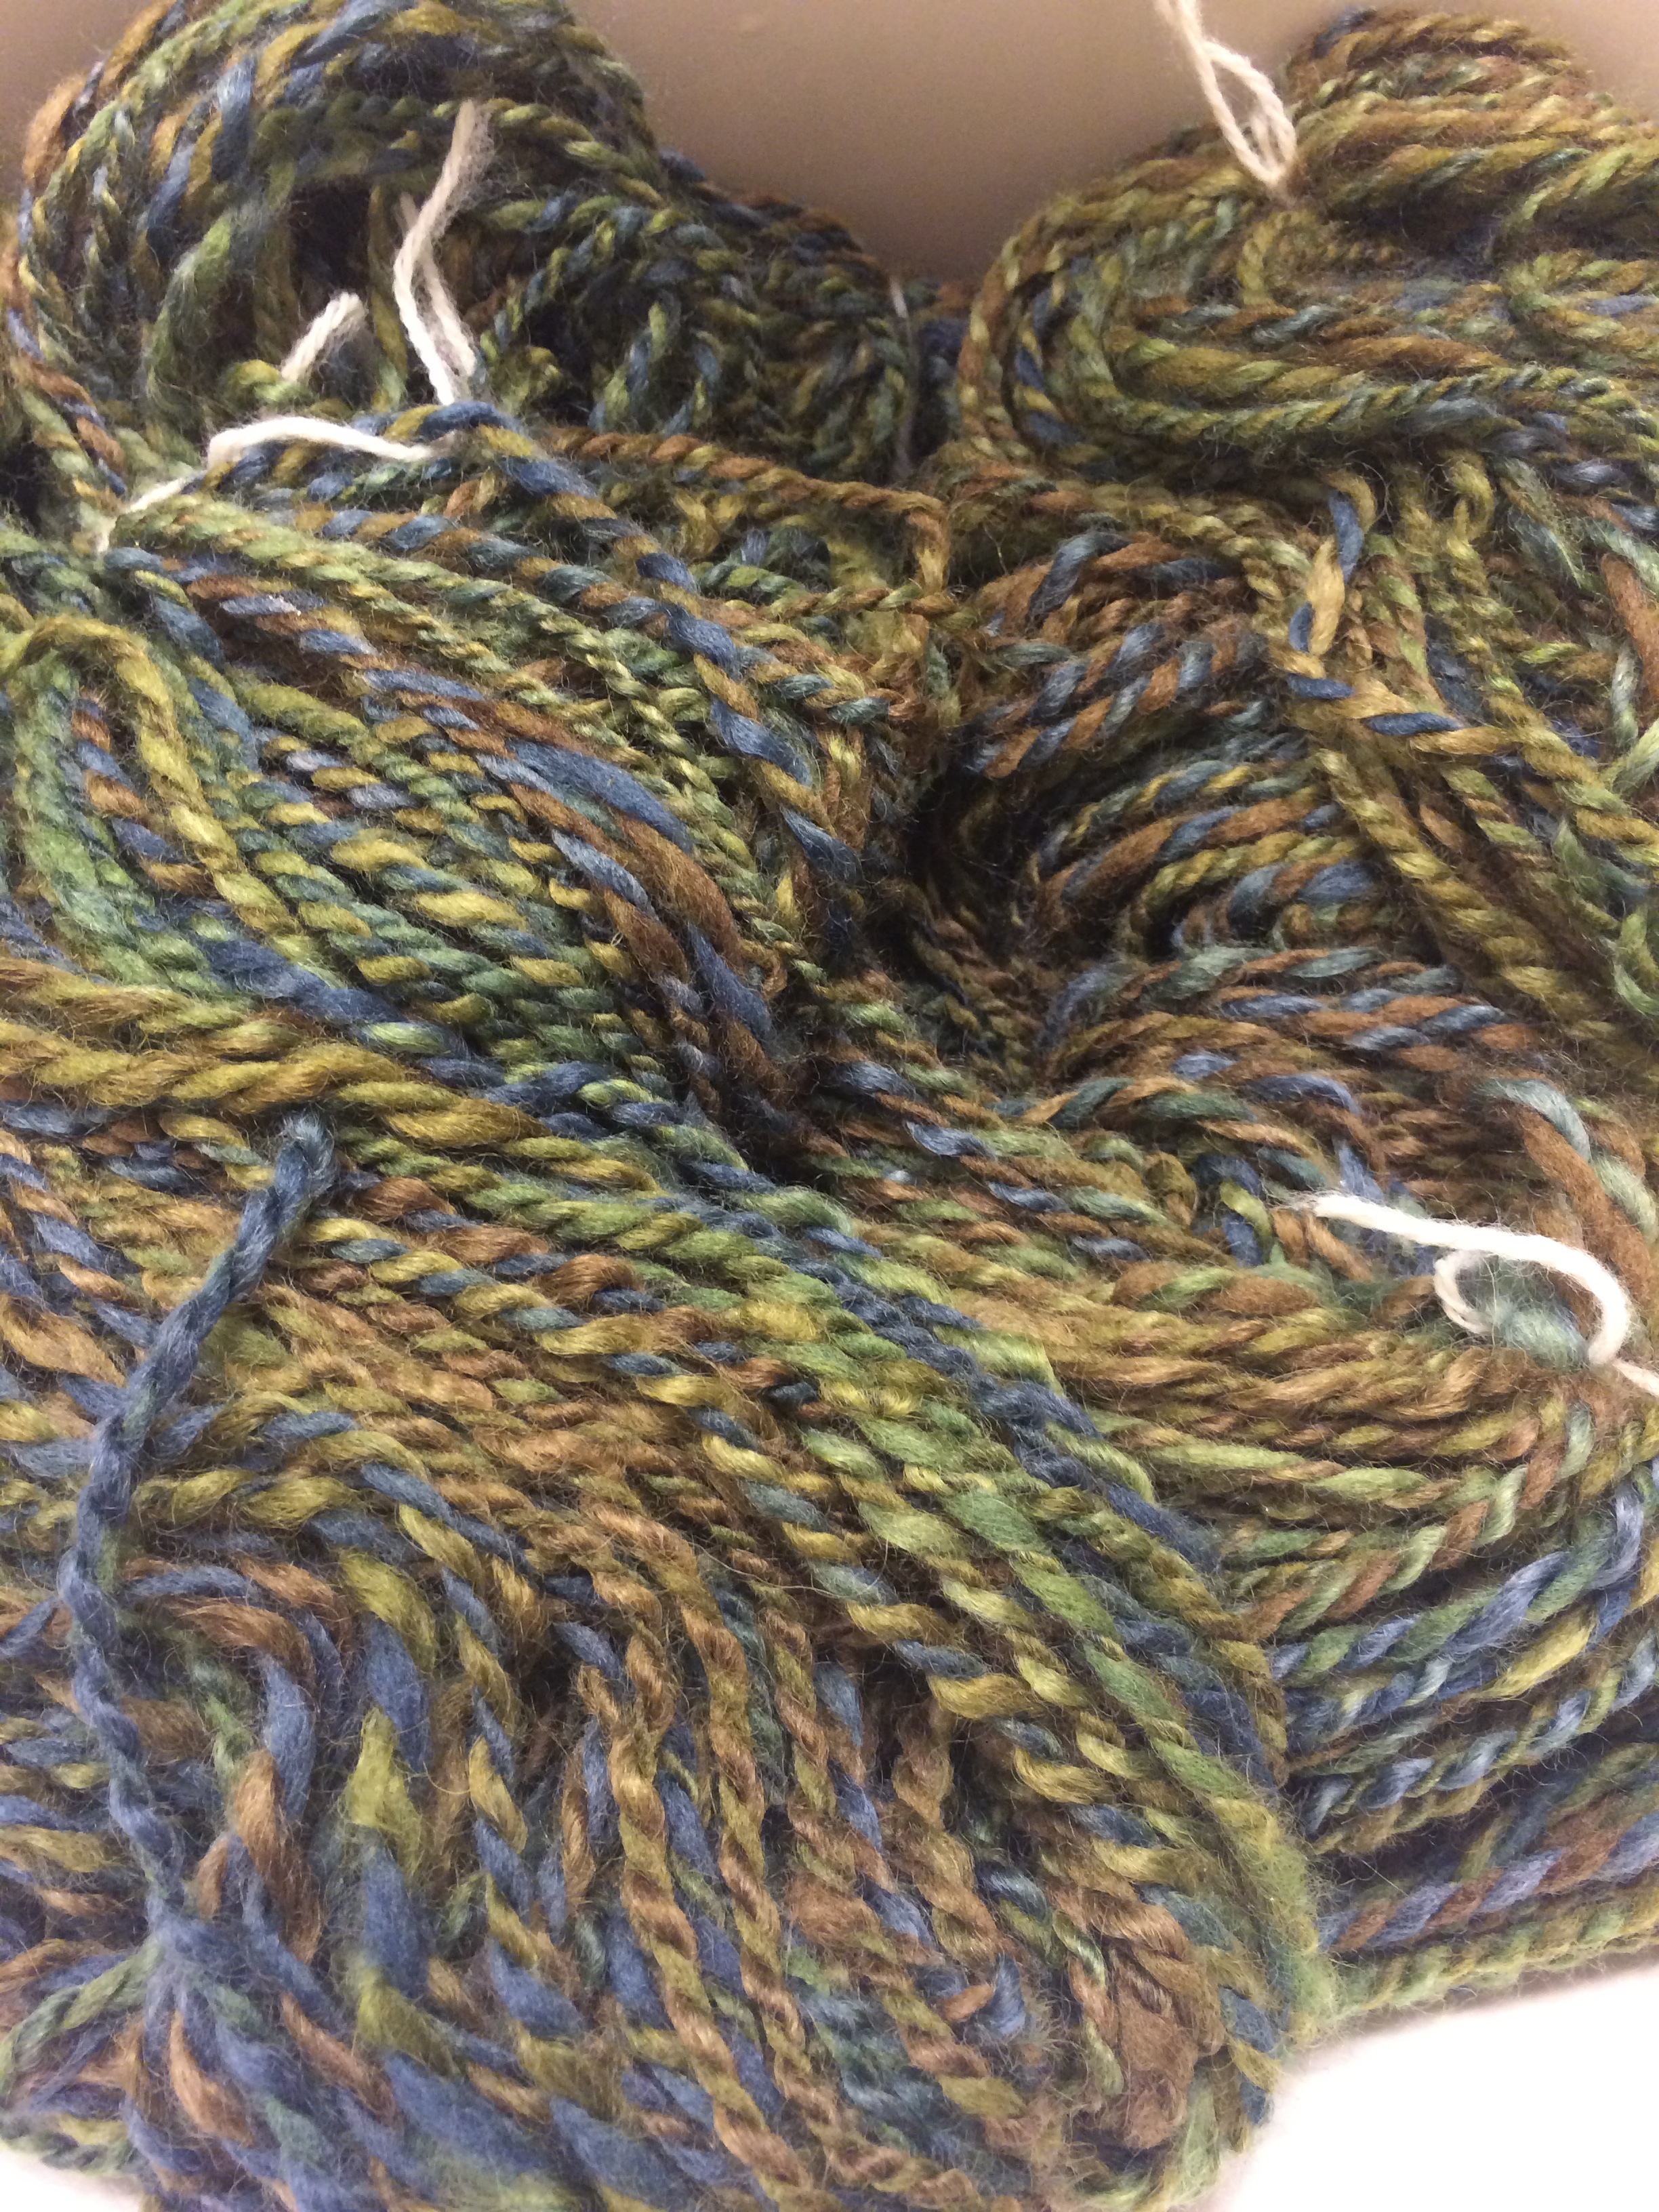
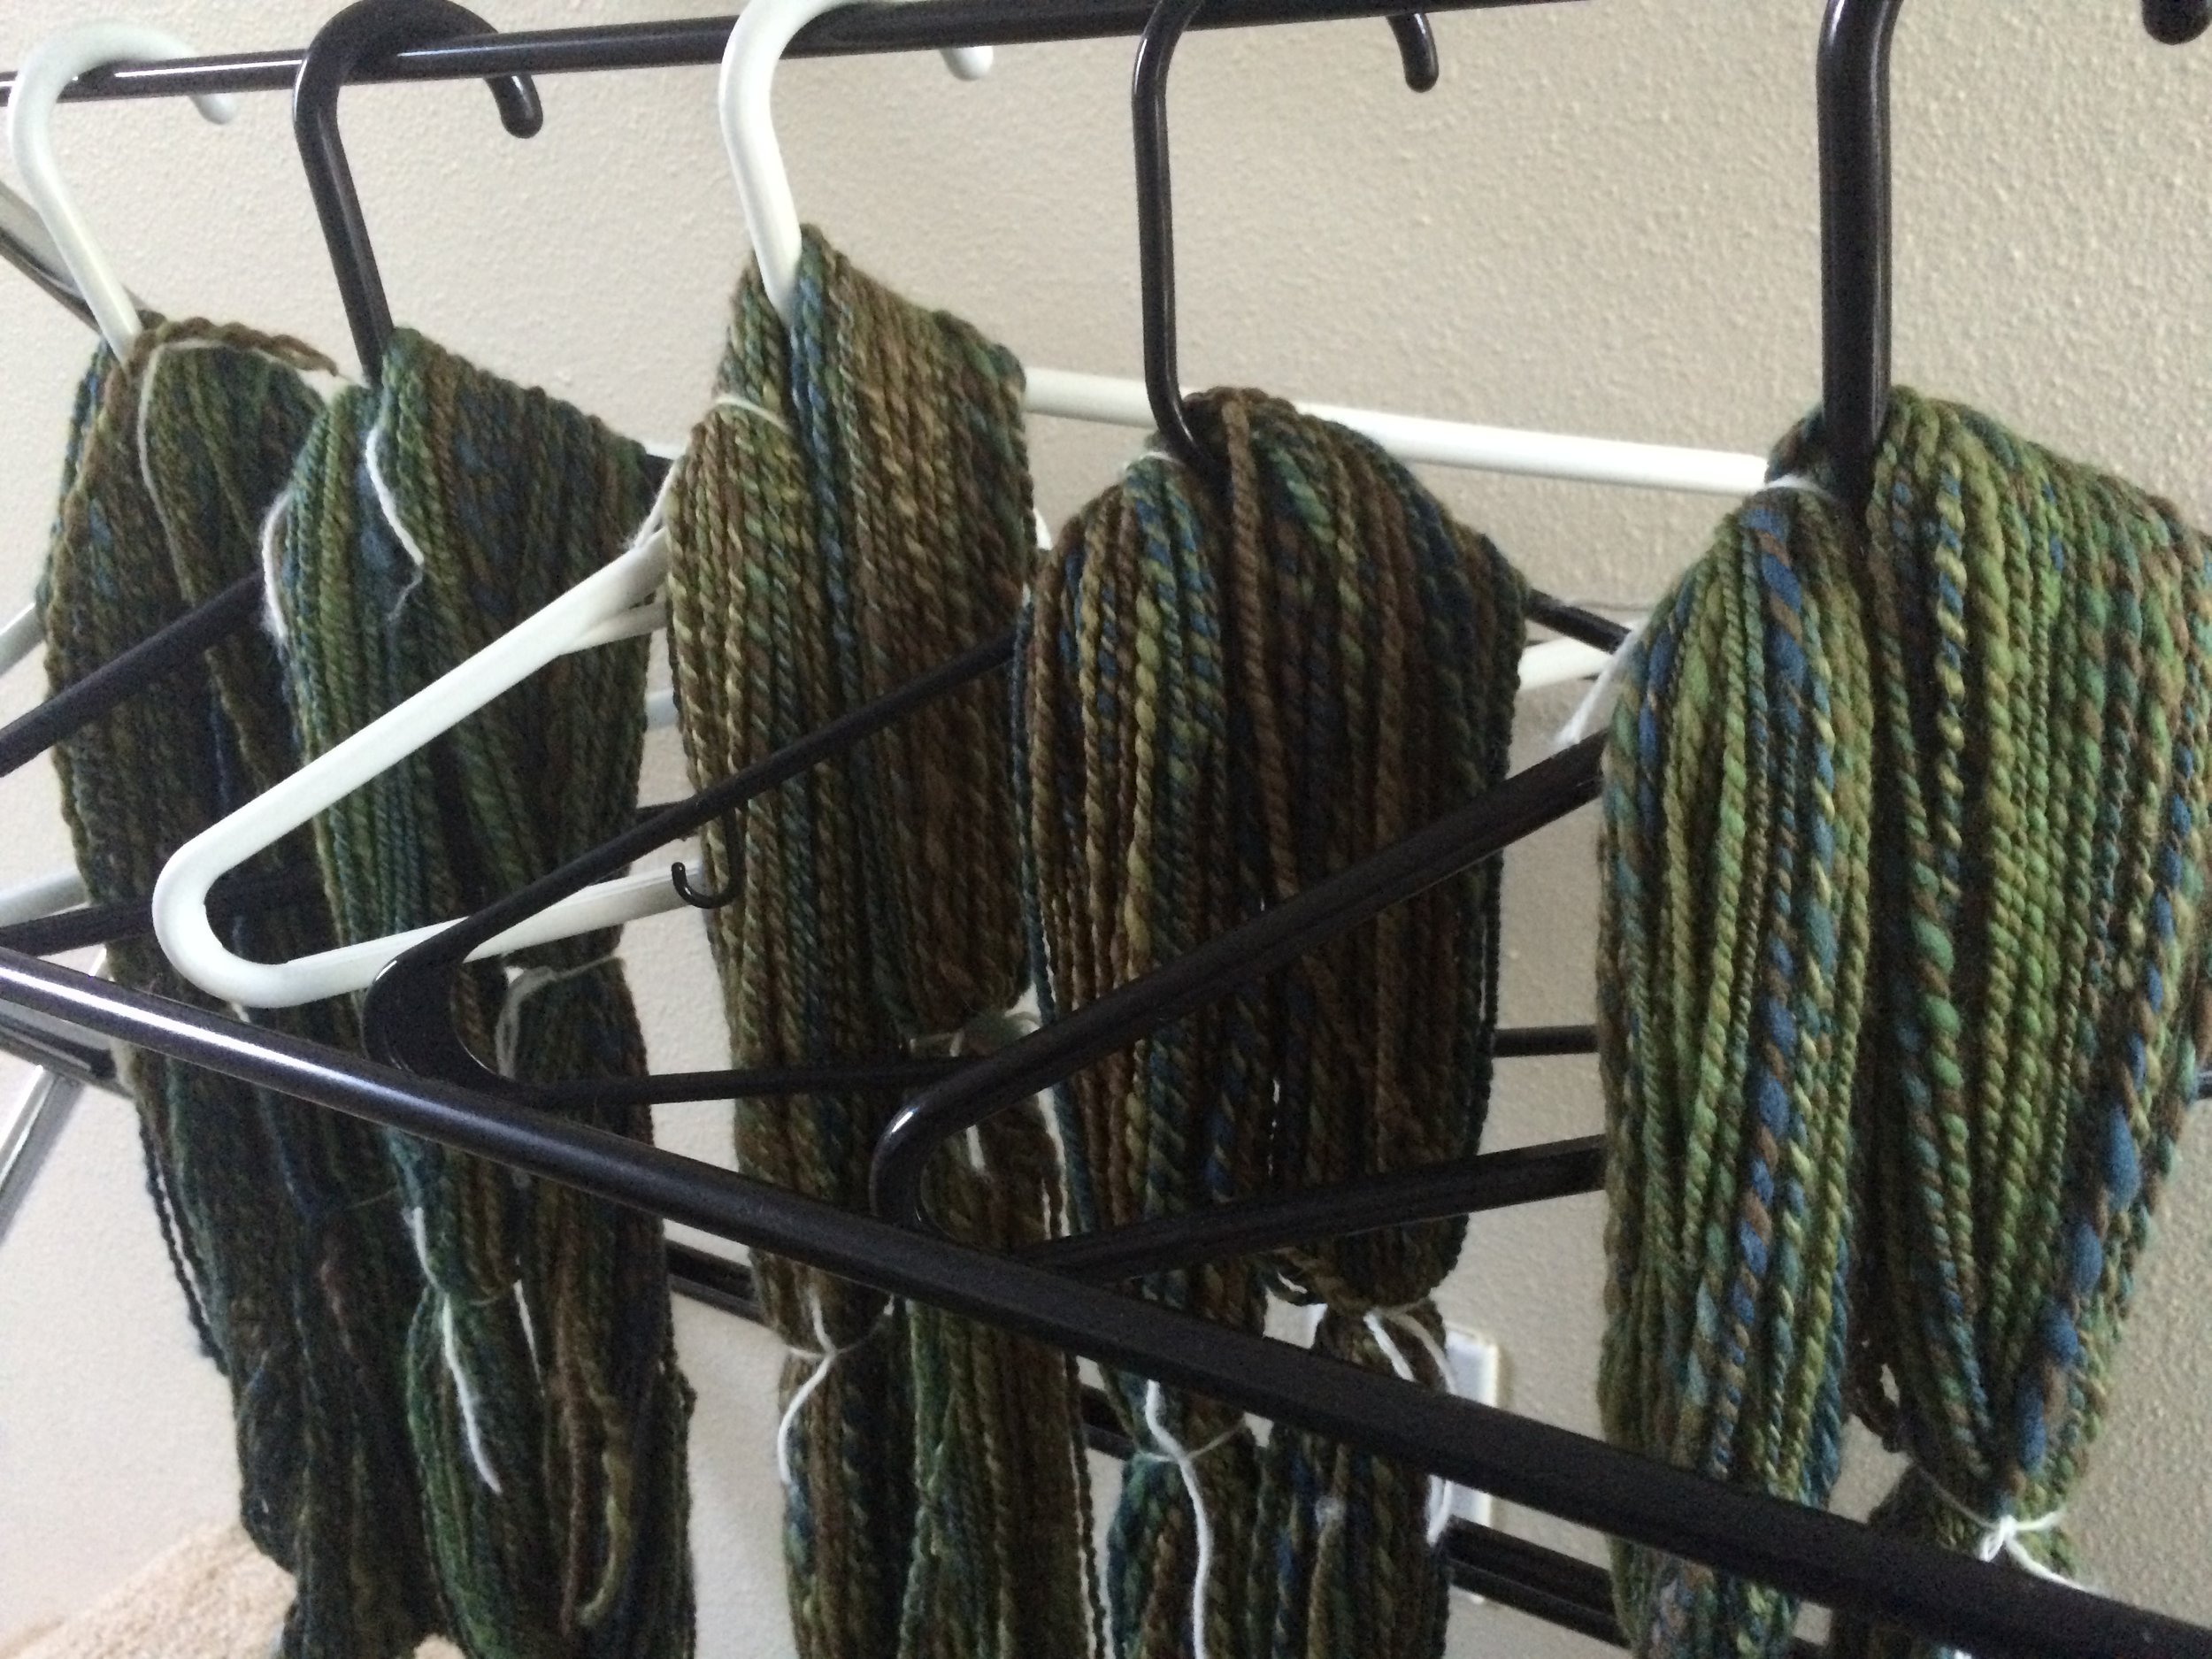
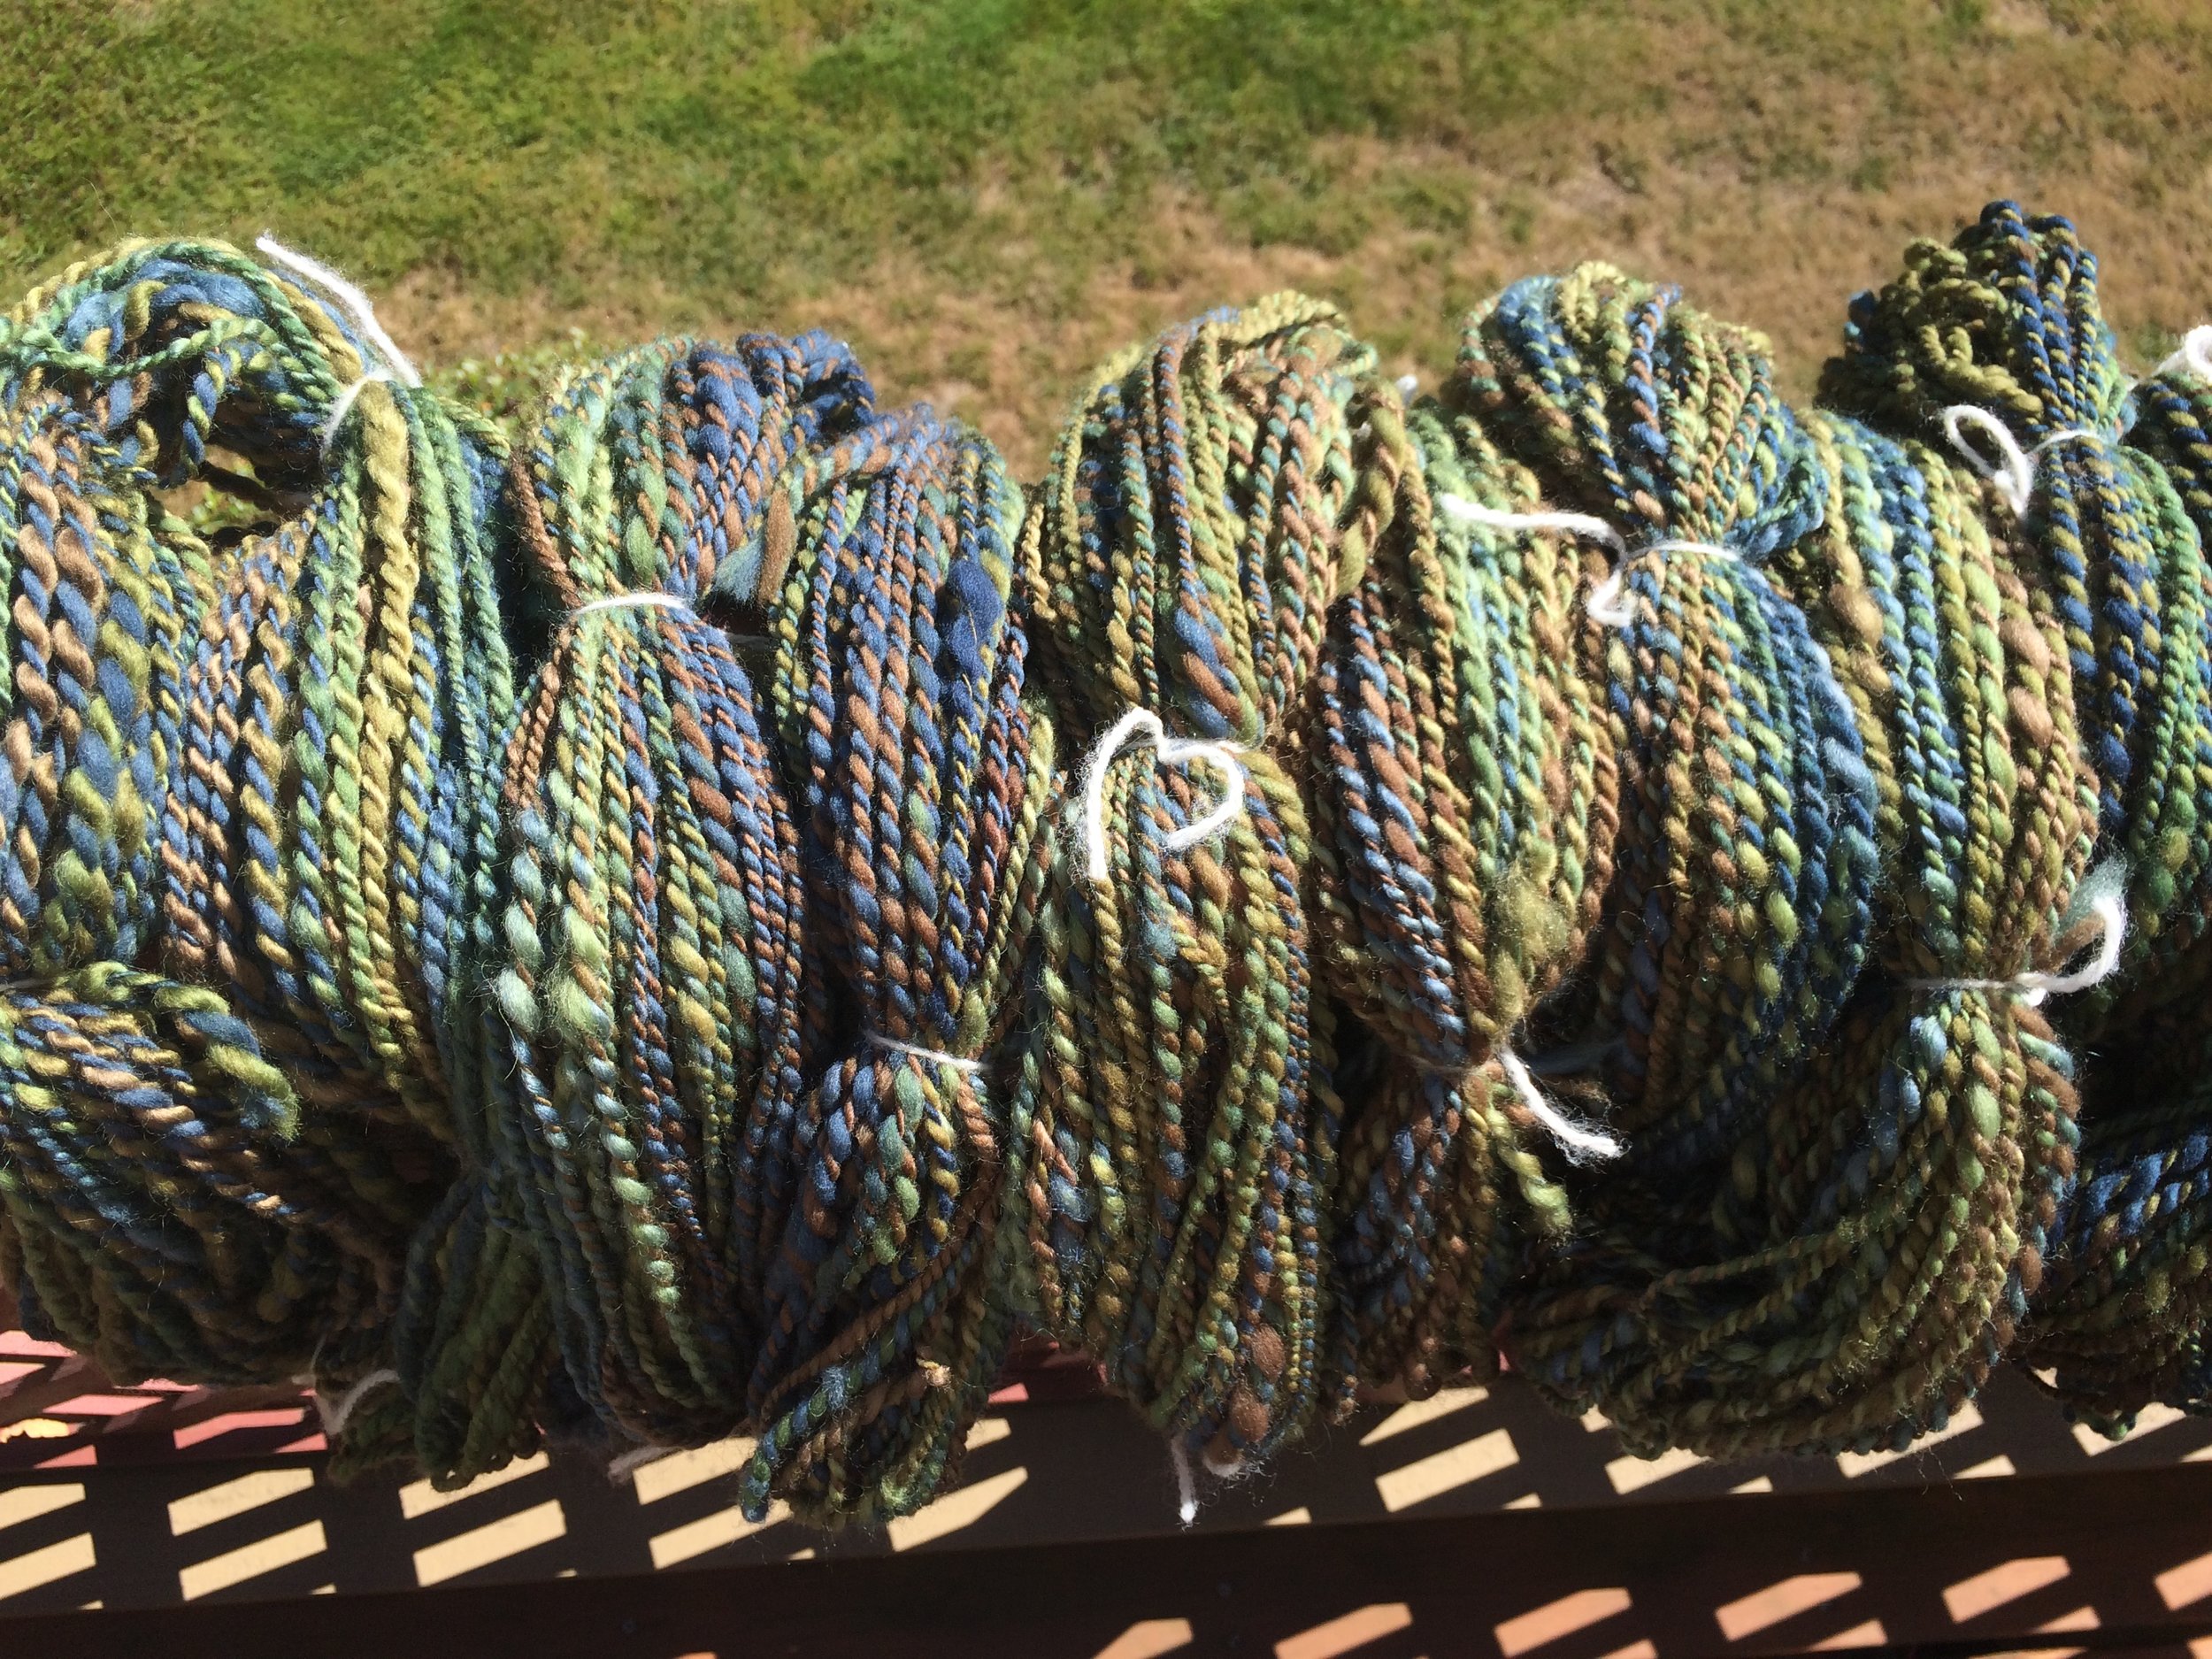
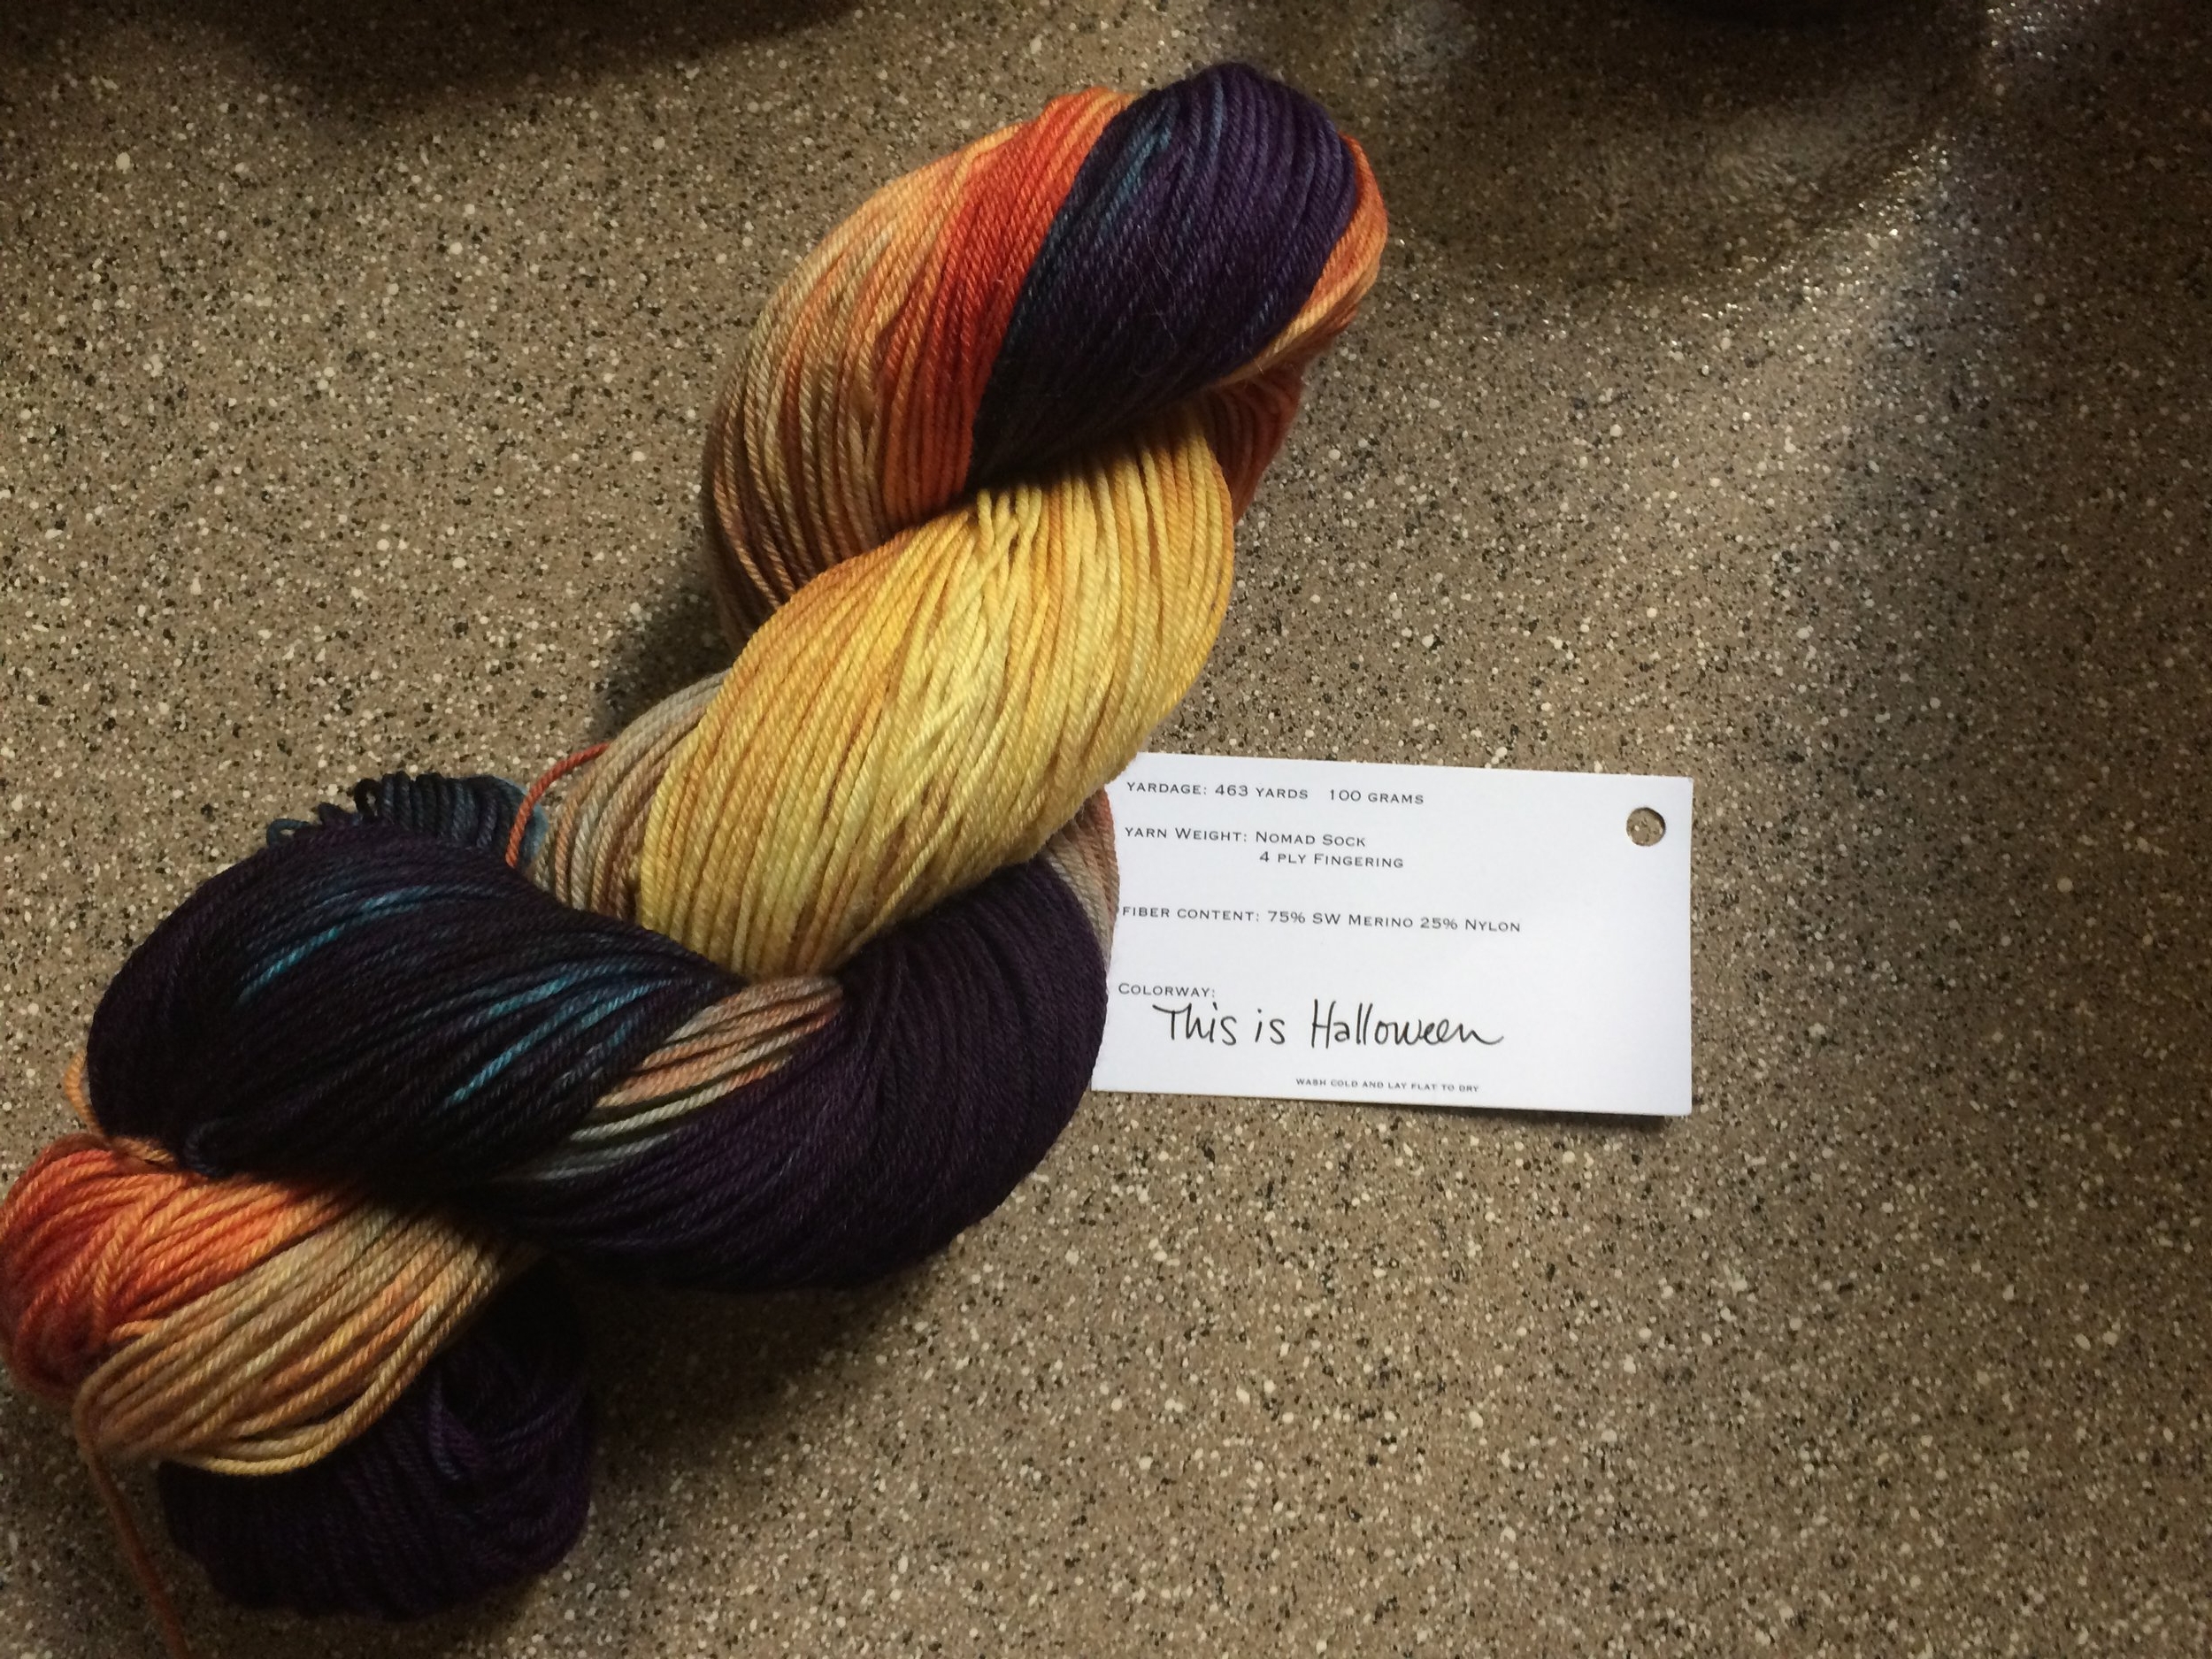
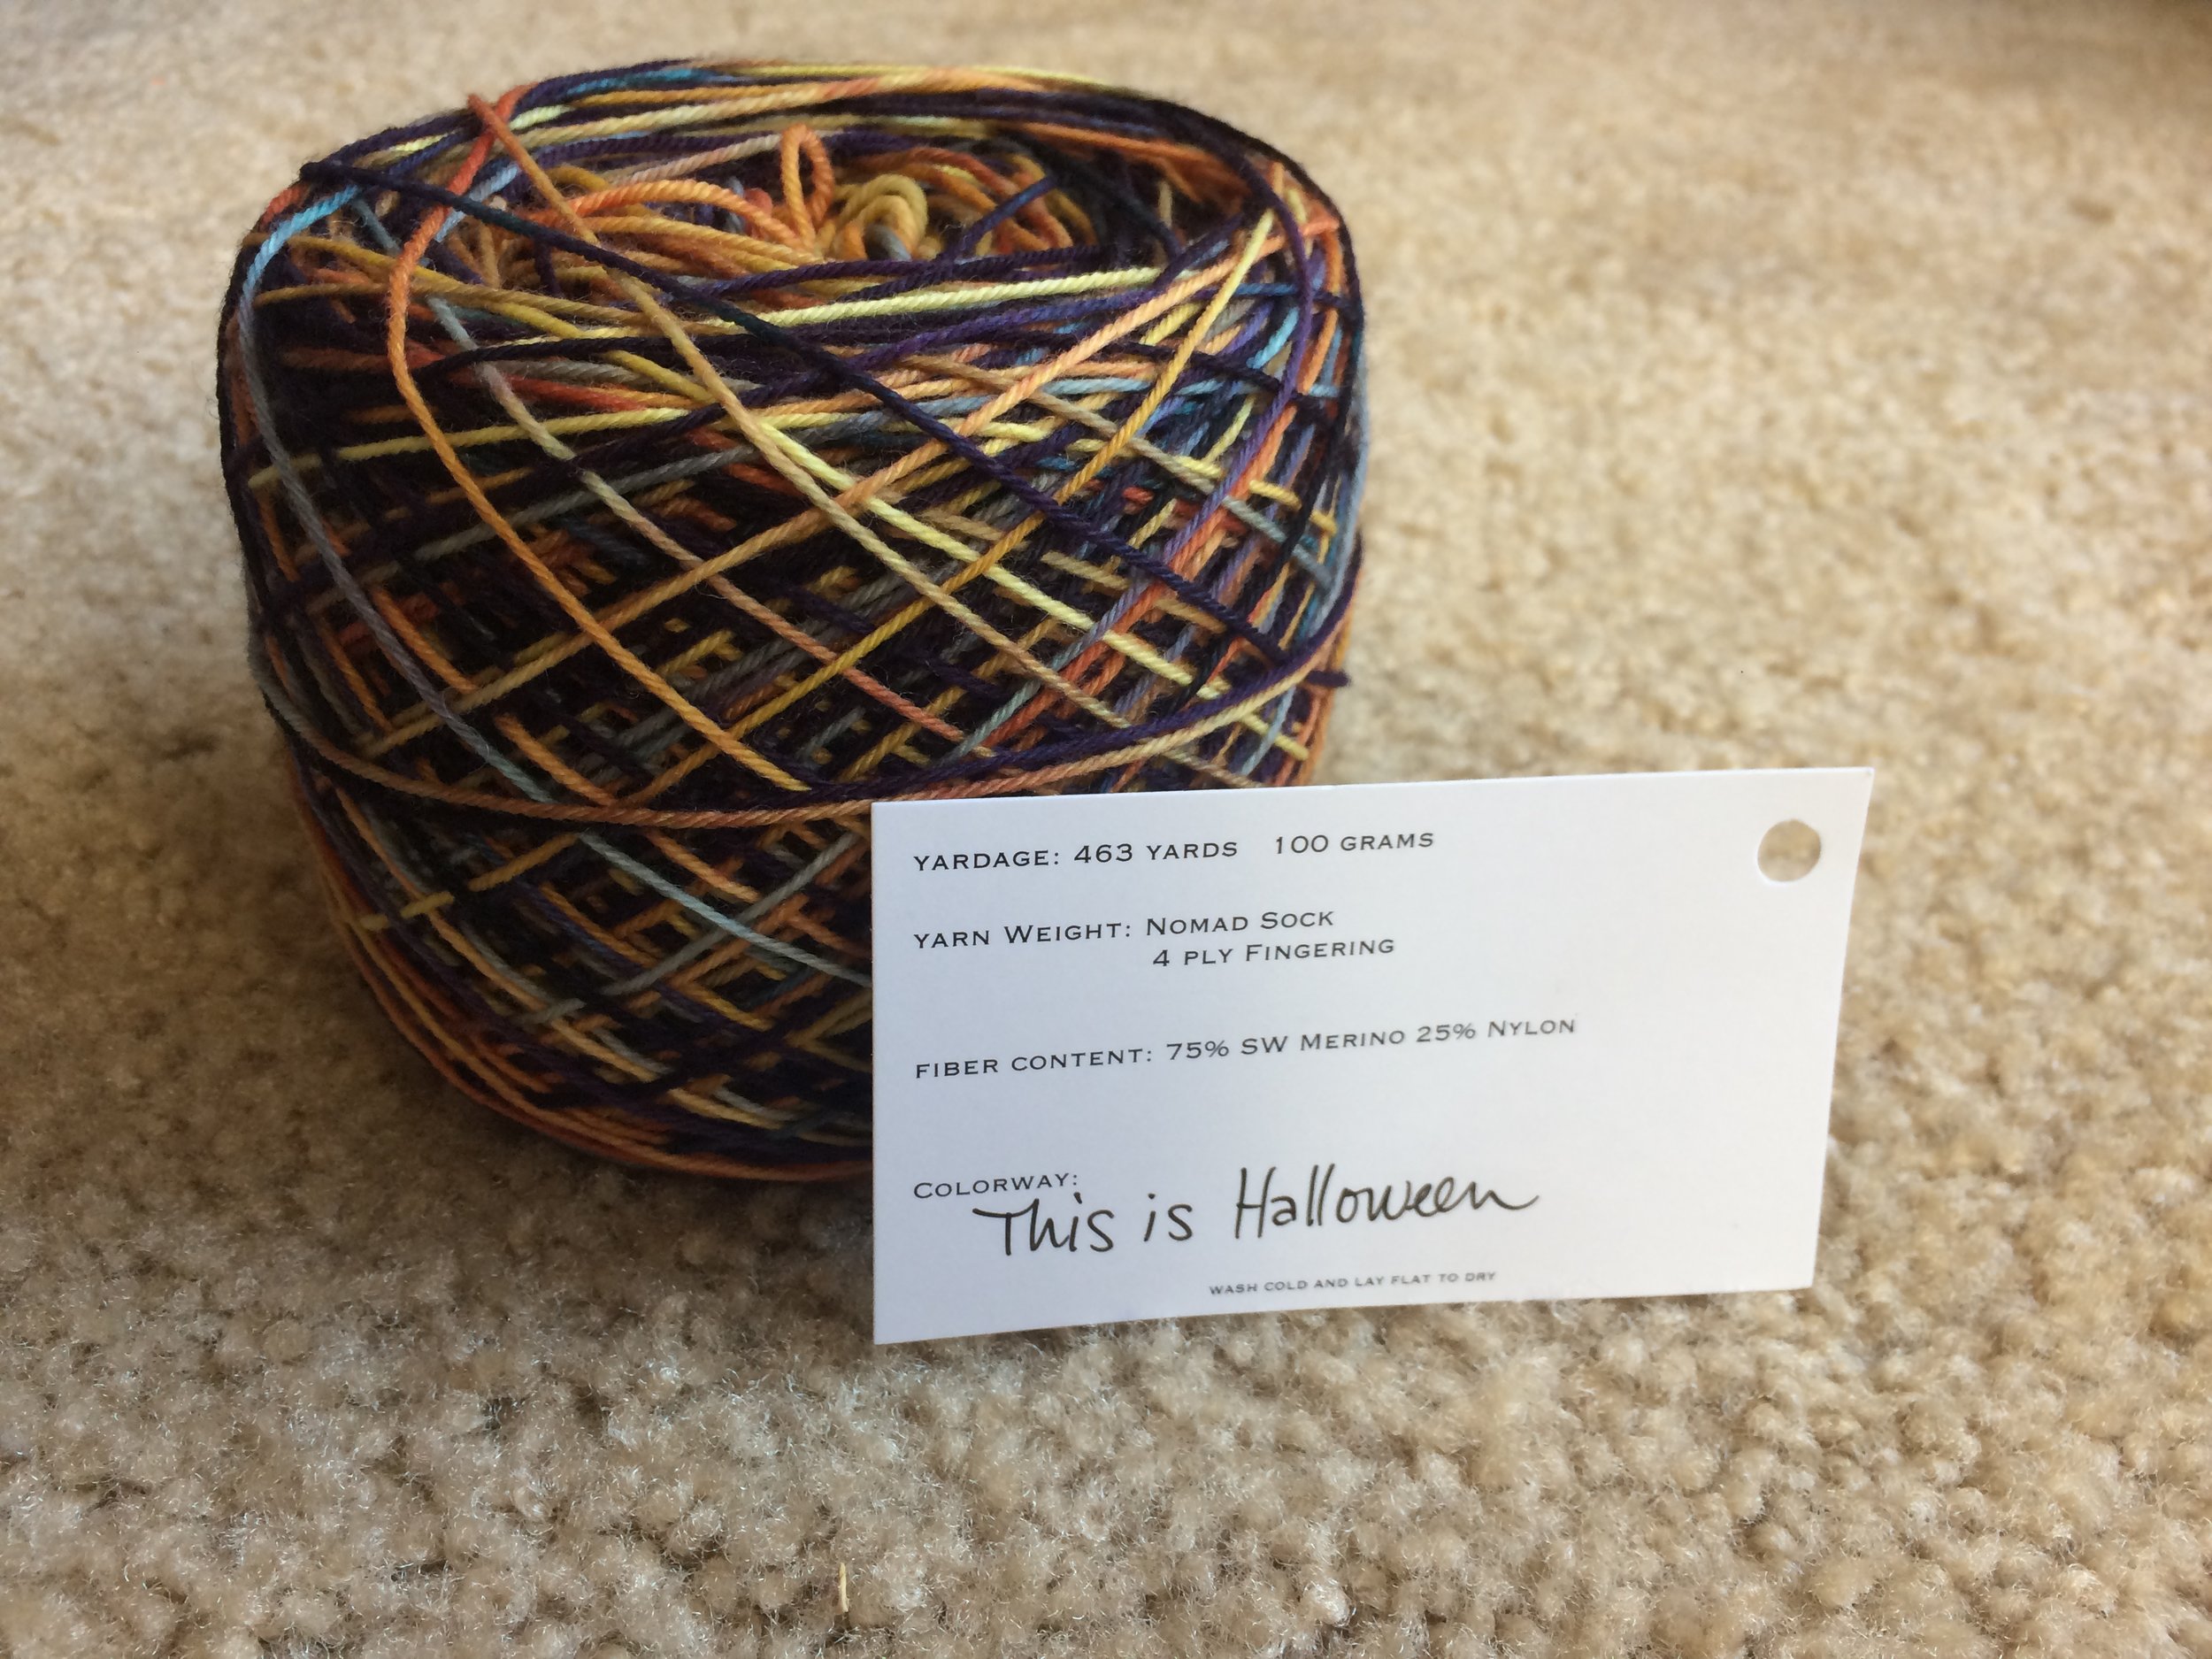
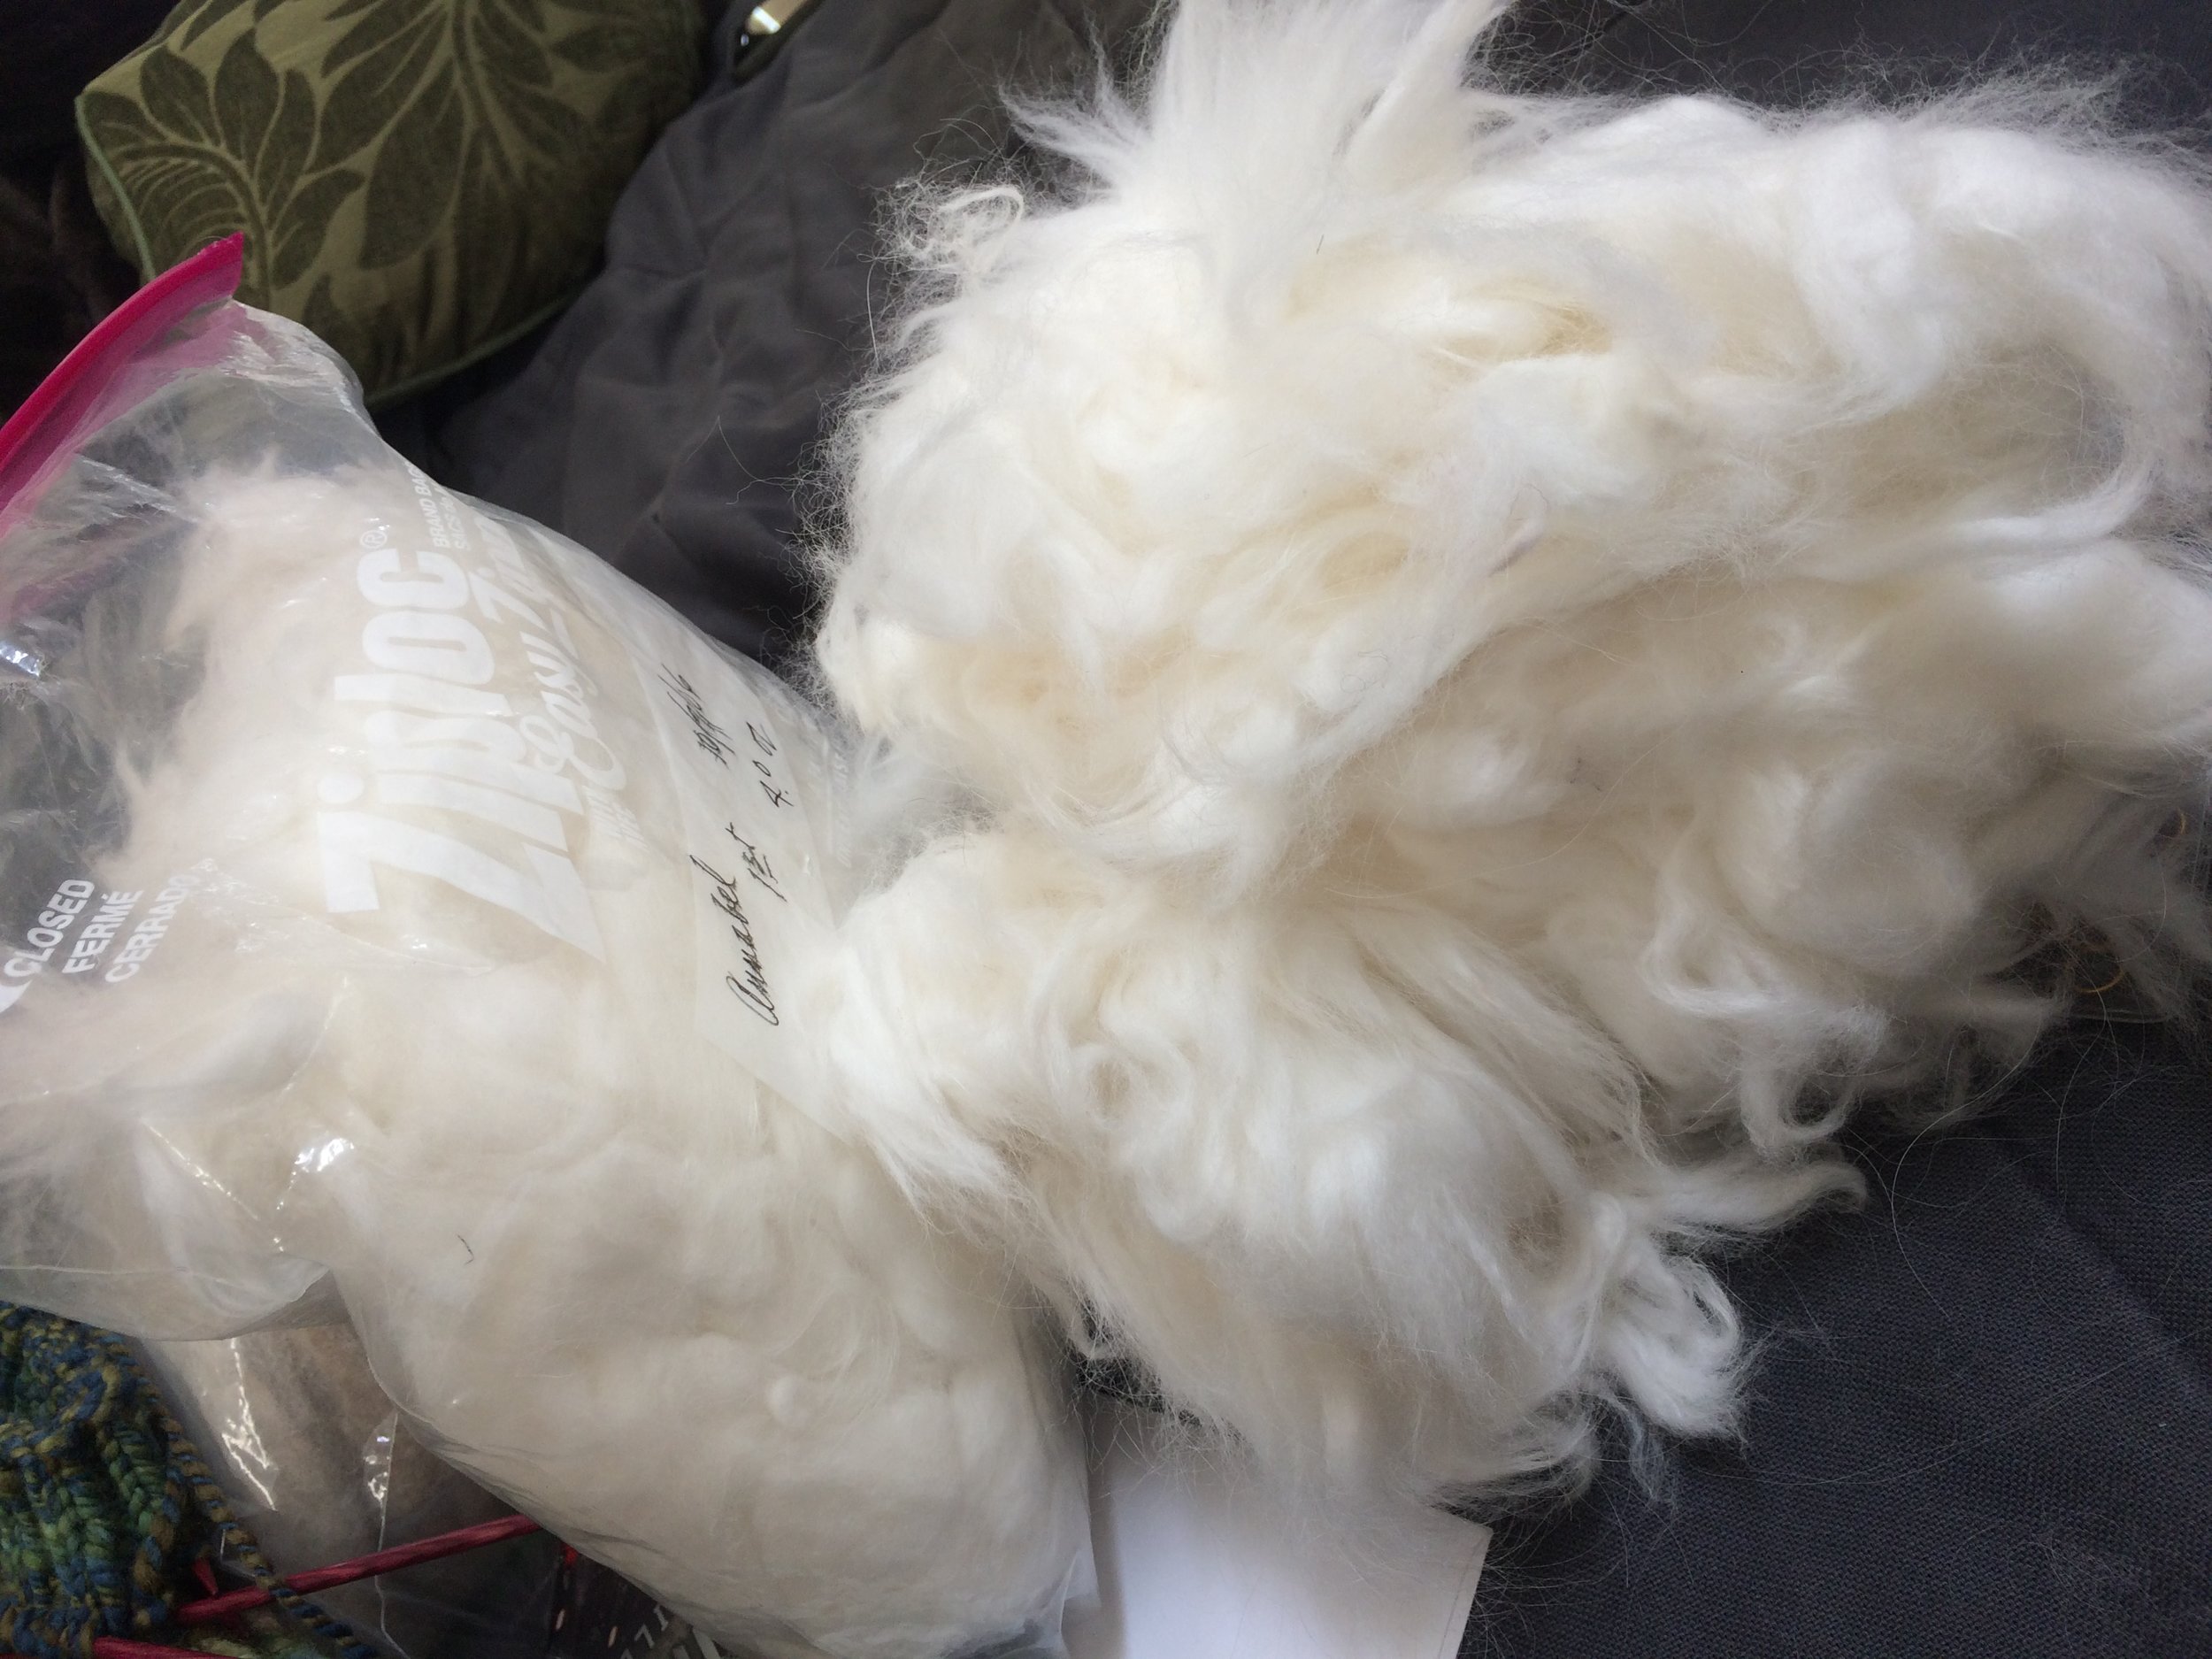
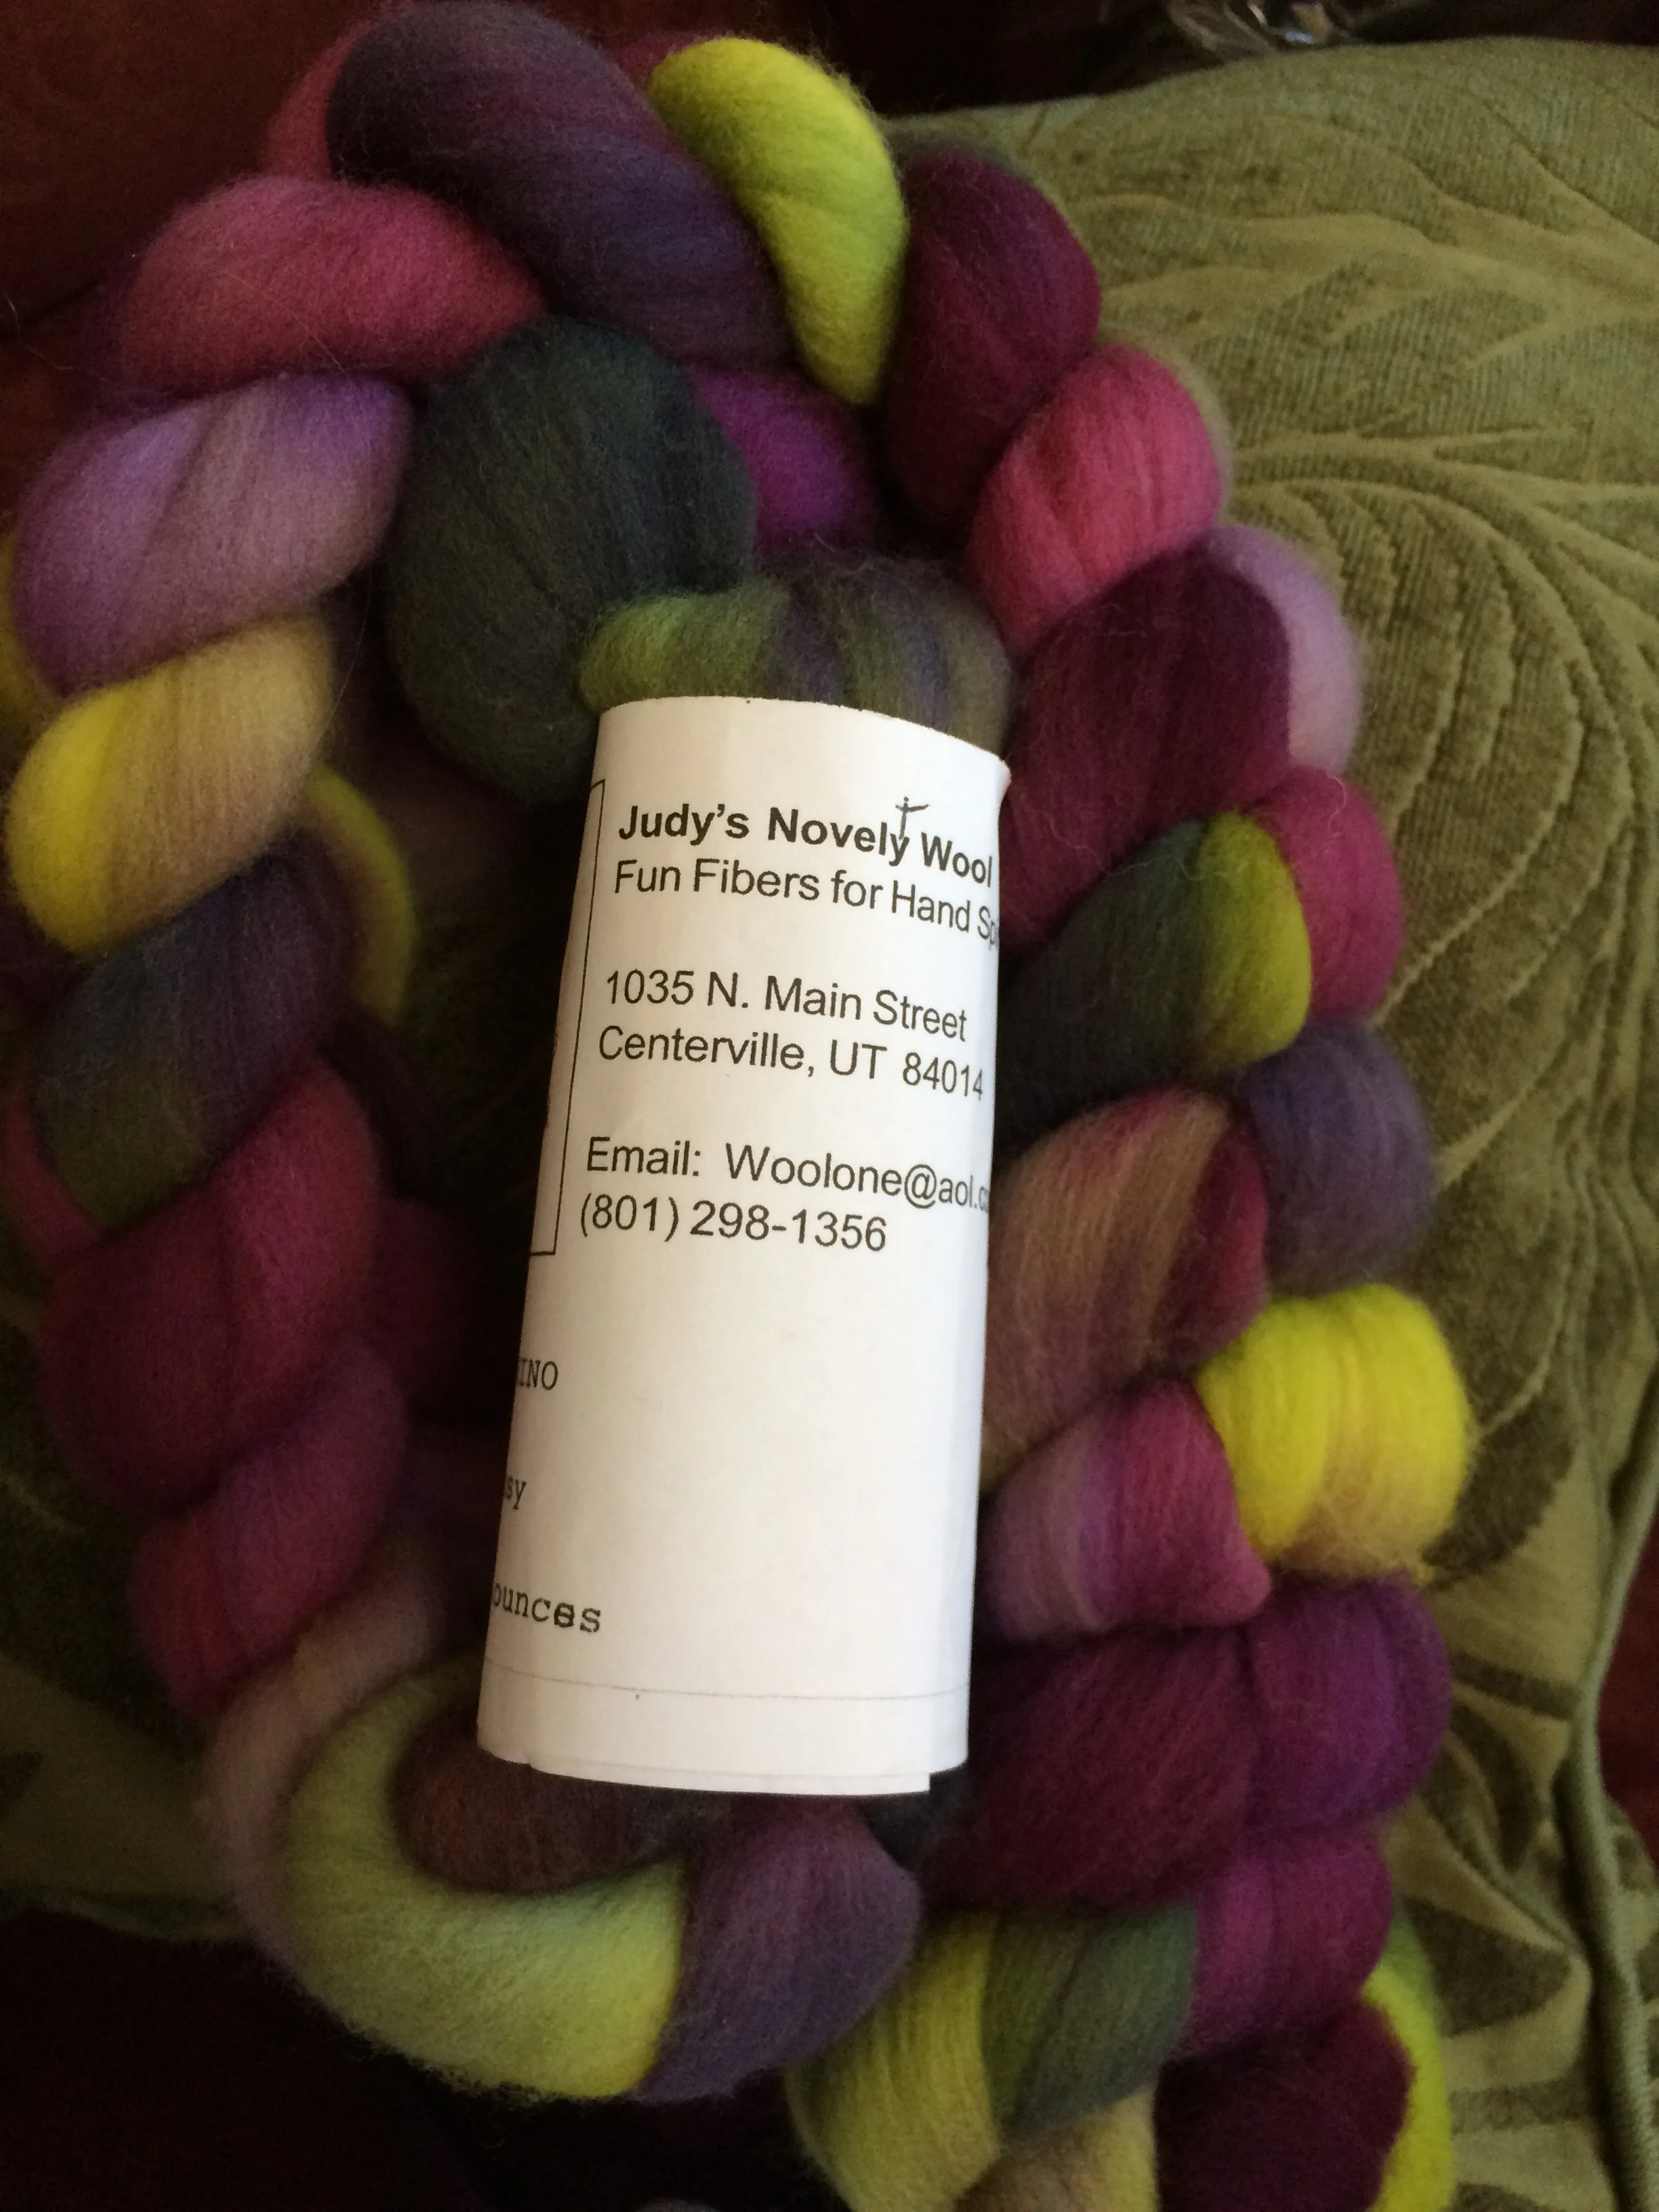
  • I've been dying to try dyeing, I have invested in some white fiber and plan to make a delightful mess and turn out some beautiful colour schemes.  While doing this I'll explain the research I've been doing to pick certain dyes, and I also plan to try my hand at using natural dyes.
  • I hope to be sharing some fun projects that make use of scraps that would otherwise be wasted when it comes to fabric and fiber, because I can't be the only one who feels bad throwing things away.
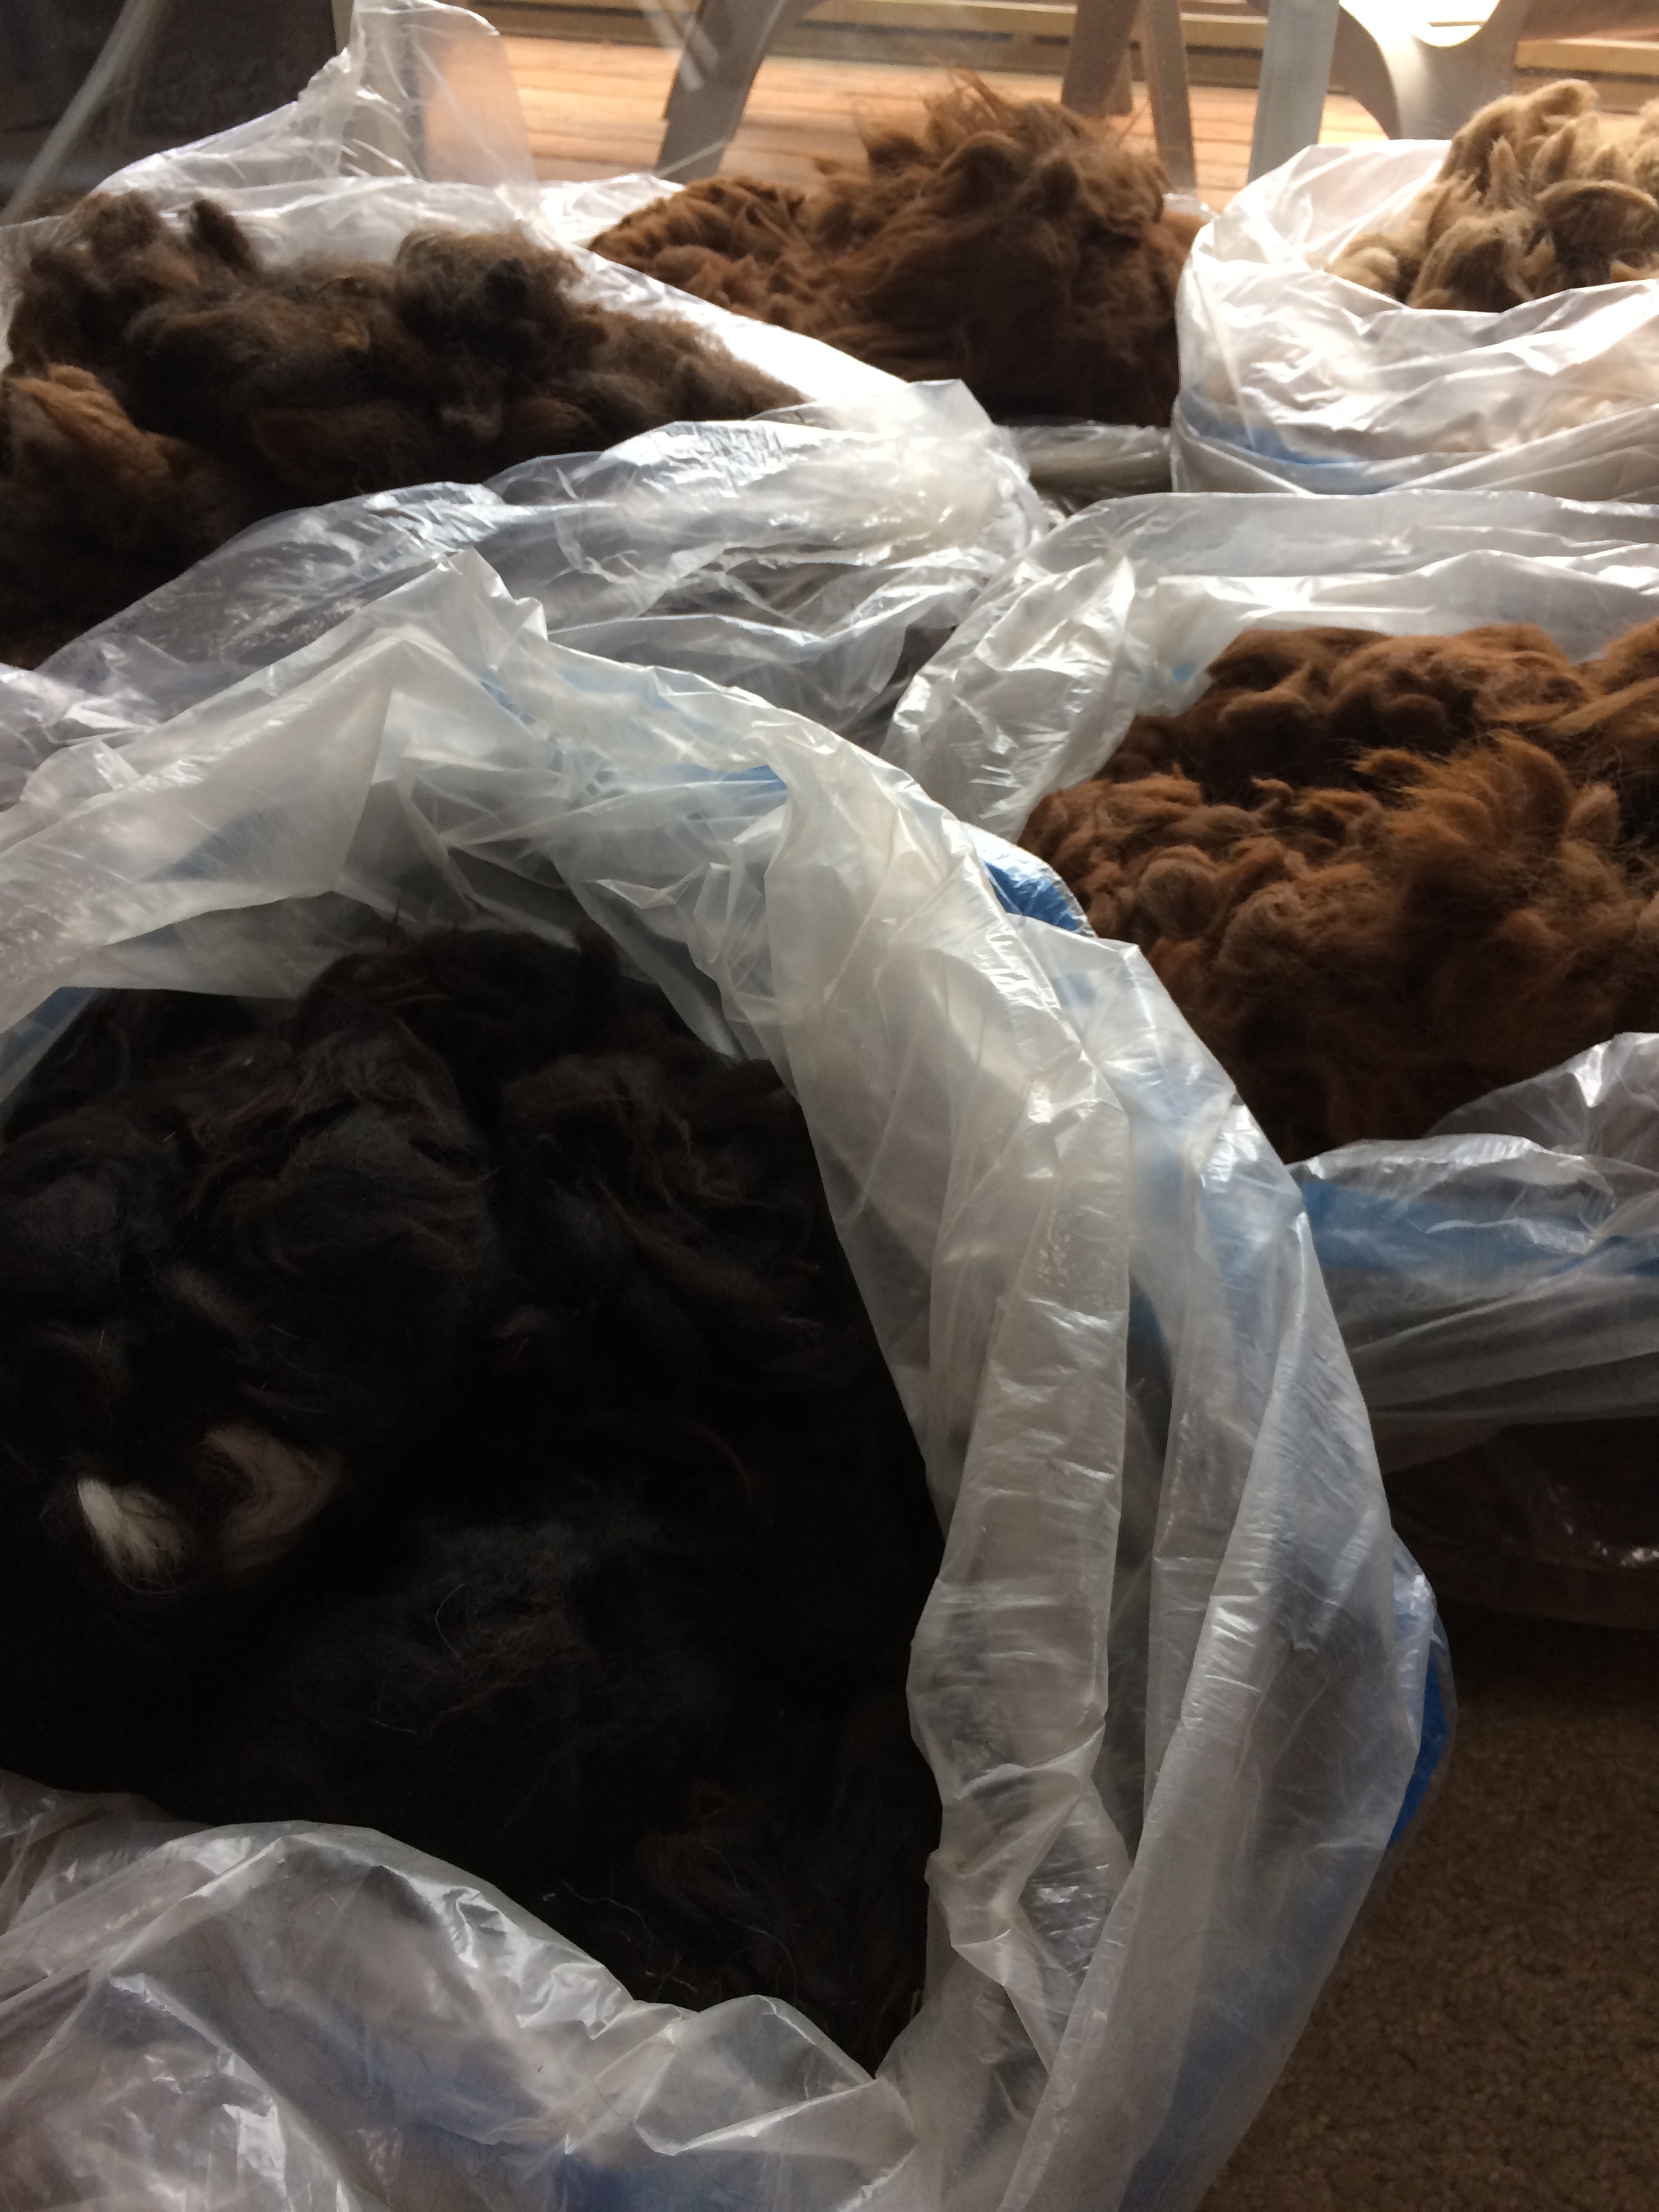
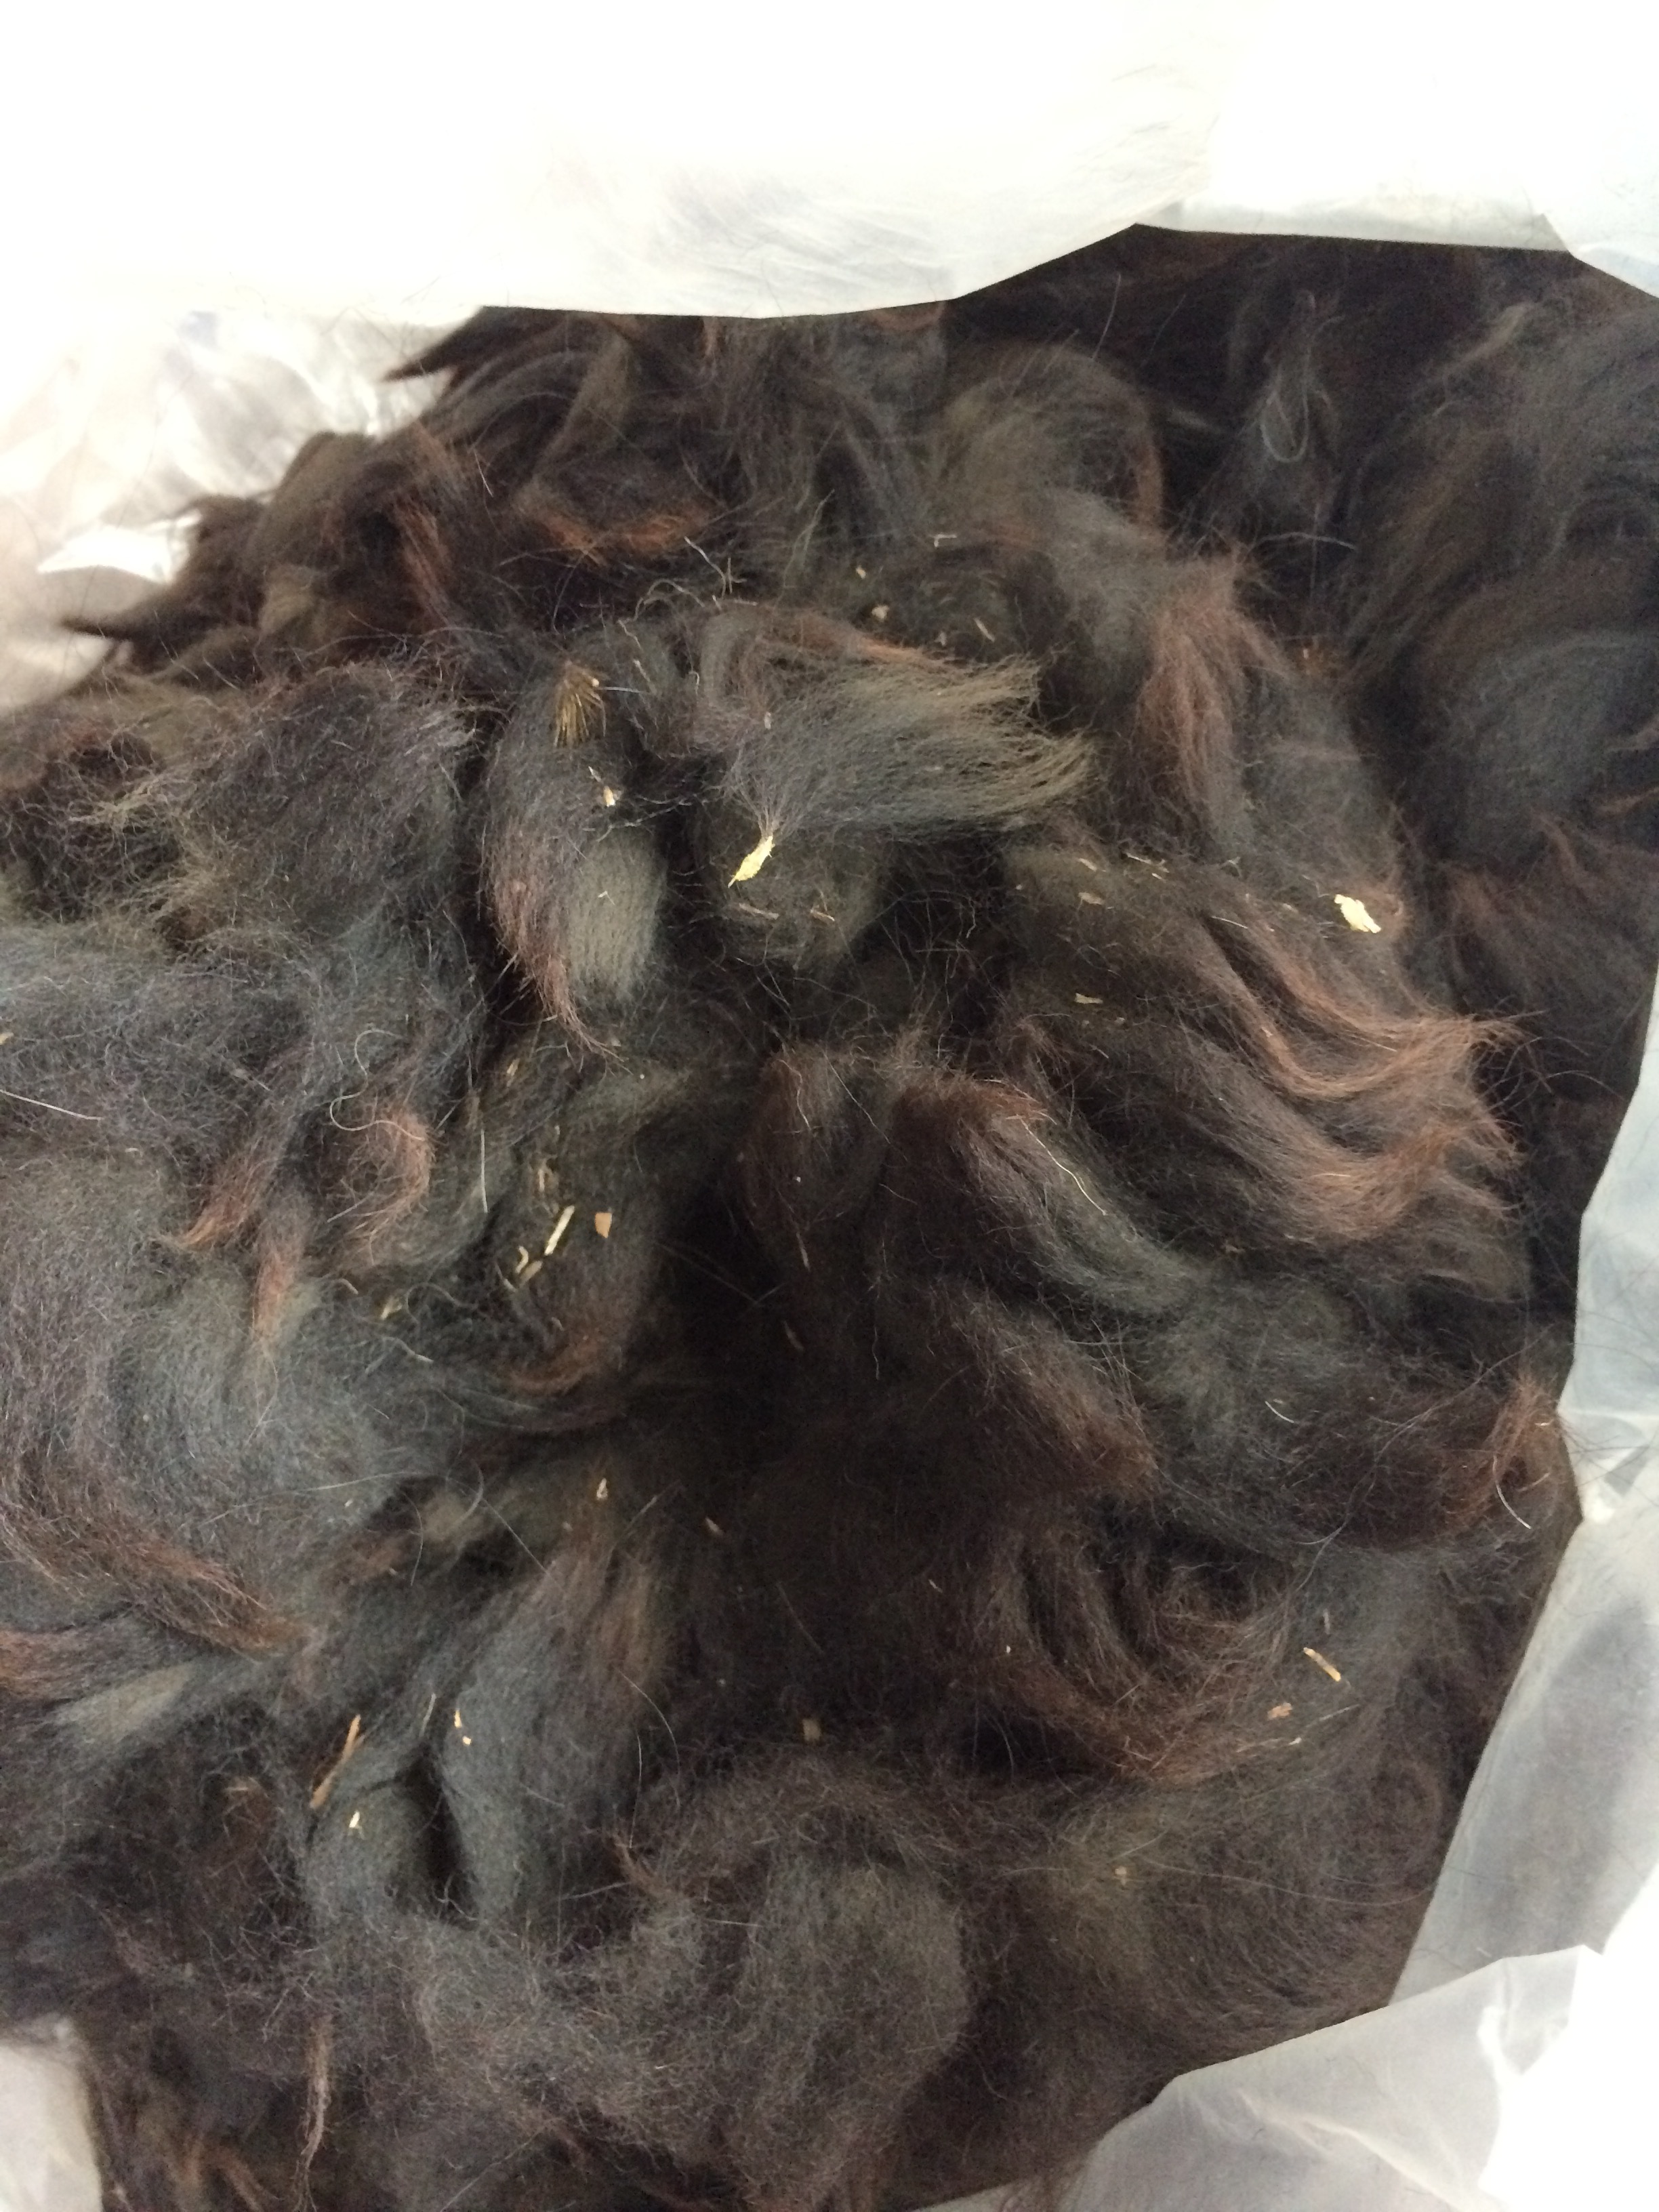
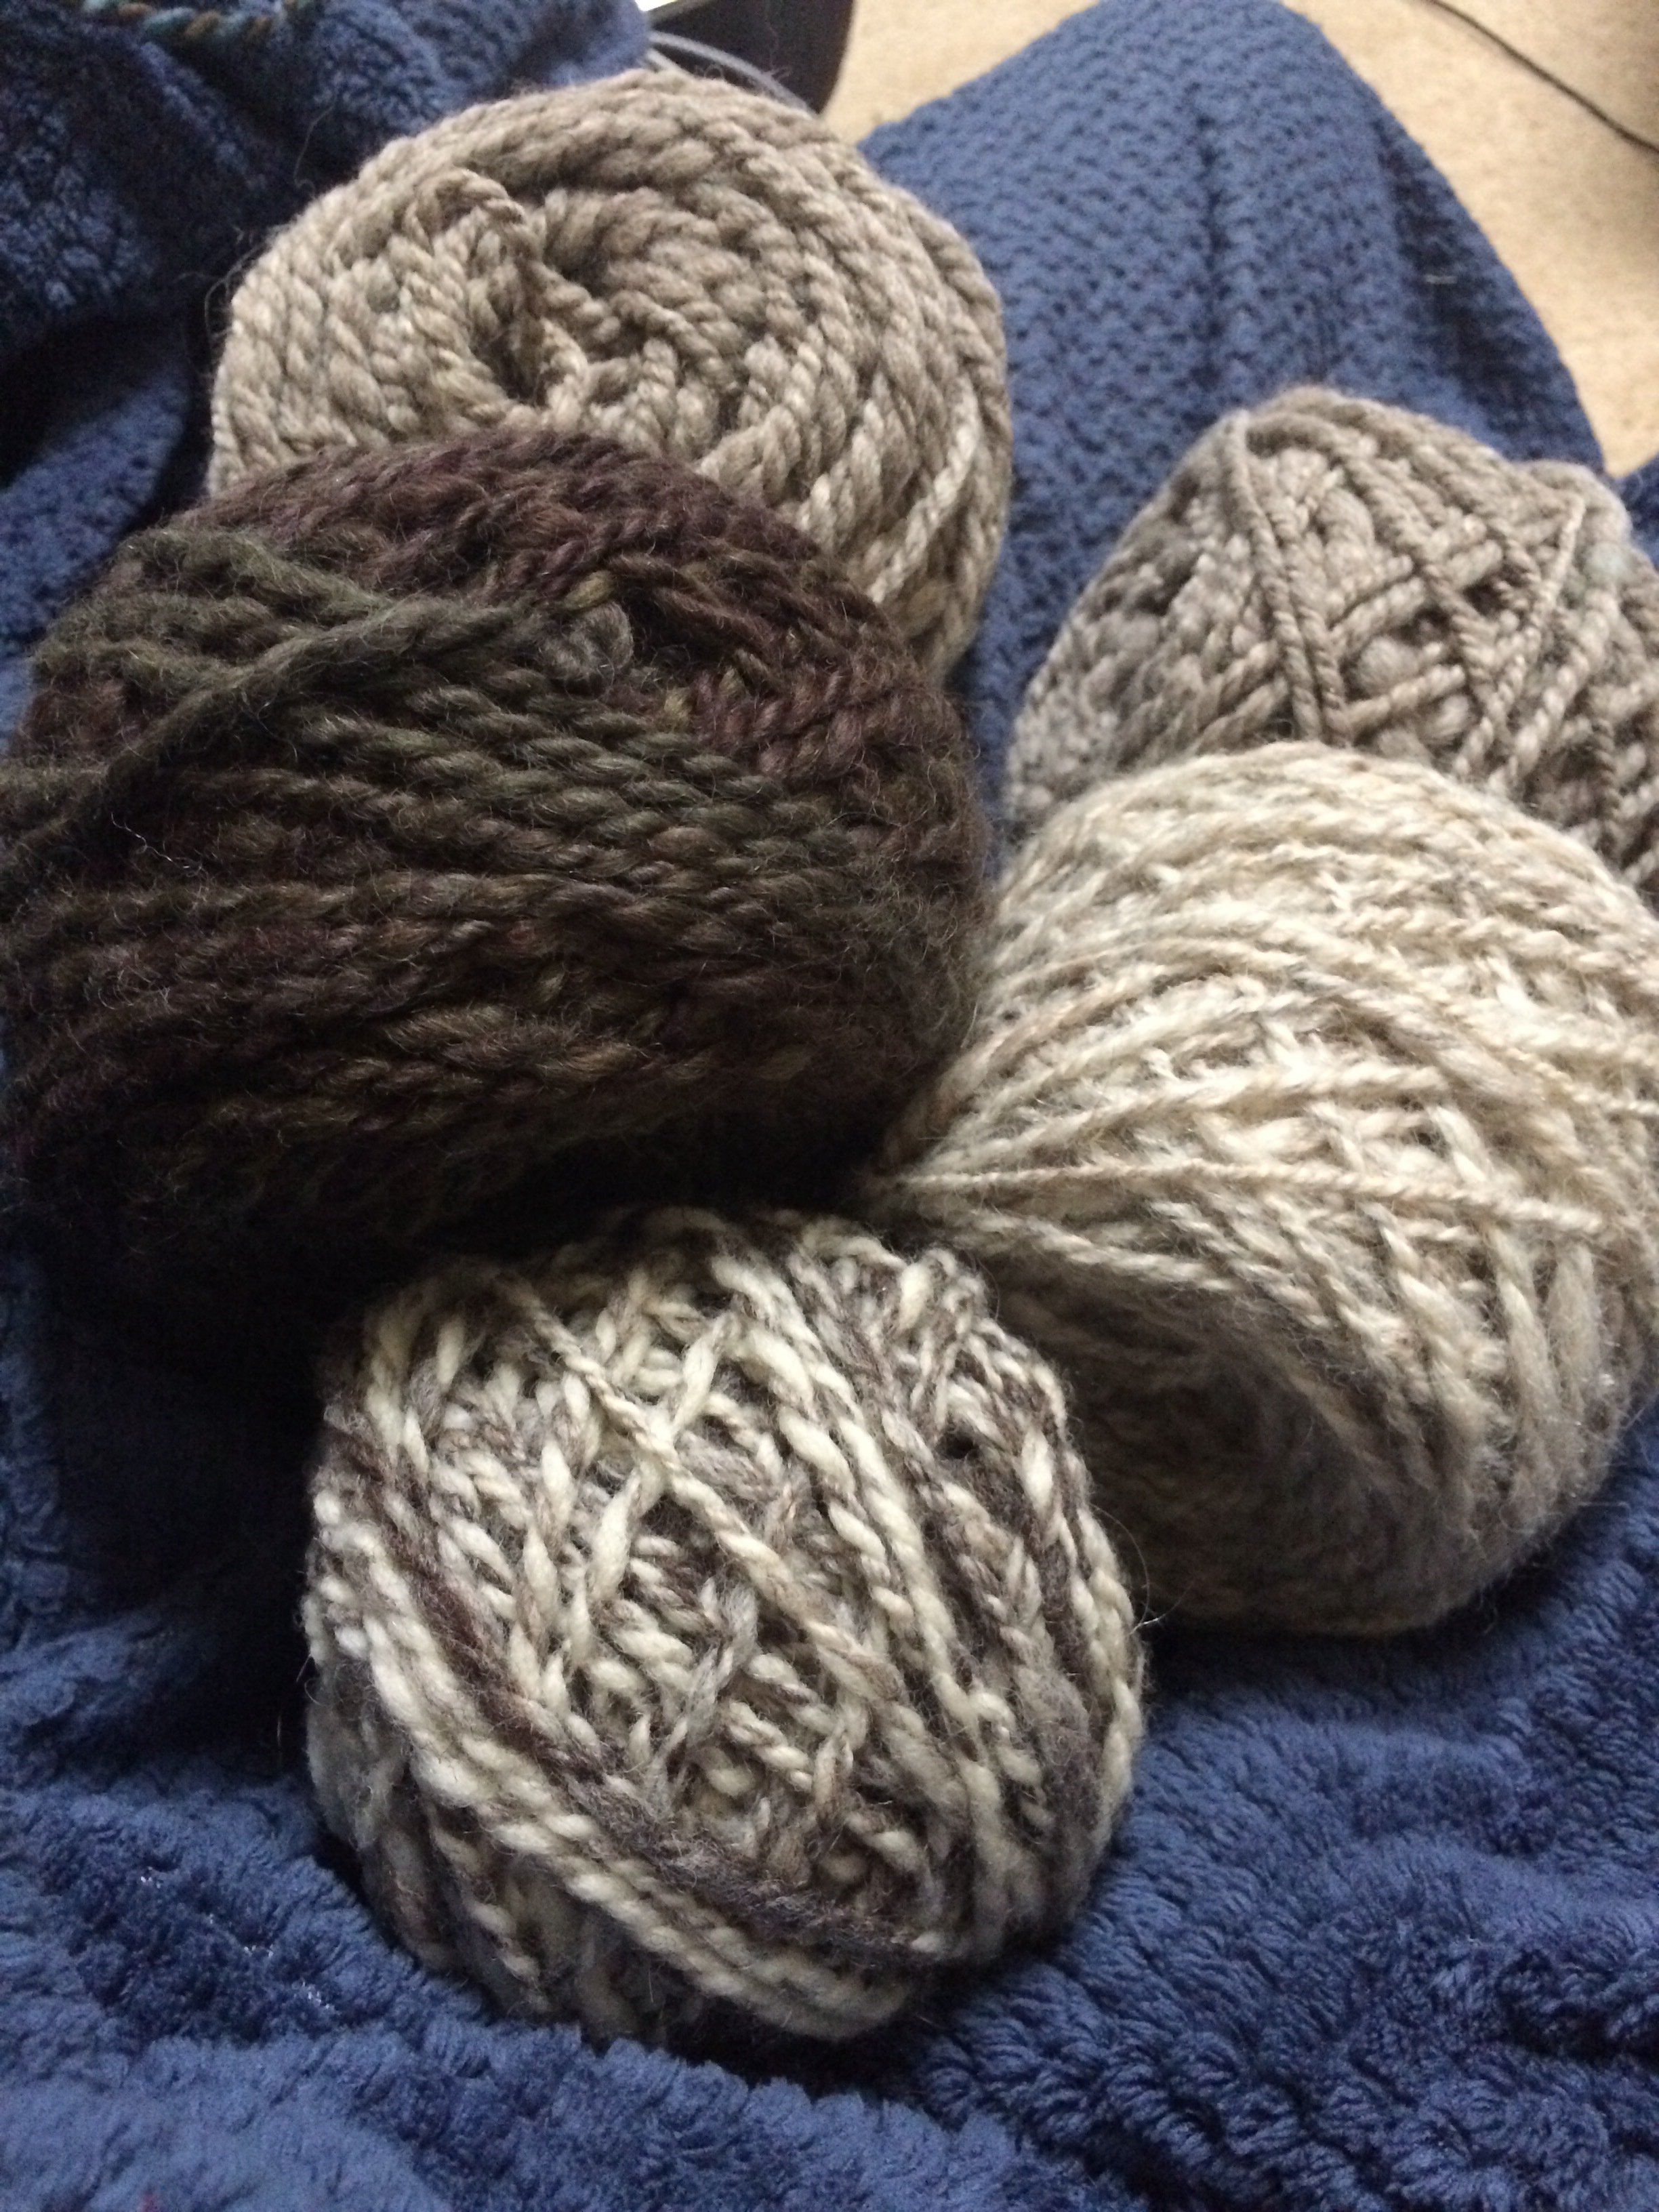
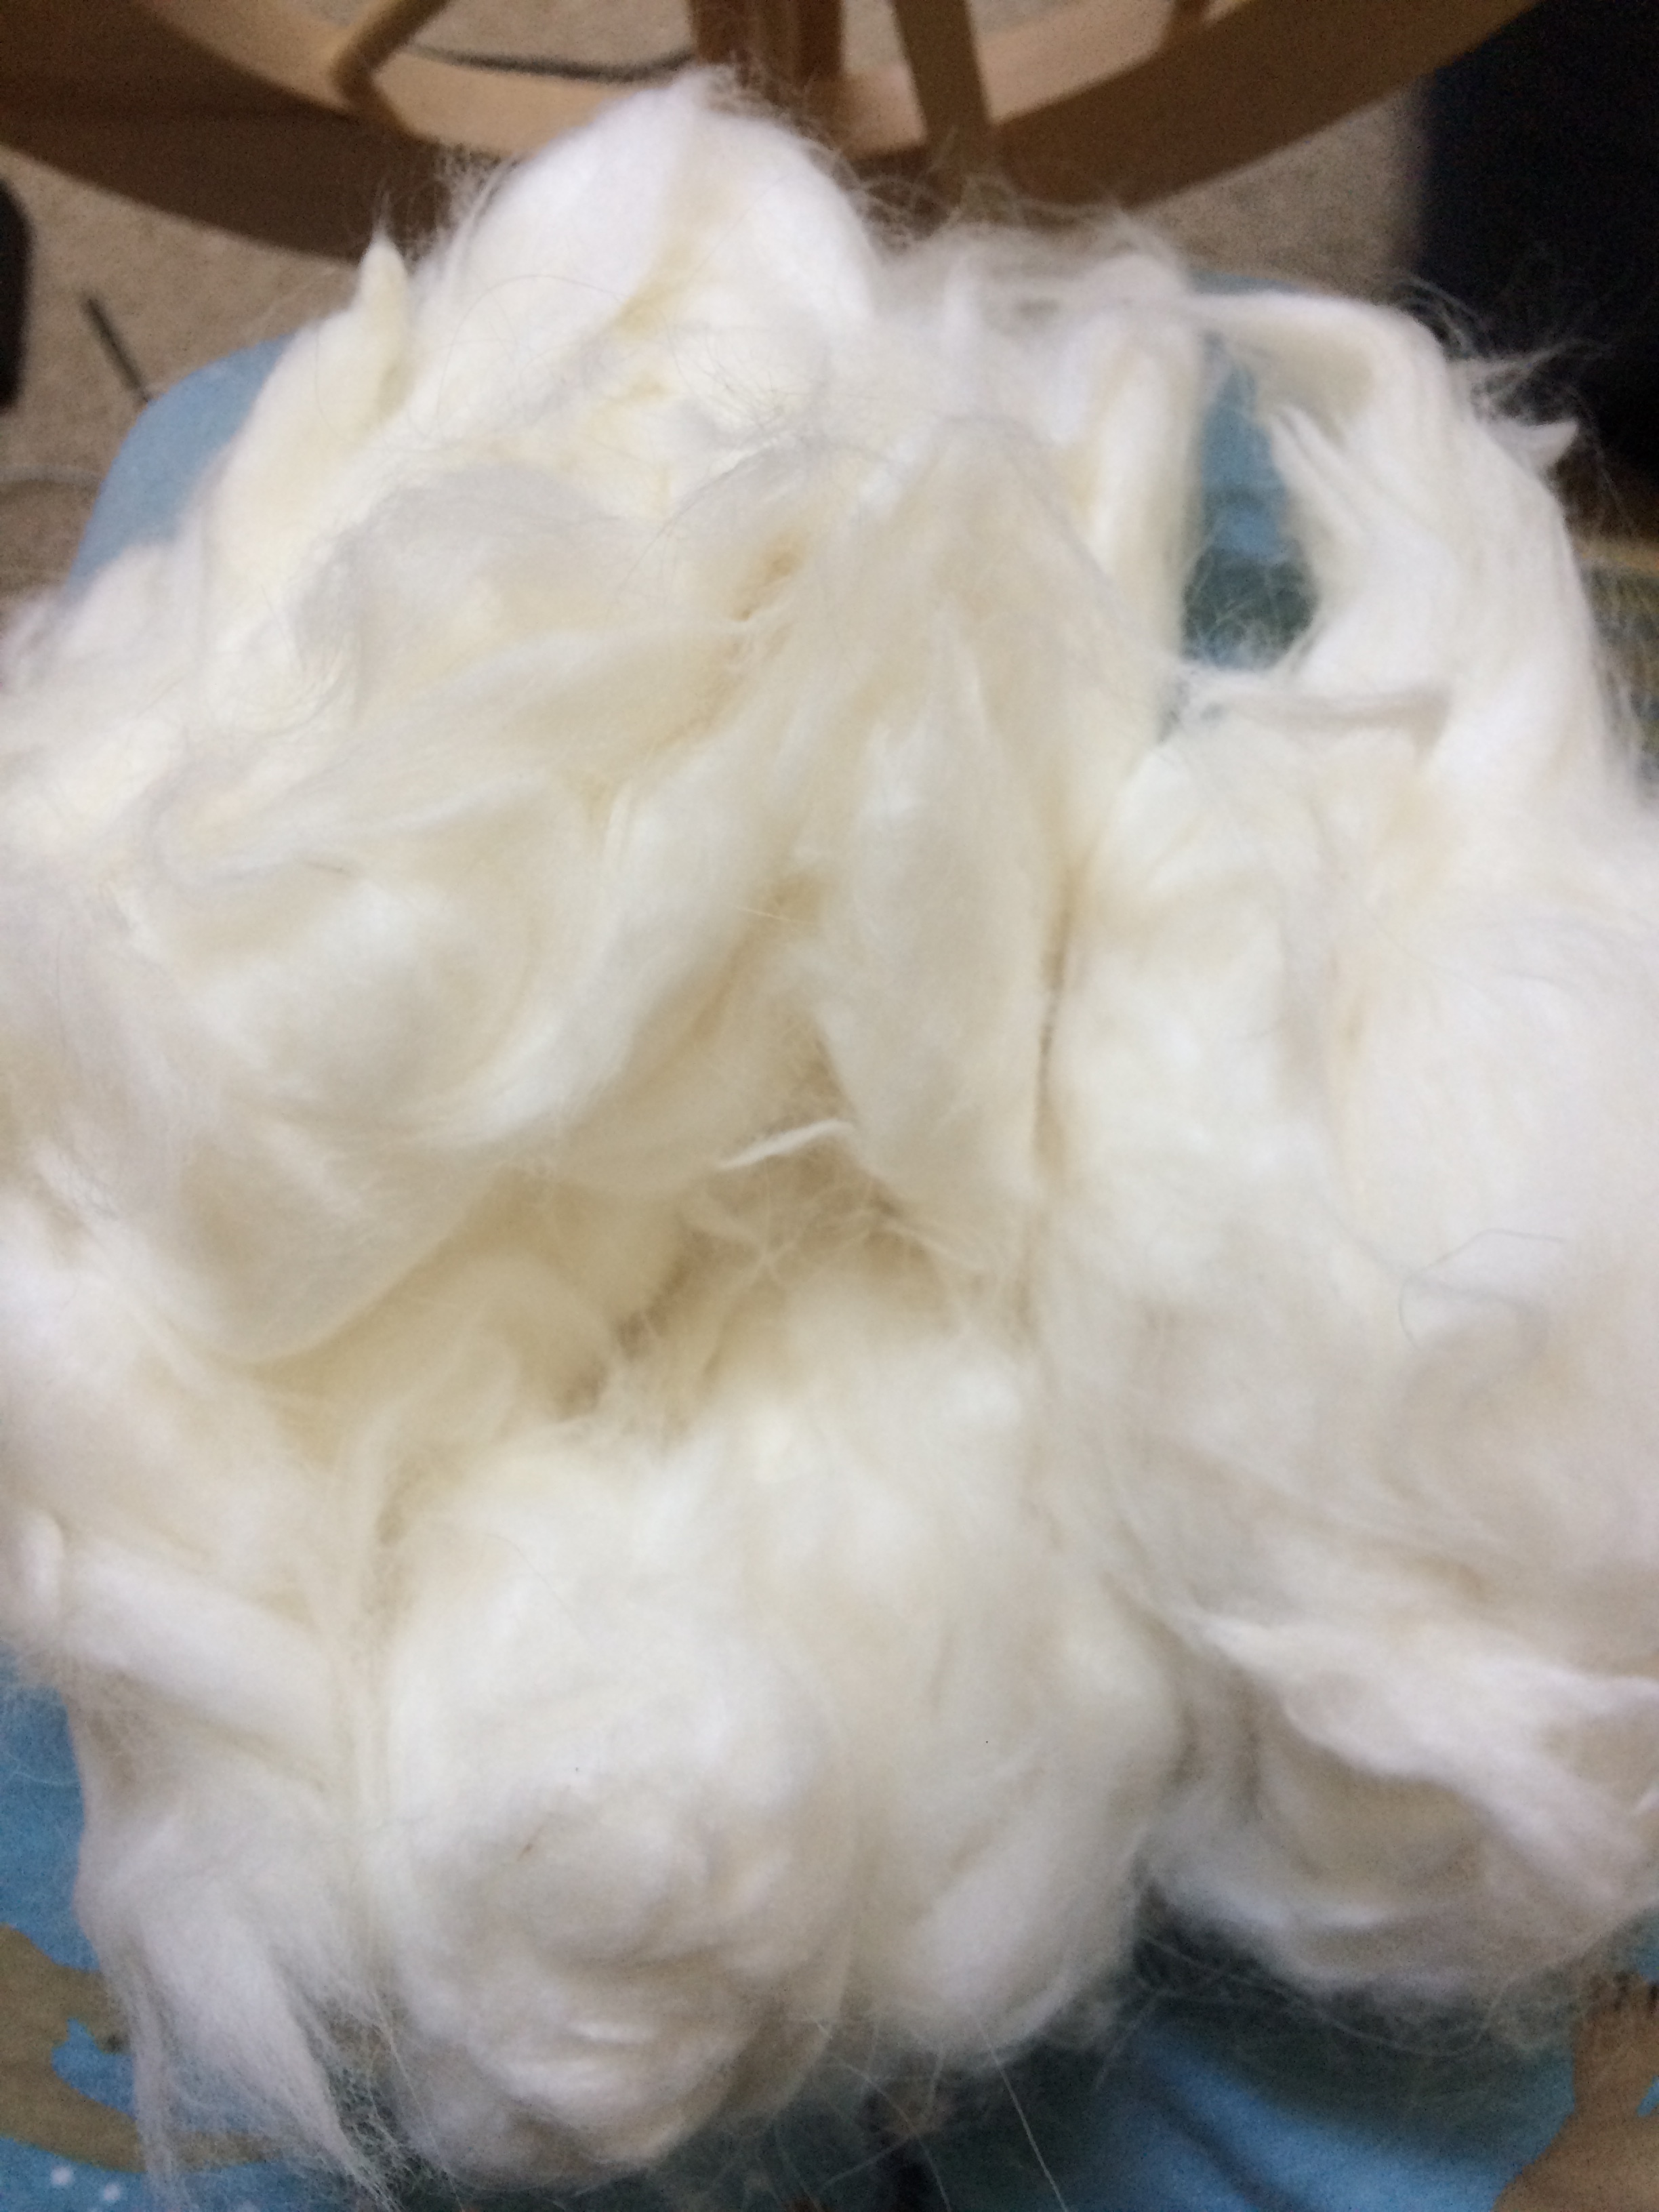
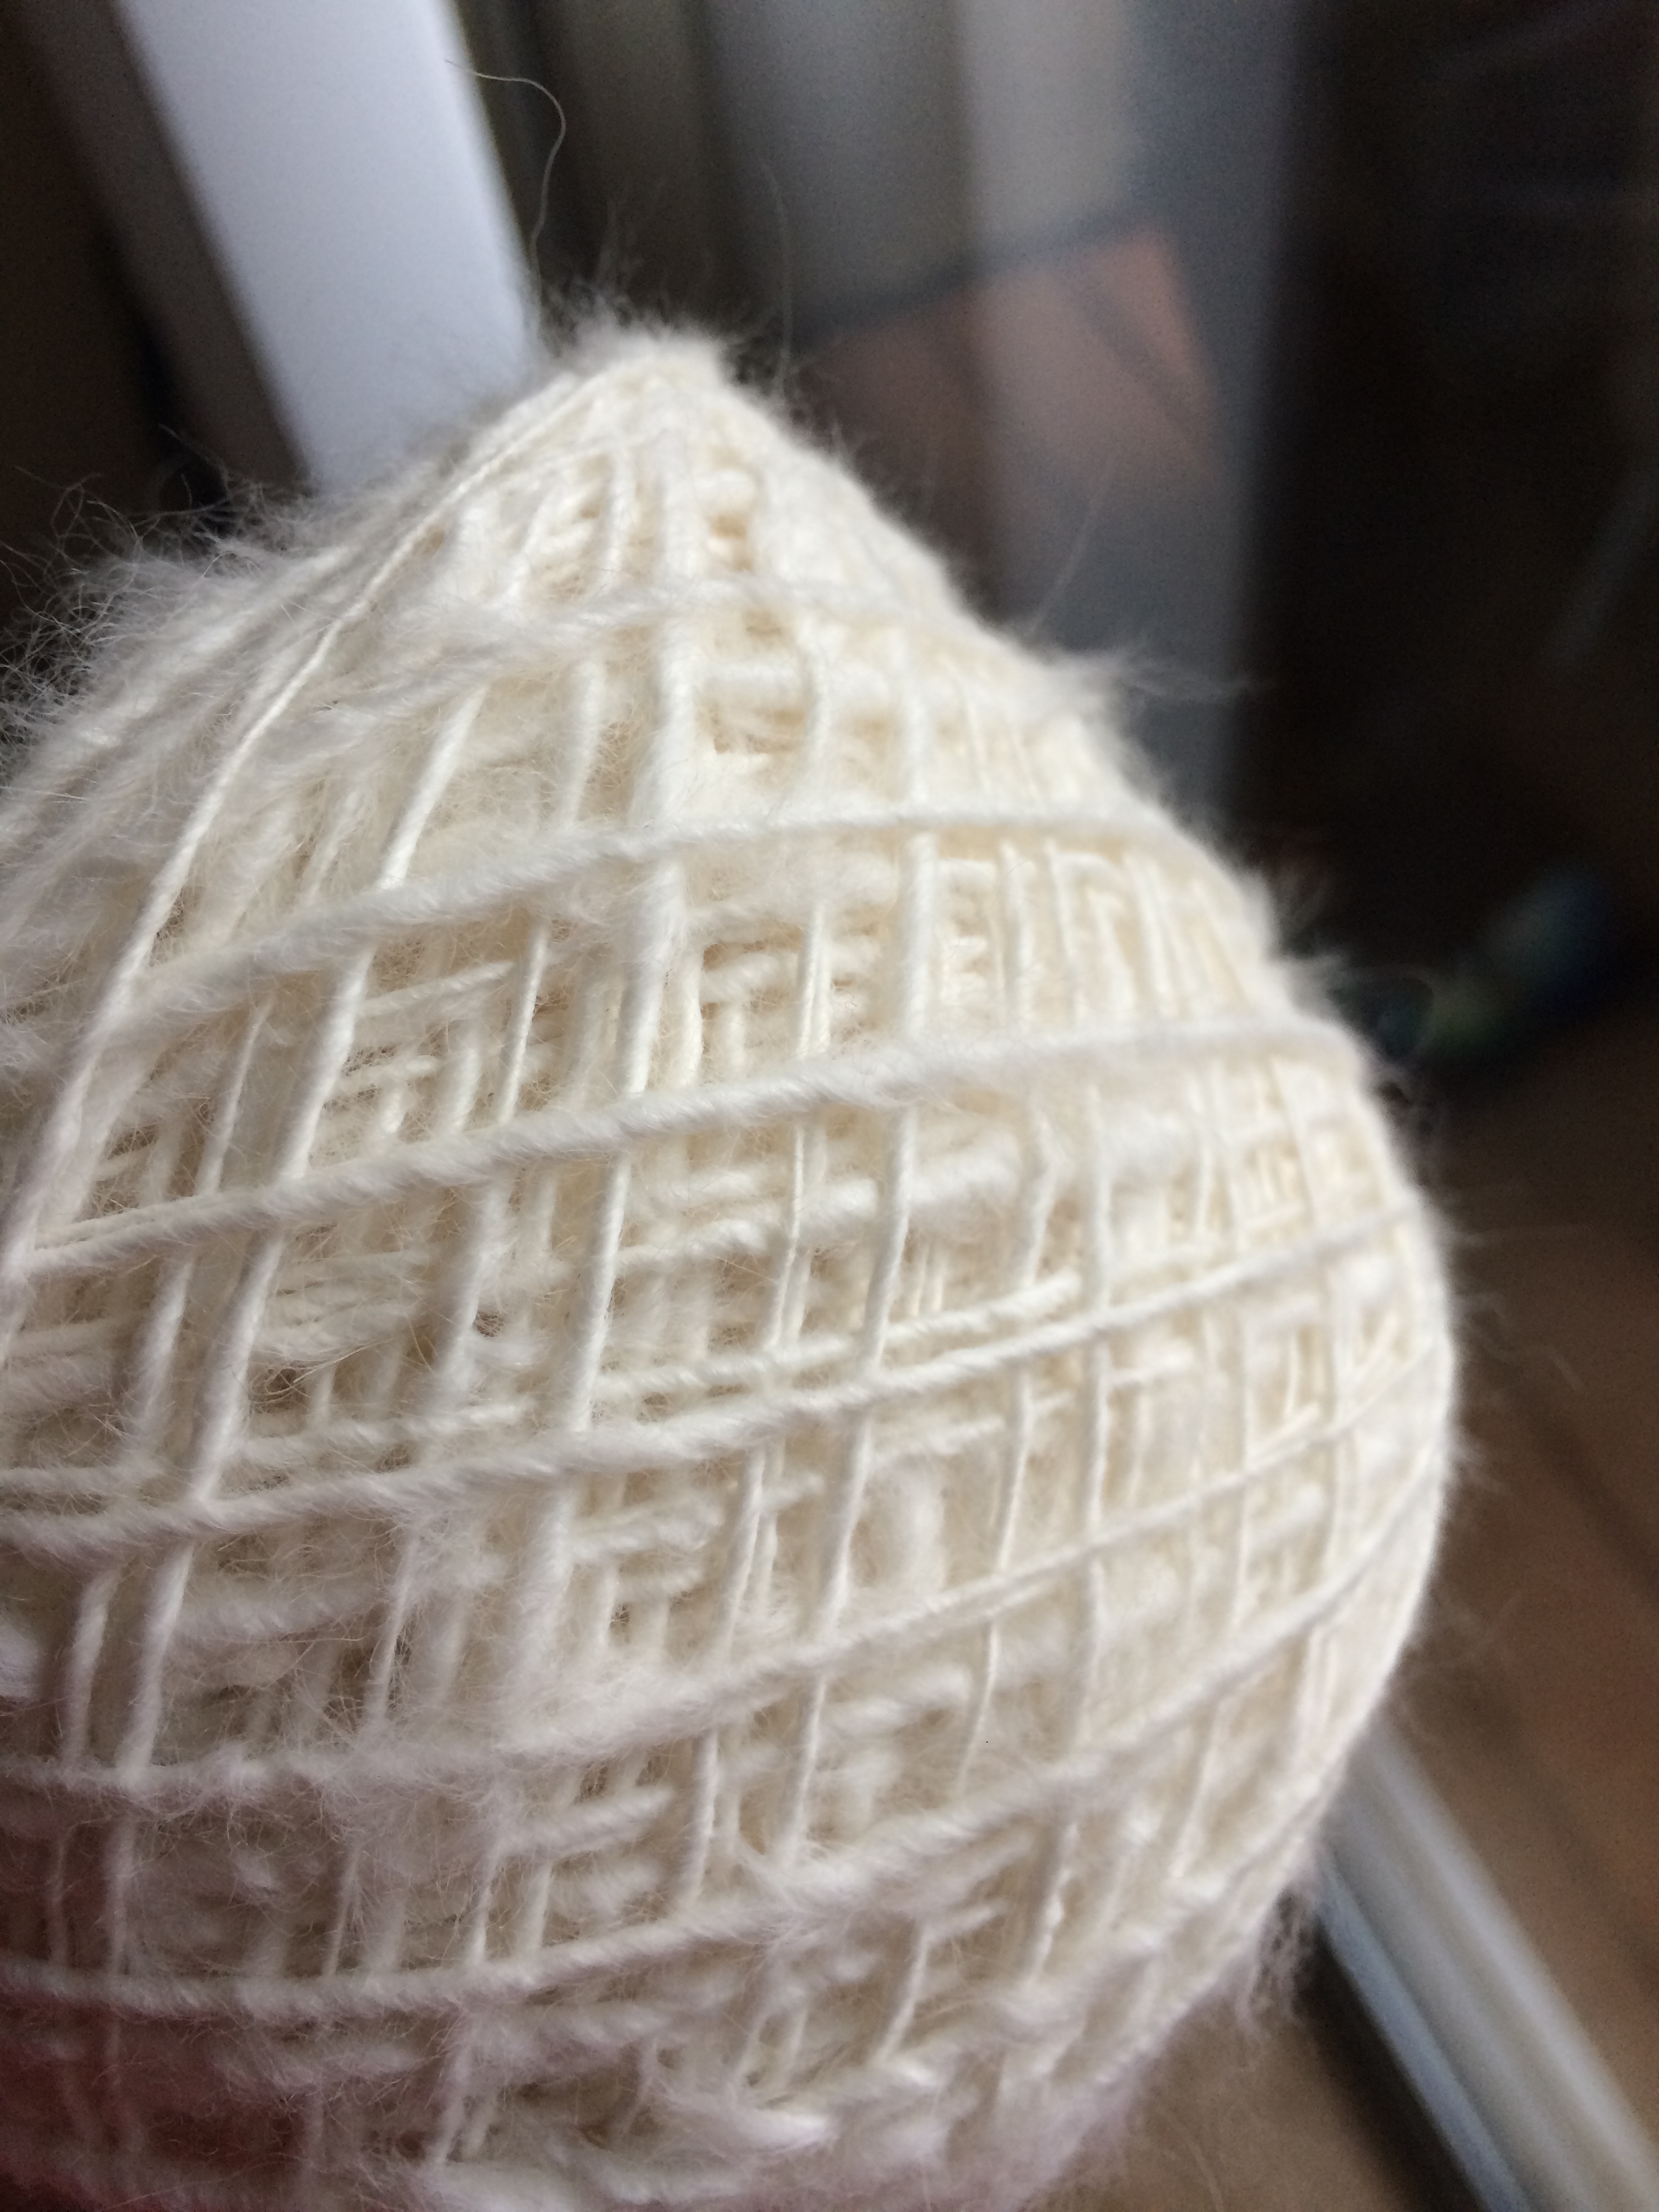
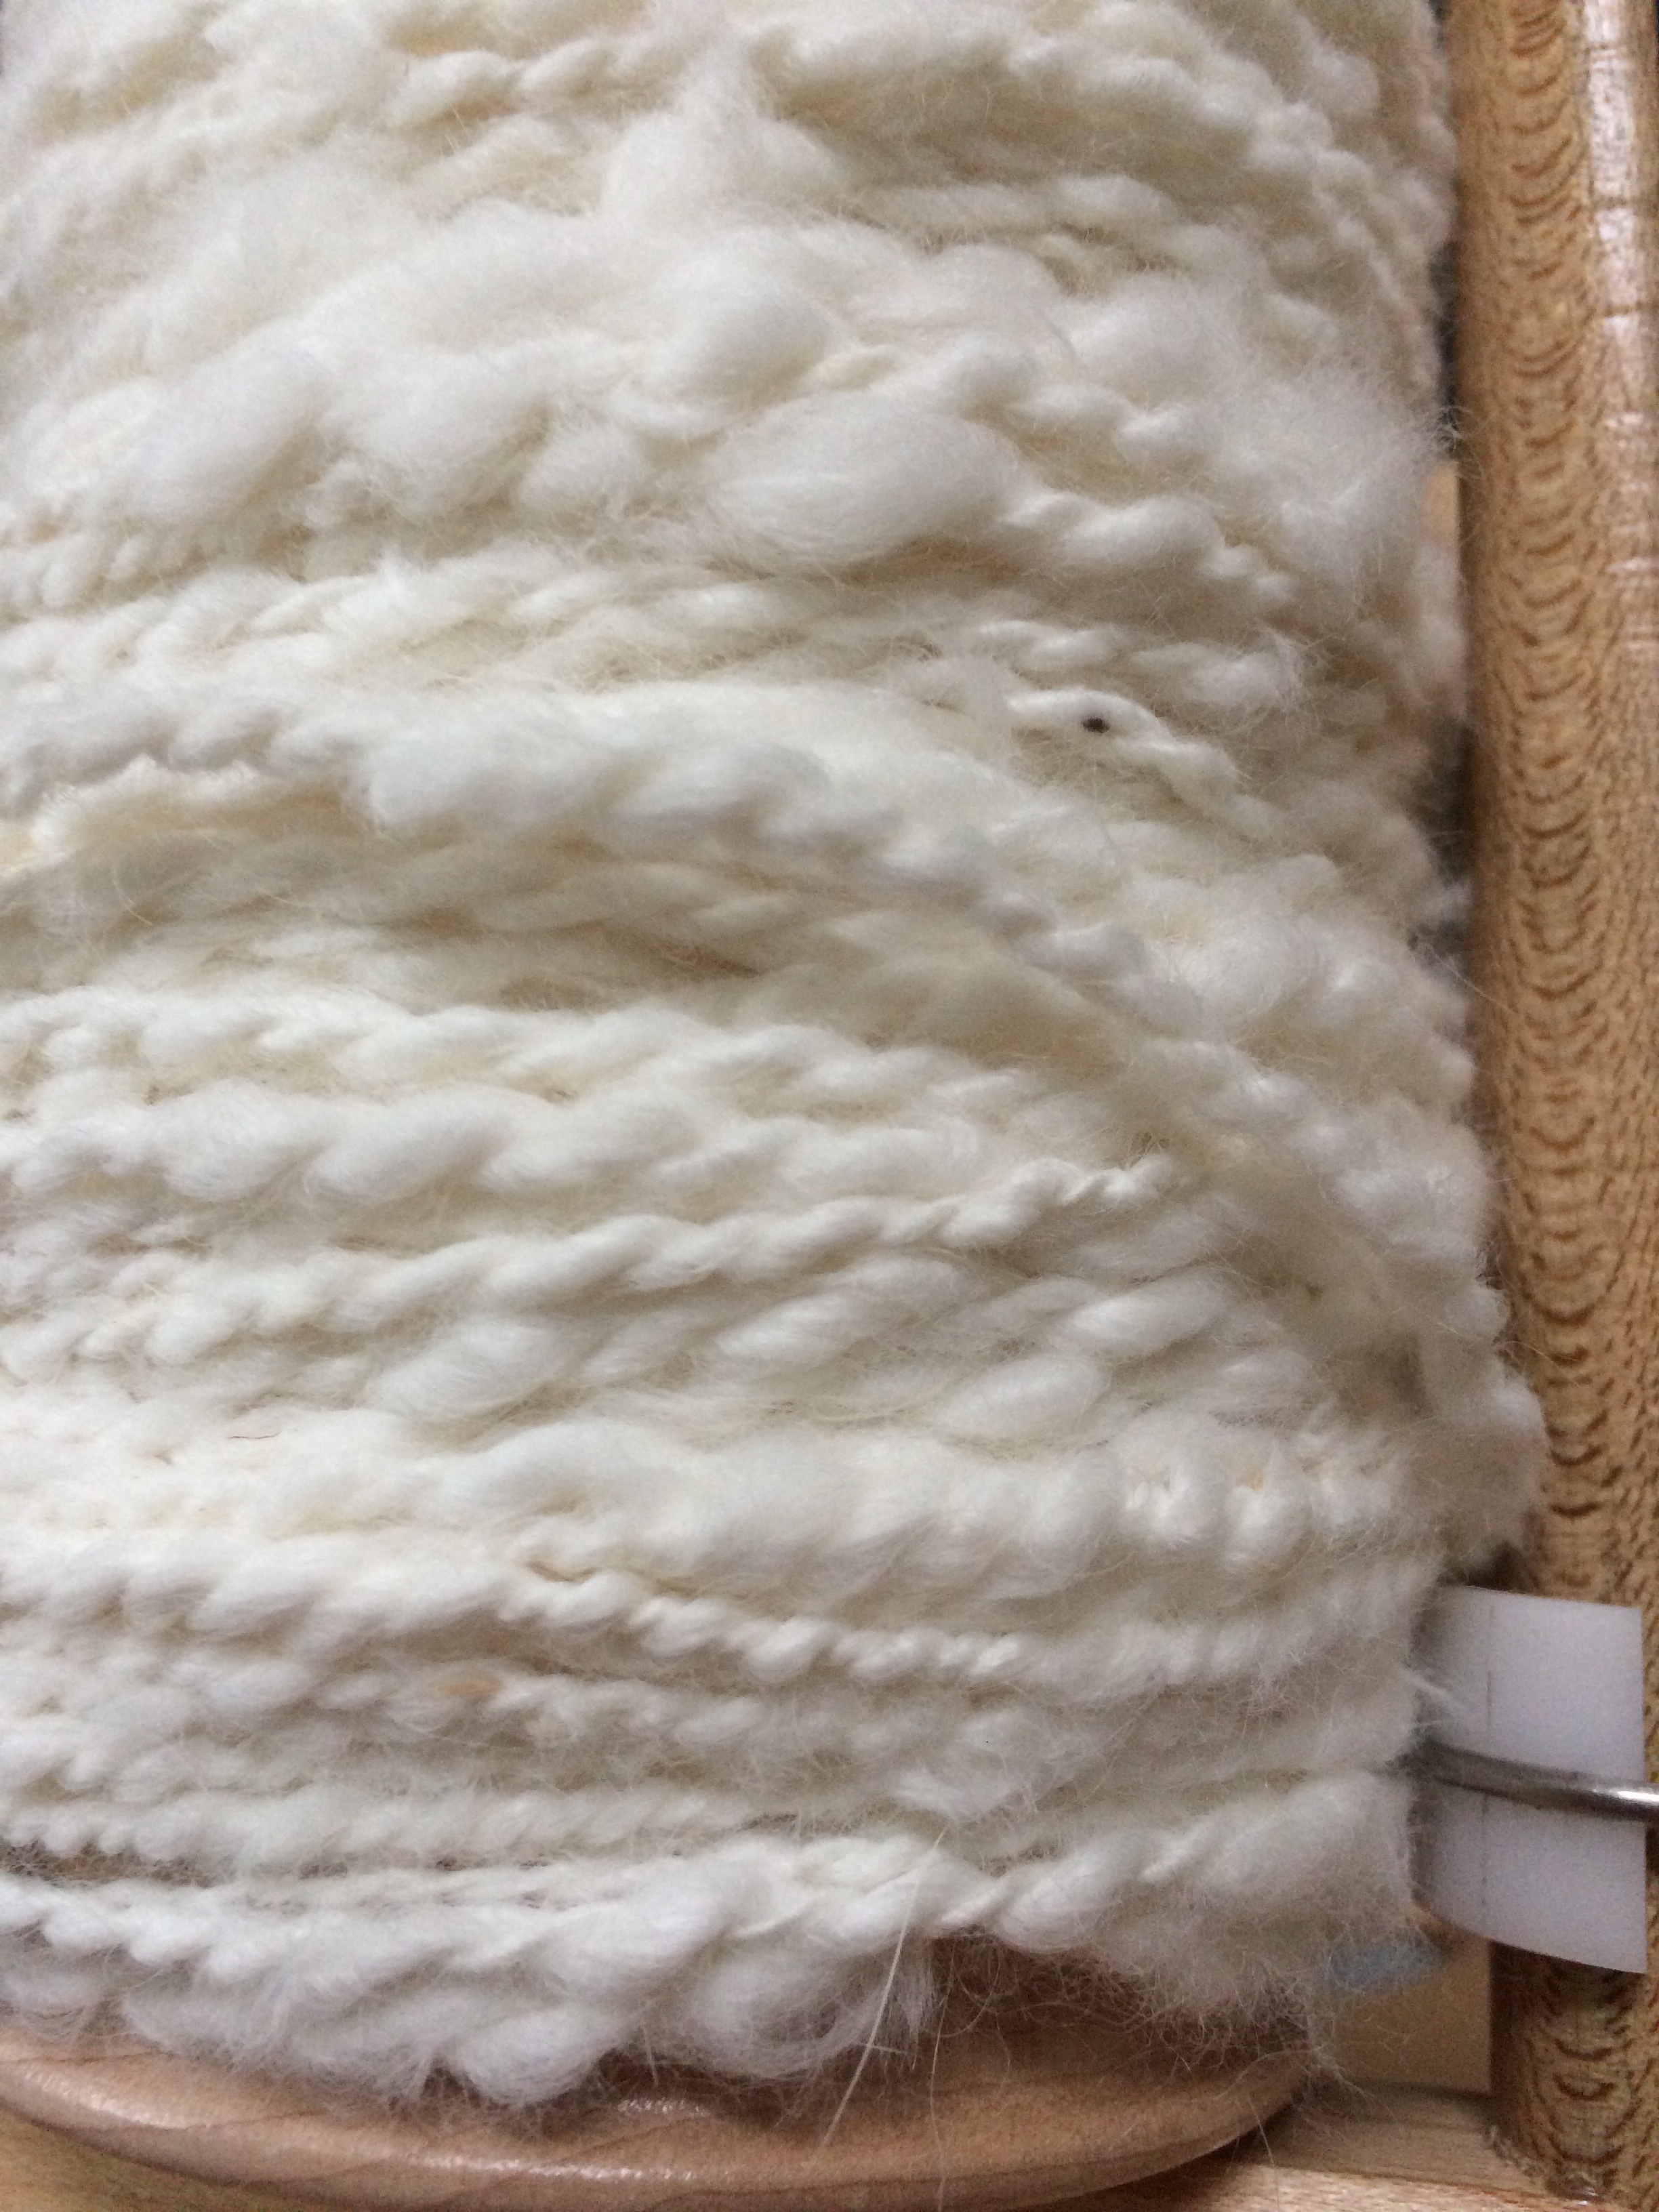
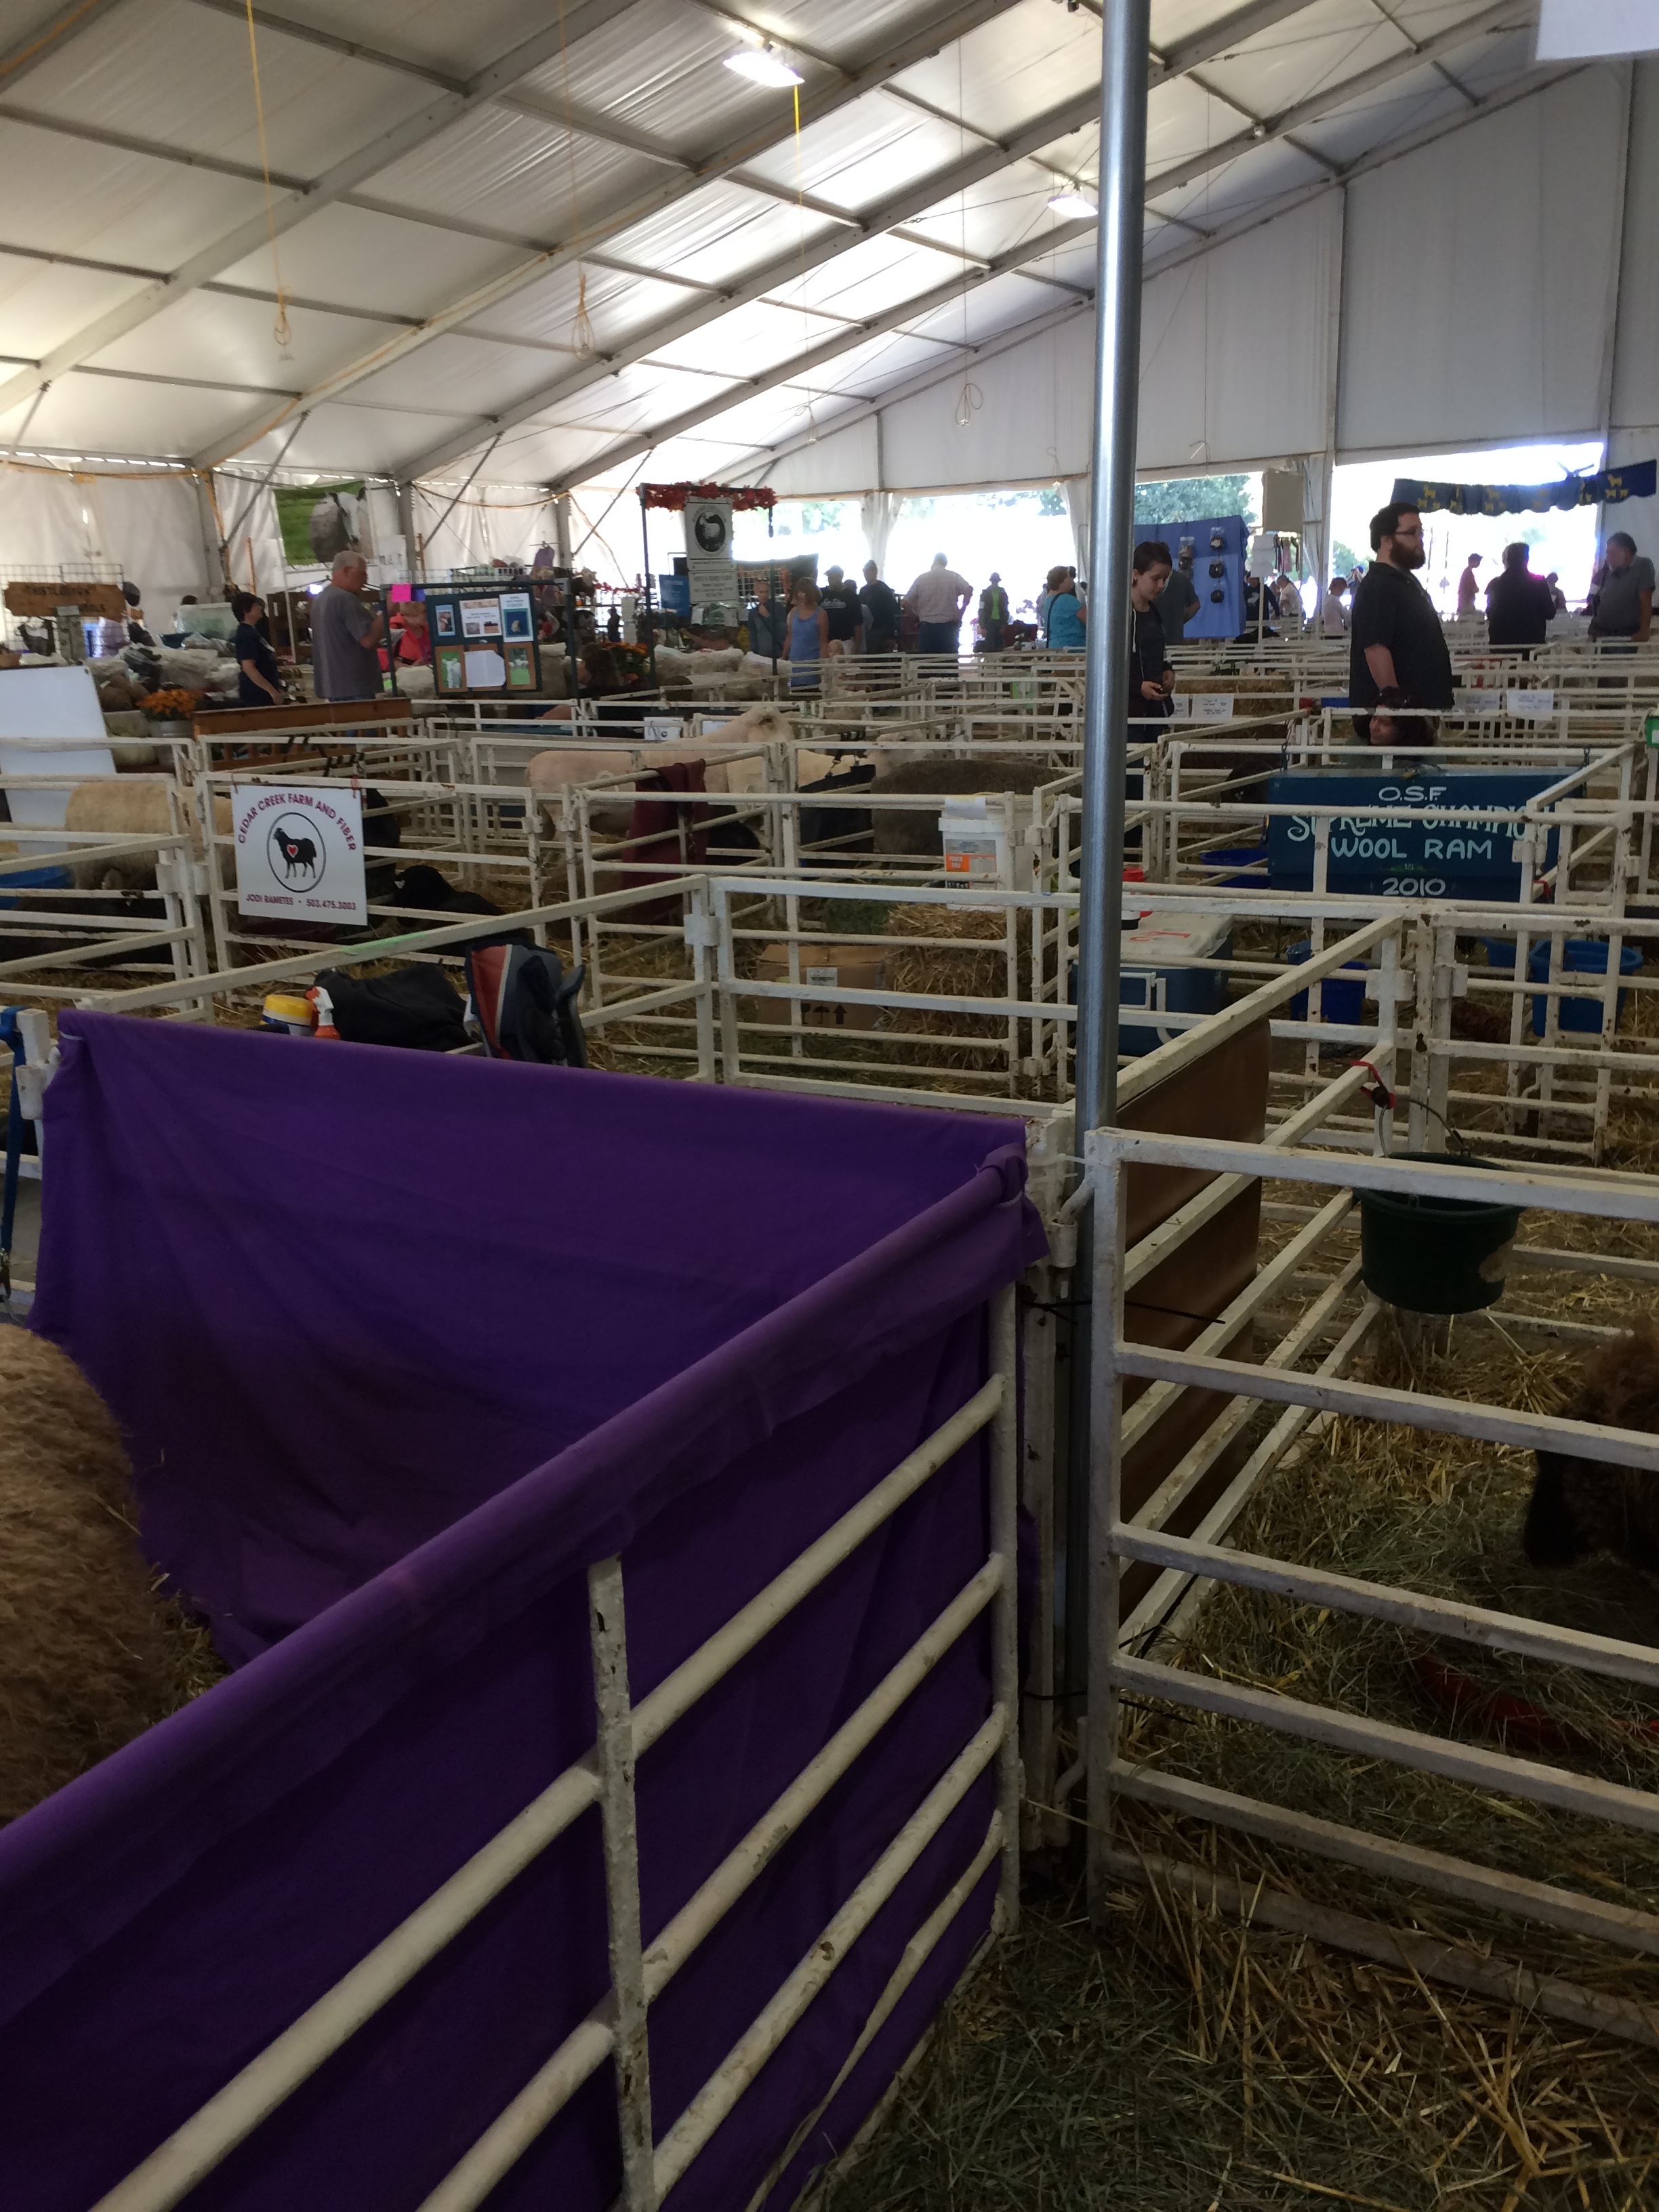
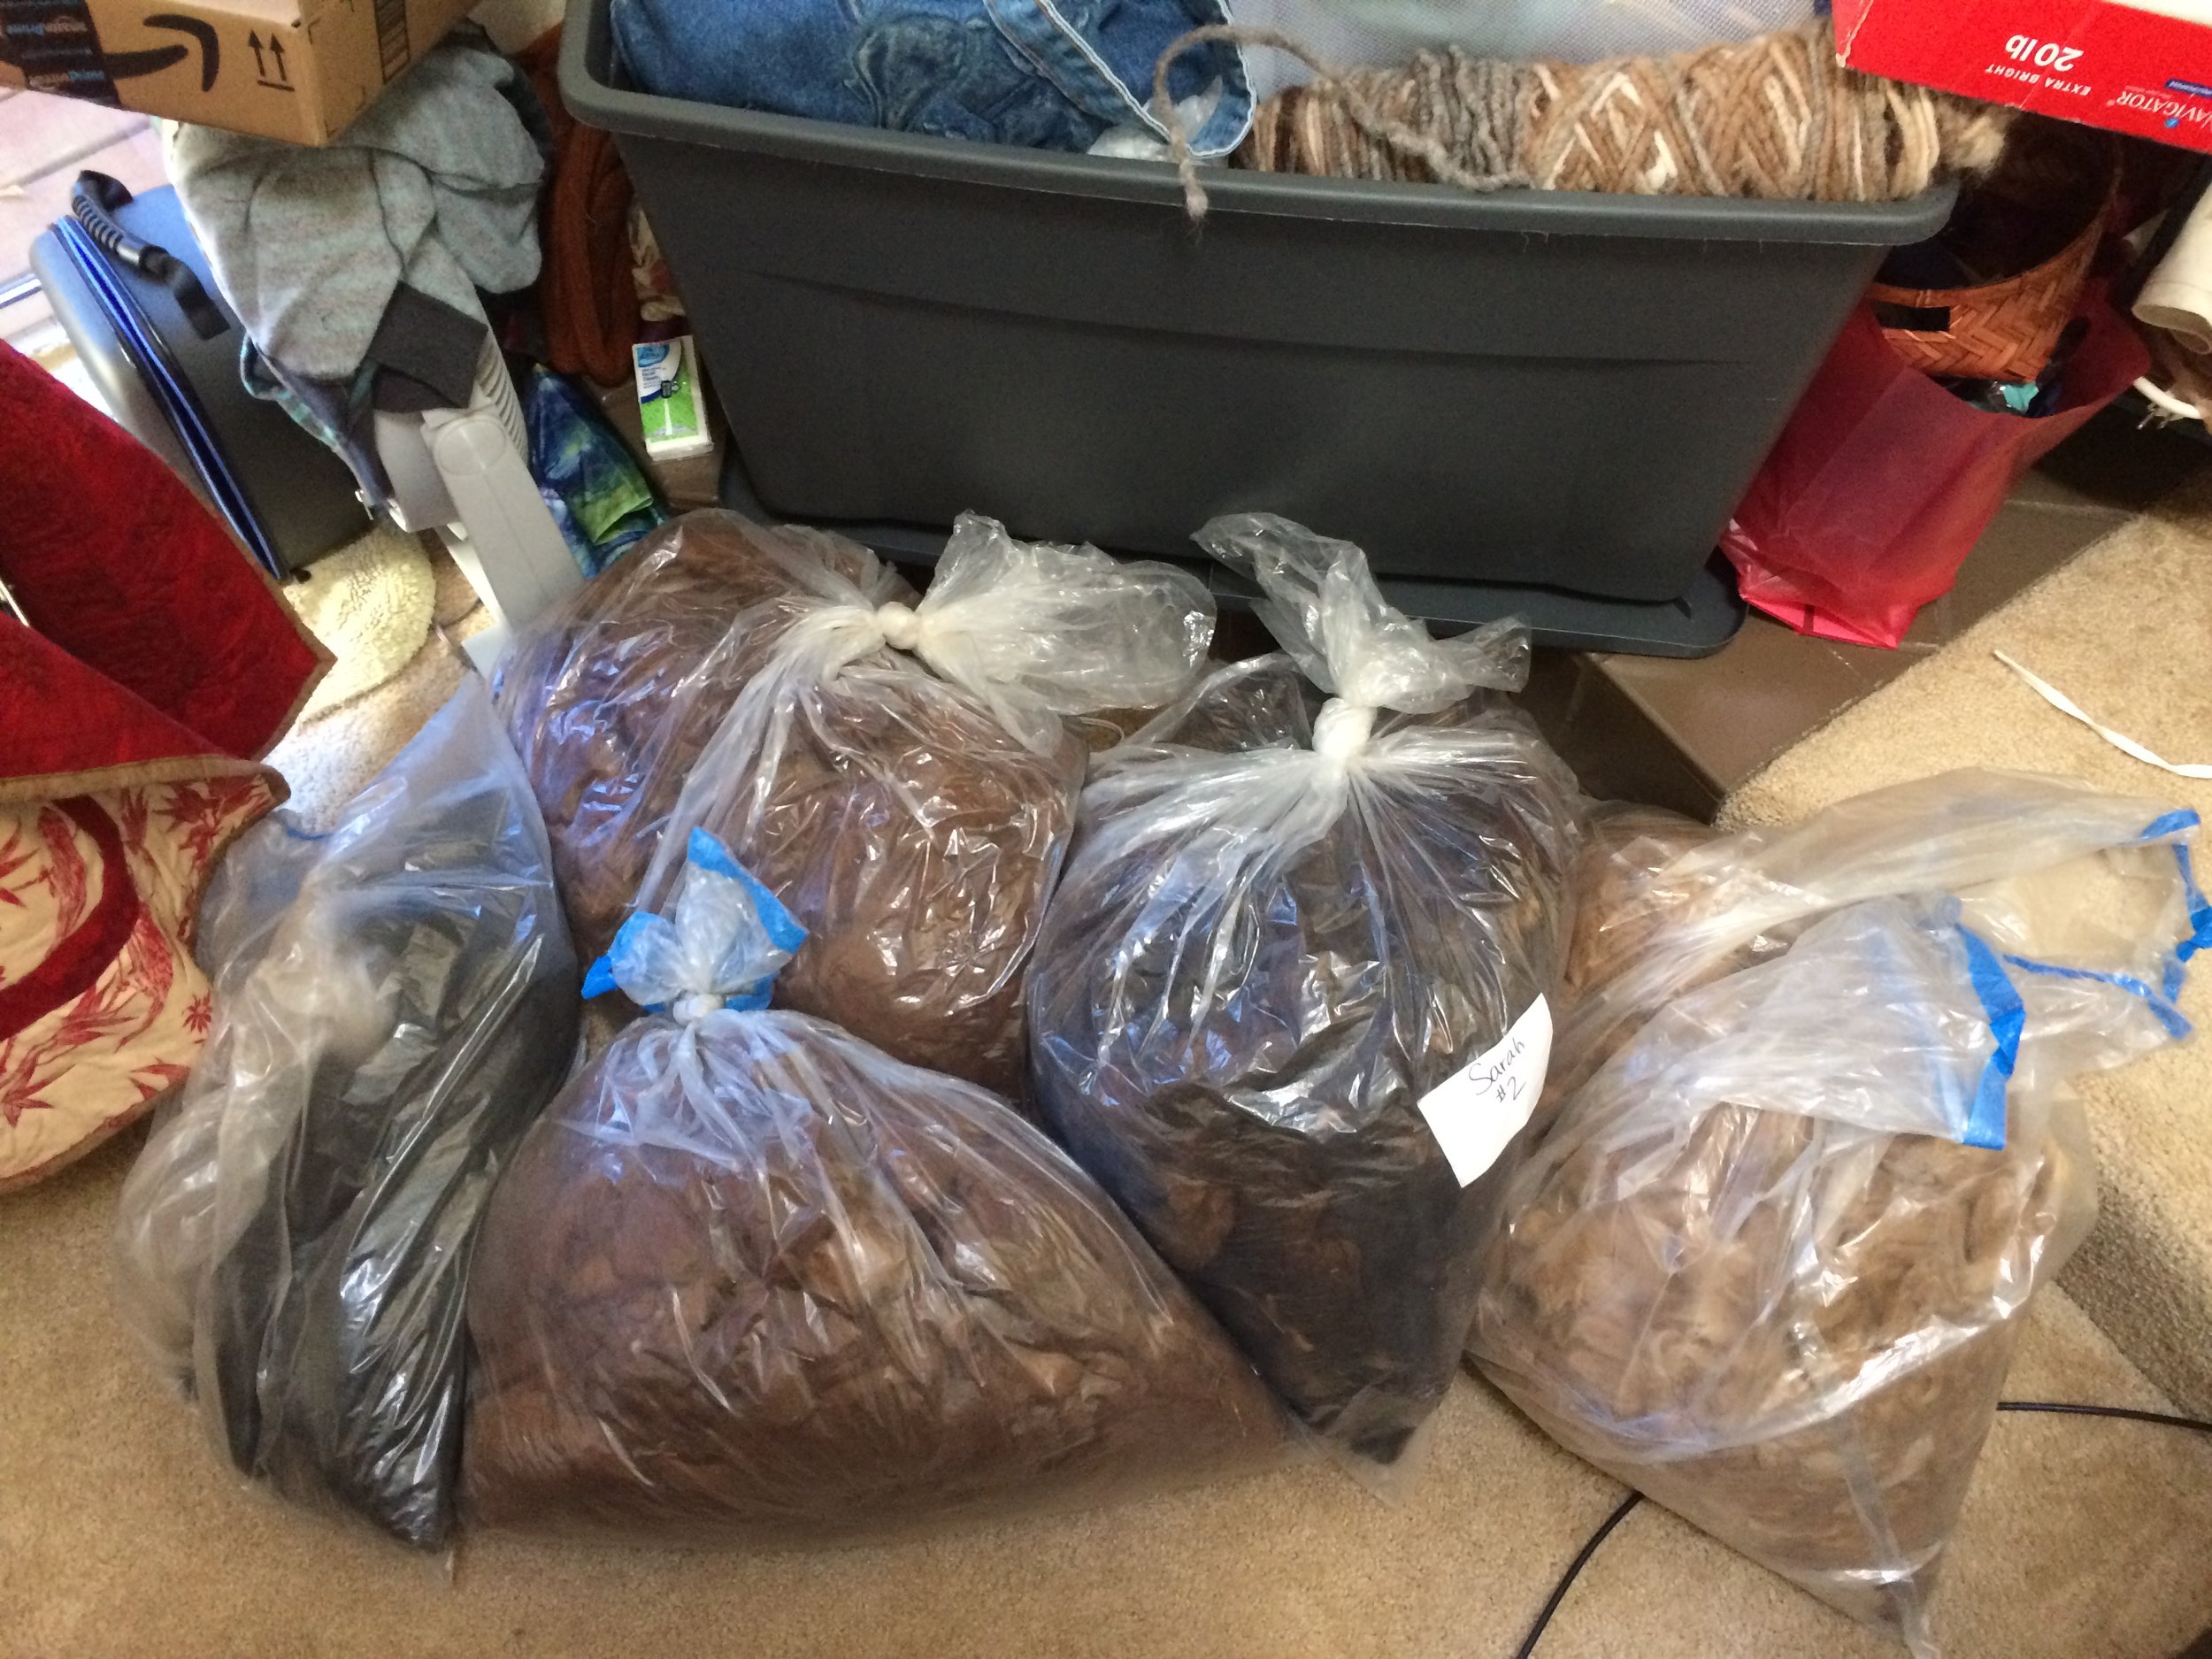
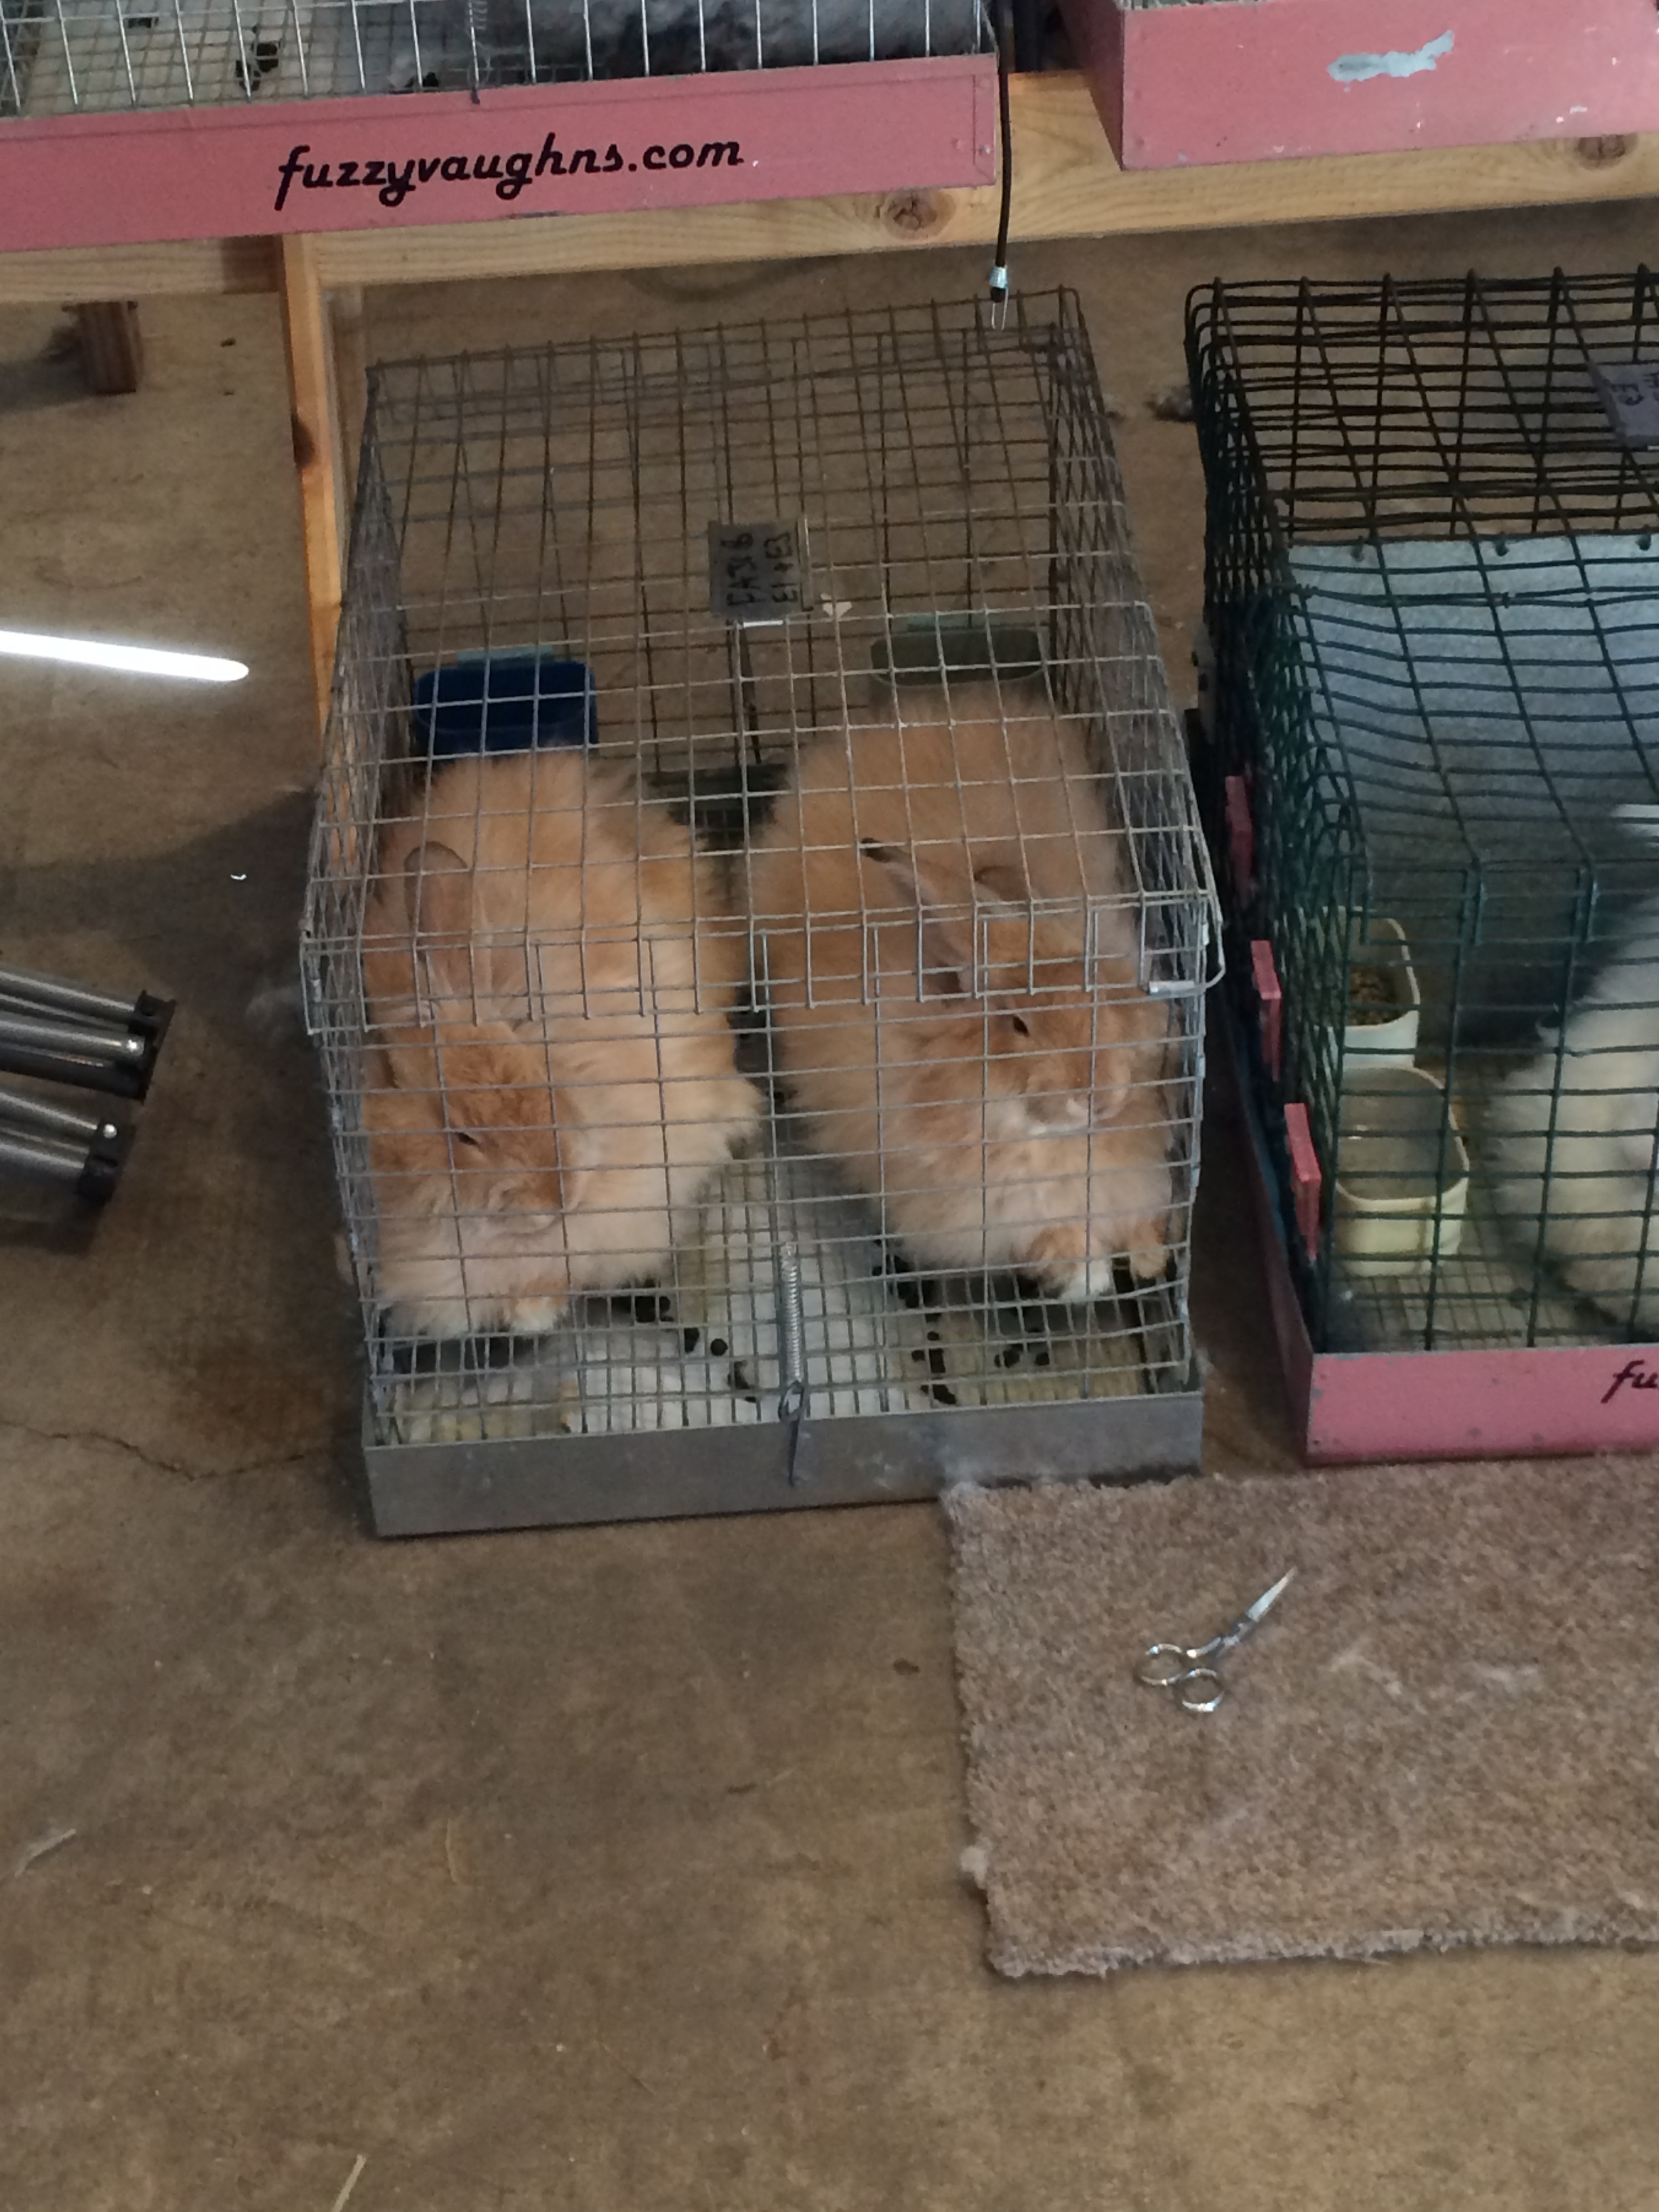
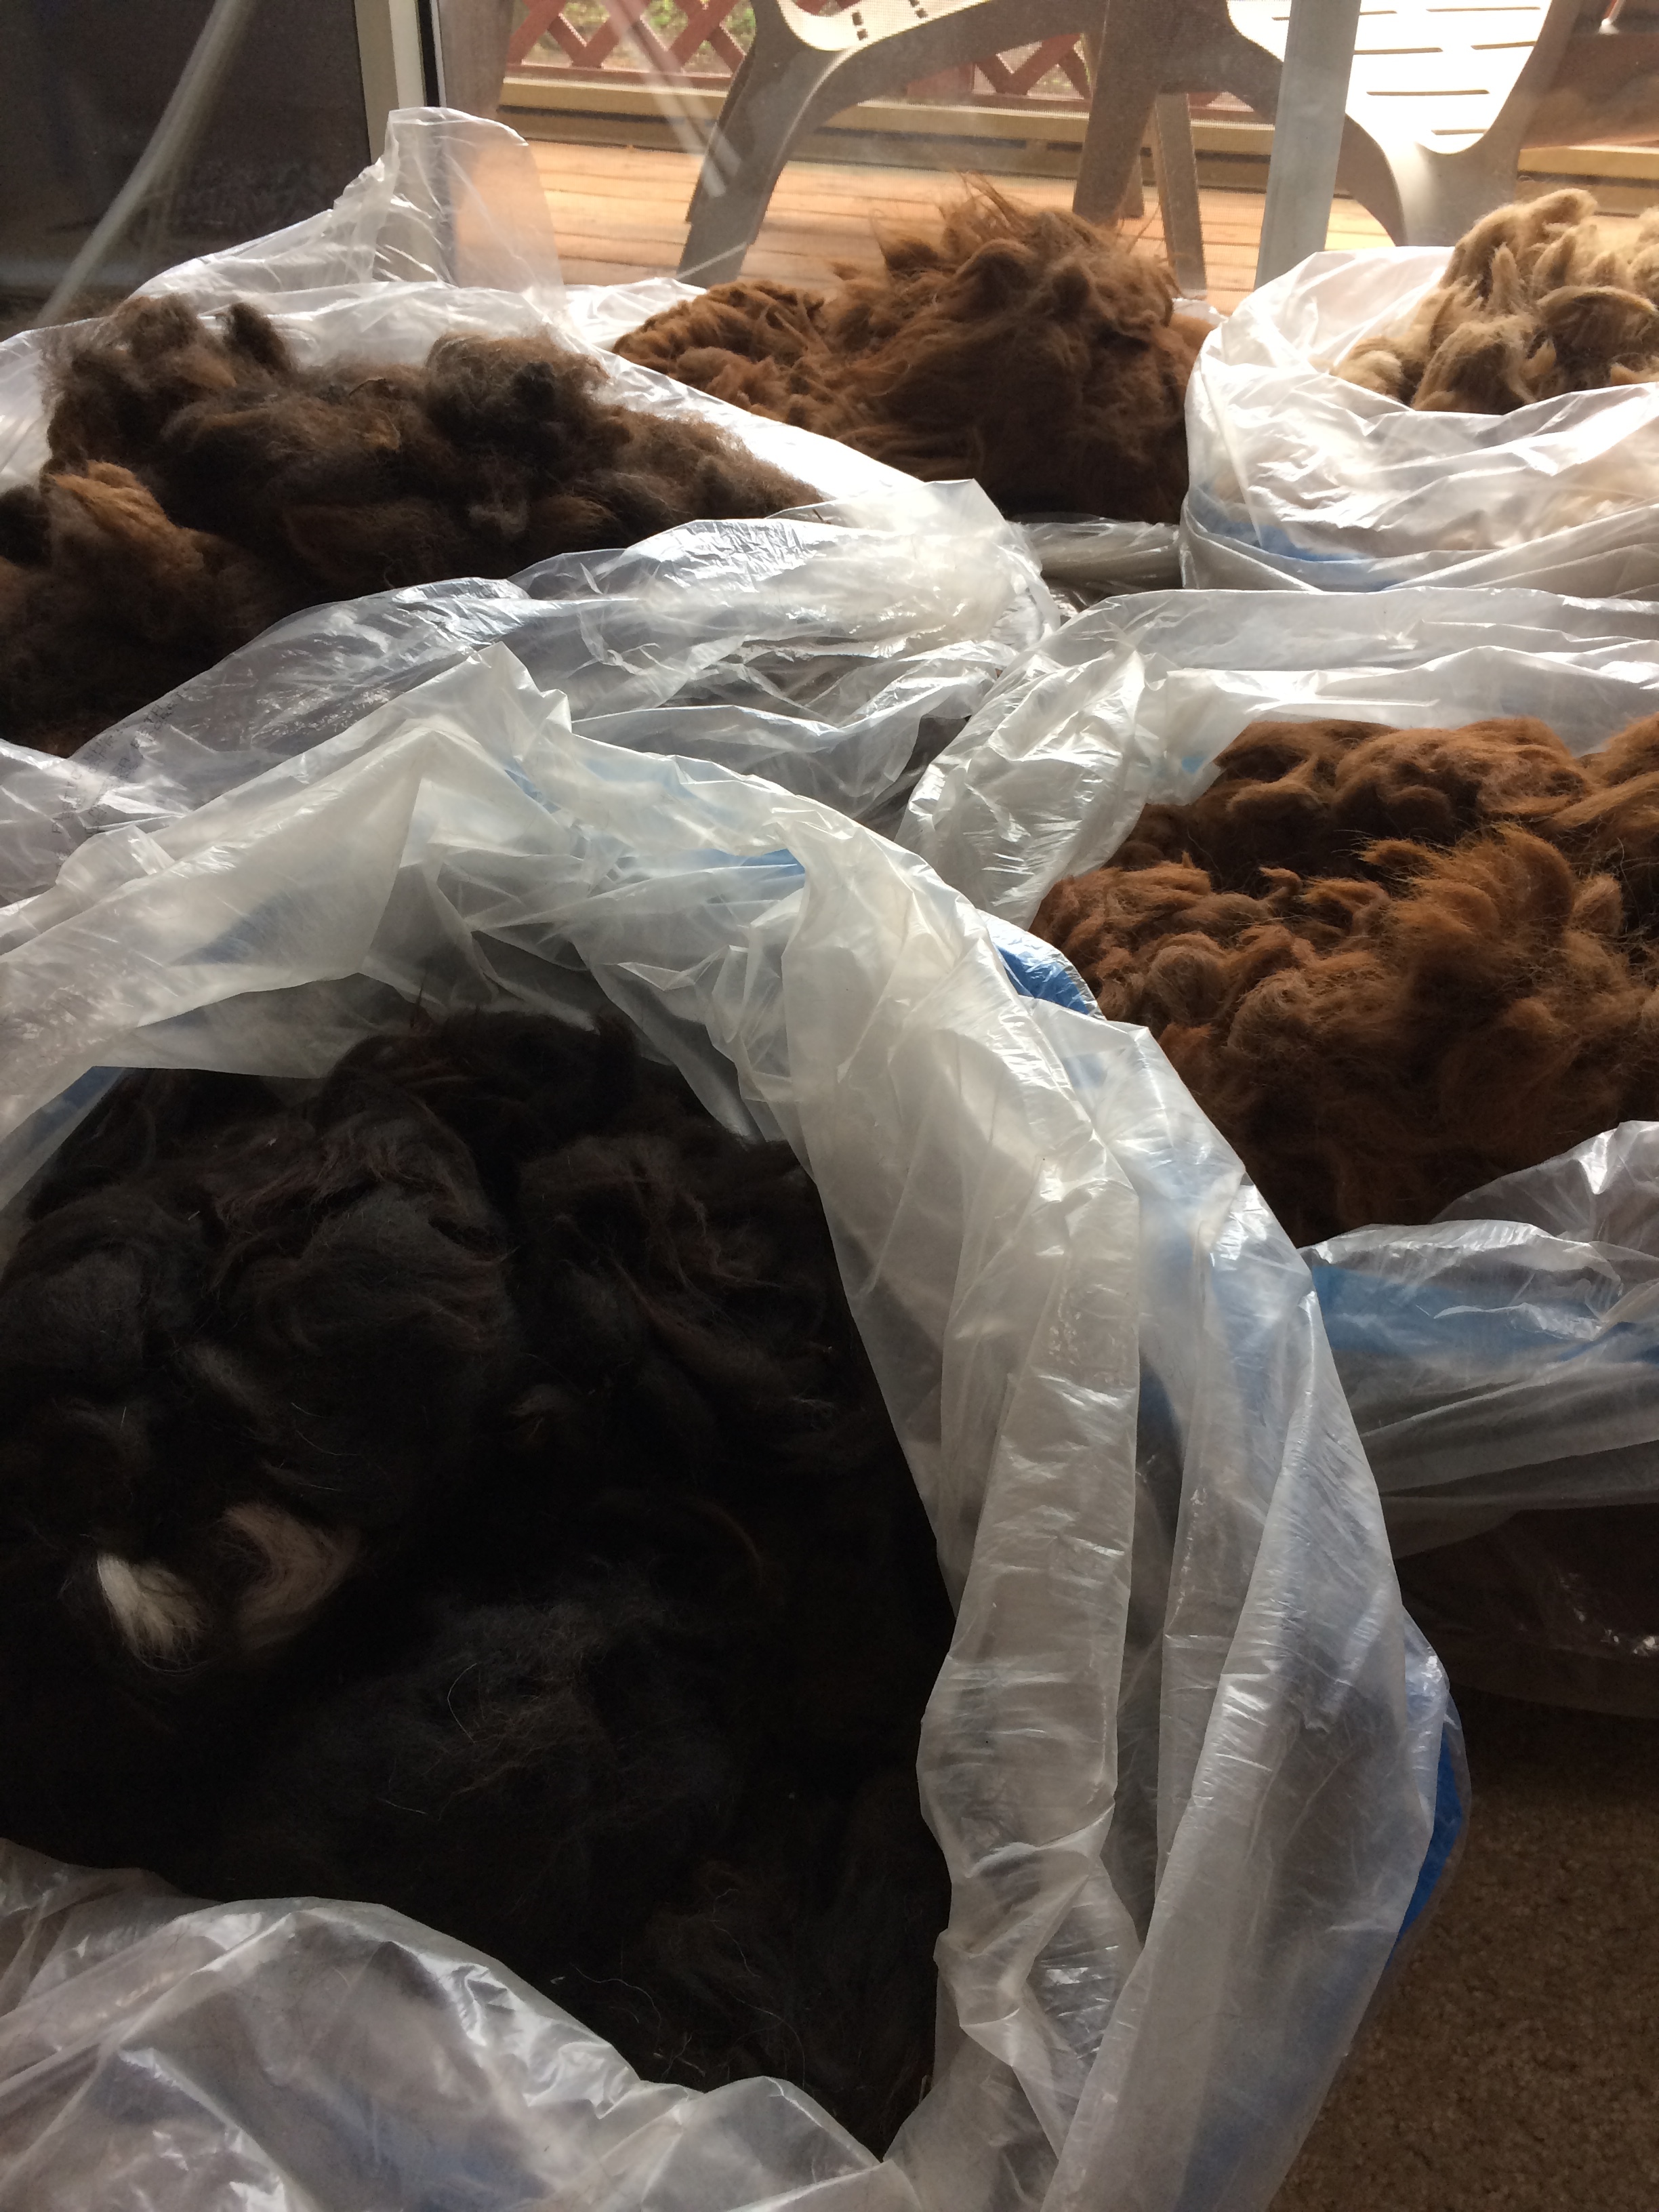
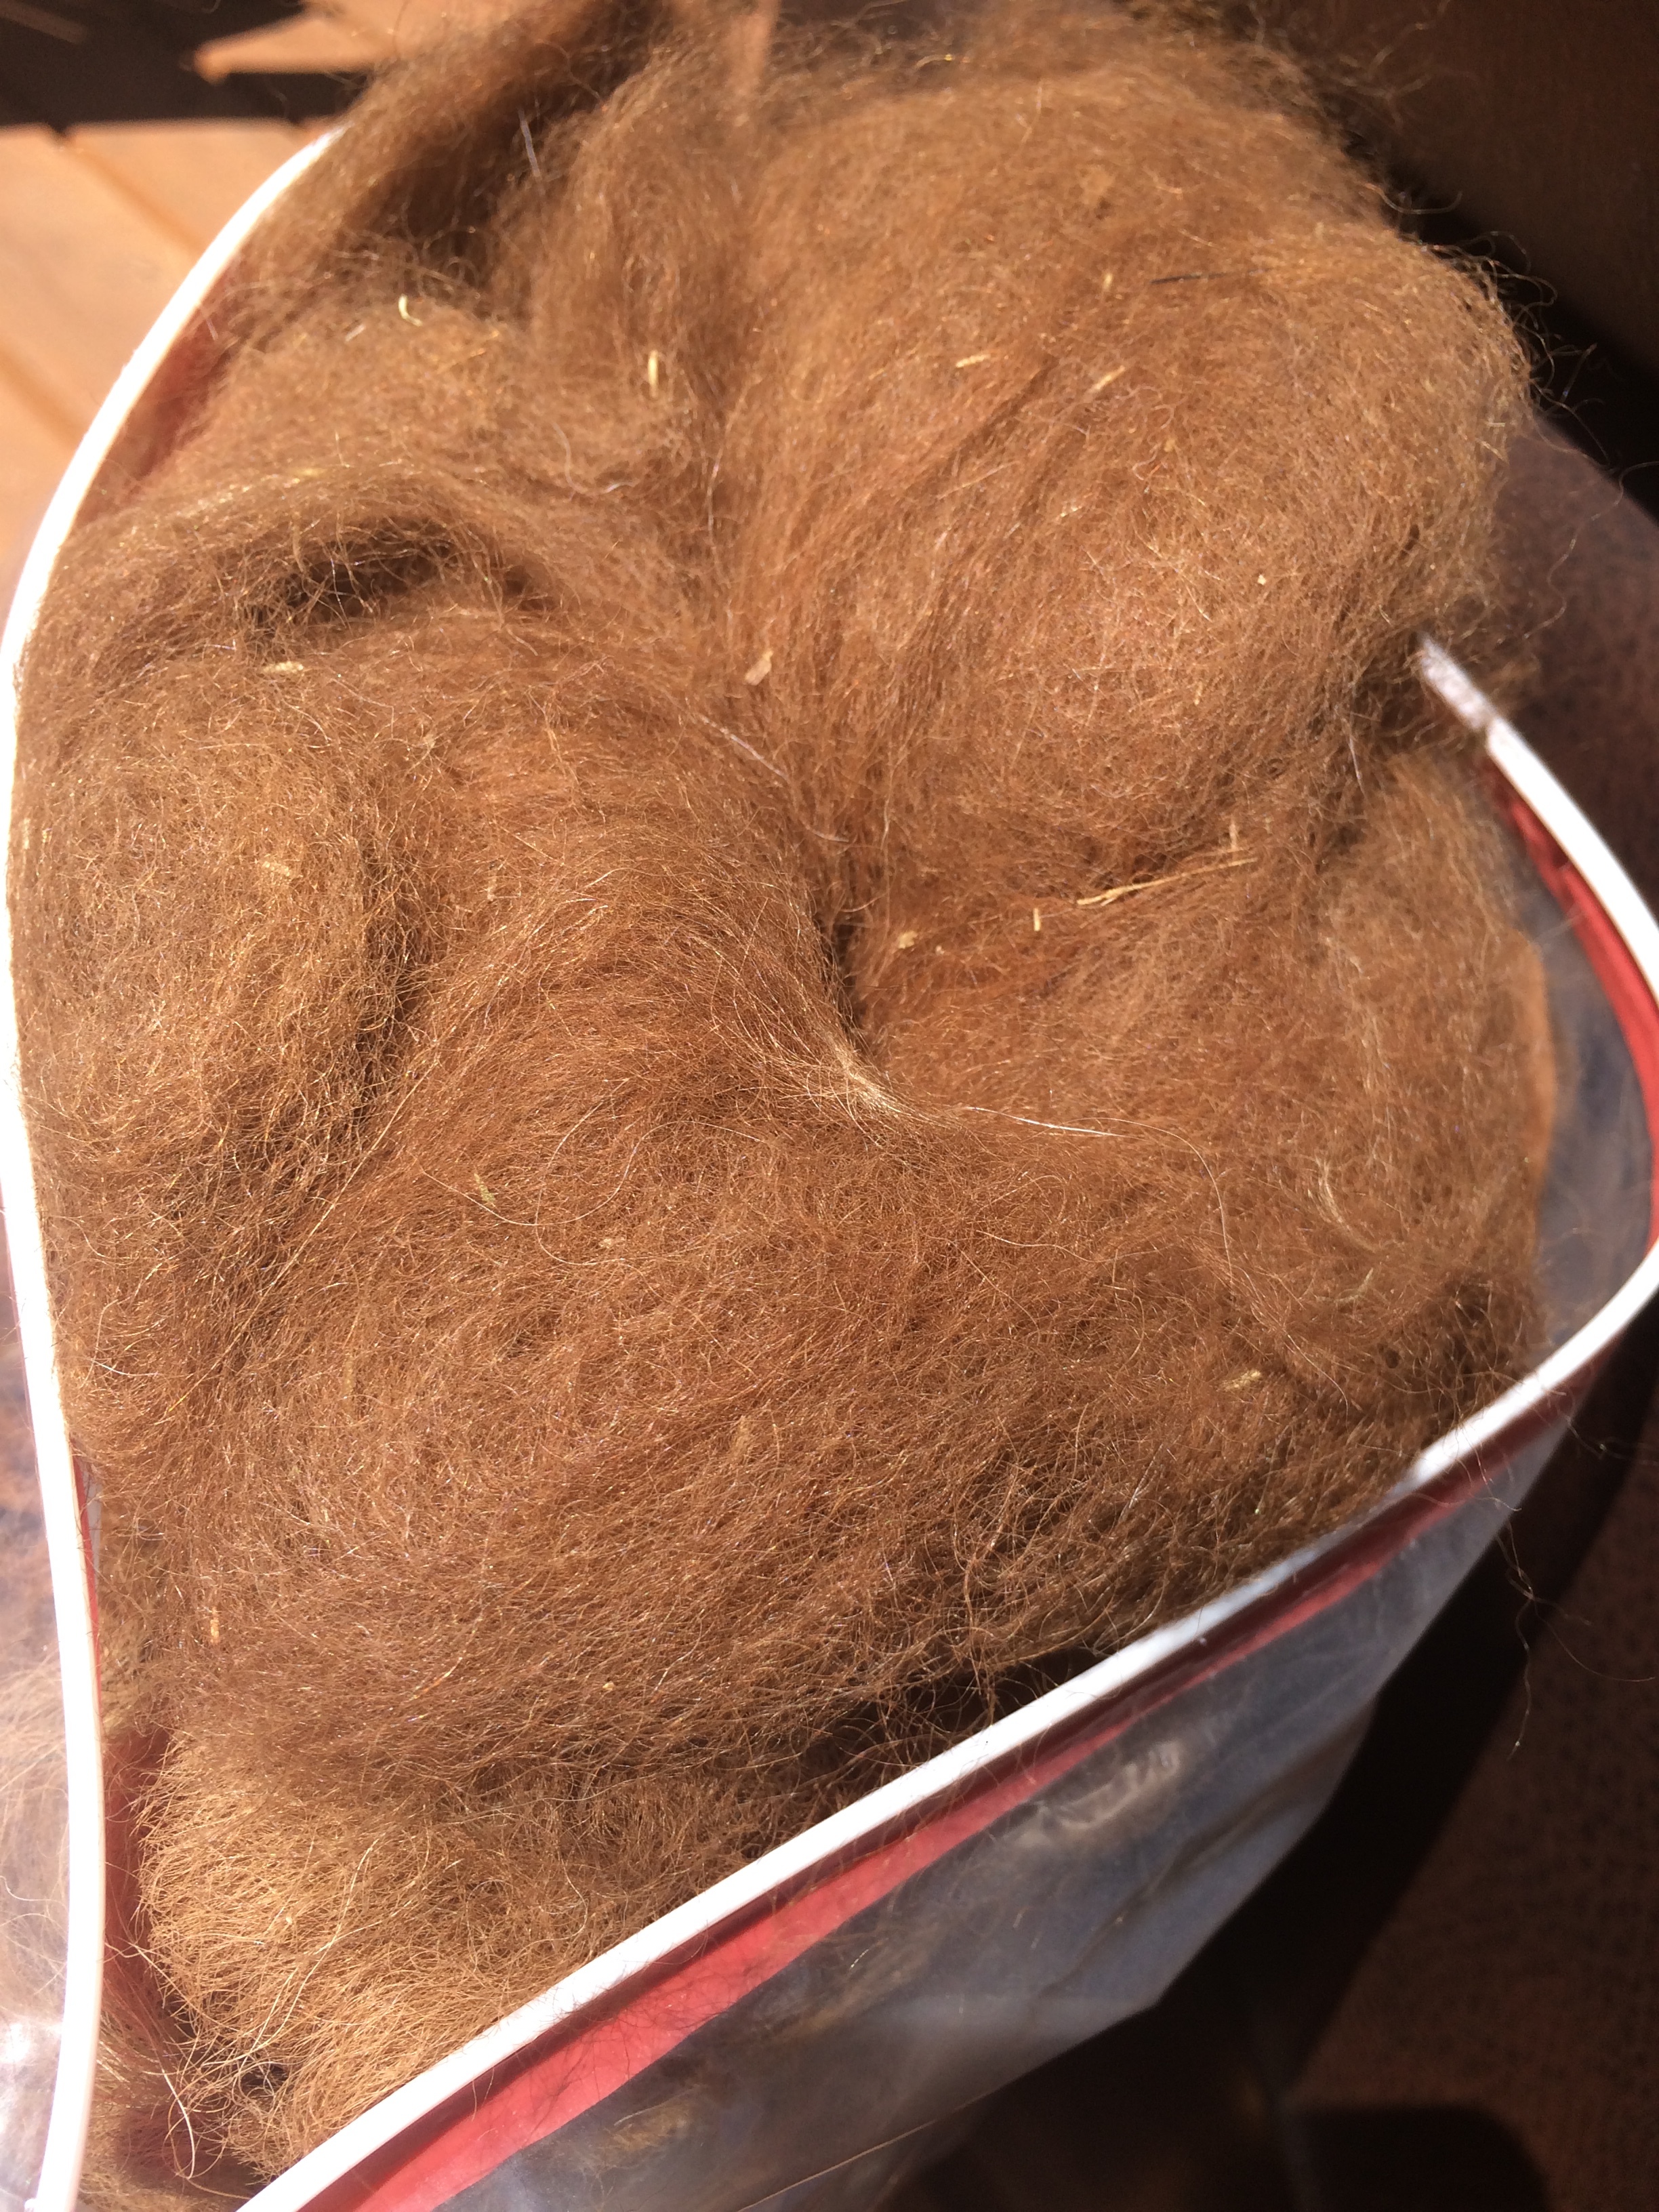
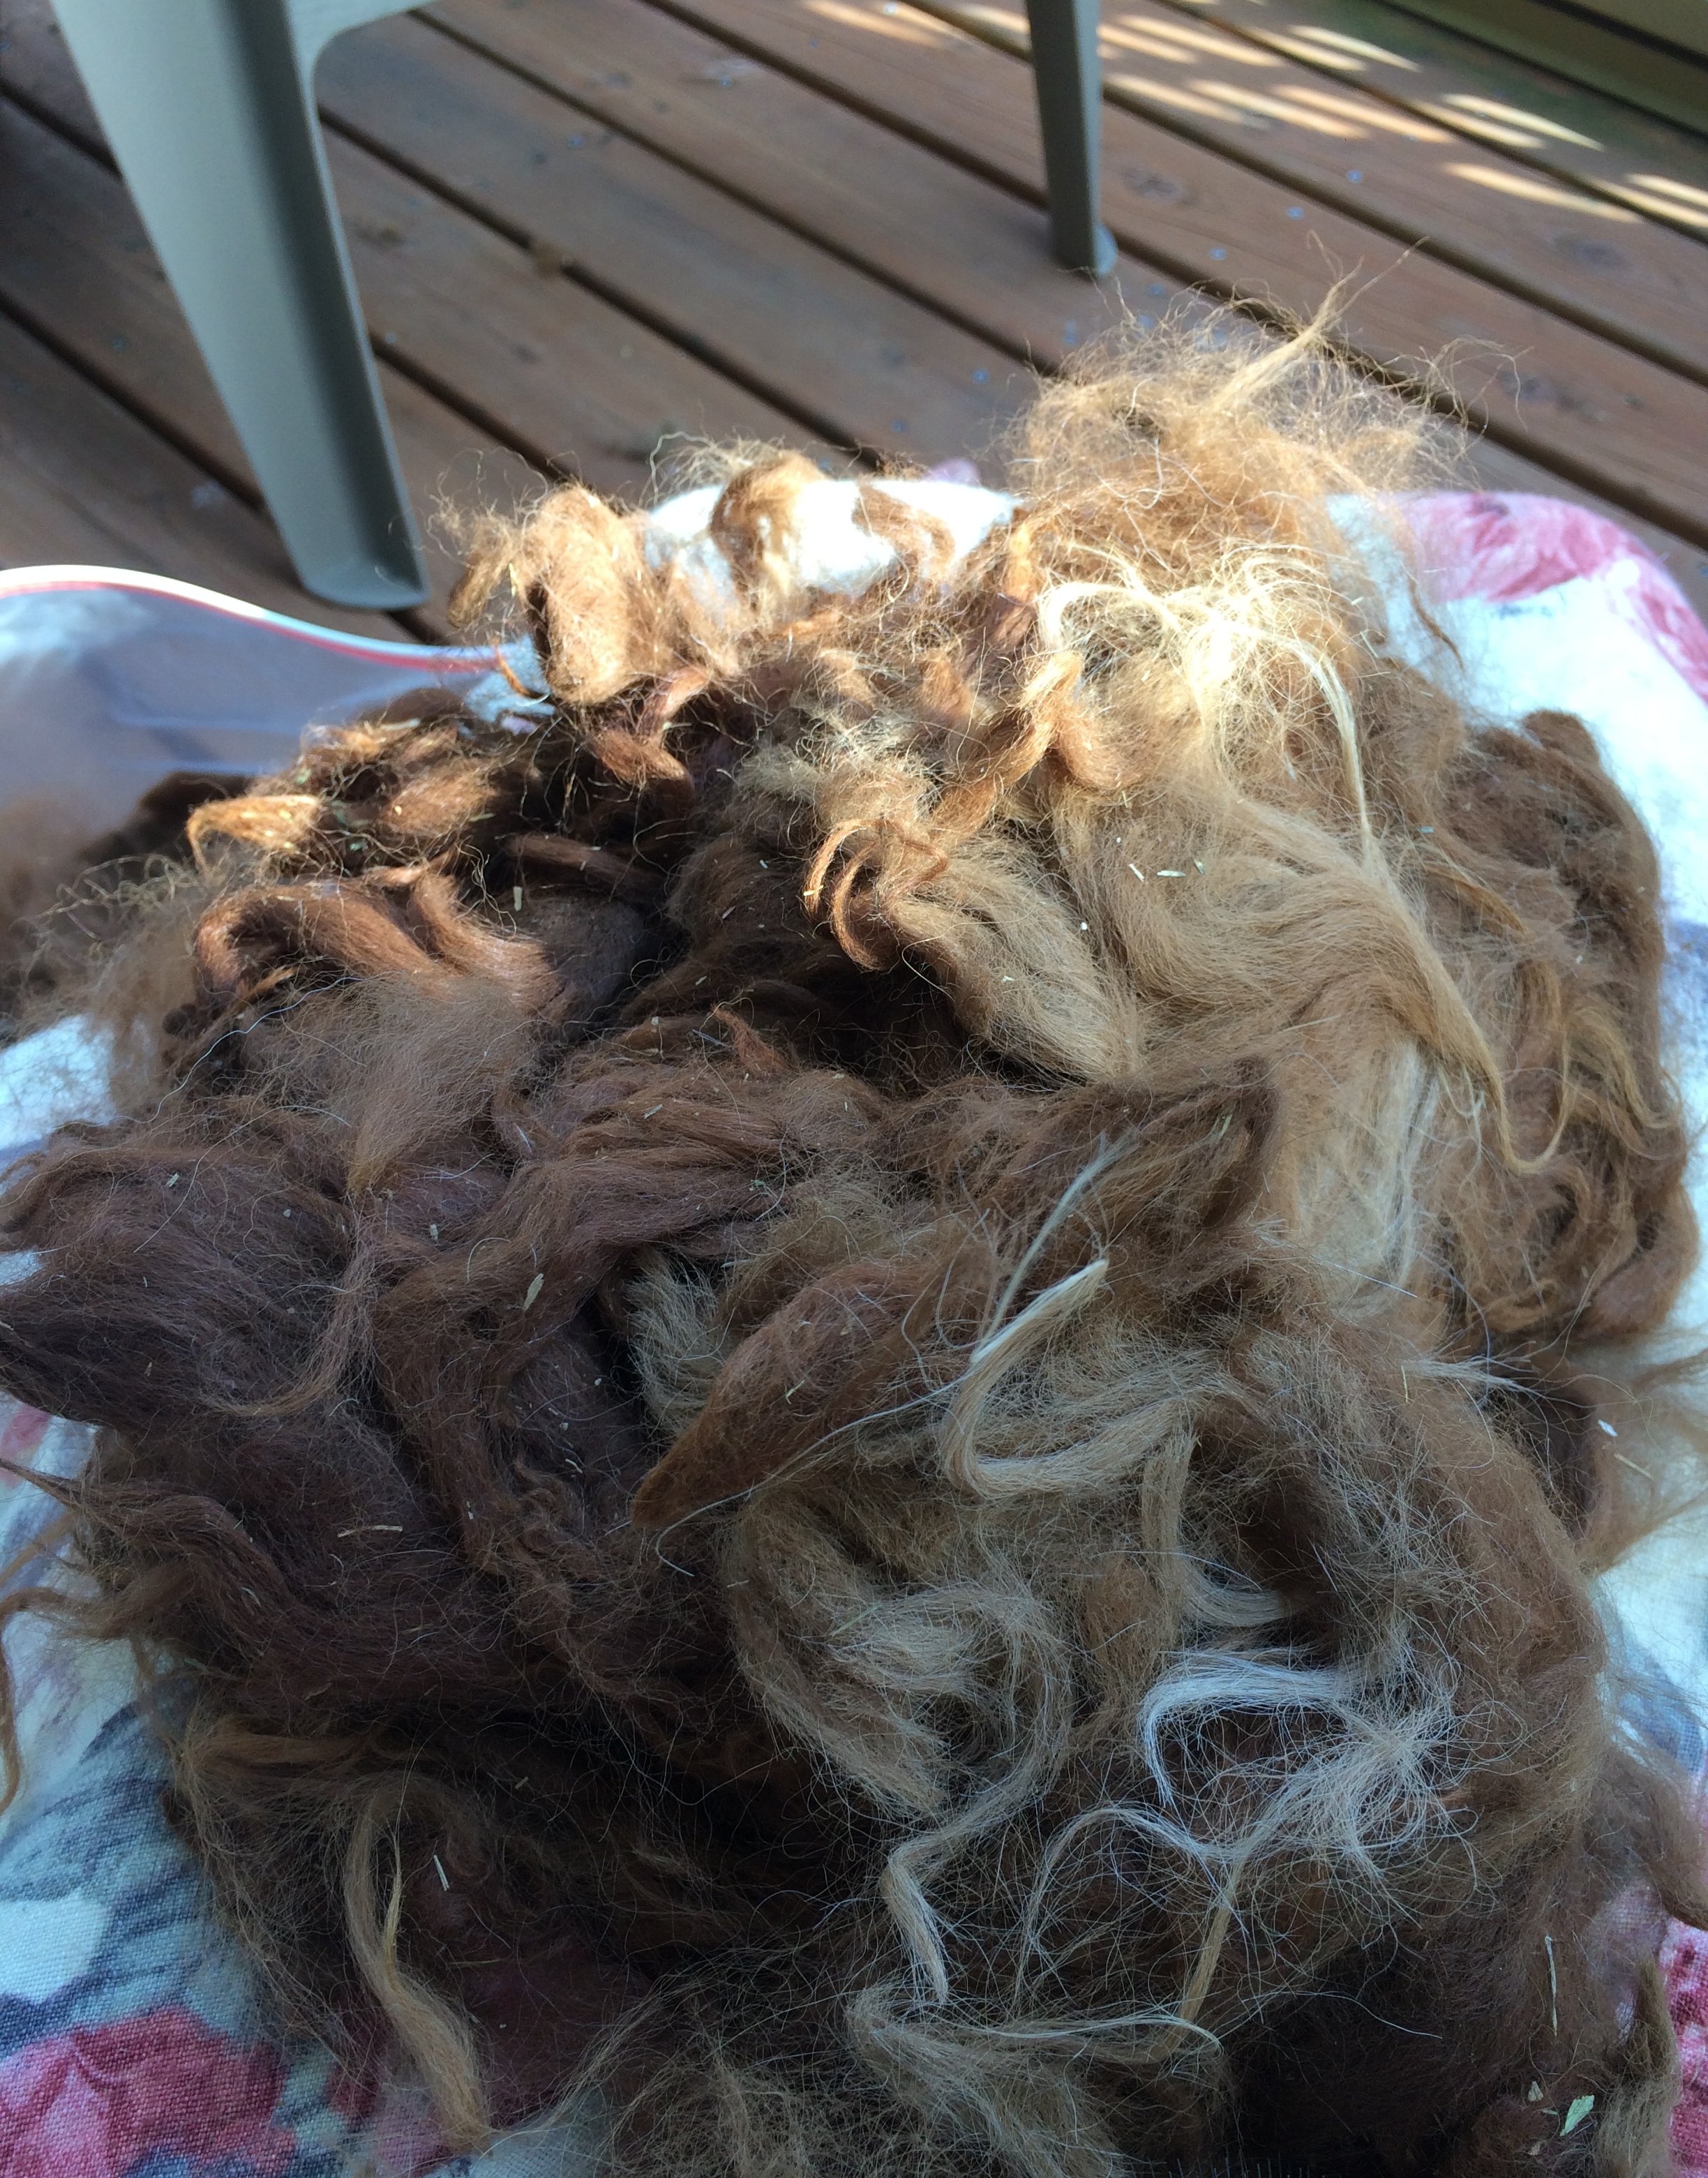
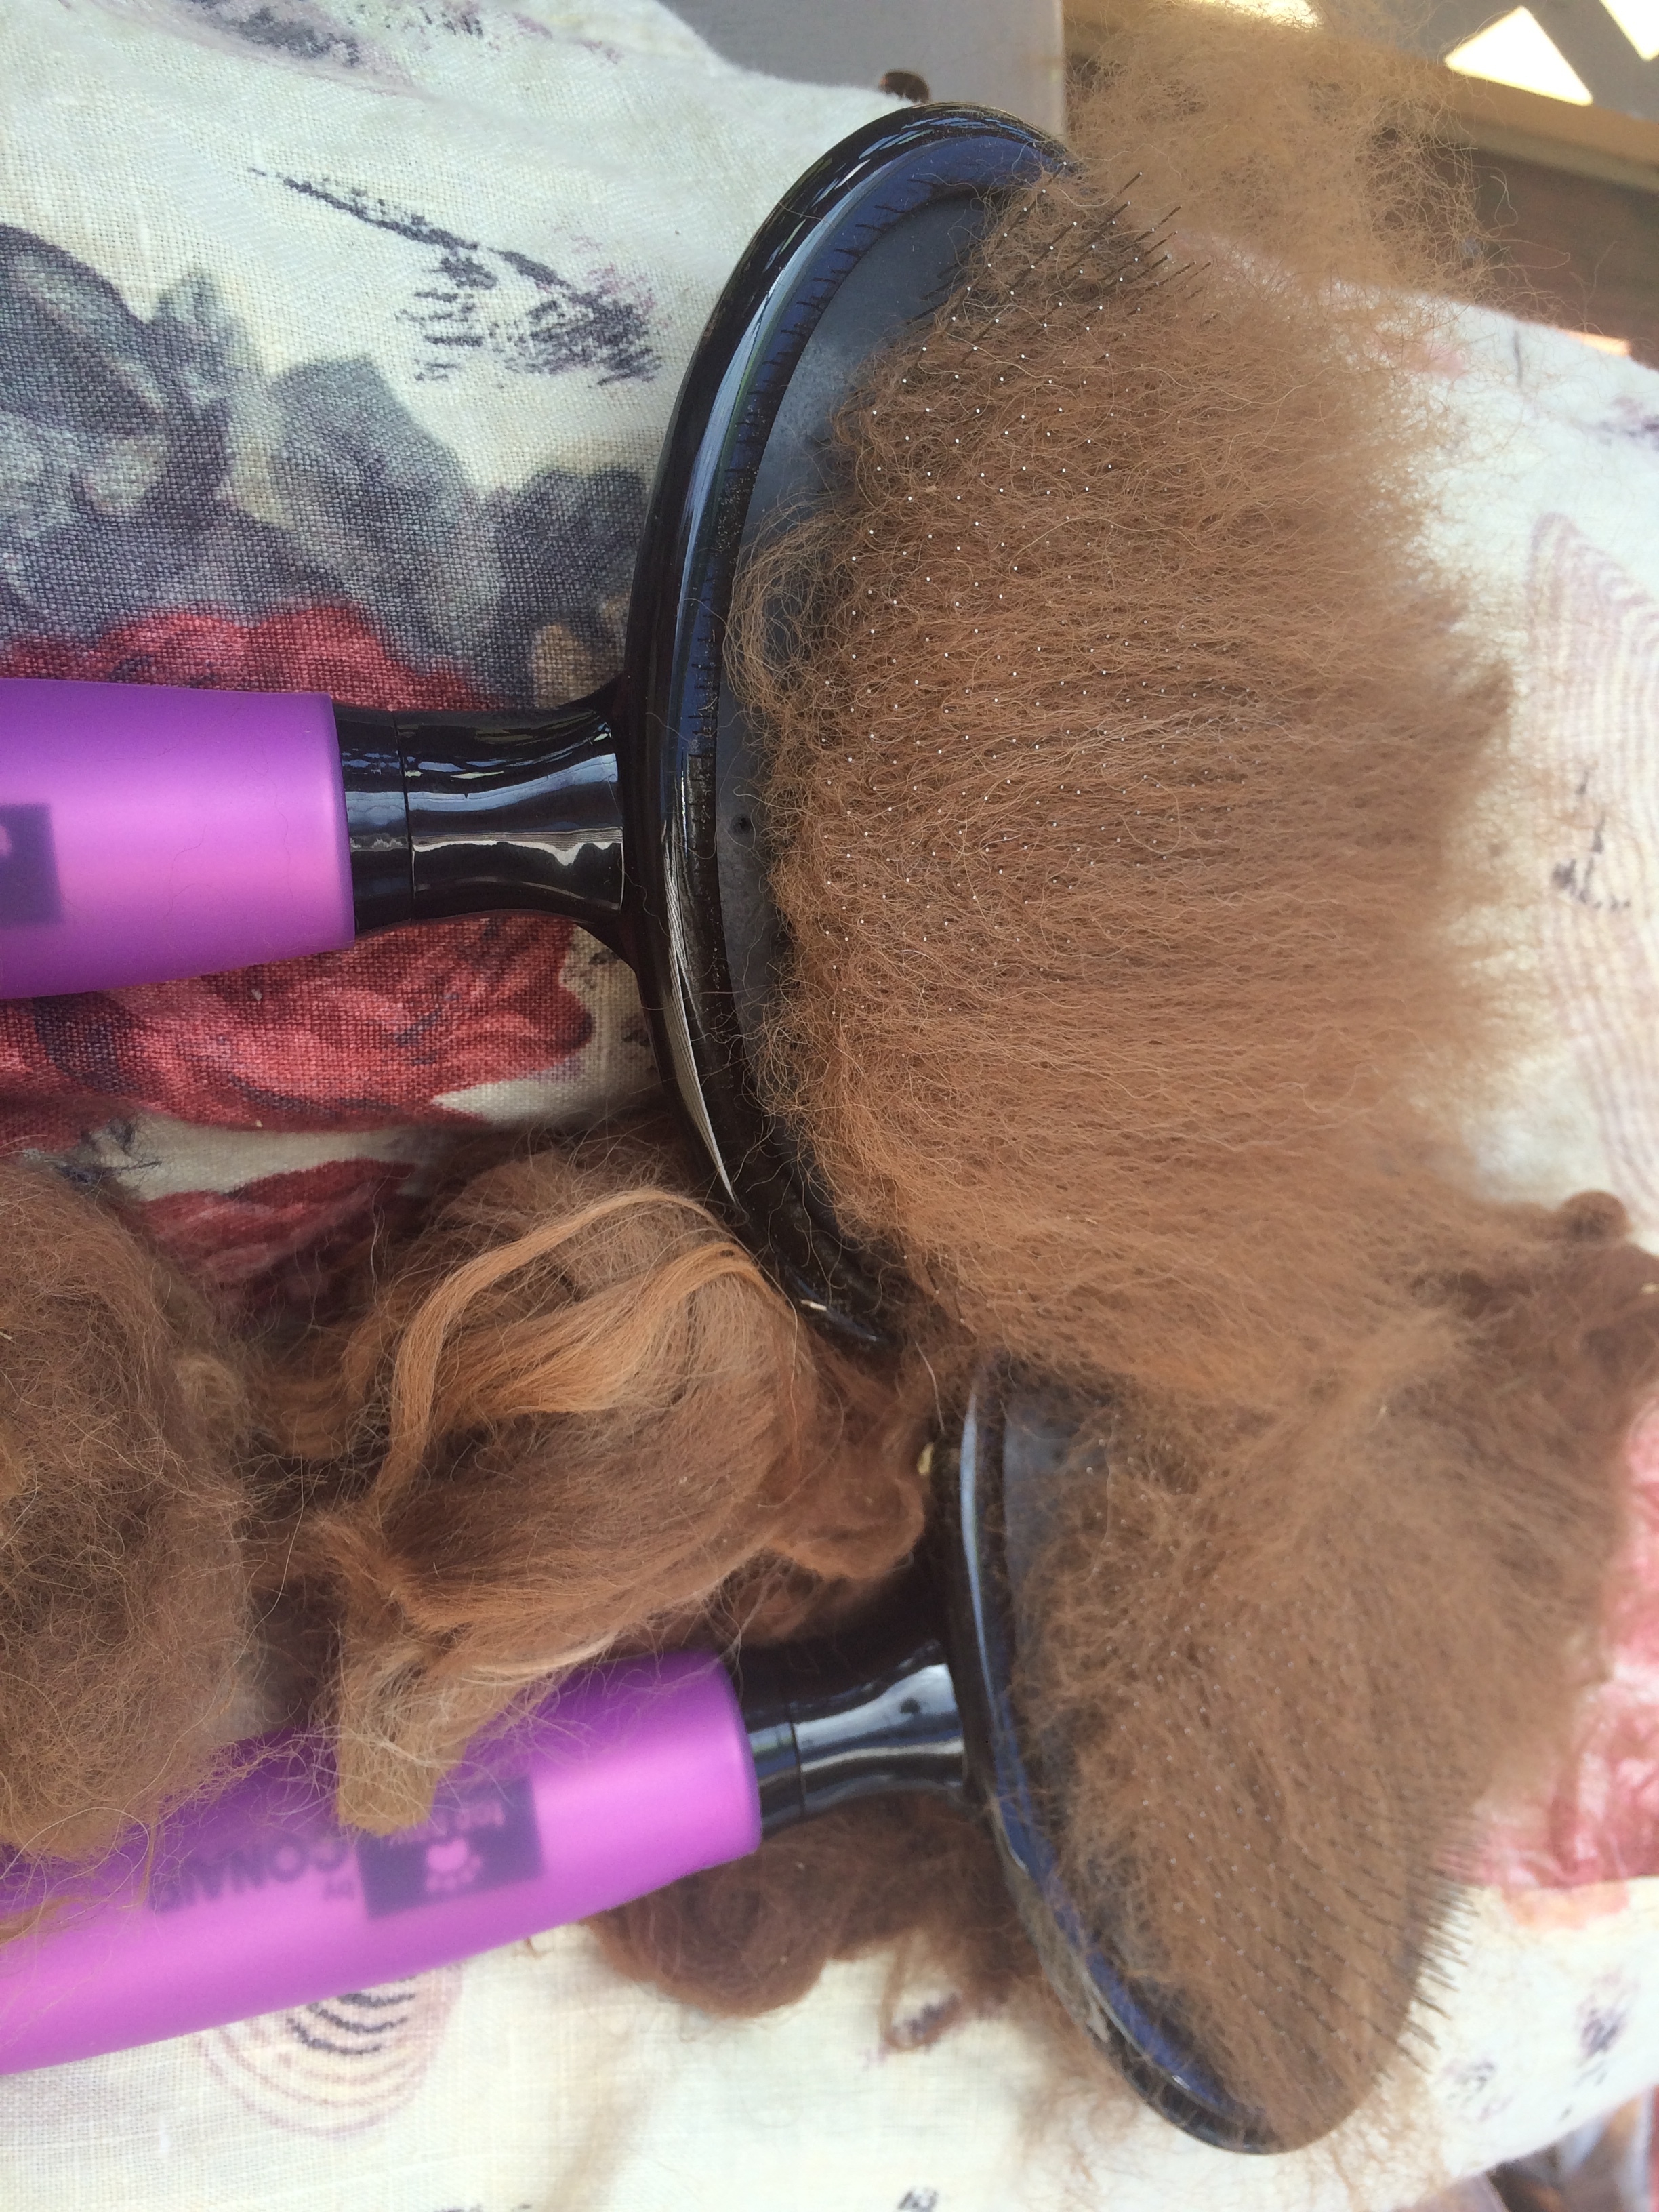
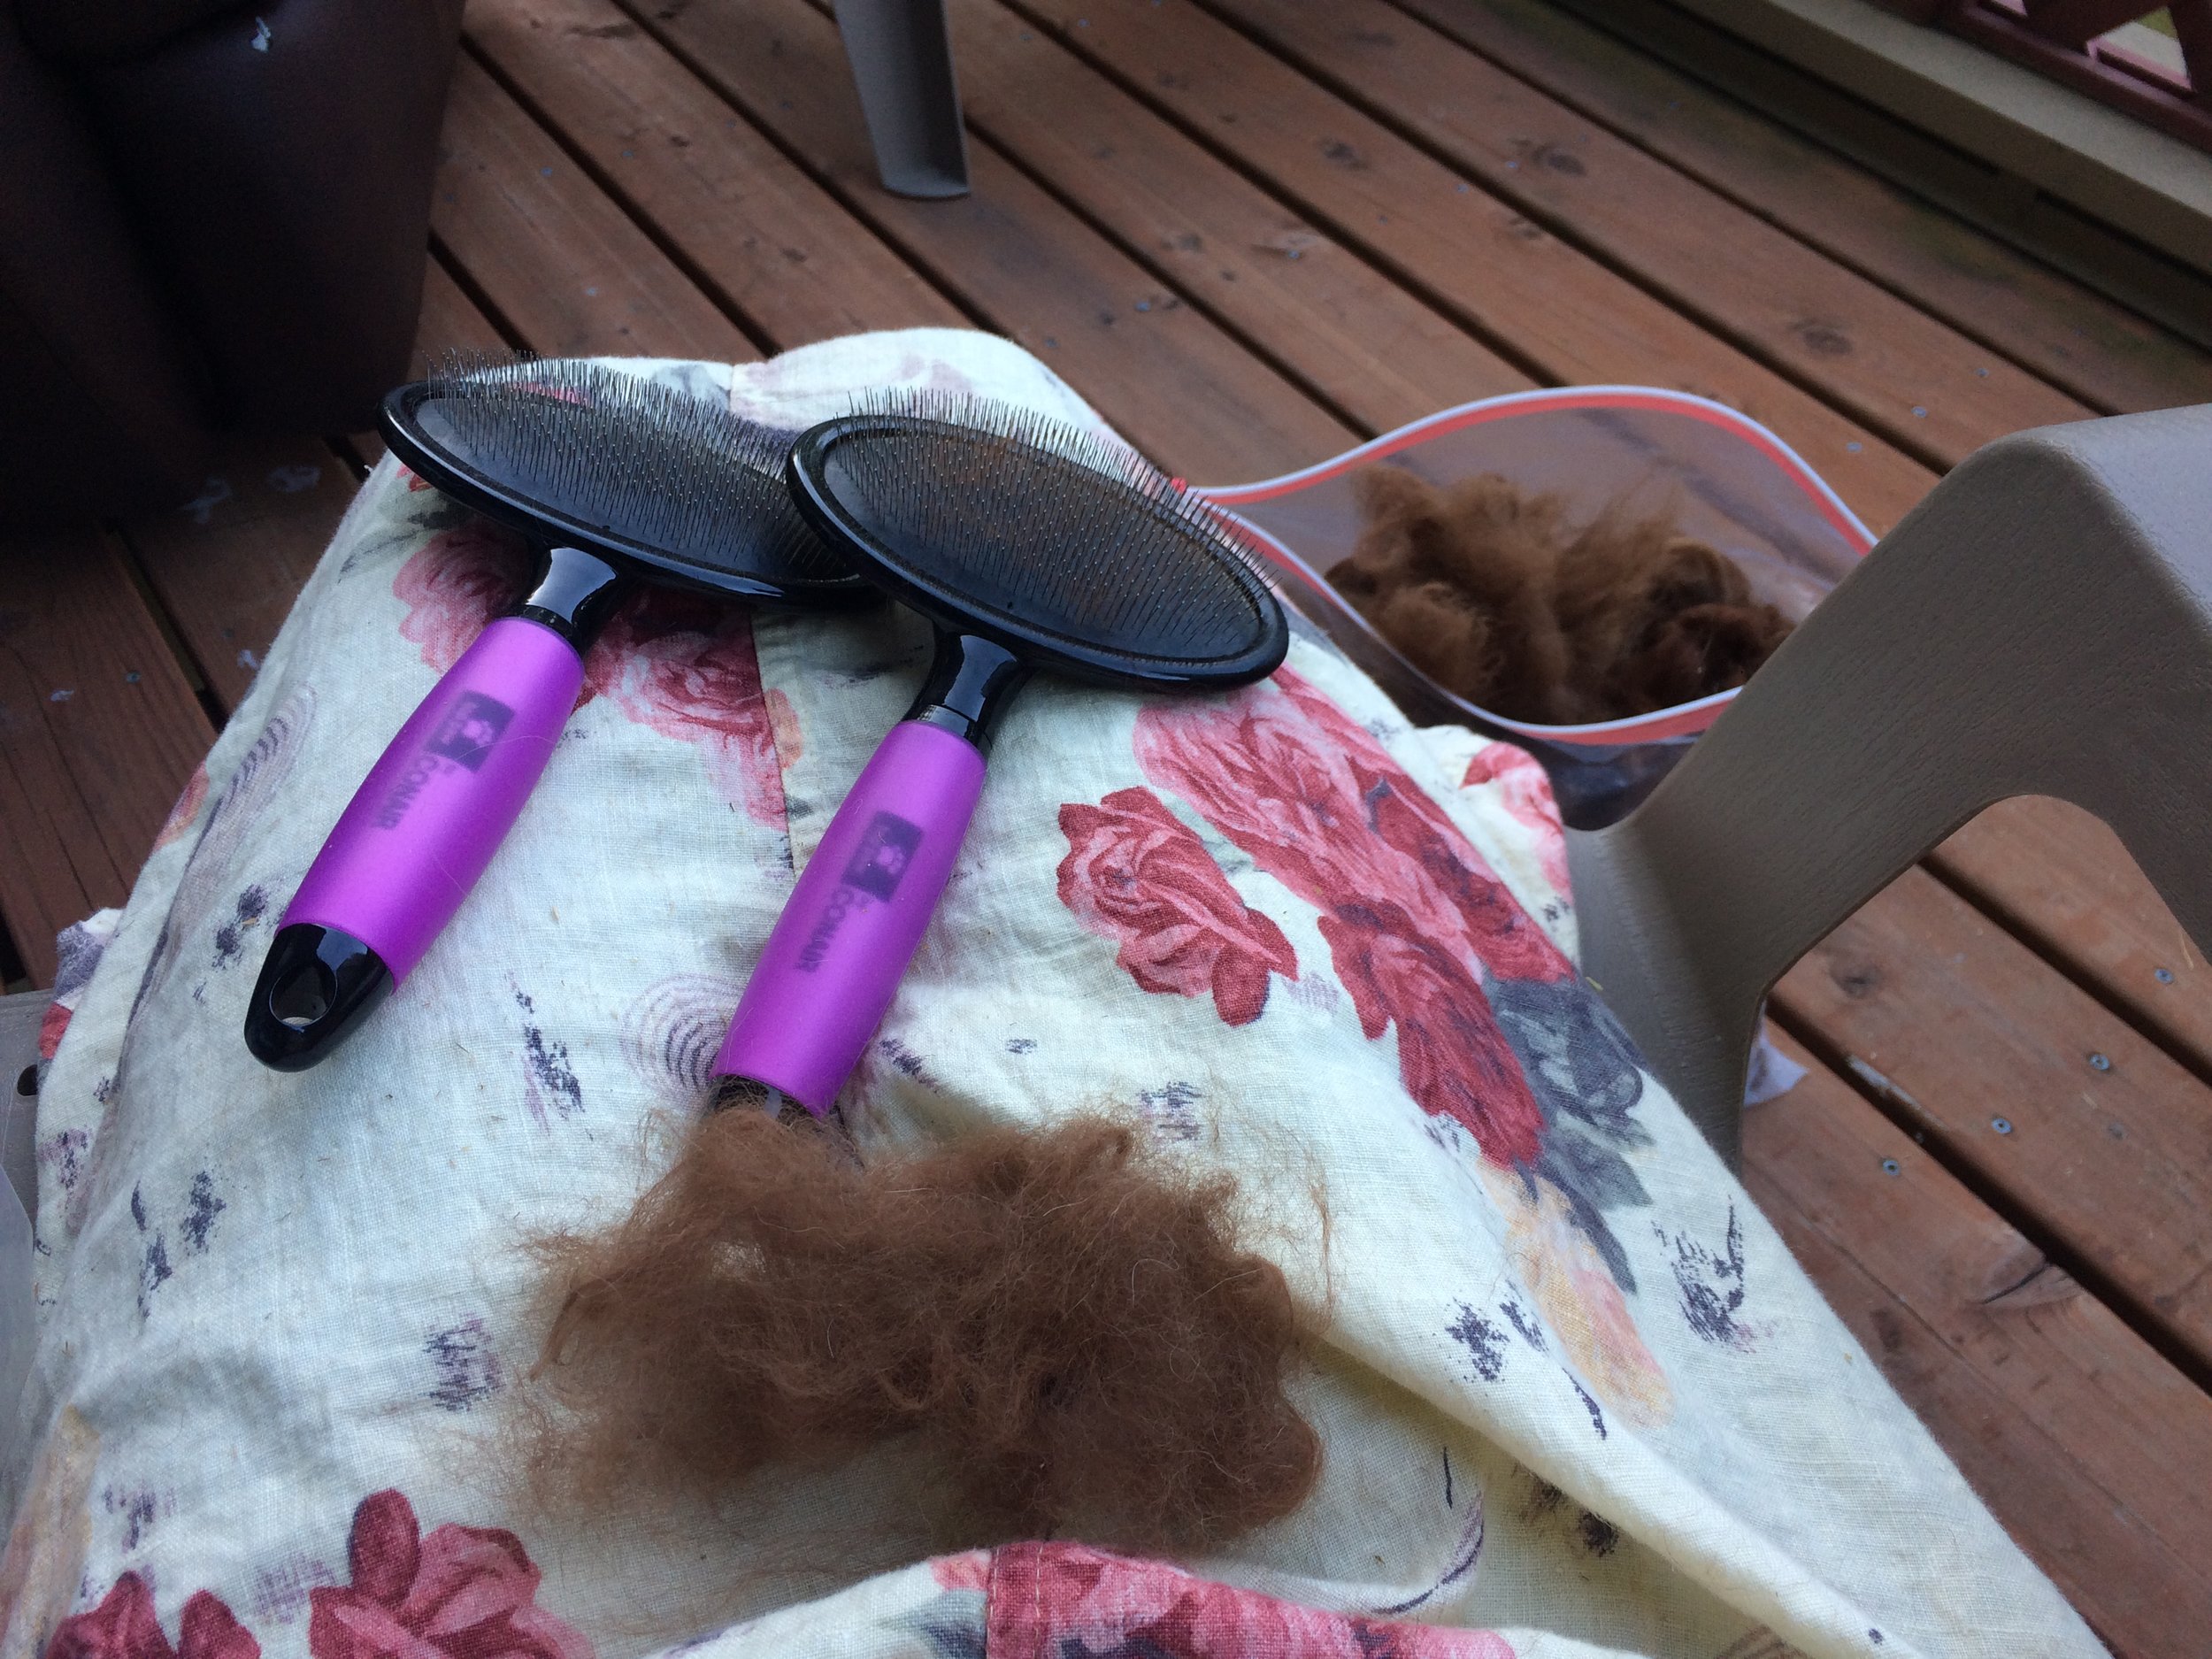
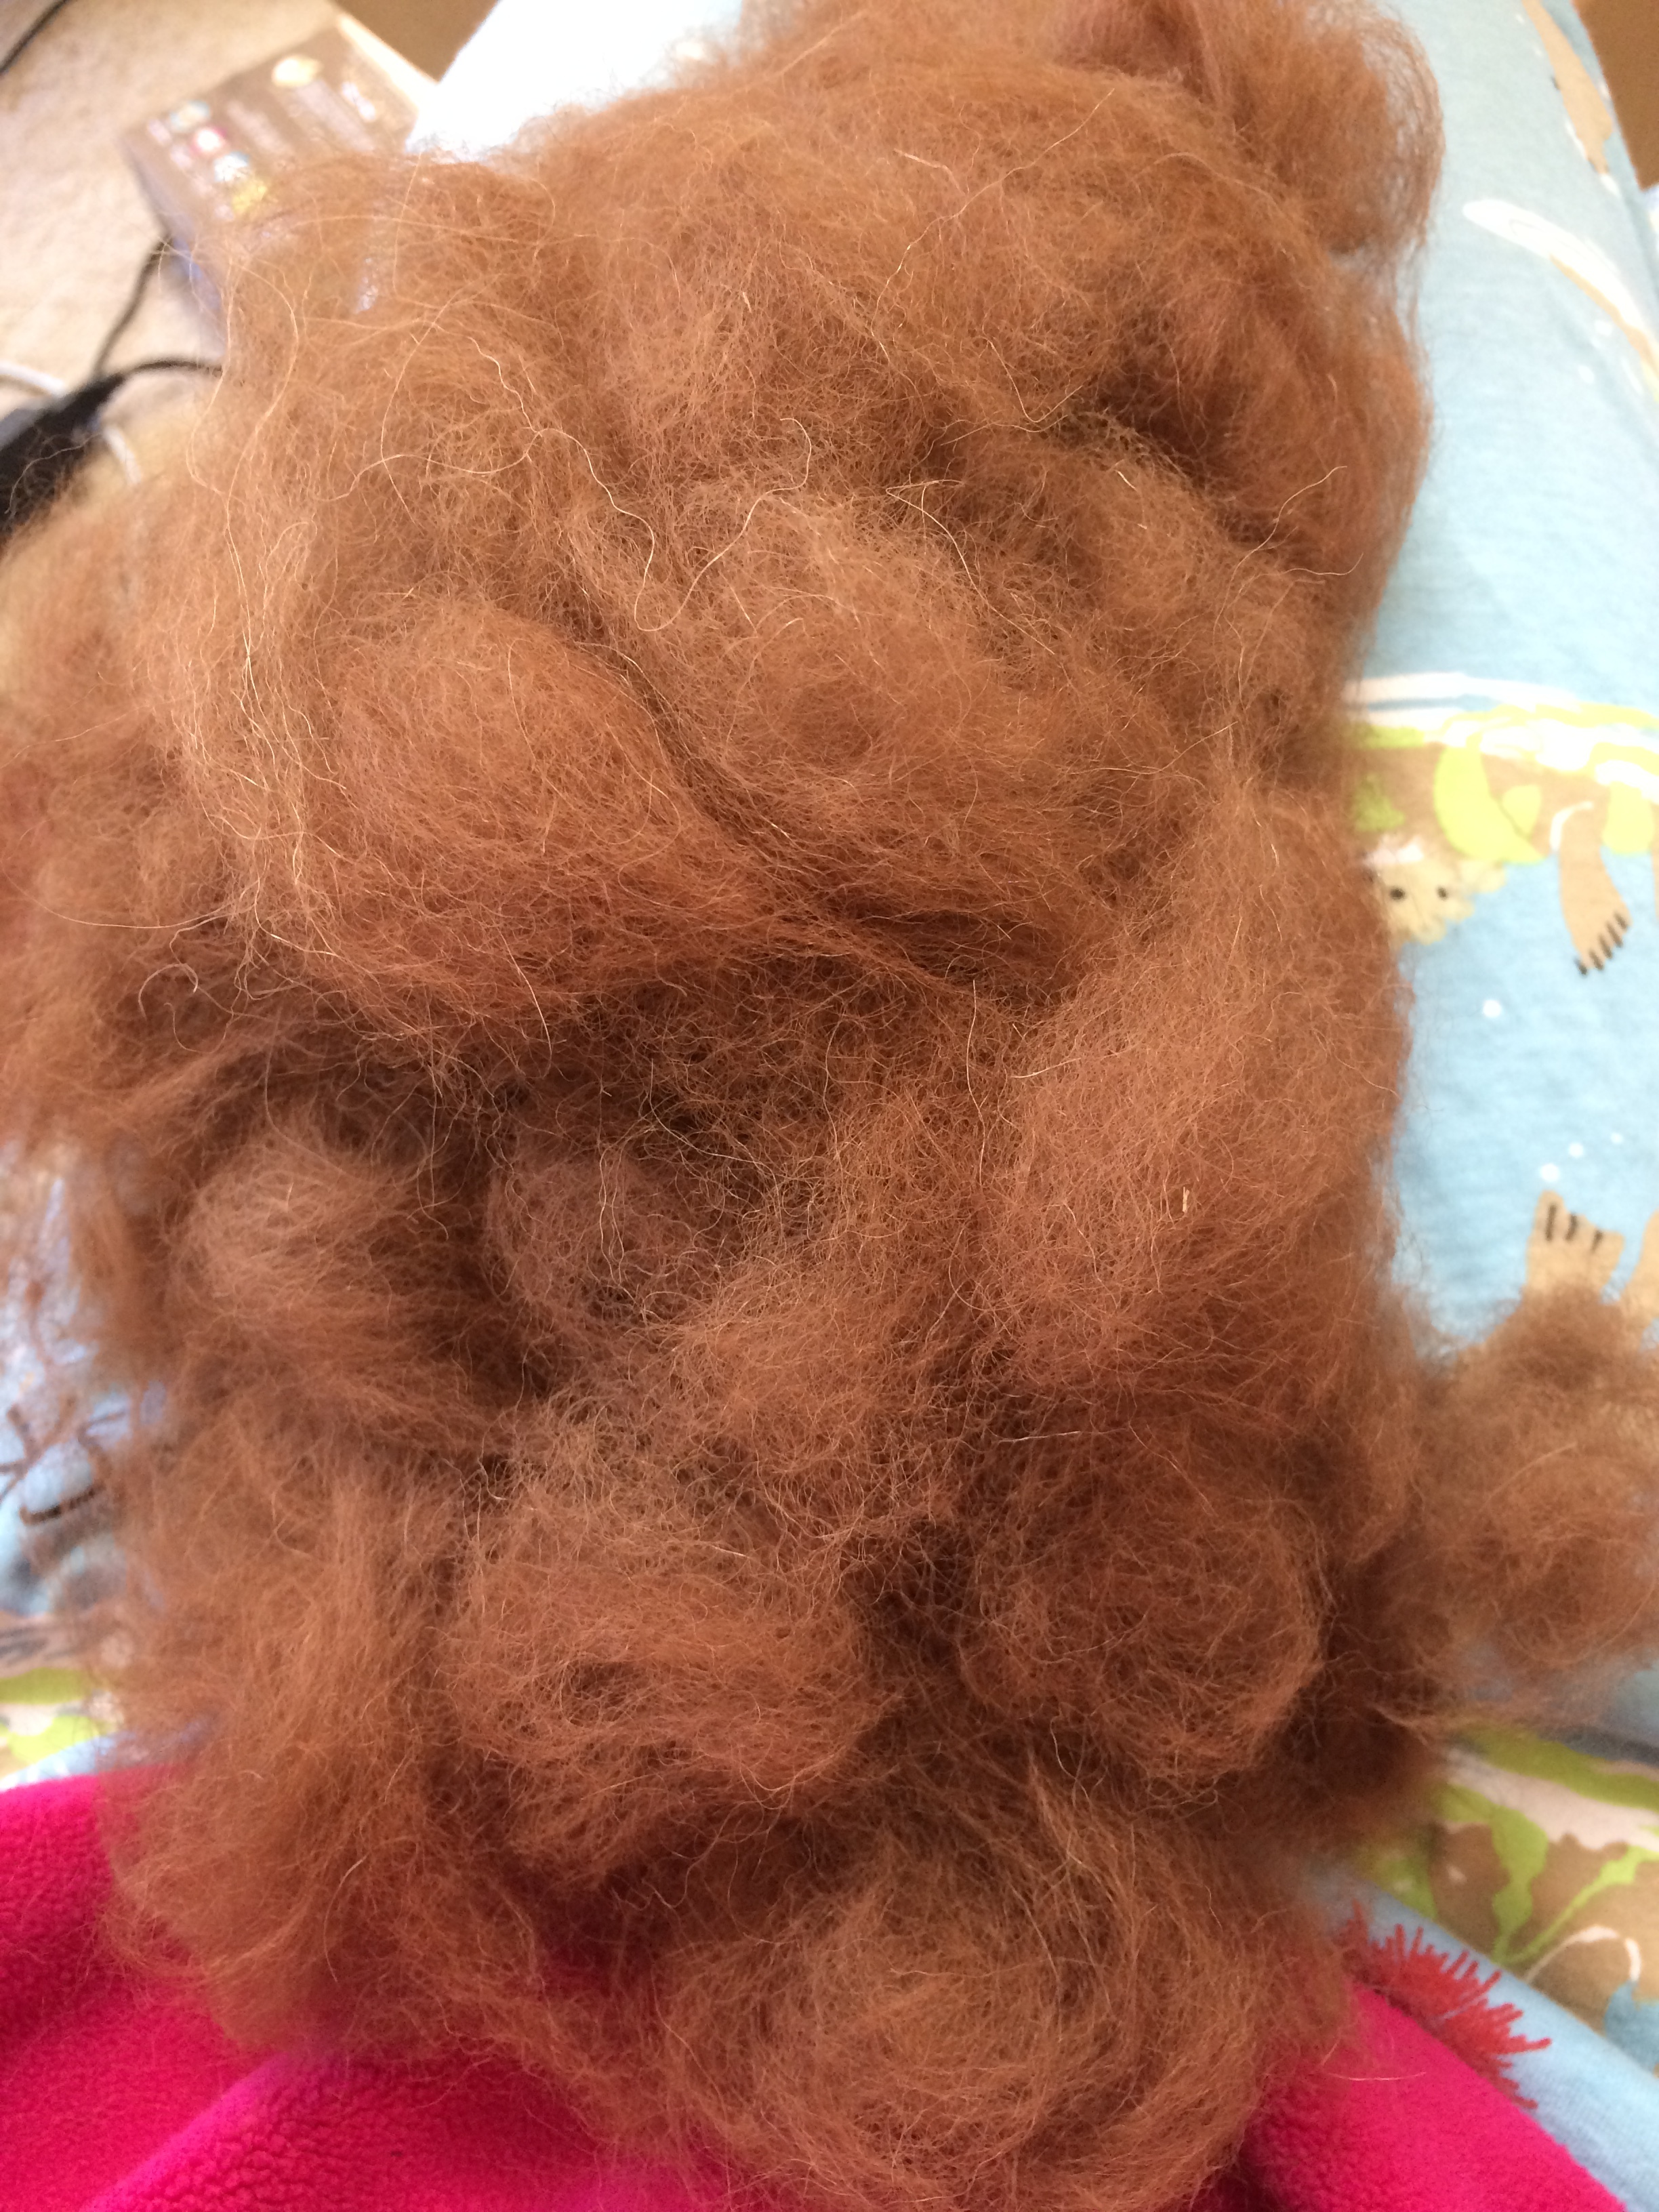
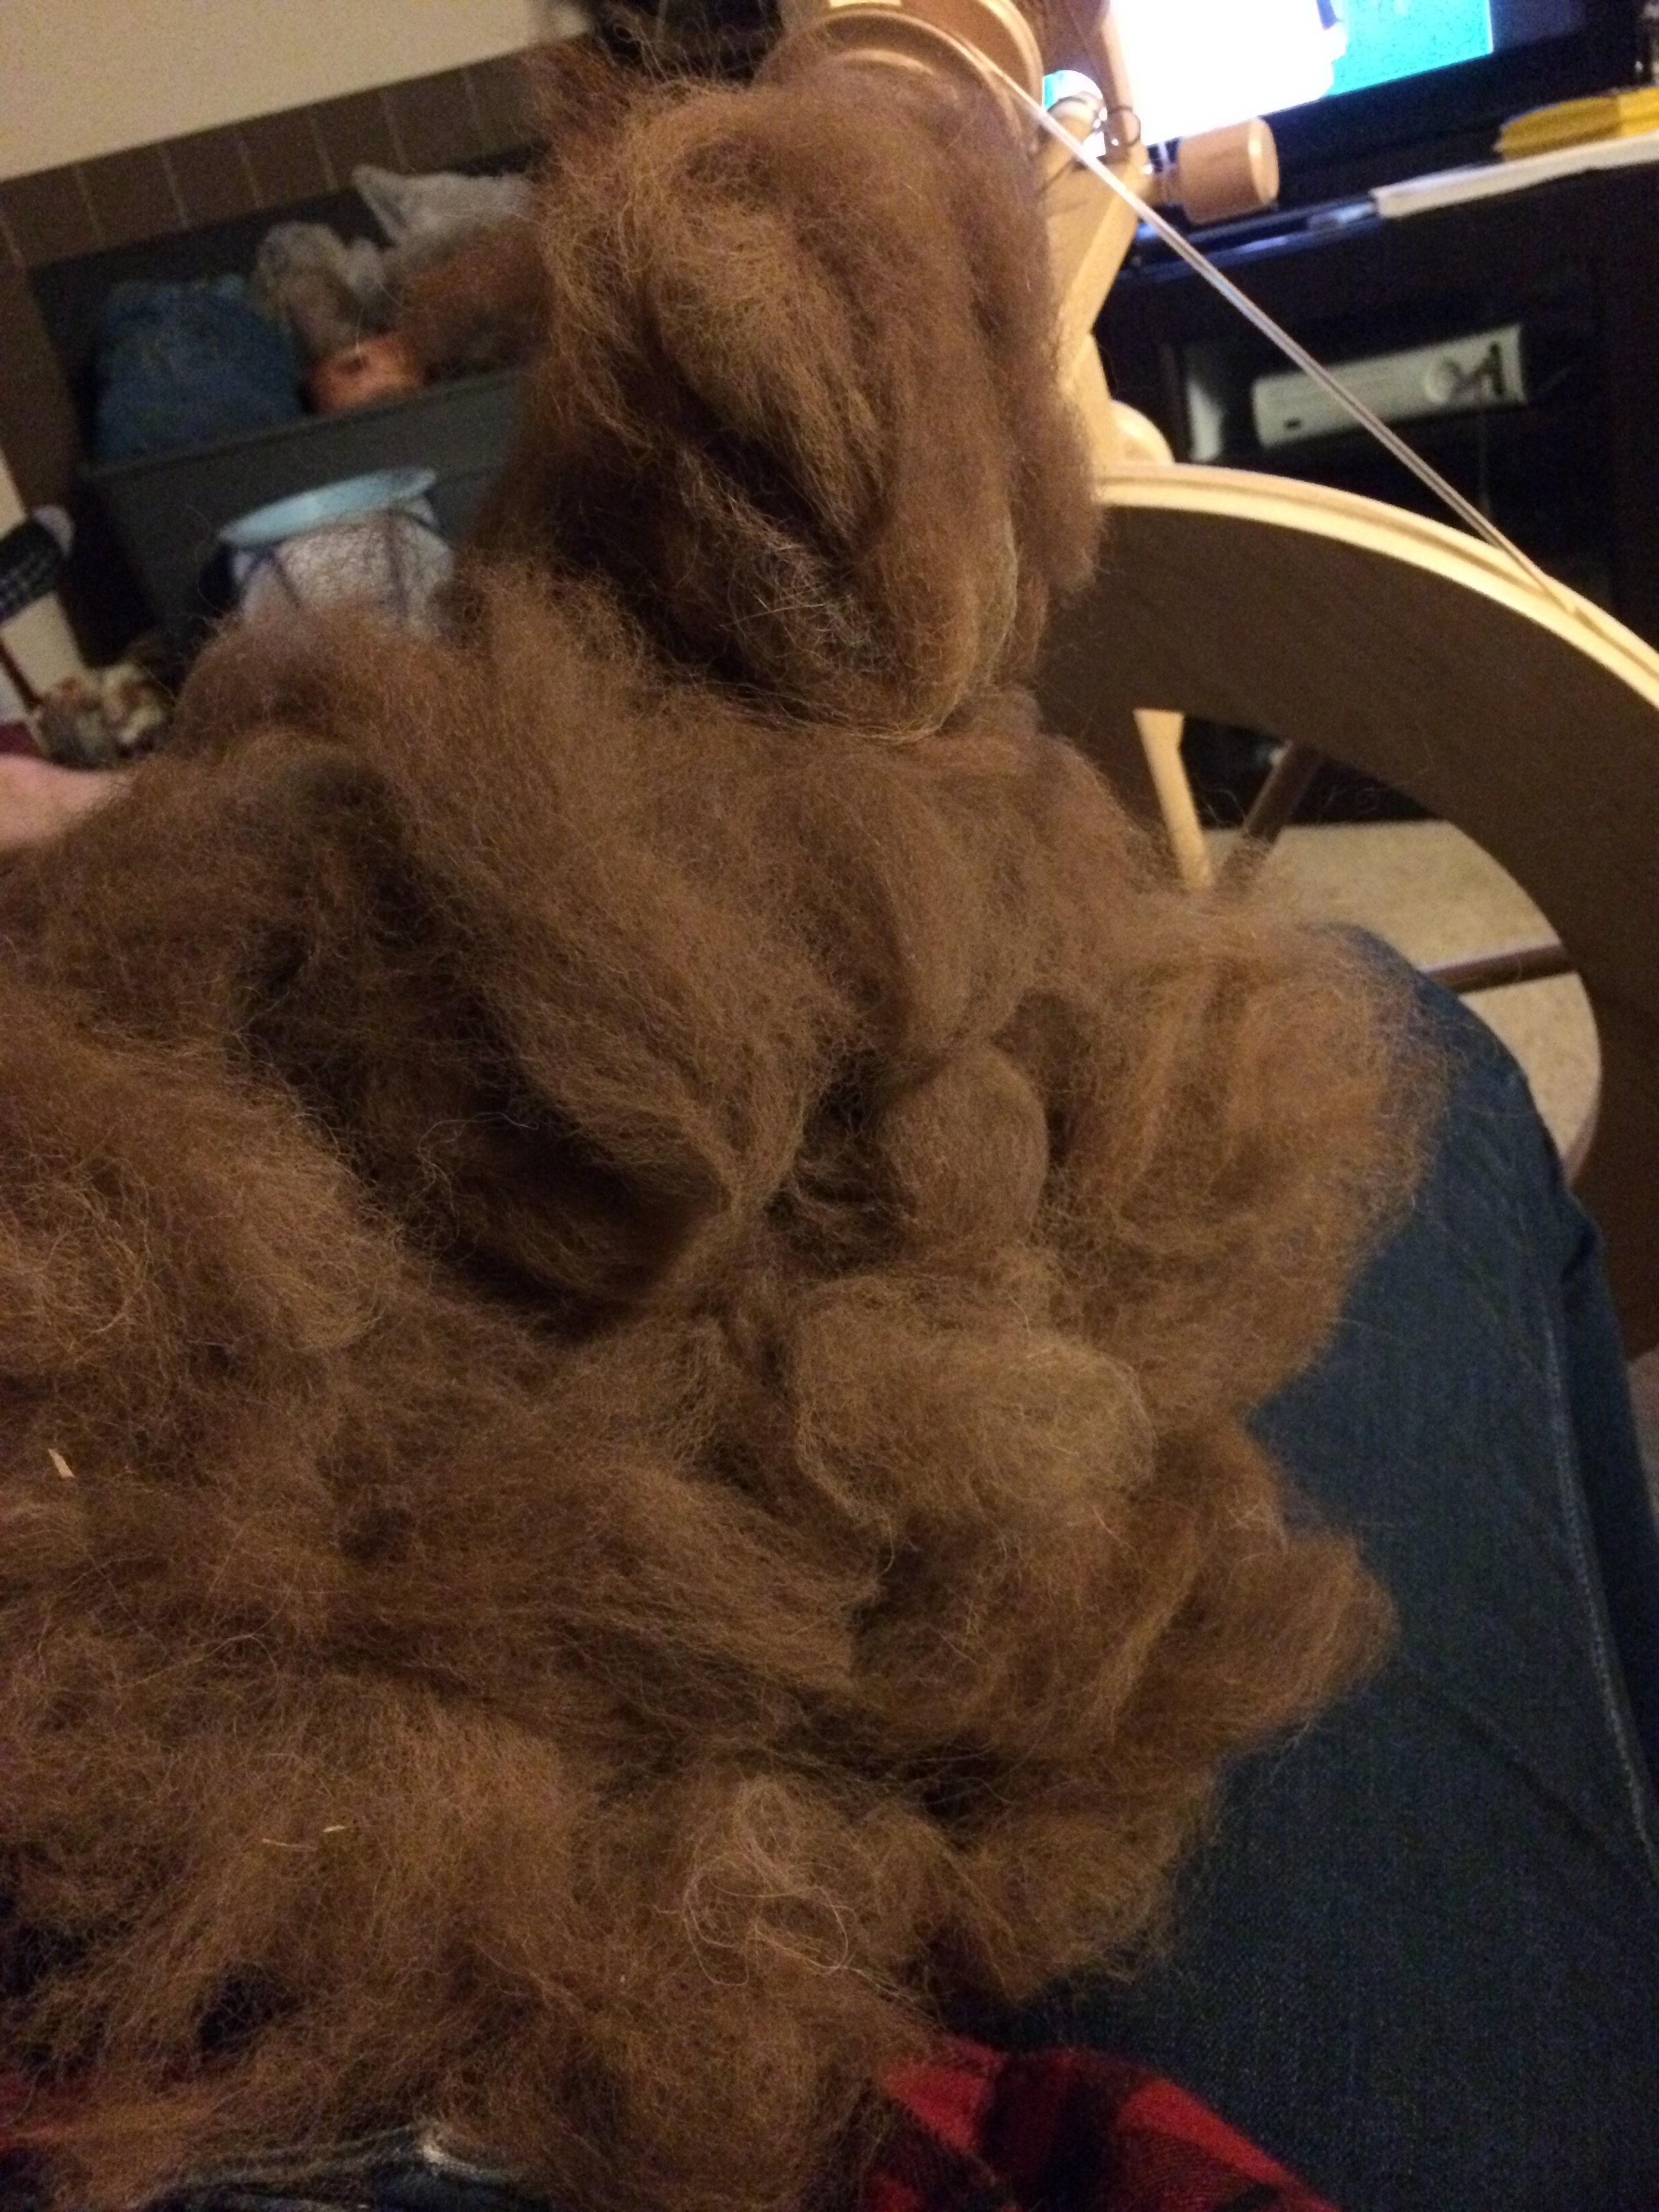
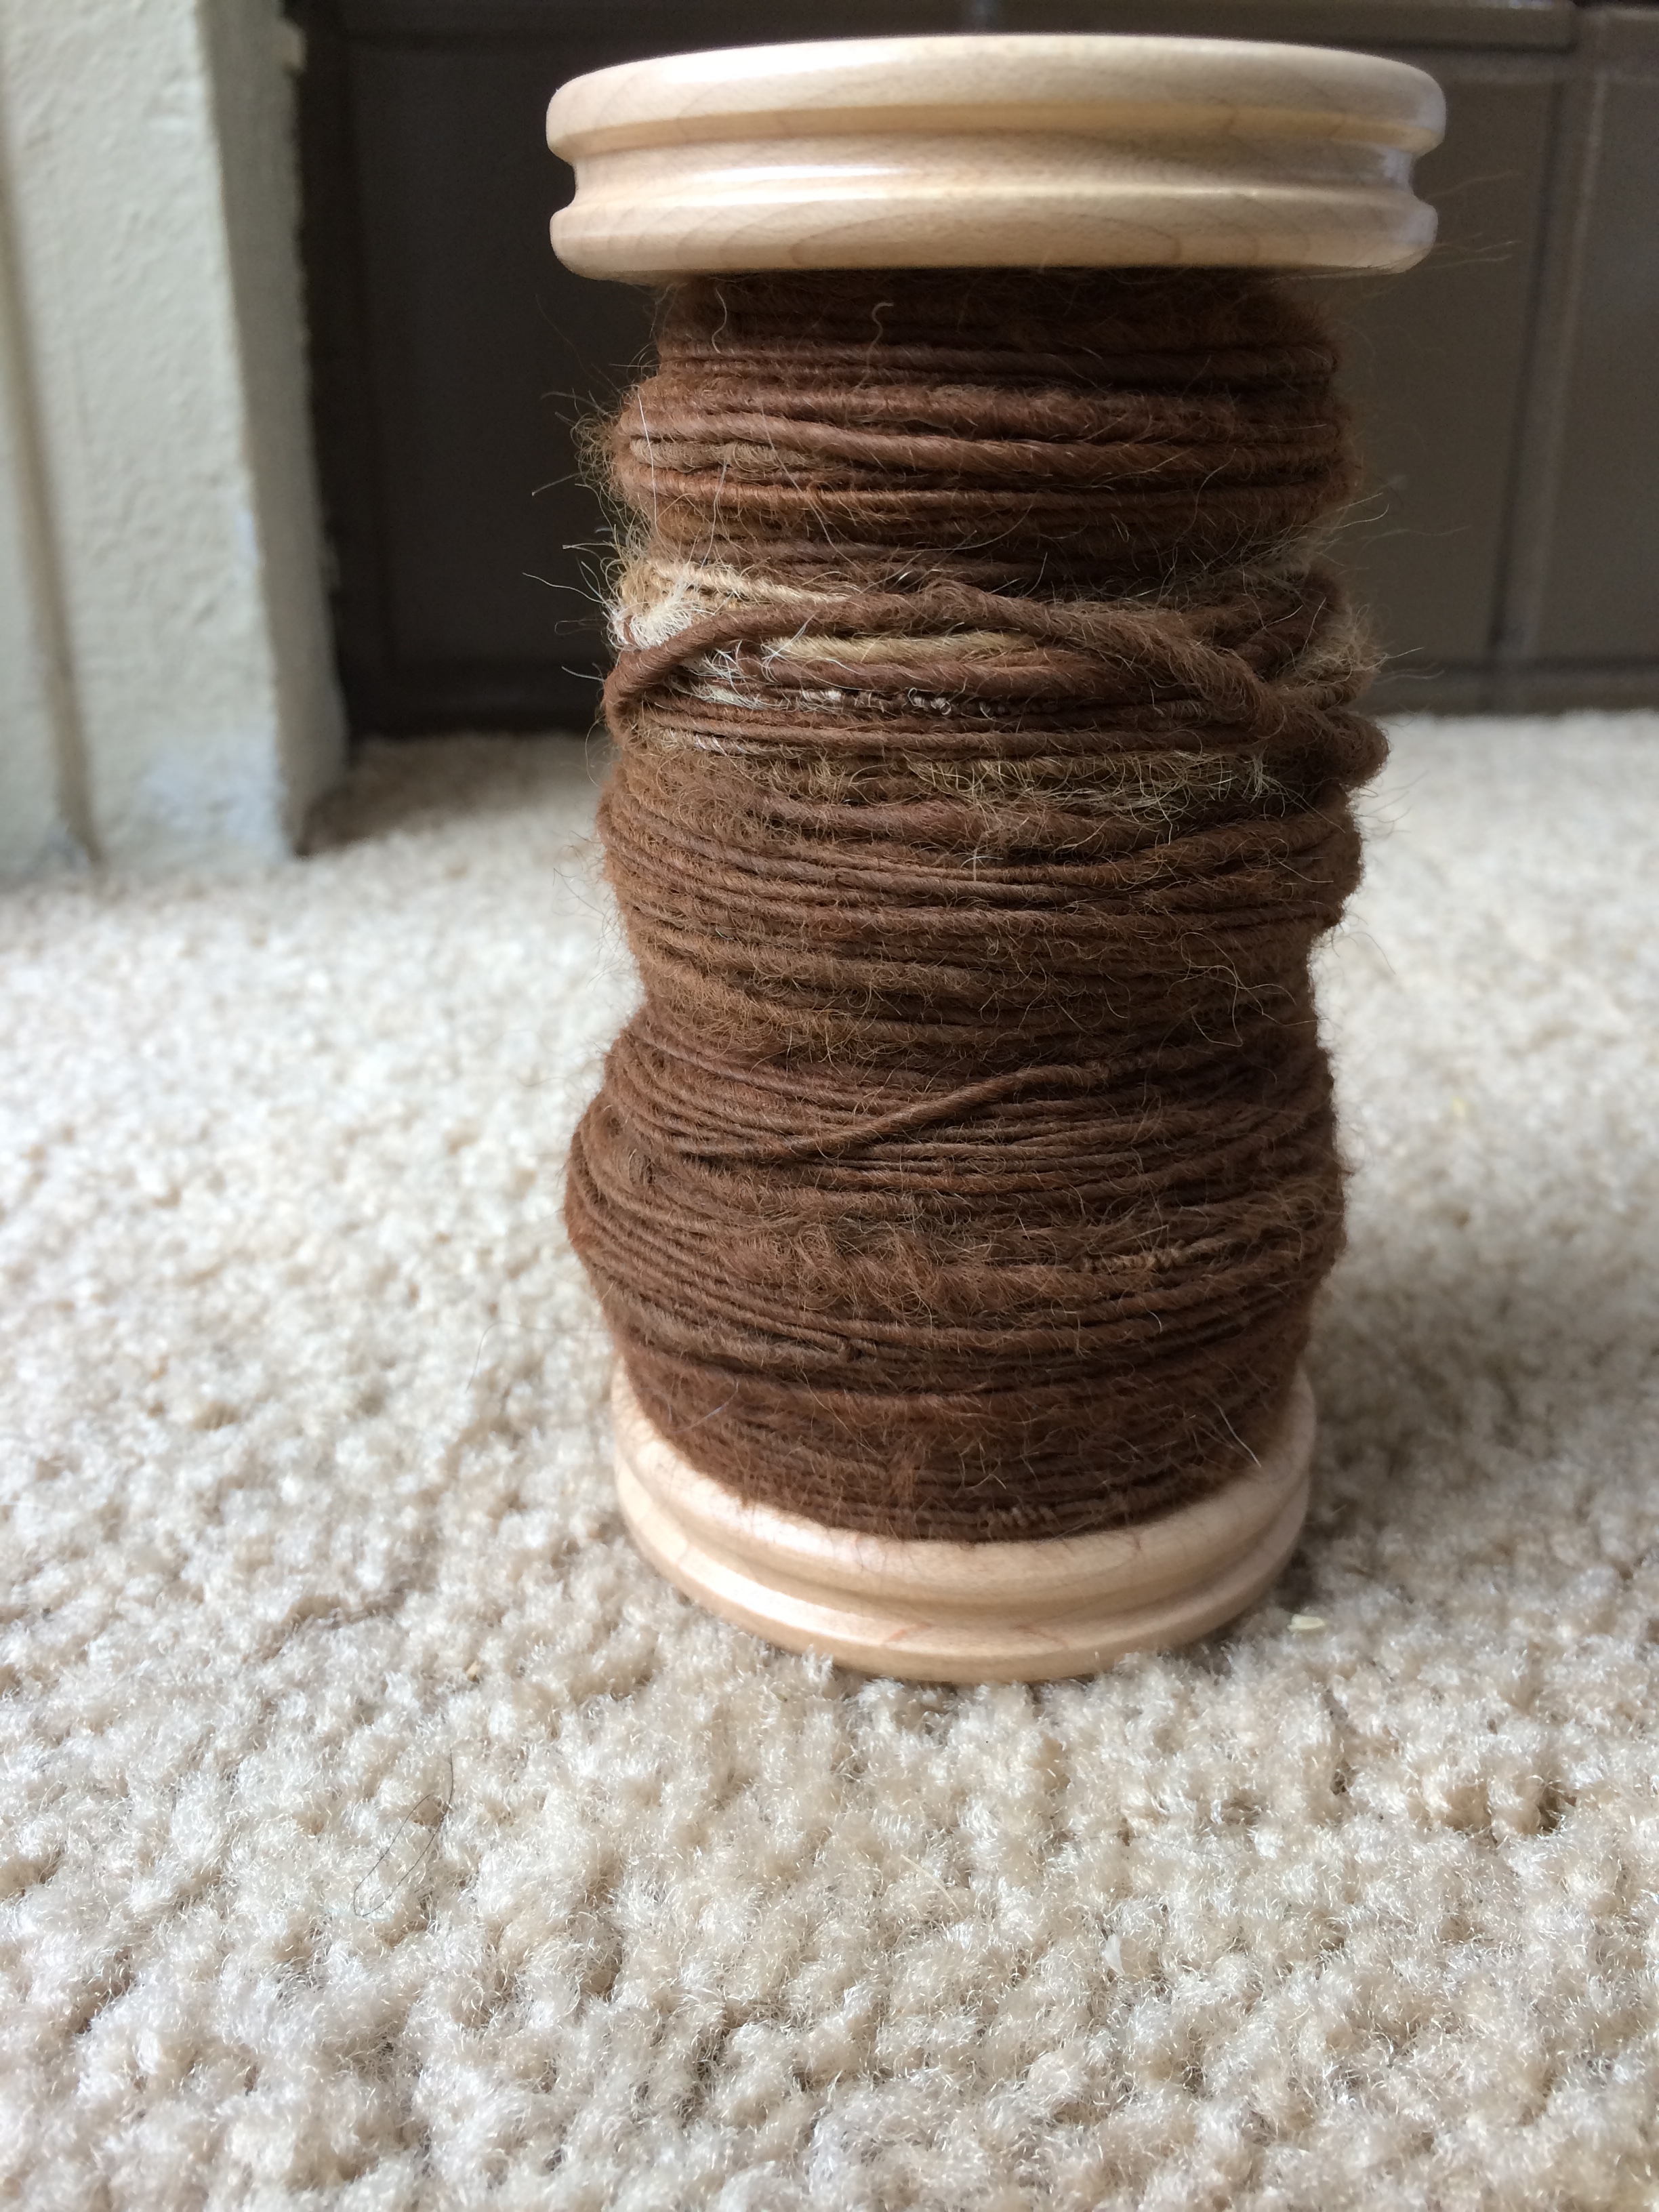
  • There will be plenty of carding going on, as one of my goals is to get through all of my raw fiber.
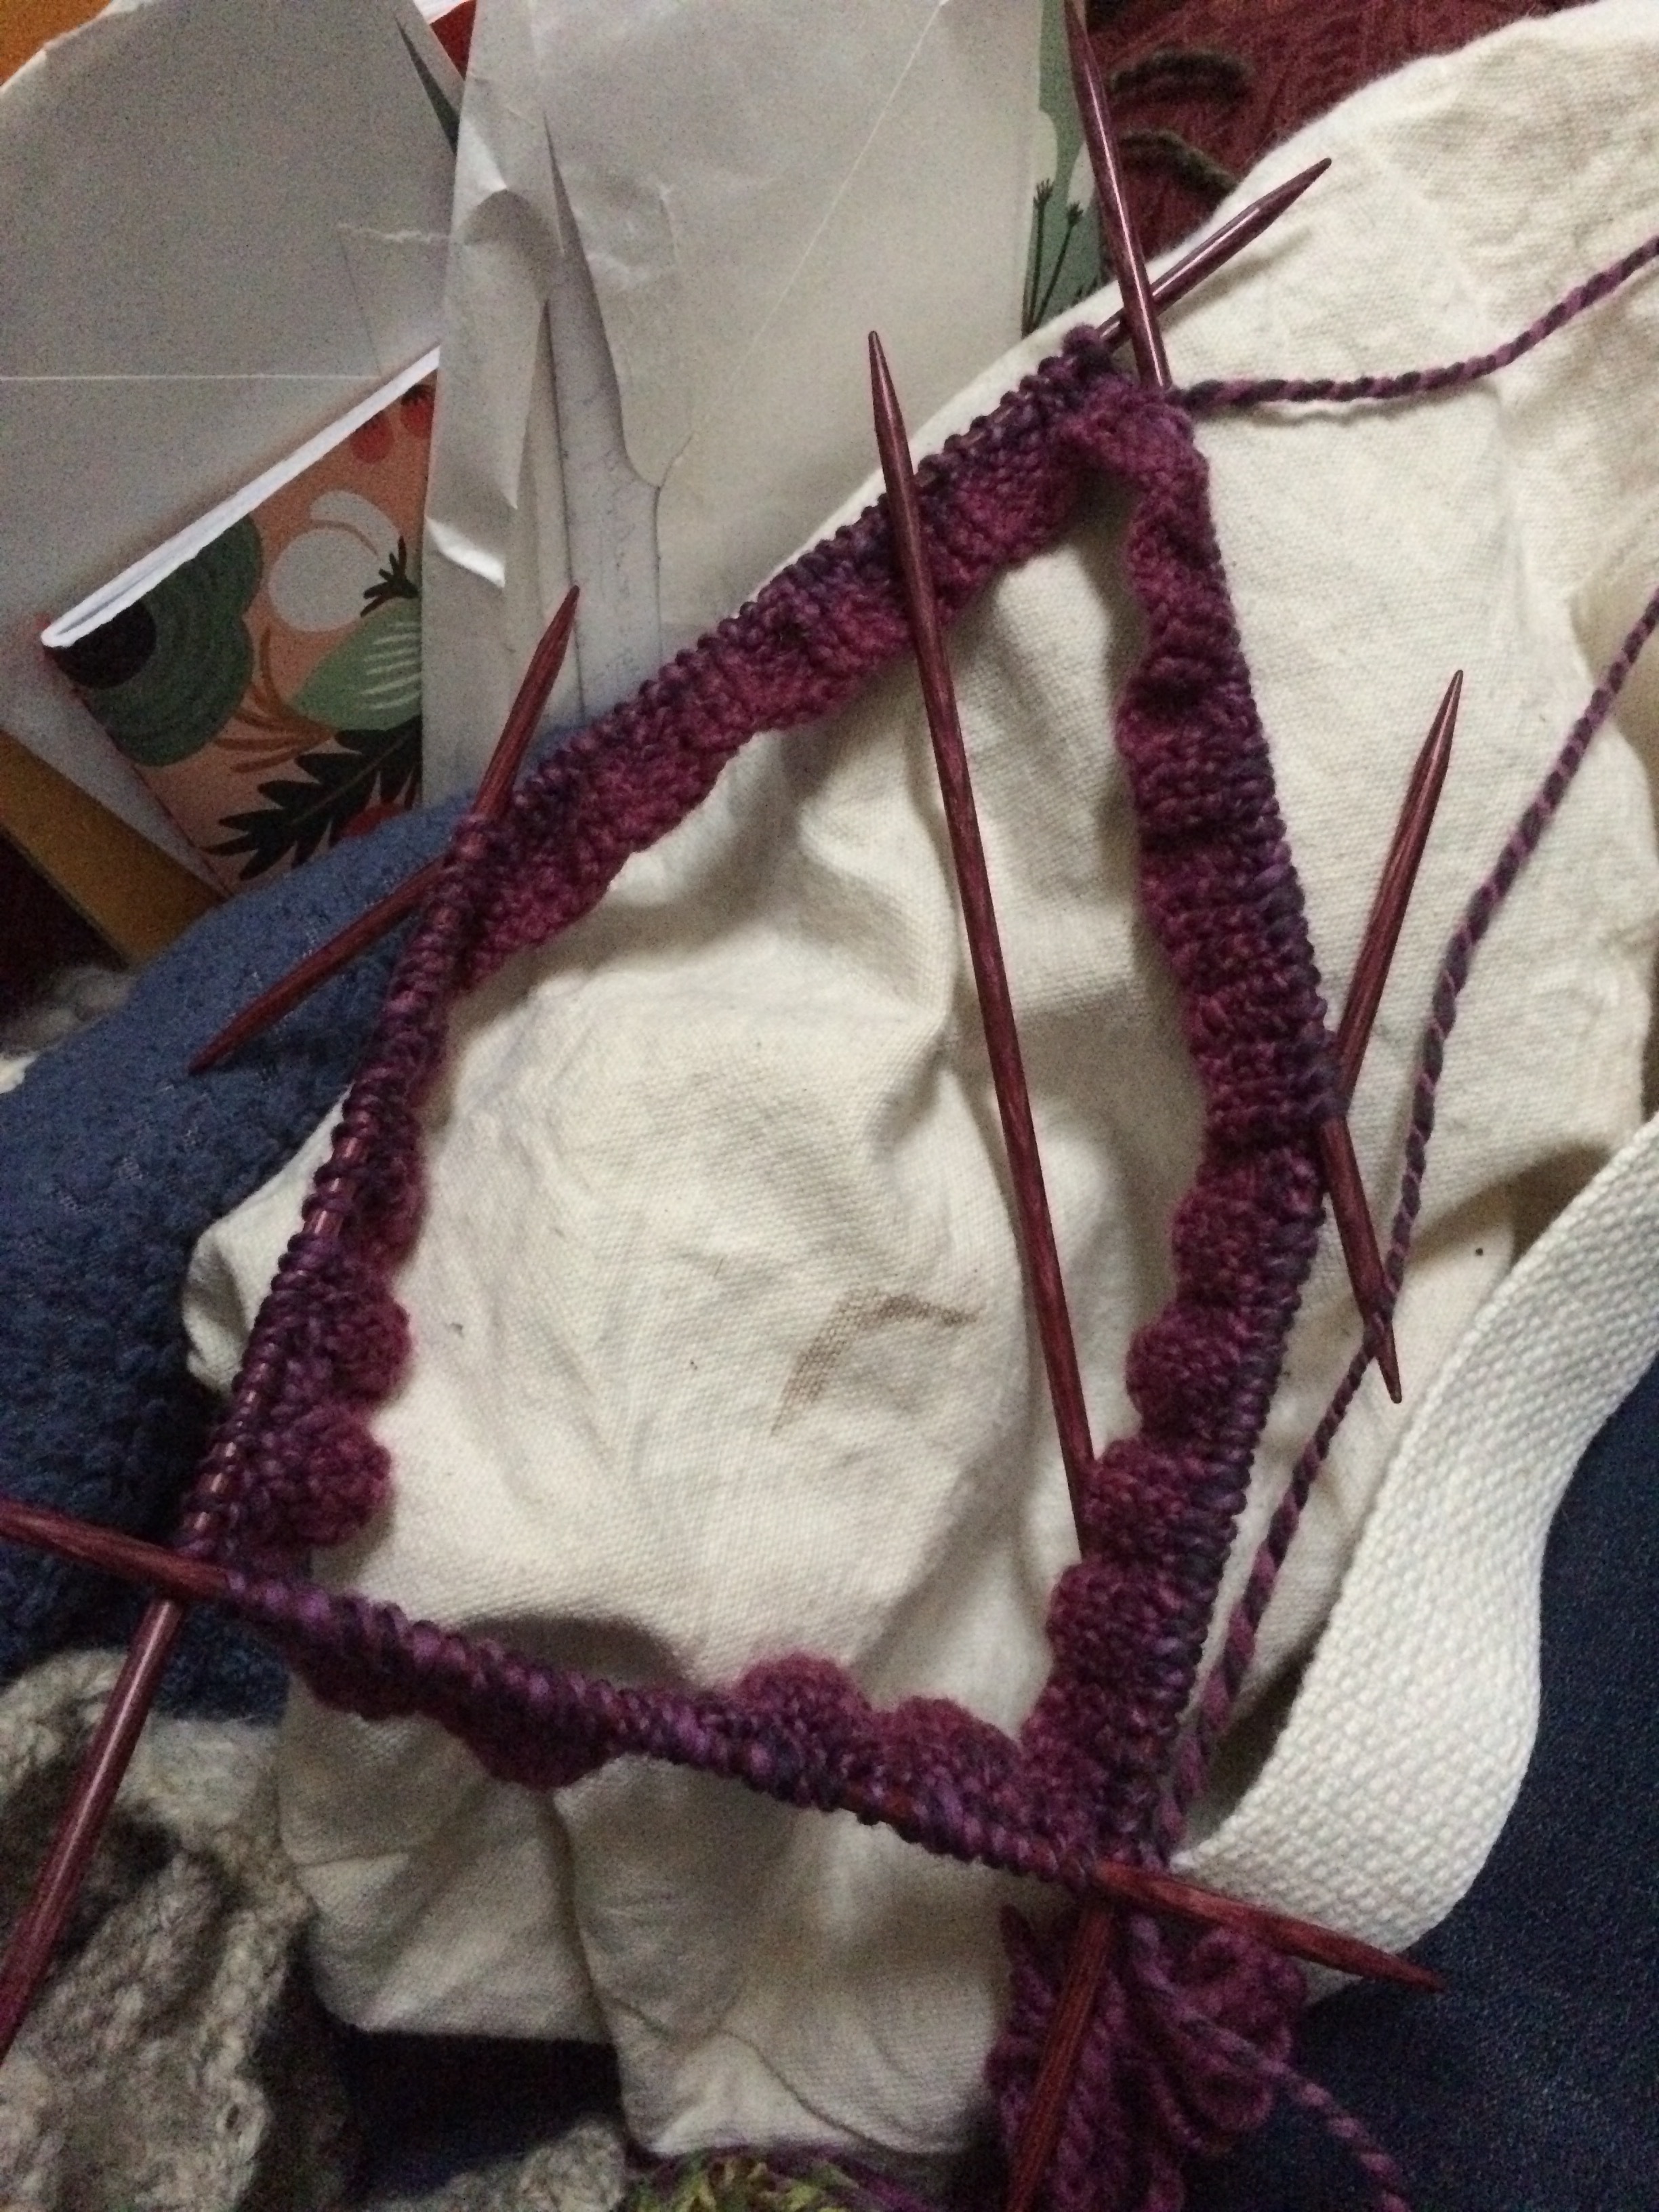
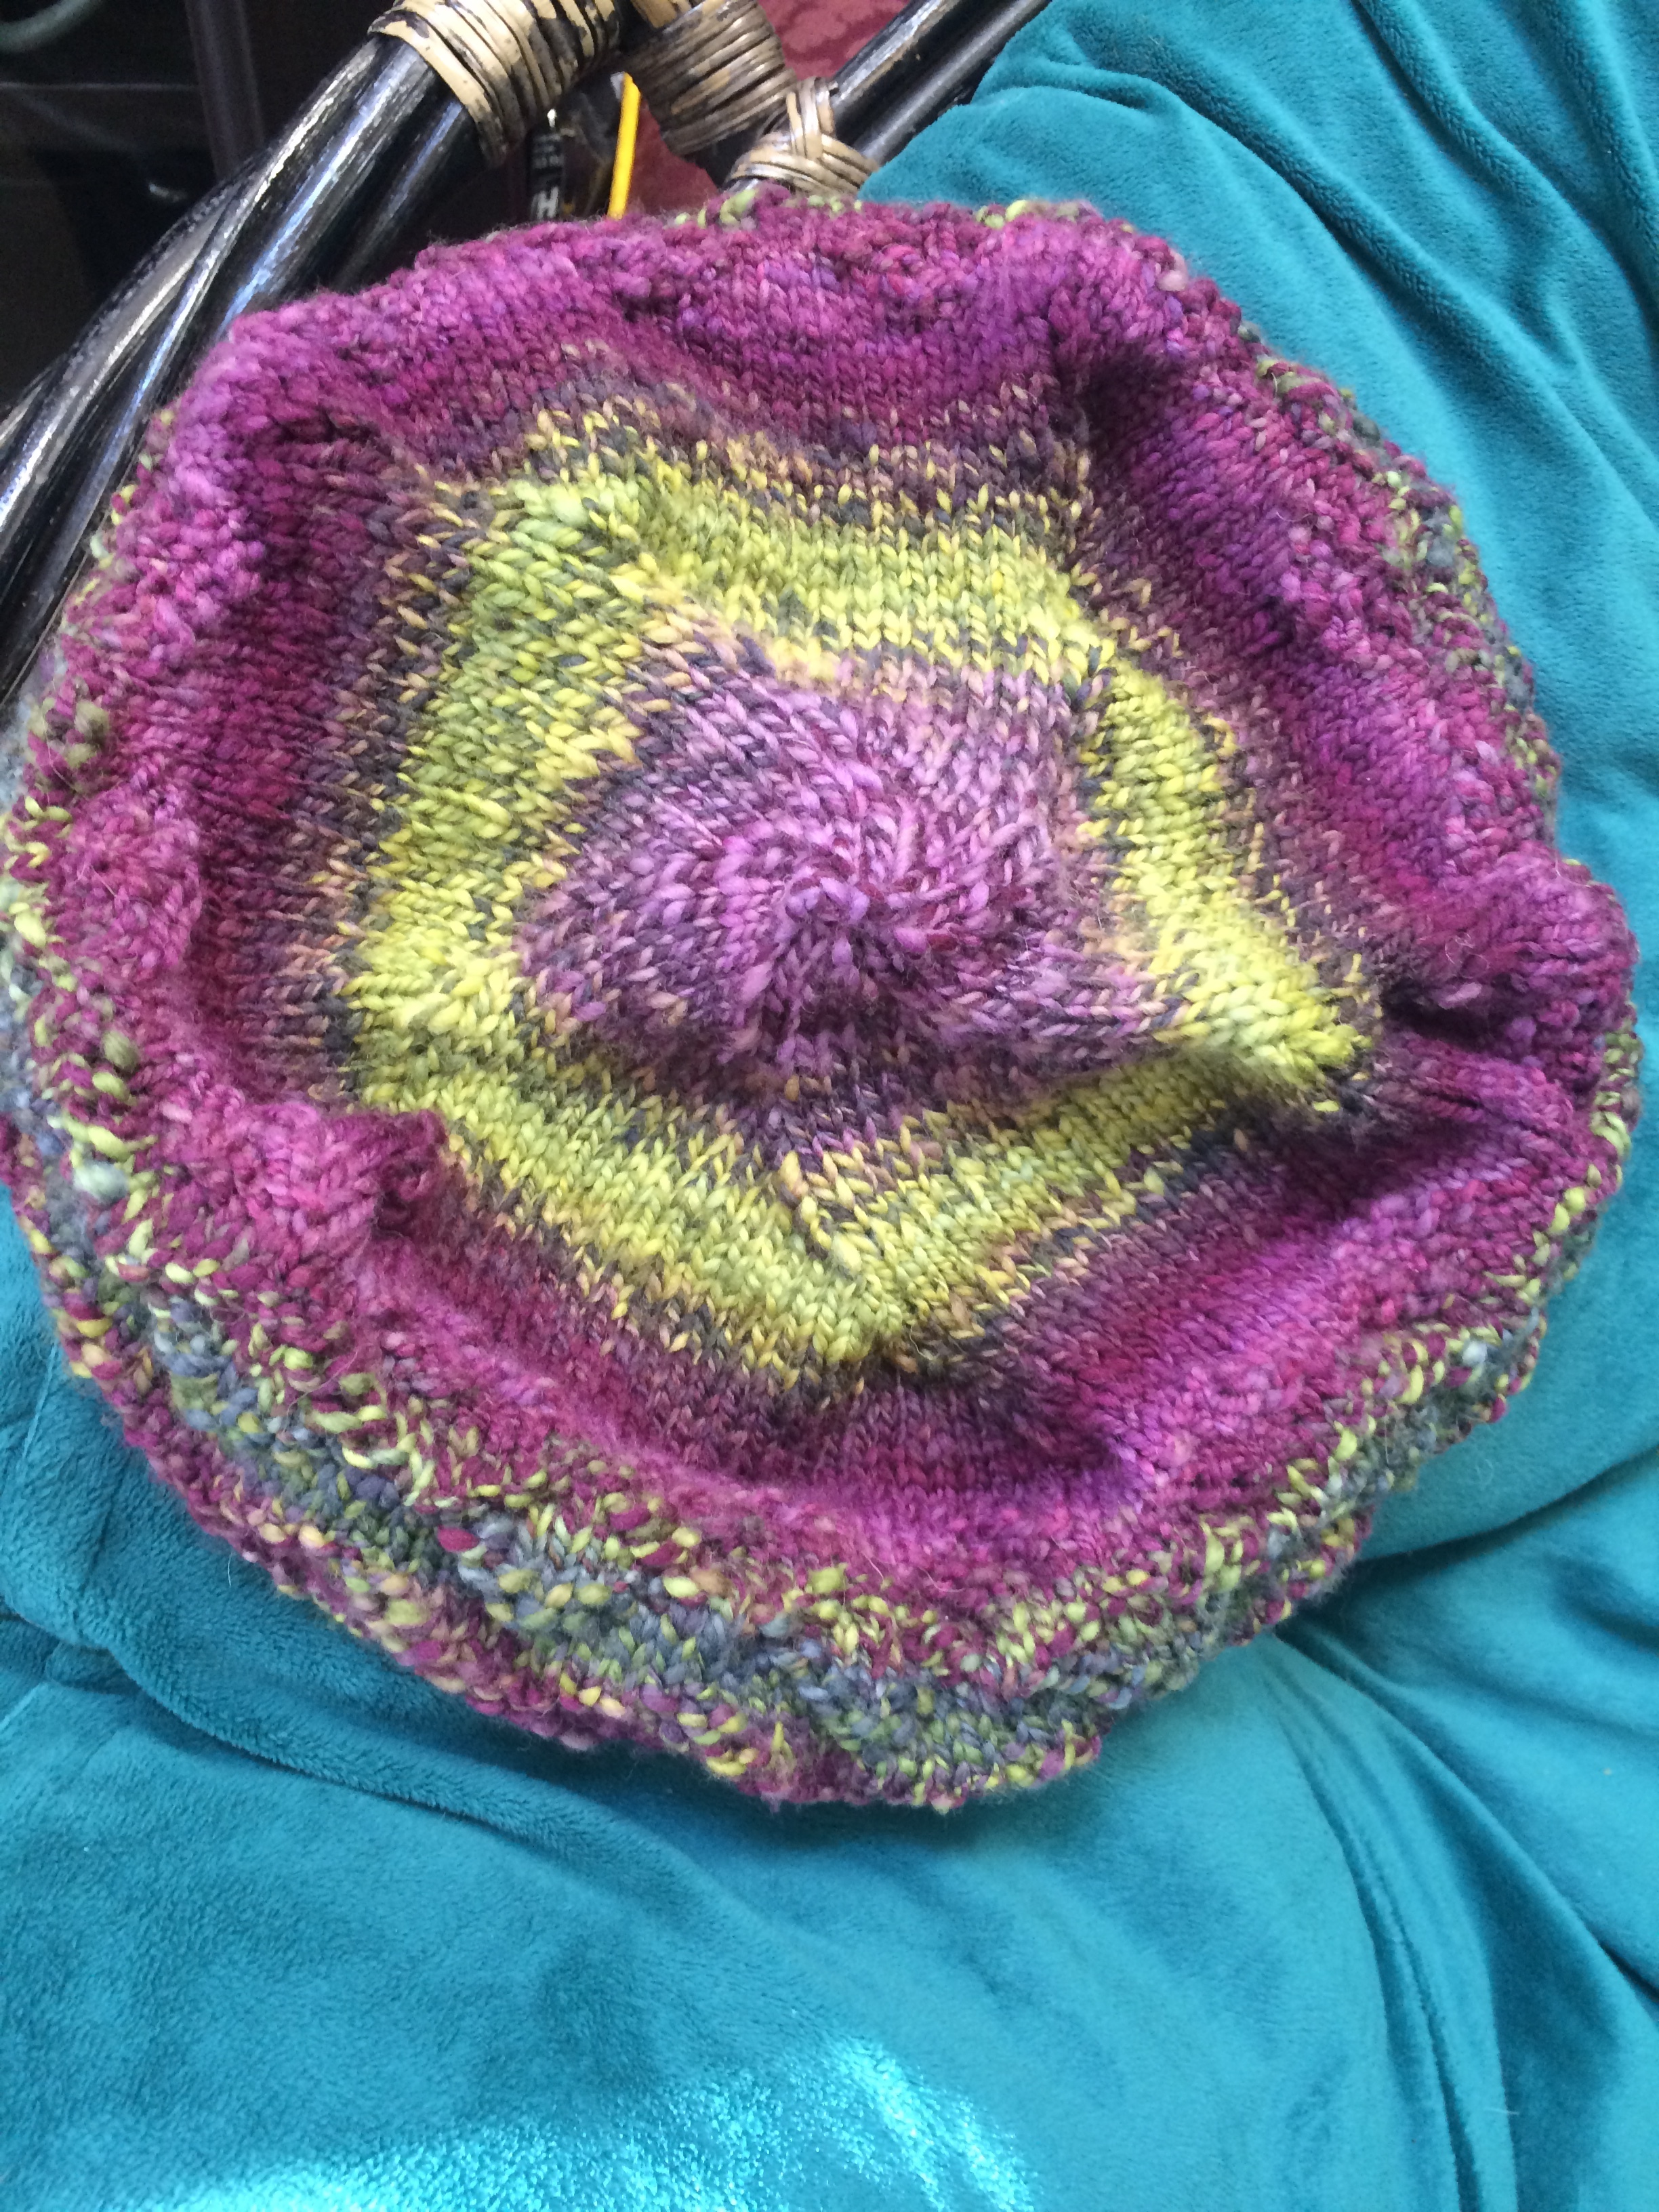
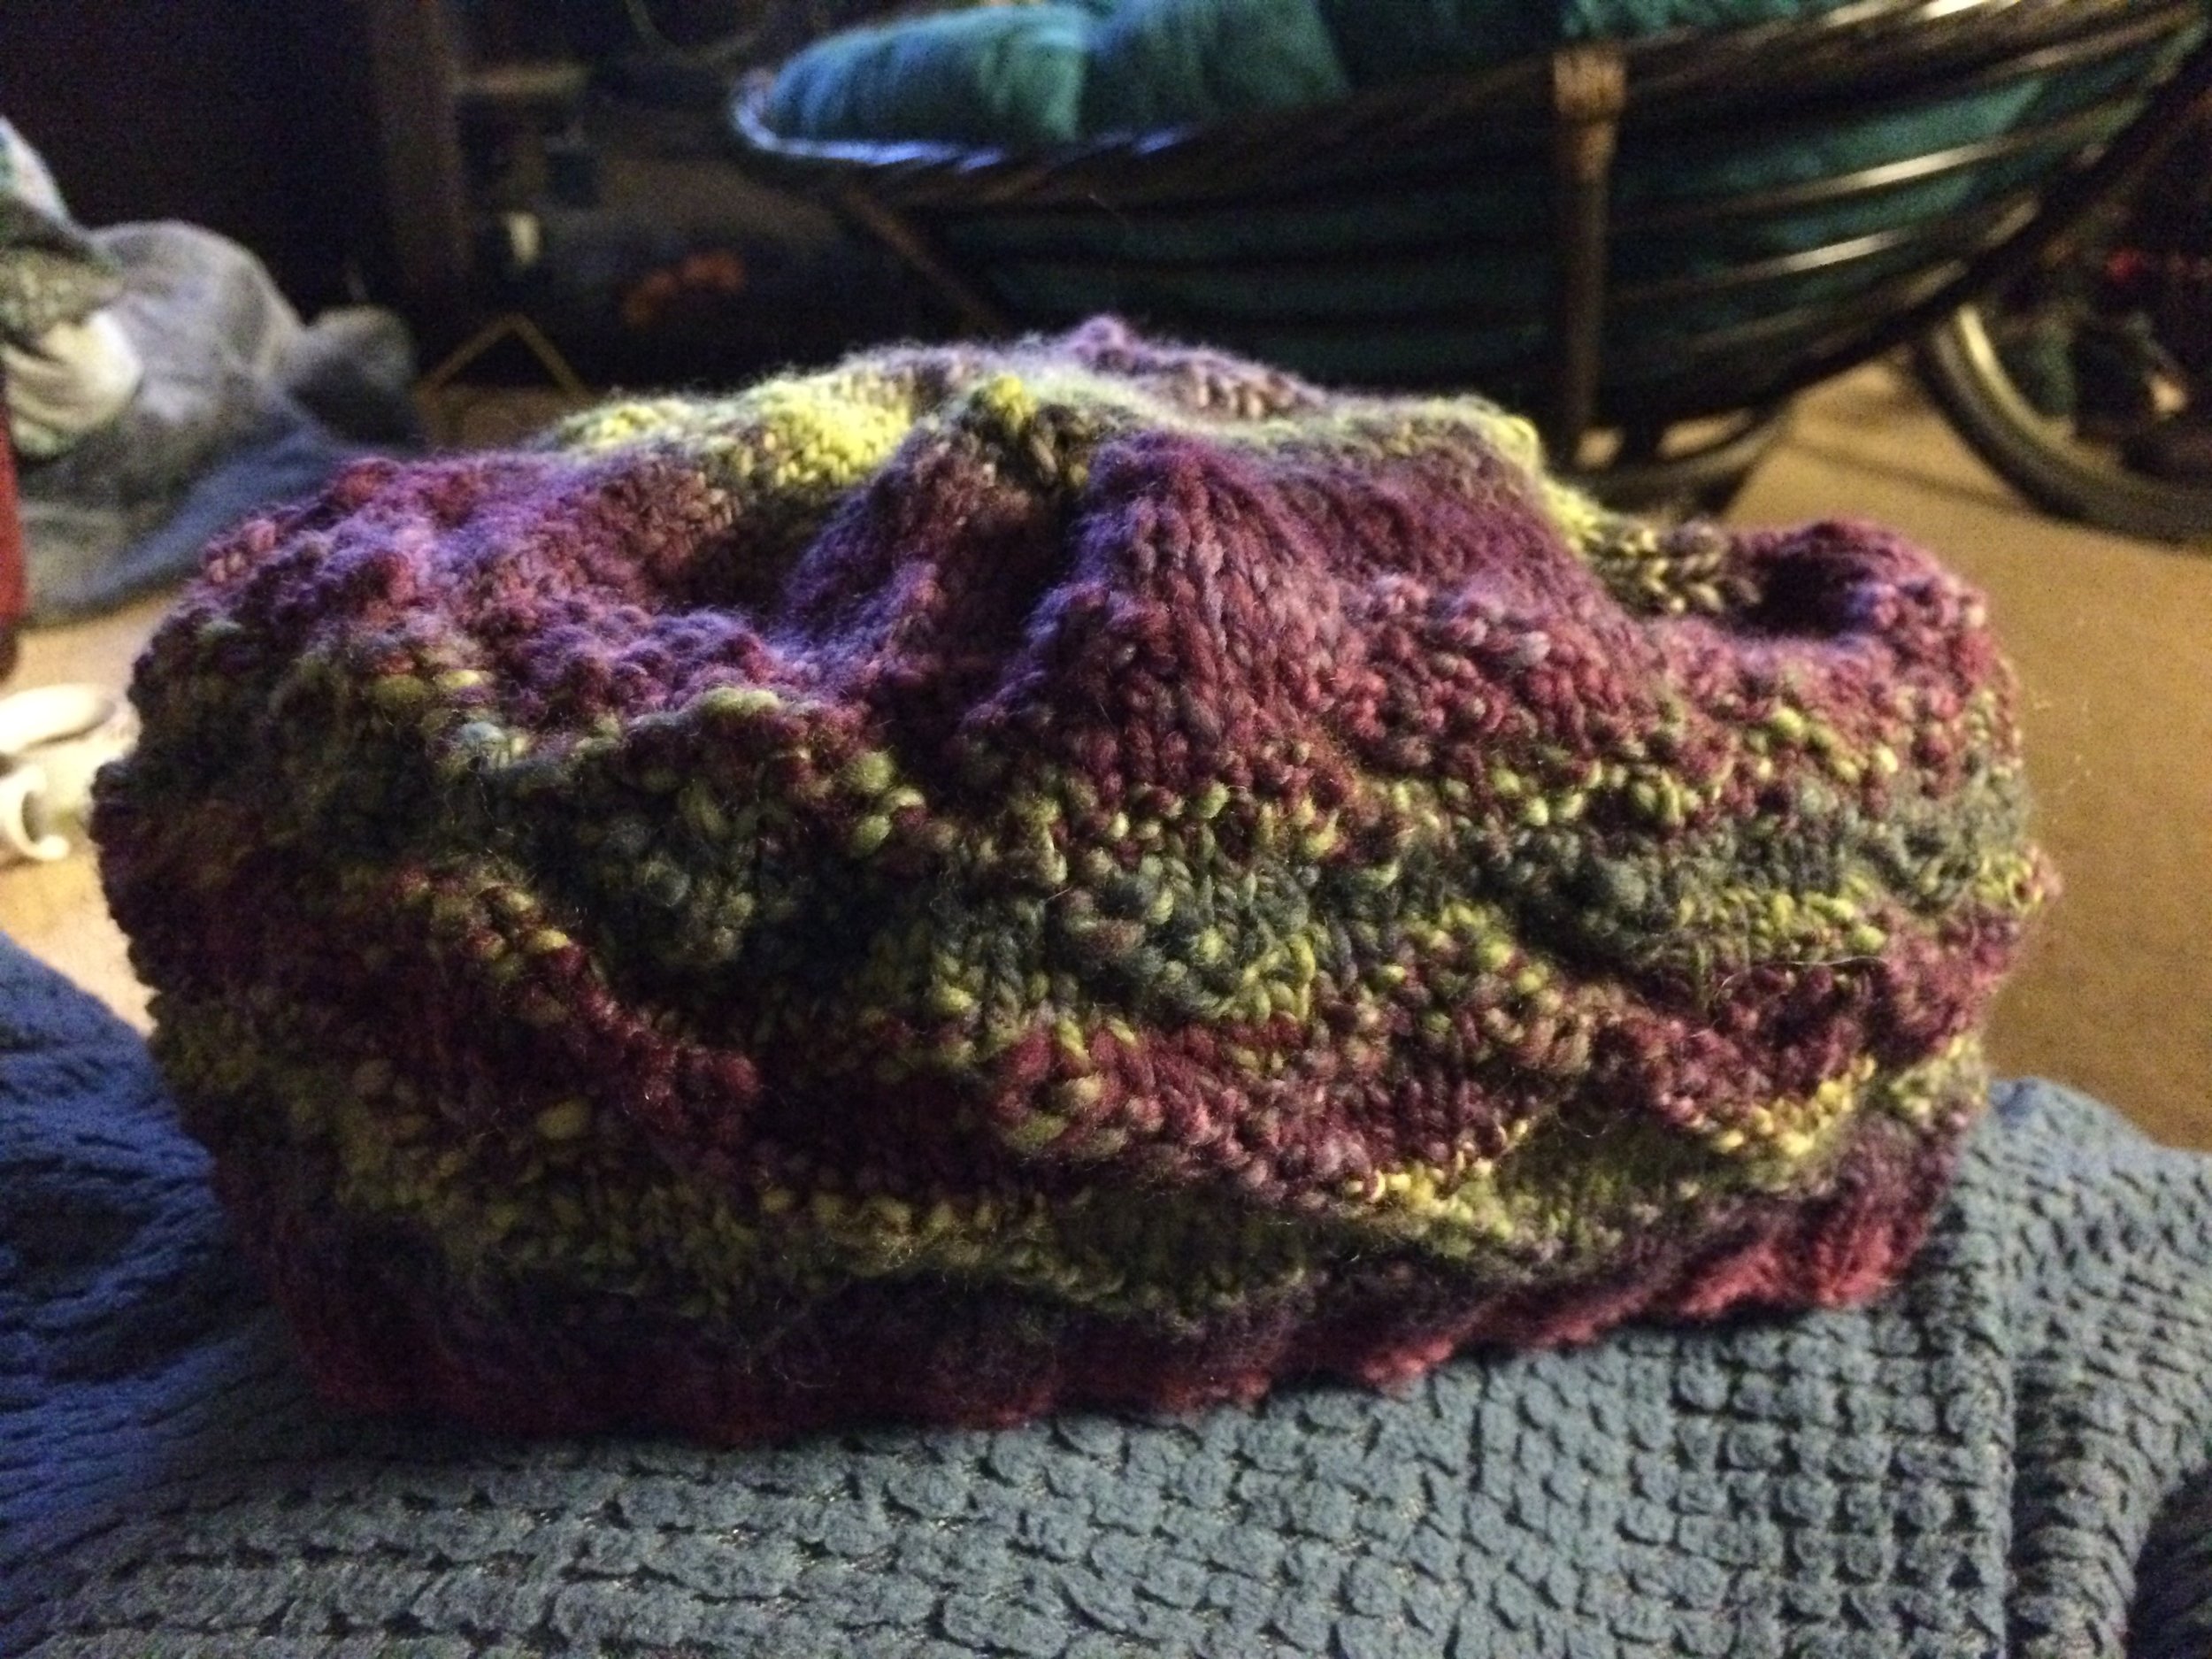
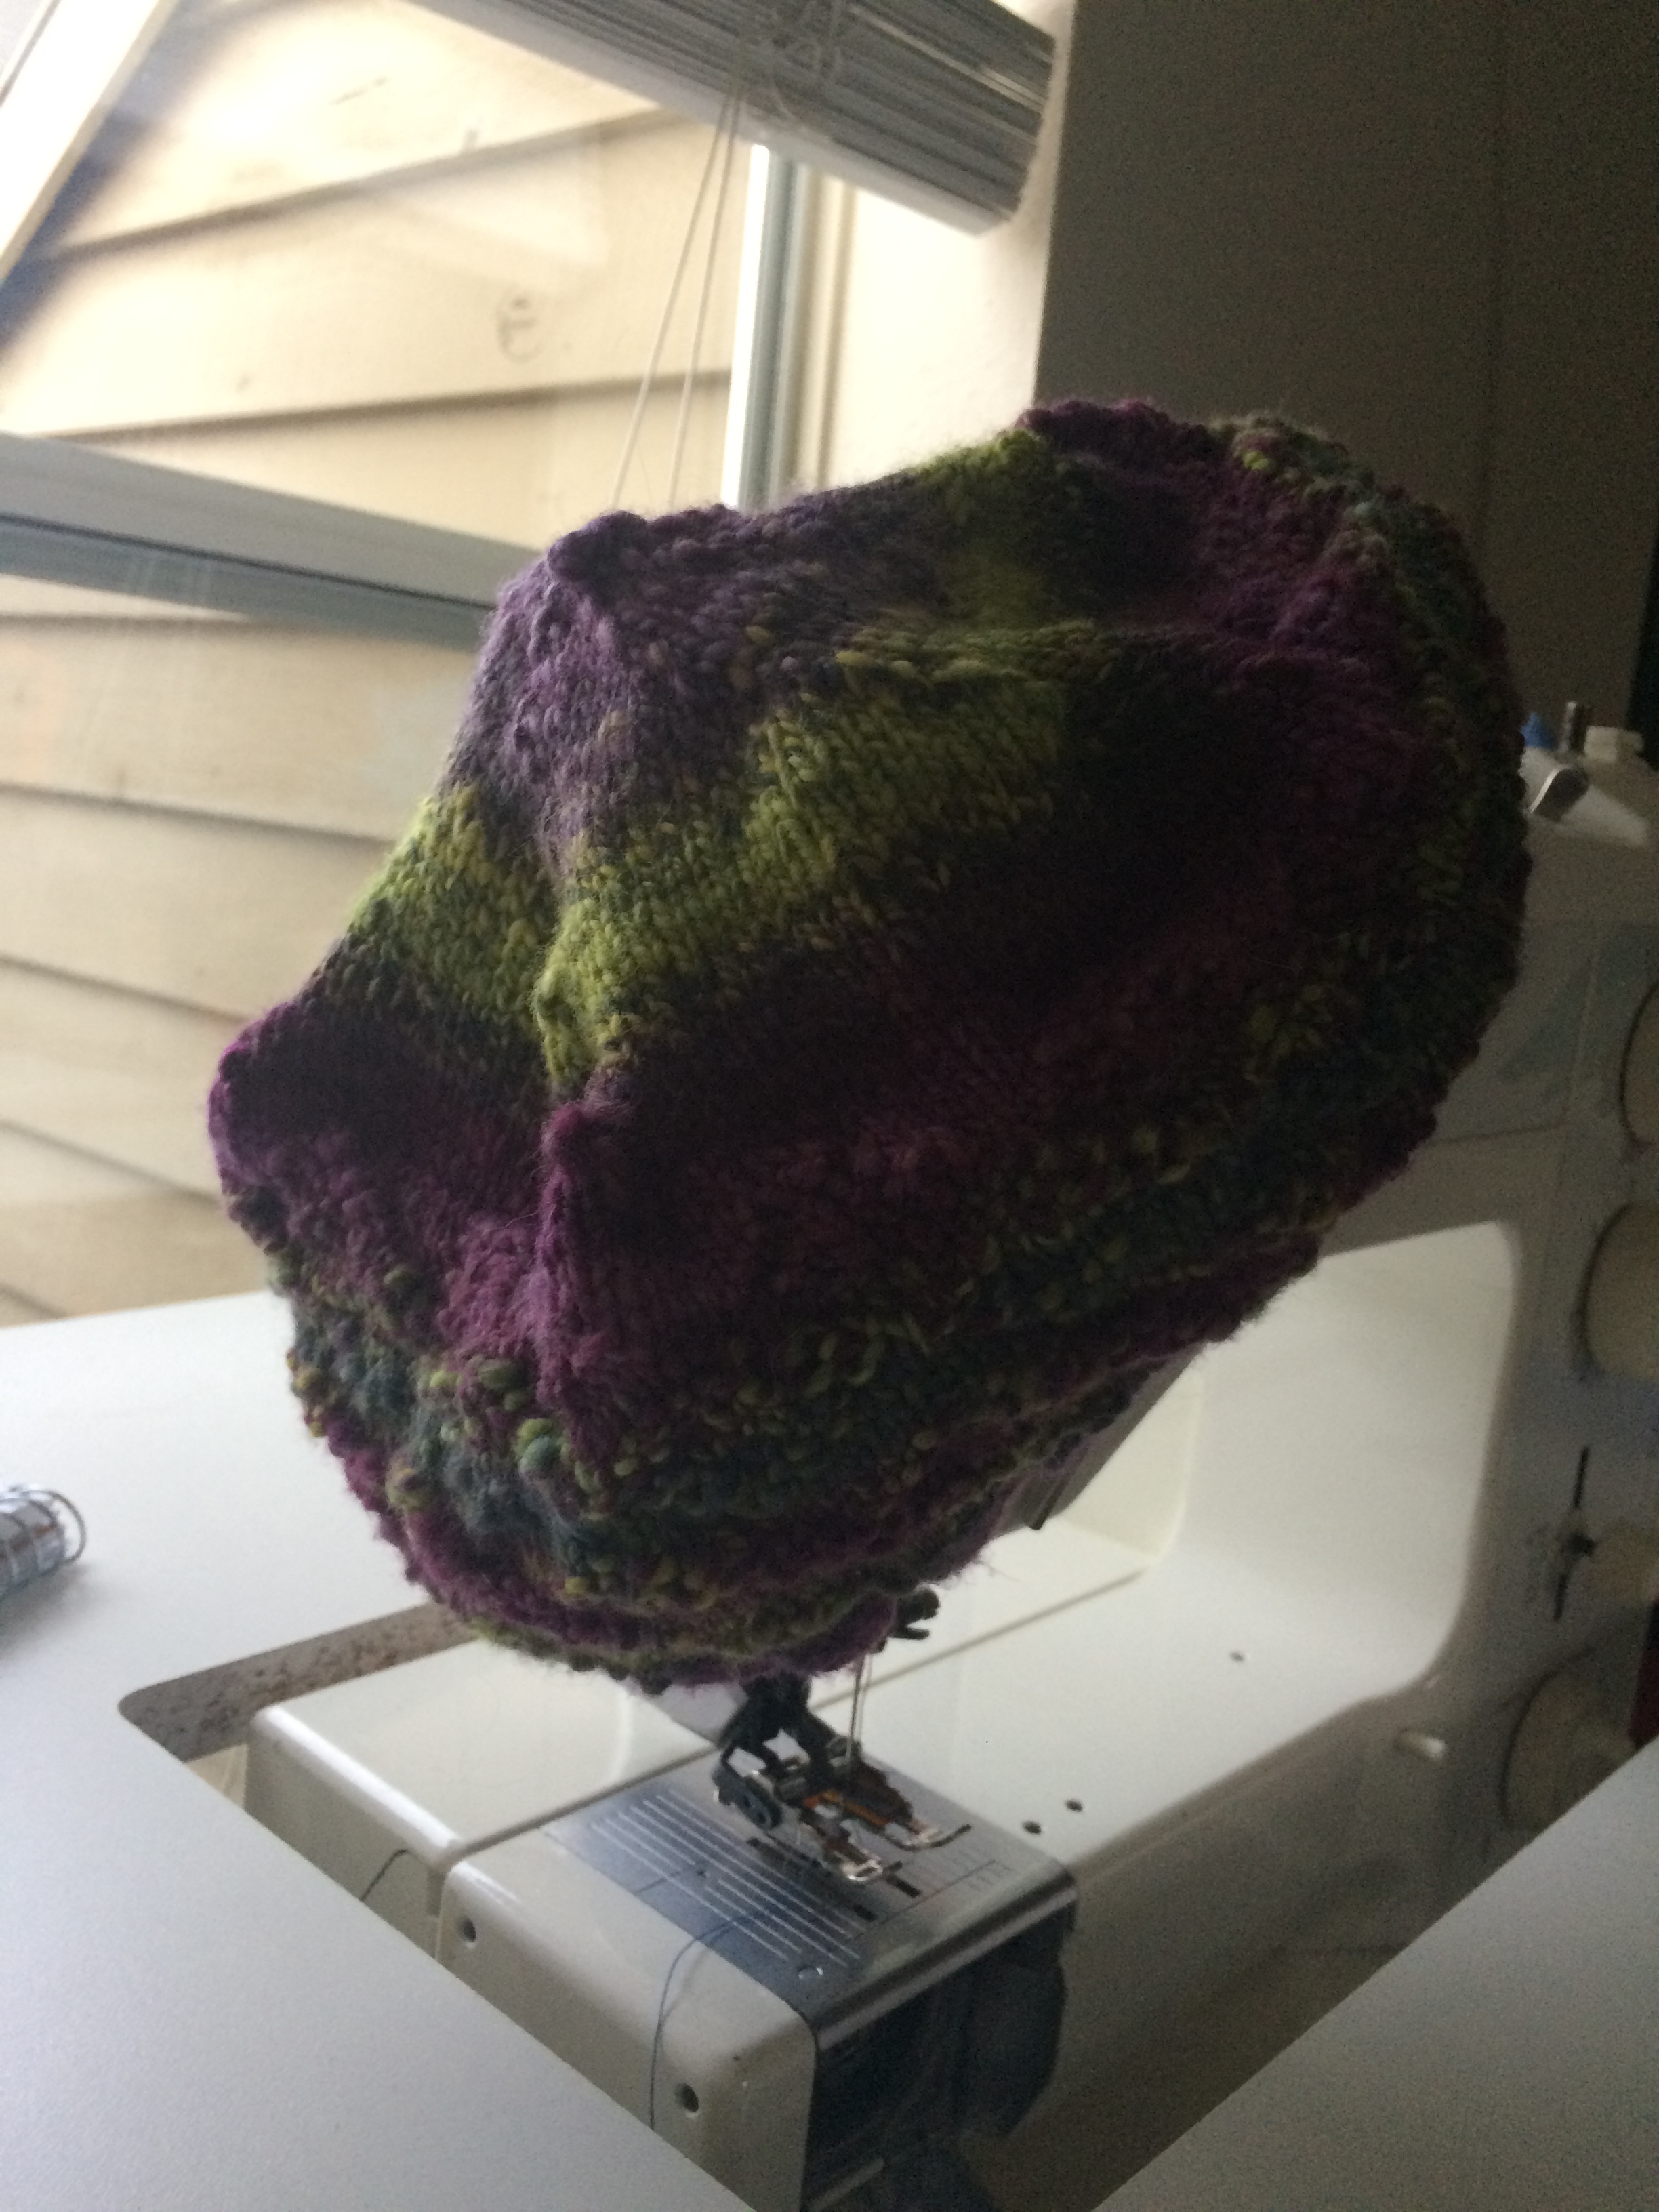
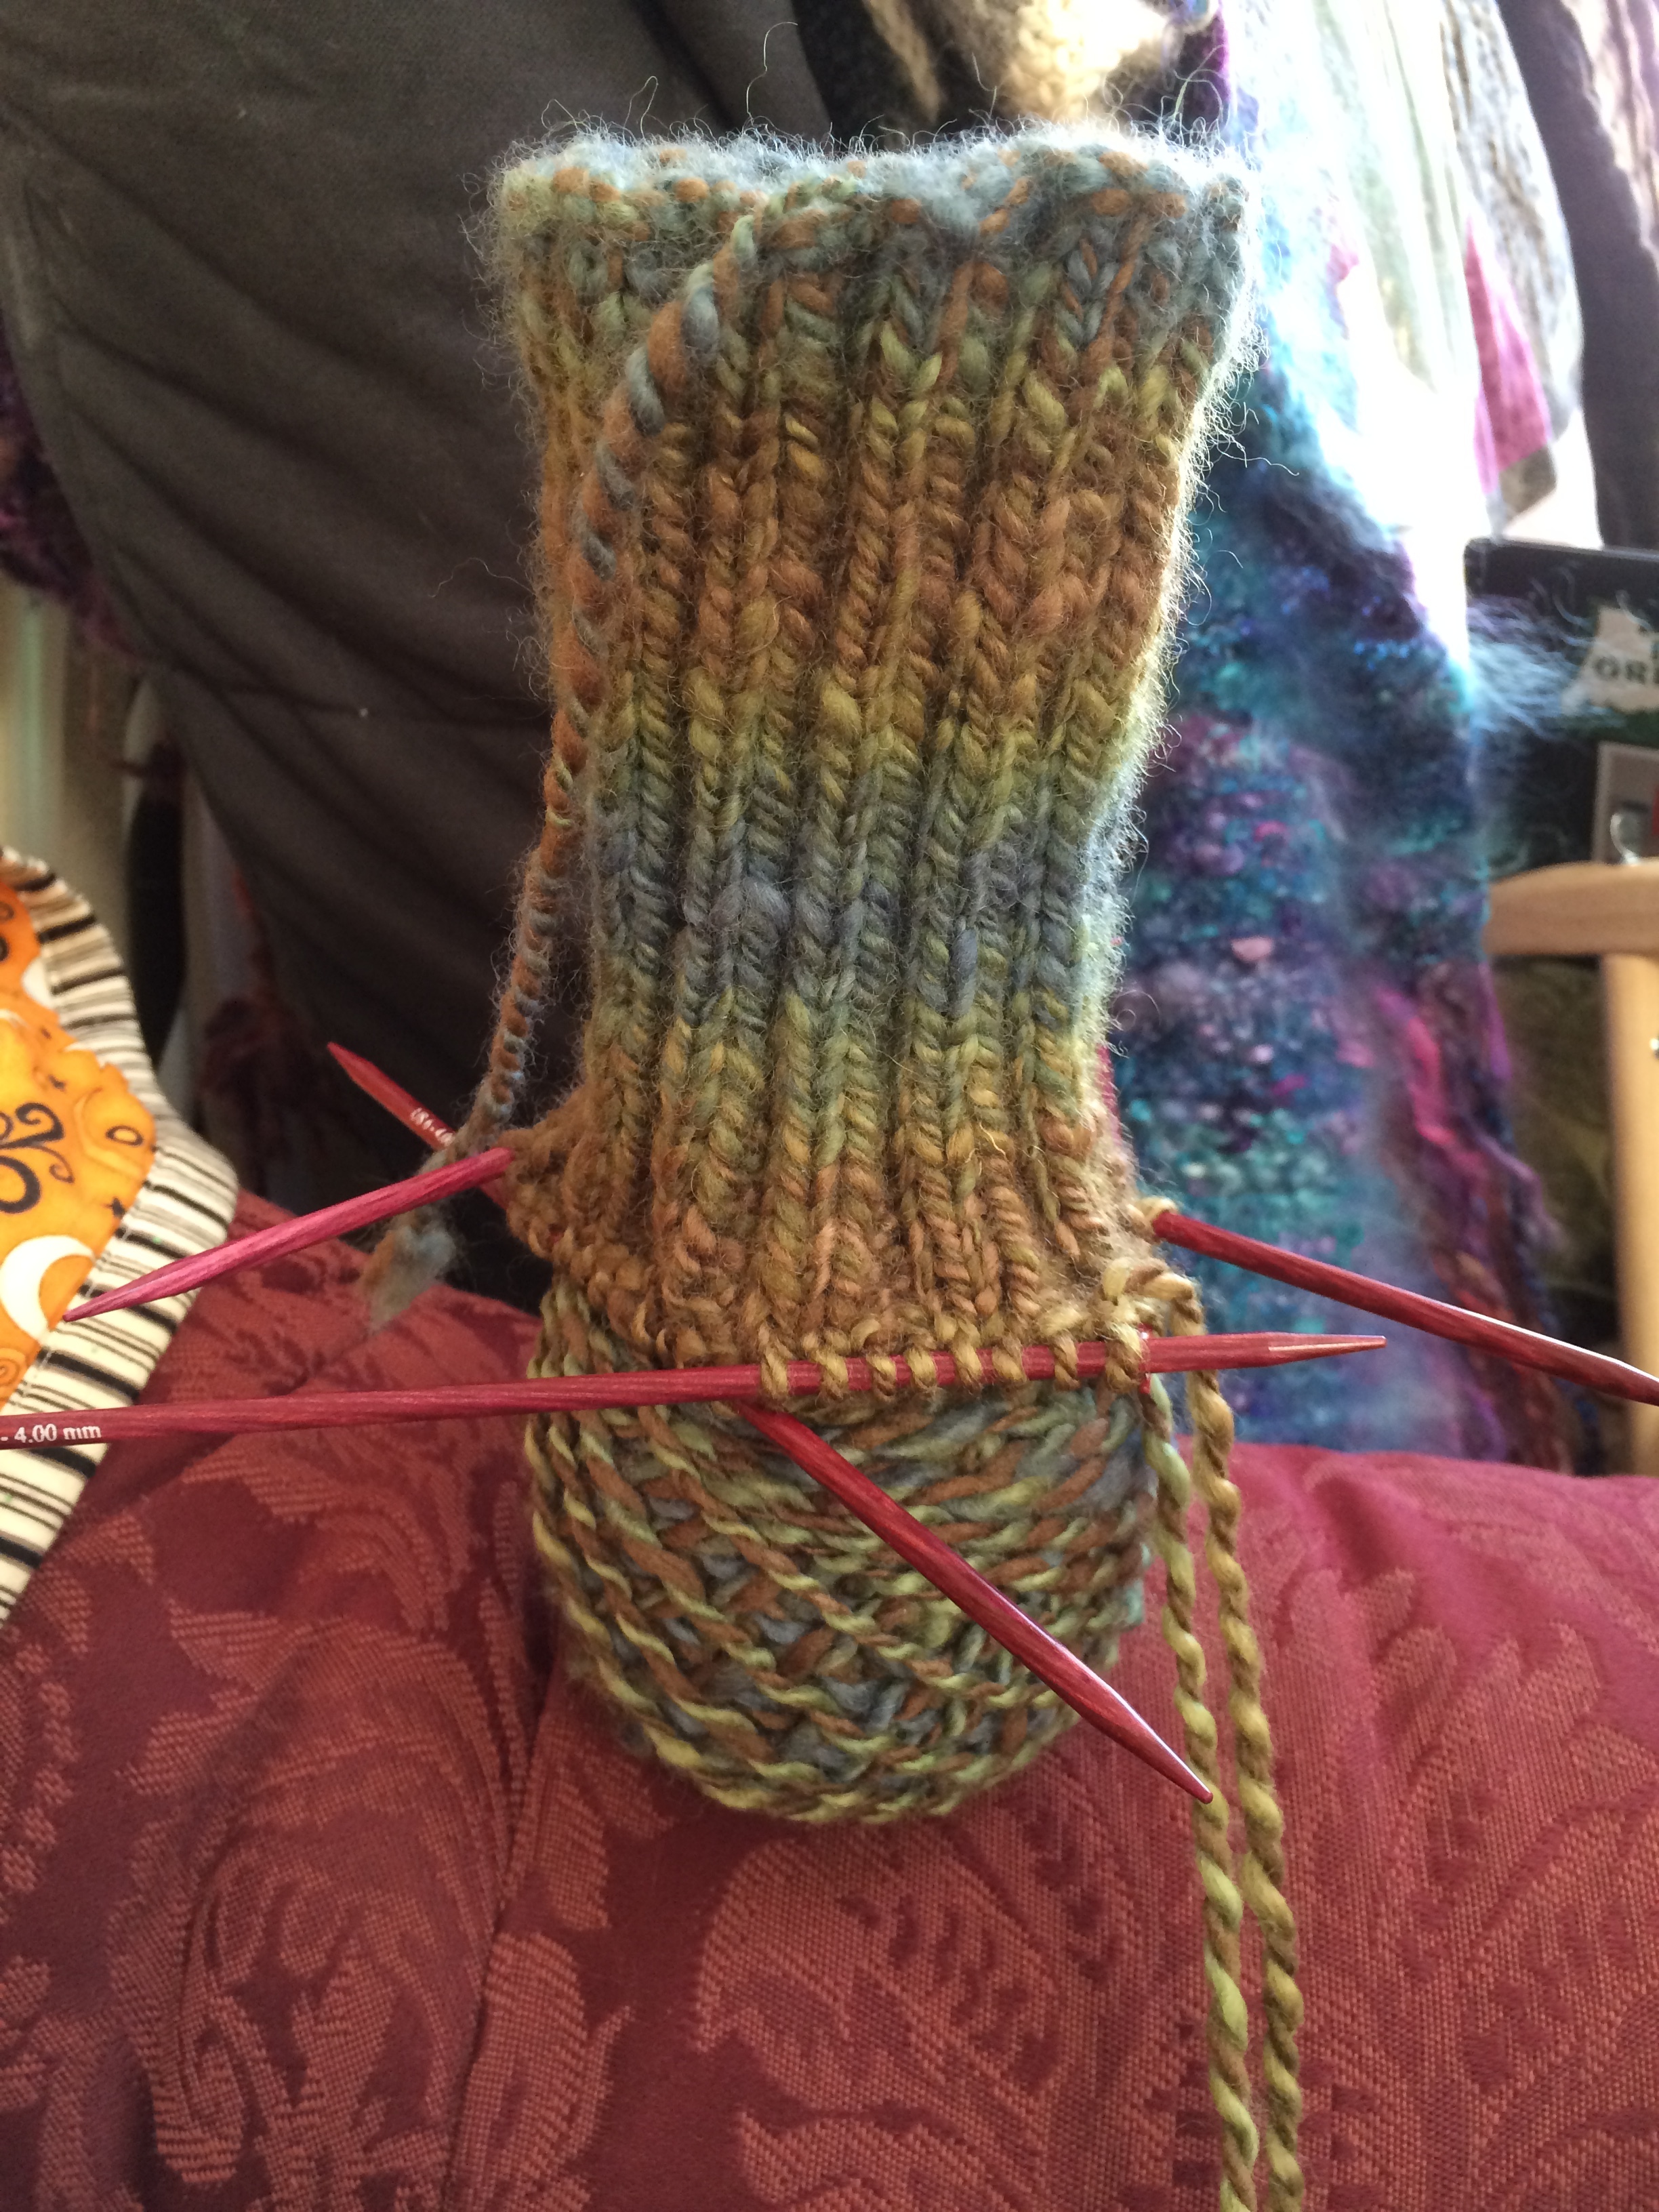
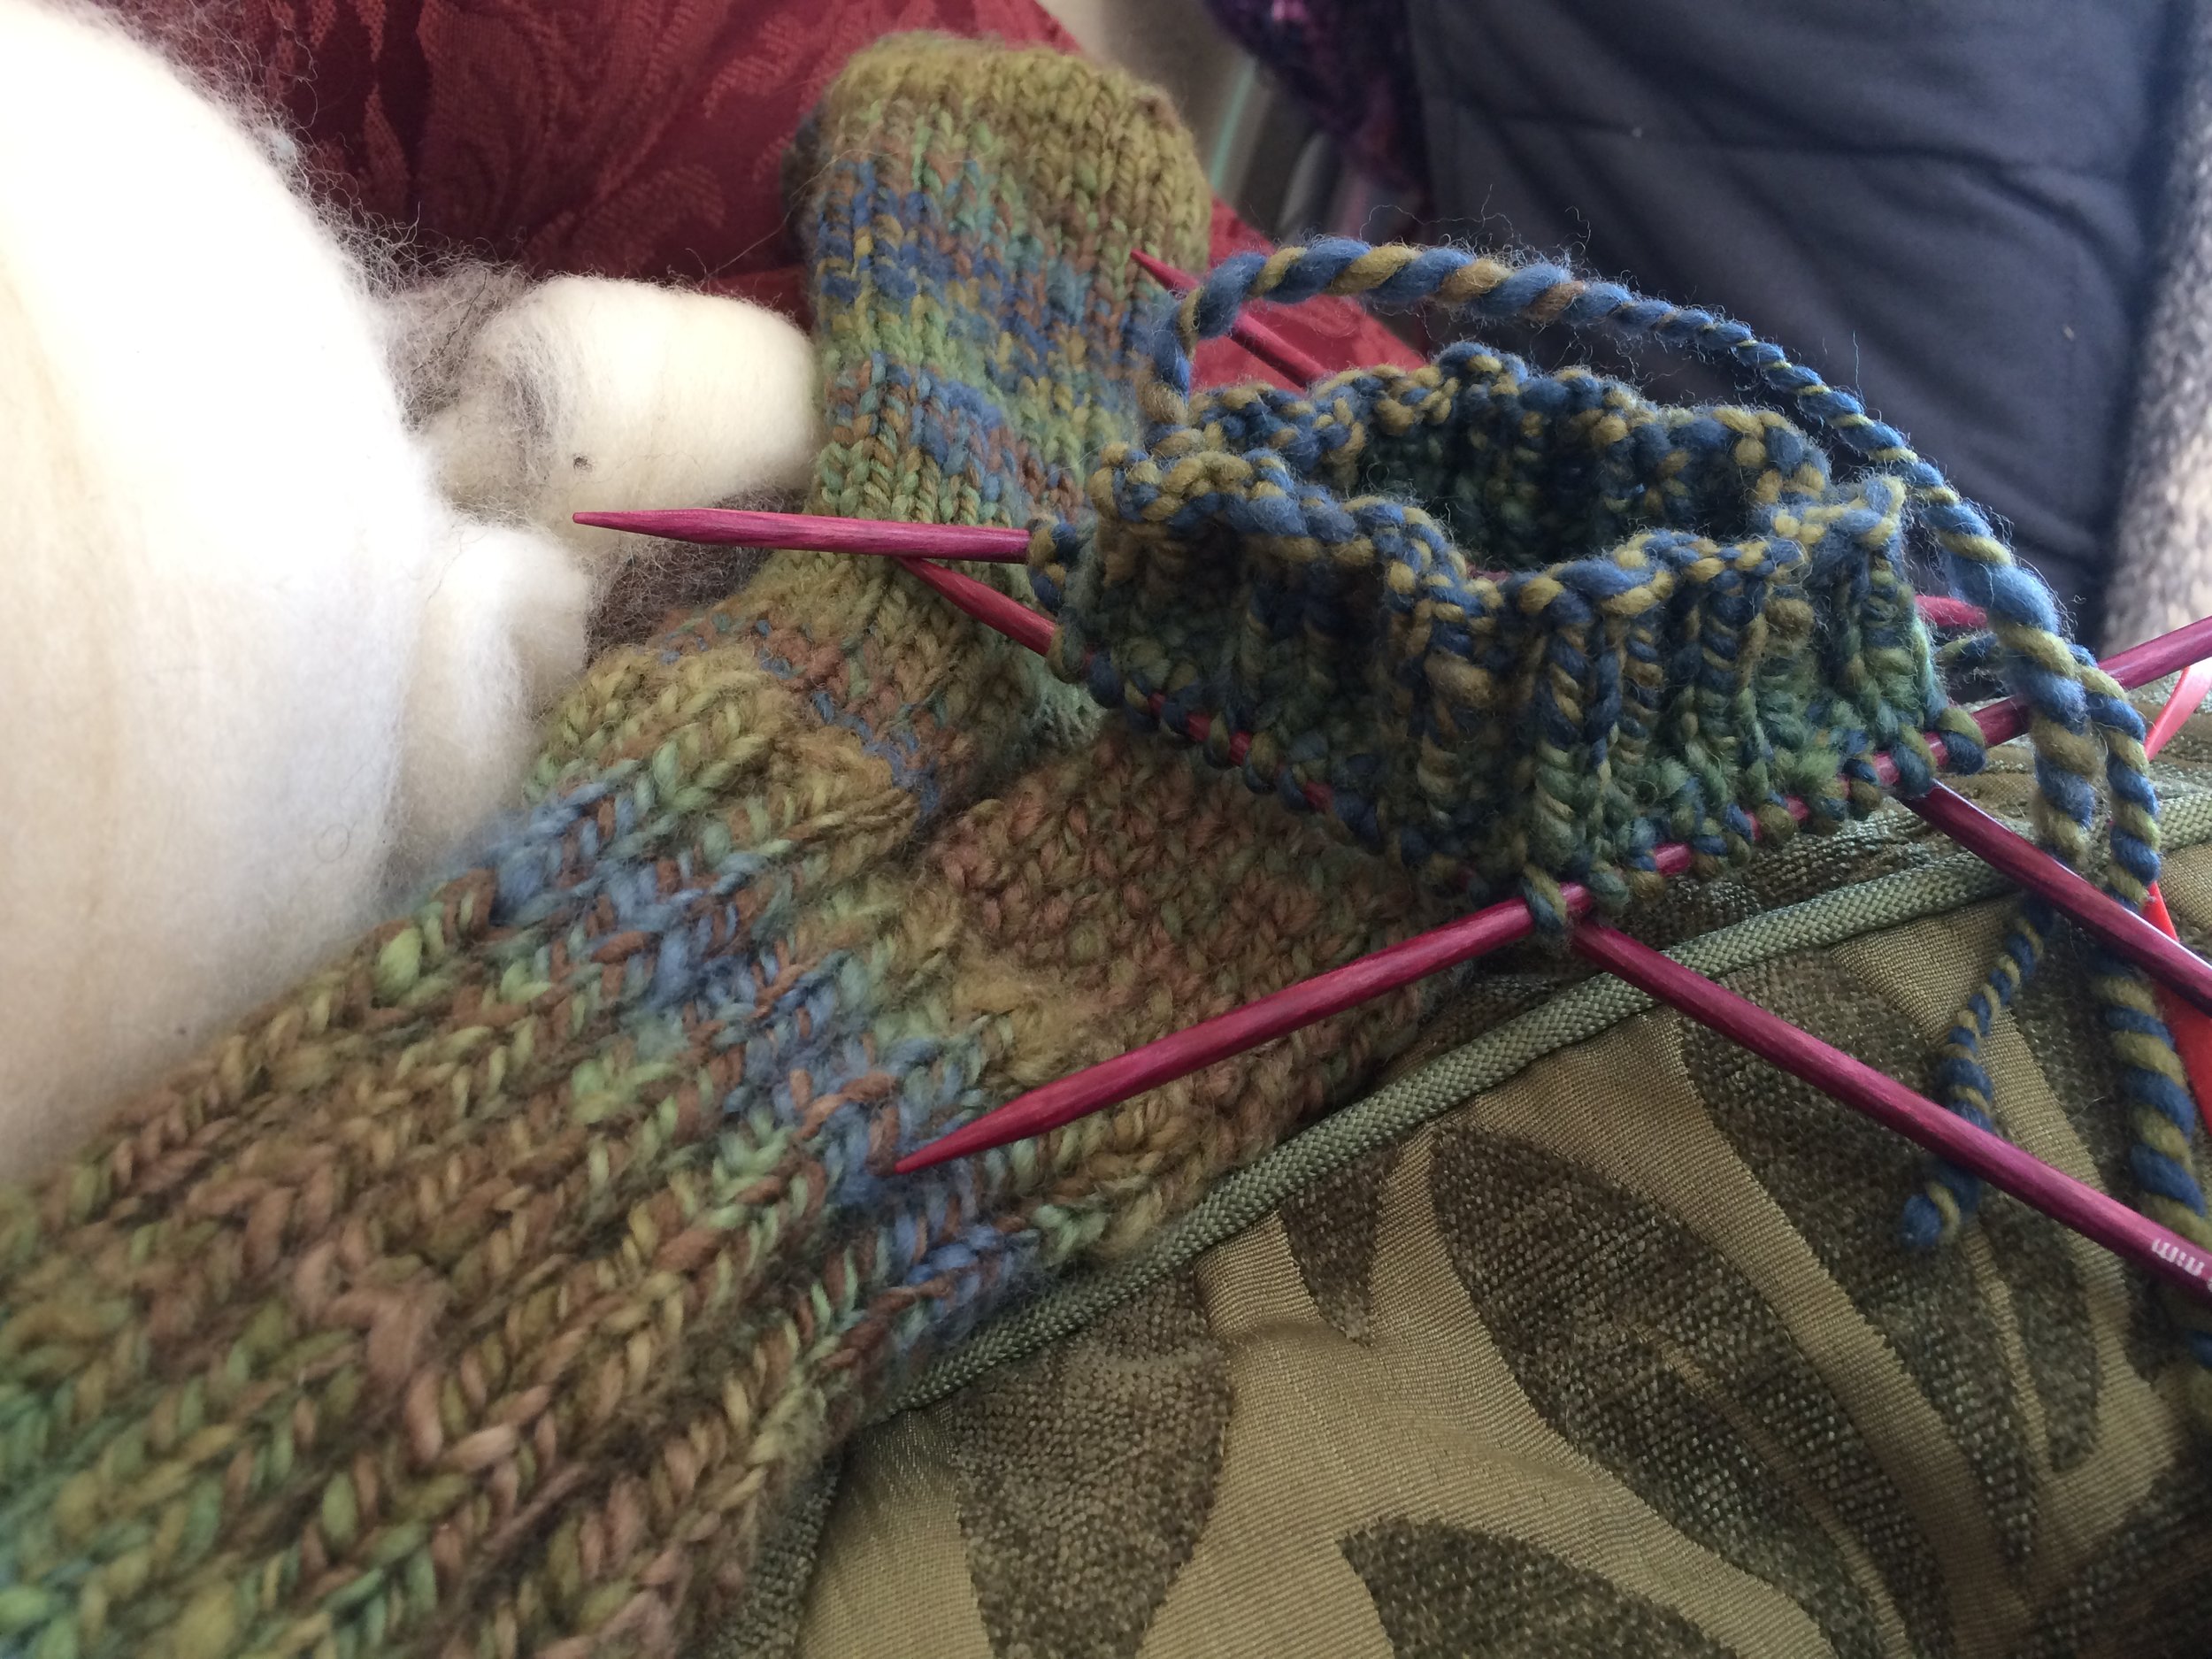
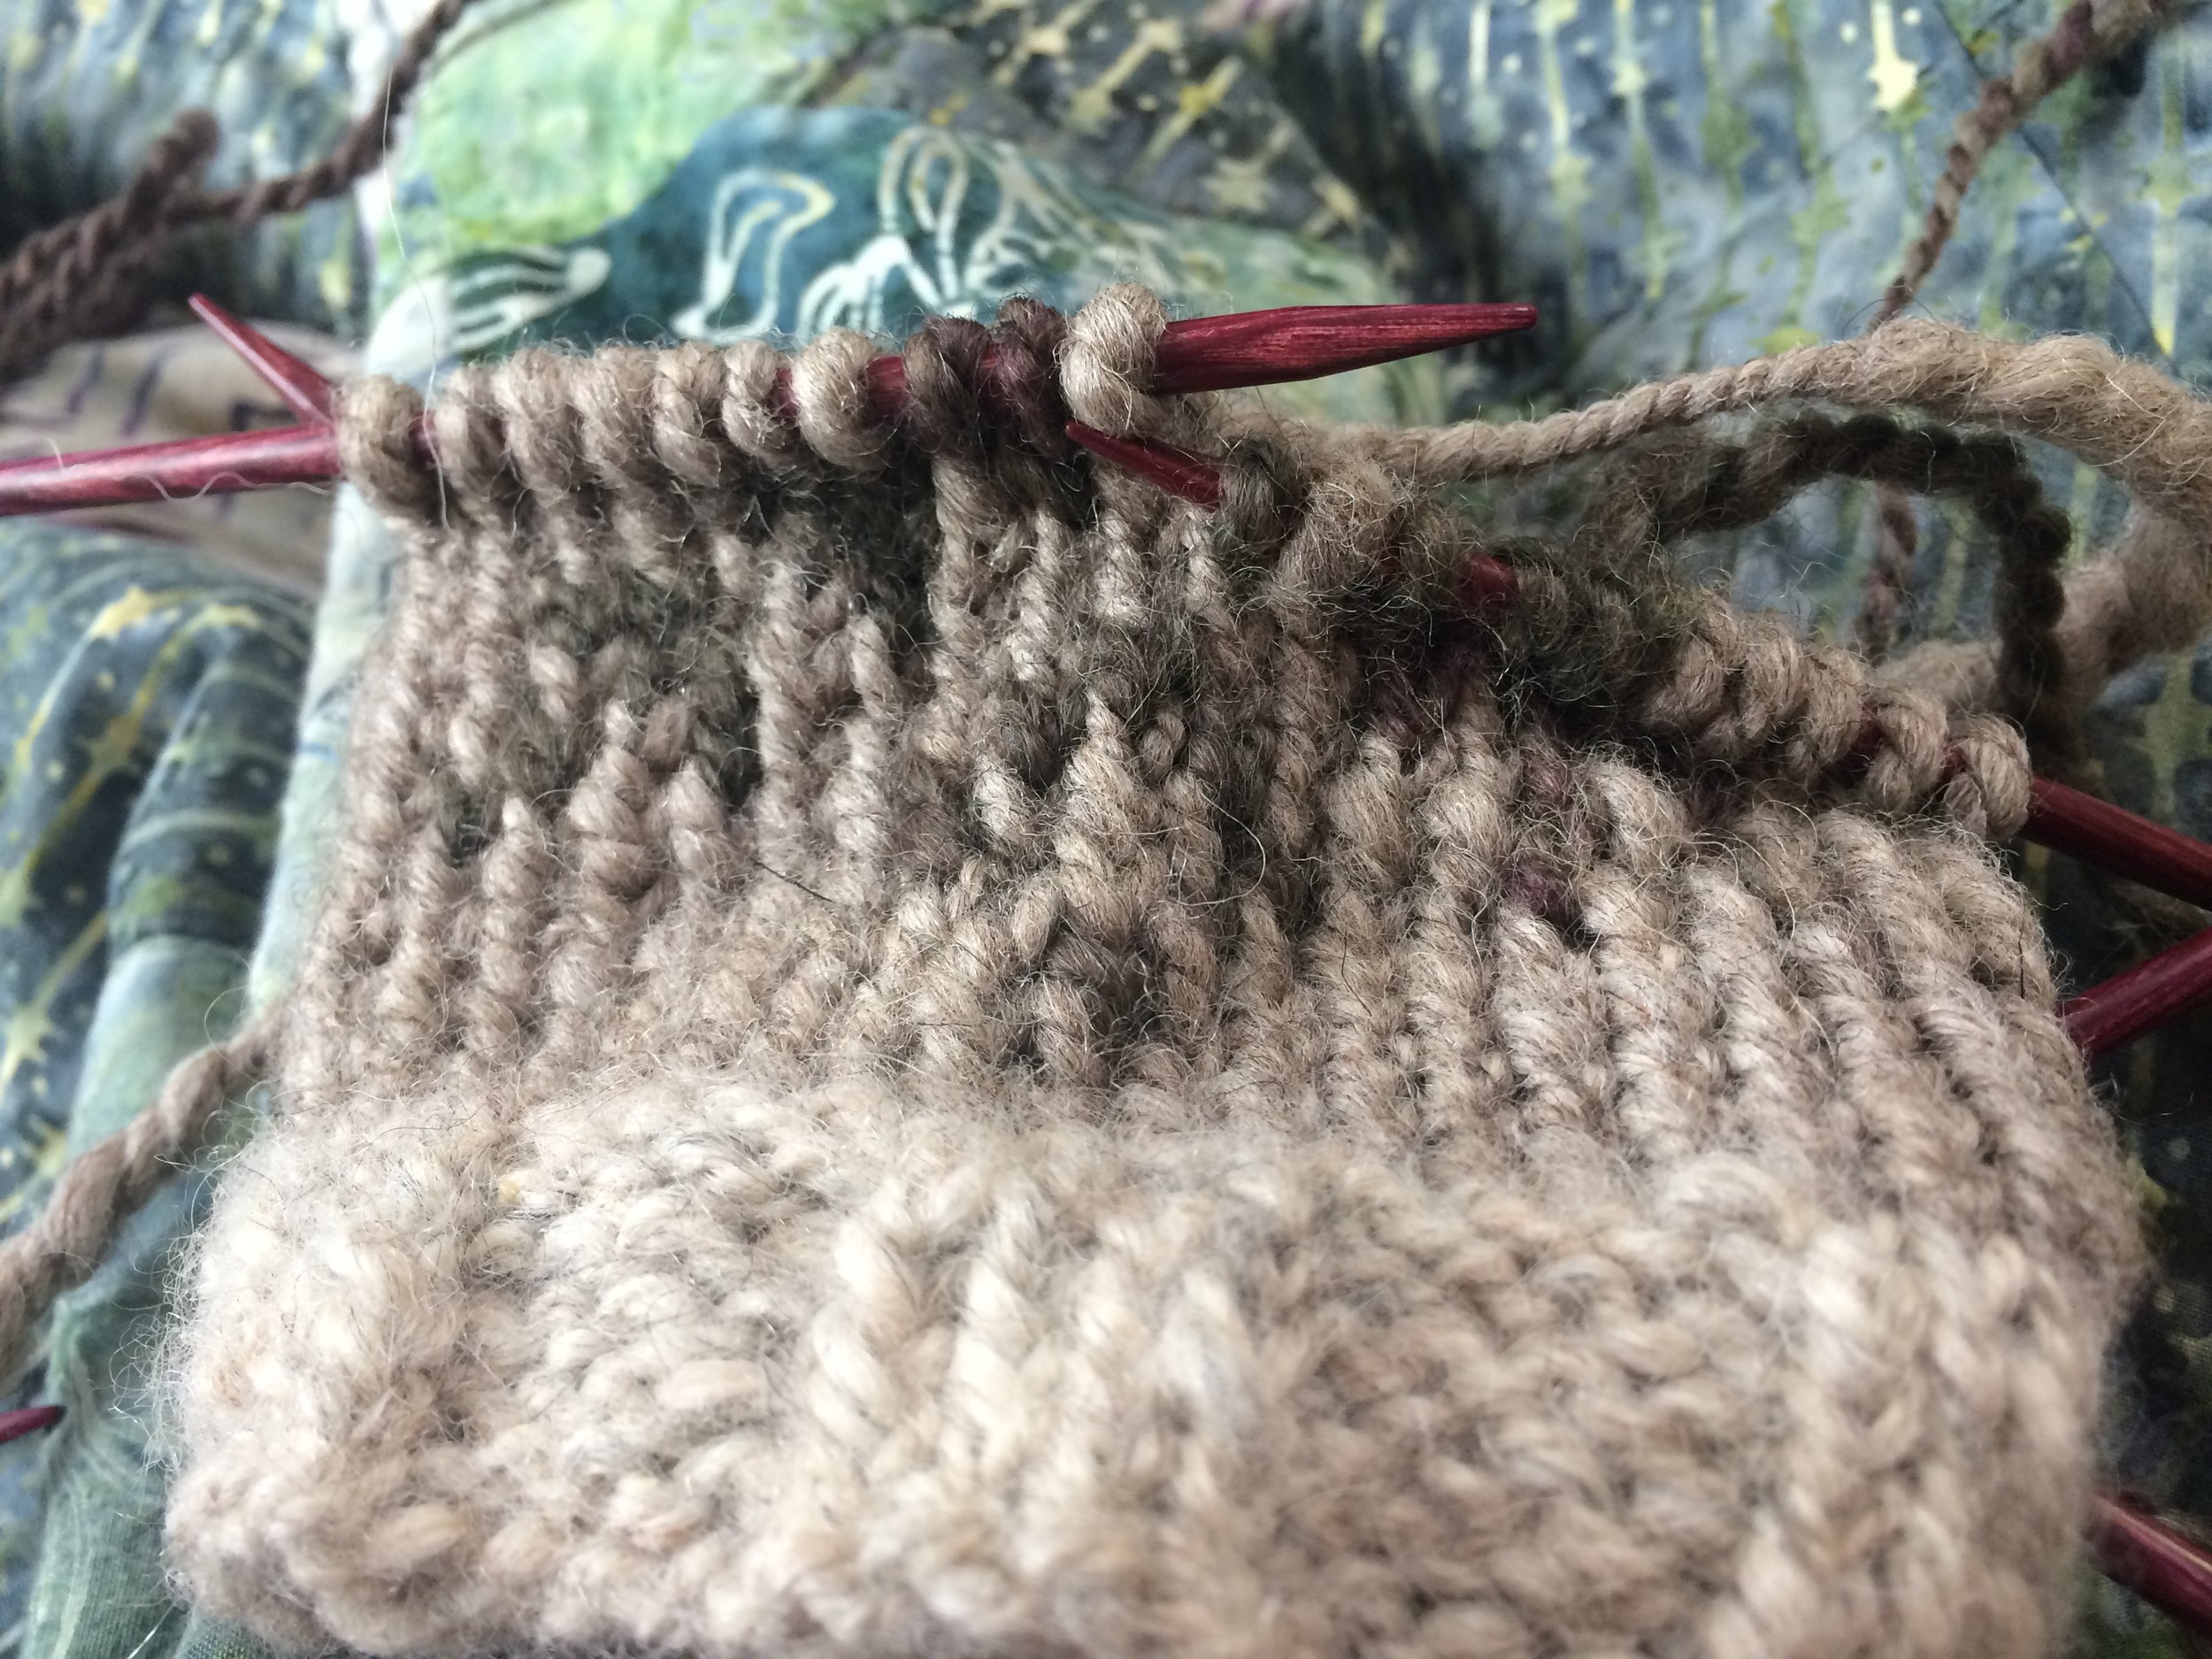
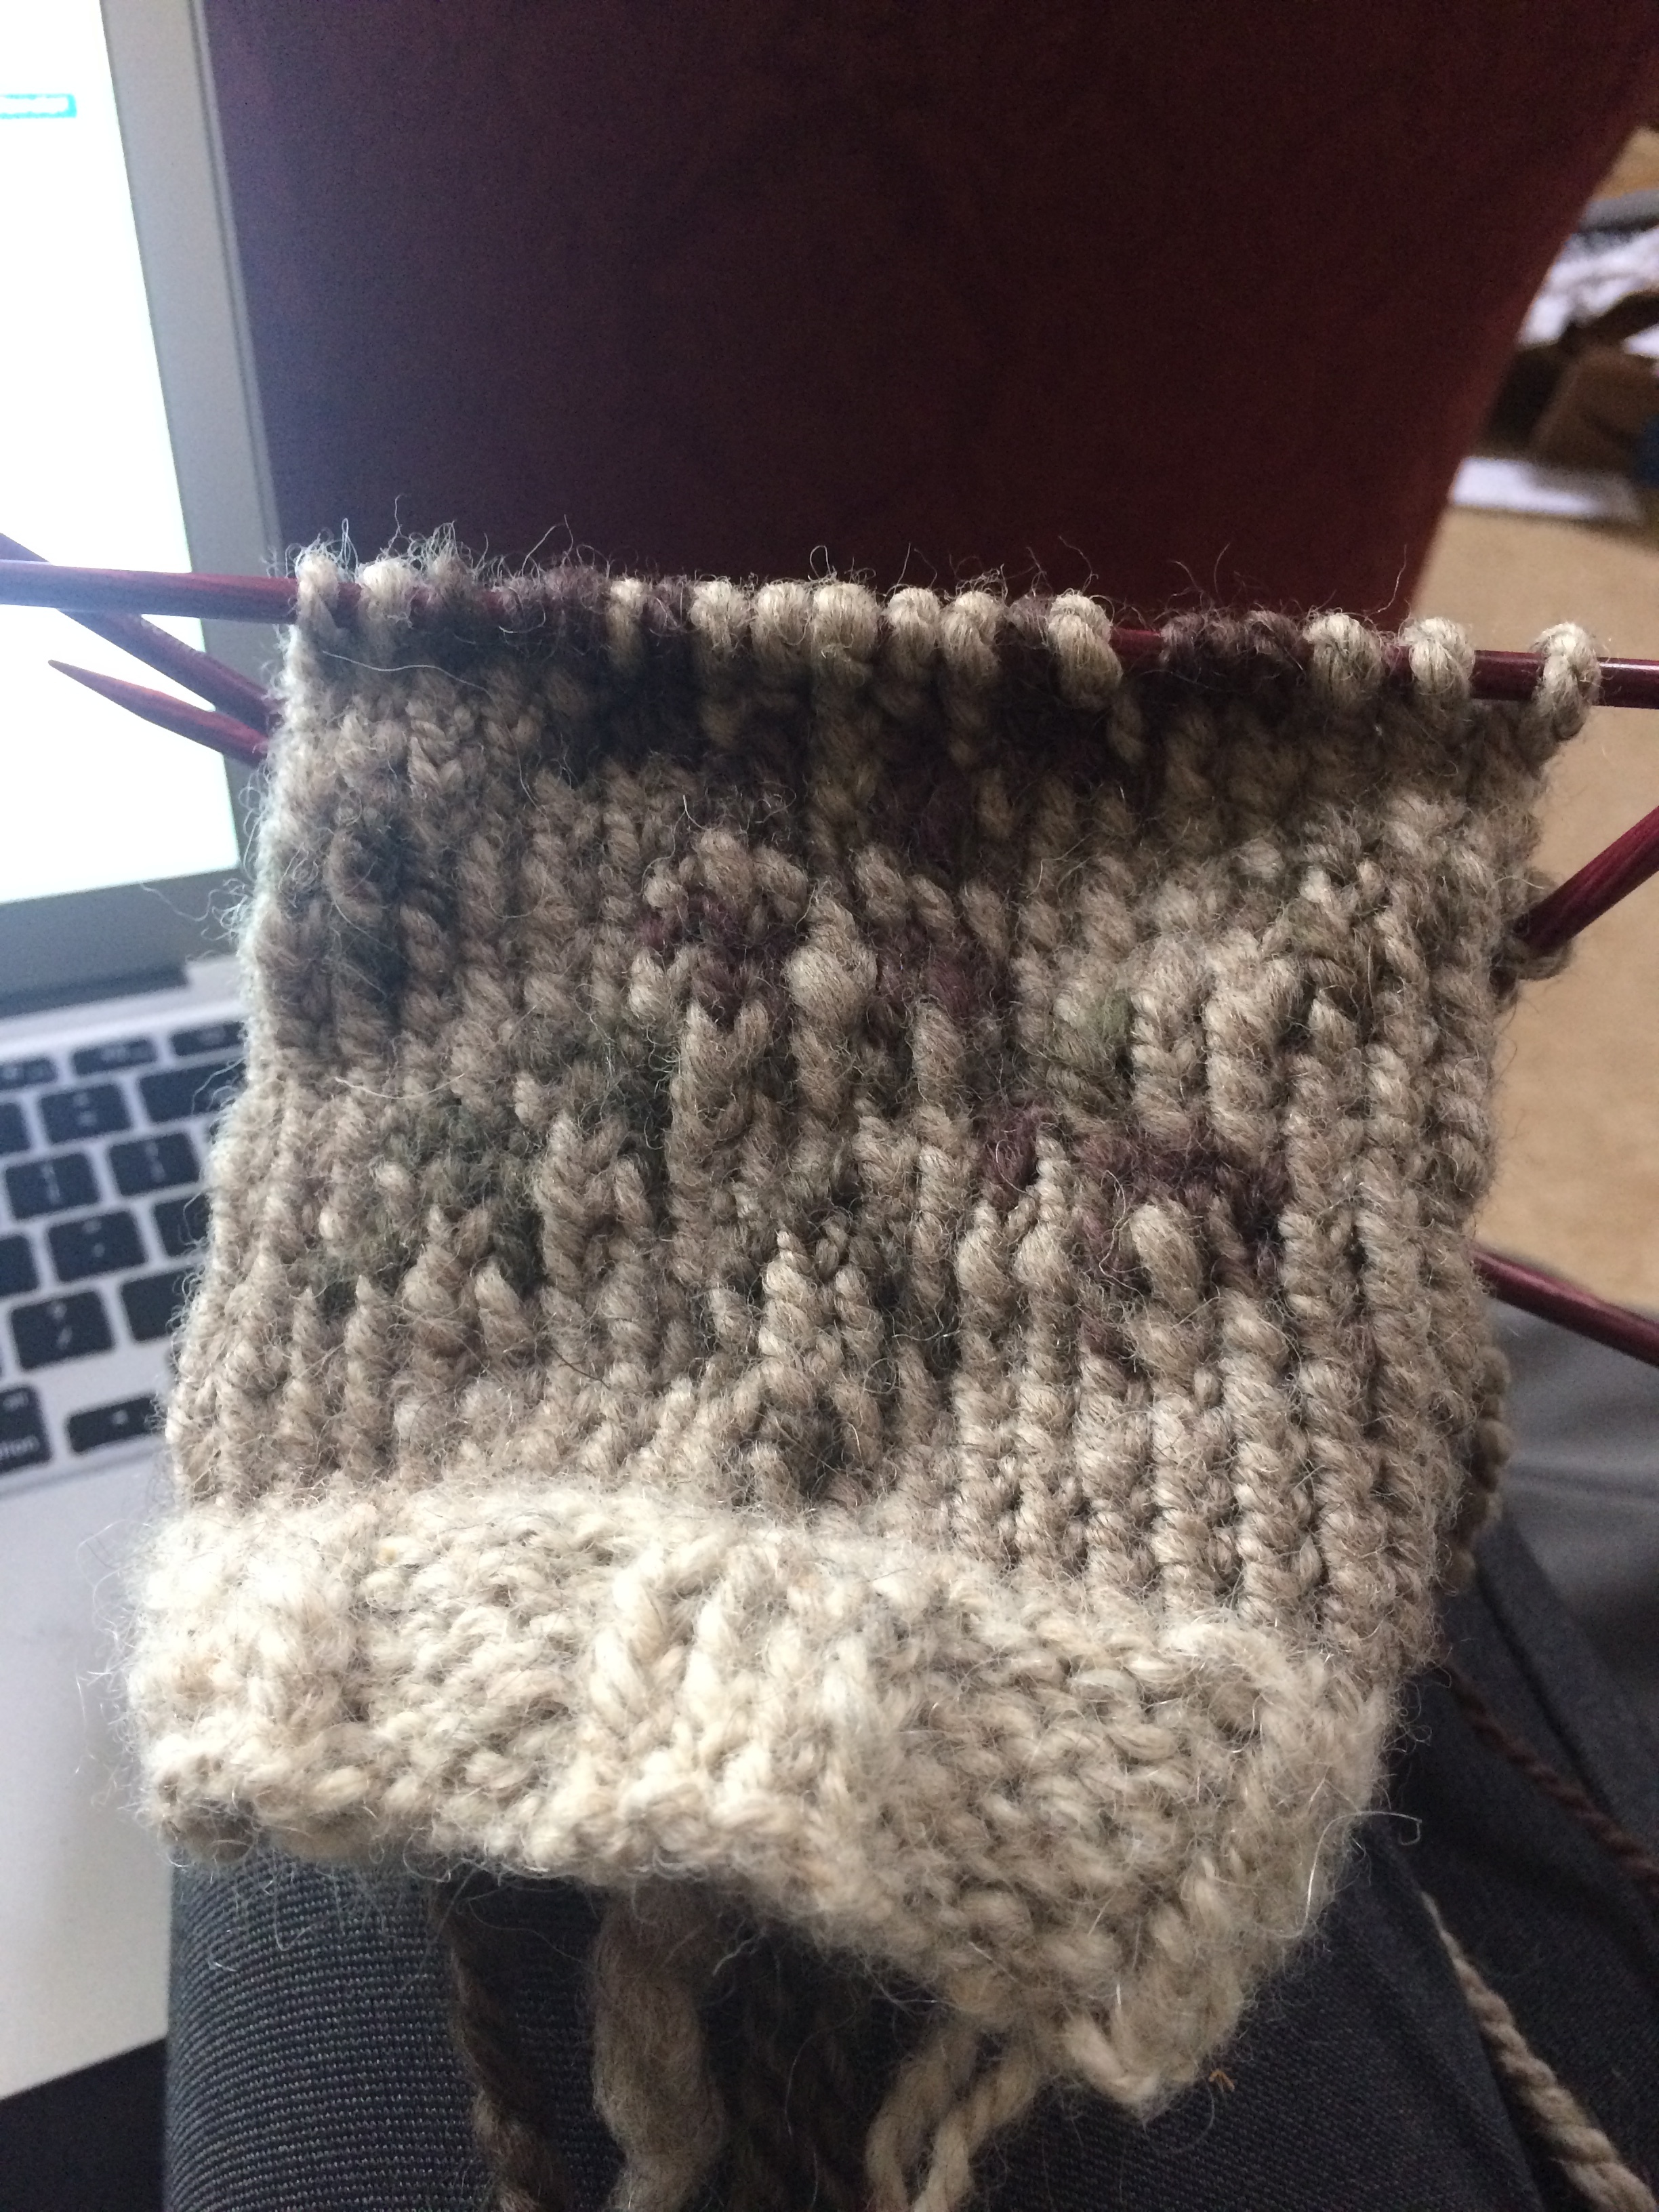
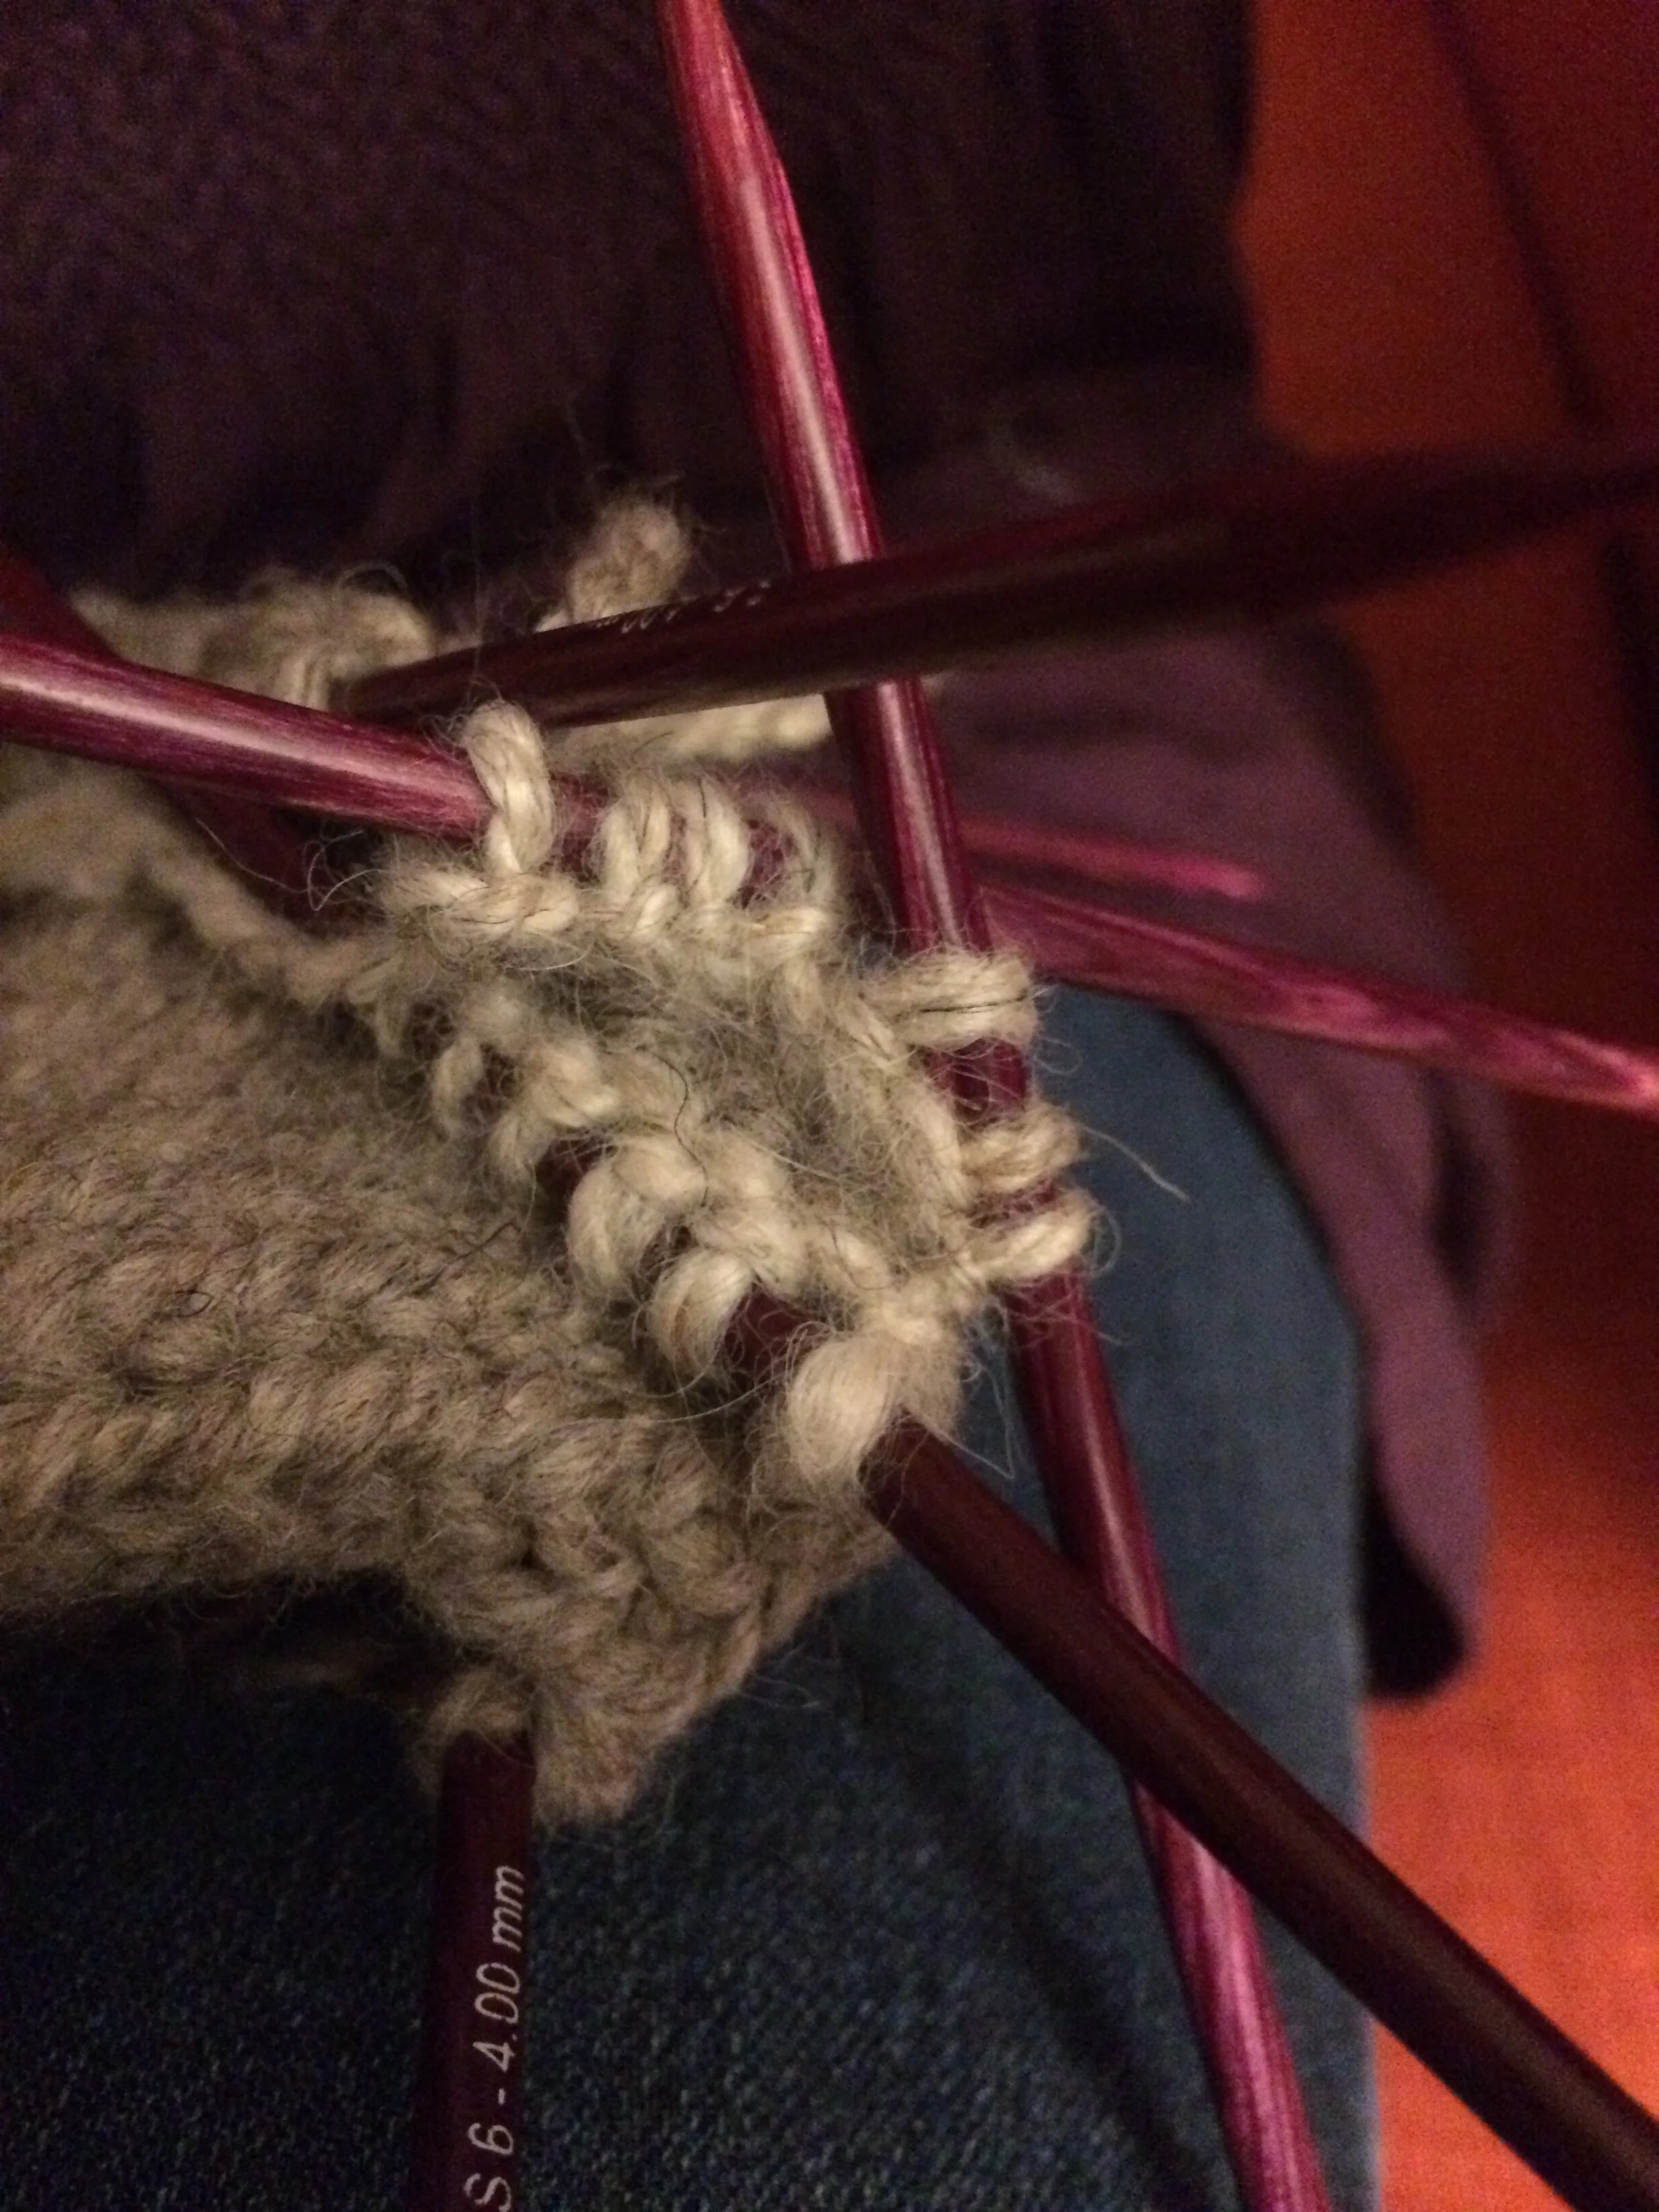
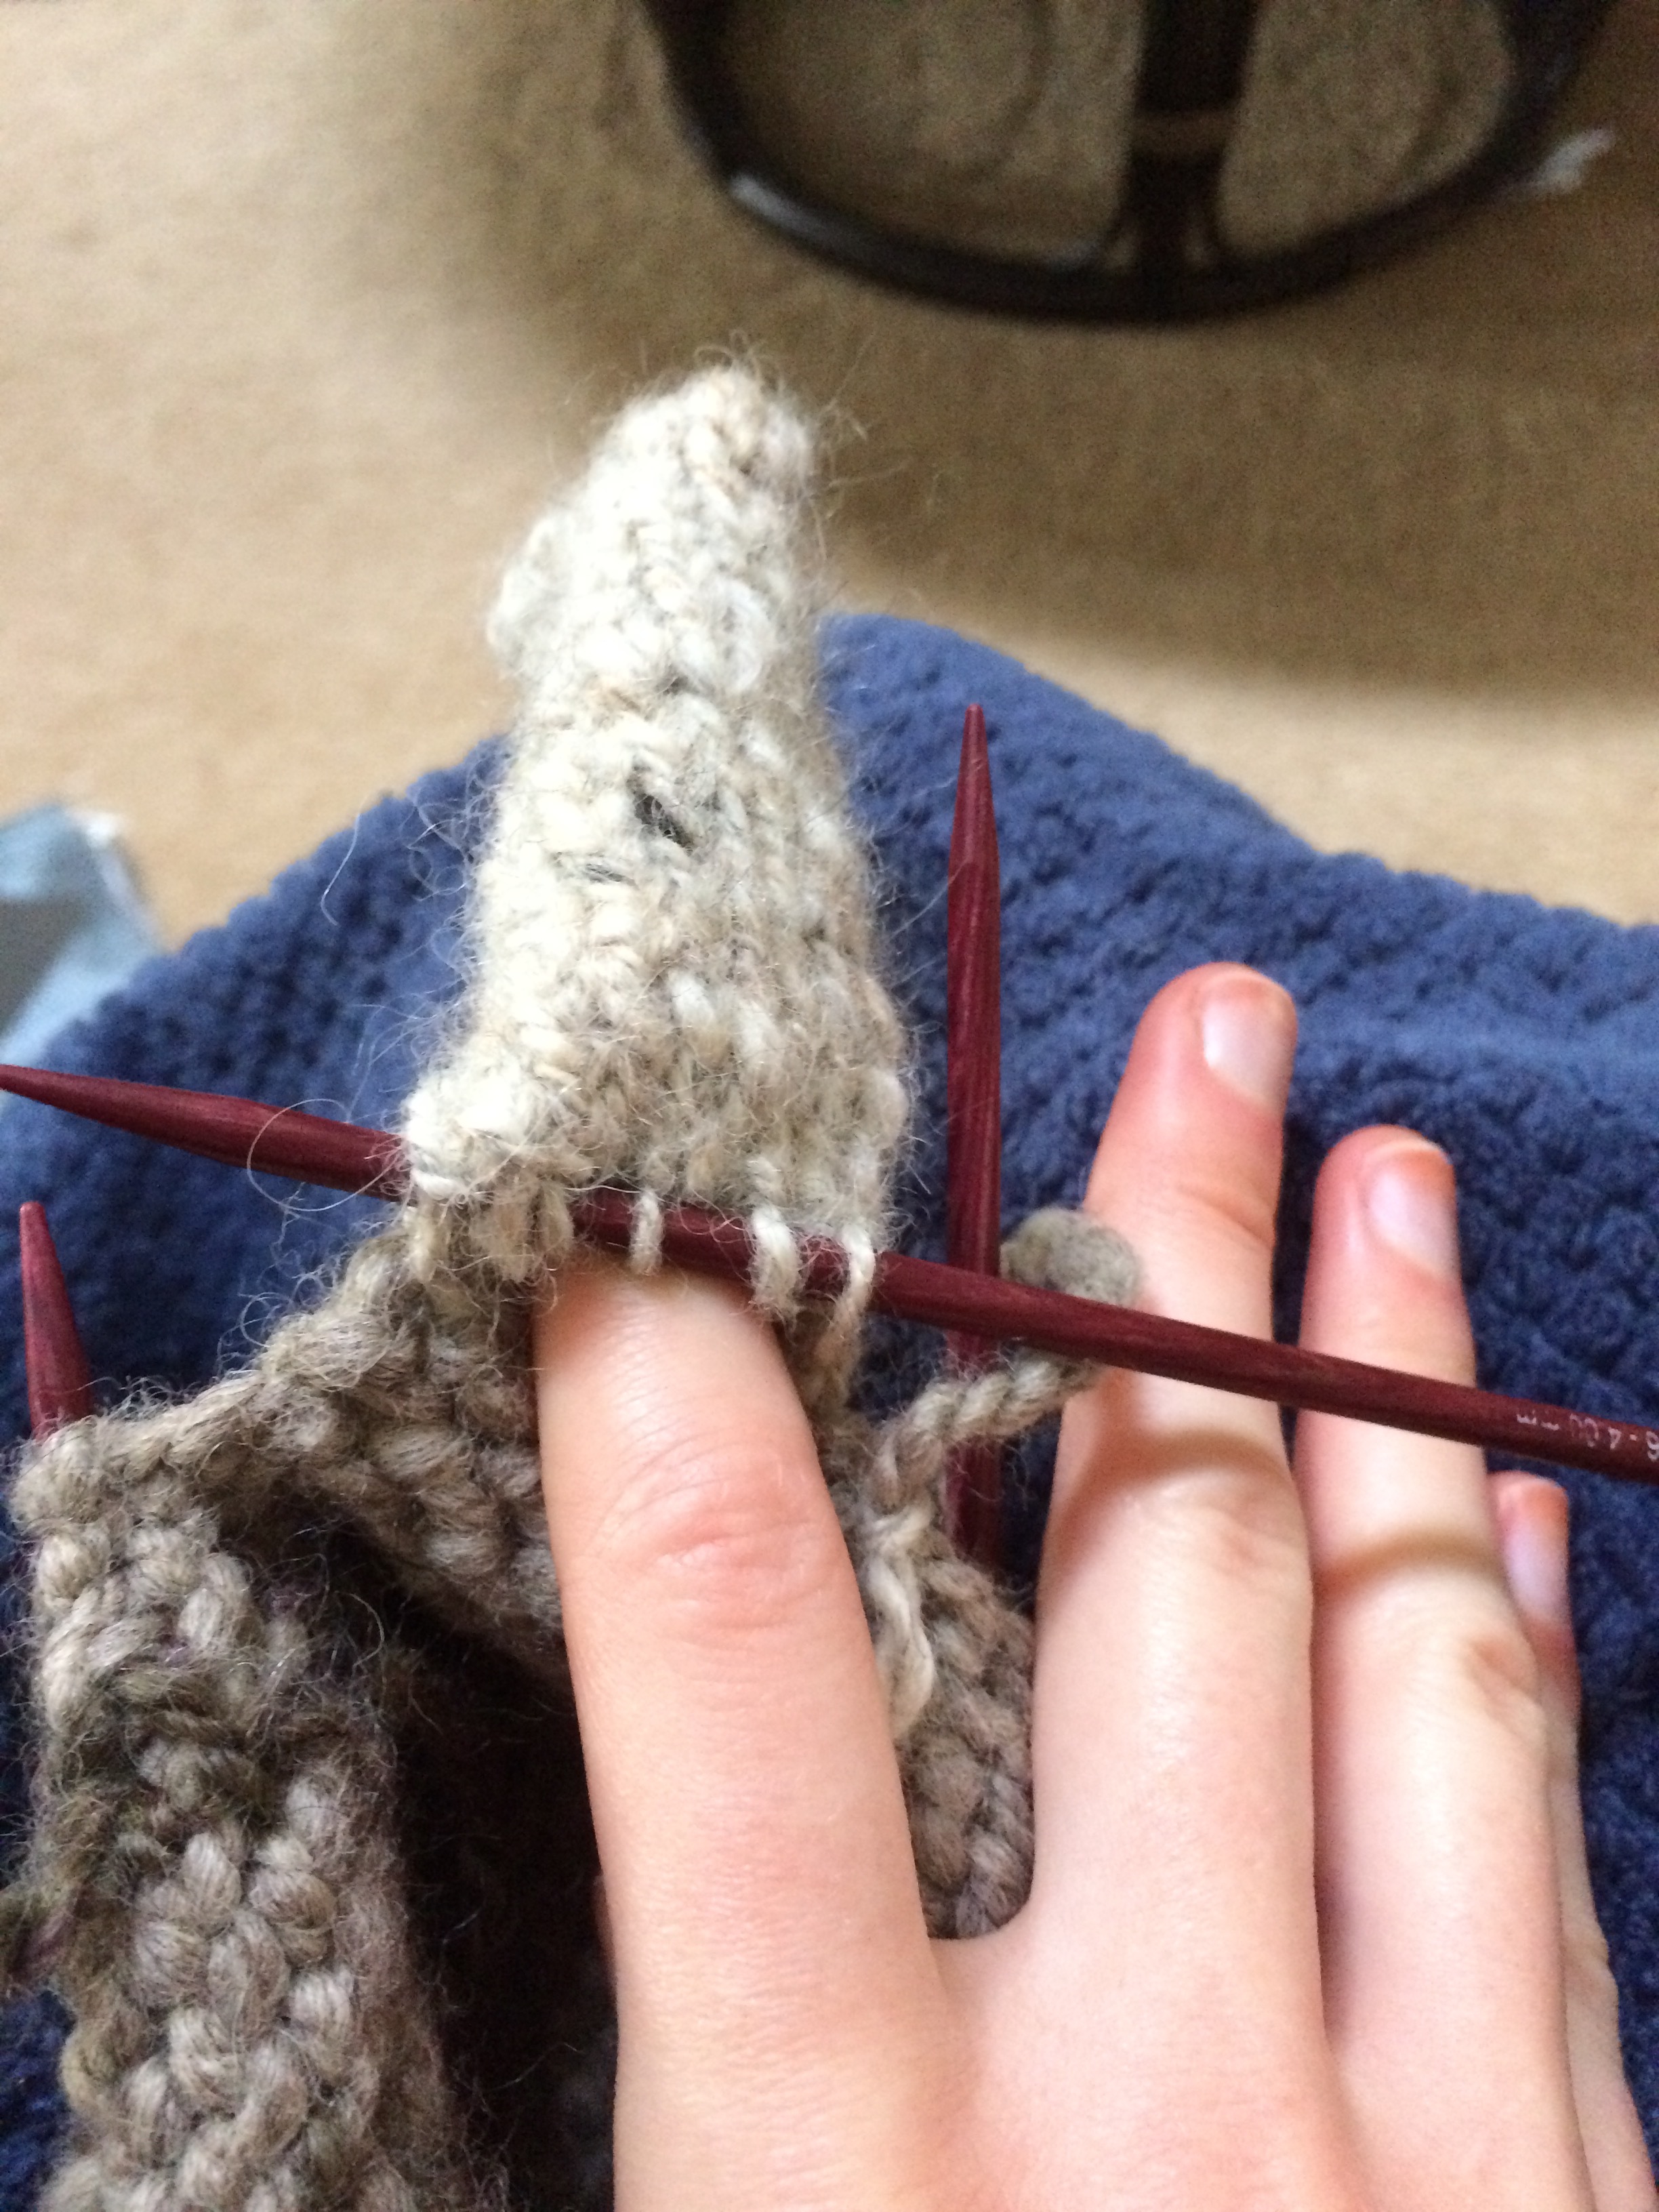
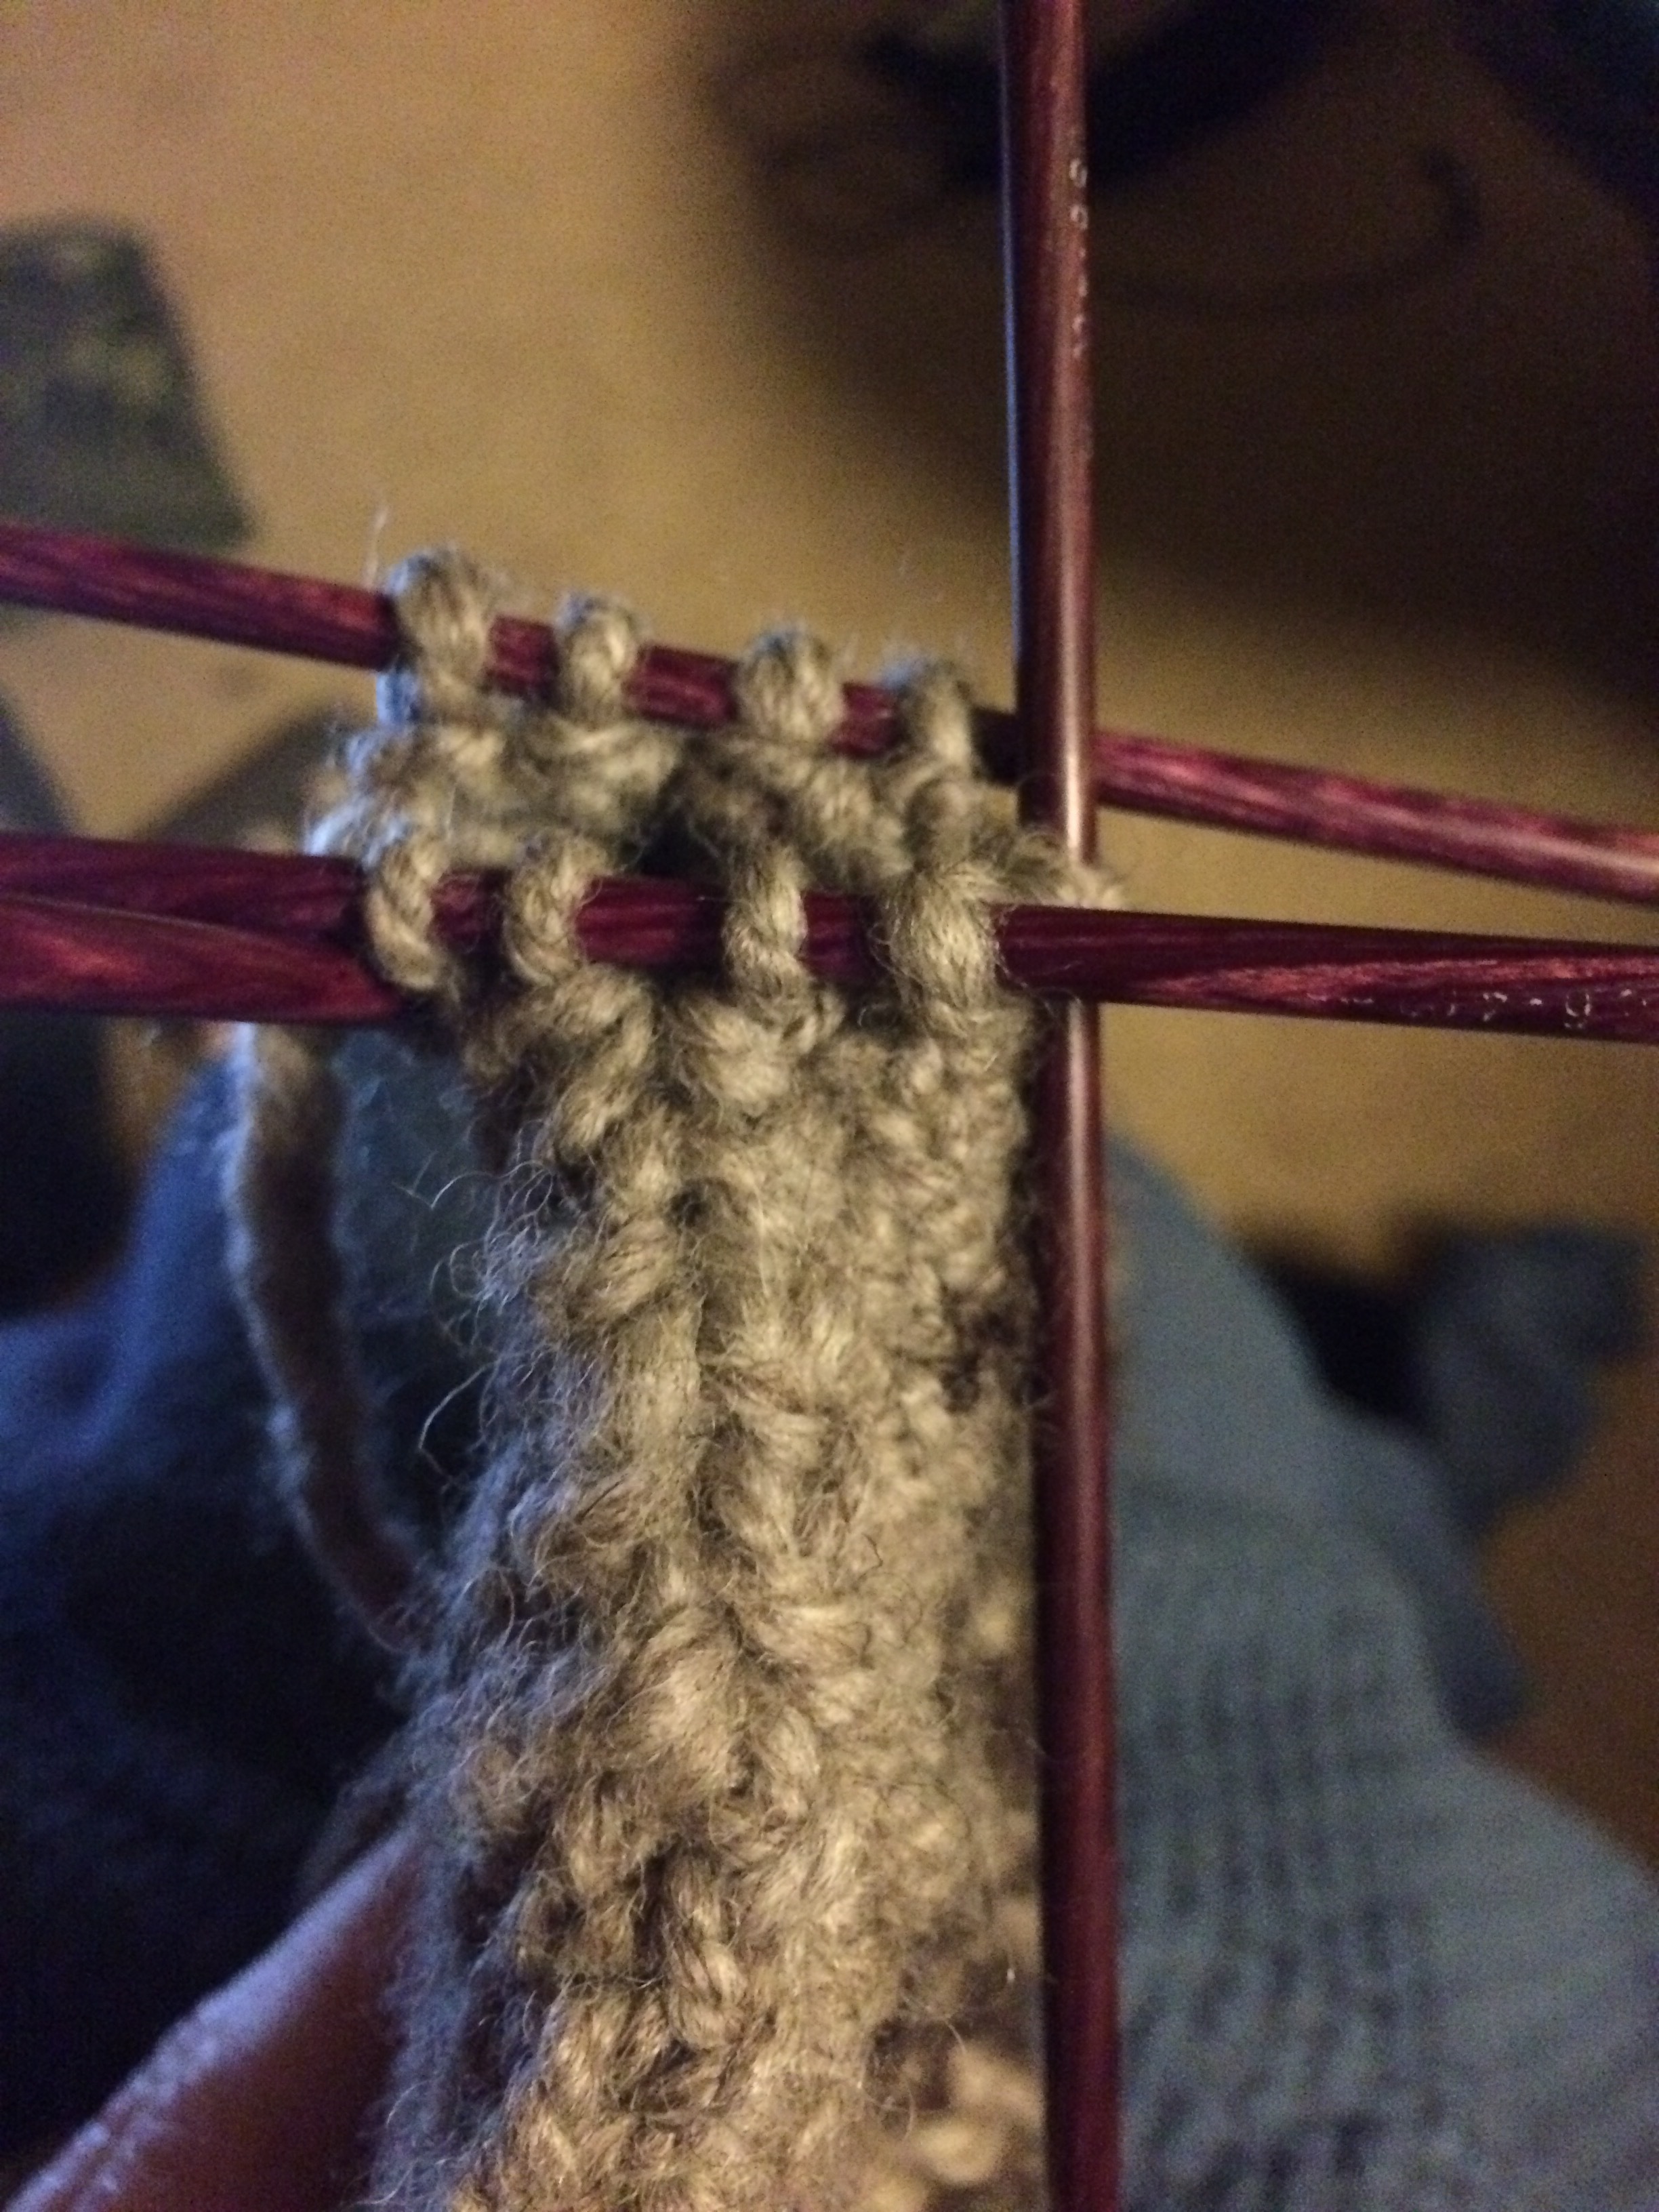
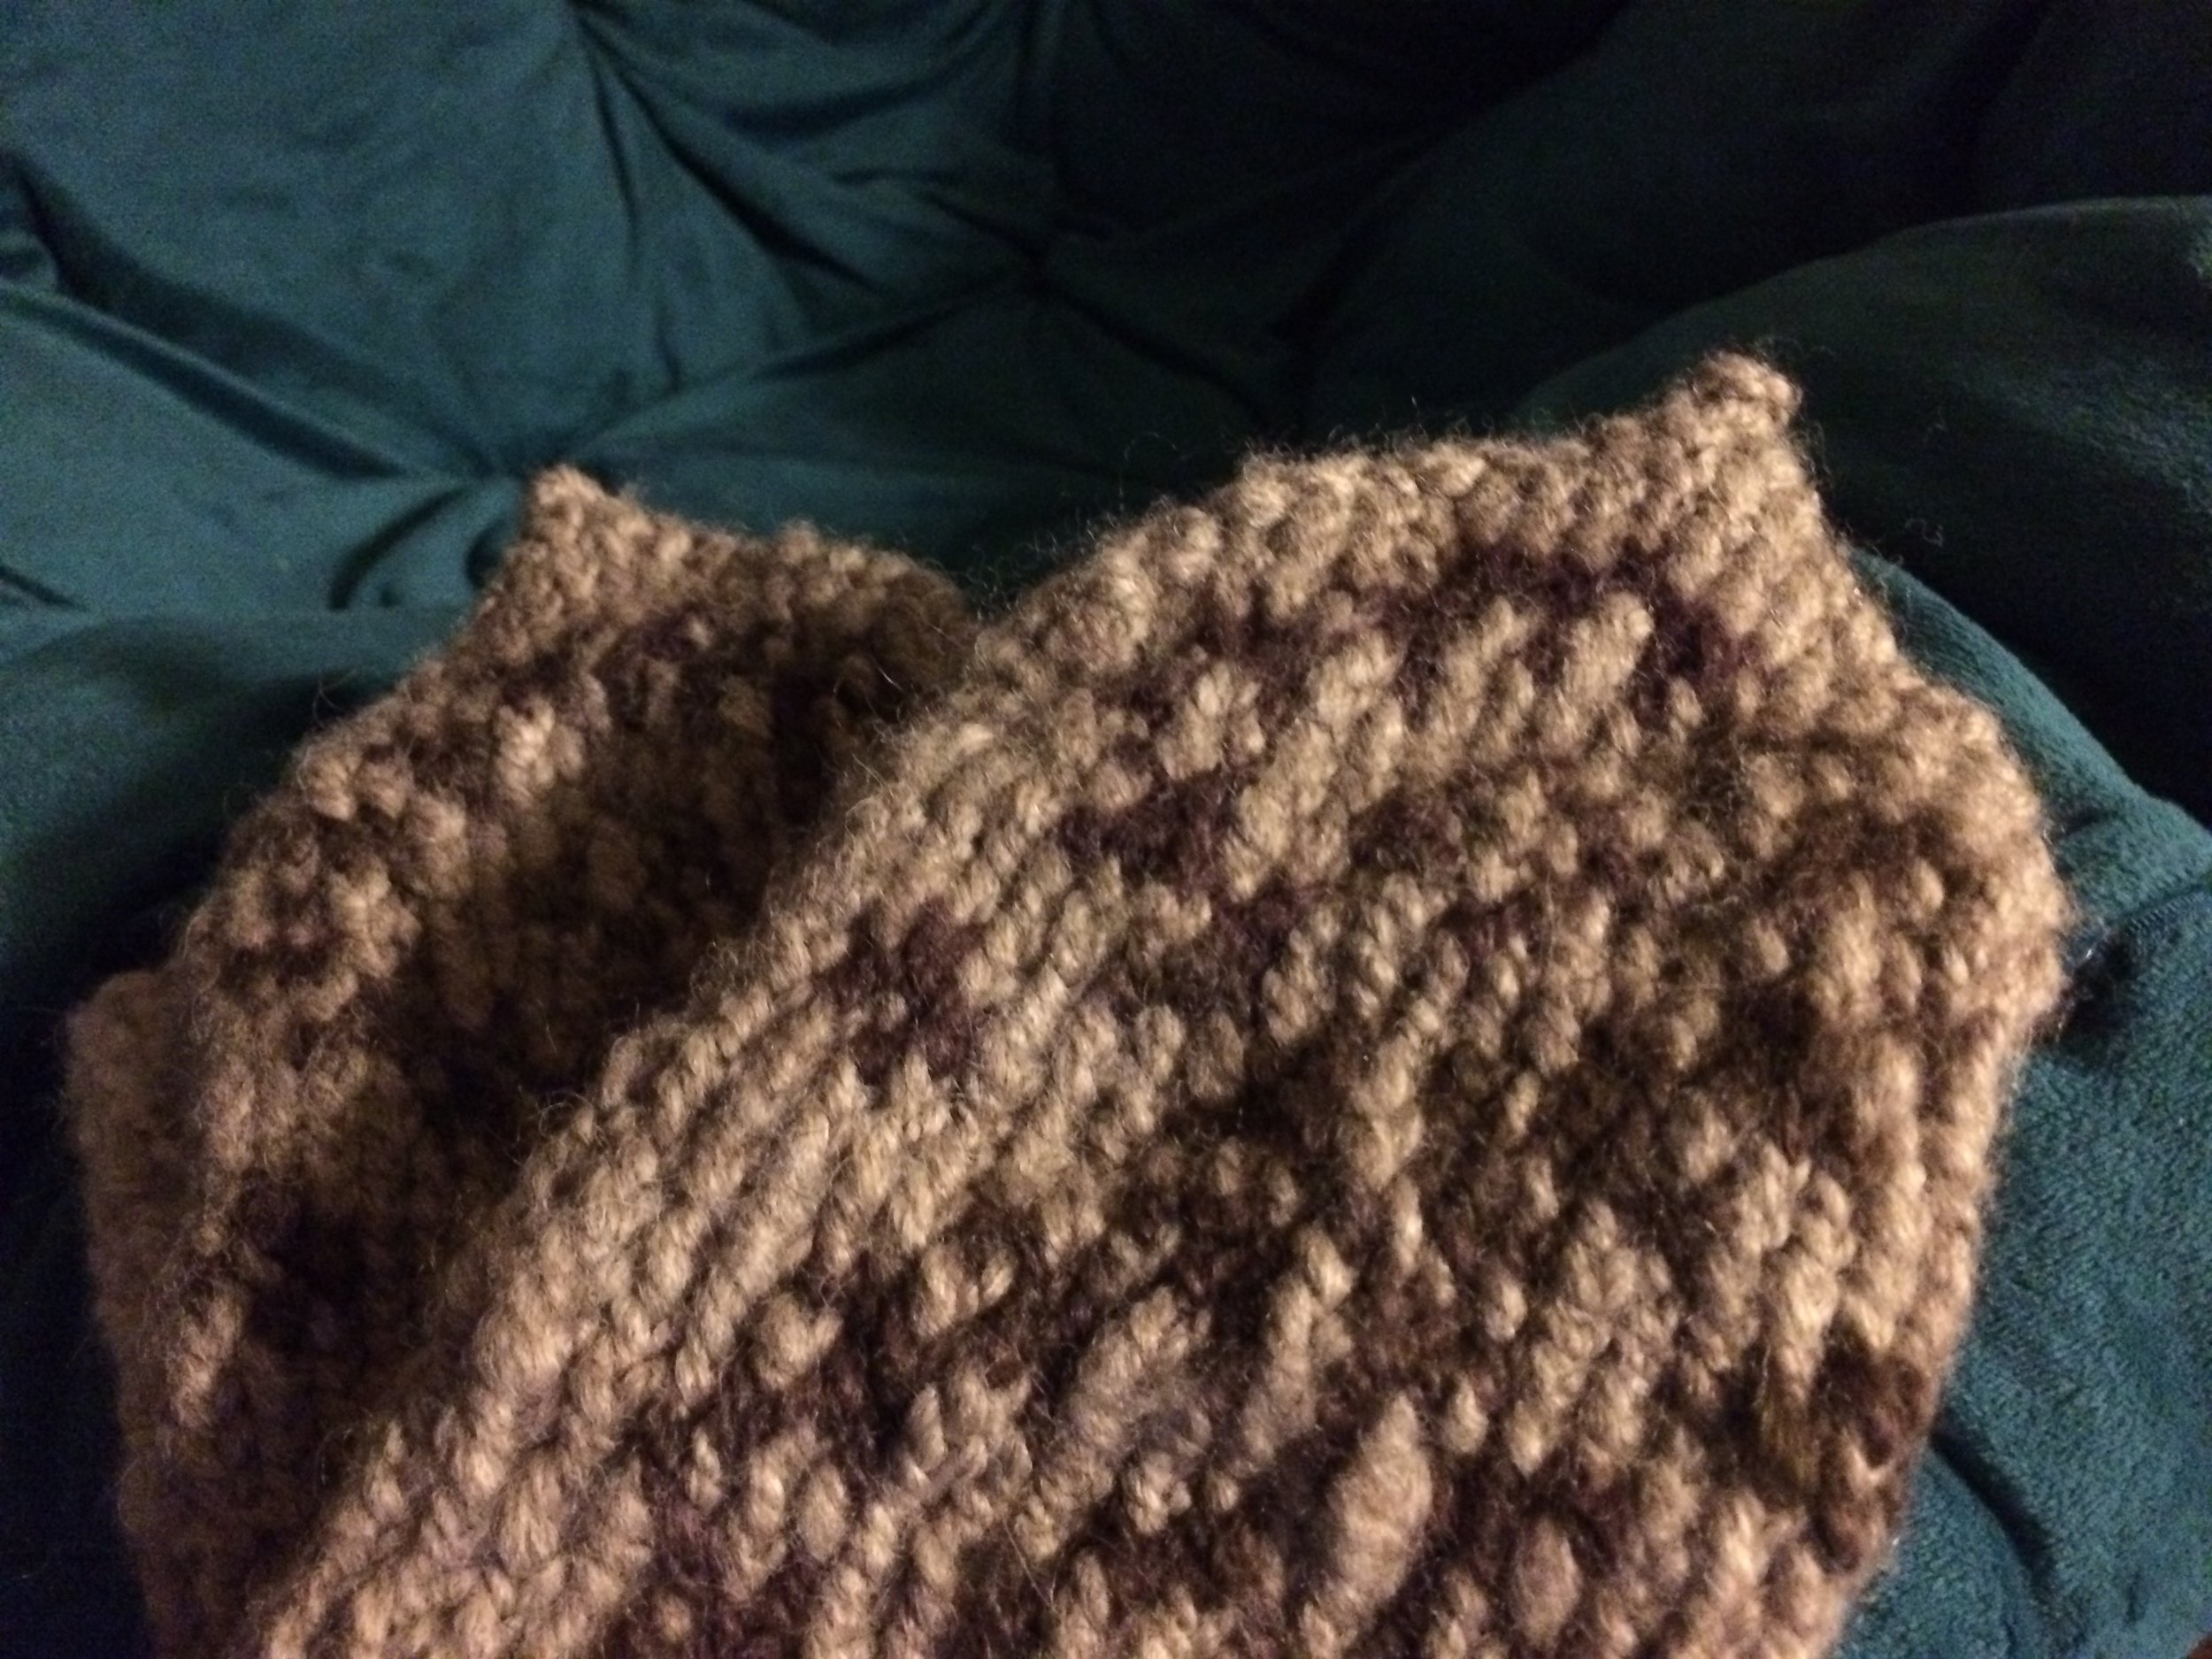
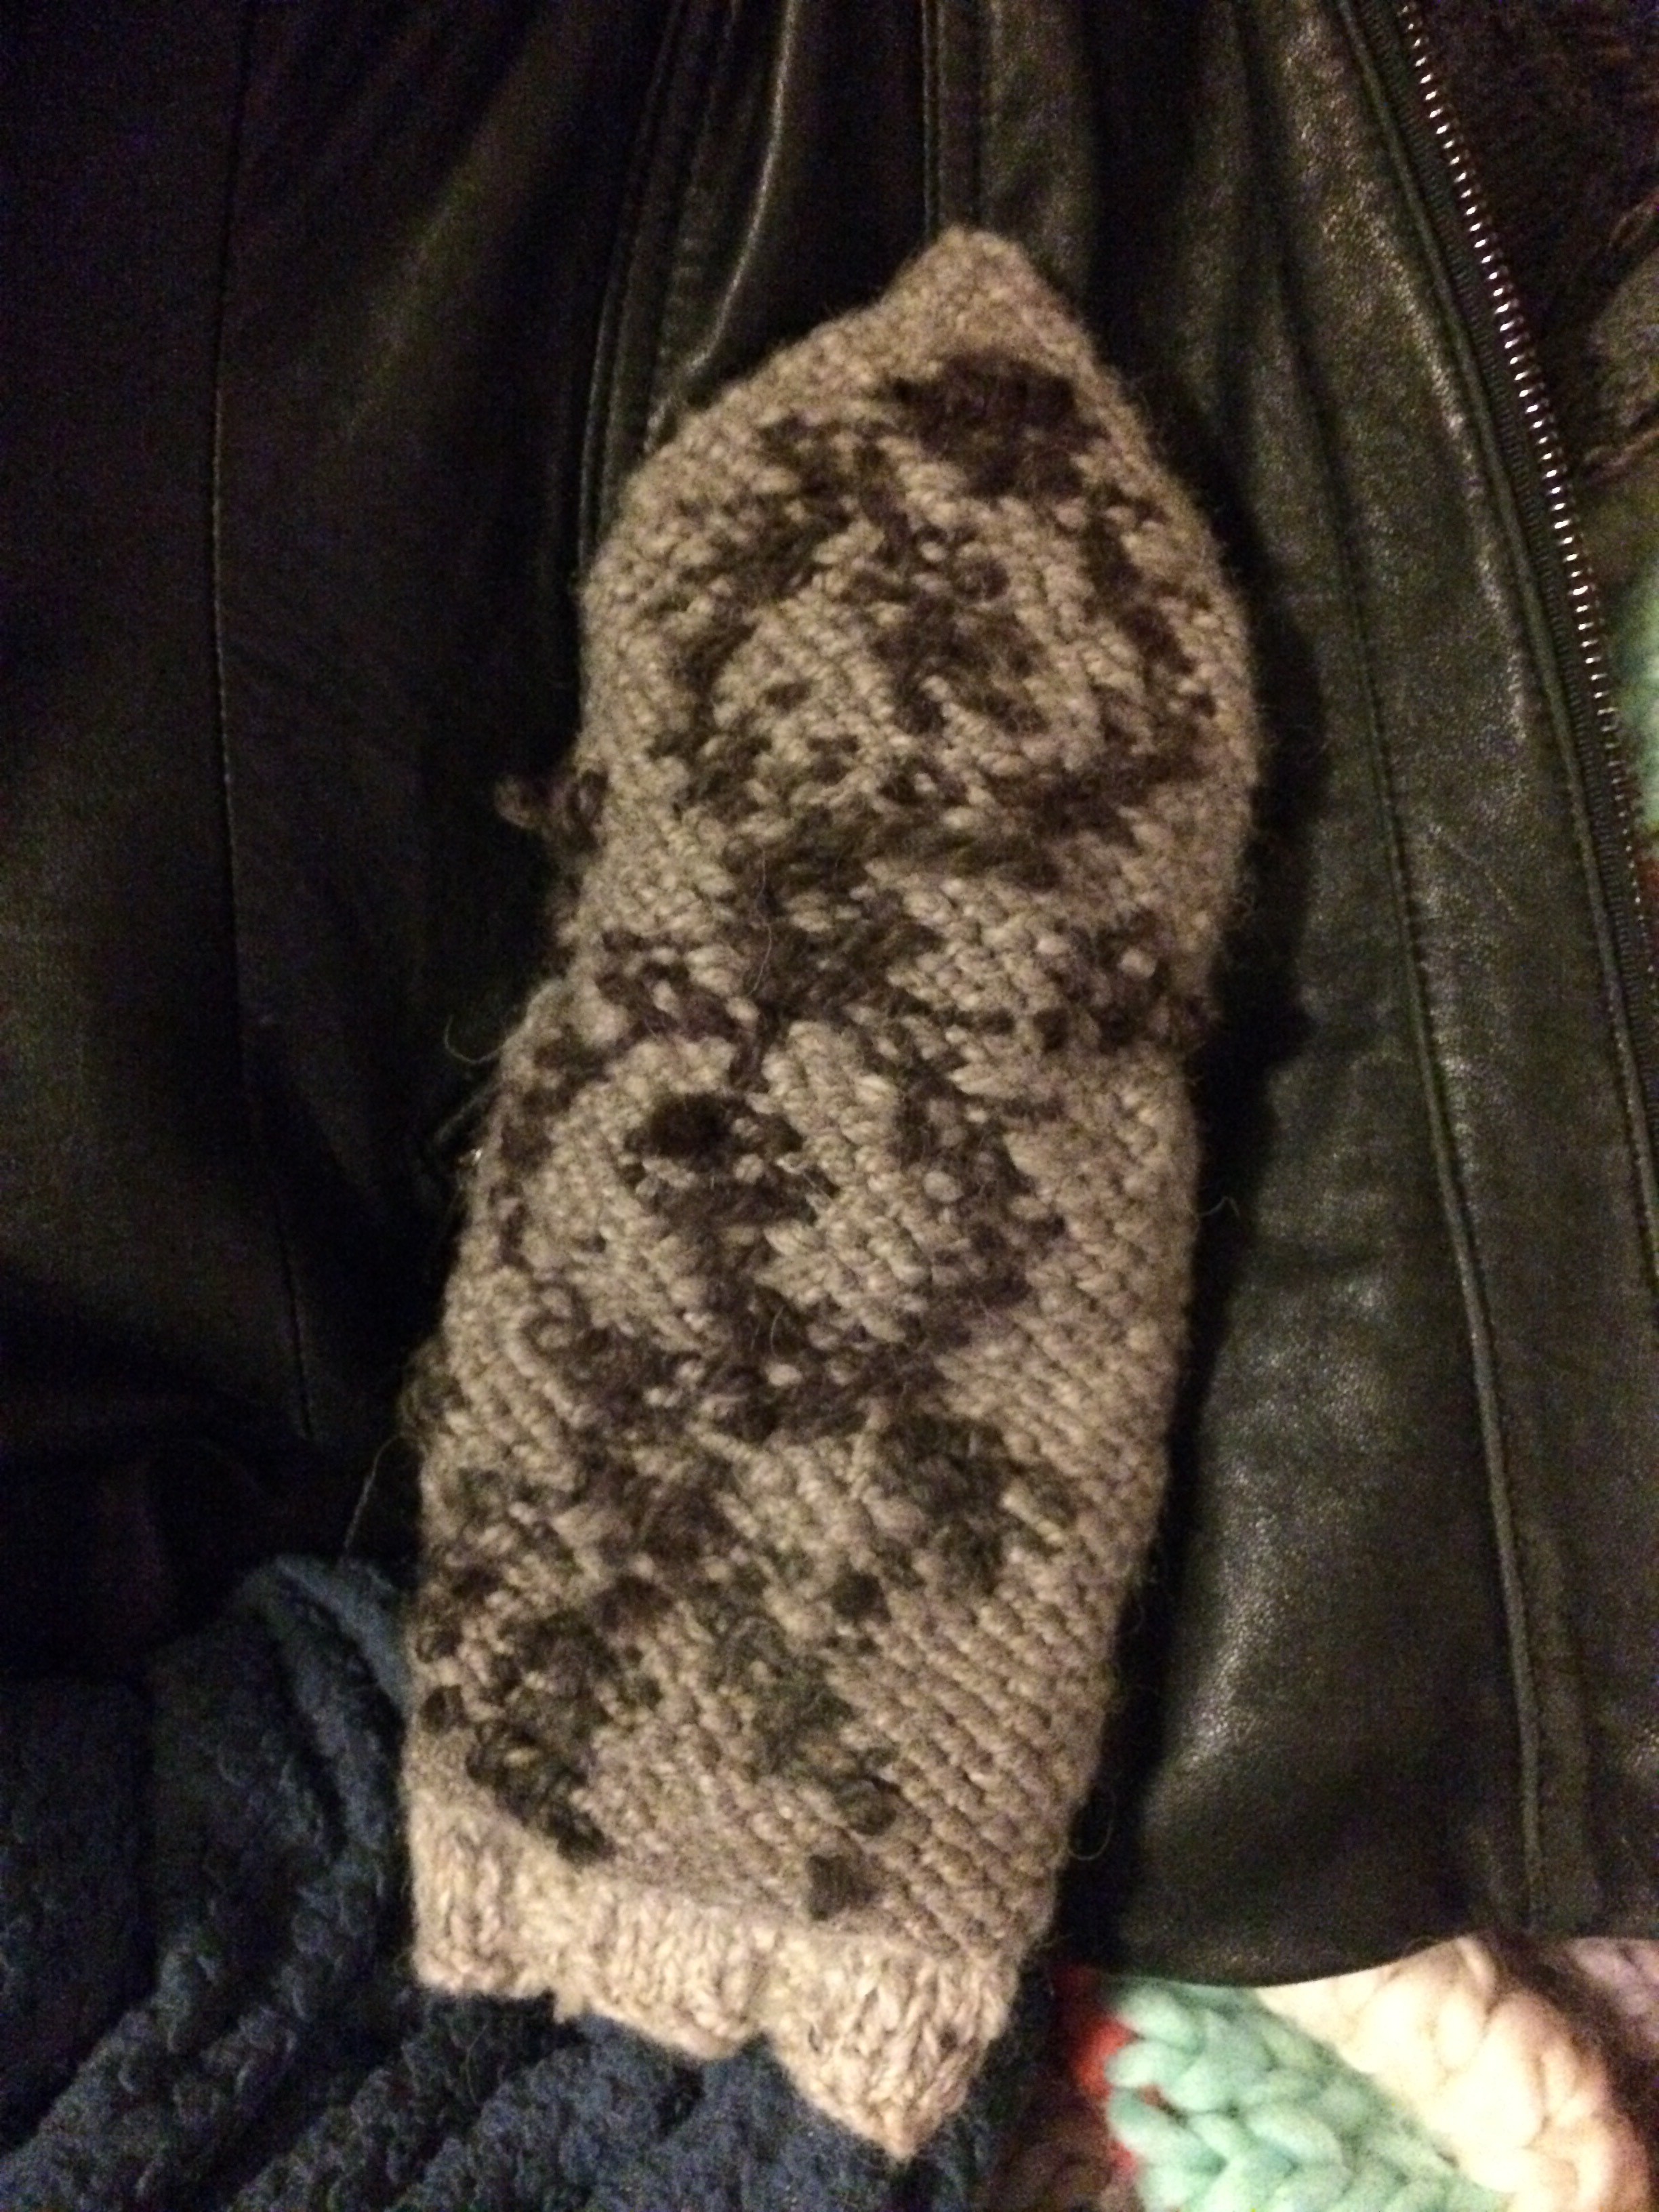
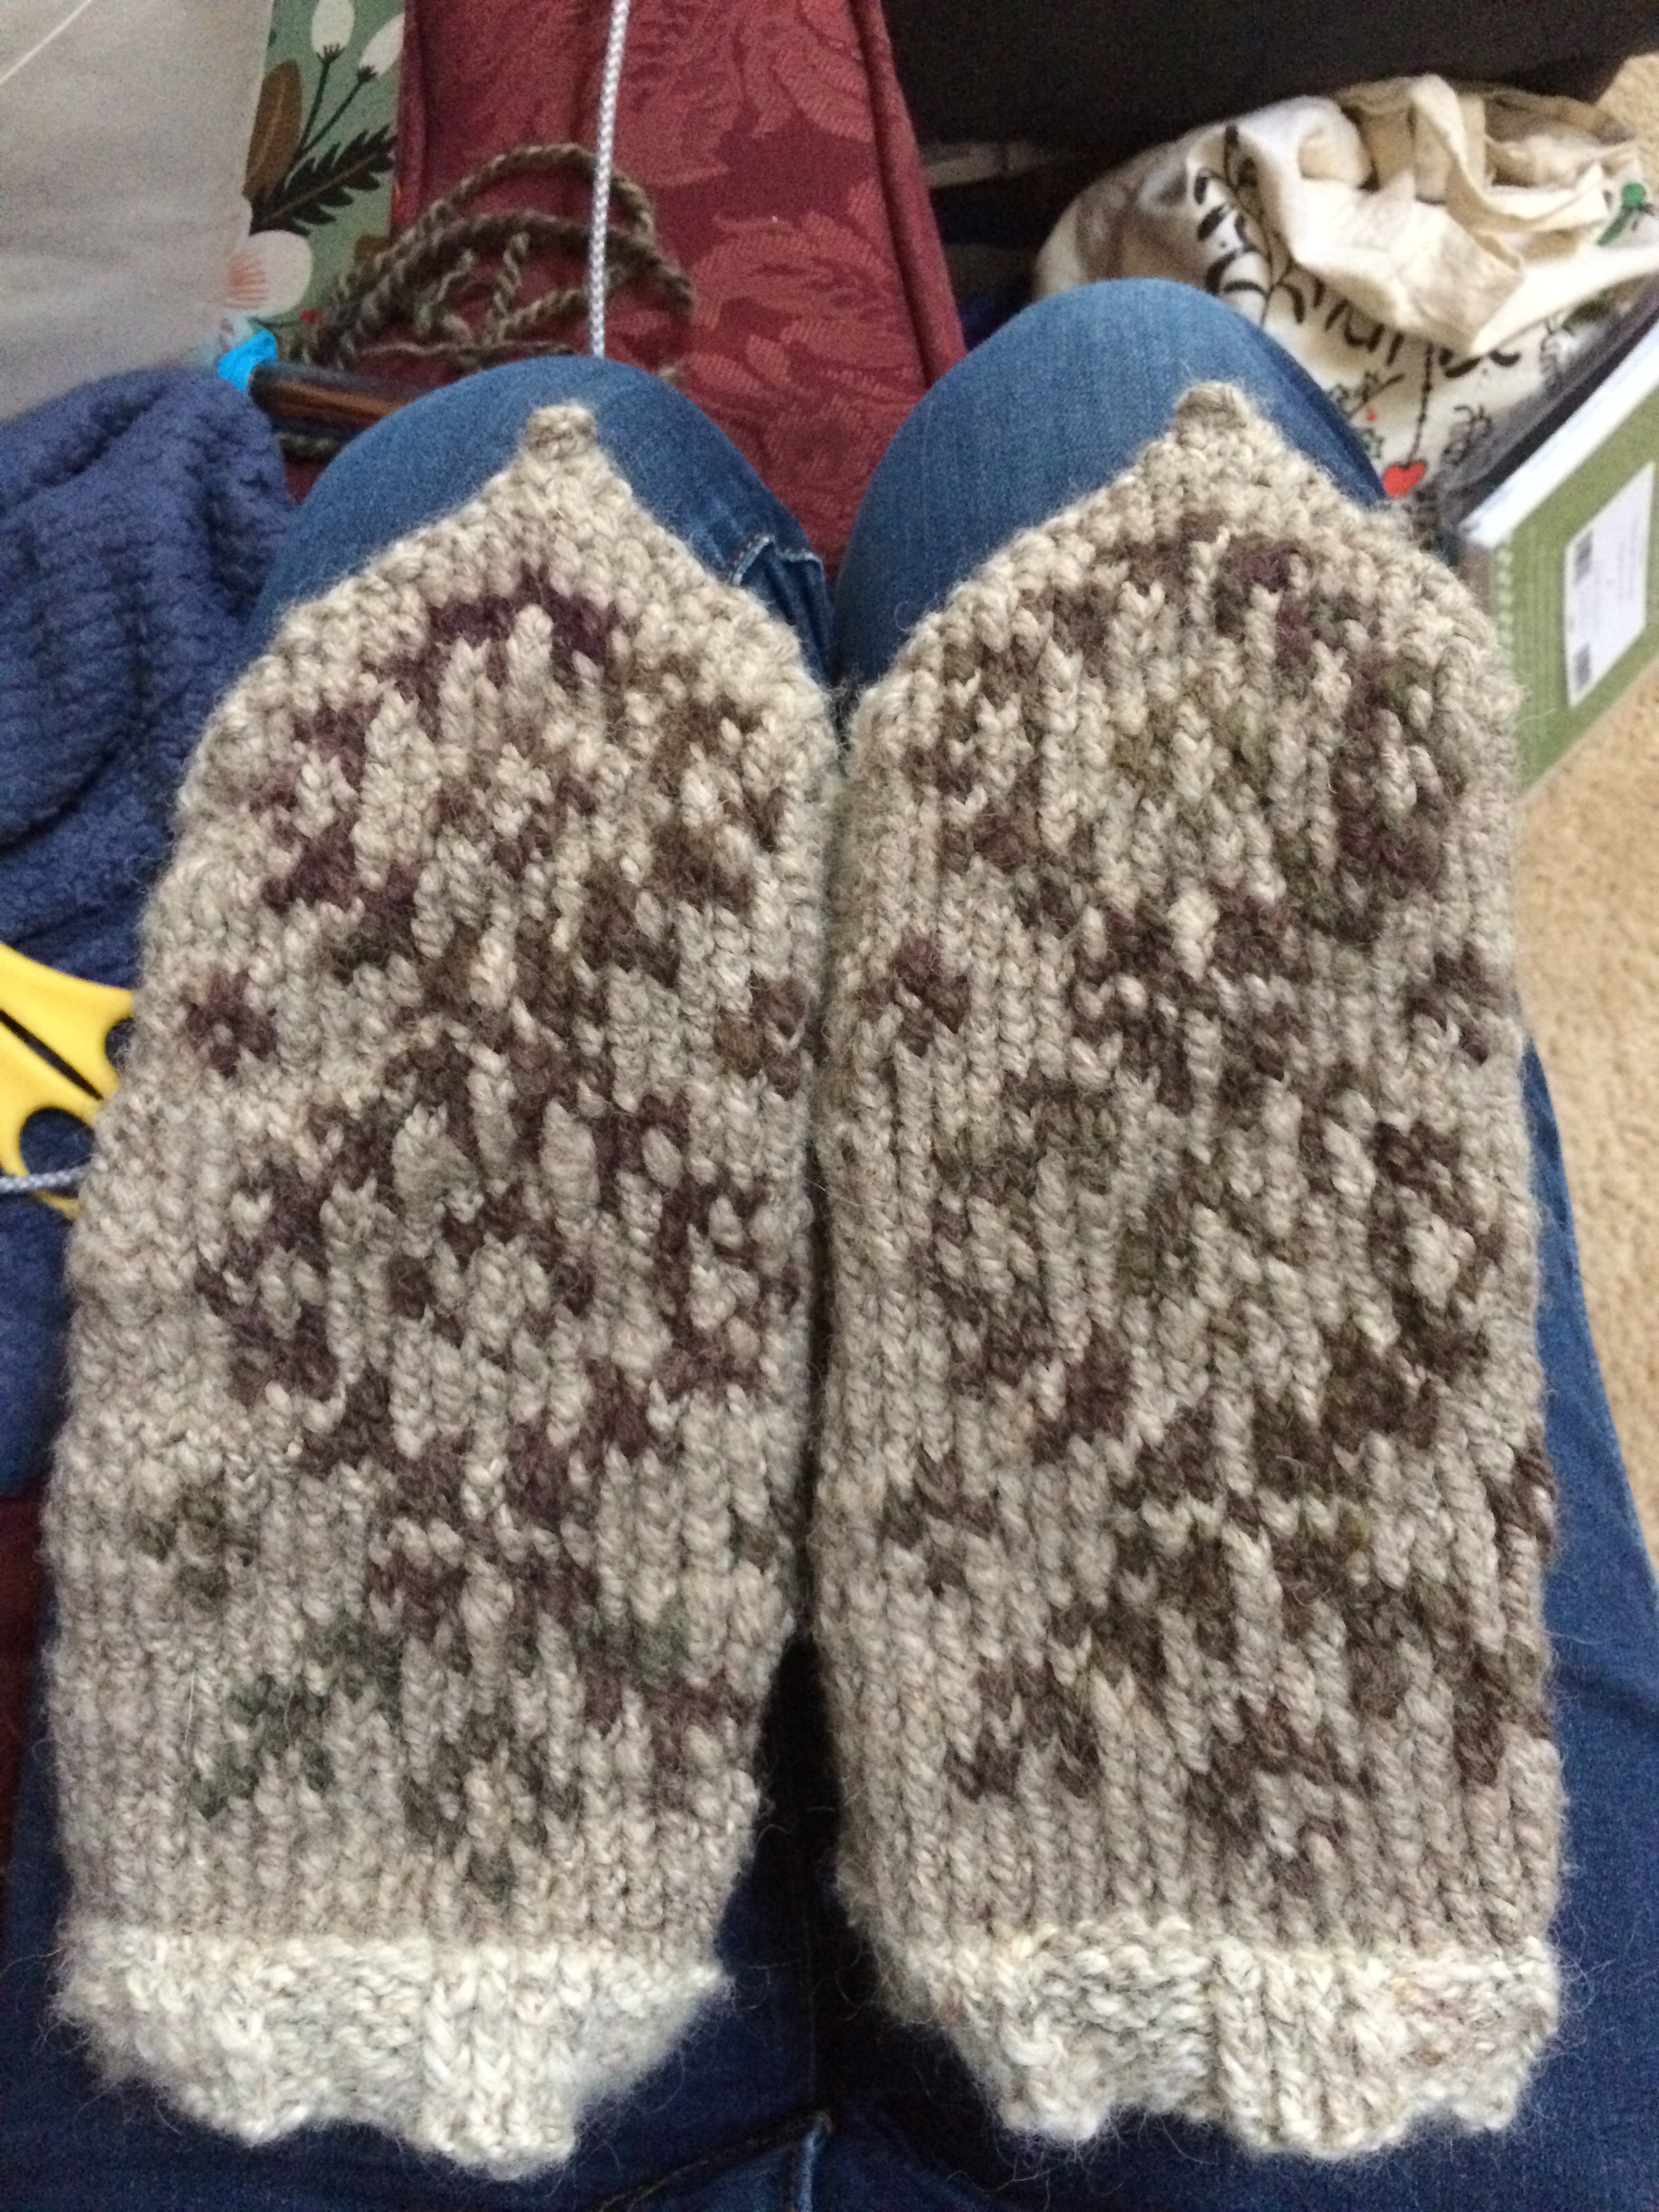
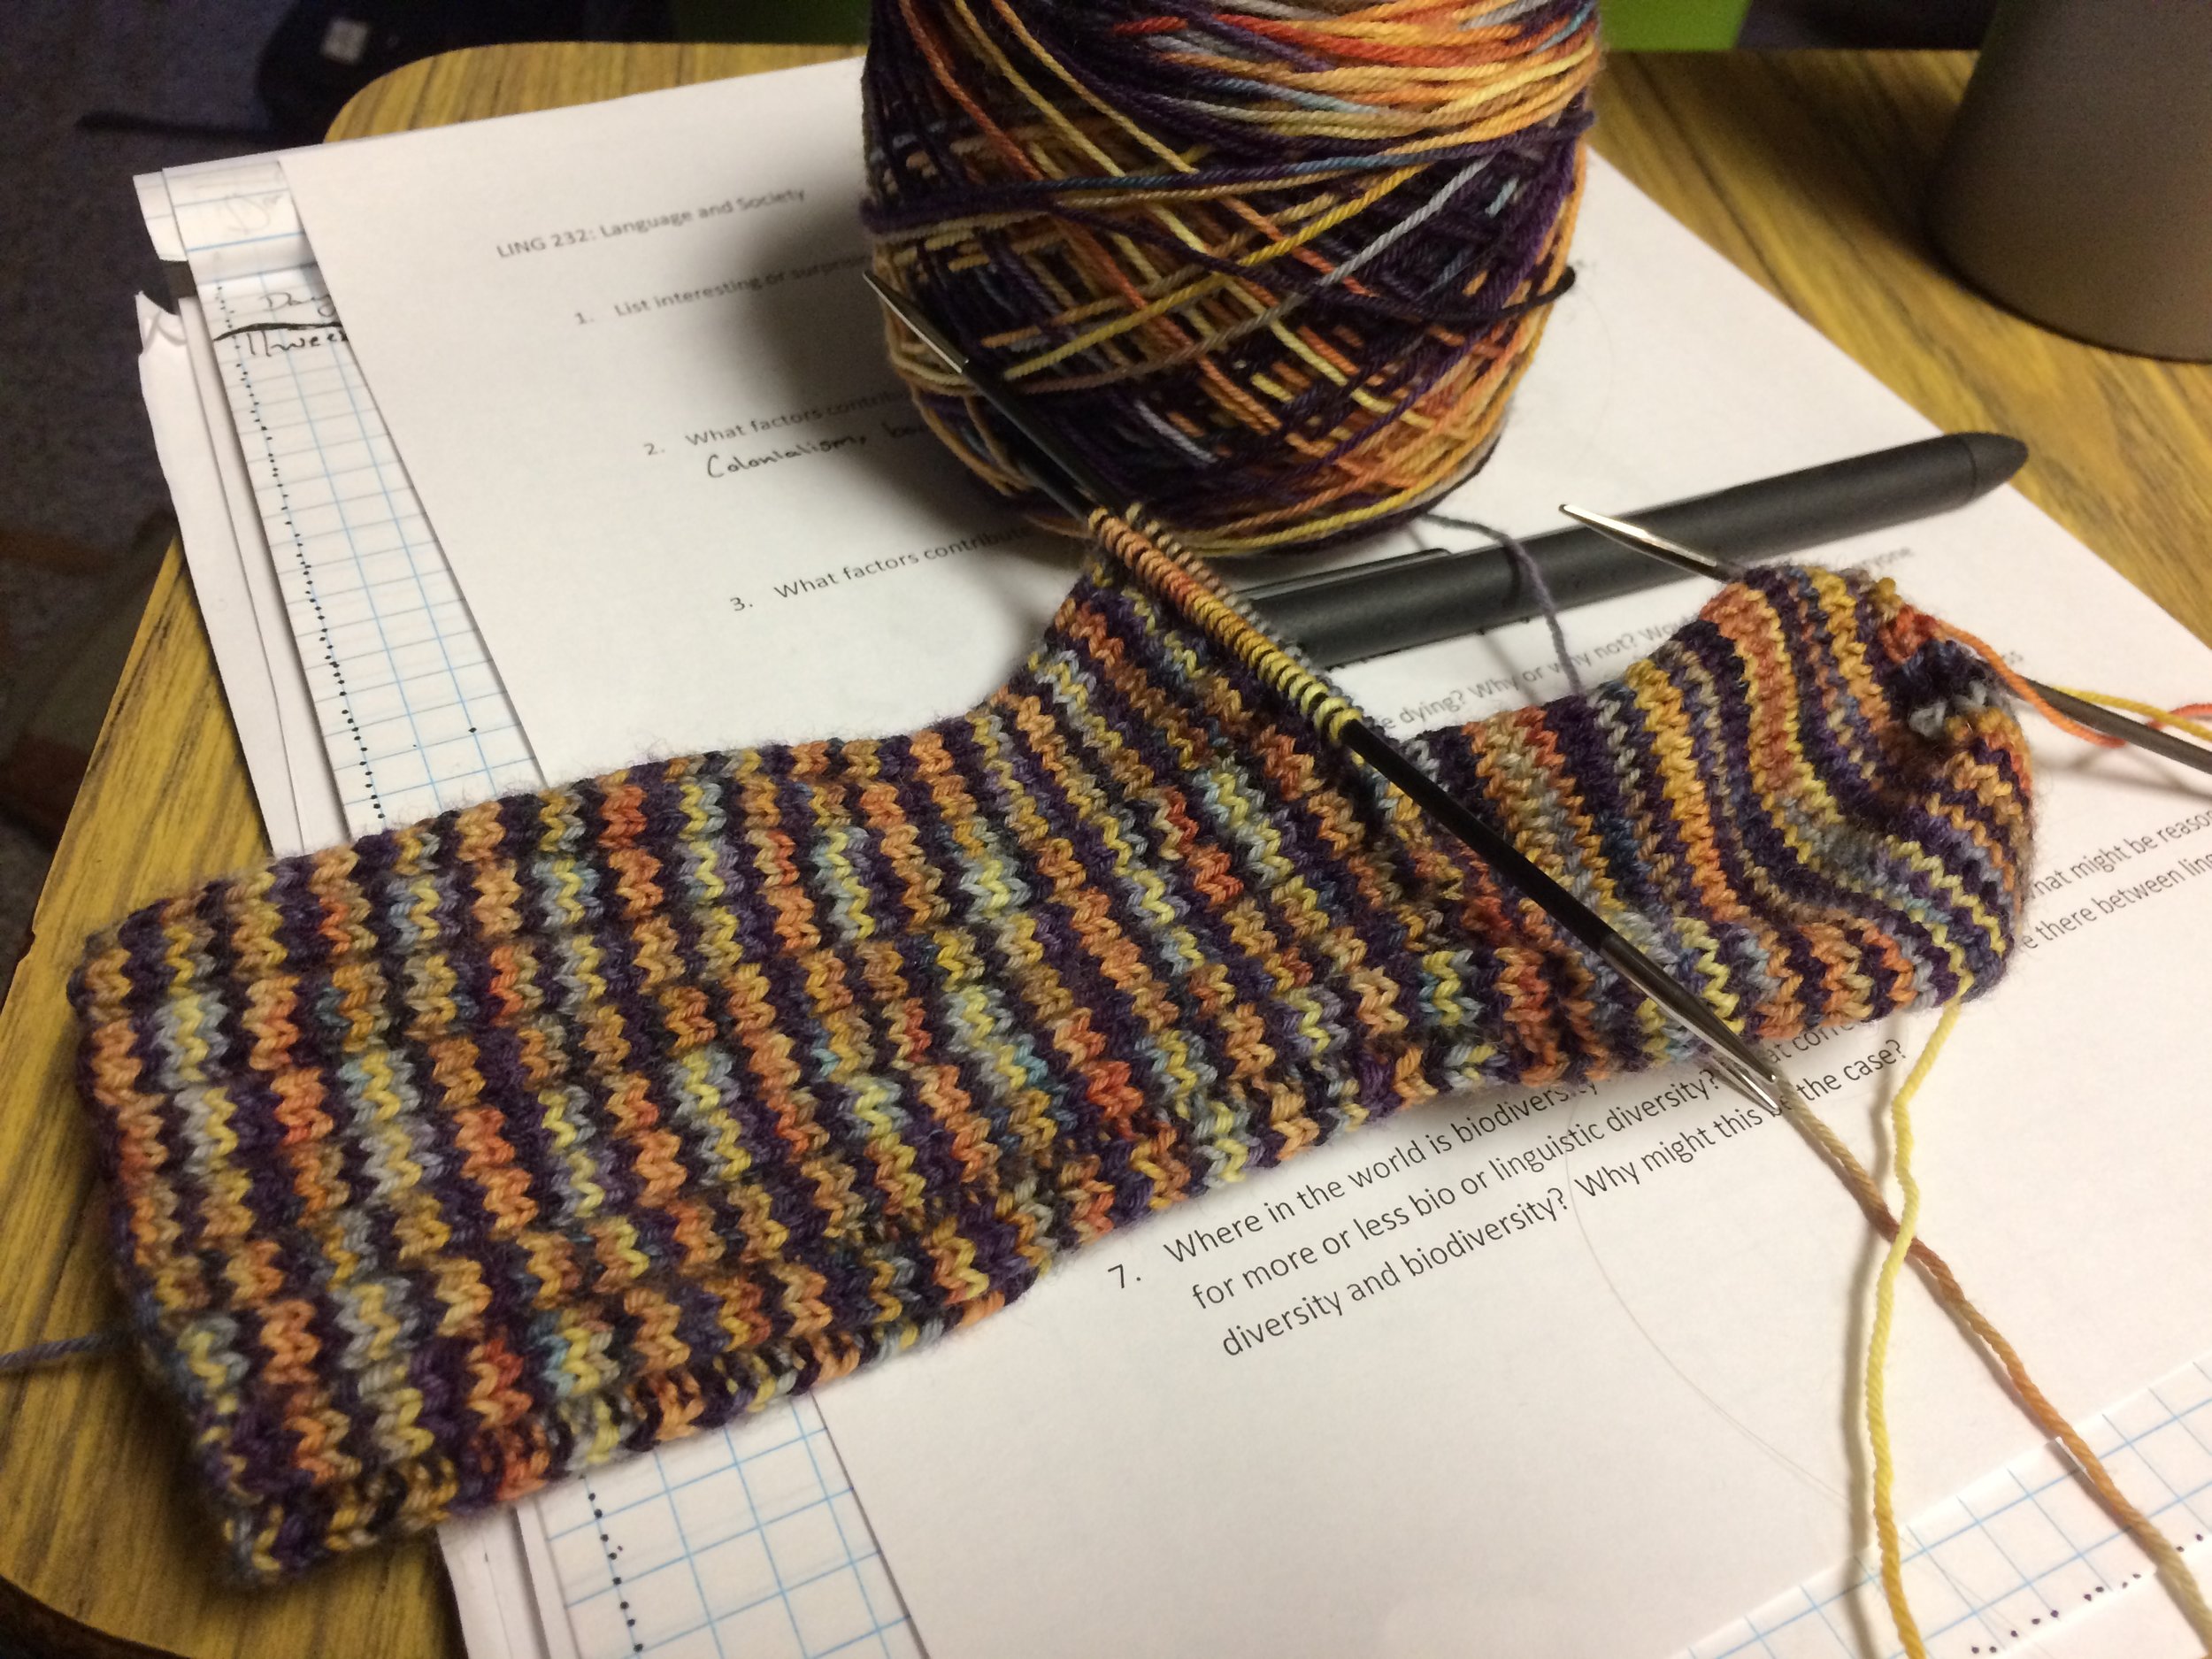
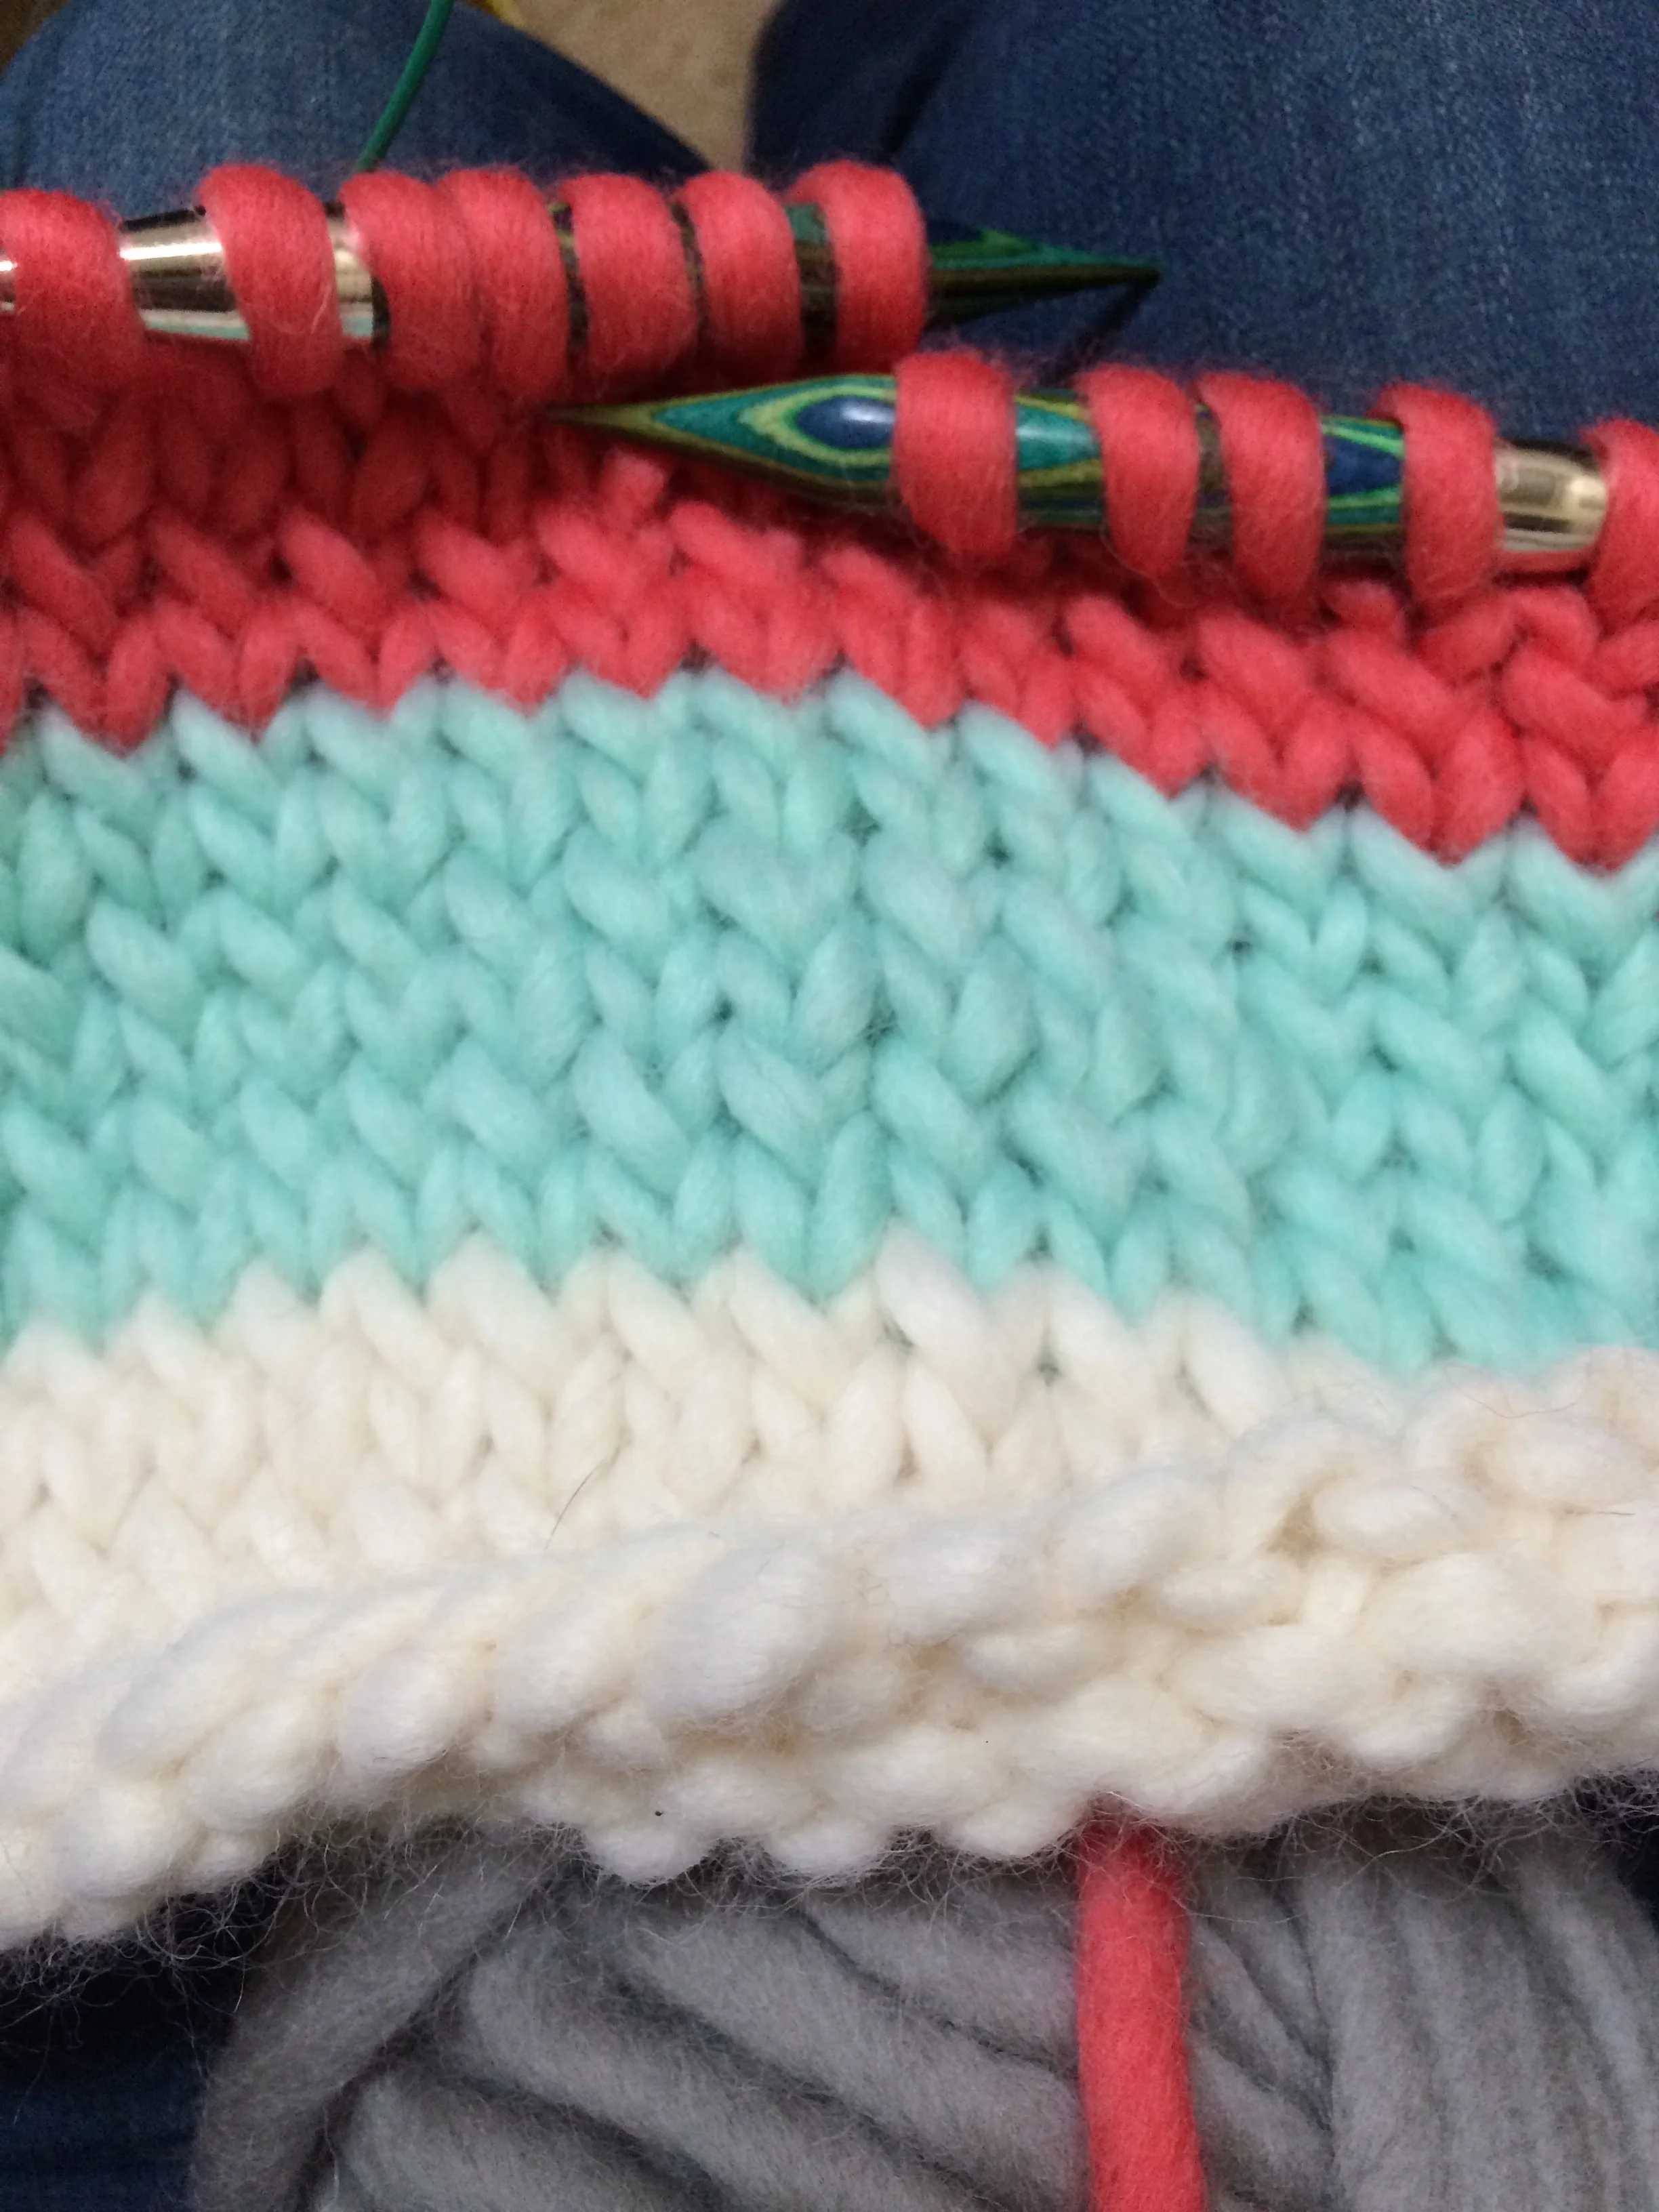
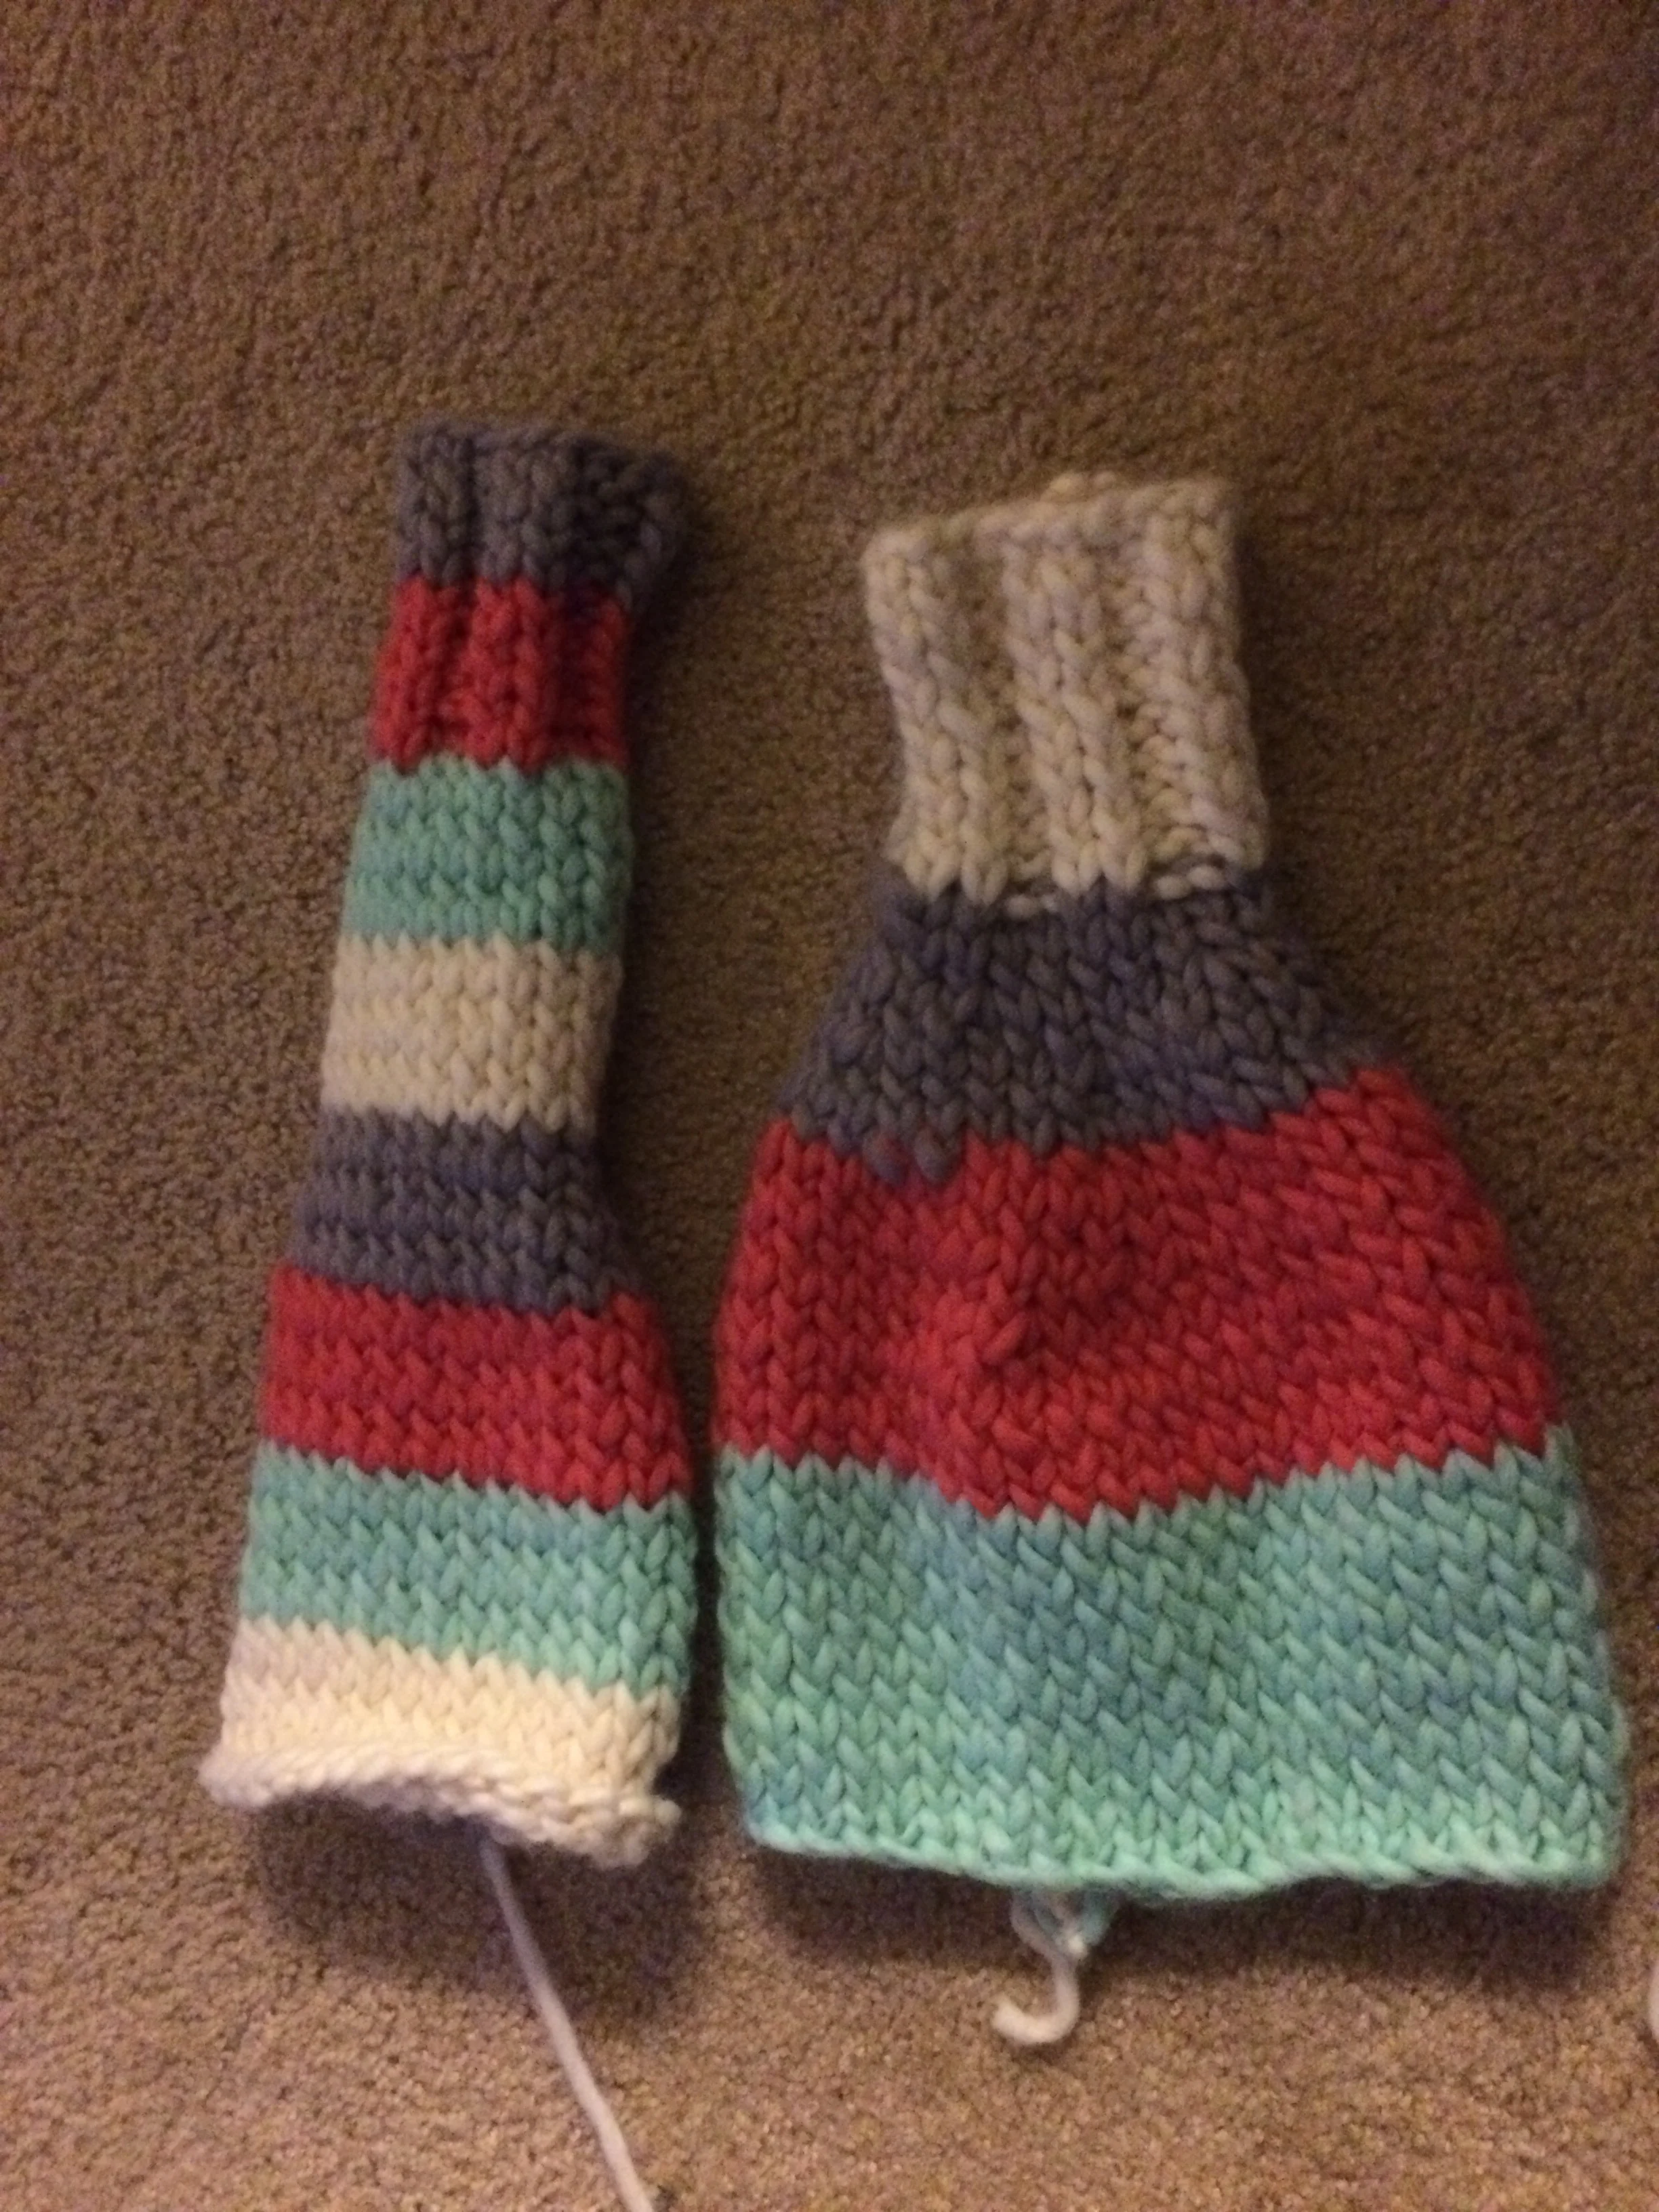
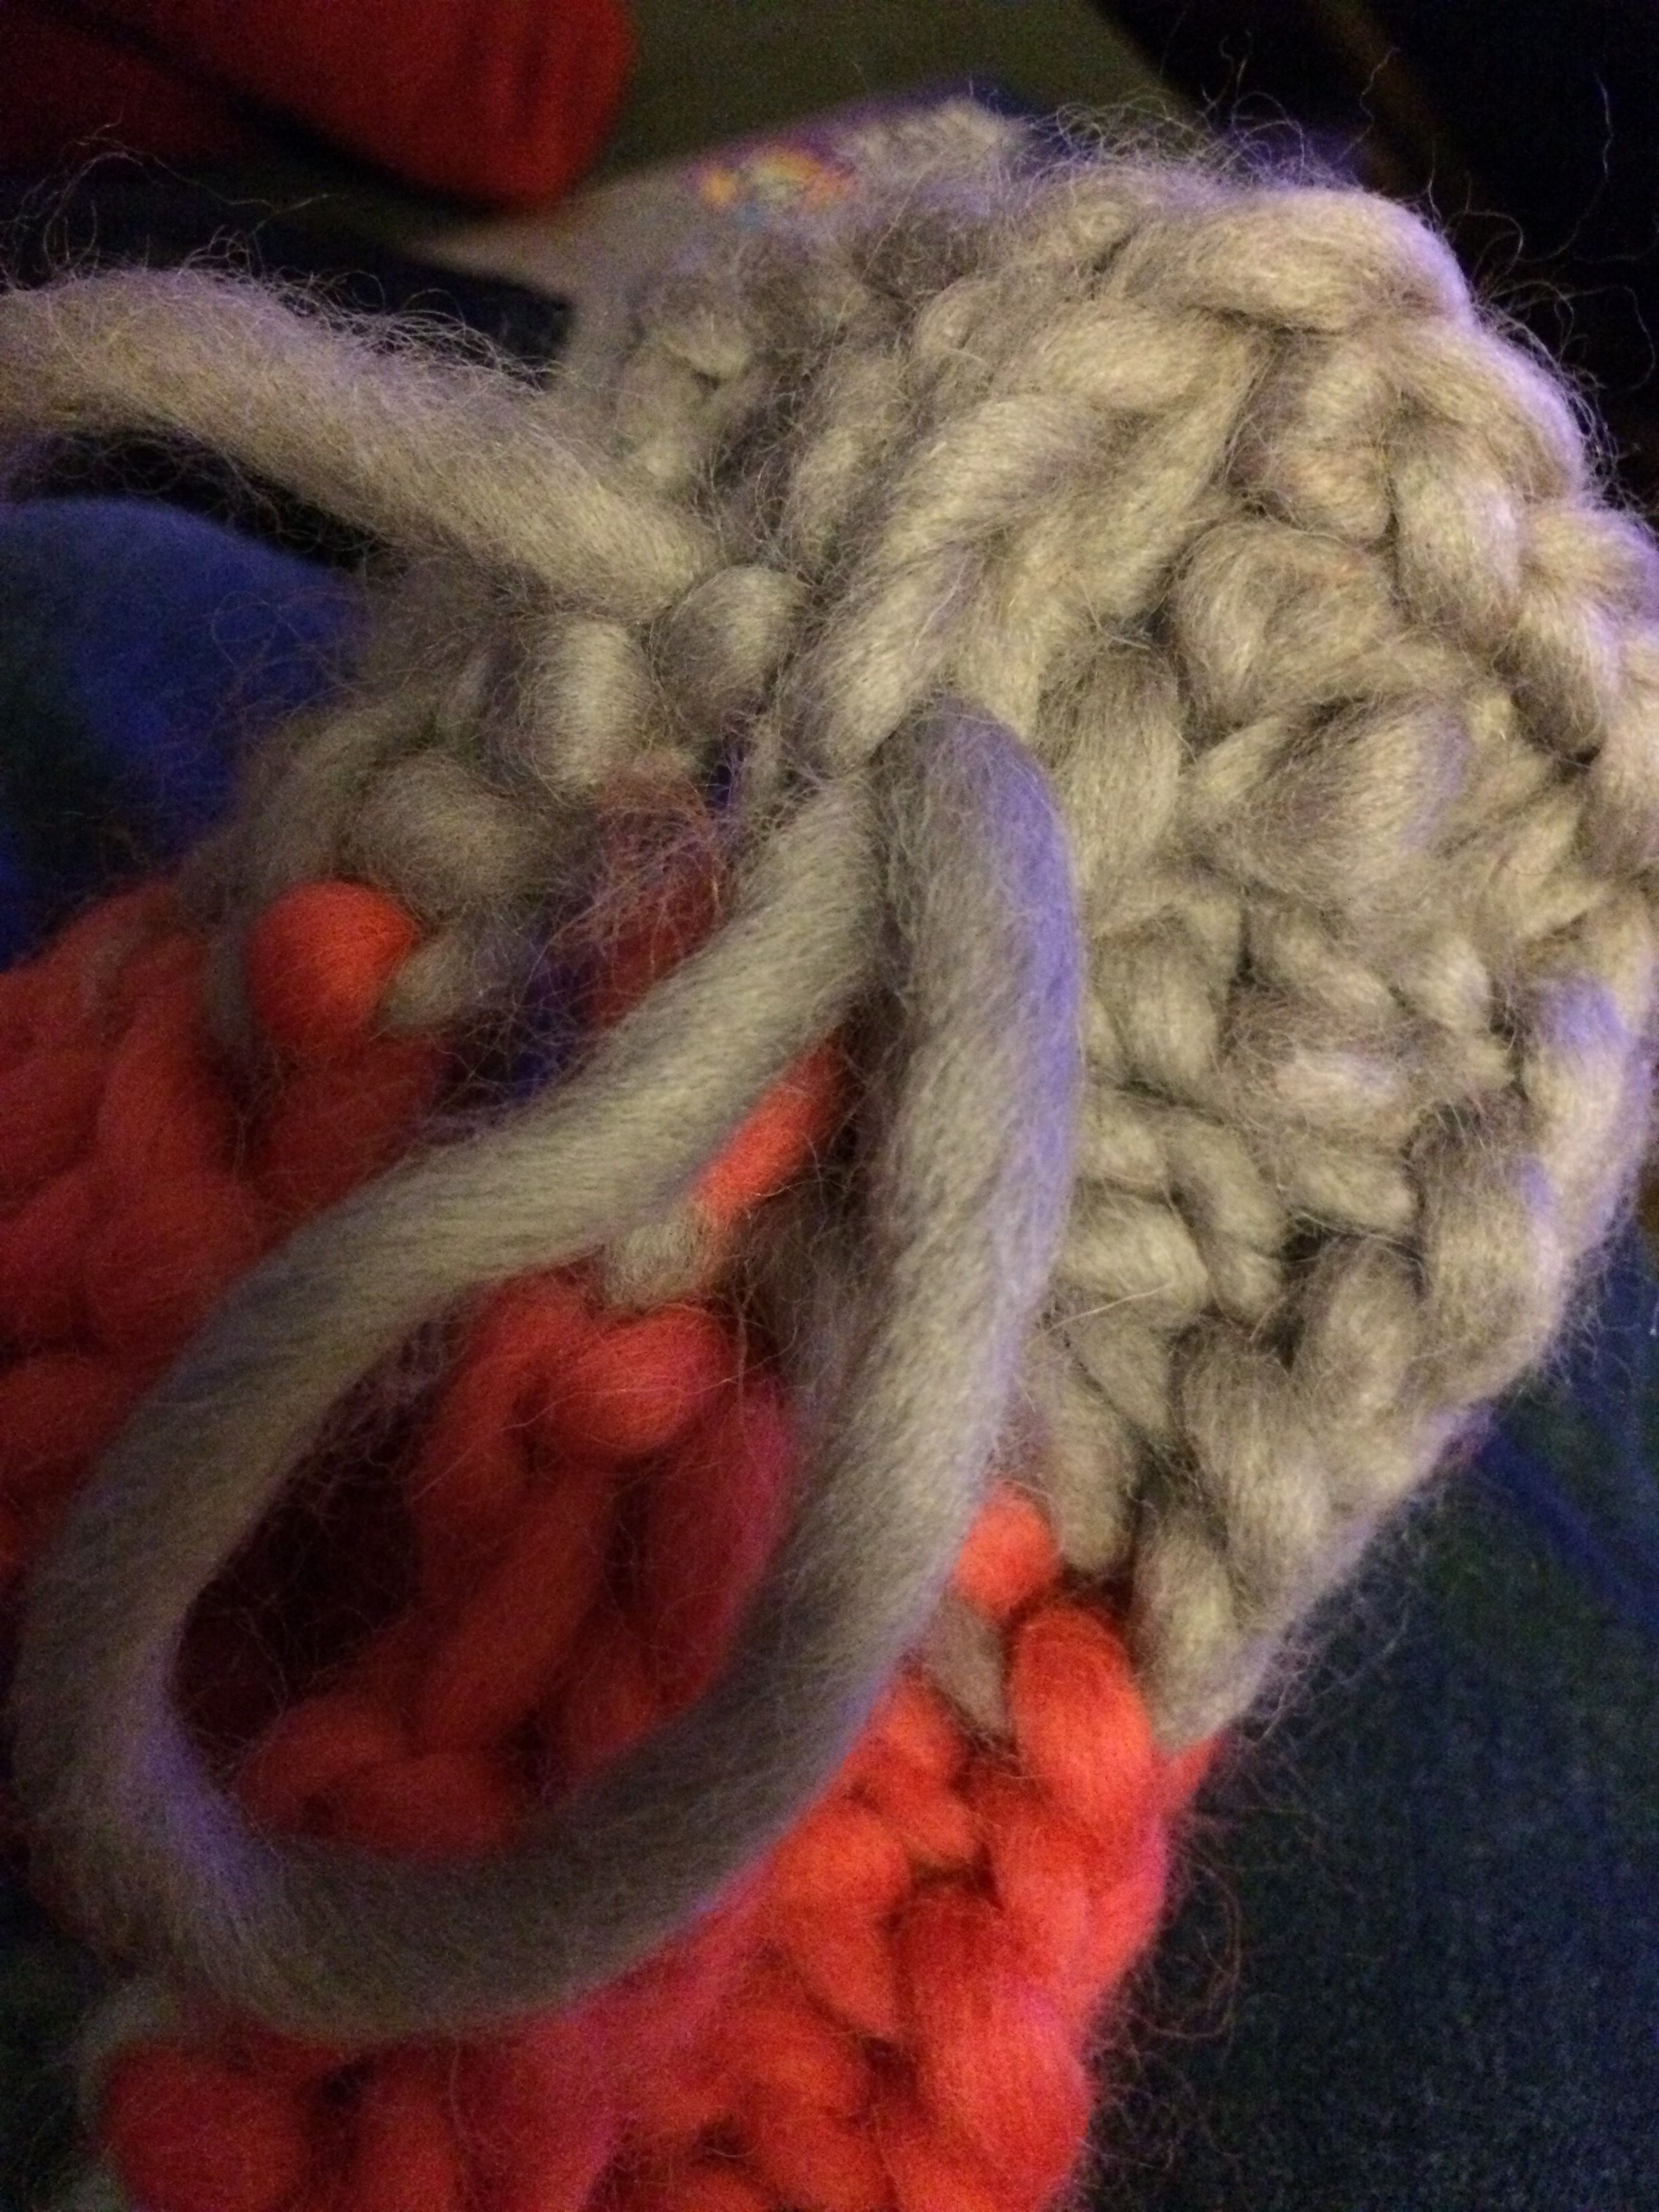
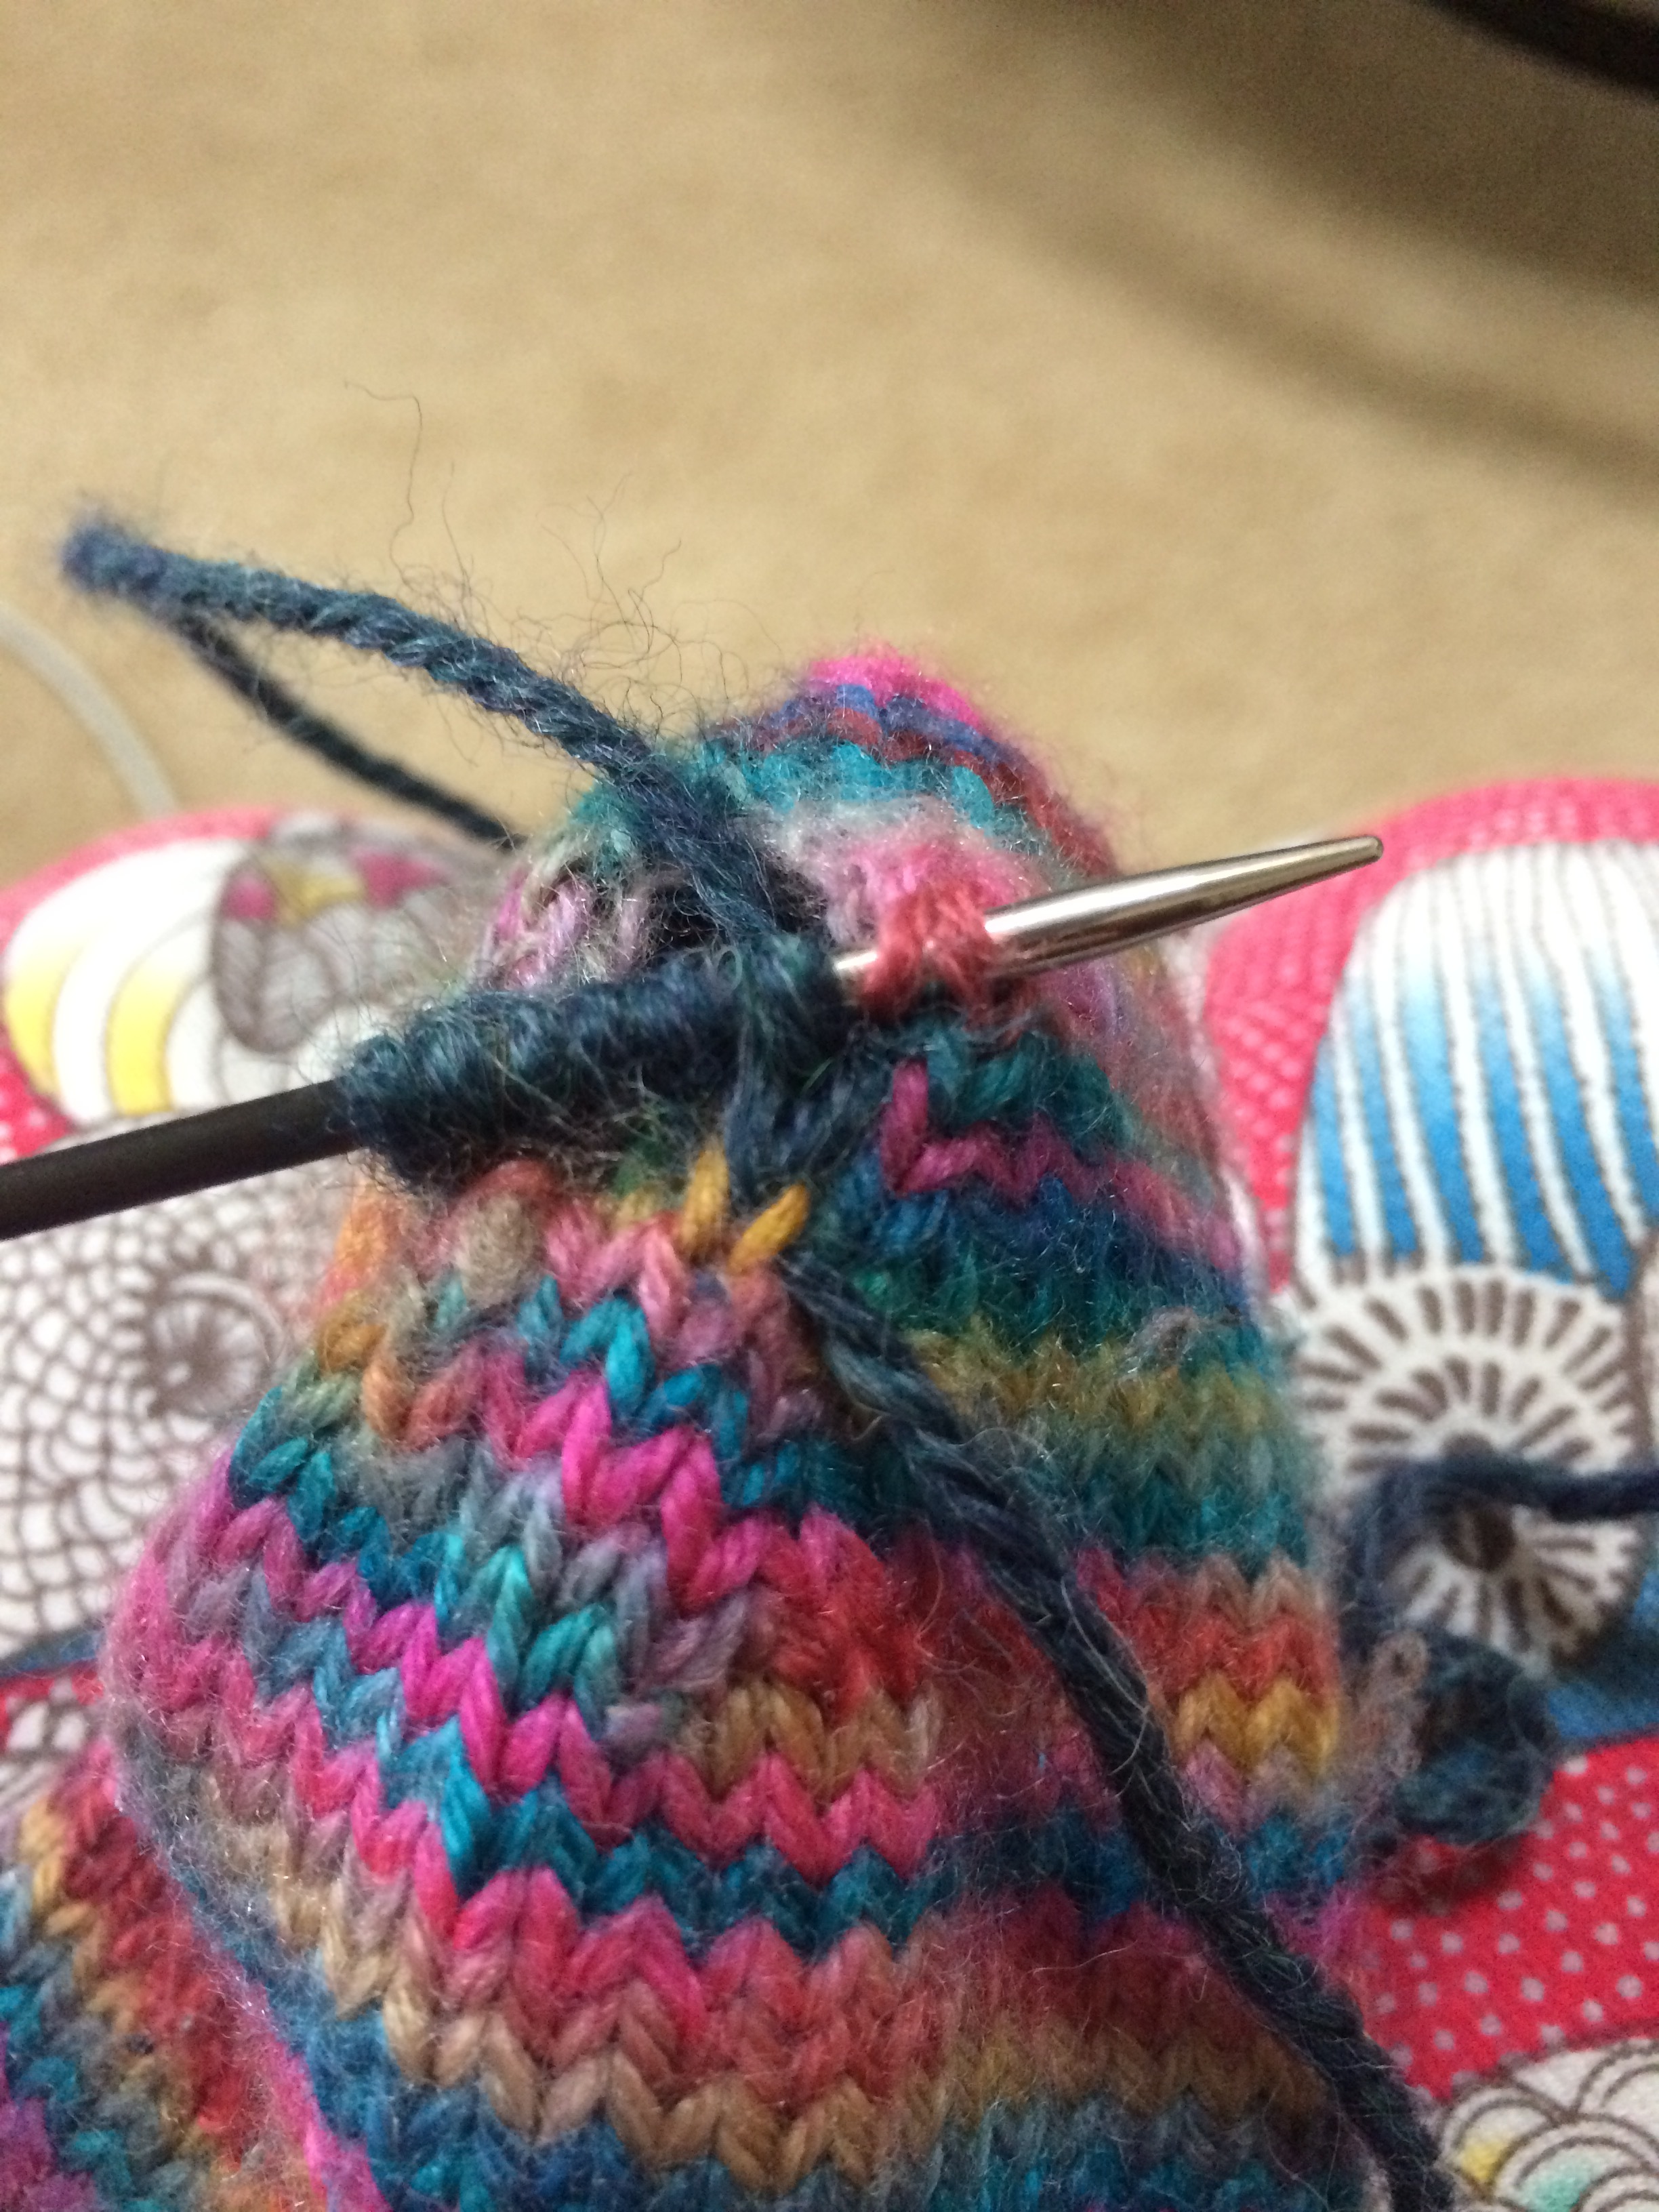
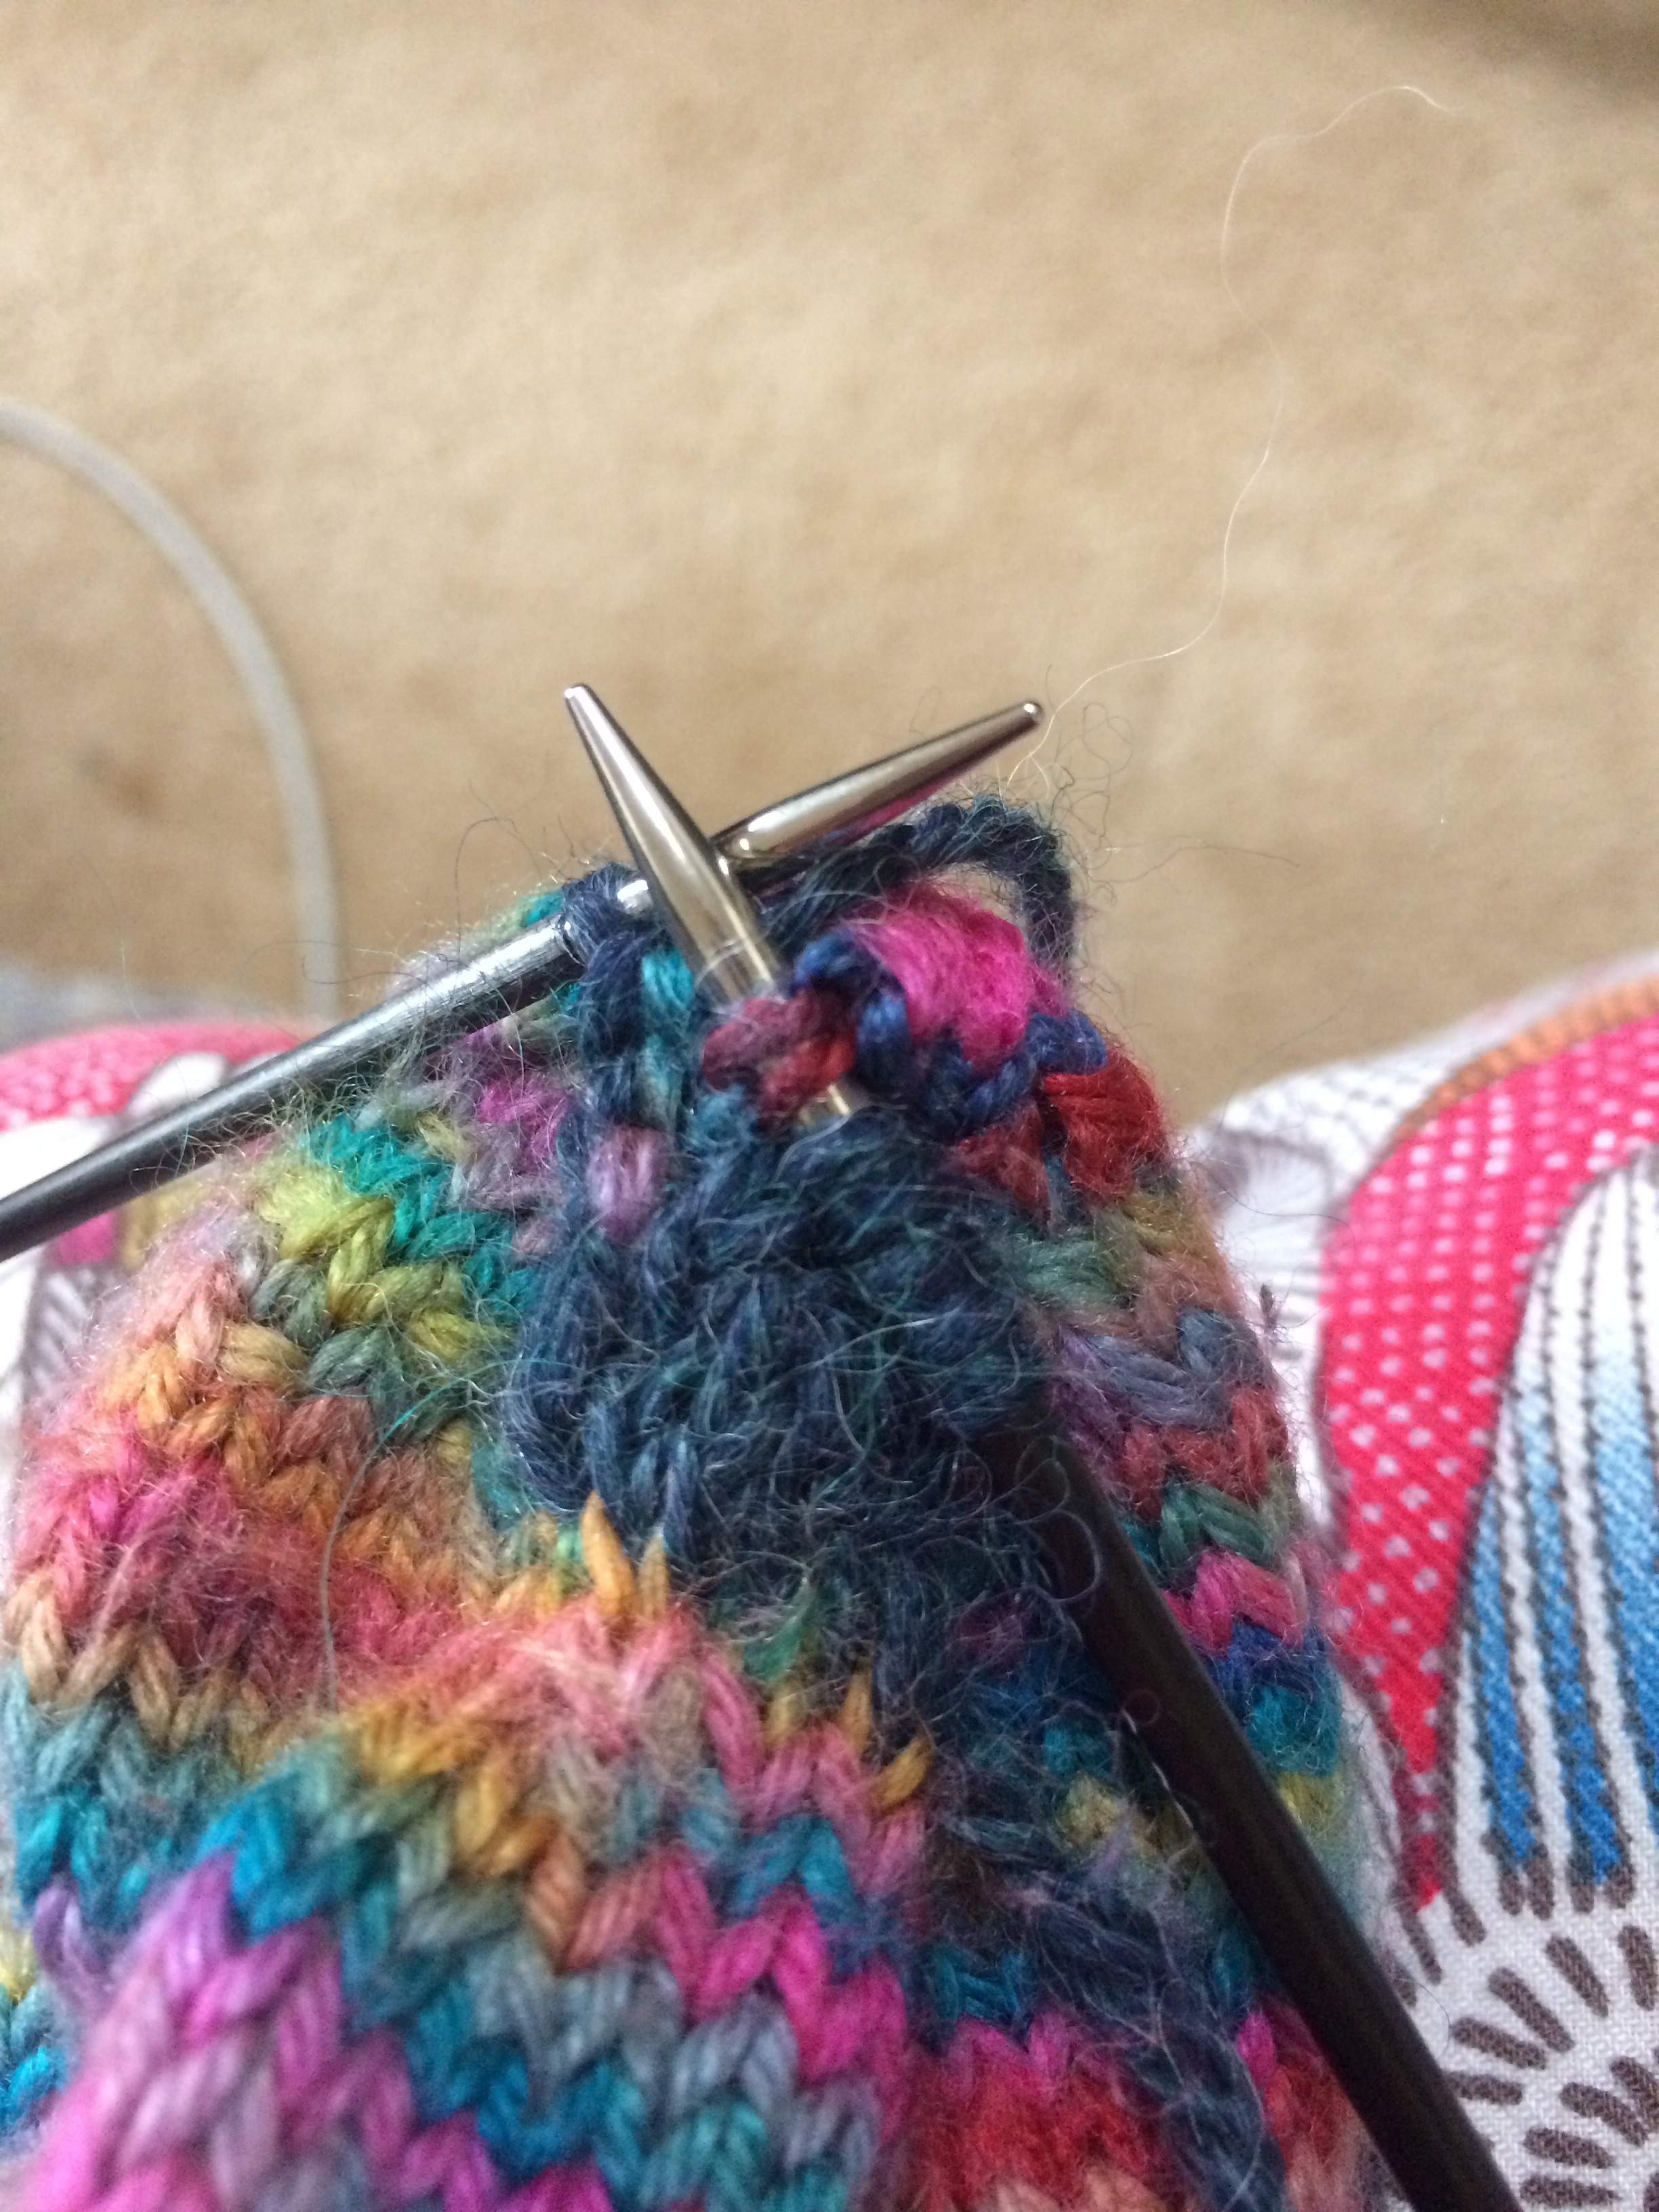
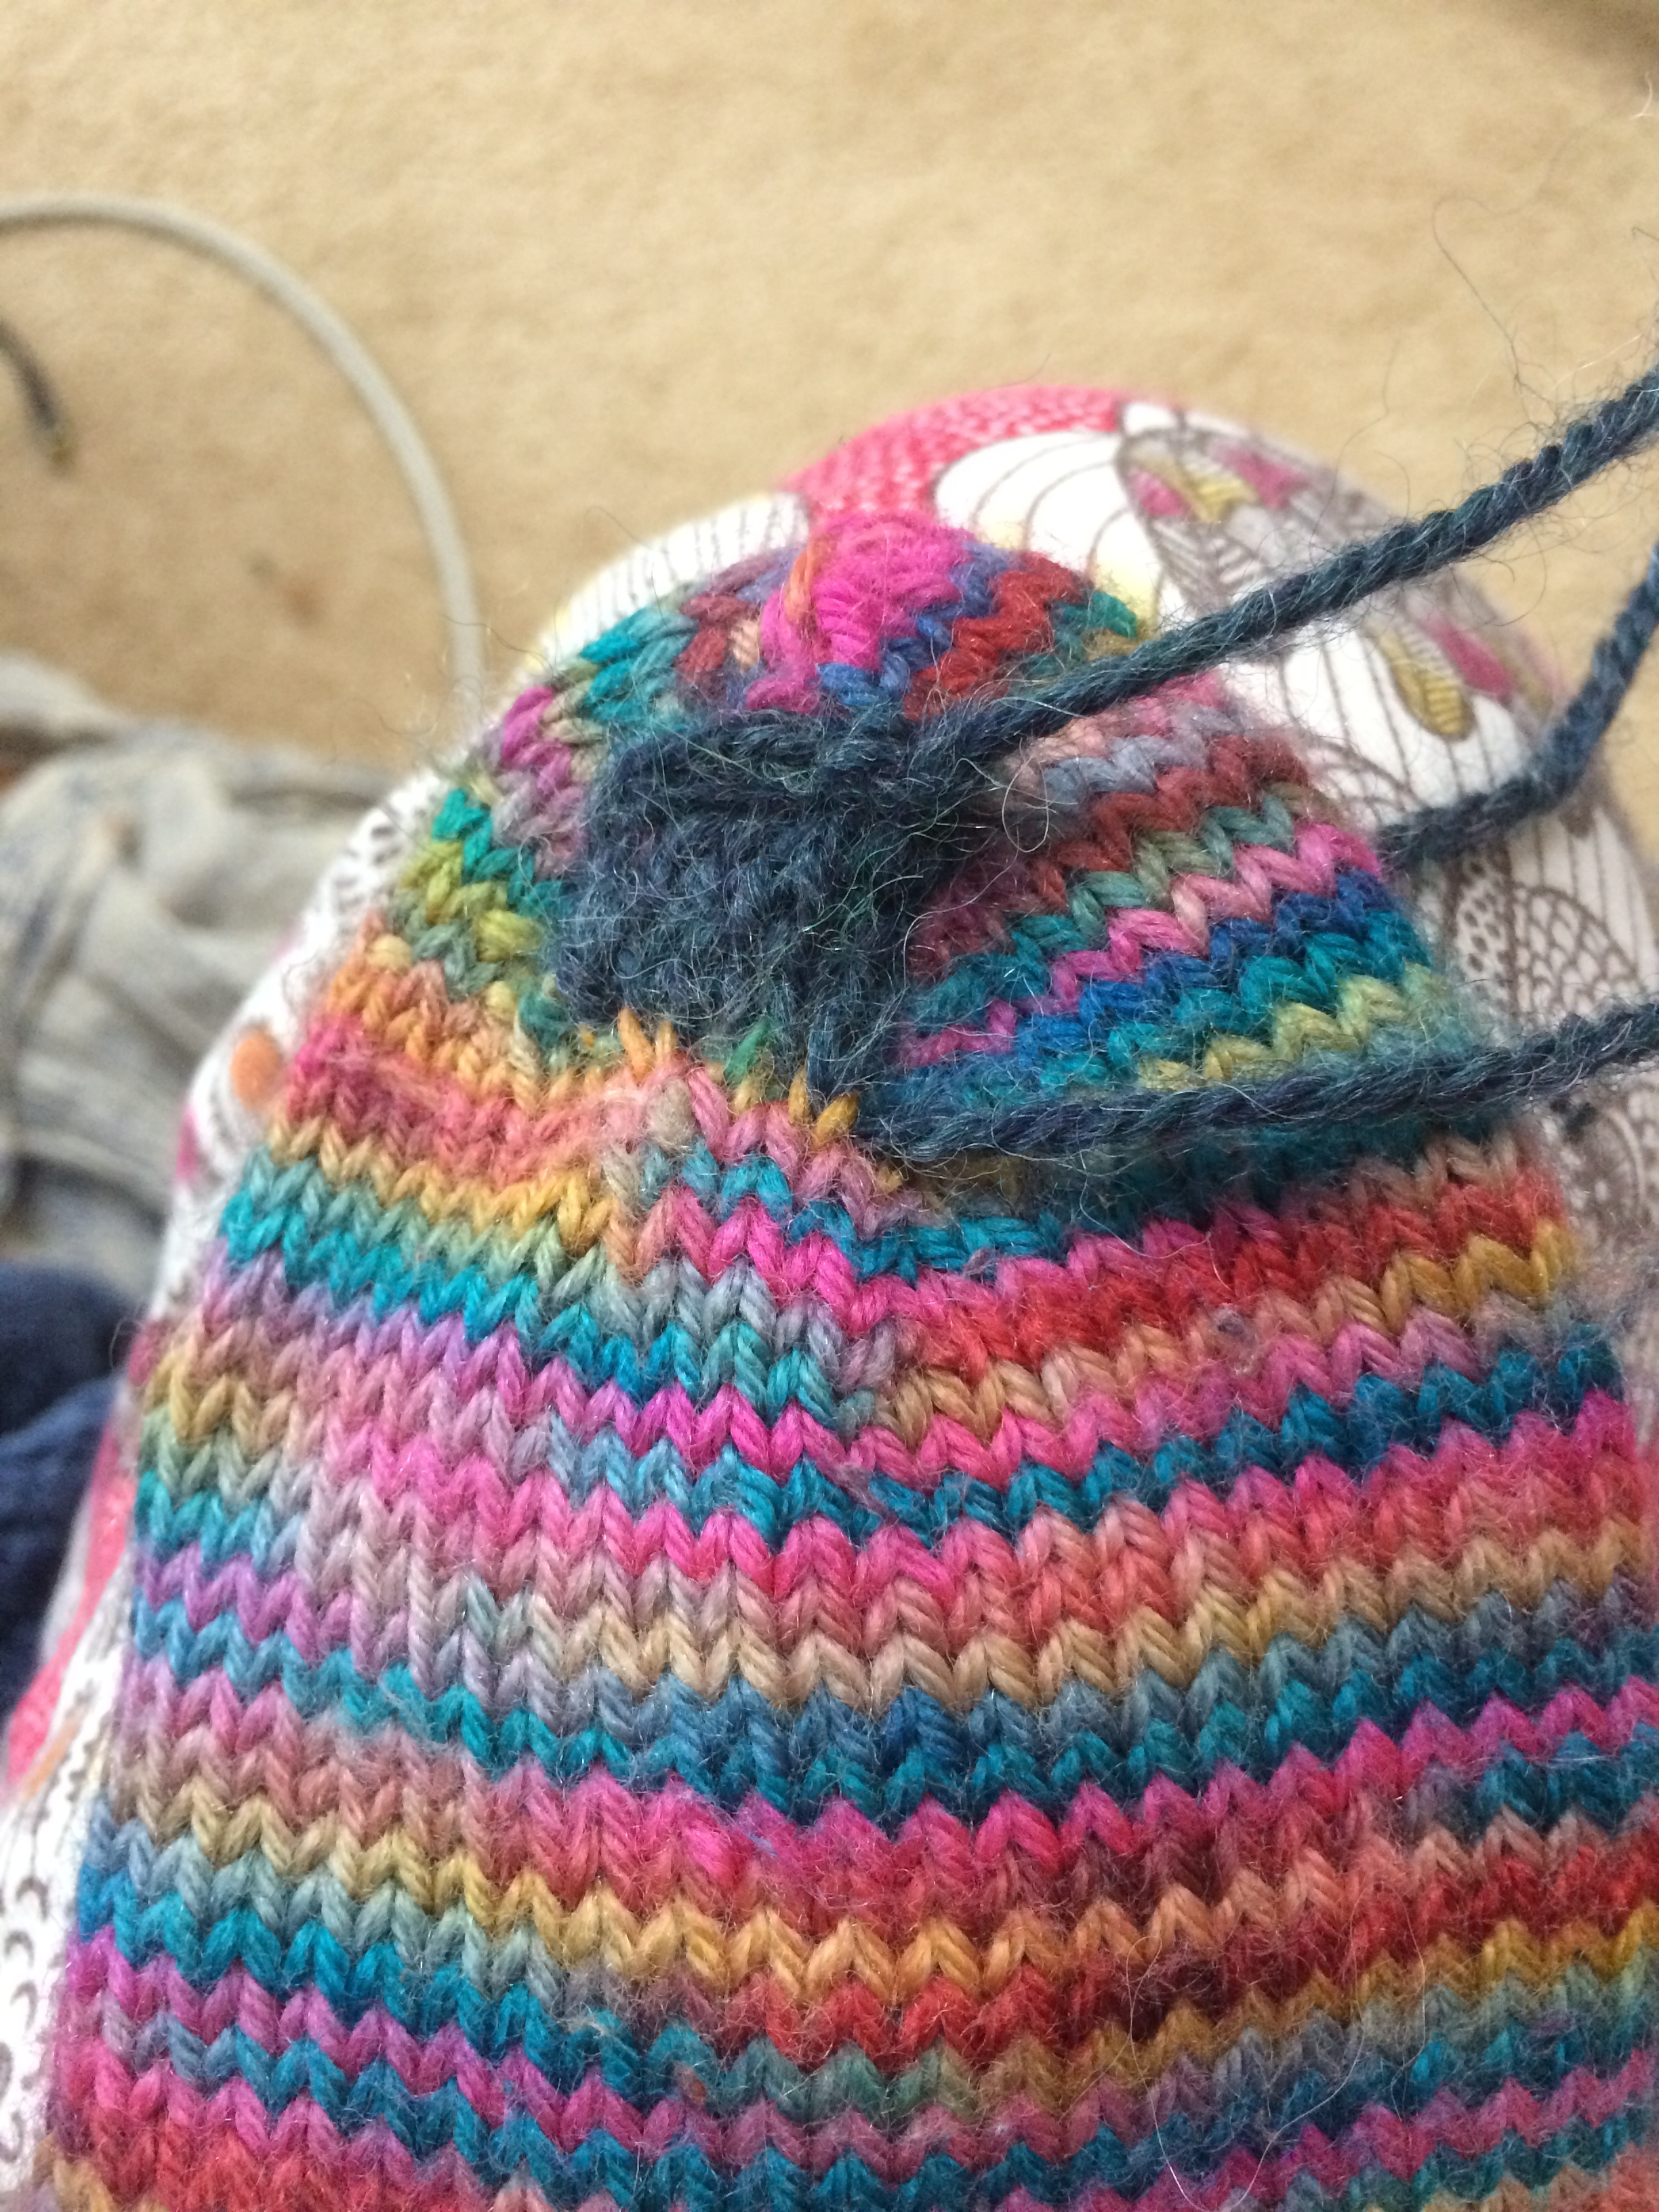
  • I'm going to be trying my hand at cable knitting, which is going to be interesting I'm sure.
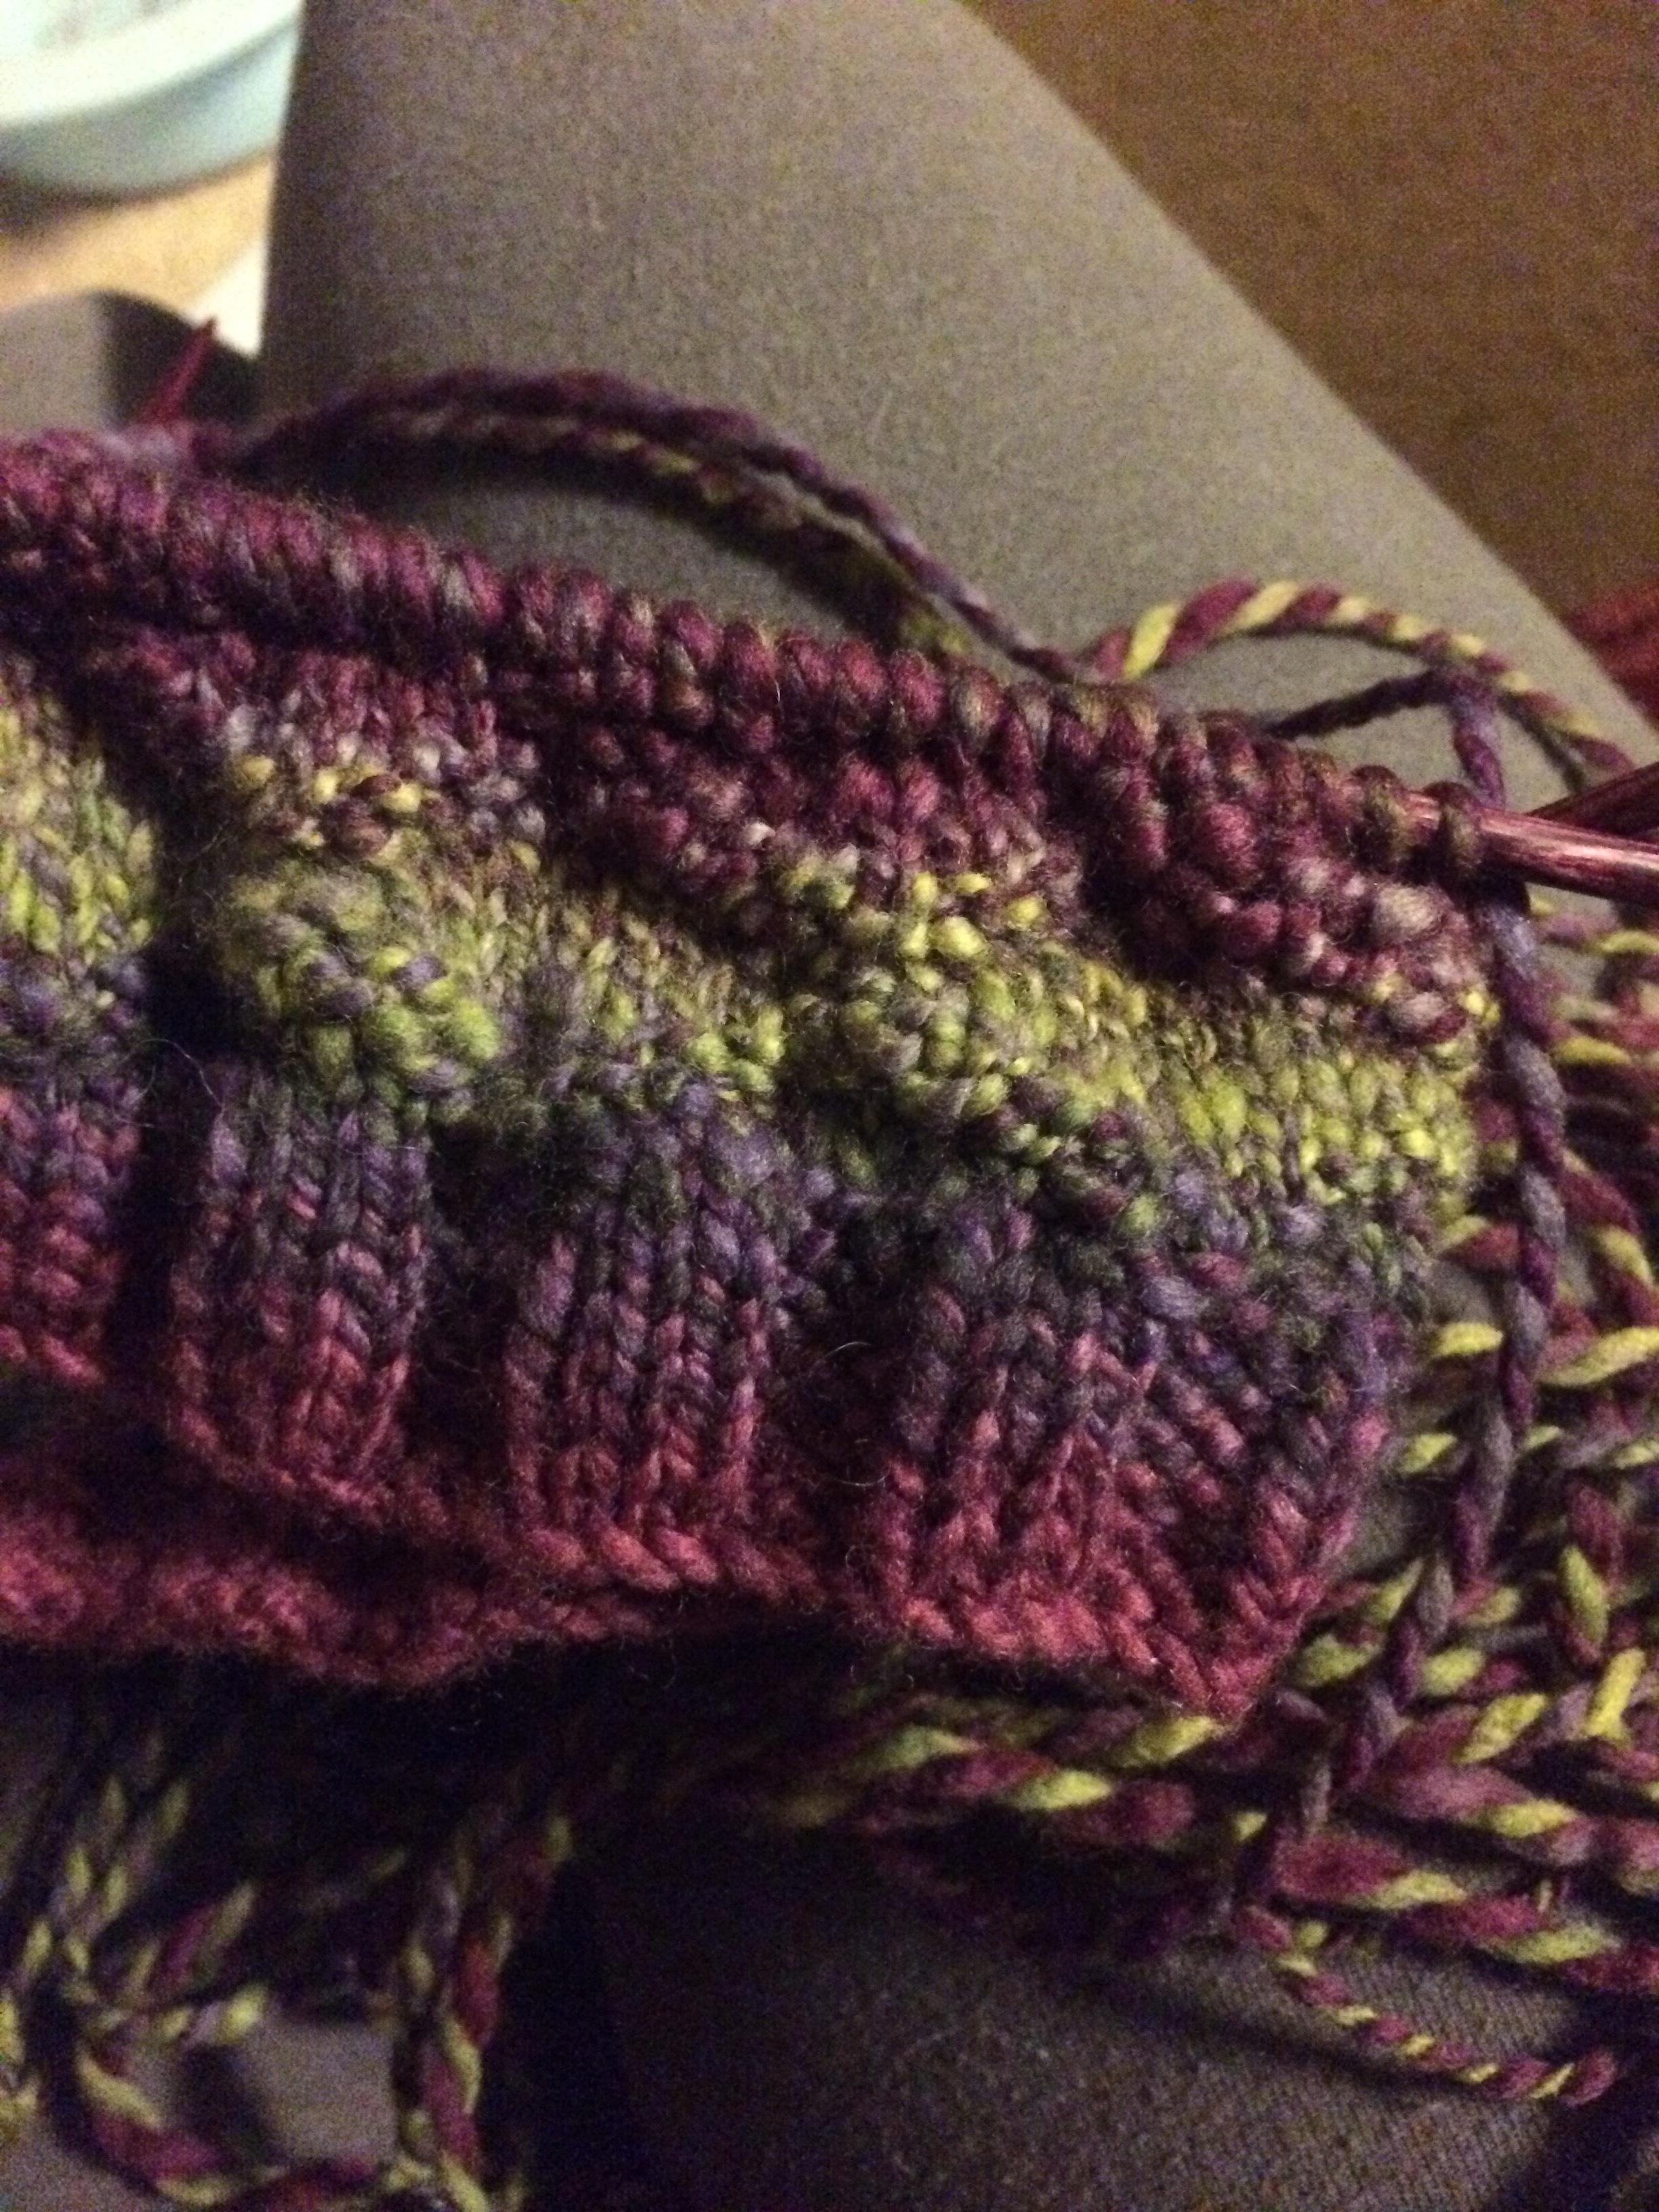
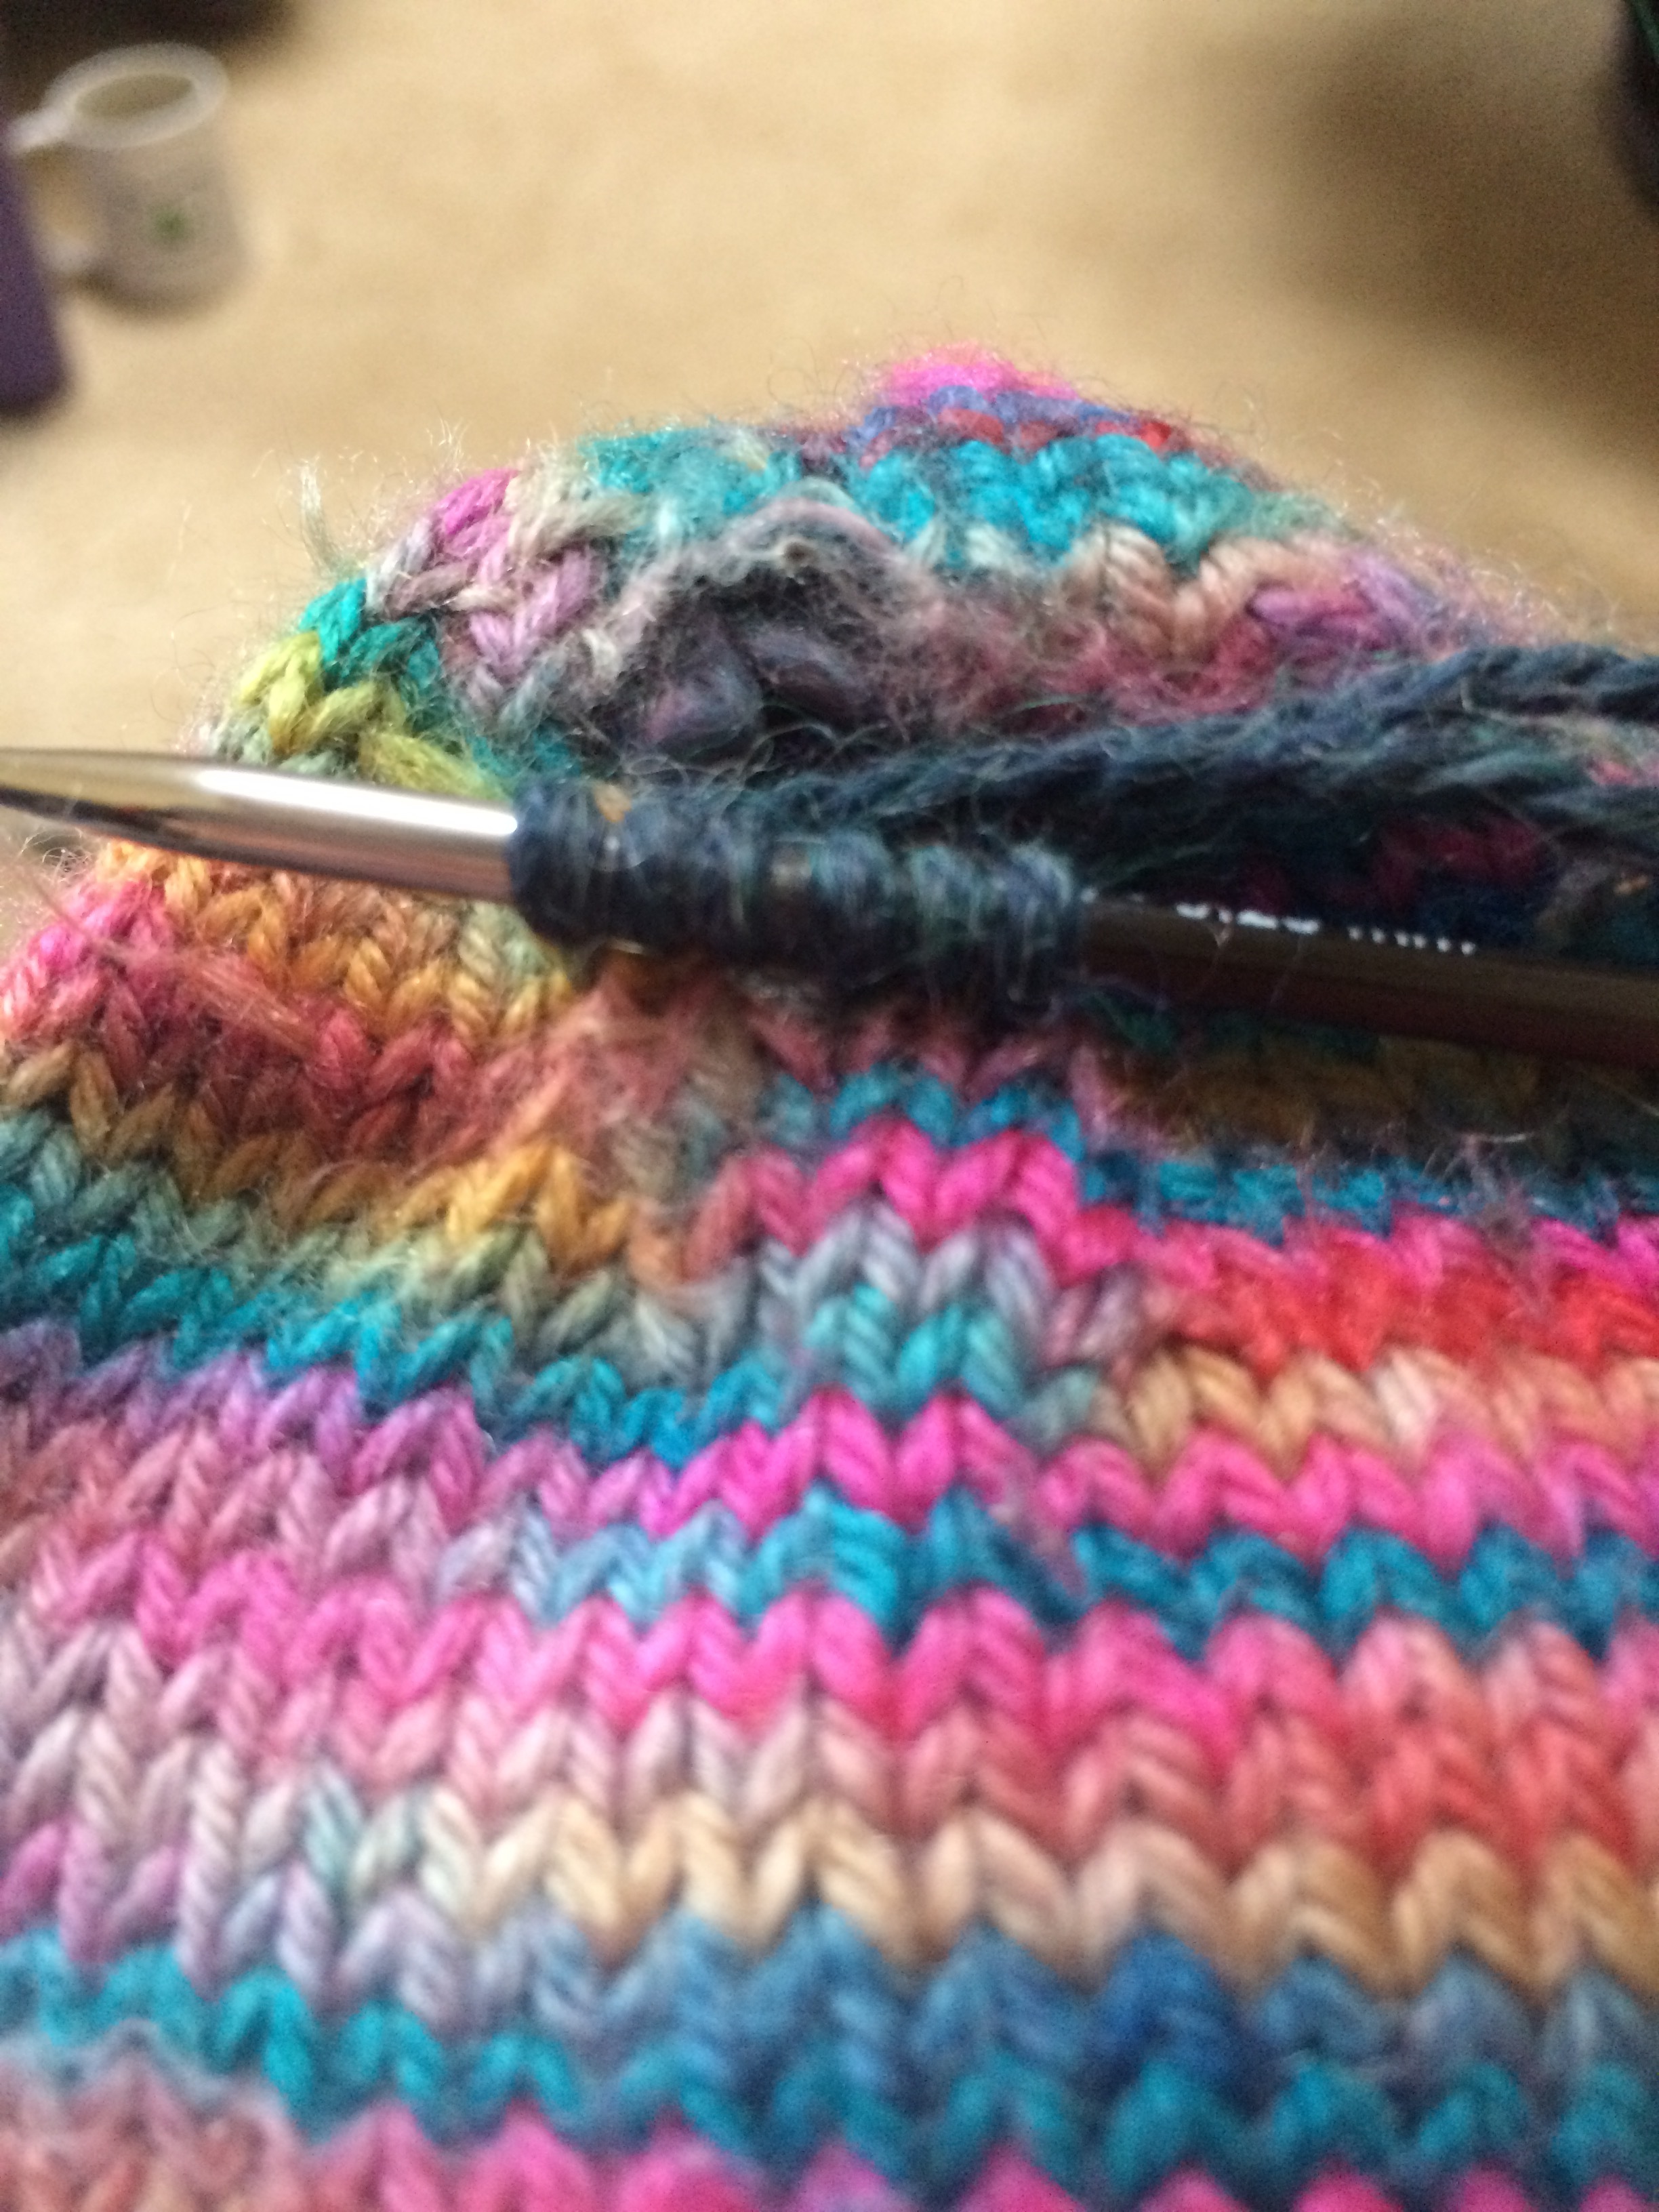
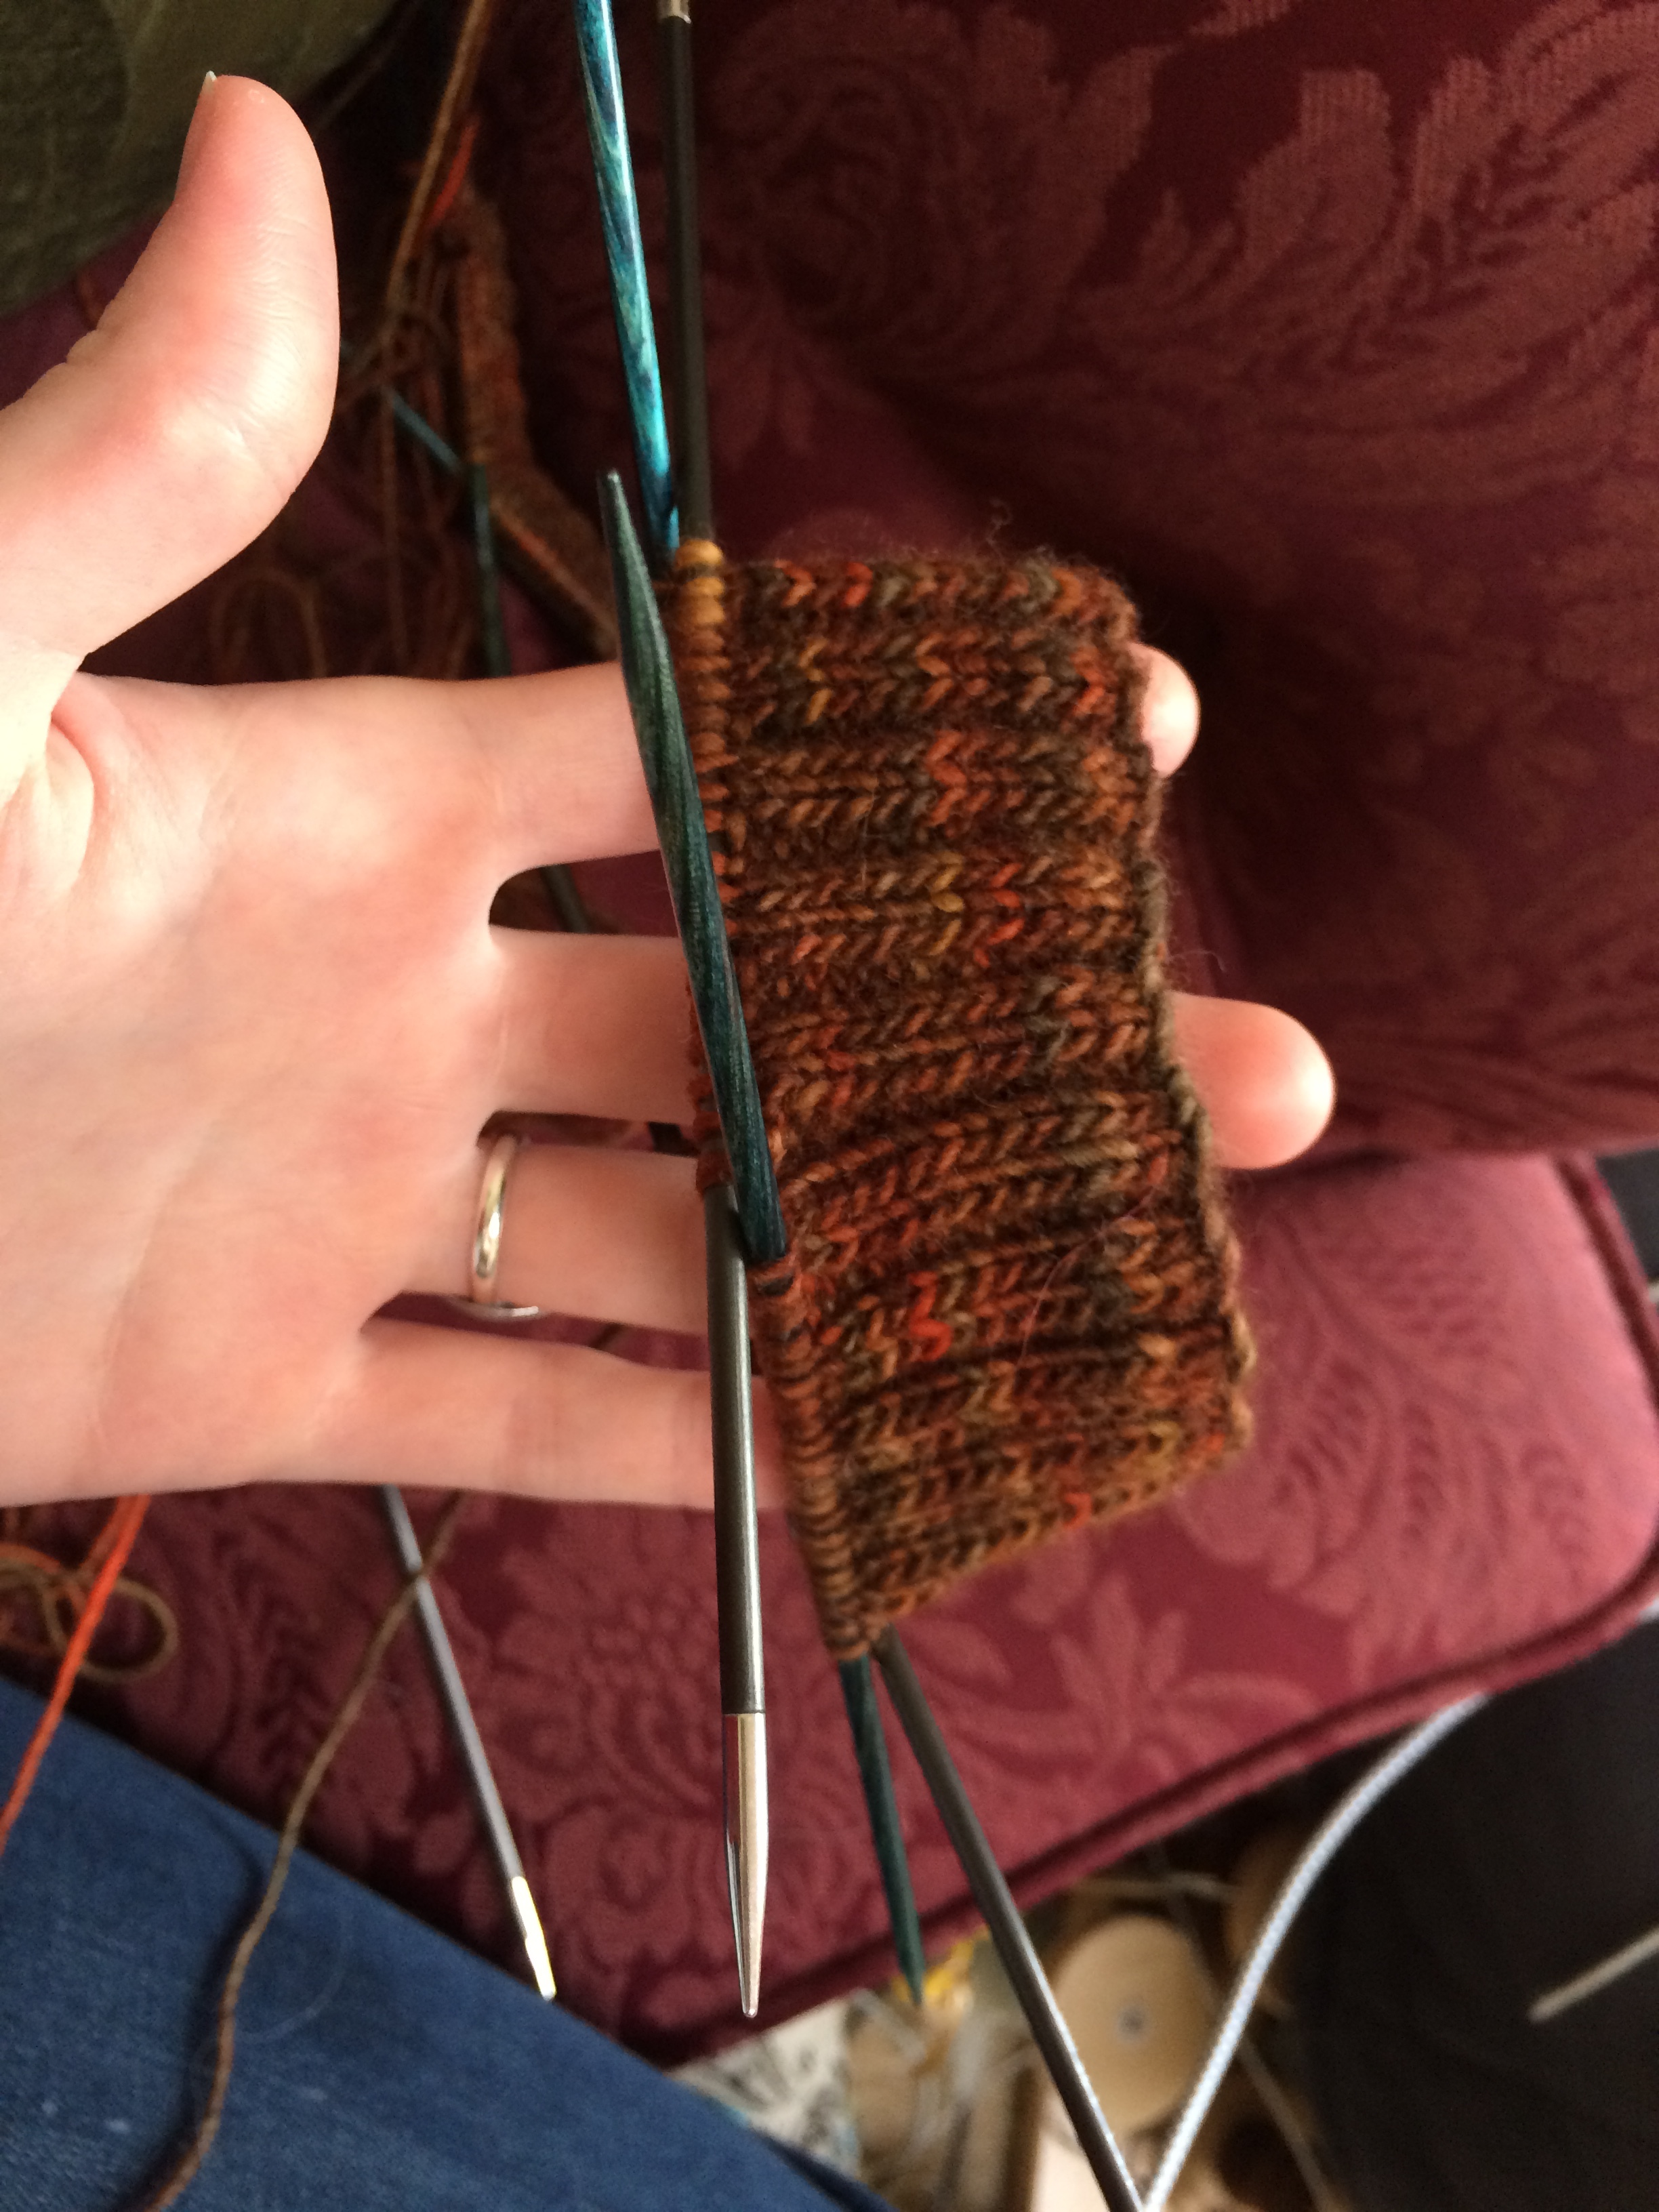
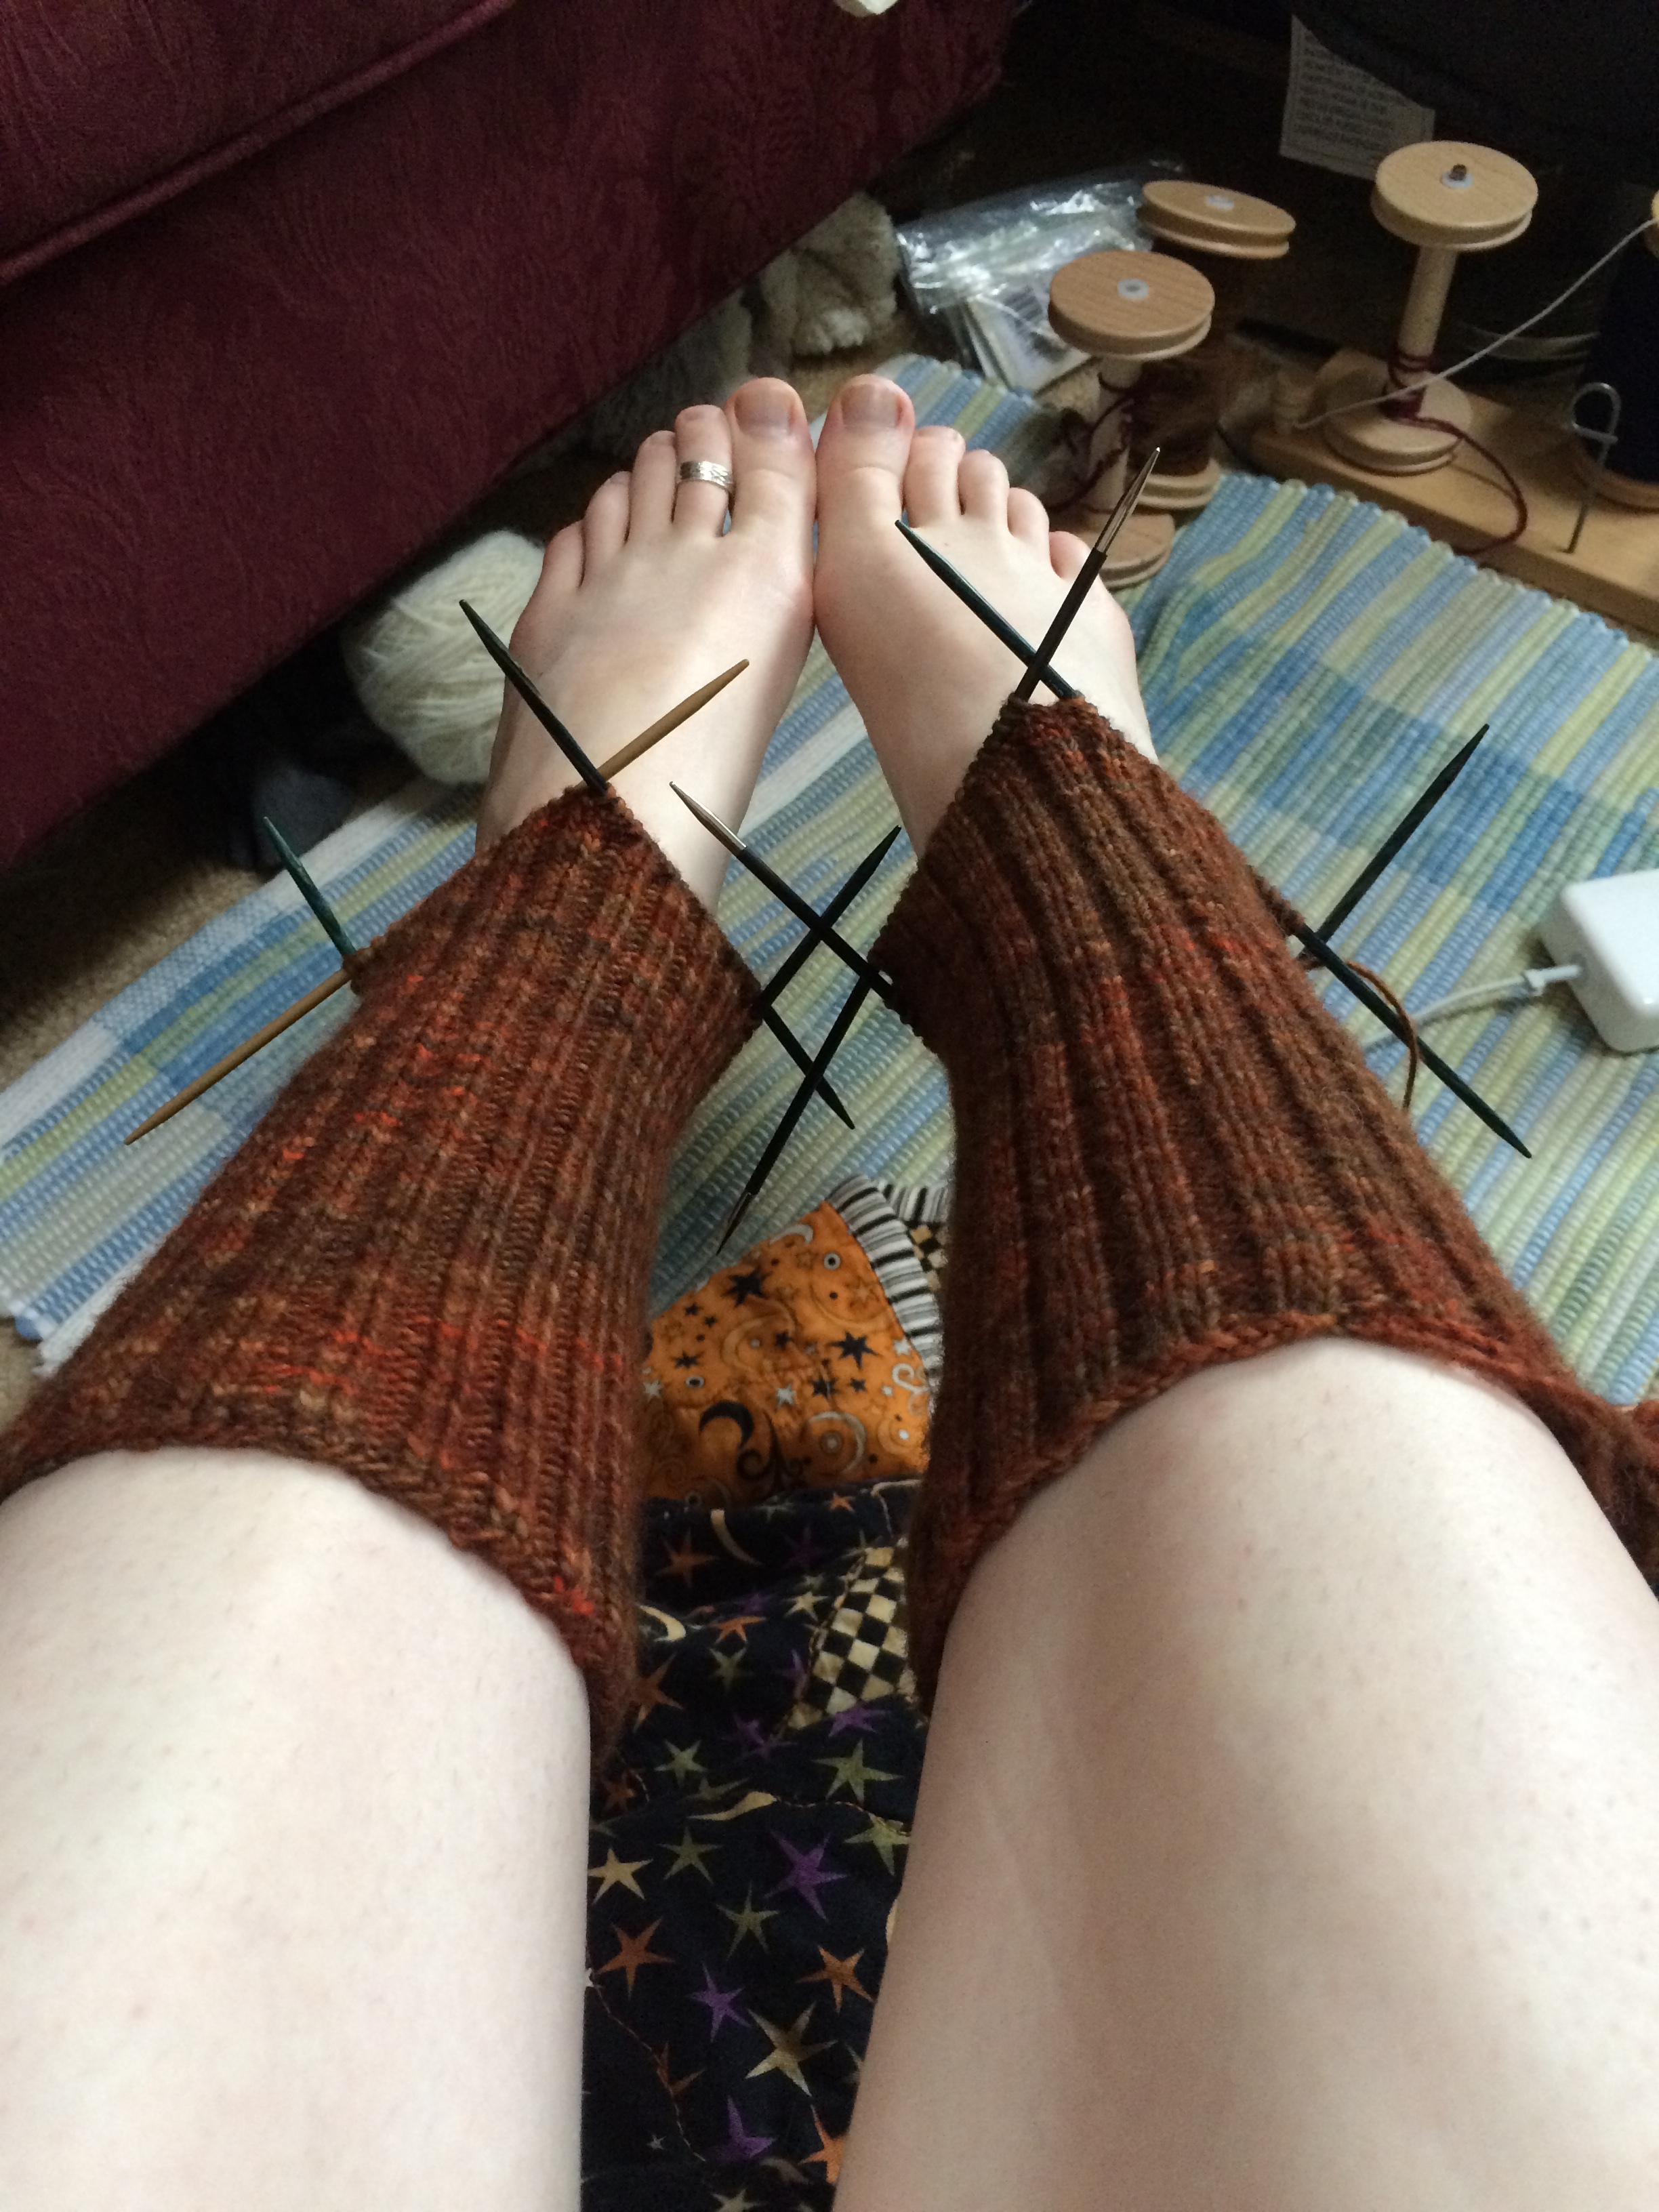
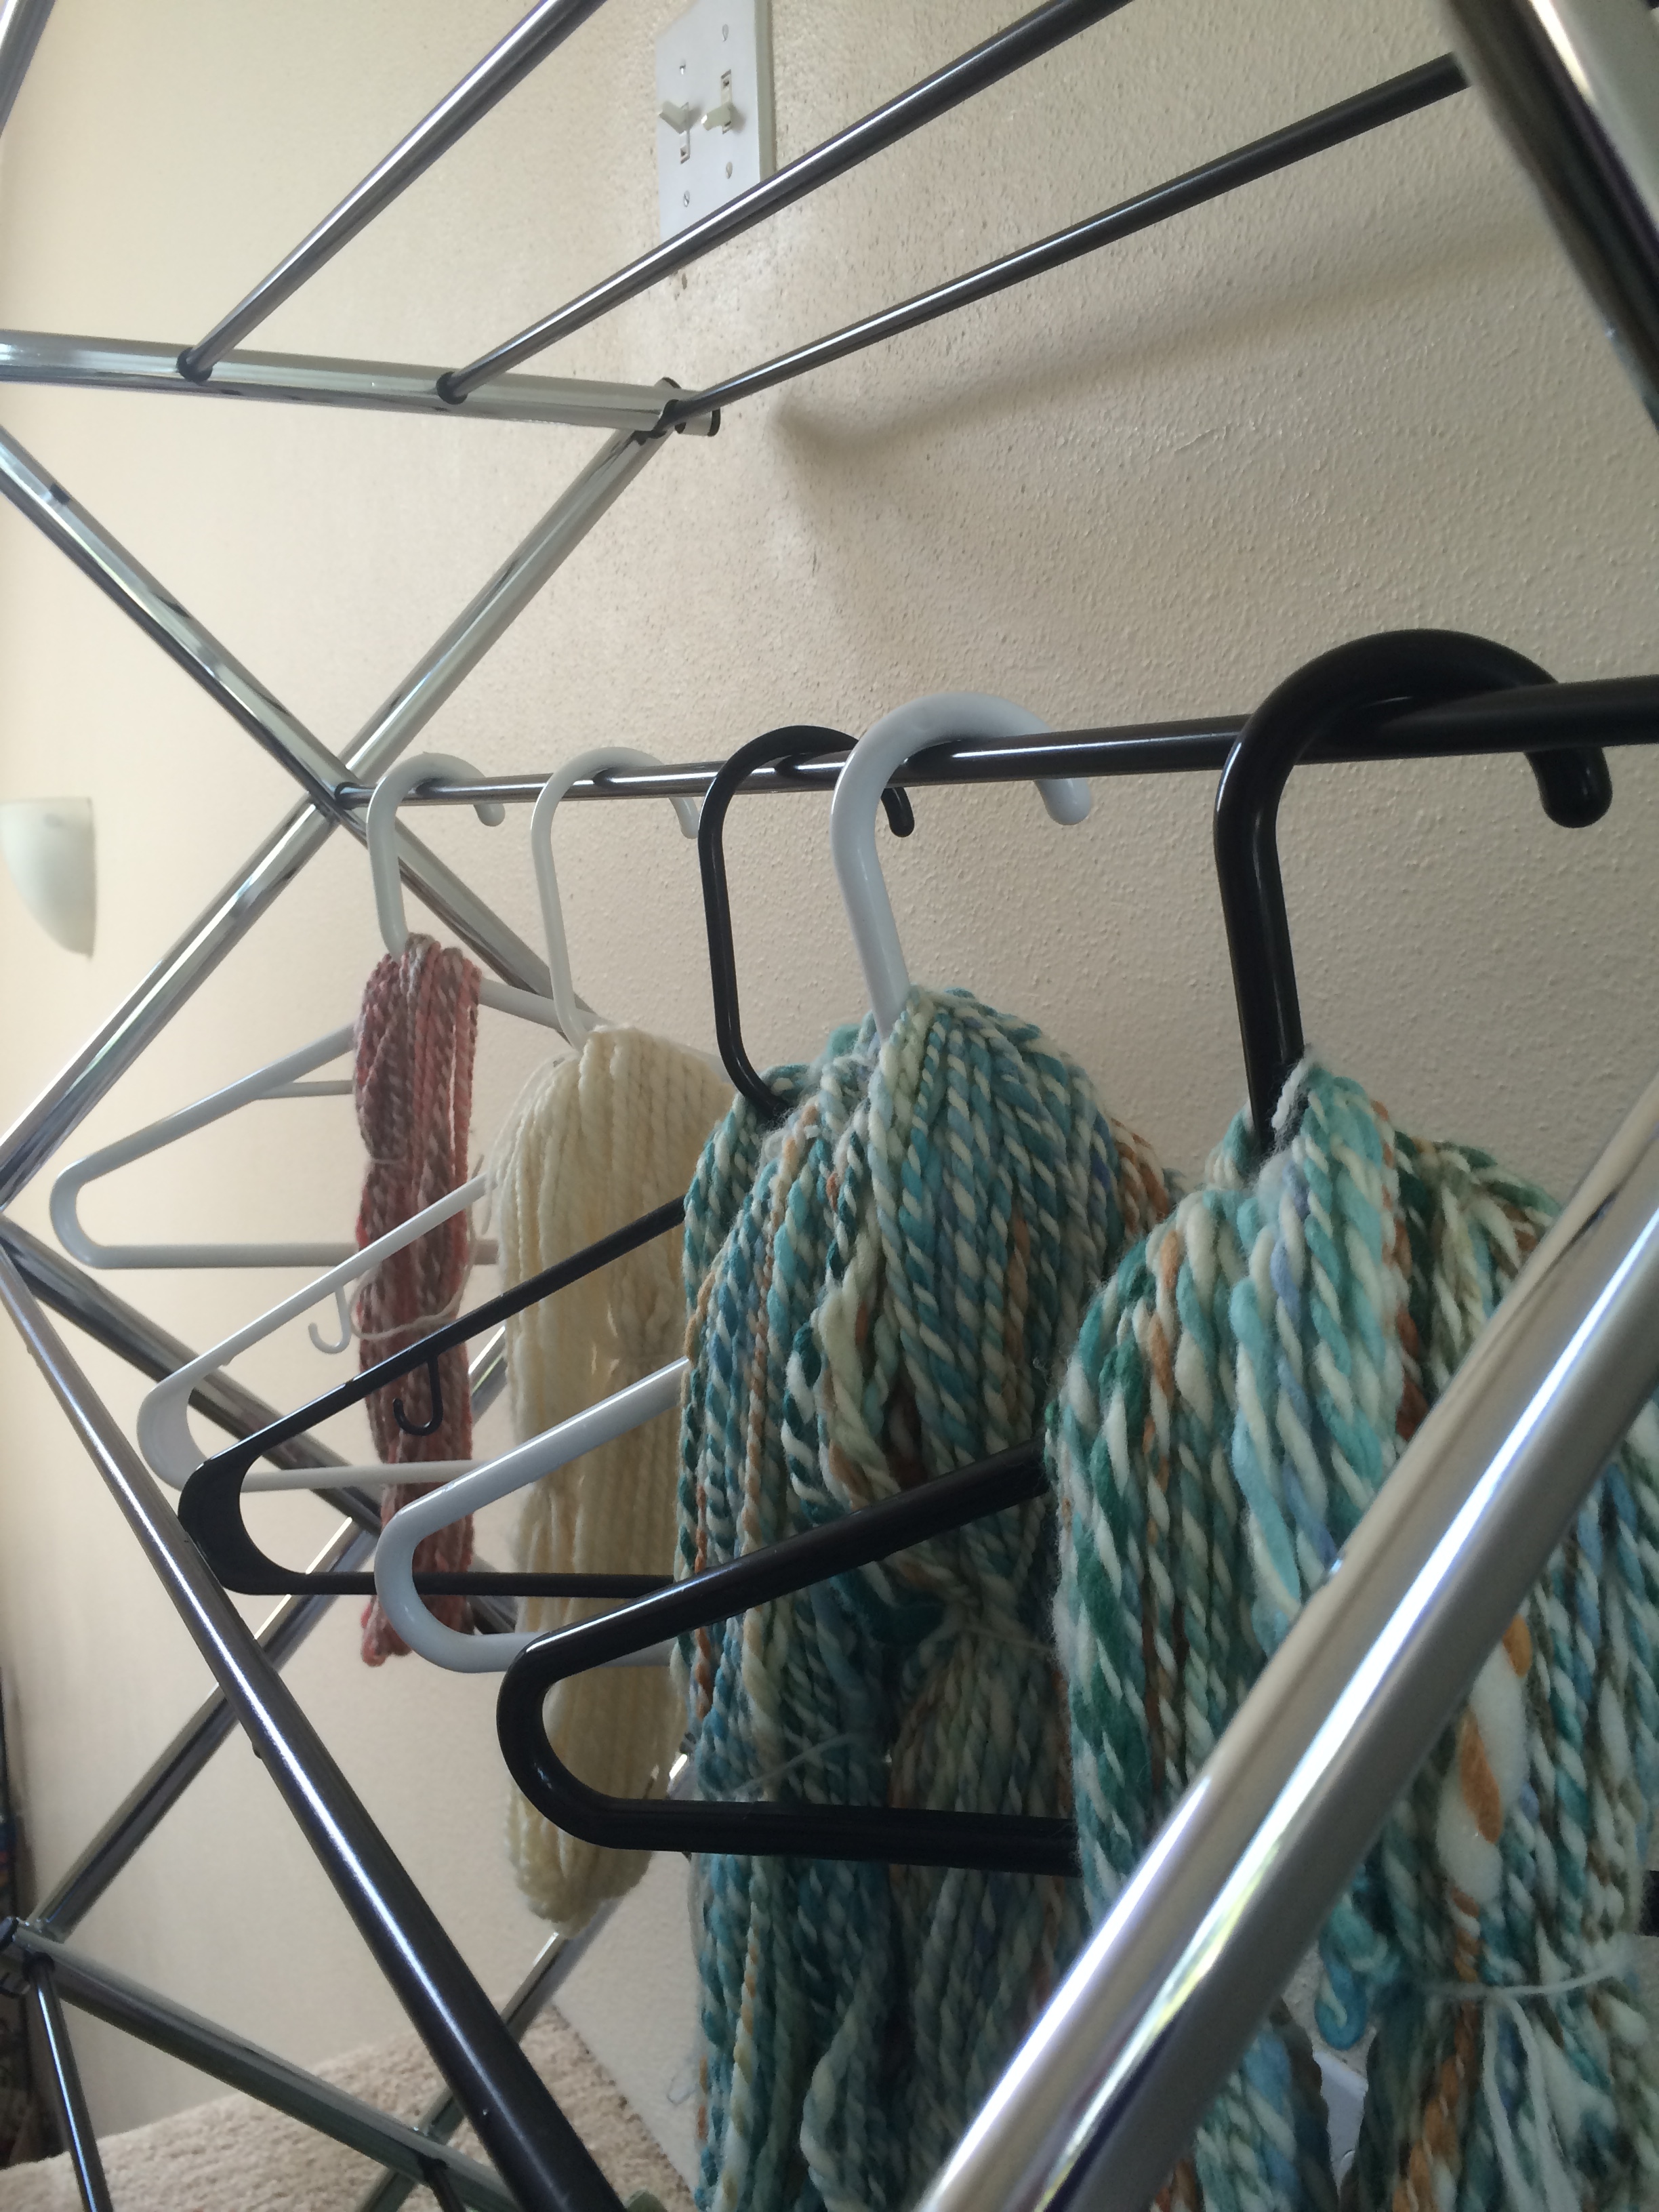
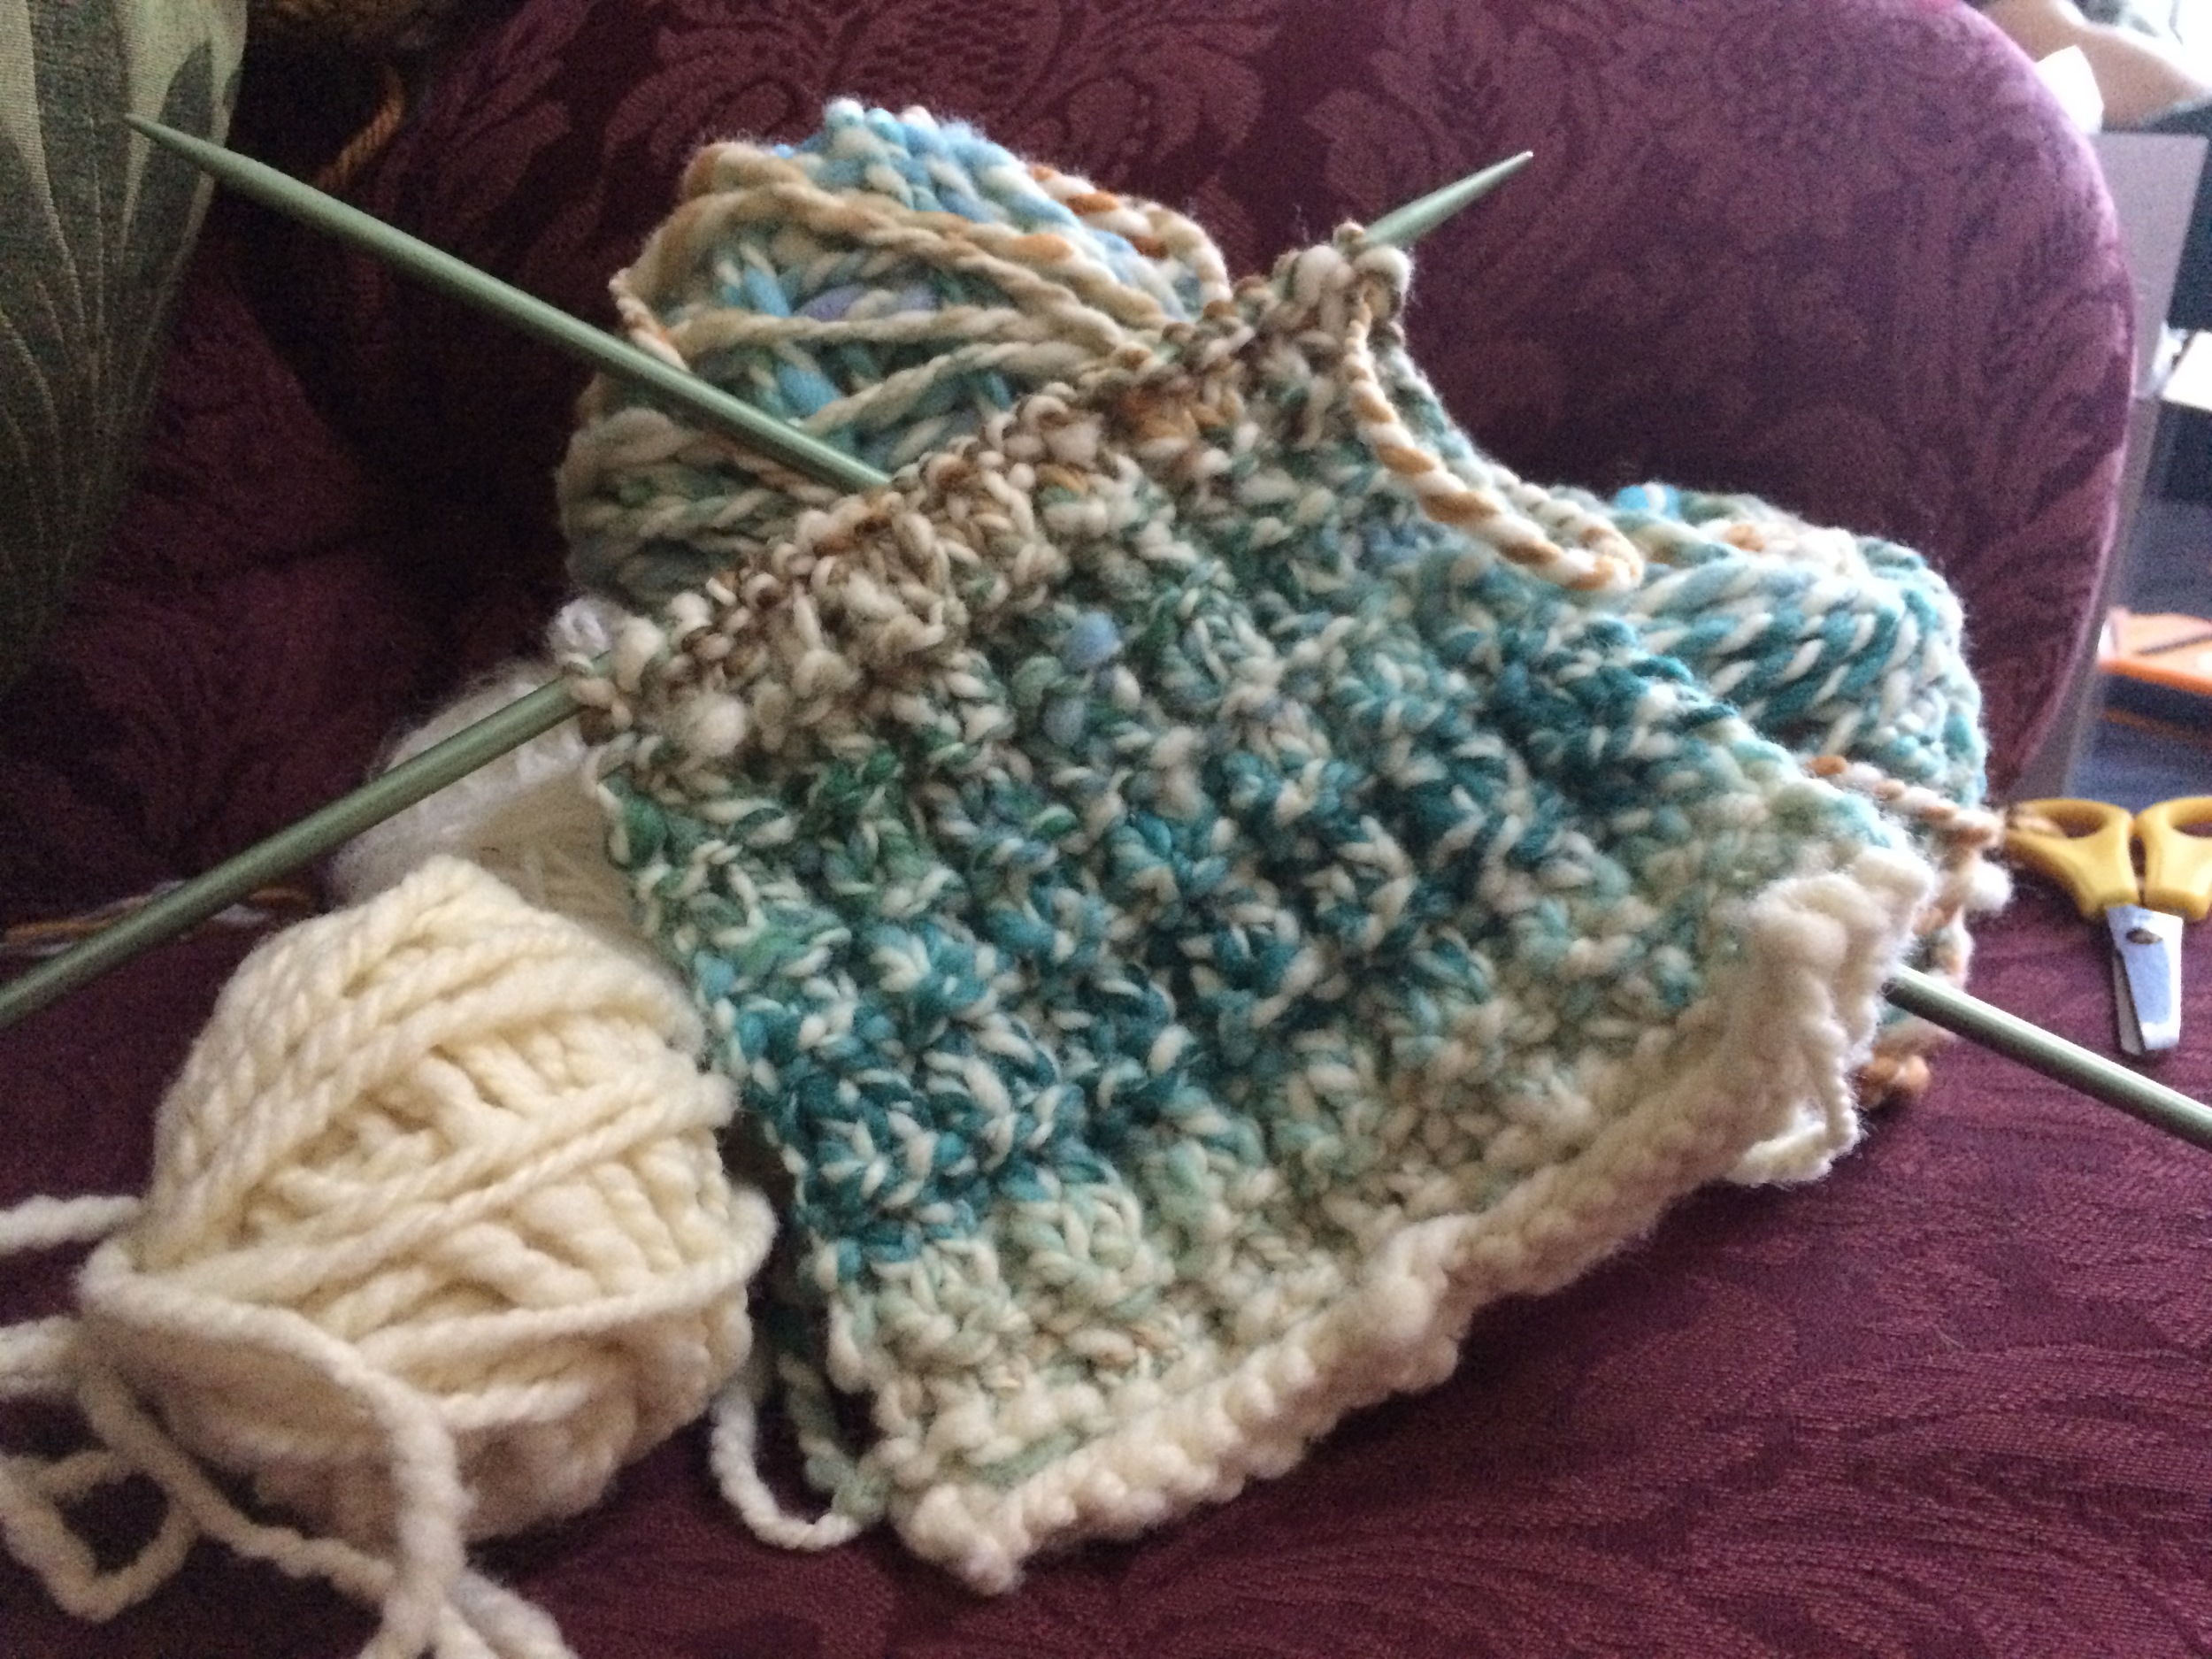
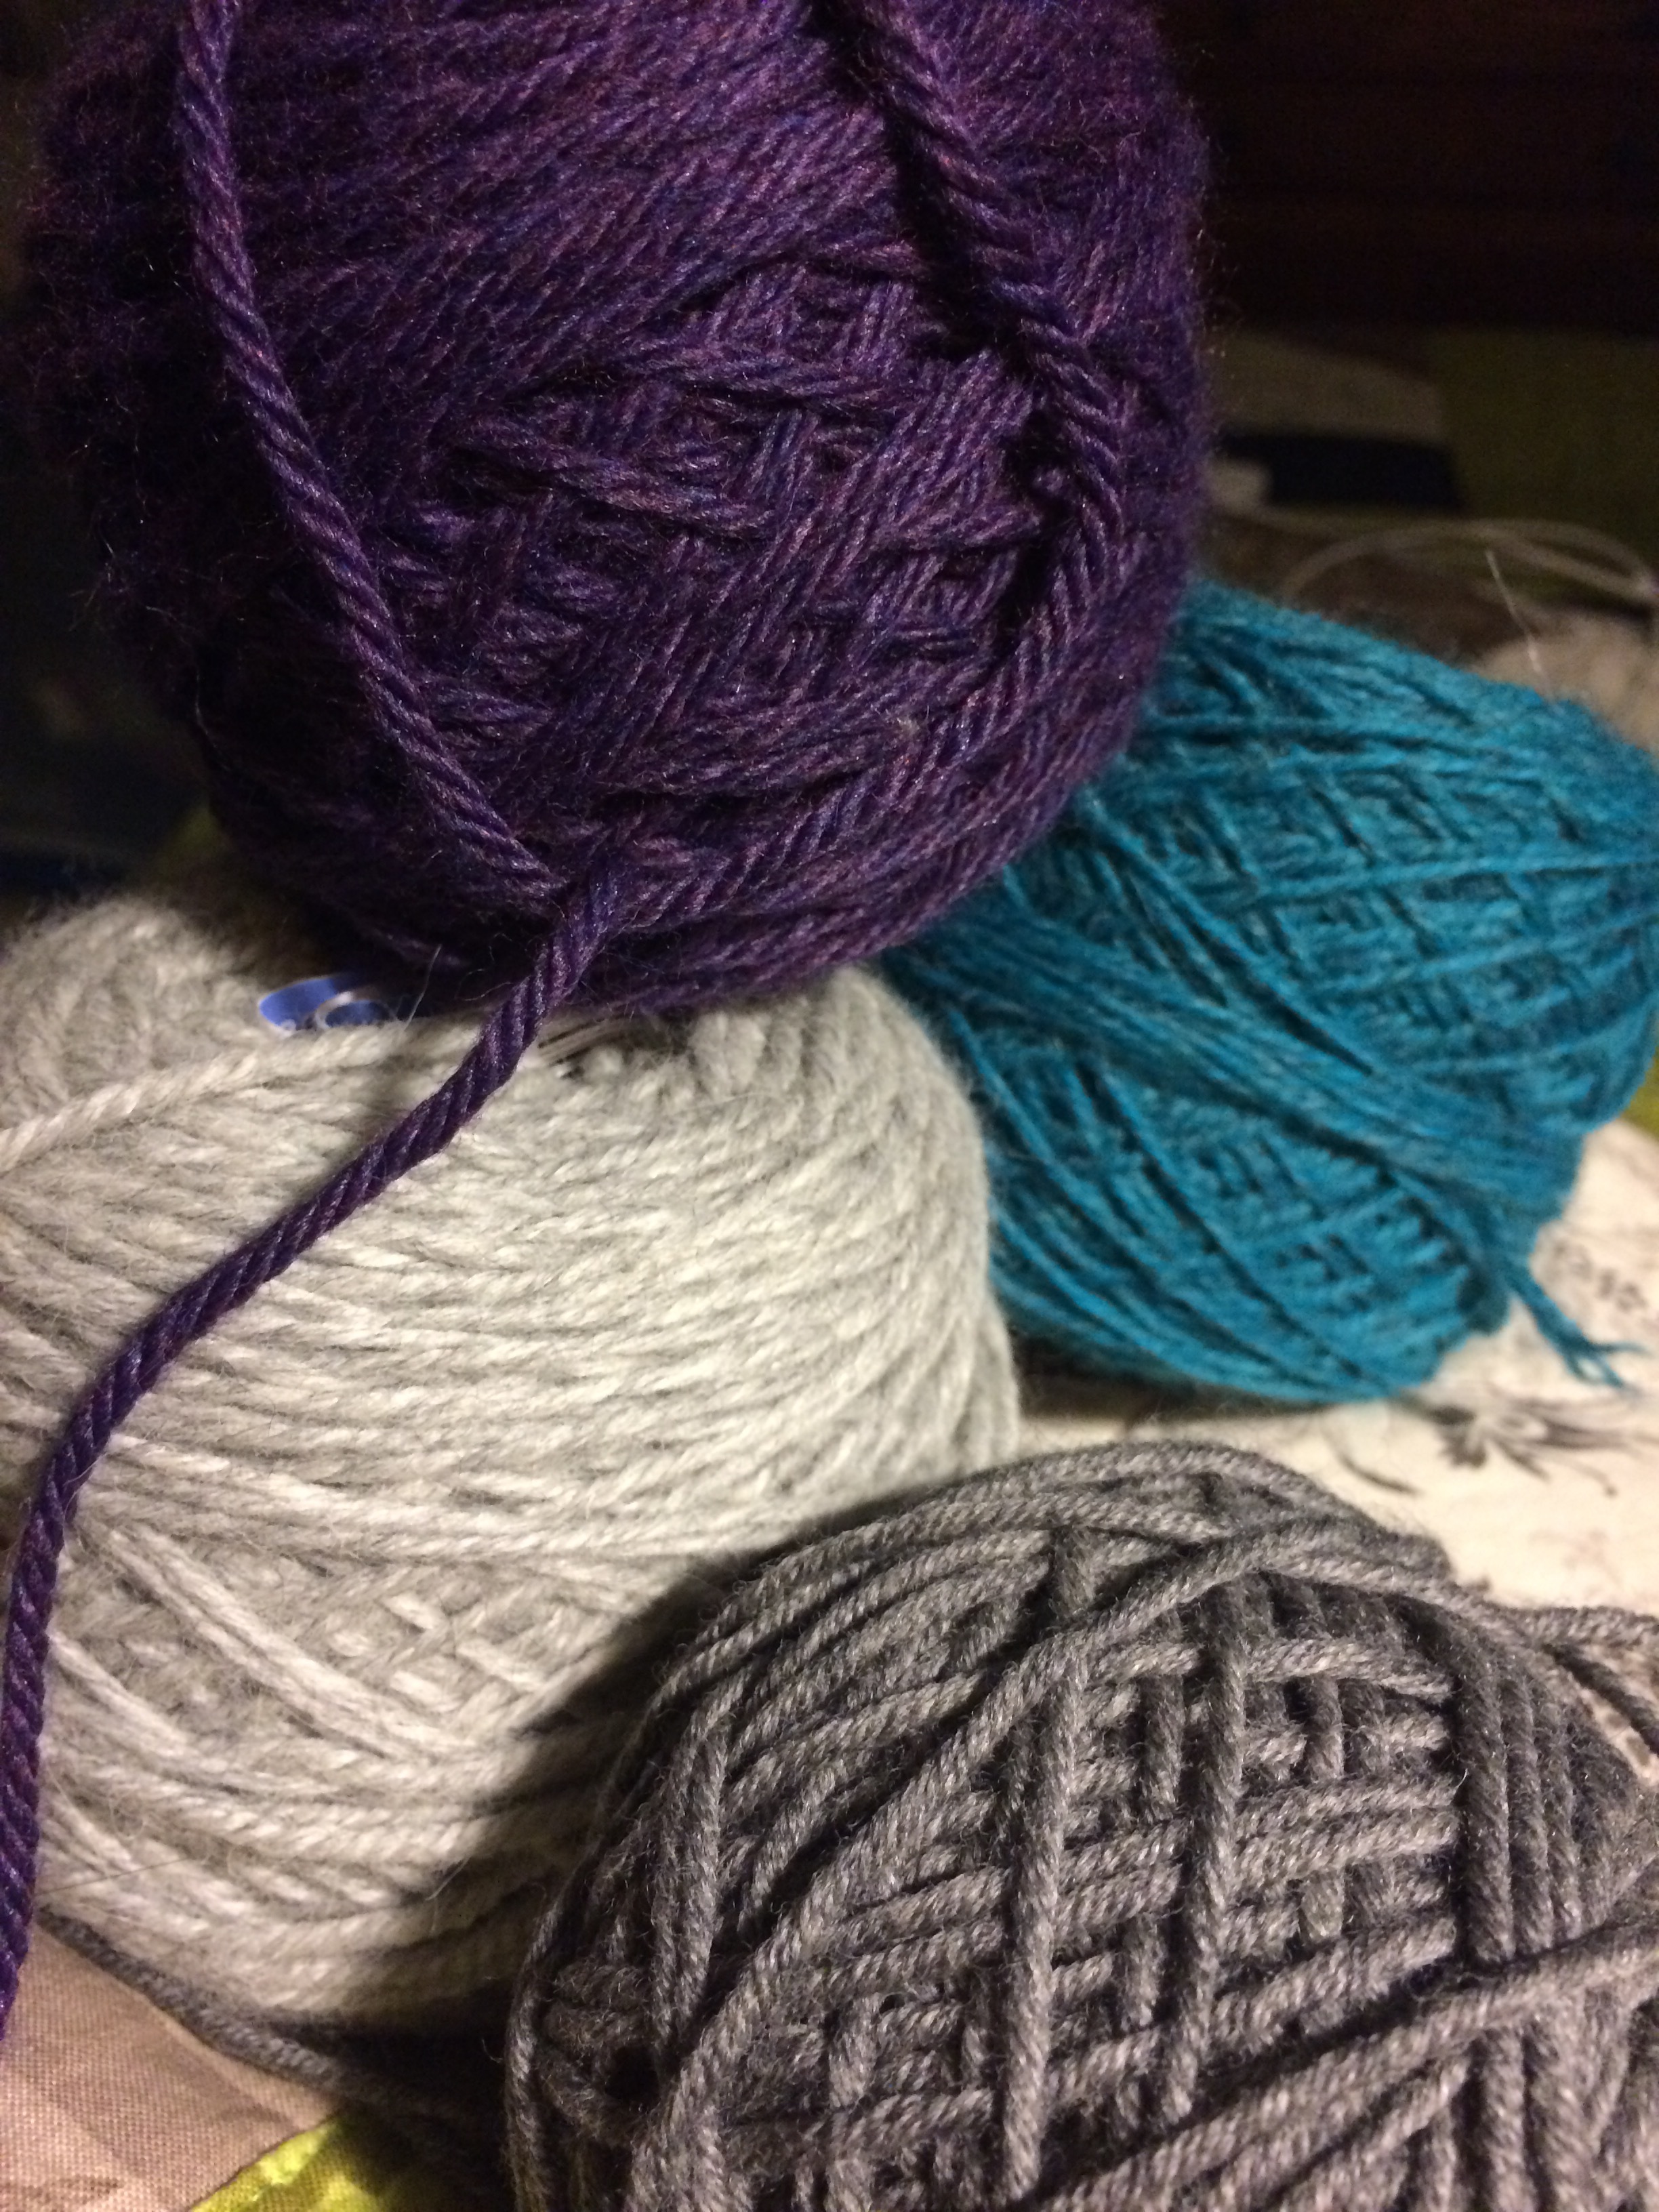
  • I'm also quite likely going to start a series of trying a particular stitch on many different weights of yarn to give you and me both a better sense of how differently a stitch can look when it comes to the weight of yarn.
  • Finally, and ultimately, I hope to bring a little extra joy to some of your lives, even if it's just a drop of it, as I know that this is something that will bring joy to my life all year.

I know this isn't any particular project to showcase, but I can assure you that next week the projects will continue, I spent the last couple of weeks with my family, and wanted to make the most of that time while I had it.

Many lovely things to come, and I wish you a wonderful year full of crafty splendor.

Stay sweet, stay crafty, stay tuned, and Happy New Year.


Tara Mae
A Hat For My Mother

Being the child of a crafter meant I was given countless beautiful and cozy creations that my mother made.  Hats, sweaters, socks, dresses, you name it.  I even was selfish enough to ask her to borrow, and sometimes to keep, the things she made for herself.  I'm not saying it was the right thing to do, but I was so enchanted and inspired by what my mother made that I wanted to be the special person that got to wear it.

Now I'm old enough to make my own things, and while I still will take any creation my talented mum offers to me, I'm becoming the person that makes all of the things that I always admired.  

That being said, I do have some greediness to make up for, so for the holidays this year I decided to make my mum something, in hopes she might forgive me for owning so many of the things she's made.

I had bought some of Judy's Novelty Wool when I went to the Oregon Flock and Fiber Festival, and being the creative genius she is, she had heaps of beautiful fiber of the most captivating colourways -- one of which I knew would be perfect for making something for my mother.

The colours spun up brilliantly.

And despite my concern, the hues didn't muddy after I plied it. 

Then onto needles it went!

I made the hat with a little extra room around, as I know my mother gets frustrated with hats that just slip off of her head because it's too tight around. Really, what's the point of wearing a hat if it's just going to keep sliding off?  My family goes for beautiful and practical.

The design uses knit and purl stitches to form the faint diamonds that you can see on the sides of the hat.  I made my own pattern and it goes as follows in the picture;  the grey stitches are purl, and the white are knit.

For the decreases that made the top of the hat have a light spiraling effect, I decreased by consistently taking one stitch from the left at five evenly spaced points all the way around.  

I kept doing this until I ran out of stitches, and then finished it off, creating a fun little point the top of the hat.

I finished this hat with plenty of time before the holidays we celebrate, but to ensure that my mum didn't see this, I waited until after I had given it to her to post.

Cherish those who inspire you, bring fun and joy to your life, and return the favour when you can.

And for the record- she seems to quite happy about the hat.

Stay sweet, stay crafty, and stay tuned.

Bit by Bit, Fluff by Fluff

If you have been reading along since September then you might remember that I lucked out when I found someone selling these massive bags of alpaca fiber for $5 each, and if you're just joining me -- that's it; that’s the story.

I decided to start with the black because I had high hopes of turning this gorgeous and rich fiber into a lovely sweater for the colder months.  

The staple was long and made for some lovely spinning.  That being said, there were a lot of guard hairs in this fleece.  

The fiber worth spinning in the fleece was just as straight as the guard hair though, so I spent most of the time pinching the fiber between my fingers in order to weed out the tough guard hairs.  

I'm not one for waste, but the guard hairs simply wouldn't grab when I attempted to spin them (yes I'm that stubborn) and, even if they did grab as the fibers pulled together from the twist, it would be rough and make for an uncomfortable garment.  

Lucky for me a good friend of mine makes stuffed creatures of the various sort (I'll link her shop when it's up and running) and she graciously offered to take the rough fiber off my hands to use for stuffing.

This stuffing idea won out over my first plan to avoid waste which was to put it outside in an area where birds or squirrels can get to it.  The fiber makes great insulation for their nests, and it's far less wasteful than just throwing it away.  I even remember as a kid when my family would brush the winter coats off of the horses we had, only to find it years later whenever a bird's nest would fall out of tree.

The carded fiber did turn out beautiful, but there wasn't nearly enough of it for a full sweater once all of the guard hairs were weeded out.

Nonetheless, I will find something fun to do with it soon, and you will certainly be hearing about it as soon as I do.

IMG_7700.JPG

The other four bags of fiber are also in the process of being, well, processed.  It always takes a hefty chunk of time and makes me endlessly grateful for people creating the kind of technology that can do this work far more efficiently.  I just do the long way because I find it relaxing, and I can be a little old fashioned.

Stay sweet, stay crafty, and stay tuned.

Wholesome Socks

Going through some of my older crafting things has been a little like winning the lottery.  My taste in colours hasn't changed too drastically, and if it has, it is only for the better with some of the yarn and fiber I have.  

This is Puget Sound from Greenwood Fiberworks.

It's a beautiful earthy assortment that speaks to my very core, and all I could think of when I started spinning it was that it deserved to be a great pair of socks.

Not just the socks that you walk across the pavement with because they're "just going to wear-out anyway", but socks that you wear when you know you will be facing a cold day and need that promise of warmth and the assurance they will keep your feet in good sorts.  The kind of socks you take to a cabin because socks like these deserve to be close to an earthy home, somewhere they're cherished and put to good use.

Have I mentioned I'm a little peculiar about socks?  

After spinning up all of this wondrous earthy delight, I gave it a good wash.

Falling more in love with the colours every step of the way.

As you can see, the colours blended together beautifully.  

After all of my skeins dried, I set to work on my cozy cabin socks.  

The yarn came out blissfully thick, and the socks knitted up fast.

I definitely had to give my calves more room when doing the cuff, as the bulky yarn had only a small bit of stretch.

The nice thing about these socks is that because the fiber is natural, they'll breathe well even though they're so thick.  It's also exciting that with how chunky the yarn came out, that I won't have to worry about doing any darning on those heels or toes any time soon!  

An important thing I learned from doing this quick pair is that decreases are disarmingly more noticeable when working with bulky yarn.  On paper it seems like a pretty obvious thing, but I found myself ripping back on the first sock to redo a large portion so I would still have enough room for my foot while maintaining my much preferred pointed toe.  

Now here they are, and all I need is a warm fire, a cup of tea, and another project in my hands as I watch the snow waft in.

Stay sweet, stay crafty, and stay tuned.

Smitten with Mittens

This tends to be a stressful time of the year.  The potential of holidays aside, I think the clamour of getting things ready for winter is enough to make most of us just want to curl up and stay home.  Seeing as this has been my experience, I decided to sit down and make an adorable pair of mittens.

This idea was sparked when I was snooping around Pinterest and I found this link to a beautiful pair of mittens.  

I scaled and changed the the design of the pattern to better suit my wishes and to complement the bulky yarn I had spun.

With 40 stitches all the way around I made sure that the mittens would be blissfully bulky, and I would have plenty of room to create the pattern.  The contrasting colour didn't show up terribly well at first, but I soon found out that sticking with it was the right call.

The more of the pattern I did, the more obvious the design became.

Before I knew it, I was working on the thumb.  

To do the thumb I used the same yarn as I did for the cuff.  I had 6 stitches isolated on two sides to make the pattern I was working on uninterrupted on one needle, and still make it easy to knit in the round.  Taking those 6 stitches on one side I started knitting with the lighter grey and then casted on 9 more stitches on two new needles.  From there I just knit in the round to create a nice and cozy home for my thumb.

I made sure that the stitches I had cast on were in towards the center (where the hole for my hand is) so that when I picked up the stitches on the bottom, I could continue knitting up for the main body of the mitten.

It was all much of the same after that -- though that doesn't mean I didn't mess up on my Fairisle stitches and have to go back a handful of times.  


IMG_7587.JPG

Now for the pointed ends!

For 5 rows I decreased stitches by 1 on both sides of the mitten taking from alternating sides so that the front and back would continue to have even stitches.  Then for the remaining rows I decreased in the same spots by 2 on both sides.  I did this by taking the 2 stitches that marked the perfect halfway point for the front and back to be even, and took in the closest stitch.

This created delightfully pointed mittens.

To tie it all together, I ran in this jumble of ends.

And made something far more pleasant for my fingers to slip by.

Here are my happy and cozy mittens.

I hope as December starts rolling into the frantic season that you keep warm, keep cozy, and keep close to those you love.

Stay tuned.

The Haunting and Enchanting Socks

It's a little late I know, but l would be lying if I said I didn't always want Halloween to last a little longer, and to my credit I did start these at the beginning of October!

I bought this sock yarn on Etsy.com because it was inspired by the Nightmare Before Christmas, which happens to be one of my favourite films, and also because who doesn't want a sweet pair of Fall-oween socks?  The Etsy link will take you to the shop I bought it from in case you wish to peruse this lovely shop.

For the cuff I did a simple knit 3 purl 3 because I was working on size 2 US needles and wanted to actually have a decent ribbing to keep them up.

IMG_7529.JPG

These socks started out as my purse project, which is something that's small that I can tote around in my purse and work on whenever I have a spare moment to knit.  This project ended up drawing a lot of attention everywhere I went.  In one class this creation inspired a young man to ask me if I would be willing to teach him how to knit, and in my other class a few lovely souls would ask to see my sock and thoughtfully inquired about the progress I was making. They even asked if I would finish the pair so they could see them completed.  

The first sock took me the better portion of October and a bit of November, but the second sock came along far more quickly -- only taking the last three weeks to make.

It has been very fun and rewarding to have people rooting for a project.  To have friendly faces checking in with anticipation to see how much closer it was to the finish.  

When the first sock was finished it got passed around to the entirety of one of my classes, including the professor, and now I get to wear the pair to the last day of class.

The socks both turned out beautifully and while the first one has a bit of colour pooling it actually adds a nice effect to the sock.  An interesting serpent stripe if you will.

The second sock I made a little tighter to my foot, and I ended up not having the pooling problem.

Now before you ask, no, it's not great to have socks two different sizes, but it's slight and trying to make socks for my wee pointed elf feet is taking some practice.  It's all about learning and both socks fit, so I'm not going to fuss over it.

That's something nice I realised this project;  There are some things worth ripping out, like when I didn't make the toe pointy enough for the first sock, but other things, like a slight difference around the foot, that isn't worth worrying about unless personally bothers you.  In crafting, like all of life, you must pick your battles and know what's worth fussing over.

I just added this next picture because I like how it looks like they're snuggling.  

Here they are- in their much awaited and splendid glory.

IMG_7570.JPG

There's not a whole lot to say otherwise for these socks, they were fun and turned out beautiful, and they reminded me yet again how special it is to share what you love and what you create with those around you.  

Stay sweet, stay crafty, and stay tuned.

In Case I'm Cluttered Again

You may have thought I was finished with my knitting needle holders, but that’s just not the case.

IMG_7122.JPG

I often find myself buying fabric with no project in mind.  It's so common for fabric to be stunningly gorgeous that it's hard to keep myself restrained all the time.

I think that is one of the greatest things about quilting and sewing.  I can take these magnificent works of art, and let them speak for themselves.  I have been known to go out of my way just to showcase a fabric I found to be particularly splendid.

So here's my advice for any crafter: buy the things that sing to your soul.

In the knitting world, we often jest about yarn or fiber "talking" to us, but it's true that sometimes there are certain crafty things that just feel like they belong with us.  It's almost cathartic to take that perfect thing home, even if it doesn't know what it wants to be yet, because one day you will both know and you will be happy you didn't walk away.

I can hear people chanting “enabler” now, and I'm proud of it.  

Life is busy, the world is chaotic, and it's a miracle that any of us can catch our breath.  Do something for you.  Do something that makes you happy and involves goodness and kindness.  I have am often a culprit of forgetting to invest in myself and, as a creator, few things will lift my spirits like giving myself the material to keep doing what I love.   

This all together took about 2 yards of fabric and a rainy afternoon to make; that's around $20 and a relaxing Saturday to create something that will let me enjoy storing my double point needles for the foreseeable future.

IMG_7329.JPG

Obviously some of us can be tight on finances, and $20 of material in one go might not really be an option -- and that's okay.  Crafting is an expensive pursuit and costs us either time, money, or both.

All I can suggest is to put a jar out for spare change to do something you love, maybe while you're waiting in line at the grocery store you can pull a pair of needles out of your bag and get a few stitches, and ultimately take time for you.  Winter, whether you celebrate holidays or not, can be an exceedingly busy time and it's good to remember through the whirlwind of it all that you matter, and you deserve time for you.

Want to see a step by step tutorial of how I make these needle cases?  It’s right here.  

Stay sweet, stay crafty, and stay tuned.

Oh to Curl Up With a Cup of Tea

If you already know me, or are perhaps very observant, you may have noticed, through my relentless desire to wear sweaters and cozy things no matter the time of year or practicality, that I want all of the coziness that I can possibly attain. These beautiful rainy days in Oregon are no exception to my bundling-standard and I will go to great lengths to assure that I spend my mornings wrapped in something soft and warm to either sit and sip tea or venture out and tromp through ankle high mud on a farm.  

Which makes this project an inevitable creation of mine.

I started the main body of this blanket disguised as a cardigan a year ago.  I packed it around on public transit and worked on it during every spare moment I could.

The yarn was extra super bulky and 100% wool.  I used size 15 (US) needles and still managed to get a rather tight knit going.  

However at the time, I had only ever made scarves of varying sorts, and as you can see from the sleeve on the right -- I had a lack of experience that was worth a good cringe.

I resorted to putting it in the corner, where all good projects go to think about how they wronged me, and didn't touch it until just this last week.

Being armed with having made a sweater before, I made sure that the base of the sleeve actually fit the hole in the cardigan and made the decreases far less severe.  

Obviously this meant I didn't challenge myself enough in this project, so to stitch up the seam of the sleeve I came face to face with my old foe.

Crochet.  

After looking up many tutorials on Pinterest I found that this great and powerful enemy of mine was the best way to securely stitch together my sleeve and complete the long-abandoned project.  This wasn't the time to be weak or show fear.  I had to be strong.

I unsheathed my crochet hook and made my first advance into the lair of the beast.  

It fought valiantly and, even though I totally did everything the way I was supposed to, it had too much heart and refused to be anything other than a chaotic mess of fluff and fury.  I further researched the monster that is crochet and attempted yet again to conquer it.

I had to move quickly before it caught my scent and discovered me for who I am -- a knitter.

Readying myself with an extra long tail from the end of the sleeve, I picked up stitches on either end of the knitted piece and swiftly pulled the yarn through giving myself a loop and the leverage I needed to defeat this thing once and for all.

With each piercing lunge of my crochet hook I pulled loop through loop, again and again.  Each time picking up my frightened knitted stitches, and escorting them to safety.  


The loop I would leave would be the loop I ventured through the next time, only to pull the old one tight thus sealing its fate.

After many minutes and much swearing- the beast was defeated.

IMG_7431.JPG

I then of course had to stitch up the other sleeve in the same fashion and then stitch those sleeves onto the main body.  

In case you were wondering, it weighs a whopping 5 pounds.  

It definitely looks like a blanket with sleeves draped around me, but that's exactly what I wanted for winter mornings with my tea or late nights working on a good pair of socks.  

The colours of this happen to be one of my dream palettes of colour, so it was nice to finish something that embodied so many things I love together.  This was further improved by making it into an epic tale of triumph.

To all of you crocheters out there: your talents are remarkable, and I admire you greatly.

Stay sweet, stay crafty, and stay tuned.

Oh Darn!

Of all the things that could happen to the beautiful socks my mother made me, I wore a hole right through the toe.  It's not my fault though; if they weren't so beautiful and comfortable I wouldn't have worn them to the point that the fibers simply could not hold together any longer.

But we mustn't dwell on the sadness -- we must move on towards the solution.

Darning.

IMG_7340.JPG

And I don't mean that as an uncomfortable euphemism to suggest that we are forsaking these poor socks to a fiery end. I mean the magical and elusive skill of patching up holes so that the socks can be worn for years to come.  

The first step is to pick up stitches well beyond the frayed edges of the hole so that where you start is secure and undamaged.

IMG_7344.JPG

As you can see, I’ve picked up 3 stitches on my double point needle, but as I knit on I will treat those 3 stitches like 6 by continuing on both sides of the loop that is the stitch.

For each row I picked up a full stitch on the side, making sure that the stitch I picked up was also well away from the worn away fibers.  This made it so that as I proceeded to knit, the picked up stitches would make it so that patch was connected to the sock on both sides.  Knitting the patch into the sock helps make it more stable and durable.  It would be a shame to go through the work of darning the sock, only to have it fall apart again.

So as you can see here, there looks to be 3 stitches on the right needle, but I would pick them all up in one stitch to bind the new stitches to the old.

To cast off I used the same principle of the sides for the stitches across the top my patch, by picking up the three stitches onto the one stitch.  Then I would cast off as normal after I picked up the stitches at the top.

All that was left to do was to run in the ends.  

Definitely not like new considering it's obviously a very different colour, but it saves the sock and helps prevent further damage from being done.  

Voila! 

IMG_7366.JPG

I had been putting this project off for over a year.  I'm a sentimental fool and I was nervous about ruining these socks if I tried to fix them, but I also couldn’t wear them anymore in fear that I would damage them further.  It's nice doing these posts and having a little extra push to work up the courage and energy to get things done.

Thanks for joining me.

Stay sweet, stay crafty, and stay tuned.

More Cases and Some Teaching

Last week's blog post went over the steps of how I made the needle case for my single point needles.  This week I made another case for my circular needles, but I thought it would be boring if I talked about the same thing back to back for my posts, so instead I'm going to show pictures and talk about teaching.  Because as crafters, we often come across the woes and joys of teaching other people new things.  

For the last few weeks I've been teaching Kindergarten-5th grade kids about life on a farm on an actual farm.  The program I'm a part of teaches kids, including kids who are food-insecure, where vegetables and fruit come from.  I teach the soil module, and it's all sorts of lovely now that I actually know how to teach children and have come to terms with the fact that kids will simply enjoy playing in dirt.

Knitting everywhere I go lands me with a lot of questions and interest.  From strangers to friends, people constantly ask me what I’m doing and what I’m making.  Most recently my knitting caught the eye of one classmates.  He had asked me several times throughout the term if I would be willing to teach him, and each time I told him I gladly would.  It made me happy that I live somewhere where men feel welcomed to crafting, even though culturally it has been so female-dominated.

So I'm here to tell you about what I learned, not from crafting, but from teaching.

When it comes to kids, it's so important to be as hands-on as possible and show no fear (they can smell it from a mile away).  

Adults on the other hand need a little more wordiness with their demonstration.  

With both, though, there are so many things to remember in what it means to share an understanding of something.  

IMG_7309.JPG

For one, people need to get their hands on what they're working with.  Don't be afraid to put a pair of knitting needles in a beginners hands and let them make mistakes, or give a kid a pinch of soil and ask them what they see.  There is endless value in letting people experience what they're trying to learn from, and words can often only go so far, and don’t just expect people to make mistakes but let people make mistakes; it's only natural and can genuinely help the learning process.  

Secondly, what you do is amazing.  When you are teaching someone just about anything new, understand that the more energy and love that you have for that subject, the more engaging it will be and the easier it will be to learn. Passion is contagious.  Anyone can drone on for what feels like eternities, but the best teachers make us feel like they're bringing us in on something special.

Lastly, remember when you're teaching that the facts of your world are not always the facts of the students’.  I learned from the kids on the farm in particular that sometimes things can seem impossibly clear and obvious, but for someone on the outside it's completely opaque.  The easiest and plainest steps are unknown to the newcomer, and that has to be appreciated.  Being gracious about the student not knowing or understanding is one of the best ways to make them feel safe learning from you.  

Now to explain this project.  I wanted a circular needle holder specifically for a long time.  Circular needles in particular just get so unwieldy and messy when they don't have a proper place to be, and circular needles happen to be my favourite things to knit on -- probably because they are what I learned how to knit on.  

This case has all the slots I wanted along with a tie in the middle to secure any of my cords for my interchangeable needles, because when I make something, I don’t start until I have about 80 notes on how it would be perfect for what I want.

Both with teaching and new projects, I find it's always wonderful to enjoy the growth that they bring.  There were so many things that were made much simpler in this case by having done the last one, and every day it gets easier to teach people.  

It's all about practice, positivity, and pressing on -- even if it's daunting or difficult.

Stay sweet, stay crafty, and stay tuned my dear ones.

A Place For Everything, and Everything In Its Place

When I first started knitting, I took countless needles from my admirably patient mother.  However, there came a point when she needed her needles back, but I wanted to hoard the whole heap of them like they were treasure and I was a dragon.

As a compromise my mother let me spend $40 or so on Ebay to get some needles of my own.  I used the money to buy two big lots of needles from people that either had a relative pass away and no one in their family knit or they had just stopped needing those particular sets.  Thrilled with my massive heaps of needles, I only stole needles from my mother now and then.

Years later when I went to visit my folks and pick up my spinning wheel I decided to grab that large collection of needles along with everything else.  

The only problem was that I never got a needle holder.  As a kid I didn't give much thought to being organised, it was never particularly important to me despite the lamenting of my dear mother.  However, now that I cook and clean for myself, being organised has become far more important to me.

So as I've chipped away at organising everything in my collection the last handful of months, I noticed the big one that I was avoiding; My collection of needles -- my precious dragon-trove.

I took out some fun fabric that I wanted to be able to showcase in a project and set to work creating the ideal needle holder for myself.

I made it laughably long, and plenty tall.  My objective was to be able to happily and comfortably fit all of my beloved single point needles in one holder (don't worry- the double point and circular needle cases will be crafted and written about soon!).

For the bottom pocket and the middle strap I cut pieces to the length of the needle holder and the width of whatever I decided (this time it was so that the pocket would be about 4-5" folded in half and the strap would be about 2" when in half).  Then I just sewed along the length to create a tube so I wouldn't have to worry about any fraying edges, and to give the holder a little bit of extra stability and strength.

The main piece to the holder (the back if you will) I made by layering the fox fabric to face out, a layer of batting to give it durability, and then placed the dark purple fabric that would face in.  I then bound it by doing traditional quilting binding all around the edge then quilted all of the pieces together by making the lines where the needles would be separated. 

As you can see I started with the lines being closer together (2" per slot) and moved onto having bigger slots for the larger needles (3").

When it was all put together, I was delighted to find that I had done the job right, and all of the needles could fit with ease (while still leaving some room for more just in case!).

Part of reason I decided on the the width I did was to ensure that the top could be folded over as I've always liked that in other needle holders that I've seen. Also because I cringe at the very notion that I would be carrying around my needles and due to distraction or accident it would somehow go upside-down and all of my needles would go flying out.

I know you're not supposed to cry over spilled milk, but needles are definitely worth a tear or two.

The last touch was to create a tie that would be able to wrap around a couple of times, and make a nice bow.  Needleless to say, it turned out splendidly.  

Finally.  A place for everything, and everything in its place.

I liked this project because I feel like it's a nice reminder that sometimes when we see expensive needle holders online and hear our wallets give an audible sob (or maybe our hearts) that there is reason to the price of such things, but also that we are crafty people.  We can make things and create, and learn as a community how to empower ourselves to make the thing that's perfect for ourselves.  It may take time, and it may take practice, and to be totally frank I'd be surprised if it didn't, but it's nice to know that the world of crafting is at our fingertips.  We just have to pick up a tool.

Thank you for reading.

Stay sweet, stay crafty, and stay tuned.

No Shortage on Halloween Spirit

To anyone who knows me in the merry months of autumn and winter, it's quite clear, if not utterly blatant, that these chilling months are when my soul reignites.  There’s a sparkle to my eye and a skip to my step.

It's October, and in case you aren't someone who gets festive this time of year, it's Halloween/Samhain.  

I've been carving pumpkins, drinking cider, plotting for my costume, and doing all sorts of other holiday-inspired craftiness.  

The pumpkins my partner and I carved- his is on the left and mine is on the right.

The pumpkins my partner and I carved- his is on the left and mine is on the right.

Some of said crafts happen to be two different pairs of shorts that are everything spooky and lovely.  Some of this fabric is leftover from the Halloween quilt I made two years ago, but the fabric for the darker shorts happens to be something I was oogling online for far too long.

IMG_7010.JPG

I've made a pair of shorts like these before, using a lavender-coloured shot cotton, so I felt relatively confident that it would work out well.  Plus if all else failed I would still have some sort of spooky shorts, and how in this sweet ghostly realm could I pass up on a deal like that?

Most of the lines to cut along were fairly straight forward.  The curve you see is where the leg holes are created, which I managed by drawing a careful line with one of my chalk pencils and then -- channeling all of my potential of ever being a surgeon -- I cut along the chalked line.  

I'm just as surprised as you are that this didn't end with pitiful shreds of fabric or a loss of a phalanx.

IMG_7011.JPG

I cut out enough pieces so that it seemed as if I was making twice as many shorts as I was, and then used the repeat for the lining in the shorts.  There's obviously a more eloquent way to do this if you're fancy and good at fashion sewing -- but I'm not.  I play in the dirt and fashion sewing and myself get along just about as much as a badger does with the creature that woke it up.  It’s bloody, it’s messy, and there’s at least one angry and frustrated creature that doesn’t know what the hell is going on.  

Another thought behind using the duplicate as the lining gave me comfort that the shorts would be far more durable and that's something I need.

Speaking of durable, I zigzag stitched the every-loving life out of my buttonholes.  I detest when my buttonholes fray out- because let's face it, after they fray out, they're rarely the same.  The buttons slip out, it looks messy, and it's disproportionate in size at the end.  

Little tip that I discovered:  Using a seam ripper (carefully) can make cutting out the middle of the buttonhole so much easier and cleaner.  

I take absurd measures to make sure that my things are durable.  With the last pair of shorts I made, the strain on the buttons started creating holes where they were attached, so this time around I used my machine to stitch tight X's to create a stable and thick point to hand-sew the buttons onto.  

With the first try on, I could feel that the buttons were far more secure having done this.

After the entire morning, and a lot of near misses with stabbing a needle straight through my finger, the buttons were all stitched on.  All I had left to do was add some pleats in the back to add definition to my waist and rump -- also just to keep the pants up.  

Who says practical can't be flattering?

Here they are, in all their splendid glory.

One of the millions upon millions of reasons it's so wonderful to be crafty is that I have a way of creating things that speak to my certain style of eccentricity.  I plan to wear these out, and I know that every moment I'm wearing these I will feel as enchanting as I should.  With pants like these, I might just ride off on a broomstick come this Hallow's Eve.

Thank you for reading, and thank you for sitting a spell with me.

Stay spooky, stay creepy, and stay tuned.

Slippery Staples

Two words.

Angora fiber.

Now that all of us that have ever been newcomers to spinning short and slippery staples have given a much deserved shudder.

I didn't expect working with something that had such a short and slippery staple to be easy.  I also didn't expect it to be so all-consuming.

Spinning this fiber took all of my attention and care to ensure that every short little piece wouldn't be ripped straight out of my hands again, and again, and again.  I found myself shutting out every single thing around me so that I wouldn't be muttering words I'm glad my mother couldn't hear leave my lips.  It felt like every moment I felt comfortable in the rhythm, I would abruptly find a poorly placed piece of fiber leaving my finger tips and anyone that had the misfortune of being around me would hear the umpteenth sigh and mumble session as I fished the end out and strung it back through all of the proper guides and holes.  


After hearing some tips and tricks of the trade for spinning short and slippery fiber, I attempted the strange magic that is spinning from "the fold", which is when one spins from the center of the fiber, as opposed to the ends, to create fewer floofs spitting out from every which direction and to keep the fiber feeding through smoothly.  

While it definitely lived up to the promise, it was difficult to consistently get the fiber to line up in such a way that spinning from the fold was possible.  I would be so focused on getting everything else going that often the fold just wouldn't happen until I noticed the calamity of spiky ends poking out from the sides of what I was working on.

Spinning two gallon sized bags of this was enough to make me want to pull out my own hair, as it has a much longer staple and might be a tad less stressful (at least in the short term).


Nevertheless, I persisted and managed to spin it all up, and despite the strained effort (that at times tested my patience) I managed to make the yarn look even and the softness that made me want to curl up and daydream was enough to let me forgive it.

Until, of course, my mother informed me that most people are sane enough to use a very thin silk thread of the same colour as a base for spinning things like angora to make it more manageable and give it a consistent strong core, then I definitely felt a tiny bit bitter.

The bitterness from a difficult project never lasts long though, because I'm always delighted that it's finished.  I'm excited for the possibilities of it, and I enjoy being able to tuck that knowledge away for the next time.

I mean really, how could you be mad when it turns out to be fluffy and delightful?

IMG_6867.JPG

Plus even if there is a little bit of sideways glancing from me to the project, something about sitting down and writing to all of you about it makes it a little better because although I didn't know about things like the silk thread trick, at least we both do now.  That's a great part of what this is about, we can enjoy the projects but also laugh together when disaster ensues as I learn new things.  Thanks for this round of laughter with/at me.

Stay sweet, stay crafty, and stay tuned.

.

The Oregon Flock and Fiber Festival

One of the many perks of being an Oregonian is being close to the Flock and Fiber Festival in Canby, OR.  Magnificent vendors come from all over to sell their beautiful creations and collectings.  It's a magical weekend full of so many of the reasons I love this brilliant crafty community.  

I was joined by two delightful friends of mine who are also quite enamored with this sweet world of creativity and absurdly adorable animals.

I started the day with the brunch of champions -- a rice and lamb stuffed green pepper that made my heart melt.  It, like the rest of the Festival, was one of those things that went far above my greatest expectations of what it would be like.  Even writing this makes me hungry for more.

After the excellent food, we set out to discover all of the wonders the festival had in store for us.

We ventured across many booths, made sounds that would make any non-crafters slightly uncomfortable, and picked out things that we simply couldn't leave without.

Our adventures also took us to the barn where all of the sheep, llamas, and alpacas were housed.

I'm sad to say that no one let me steal their alpacas.

I was heartbroken.

However, that heartbreak was quickly eased as I explored the fiber lot, which was the area where people who didn't have booths set up could sell fleeces.  There were many lovely things to behold, and I happened across one of the loveliest of them all.  

A couple was selling these massive bags for $5 each.  Oh yeah, I didn't think it was real at first either.

They recently had gone through a health scare that lead to some much needed recovery time and the need to focus on their other business instead of selling their alpacas' fiber.  They were sweet and engaging, and I of course bought 5 bags because I know what moderation is.  Before you laugh, there were at least 20 bags of fiber, and I resisted buying more.  That has to count for something, right?

I made my way back to where my companions were having lunch and we all had a good laugh when we caught each other’s eyes as I hefted around these five absurdly large bags of fiber.  We quickly dropped off the load at the car; I would be getting my workout when I carried these things to my front door.

We came back and decided to walk through the sheltered portion of the festival where I had the luck to run into two of the women that helped inspire me to continue being a part of this crafty world.  We chatted for a while and exchanged hugs, and I just couldn't resist the urge to buy one of the many gorgeous rovings they had for sale.

To top off the day we visited the angora rabbits.  It's funny how noble and dignified these rabbits look as little kids positively squeal with delight over how cute they are.  

My comrades and I decided that these rabbits in particular looked like wise sages that would only speak in riddles and rarely regard anyone but each other (we’re creative types).

The festival brought about many joys, however towards the end of our travels, we were all tired and ready to simply sit back at home and bask in the glow of the splendid things we found.

The thing I was most impressed about in this whole adventure was that people of all ages and genders were happy to be there.  I didn't see one grumpy husband or a single fussing kid being dragged around.  Everyone was engaged in the activities or just enjoying the textures, colours, and smells, and it was heart-warming in a way I'm not skilled enough to put into words.  So often I've seen some glum person that looks resentful and bored at events like this, and it makes me sad -- both because it's no fun to feel out of place, but also because they can't seem to be happy for the person they're with that enjoys this.  It was magical to see so many people just happy to be somewhere that I've always considered fun and exciting.  People were kind and talkative to complete strangers, and it makes this massive community feel like it's open to everyone. It makes it a place that people can feel at home.

Thank you for listening to my adventure.  Stay sweet, stay crafty, and stay tuned.

Making Amends

I'm going to jump right in and give you the story.  I started this quilt back when I was only 16 years old, and had only made one full size quilt and two baby blanket-sized quilts under the supervision and guidance of my gracious and talented sewing teacher Mrs. Steele.  If you haven't read my bio, I'll tell you here that after my first quilting class I was hooked.  Sadly though, right after my first class was summer break, and I couldn't stand the thought of going the whole summer without quilting.

That's where this lovely comes in.  My mum took me to the local fabric store and let me pick out these fabrics that were unlike any colour palette I had yet to dare try.  I was all cool colours with various shades of grey and black at that point in my life, but these fabrics called to my very soul.  

I spent a good portion of my summer carefully piecing together all of the parts, and doing my best to remember every single tiny detail that Mrs. Steele provided about making a quilt.  Everything was grand until it came to the actual machine quilting.  I was working on my mum's hardy old Sears sewing machine, and despite it being able to take the wear and tear of years of use, it was nothing like the machine I had worked on in class, nor did it have the various feet I would require for such a project.  

The other force working against me was that due to my minimal experience I did not get enough tension on all of the layers to prevent folds and pinched up bits.  So, with my total lack of experience, I machine quilted the entire top and attempted the free-motion for the border, but of course the botched attempt at quilting the top made the free motion look as if my machine was trying to eat the quilt- and the machine was definitely allergic.  

Needless to say it was infuriating - so I boxed it up and put it in the corner so it could think about what it had done.  It sat there month after month, and then year after year. My mum would ask when I planned to finish it since she too had fallen in love with the fabrics I chose. She also watched me make well over 20 different quilts with no problem, even without the instruction of Mrs. Steele.  

Eventually though, I stopped being mad.  I stopped feeling like I couldn't do it.  I asked my mum to ship it to me (as it remained at my folks' place), and as soon as I got it I set to work.


IMG_6721.JPG

There was a fair amount of unpicking that needed to be done.  It would be foolish to have put off finishing it for all these years, only to commit to the quality that made me walk away from it in the first place.  I knew that would only leave me feeling further frustration and sadness.  It was time to finish it, and it was time to do it right.

This quilt, and any quilt in my care, deserves that much - to be made to a caliber that I can be proud of for years to come, even if it's hard.

After all of that unpicking I followed up with all of the places I took my seam ripper to, ironed out all of the creases, and proceeded to go over them again, this time with no bumps or tucks.

Lucky for me, all of the mistakes were quick fixes that just required a mind that knew more.  Within a day all of the quilting was redone, and the free motion was stitched.  All I had left was to sew the binding that had already been cut.

Binding always feels oddly reflective.  I get to enjoy all of the work I've done while also finalizing it in a simple way.  


It's a nice bit of closure for a quilt (pun always intended), and even though it takes hours to do well, it never feels that long because it's the home-stretch.  It's the last piece necessary for all of the hard work to become worthwhile.   

The only downside is that sometimes with the way I pin binding, I stab myself repeatedly with these pins (which is actually how this quilt got that lovely shade of scarlet).  They don't call hard work blood, sweat, and tears for nothing, right?

After finishing the quilt I washed it as per tradition, and hung it up to dry.  However, that beautiful and radiant red you see before you was devious.  It bled, and it bled bad (like my fingers after the pinning is complete).  

The cream coloured fabric with the red accents was muddied into a dingy red after I pulled it out of the wash. Much to my lament I had been foolish enough to wash the quilt warm/cold.  It took 8 washes with heavy-duty, colour-safe stain remover to restore the cream to its former glory.  I wish I had the foresight to take a before and after, but honestly I was far too panic-stricken to even think about it.  After all of these years of waiting I just wanted this to be right.

Now here I am, with the quilt that had always been a bit of a dream project, finished and happy.  

IMG_6753.JPG

I suppose that's what I'm doing here though, making my dreams come true - one beautiful project at a time.

Thanks for helping me share my dreams.

Stay sweet, stay crafty, and stay tuned.

Tara Mae
To Keep a Sea Lover Warm

I realised recently that I've been knitting a lot lately.  I think the reason for that is that I didn’t have the patience to learn new things in knitting when I was younger, and now finally feel capable enough to knit the sort of things I conjure in my imagination.

That being said, I've really missed quilting, and it's been far too long since I've spent a whole day with my sewing machine, so that's just what I did.


I cut out all of the fabric for this scarf about a year ago, and then between moves and being distracted by other projects, it got tucked away until very recently when I went through all of my fabric and got organised (which means there will be many sewing projects in the upcoming weeks).

The pattern itself focused on the visual motion created by the fabrics by having small consistencies throughout.  I created this consistency by having the light blue and the cream coloured triangles consistently pointing one particular direction, the fabrics being carefully sewn together to keep the direction of pattern the same throughout, and establishing balance by having either end be the exact opposite of the other.  This picture is of the layout that's been split in half in order to fit on the guest bed.  I realise it’s a very busy picture- but I feel this a good representation of my brain on quilting days.

Ensuring the arches of the background fabric so that they looked as if they were “flowing” outward was particularly careful work.  Despite it being tedious at times, it added a beautiful effect and made the fabric really pop.  

After taking care to sew all of the small and fussy pieces together, at last the face of the scarf was completed.  

Getting the gist and having the patience is all that's really needed for doing fussy piece work.  This is obviously a very simple design, but it's a good reminder that any sort of design can be translated into a quilt top.  

I backed this this scarf with a bright orange, ultra soft flannel to give it extra warmth and a nice weight, then also quilted over all of the triangles with a variegated orange/brown thread.  I wanted the orange backing to add interest to the colour palette,  but found that the thread is what really tied it together (literally and figuratively).  The outline made by the thread made all the shapes pop and added a gentle and subtle glow.

The dimensions of the scarf are a lovely 7.5" x 77.5", because I like scarves being thick enough that they cover my neck completely with one wrap, but are also long enough to wrap around twice with a little extra that hangs down.  Having lived through North Dakota winters and the Pacific Northwest oceanfront in the fall and winter, my standards for warm wears is exceedingly high.  

IMG_6648.JPG

This will also be for sale once my shop opens, so if this looks like a must-have or something you know someone else would love, stay tuned!  I hope to have my shop opening within the next two months or so.  

Without end I find myself happy and appreciative of you being here to see and read about all of these creations of mine.  I also look forward to being able to share more of my workings with you in the future by opening up a little shop on this website of mine.  So stay crafty, stay sweet, and stay tuned.


Tara Mae
Seeing it Through

Of the many spinning retreats I went to when I was younger, one gave me something that I never really appreciated until I started working it.

In a random draw, I was given this alpaca fiber.  

A 2 1/2 gallon bag stuffed to the brim, and every last bit was riddled with sticks, twigs, grasses, seeds, and other such vegetation with a nice coating of dirt all the way through.  At points in this project, I thought there was more debris than fiber in the bag.  More dirt than beast.

I looked online for some carders, and was quickly disheartened with how heinously expensive they all were.  It may have just been where I was looking, but it seemed like even the smallest of carders cost about $50, and that was on the low end.  

Feeling set back, I voiced my grievances to a good friend that was over for a crafty morning get-together.  She, in all of her glowing brilliance, asked why I didn't just hop on over to the local pet store and pick up a dog grooming brush.  

Sure enough, I go down to the nearest one and got two for under $30, and they worked like a dream.

That being said, I still had a lot of fiber to go through.  This itty bitty dent was after I had spent 8 hours chipping away at it.

Despite how much time I started putting into this project, I never got bored or frustrated.  It started becoming a reliable and comforting way to spend my morning.  I get up early to help my partner get together some food for his work day, and when he left I would typically just go back to bed.  Carding gave me a nice reason to stay up and enjoy the morning.  I found it soothing to just sit back and make consistent and visible progress for a couple of hours in the morning, and then again in the evening (basically whenever my deck was in the shade so I wouldn't have to fuss with sunscreen but also wouldn't tempt the sun into burning my skin off).

After every carding session, I would spin up what I had just worked on.  In part so there would always be room for the extra fluffy fiber in the bag, but also because I'm madly in love with the colour, and wanted to spin it up as soon as it was ready.  

IMG_6289.JPG

In total, the carding process took about 39 hours and 20 minutes.  It gave me a deep appreciation for just how much work people used to go to clean fiber,  also a better understanding as to why the professionals have the big, fancy drum carders that do all of that work in a fraction of the time.  

The poofy bliss was a dream to spin, and with each session I was able to enjoy seeing just how much yarn I was actually getting from these hours upon hours of carding.  

The fiber (unsurprisingly) remained gorgeous as I plied and washed it.

However, despite the colour being natural, the fiber was so incredibly dirty that the water went from clear to this murky brown within moments of me washing the skeins.

I managed to get 6 1/2 skeins out of the fiber.  I'm planning on carding and spinning some more alpaca that's the same colour, and making a sweater out of all of it, so stay tuned!

IMG_6568.JPG

It was a little shocking to see just how much time it takes to take fiber from the start to the finished product of yarn.  I both admire those who did it with far fewer tools than I have, and applaud those who came up with the technology to make it easier.  That being said, I did buy more fiber that needs carding, and am greatly looking forward to taking it through all of the steps and sharing those steps with all of you.  It's fun to possess an older skill set and be part of its continuance in the world.  It's wonderful to remind myself of why yarn and fiber can sometimes seem so pricey, and to see first hand the hard work it takes to get the comfy coats of fluffy beasts to the shimmering beauty of yarn.  I hope you also got some enjoyment out of looking at the process, and know that the sweater will be in the making soon!

Thank you so much for being here and reading about my dreams.  I hope all is well with you, and you're having a sweet life, crafty or otherwise.  


There's Something Crafty Afoot...

Socks are this strange beast that seem to rarely have good instructions.  I wasn't too terribly concerned about any particular part except for the heel.  I've never made socks before, and thought that maybe reading a blog or two, or watching some youtube tutorials would be my solution in figuring out what exactly I needed to do.  

14 blogs and about 8 videos later, I found that for whatever reason every single one of them skipped the part that shows or explains the actual turning of the heel.  I went to the knitting for idiots websites and still wound up with nothing.  Yet, upon visiting my parents this summer and griping about the nature of the mysterious heels to my mother, she sat me down and explained the simplicity of it all in a few short sentences.  

If you or someone you love has been a victim of void or confusing sock patterns, for the most basic of explanation, then you've come to the right place- I'm going to talk it through.

It's finally getting to the seasons I usually dress for- Autumn and Winter, so I decided to make some fun fall socks out of this glorious orange and brown yarn, along with the leftover grey and white from my stag fingerless gloves.  


I worked on both of the cuffs at the same time so that I would have an even distribution of the orange yarn to be sure that each cuff could be as long as possible.

I did a classic knit 2 purl 2 for the cuff to make sure that it would have a bit of grab, because few things infuriate me like having my socks constantly slipping, and this way it will also look nice if I fold them over and have them poke out of the tops of my boots.  This yarn is a little too beautiful not to share just a smidge. 

After several days of working on these lovely cuffs, I came face to face with the beast.  The heel.

To make the heel flap, I took half of my stitches and knitted a rectangle that would fit my heel.  It ended up being quite small as I have wee elf feet.  

Sadly though, my first attempt at turning the heel was heinous.  As you may be able to see, I have some weird gaping going on, and felt like I couldn't decrease stitches fast enough in order for the sock to actually fit my foot.  Frustrated, and slightly defeated, I called upon my partner for words of encouragement, and proceeded to rip it back to my heel flap to try again from there.  

This wasn't a time to quit.  People need good socks and they need the knowledge of how to make them.

IMG_6468.JPG

The second attempt was far more smooth.  Each needle had 20 stitches on it, so to shape the heel, I left 15 stitches on either side of the heel flap, and created a center needle with the remaining 10.  

IMG_6478.JPG

I knitted back and forth on the center needle, picking up the stitches from each of the sides for every row, and combining the outer-most stitch from the center needle with the stitch I just picked up from the side needle (knitting two stitches into one).  This created a seam and folded the sides in, since I was always taking the stitch that was closest to the center needle's stitches.

IMG_6482.JPG

From there, I picked up the end stitch from each row on either side of my heel flap with two new needles, and continued to knit all the way around again- decreasing stitches as needed to make it the right circumference, without decreasing so much that it would create gaping like my first attempt.

This is the part that mentally I had a hard time wrapping my head around when there were any sites that I could fine to explain it well.  Though, as soon as my mum described this, it made perfect sense- and as an anthropologist, I'm glad I can find at least one missing link in life.

IMG_6486.JPG

The rest was simple enough, as I just knitted in the round, and constantly decreased for my narrow narrow feet.

IMG_6494.JPG

Finally, I finished it off with a nice and pointy toe to suit my particularly pointed feet, and reminded myself to call my mother when she's back from vacation so I can thank her for making this so much less painful than it could have been.

IMG_6498.JPG

I'm typically always going to thank you for reading this, that's my sign off because I like to make it clear that I care about the people reading this.  I care that people take the time to read through my triumphs and failures with the crafting life, and hopefully take some sort out of amusement out of my whole circus.  I try to thank my partner often for the love and support he provides when ripping out projects breaks my heart and makes me want to put the project in the corner, but I would also like to thank you.  It's easier to get back on the horse when I feel like I can make something good of it for other people, as well as myself.  It's easy to be annoyed with myself and sometimes even just walk away, that gets a lot harder when I go back on my word with people.  So thank you for your time, you patience, and all of that morale support that gets me through the sad little moments that I have to pull it back or break out the seam ripper.  All of you help to make it worth it to start again and see it through. 

Take care.

A Magical Hood for Otherworldly Adventures

Everyone needs a little magic in their lives, something special that gives a little spark to life and helps them feel the magnificence of the world.  I am madly in love with magic and wish to possess many magical things.  Magic, to me, is an igniting force- and in this way, for some a spark is perfectly adequate.  I, however, need a bright and brilliant inferno.  This hood is one of those things.


It quickly became a project that I was going to tear through in no time - as you may be able to tell from the lack of fun, amorphous, "before it started becoming something" photos.

As soon as the colours started being worked together, I could barely put it down.  This is the same yarn I used for my sweater  (the baby alpaca one that makes me feel like I could just curl up in it like a warm kitten and never need the outside world again).  

This time around with the Fair Isle stitch work I used my carrying behind technique for every stitch primarily so that I could see how well it worked but also to ensure that I wouldn't be catching those loops on one of my piercings.  

The most fun part of this was that it ended up looking surprisingly beautiful on the inside.  My partner even suggested that I could consider it a reversible hood.  

The finished project itself was just as enchanting as I hoped it would be.  All I had to do was simply knit one big rectangle and stitch it up in the back.  


The scarf I attached to the hood is to help with keeping it on my head, and to ensure maximum coziness.  It was created using the same design as the hood, except just one of each colour (white, light grey, dark grey, black) and knitted length-wise so it was just very long lines of each diamond colour.  I'm going to be totally honest, I wasn't sure if I could manage having 300 stitches on my circular needles, but it worked (even though each row felt like it was never going to end).

For washing and blocking to keep the scarf from curling in on itself I used Mane 'n Tail horse shampoo.  It's a surprisingly gentle soap given that it's for horse hair, and I use it for all of my quilts and fiber.  I'm not sponsored by them at all, I just started using it because that's what was what was recommended to me when I learned how to quilt, and I've loved it ever since. 

Just like my partner predicted, this ended up being a beautiful-on-the-inside sort of project as well, and I might just wear it both ways.  I also can't help but be reminded of sewing good seams, and the delight I feel from that, even though no one but me will usually see them.  I like that this time around it's something the rest of the world can see too.

As always, it's a pleasure being able to share these precious projects with people who are interested.  Those of you reading this happen to be one of those magical things in my life - the kind of presence that reminds me of who I am, and why I love doing what I do.  Thank you.

Tara Mae
A Project From Long Ago

When I was a young darling I took on many a project - including a fiber exchange for one of the spinning (crafting) retreats that shaped who I've become.  The fiber exchange goes a little something like this: everyone involved puts some fiber of their choosing into a bag, and everyone would get someone else, then they would make something for the person they were randomly assigned.  This made for a fun gift exchange that would take place the next year, and since people would rarely know who had received their fiber, everyone would have little clue as to what would become of their original contribution.

However, my dear younger self, distracted by the fleeting troubles and excitement of youth, ended up totally forgetting about my fiber exchange projects (yes, that’s projects with an “s”).  The one I made up for while still finding my footing in my first years of university, but the other was far from my mind up until I ventured home for my older spinning and knitting supplies. It was only when I found the bag with a name on it that all of the memories came flooding back.

I'm not one to call it quits, so here I am- making a project for someone that has been miraculously patient while I make up for the absent-mindedness of my youth.


It's always exciting to start a project from the very basic roots.  Having my spinning wheel with me has already been one of the greatest gifts- as I get to see the project from its infancy to the wonderful finish of what it becomes.  It's special being able to walk through each step of what makes something, so that it can turn out precisely how I want.


Ignoring the sneaky pink, brown, and white skein in the back - this is the fiber after It was spun and plied.  I plied the white fiber with the blue, green, orange, and white, because I felt that way the colours were far less likely to muddy and become dull and since they were so vibrant and fun as they spun up I wanted to make the most of that.

So after plying, I washed the skeins, and hung them out to dry as I went camping for the weekend.

Upon my return, I wound up the fresh, dry skeins, and began knitting the of a scarf.

In my visit home, I saw my mother knitting something quite similar to this pattern, if not exactly like it.

It's purl one, knit two, purl one, knit two, and so on throughout the first two rows, then for the third row purl all the way across, however that’s if you knit like I do, which is when the "right" side is always facing you.  

For people that do wrong side knitting, it's: purl one, knit two, purl one, knit two, and so on for row one; row two would be knit one, purl two, knit one, purl two, and so on; then for the third row, you would purl all the way across.  


Here I am doing a few of my favourite things. Photo credit to my phenomenal aerial coach.  

Here I am doing a few of my favourite things. Photo credit to my phenomenal aerial coach.  

The scarf ended up knitting up fast, and I managed to have loads of fun all along the way in making it.

At the cast off I emailed the woman this is for - she promptly responded with all the kindness and understanding that I remember this phenomenal group of crafters having.  Soon I will be shipping this delight off to her, and moving on to the next project.


As always, I would like to thank you for being here and reading this.  You give me the gift of being able to share something I love and am passionate about with others, and bringing something lovely to the world.  So thank you again, and take care.

Tara Mae