IMG_1612.jpg

Blog

Posts tagged fairisle
Alyeska

There have been a lot of things going on in the last couple of months, and through better and worse I have been dedicating much of my crafting time to the first pattern I've ever attempted, Alyeska by Caitlin Hunter of Boyland Knitworks.  

The best part is that I wasn't even going to do this sweater at first.  I thought it was beautiful but having previously quite an aversion to knitting patterns (note this being my first pattern work, despite you hearing about the Lunar Phase MKAL first) I assumed that I would admire it on Instagram and pursue it no further.

The influence of my magnificent crafting friend and accomplice, Alexis, is the dear soul who drove me to taking the plunge, and by the plunge I mean she had me come along to Starlight Knitting Society where they had kits on sale and a demo version on display for viewing and cat-hand-scrunching pleasure.  While I didn't buy a kit then, I knew that I would have to make Alyeska.

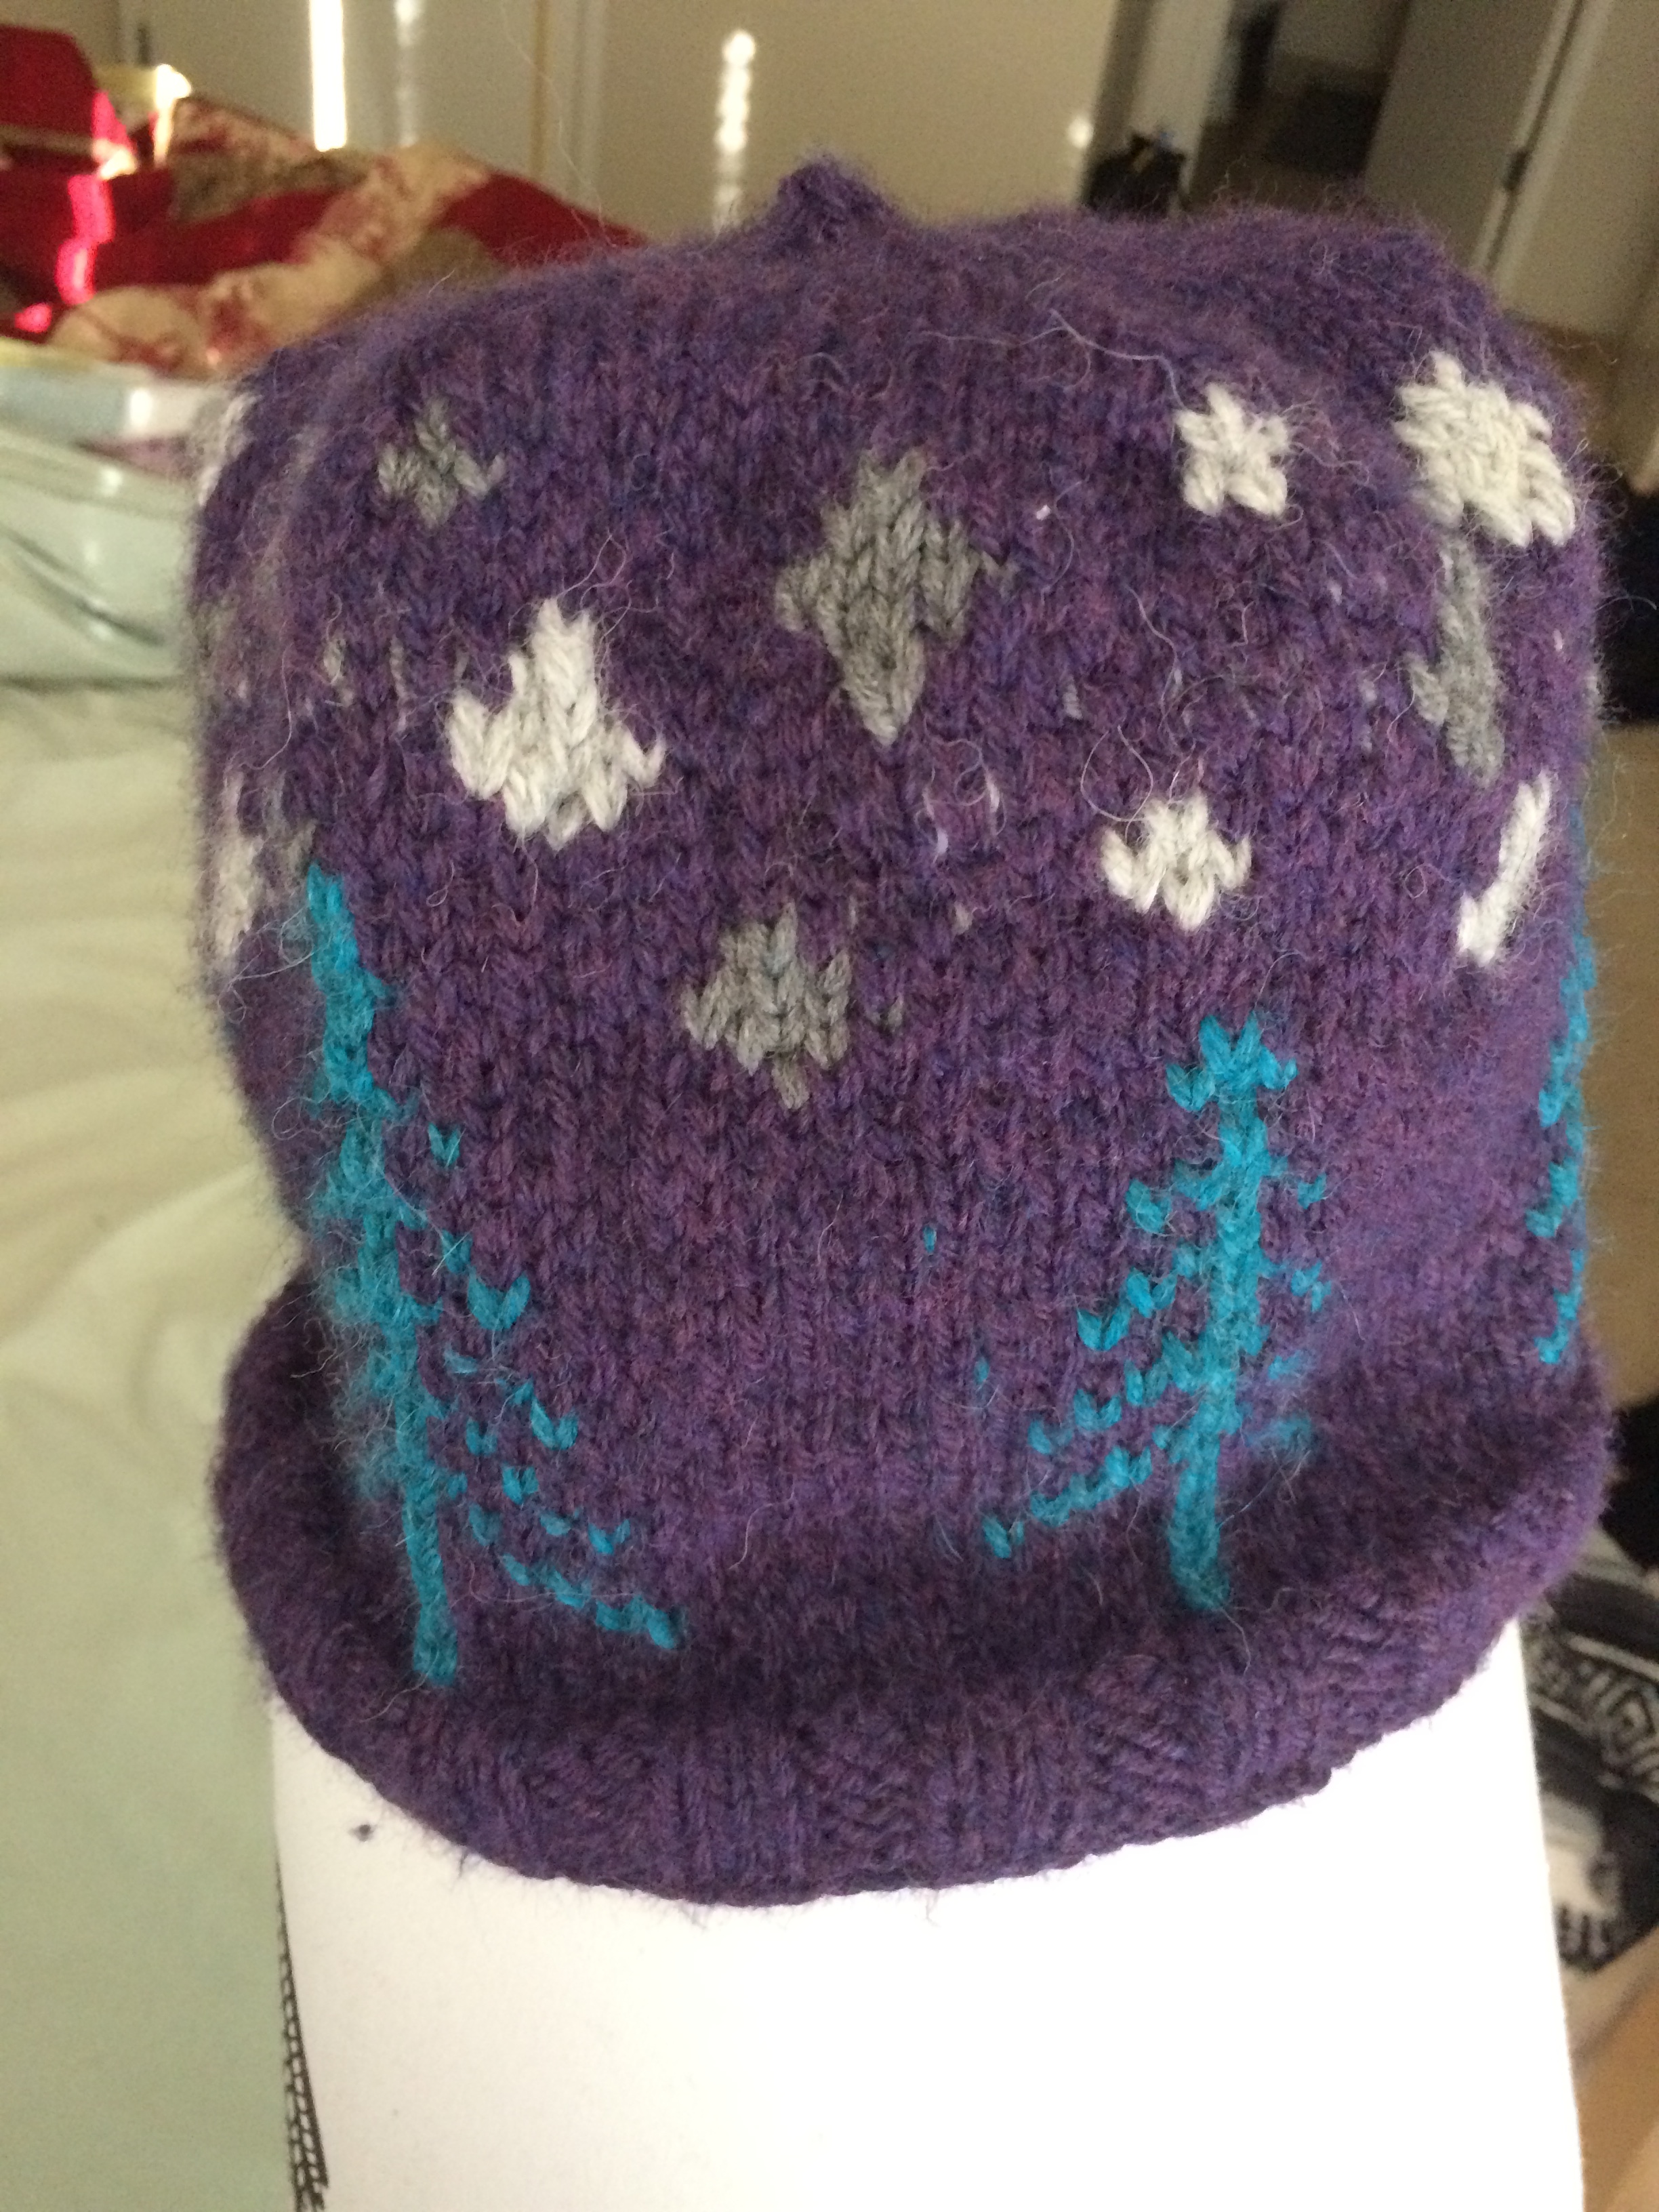
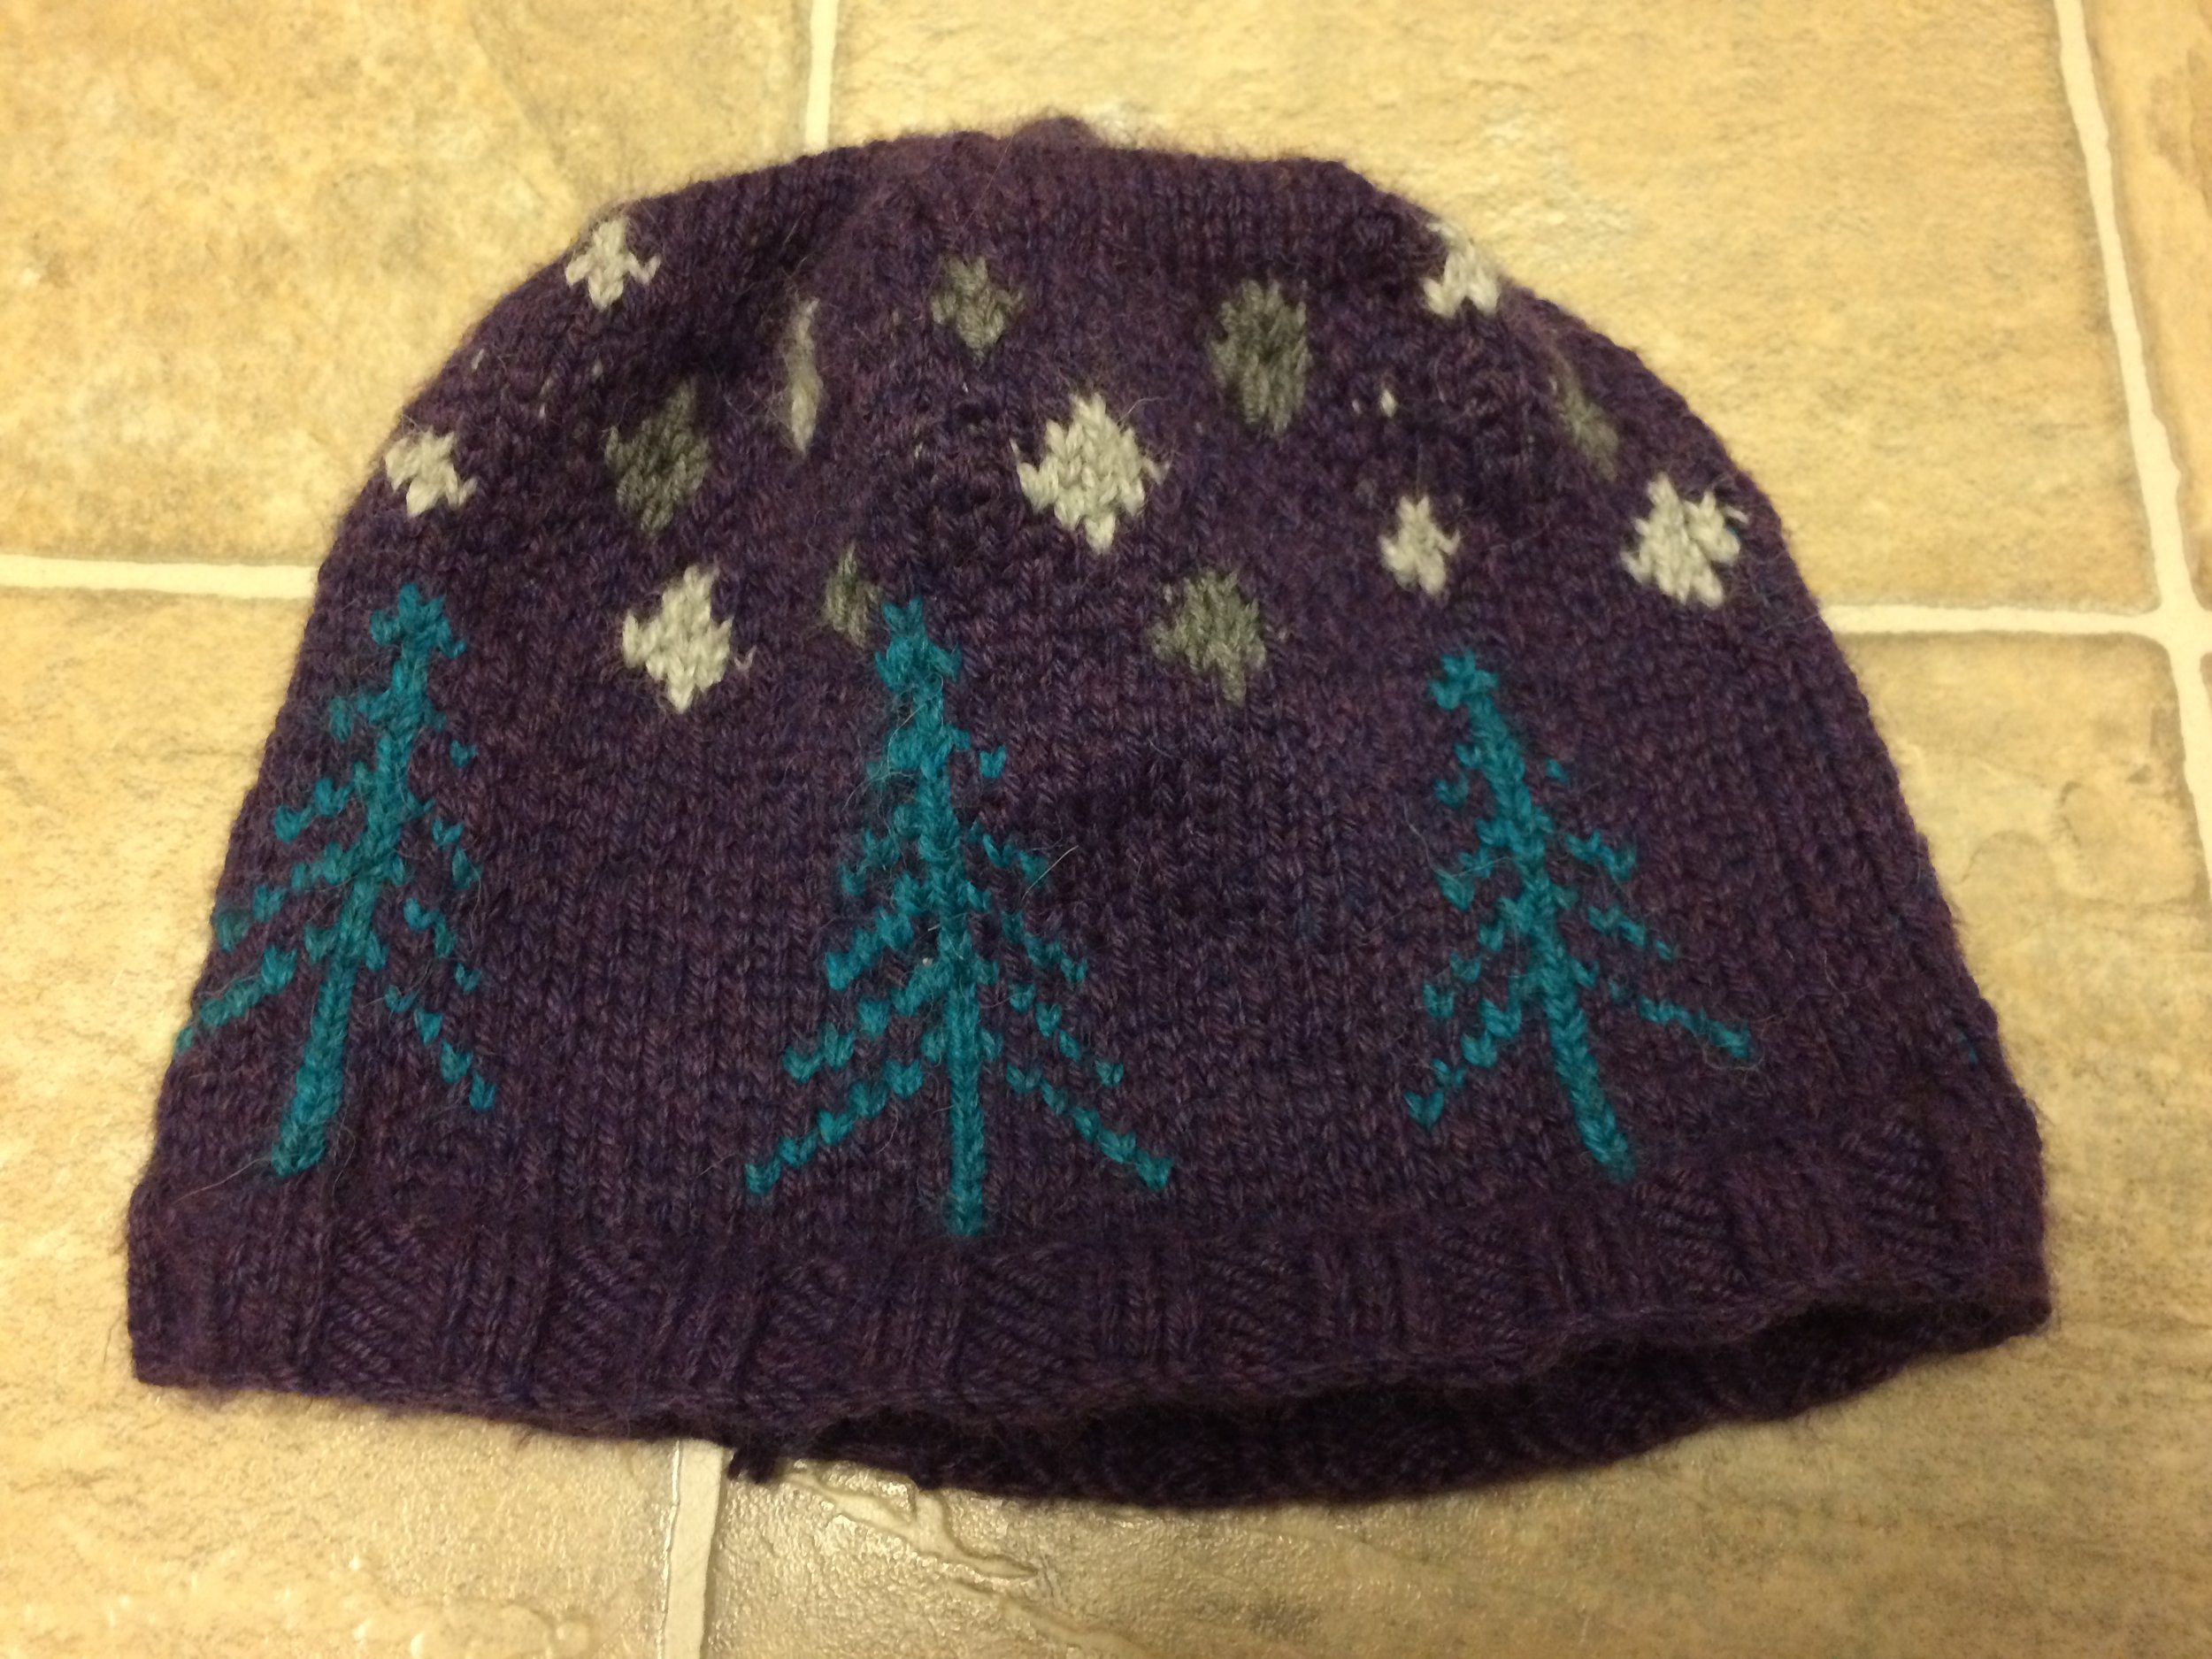
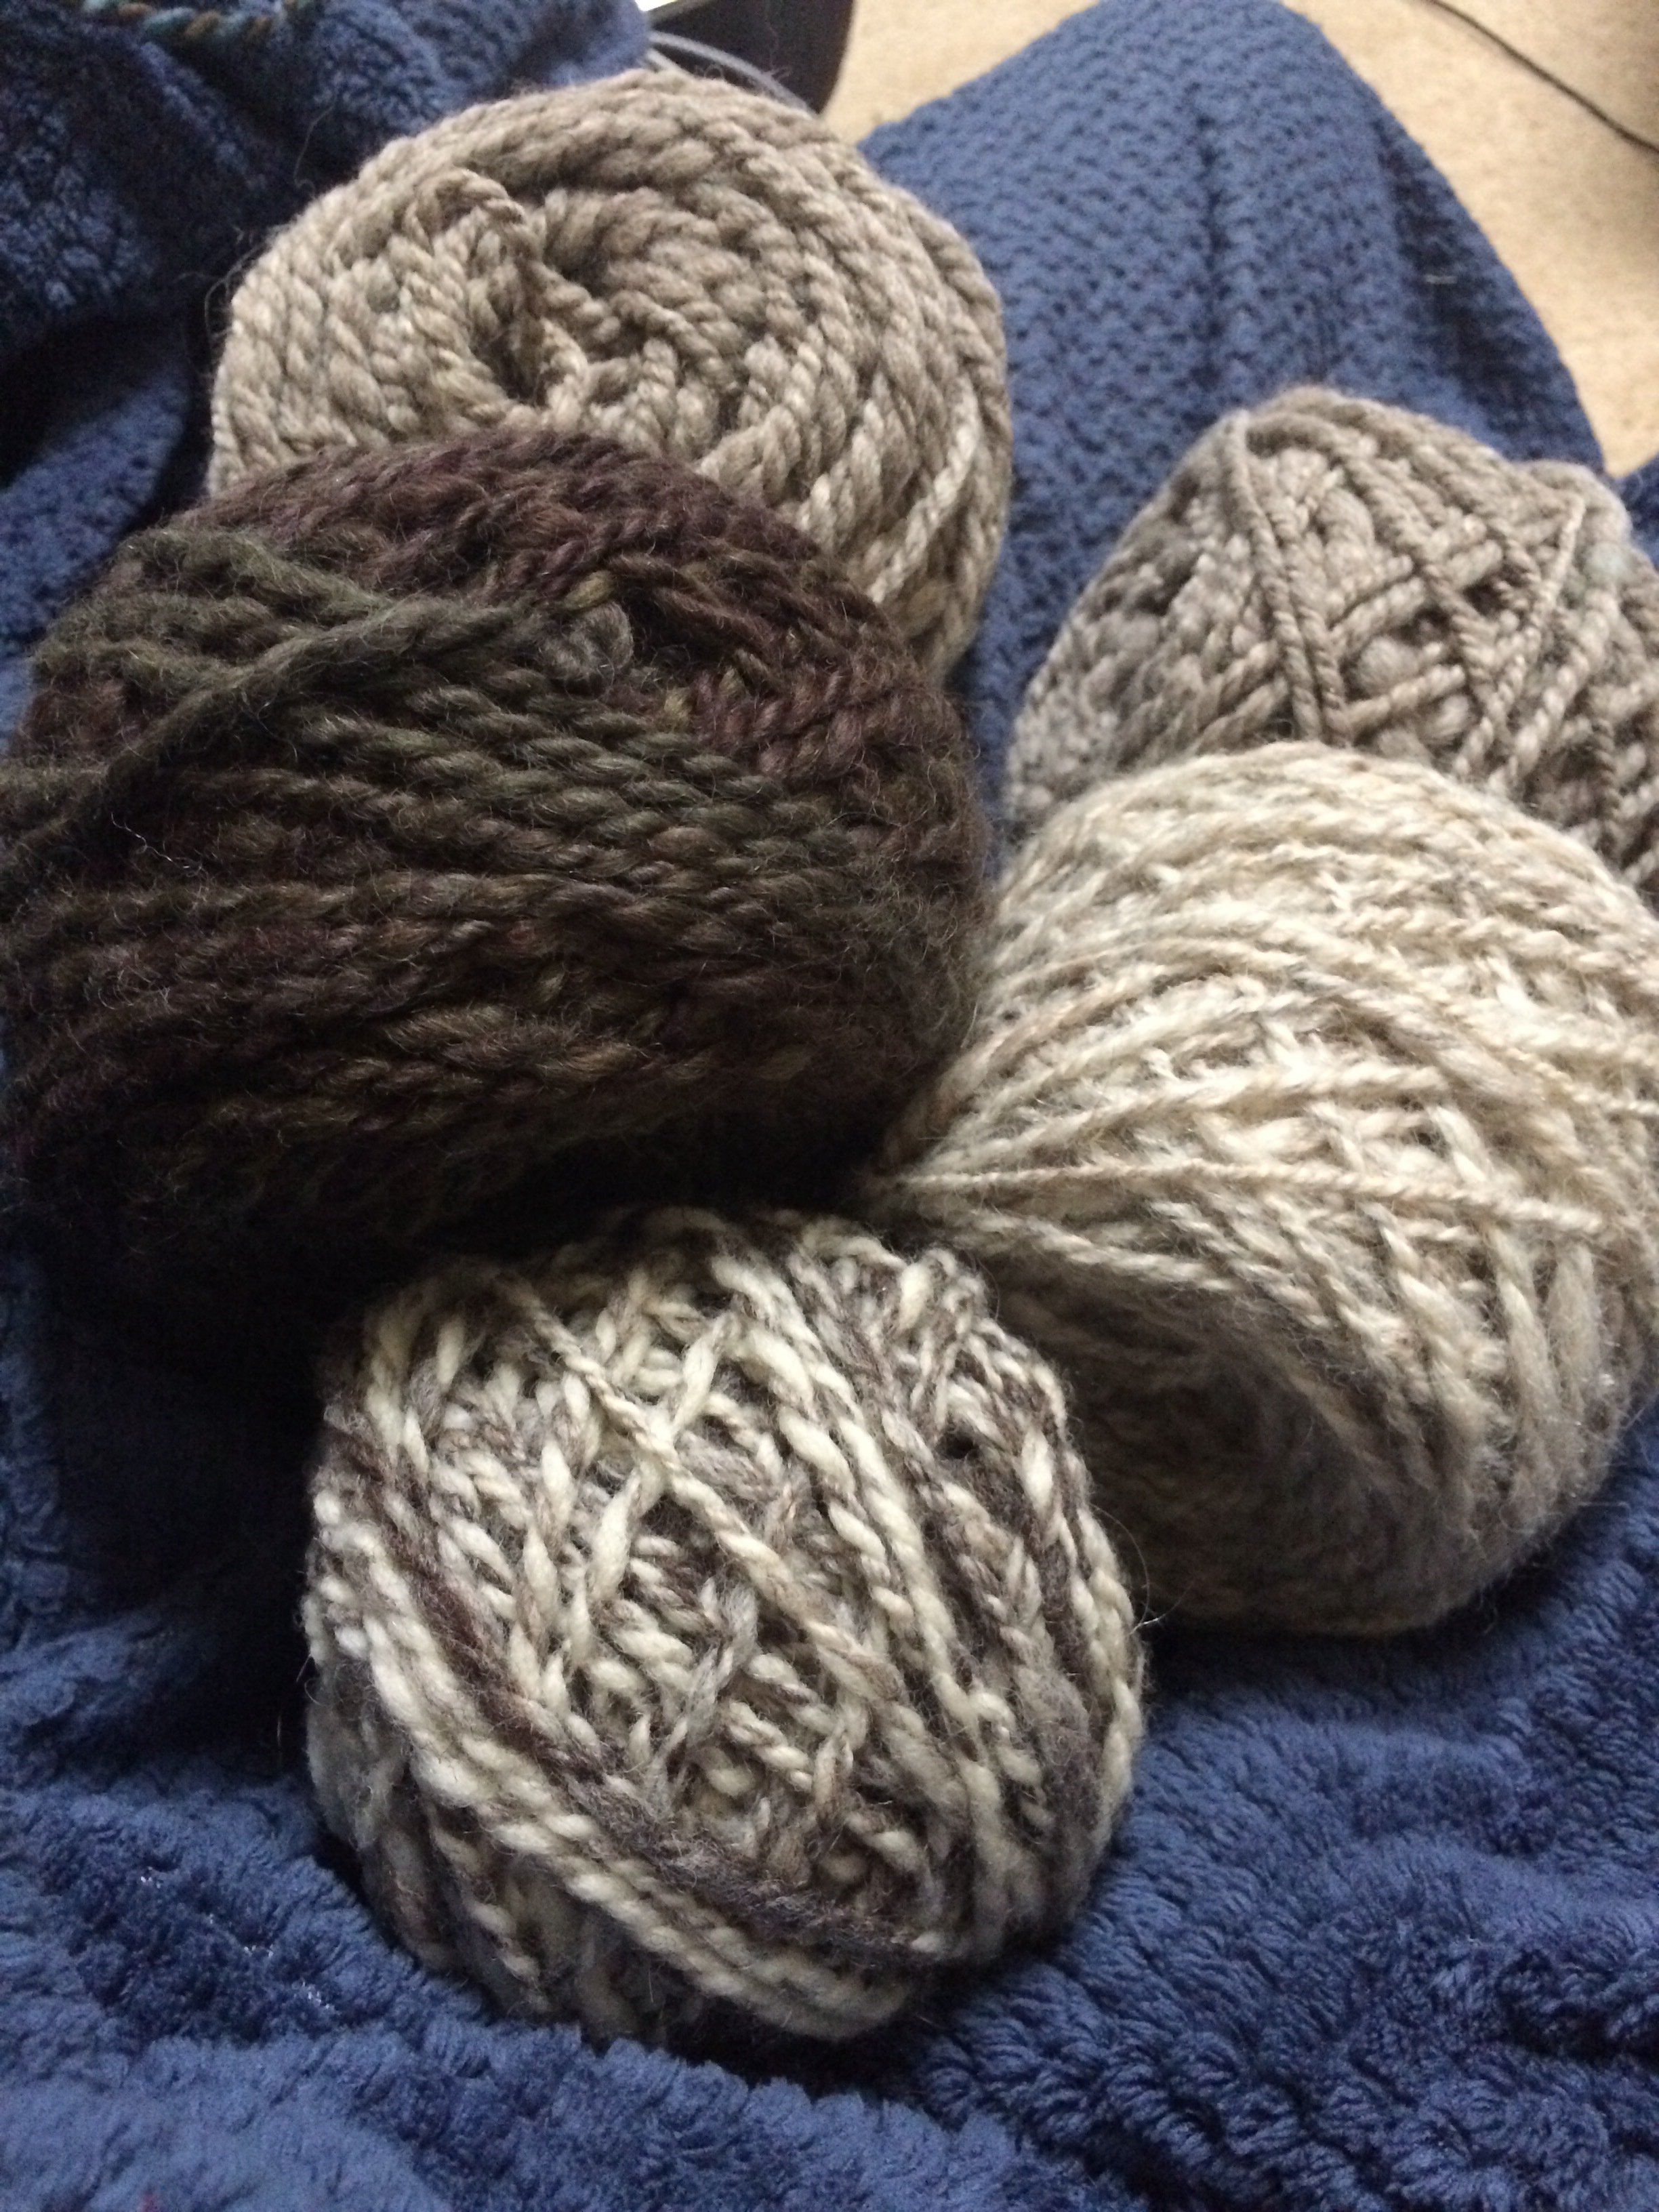
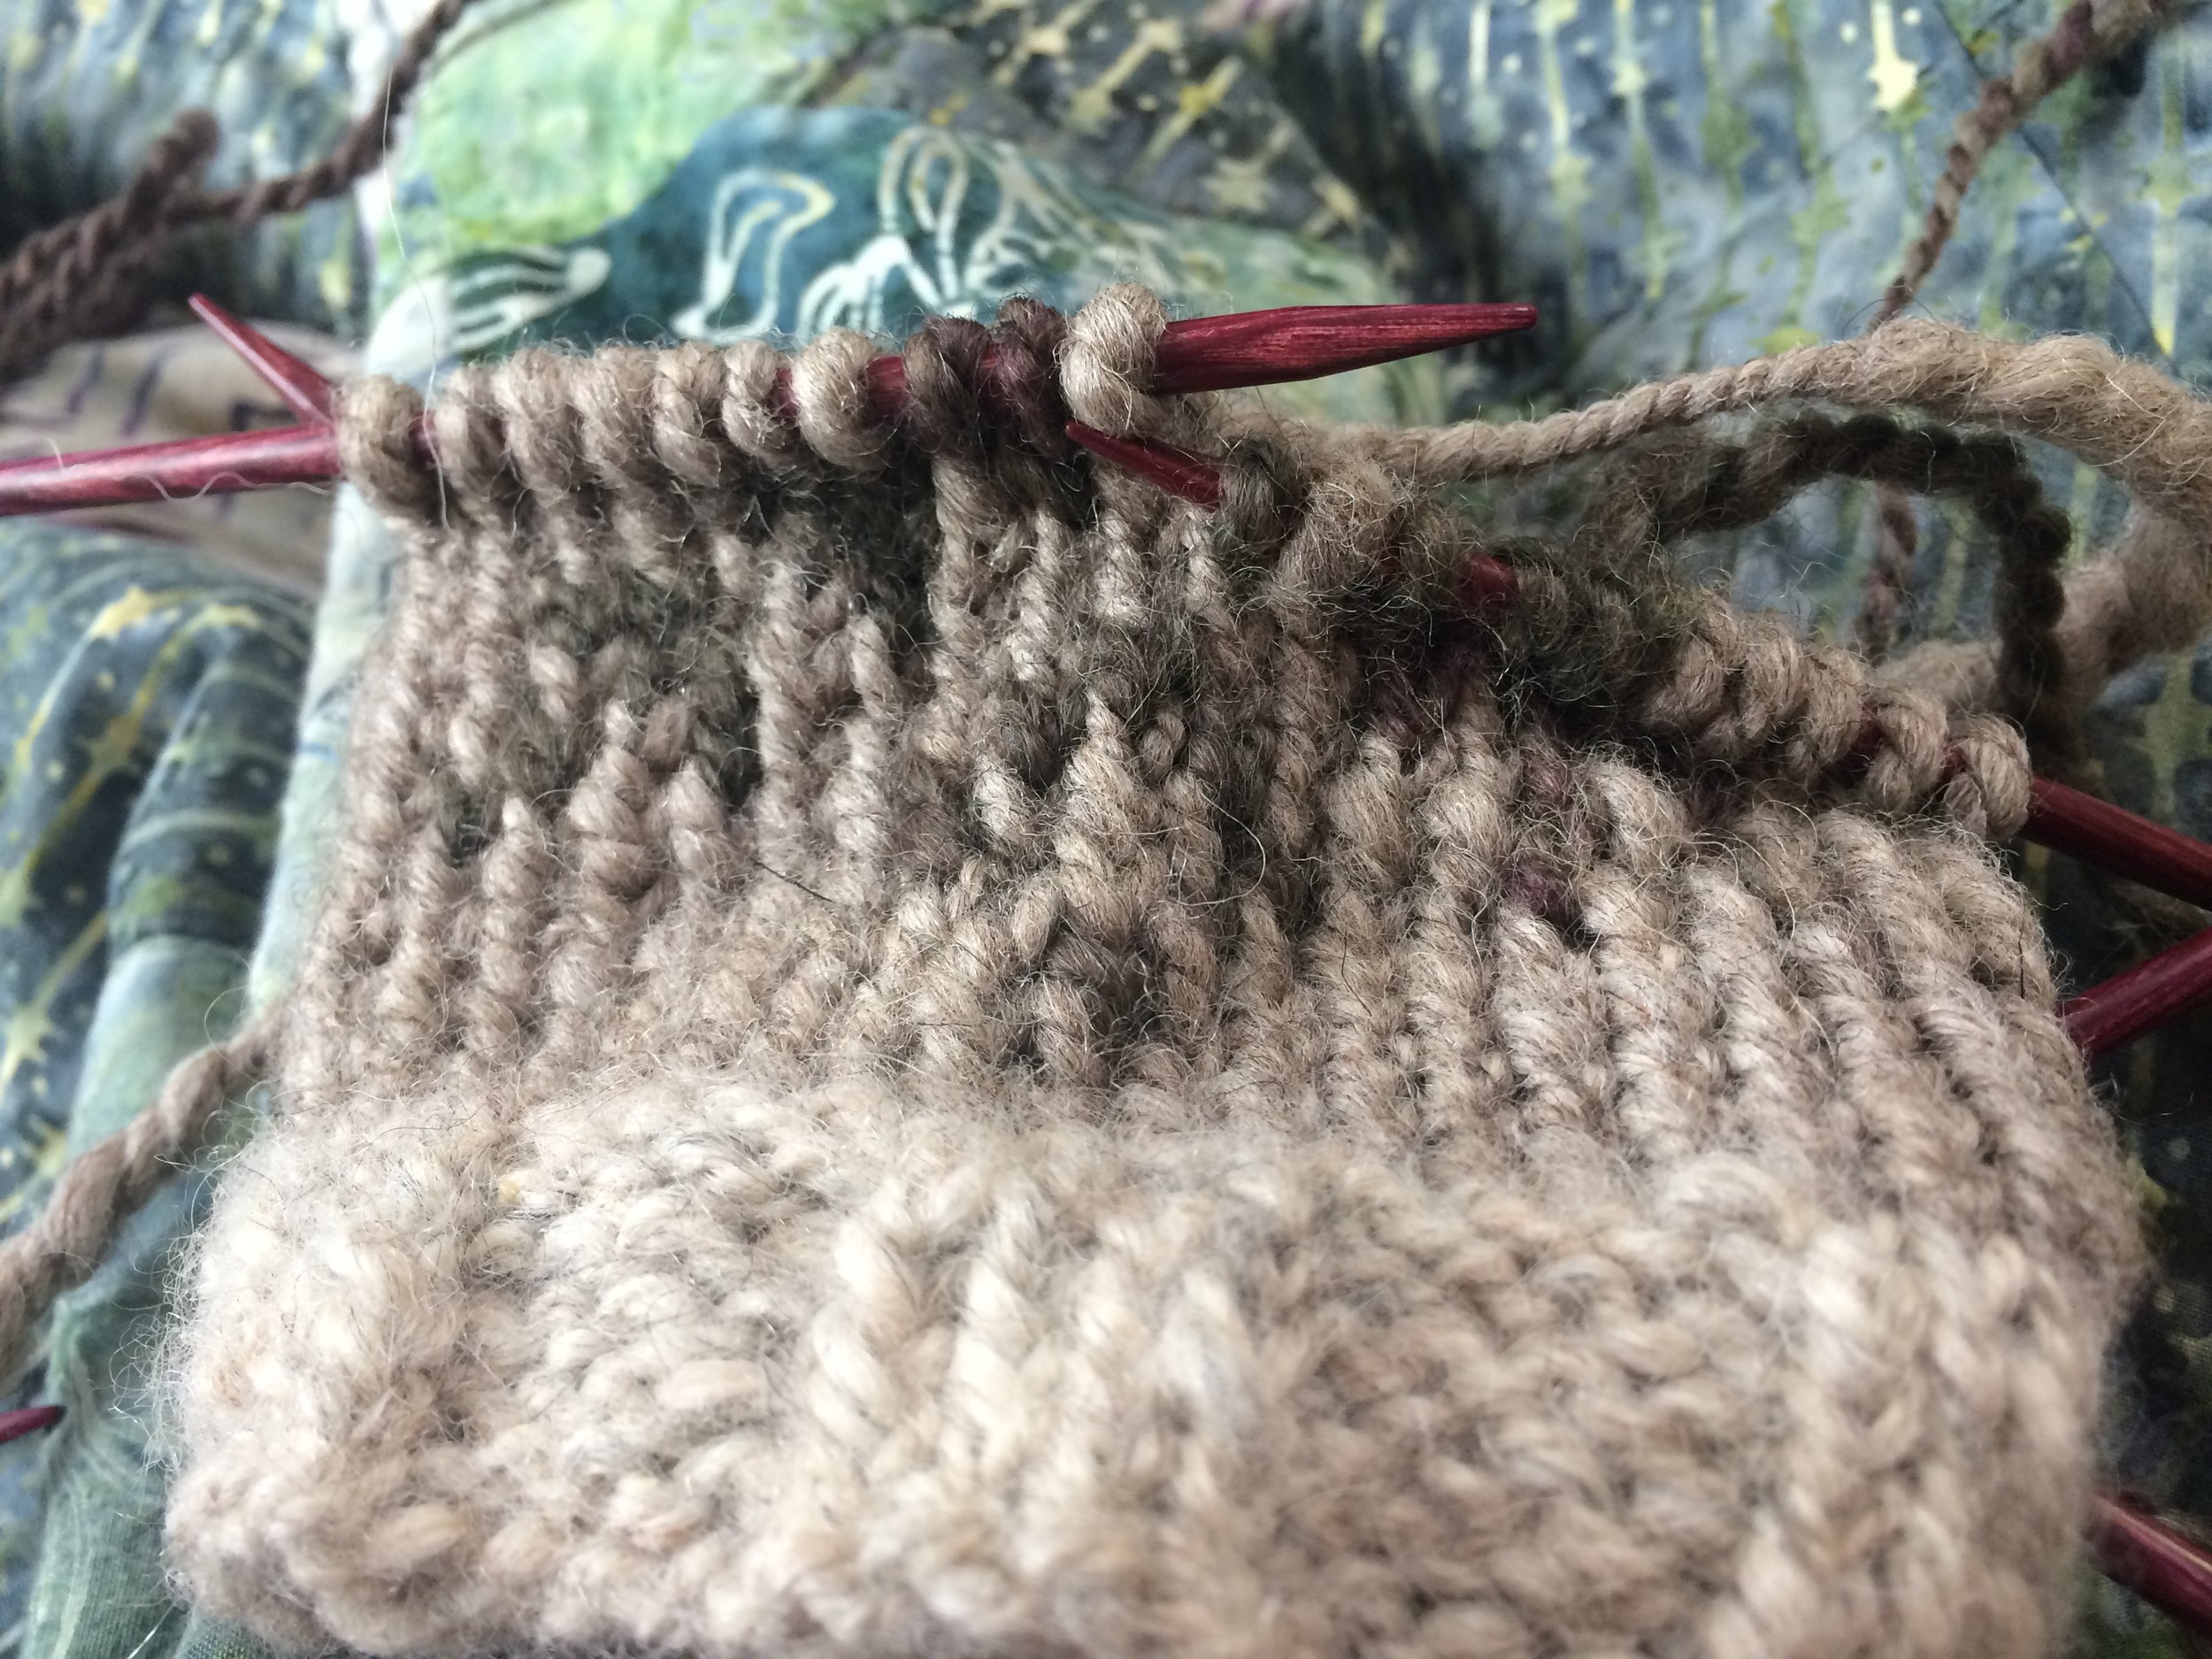
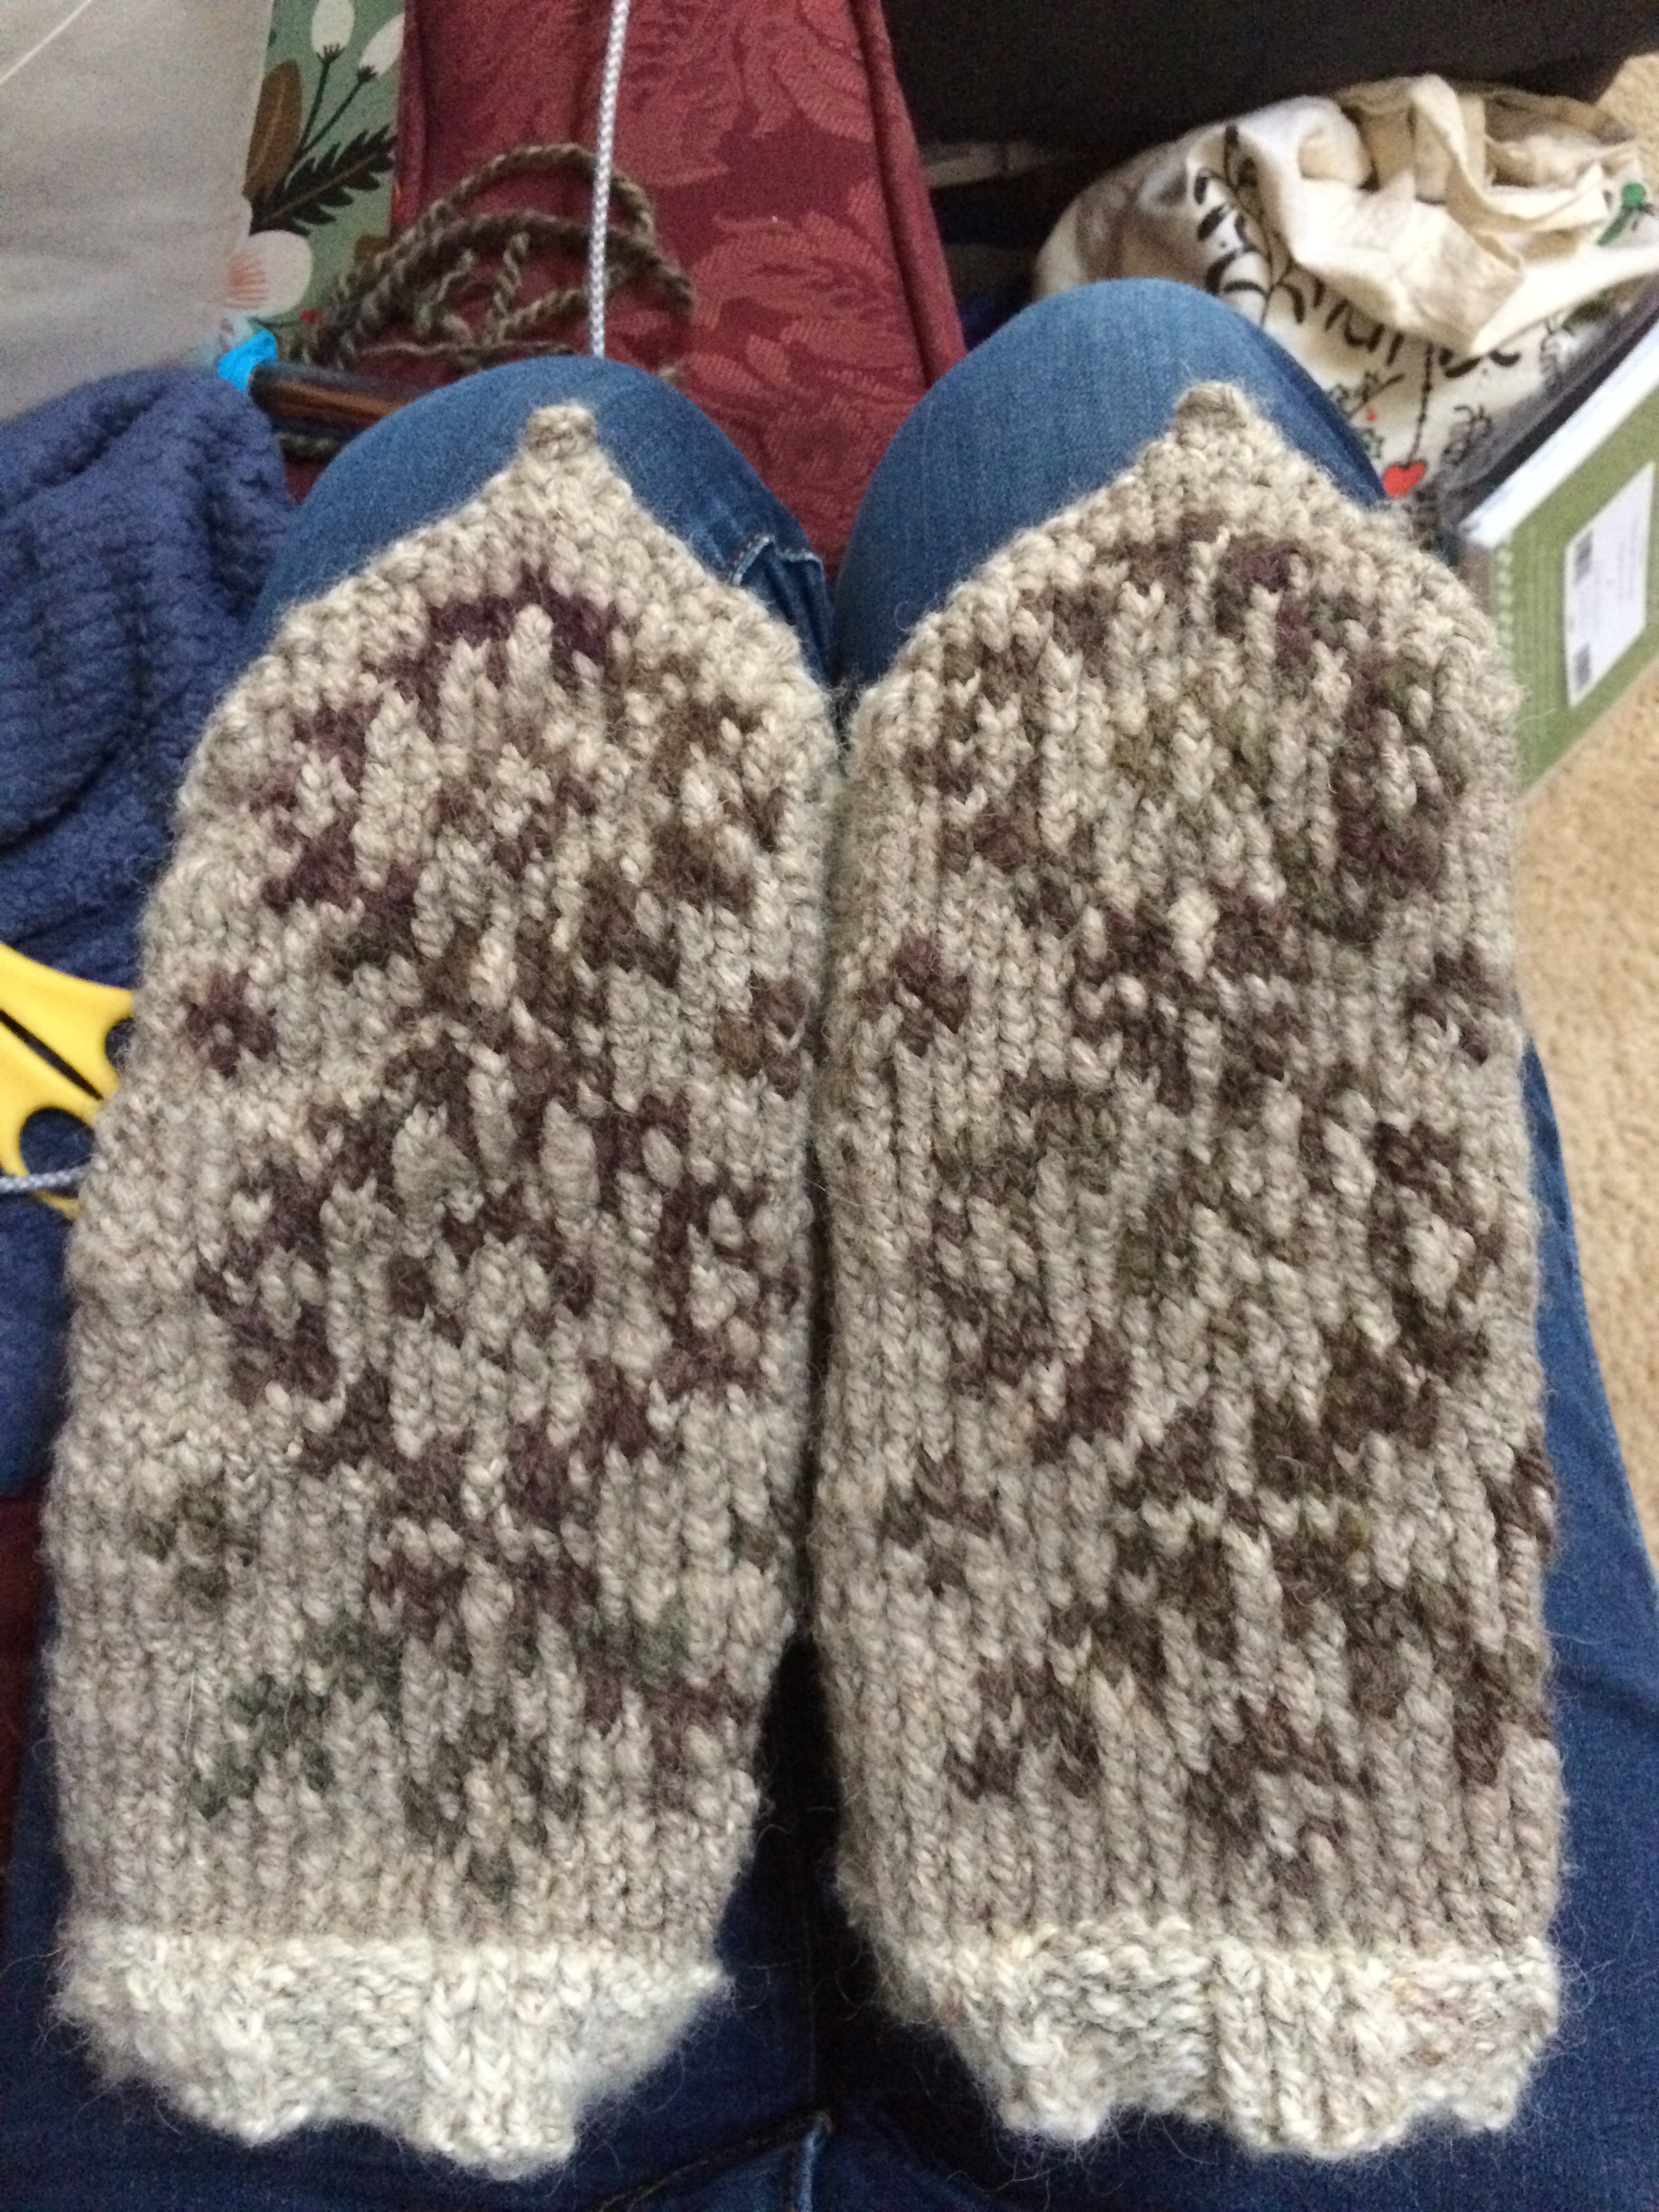
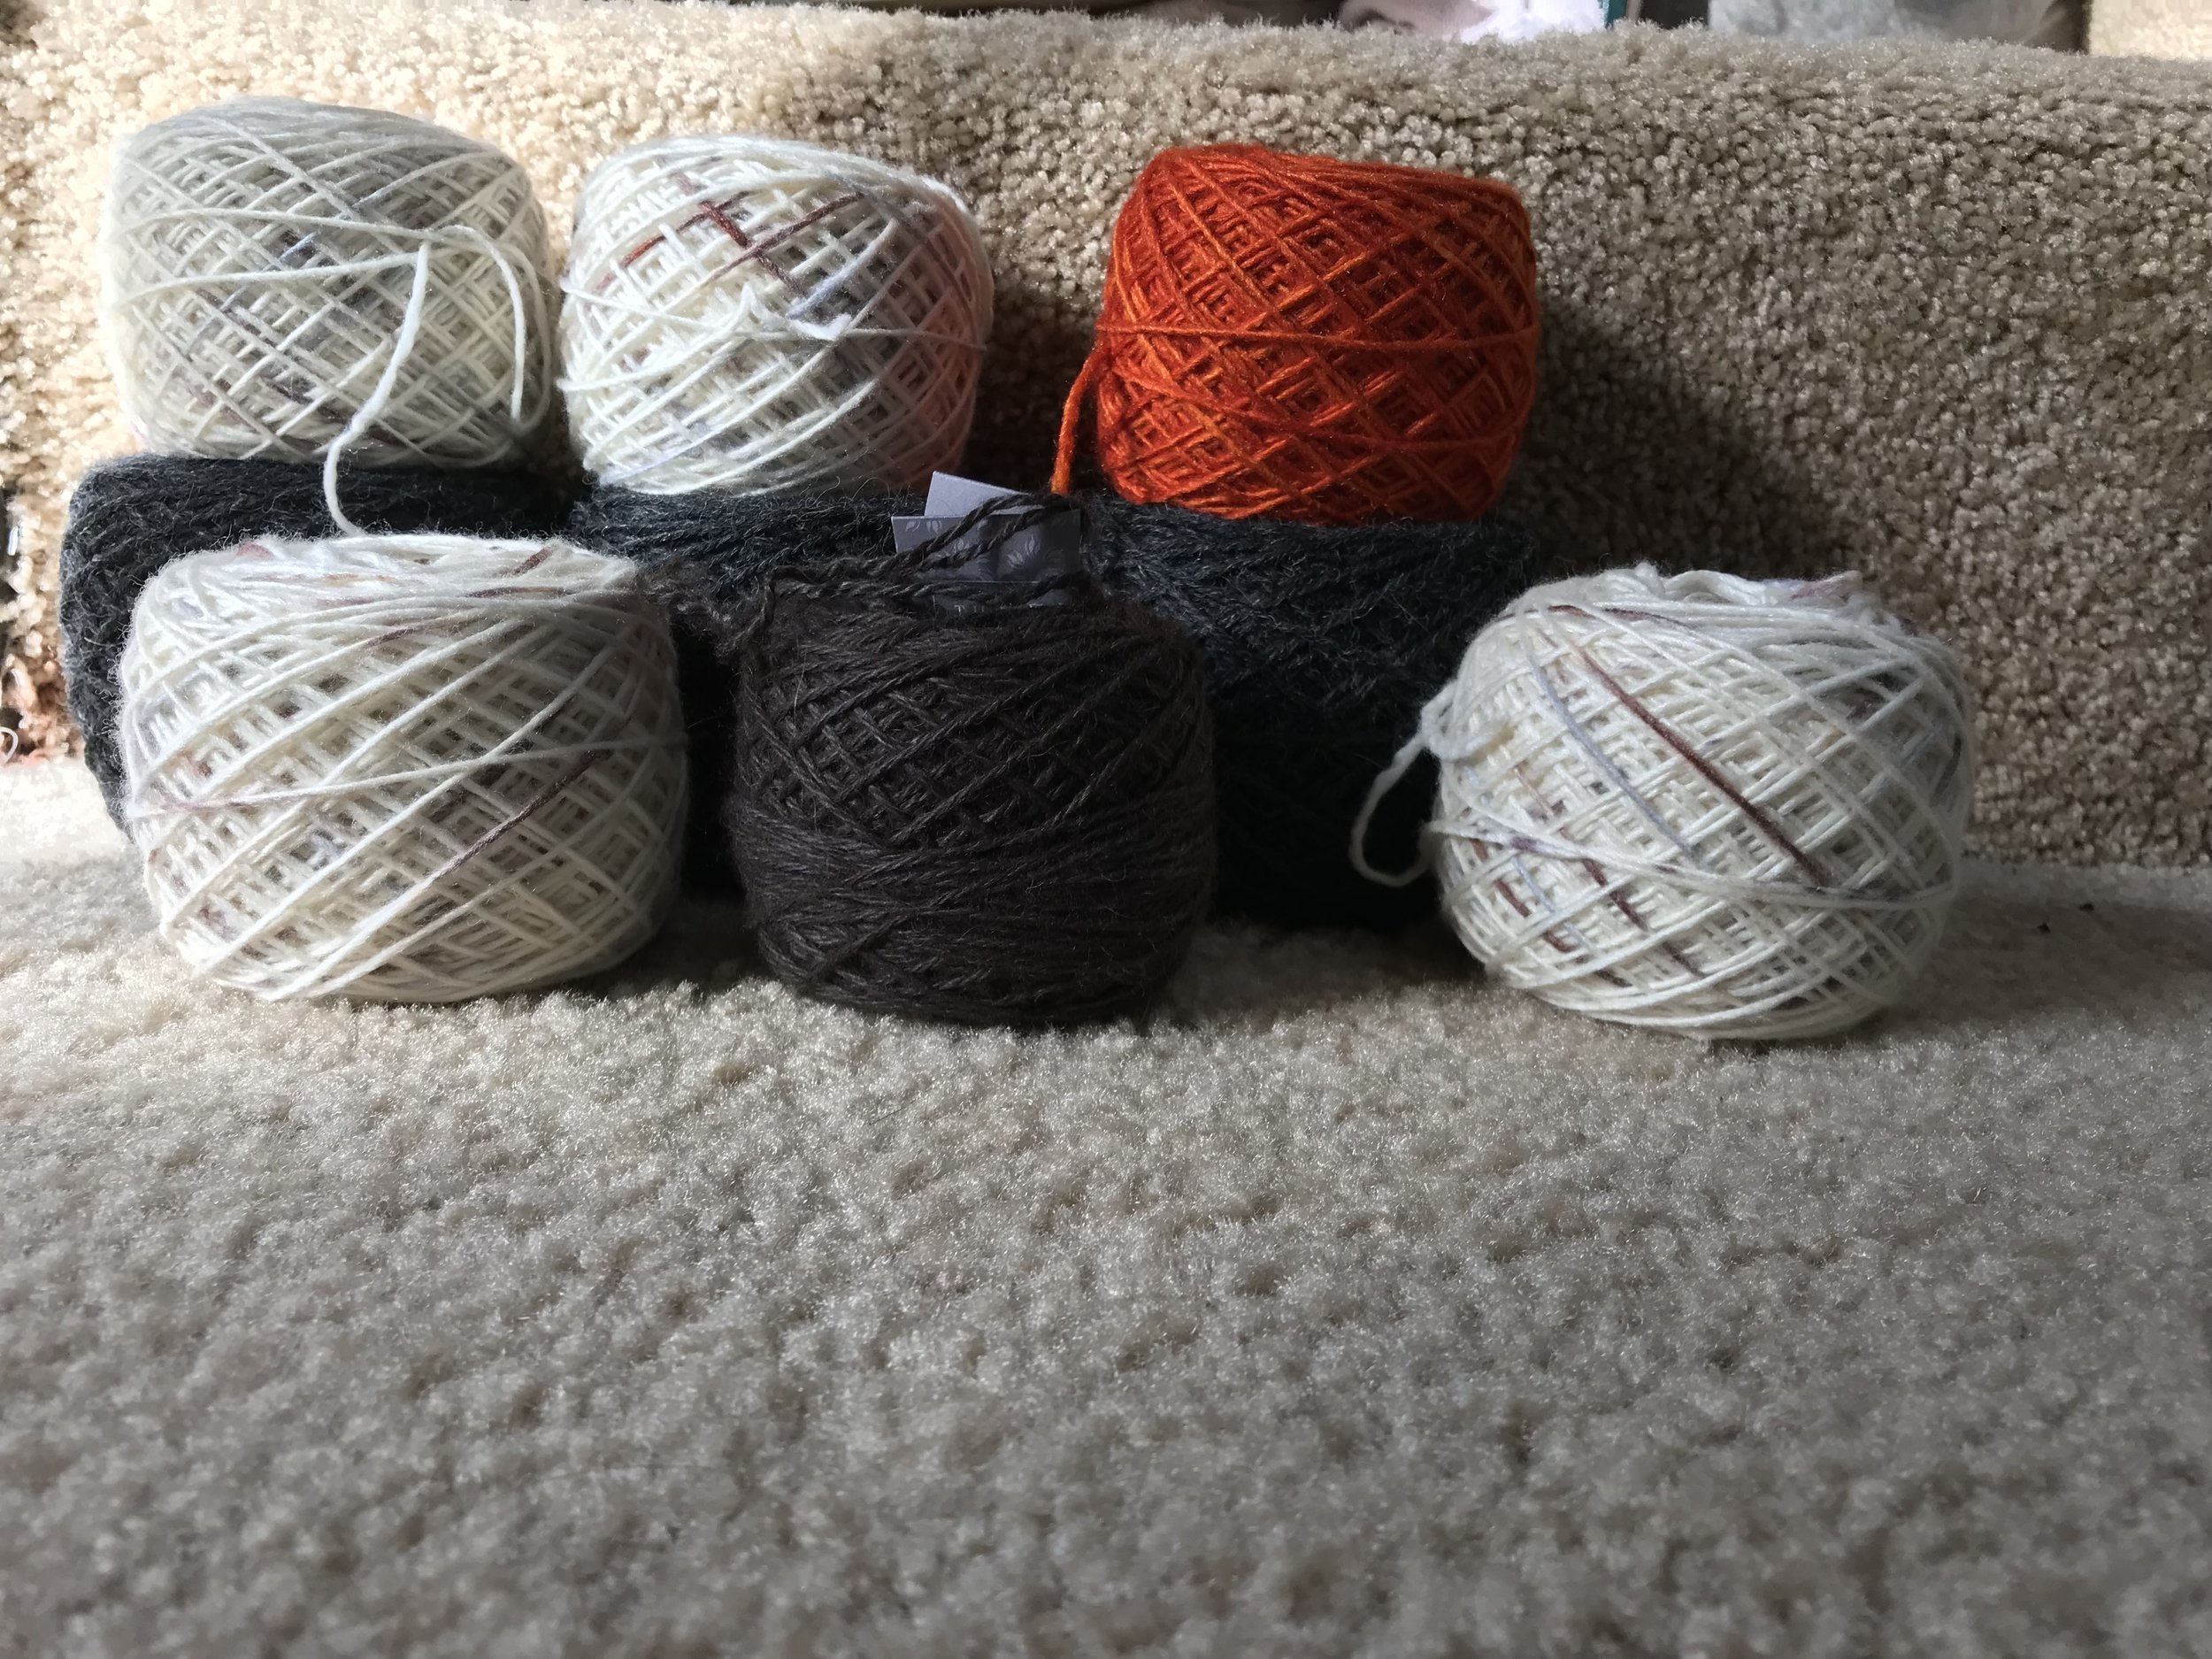
I went home and began to plot.  I gathered some yarn to dye for the orange and white-speckled, and then bought the brown and charcoal yarn to make up the rest.  

IMG_1780.JPG

To be totally honest with you, in the past when I've read knitting patterns I'd look at about 4 rows of instructions and then promptly get annoyed that it was in shorthand that I didn't understand and would walk away.  I am the same person who will watch Youtubers I like play a game of UNO on xbox for nearly 3 hours and be perfectly content.  I'm not sure why knitting patterns got none of my patience in  the past, but I was effectively a petulant child when it came to not understanding patterns.  That is, until Alyeska came along. 

There's something about how all of these colours started coming together, having one of my dearest friends working on it alongside me, and having this strange obsession of starting this project in Montana (back in the end of February) that created an eagerness to learn and not feel frustrated that I didn't already know how to do everything.  

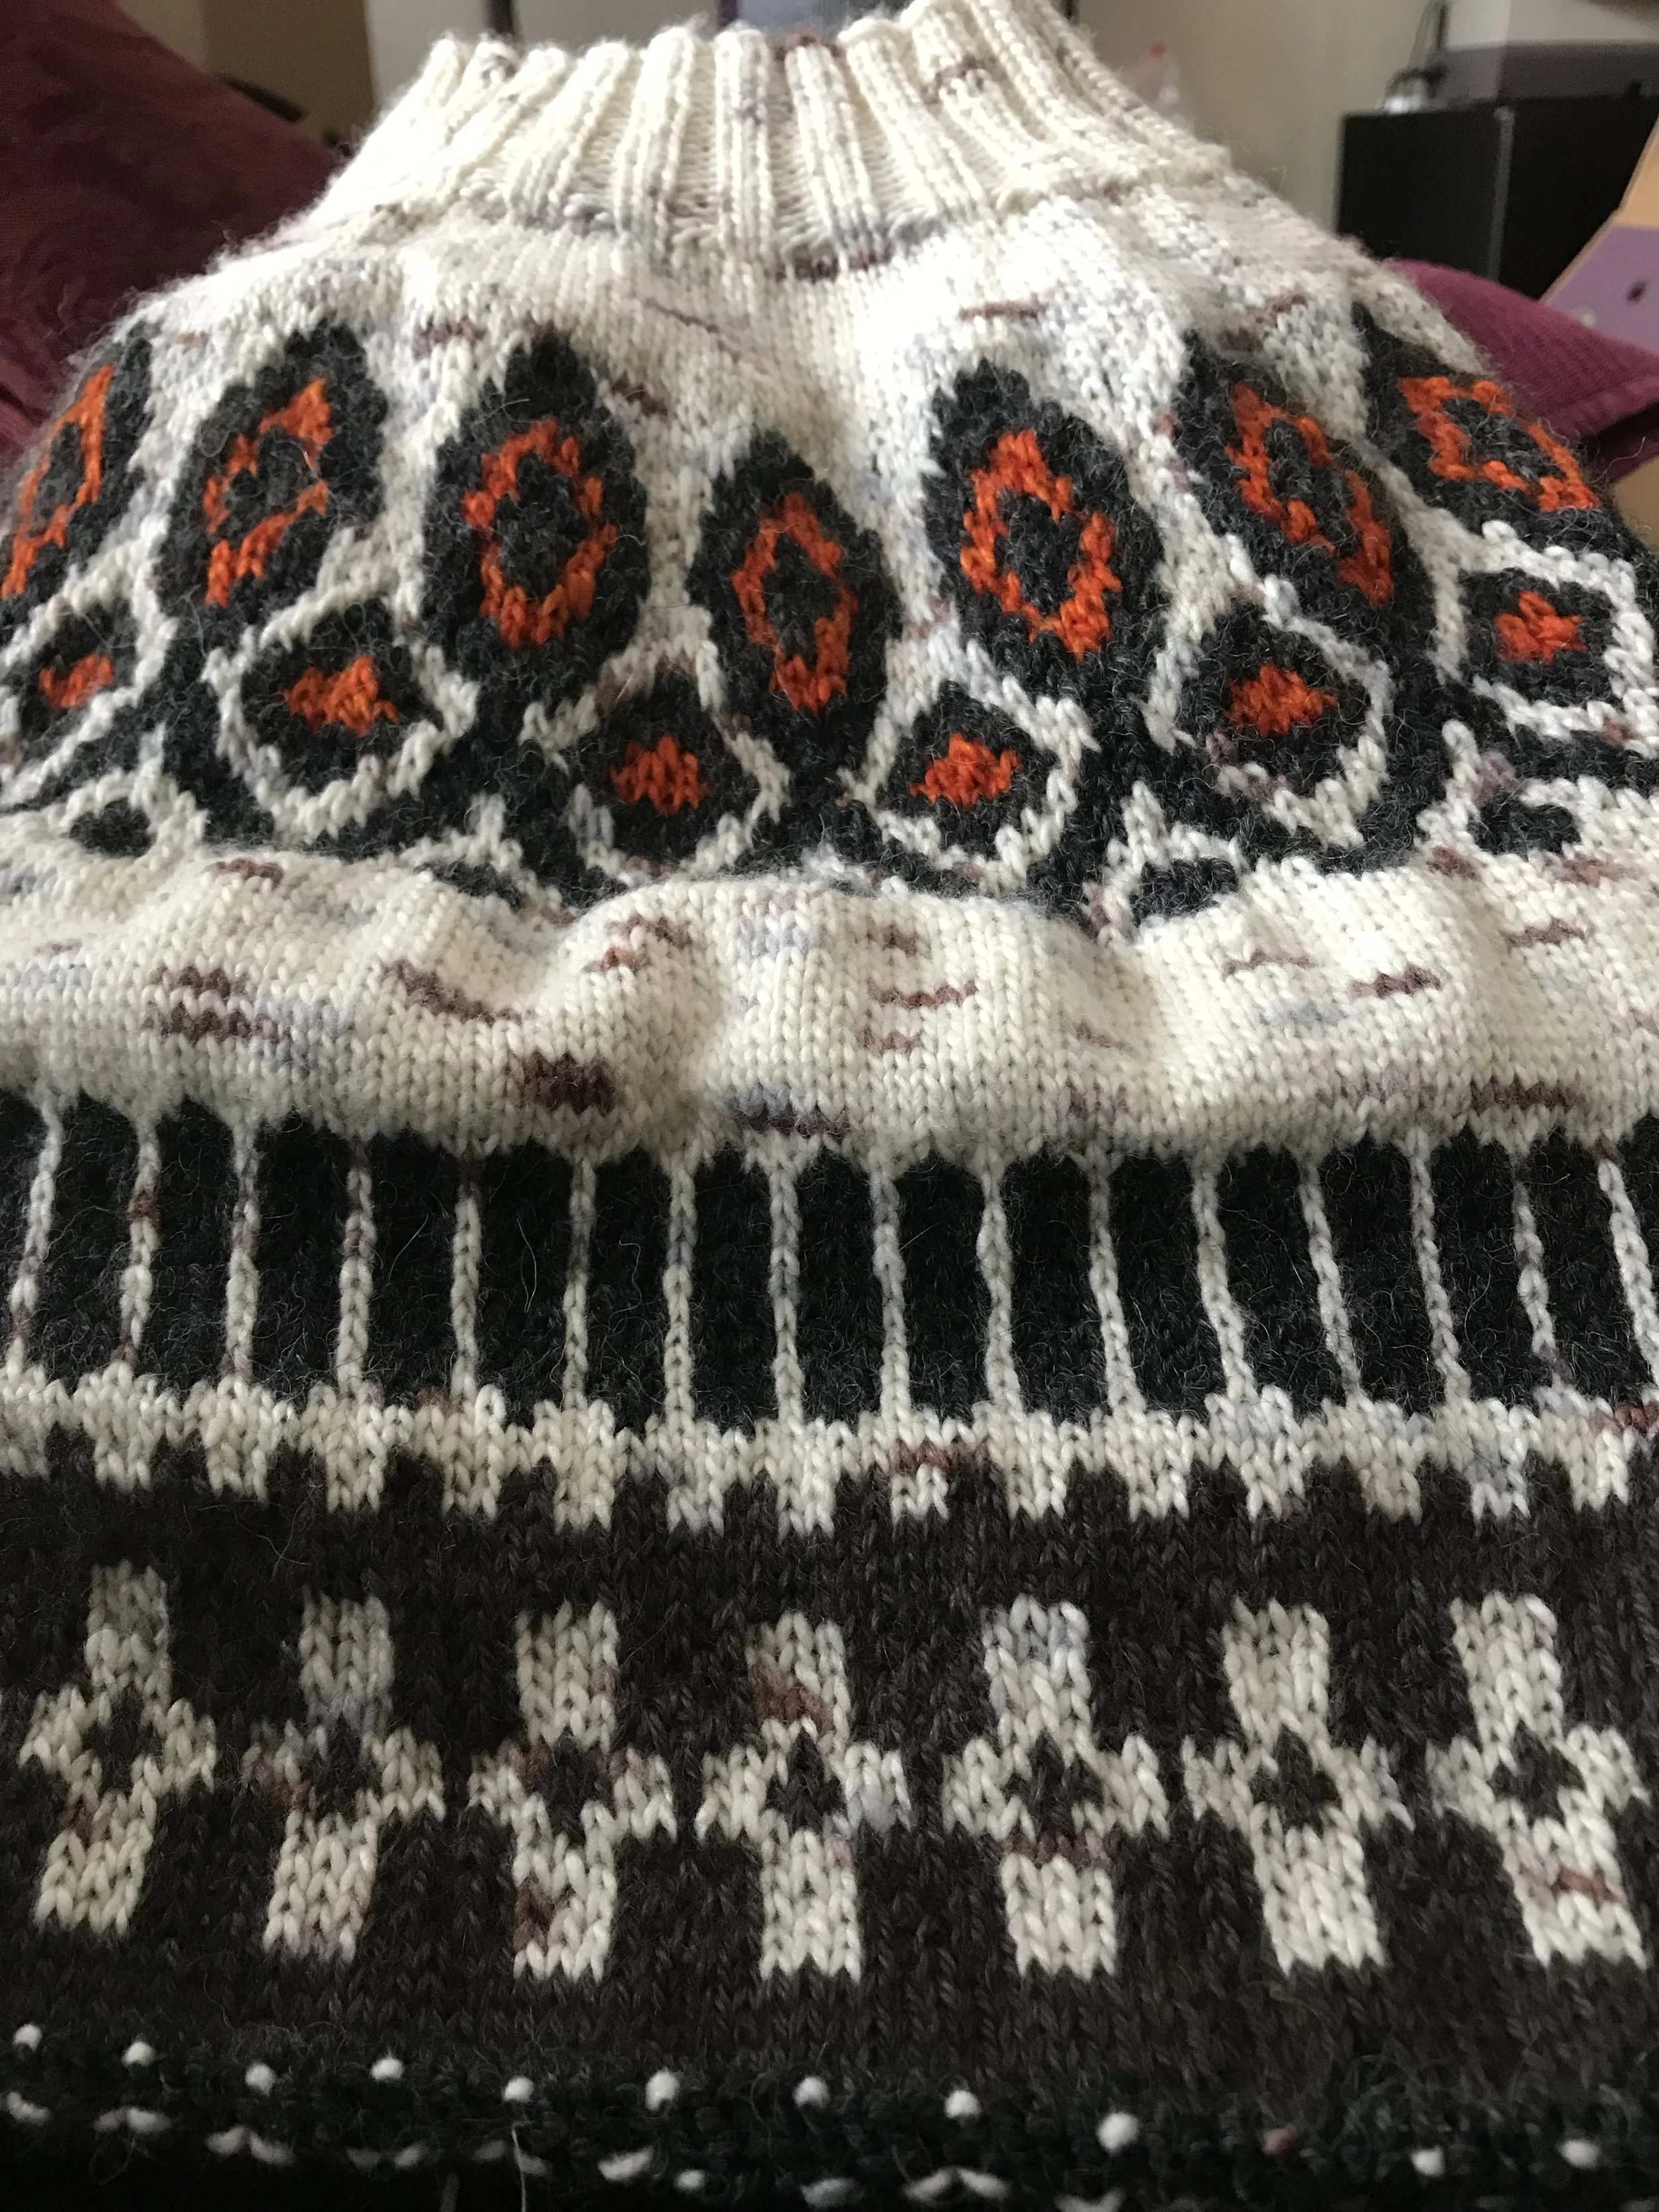
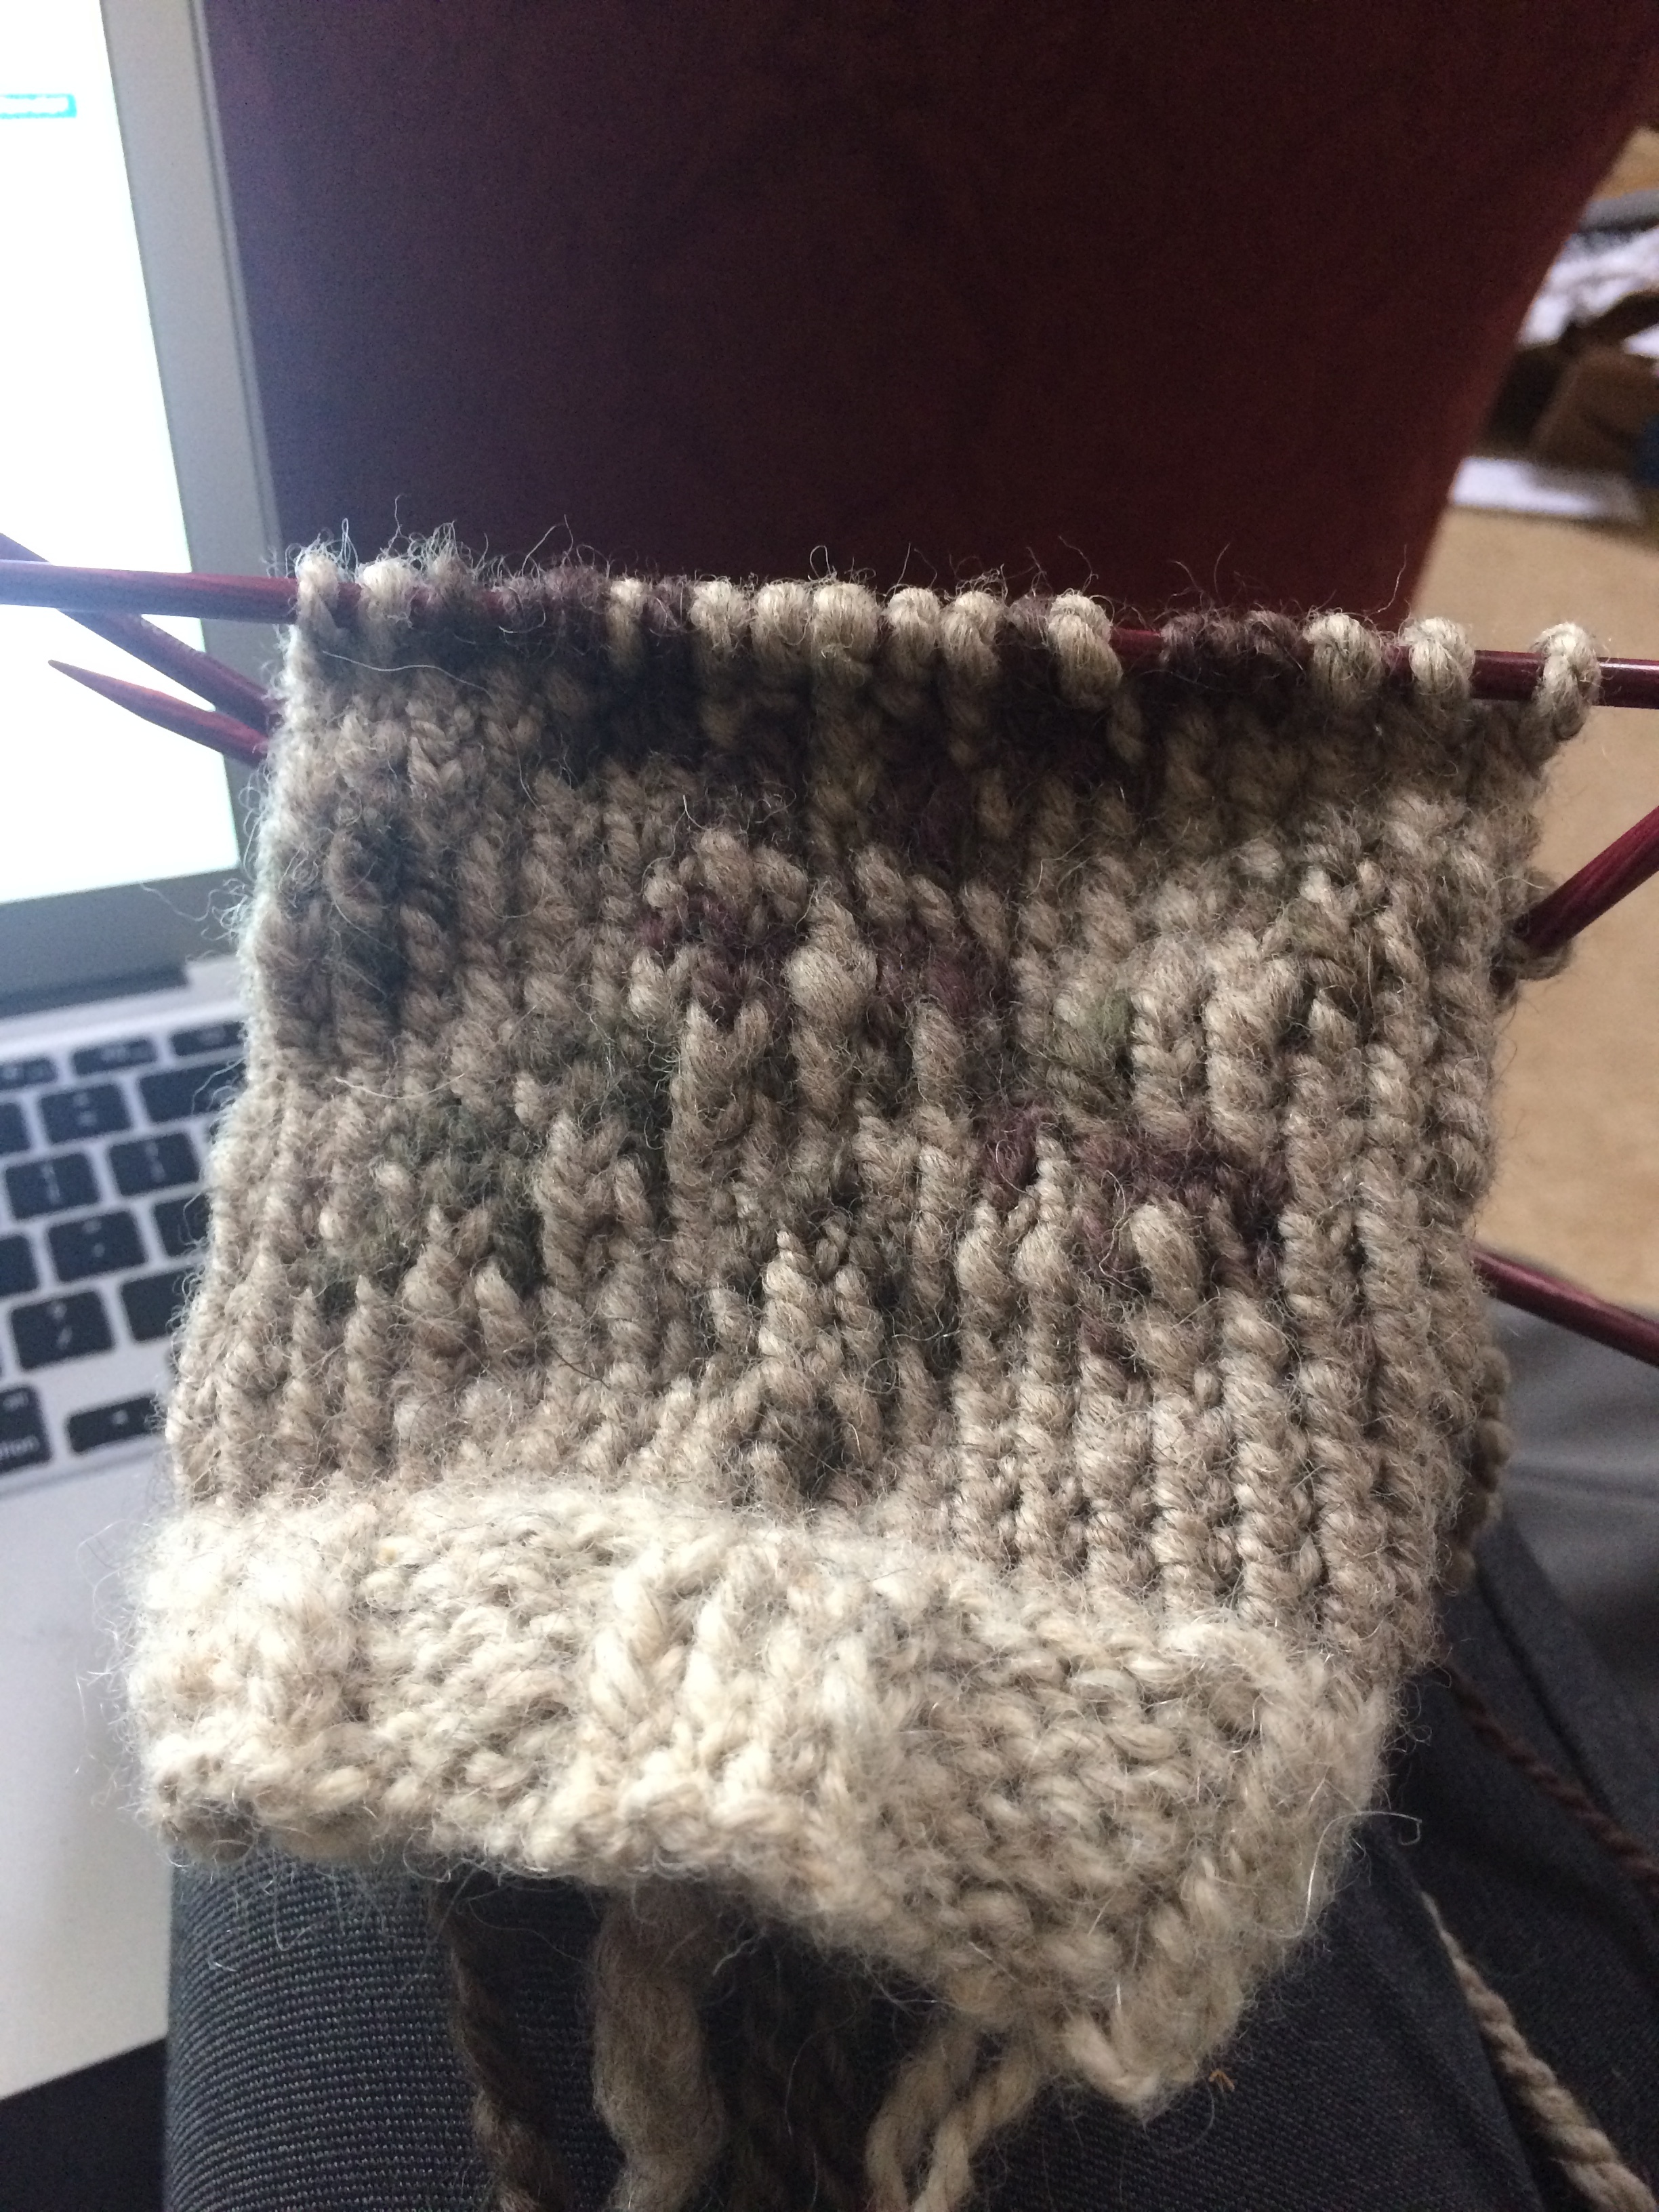
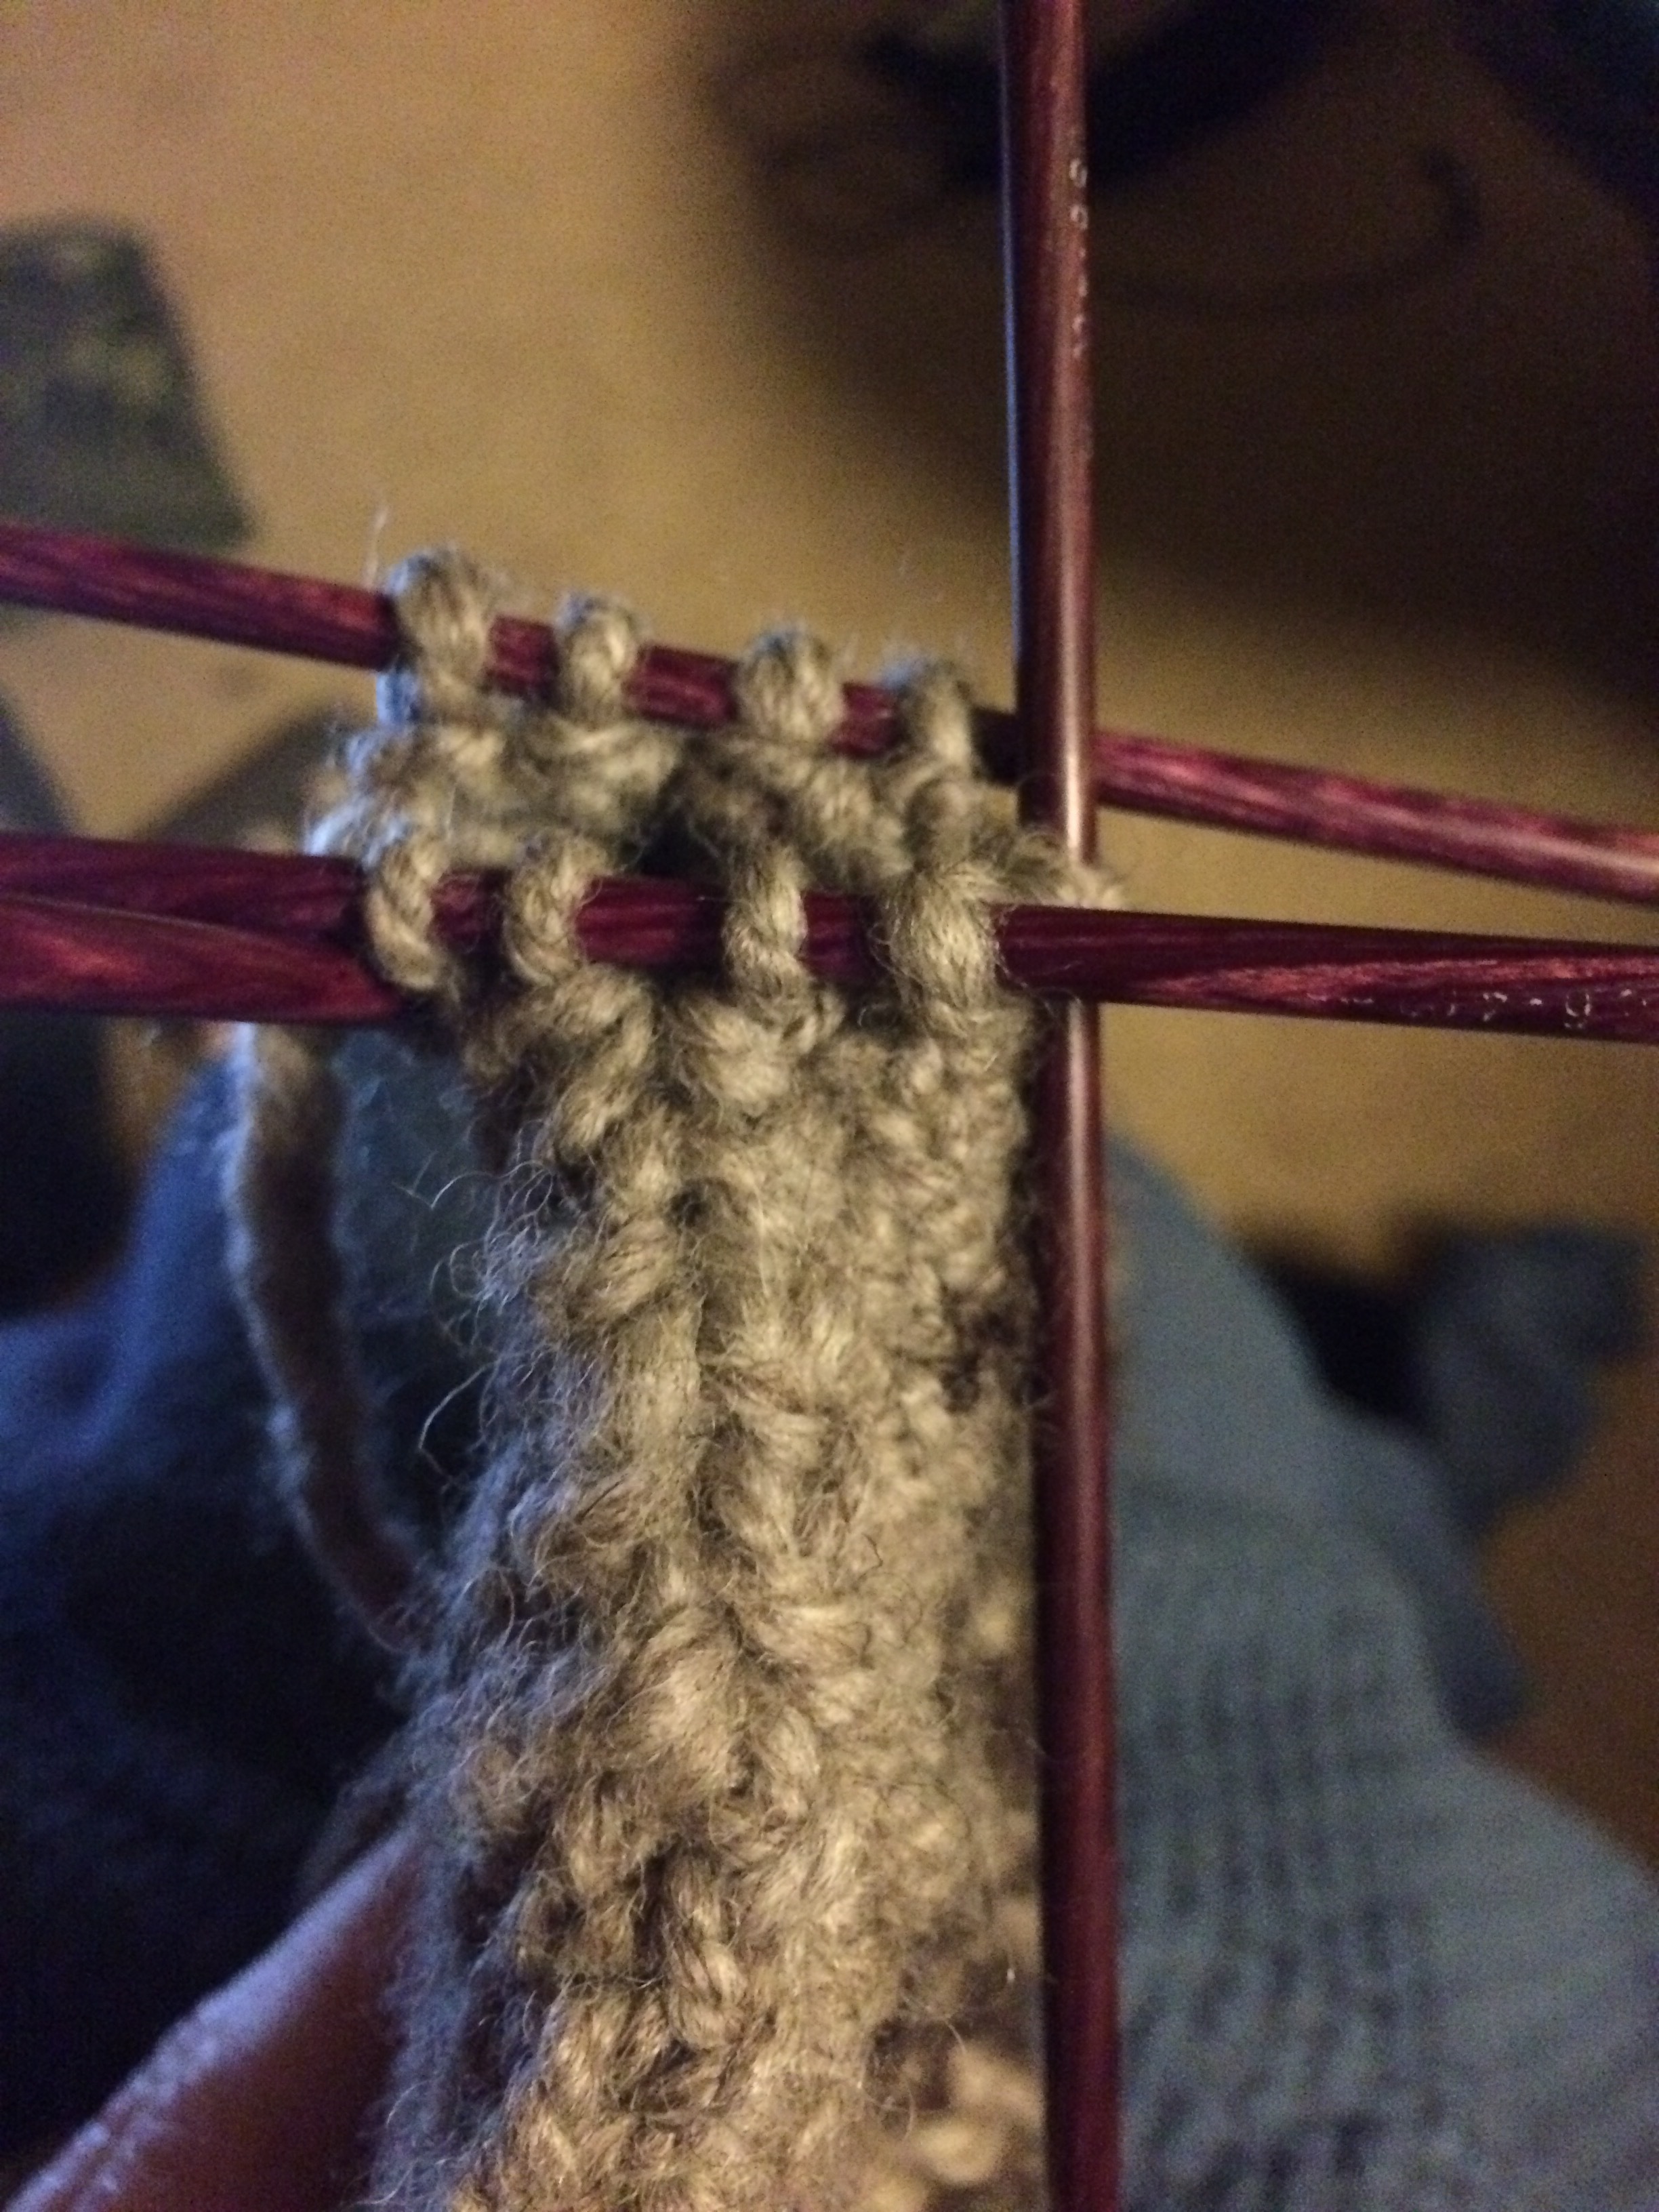
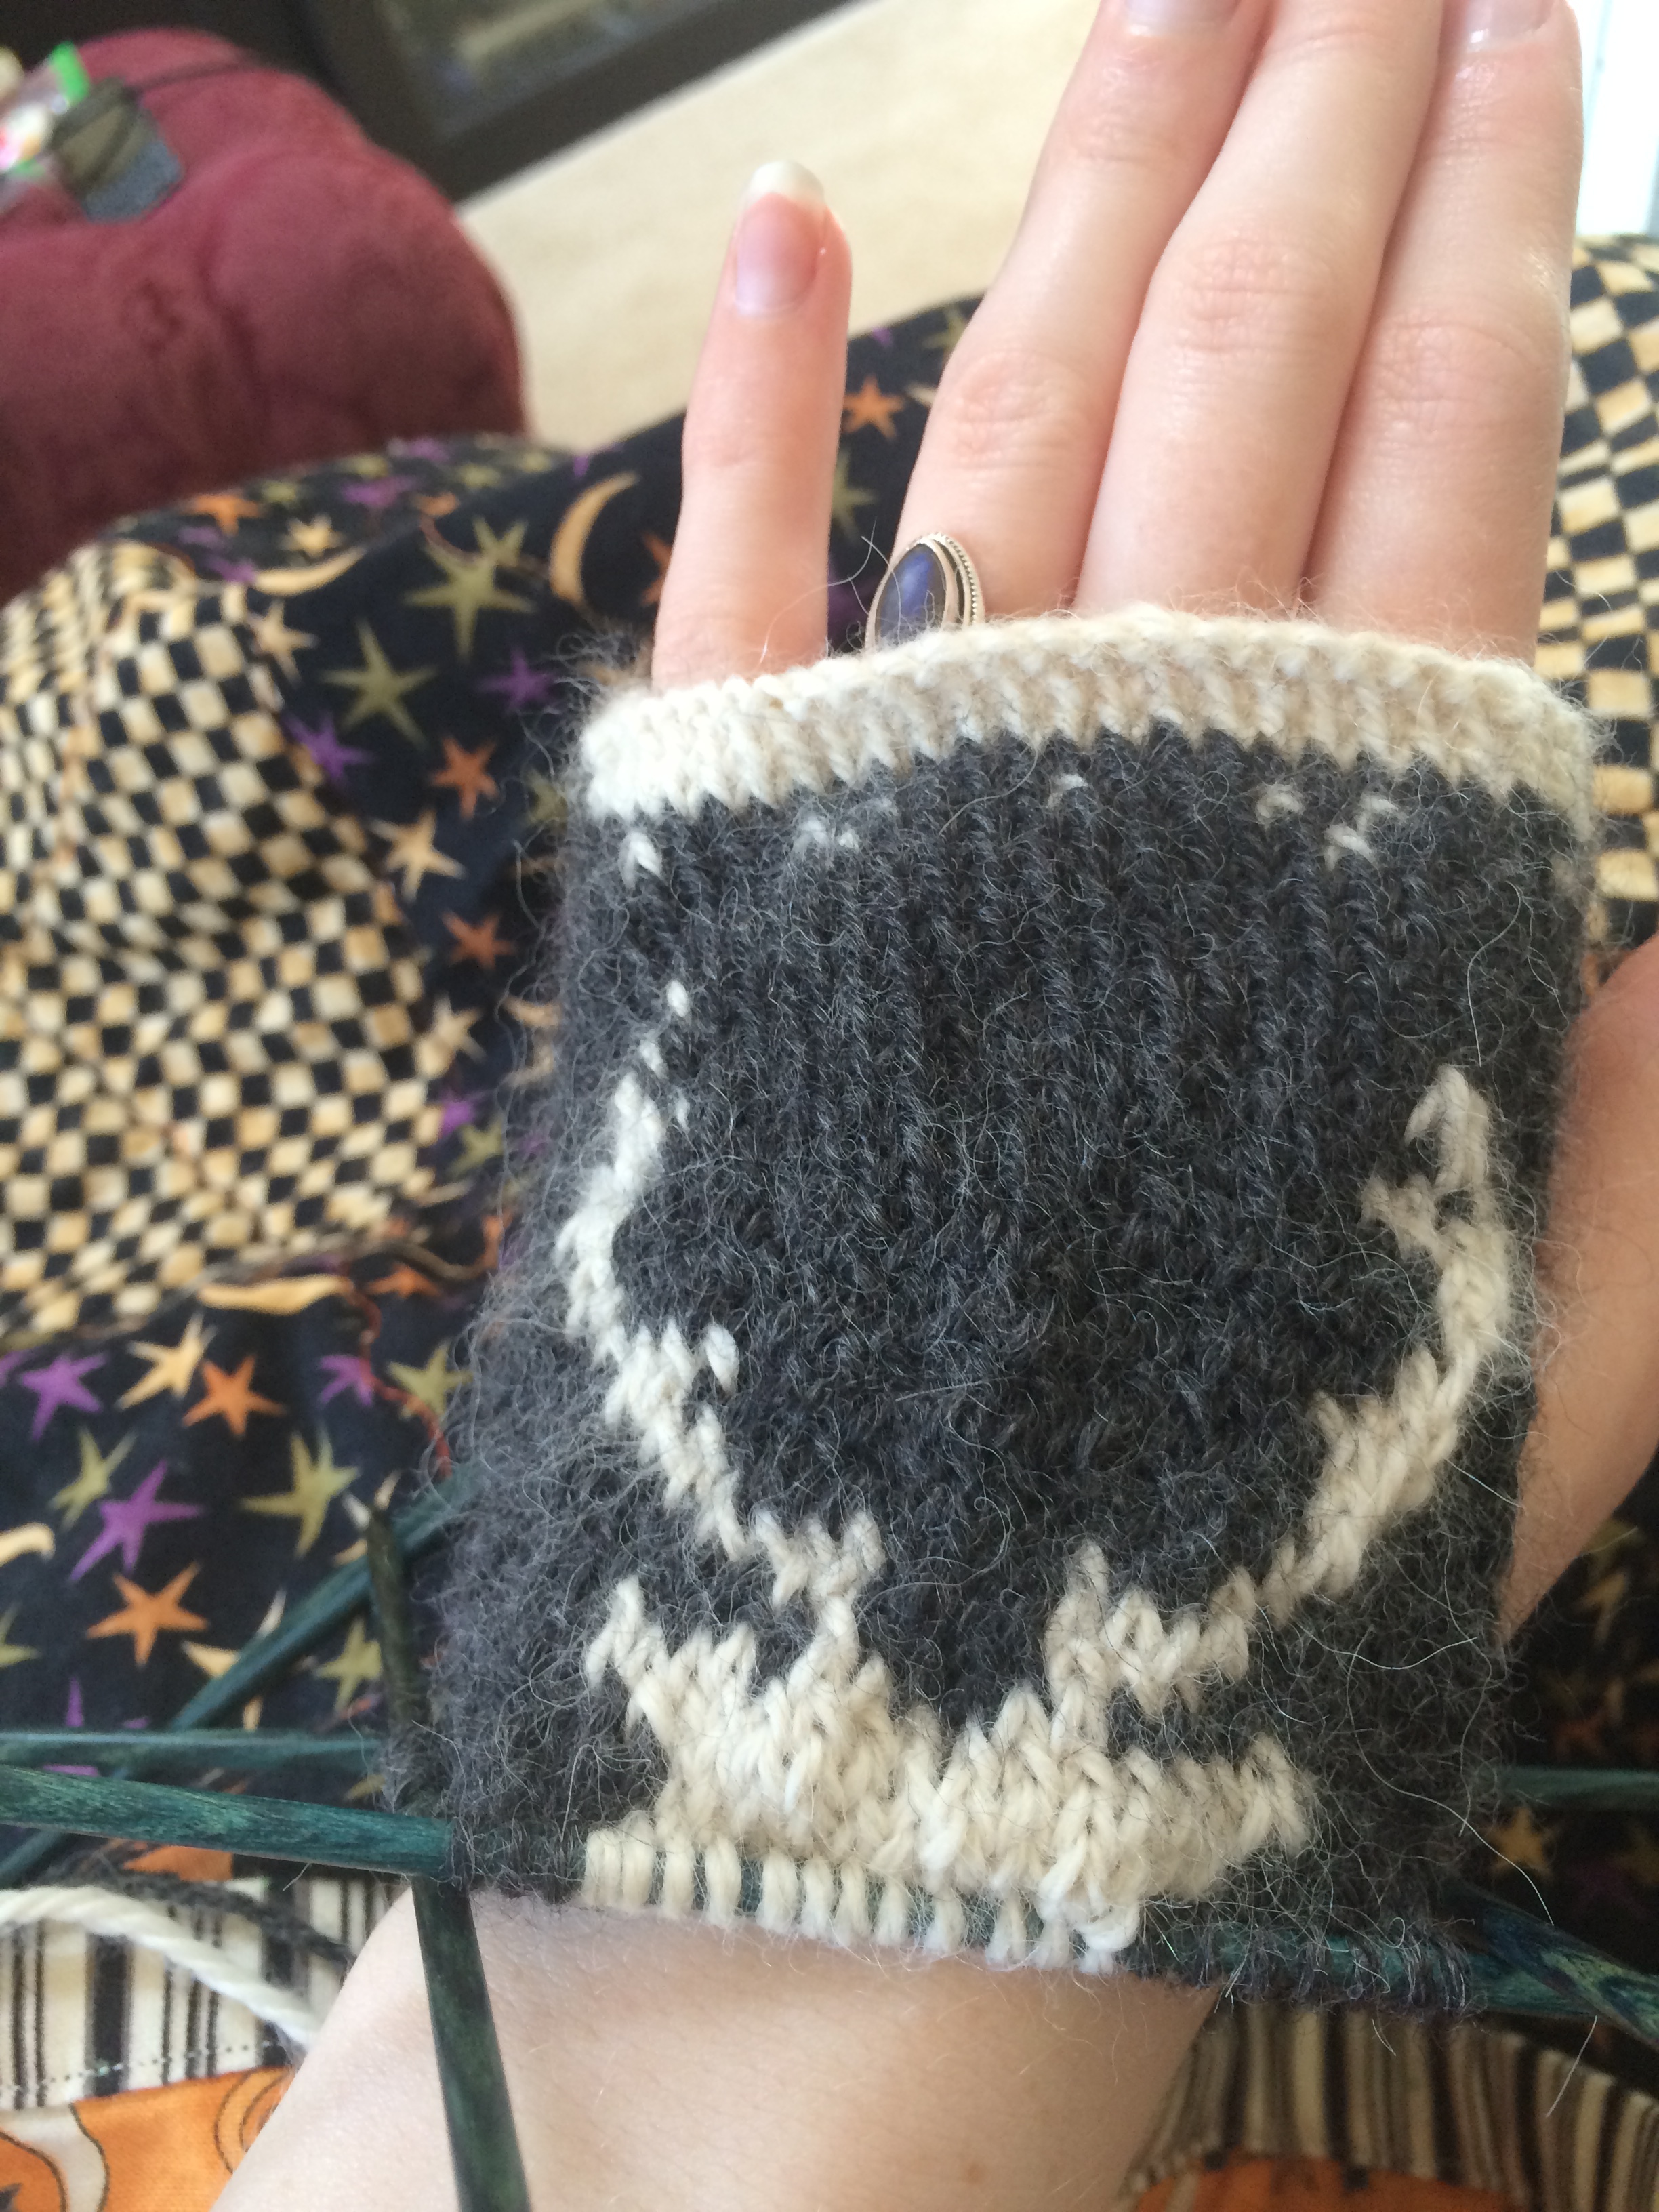
Plus the colour work made everything feel like it was knitting up so much more quickly.  I love checklists and marking things as complete, so working the chart made it possible to see the very real progress I was making.  I love simple and straight forward designs, but I have a tendency to get bored if I work on them too long because doing the same thing over and over again can make me feel like I'm going nowhere.  

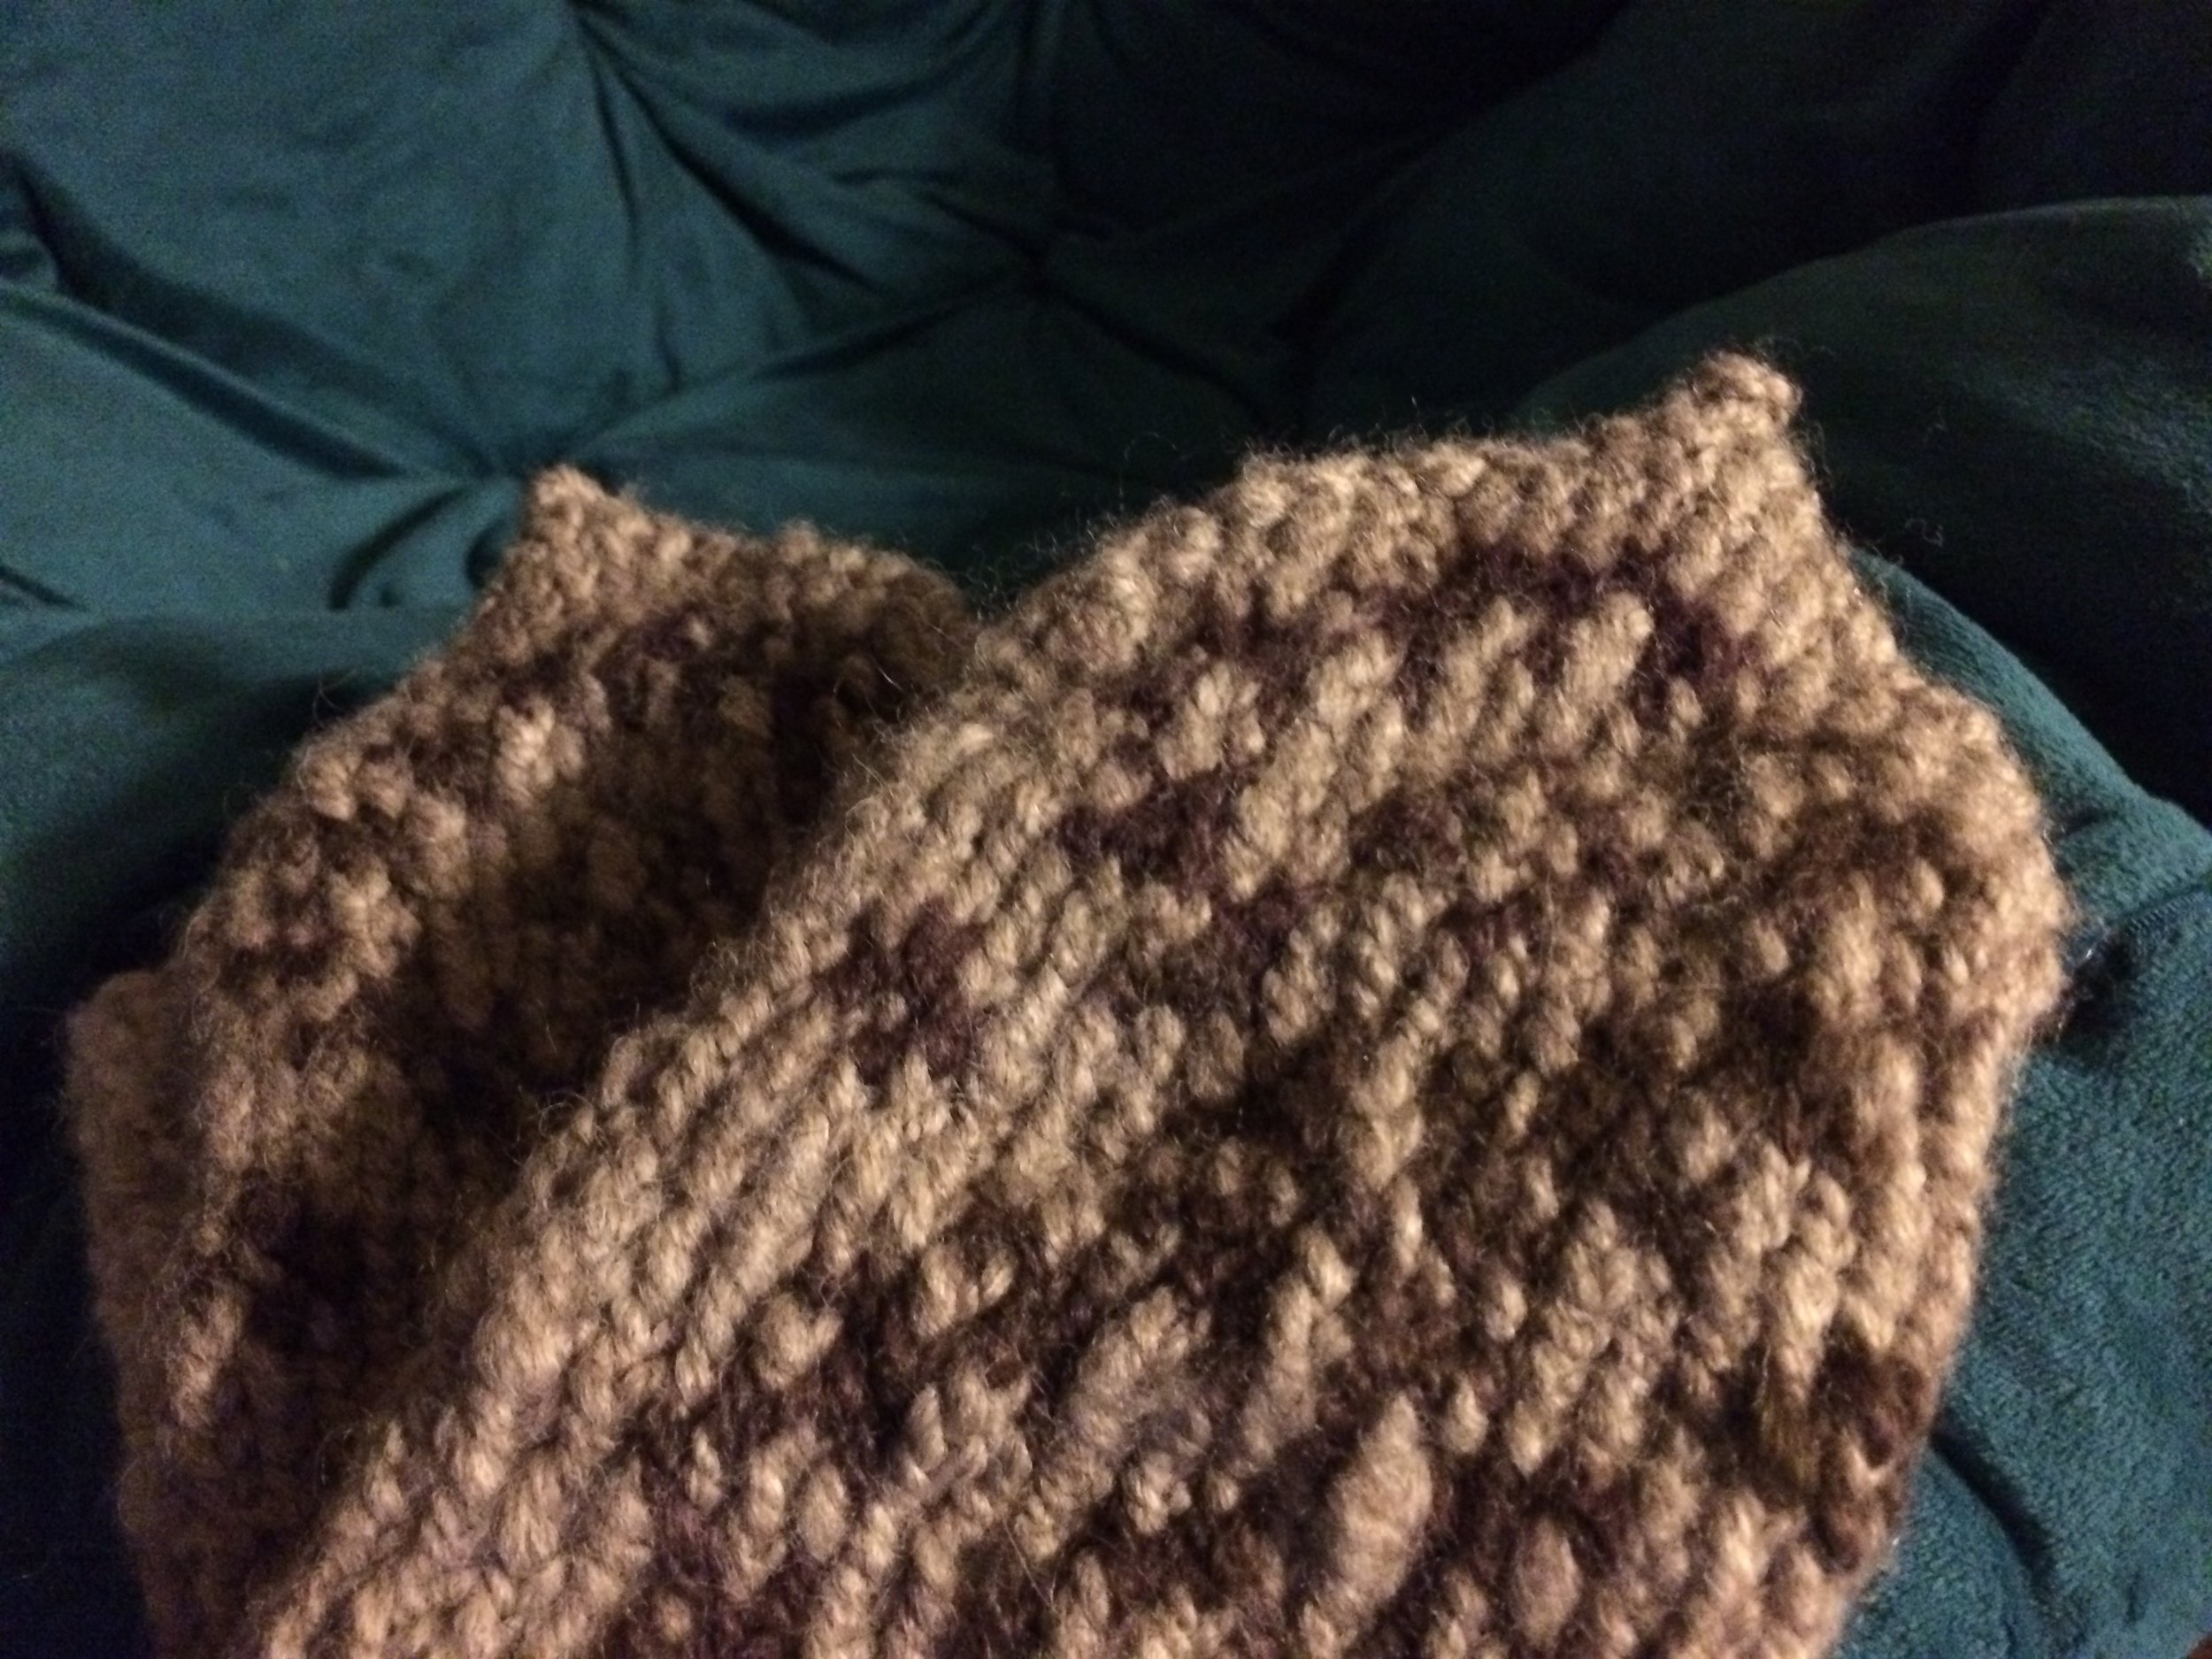
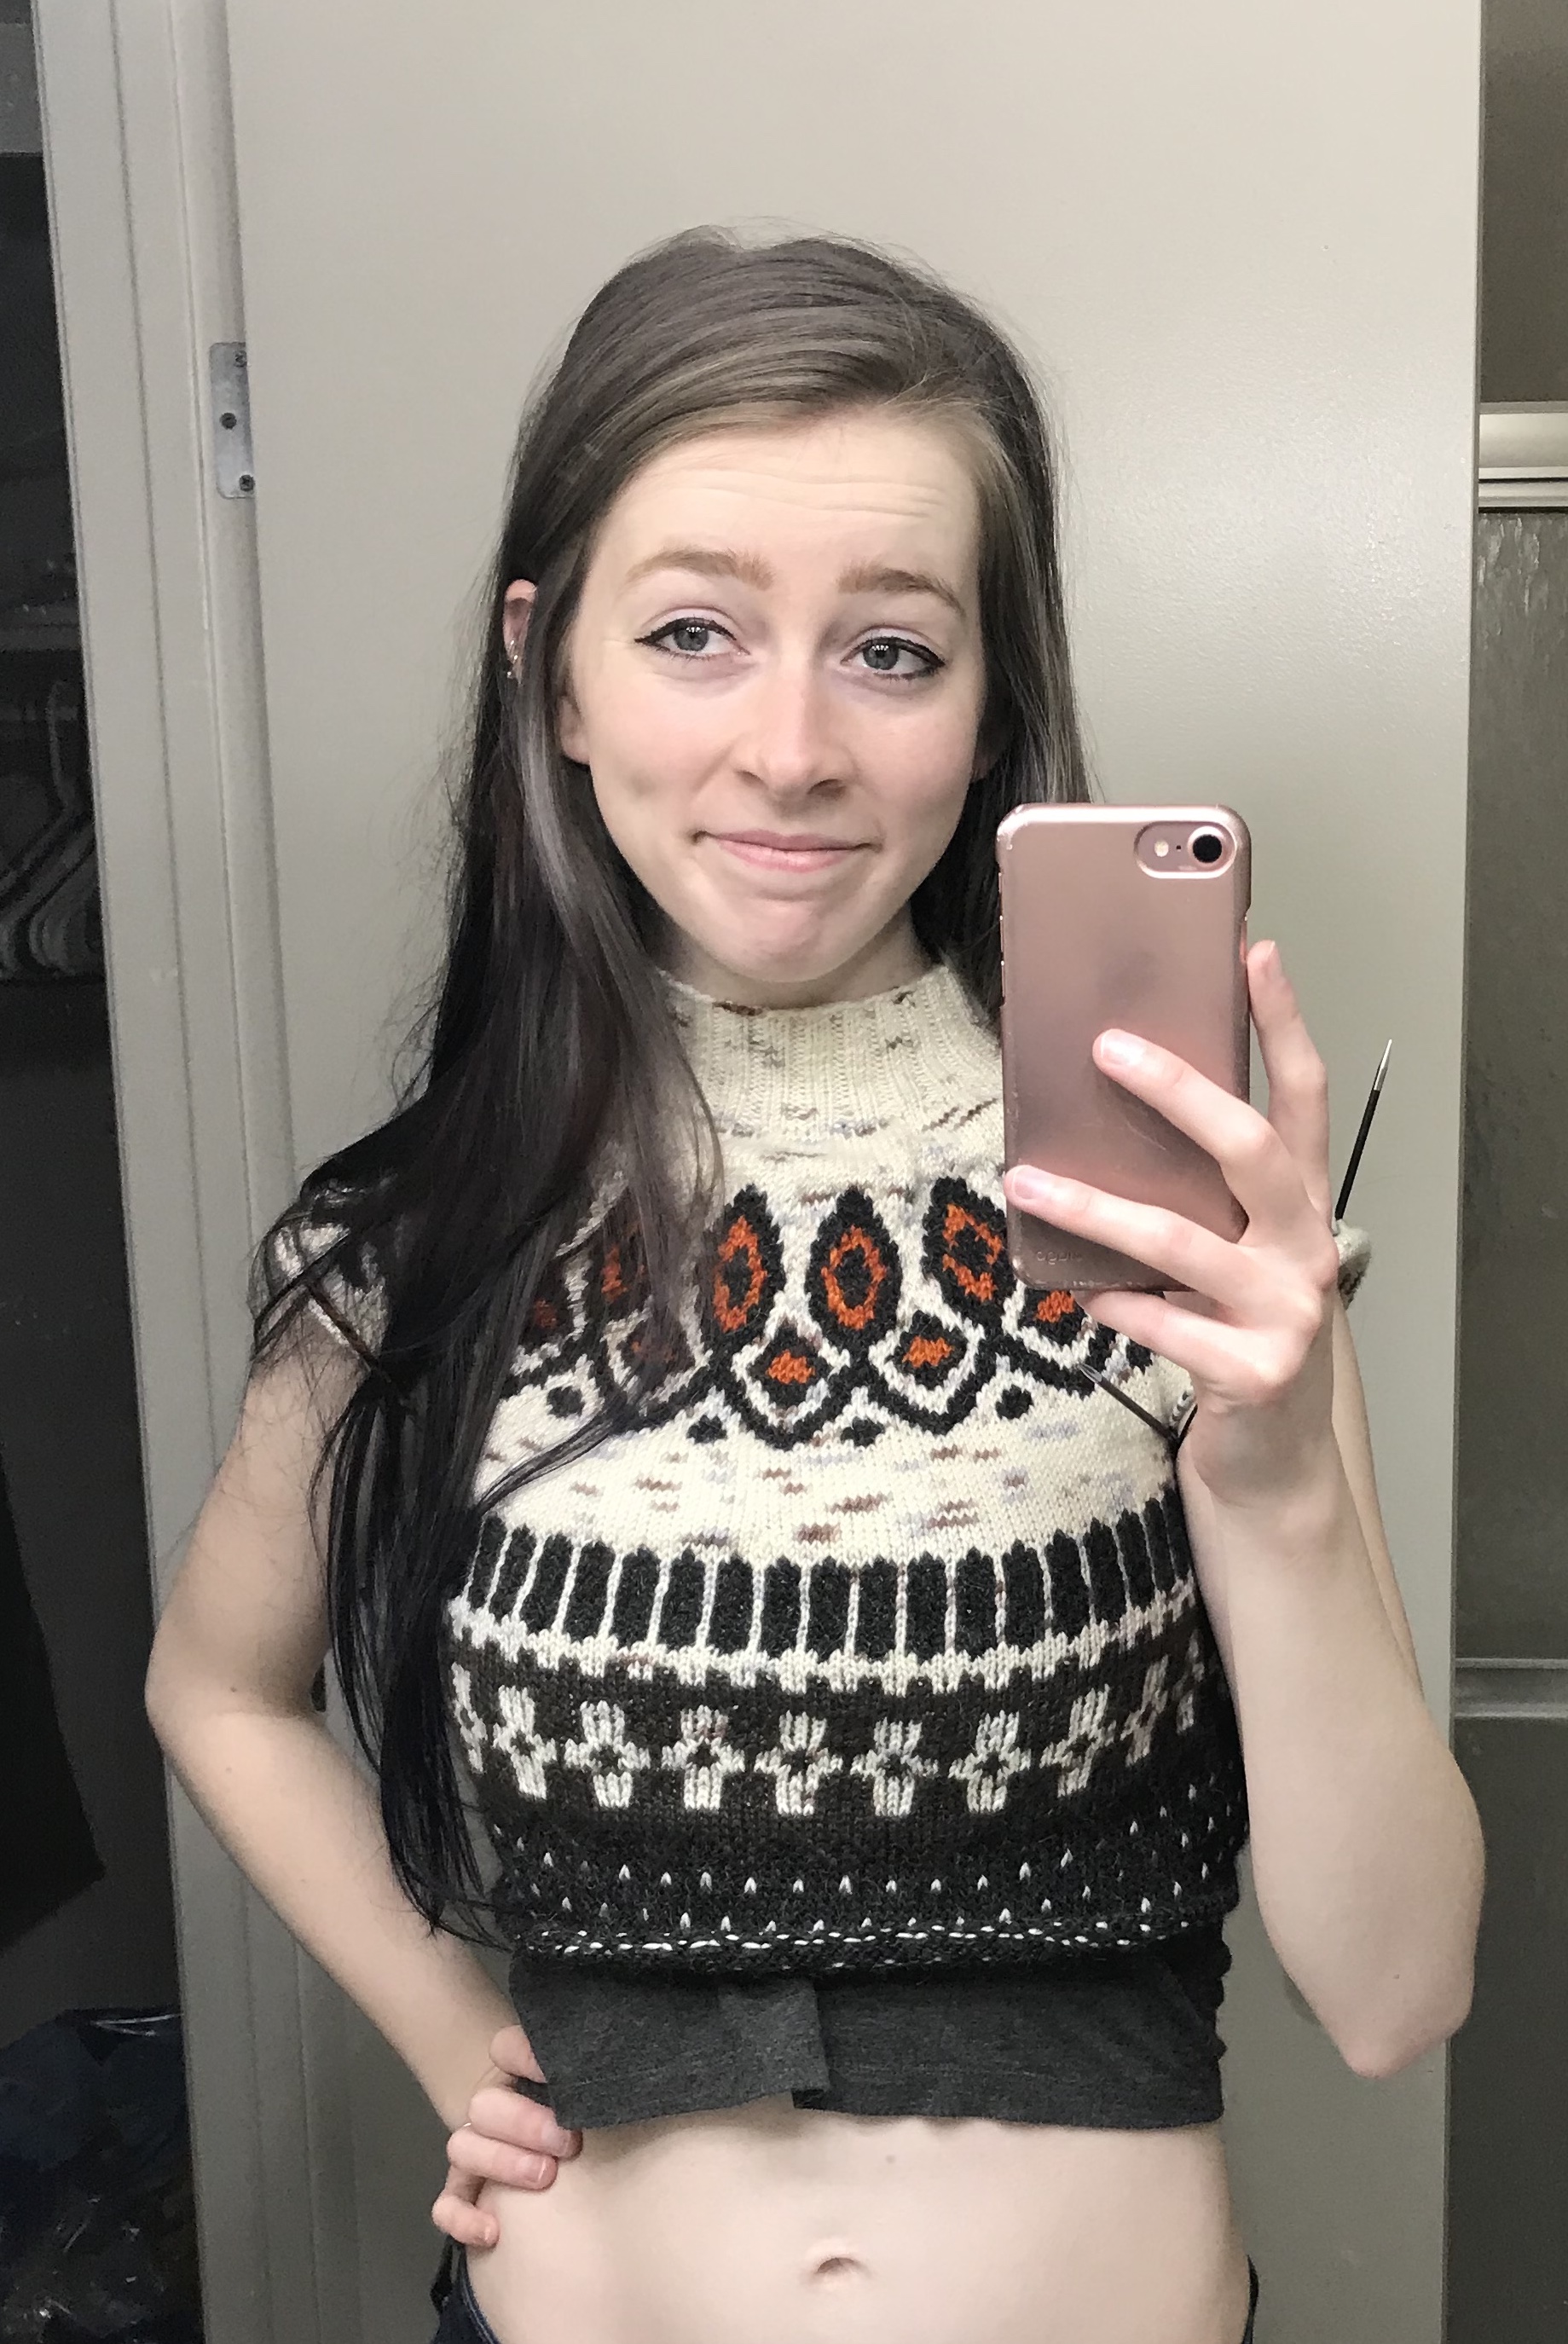
With Alyeska the progress felt more tangible.  Before I knew it I had a super cute crop top that I had to talk myself out of leaving like this, because I am a menace and thought it might be fun to leave it just like the picture below (with a little ribbing at the bottom of course because I'm not a total monster).

fullsizeoutput_1339.jpeg

But I (sort of) knew that was silly and that I would be happier to see the project fully through.  In no time the body was complete and it was on to the sleeves.  

And yes, I'm glad it's not a crop top.  Sort of. ;)

IMG_2127.JPG

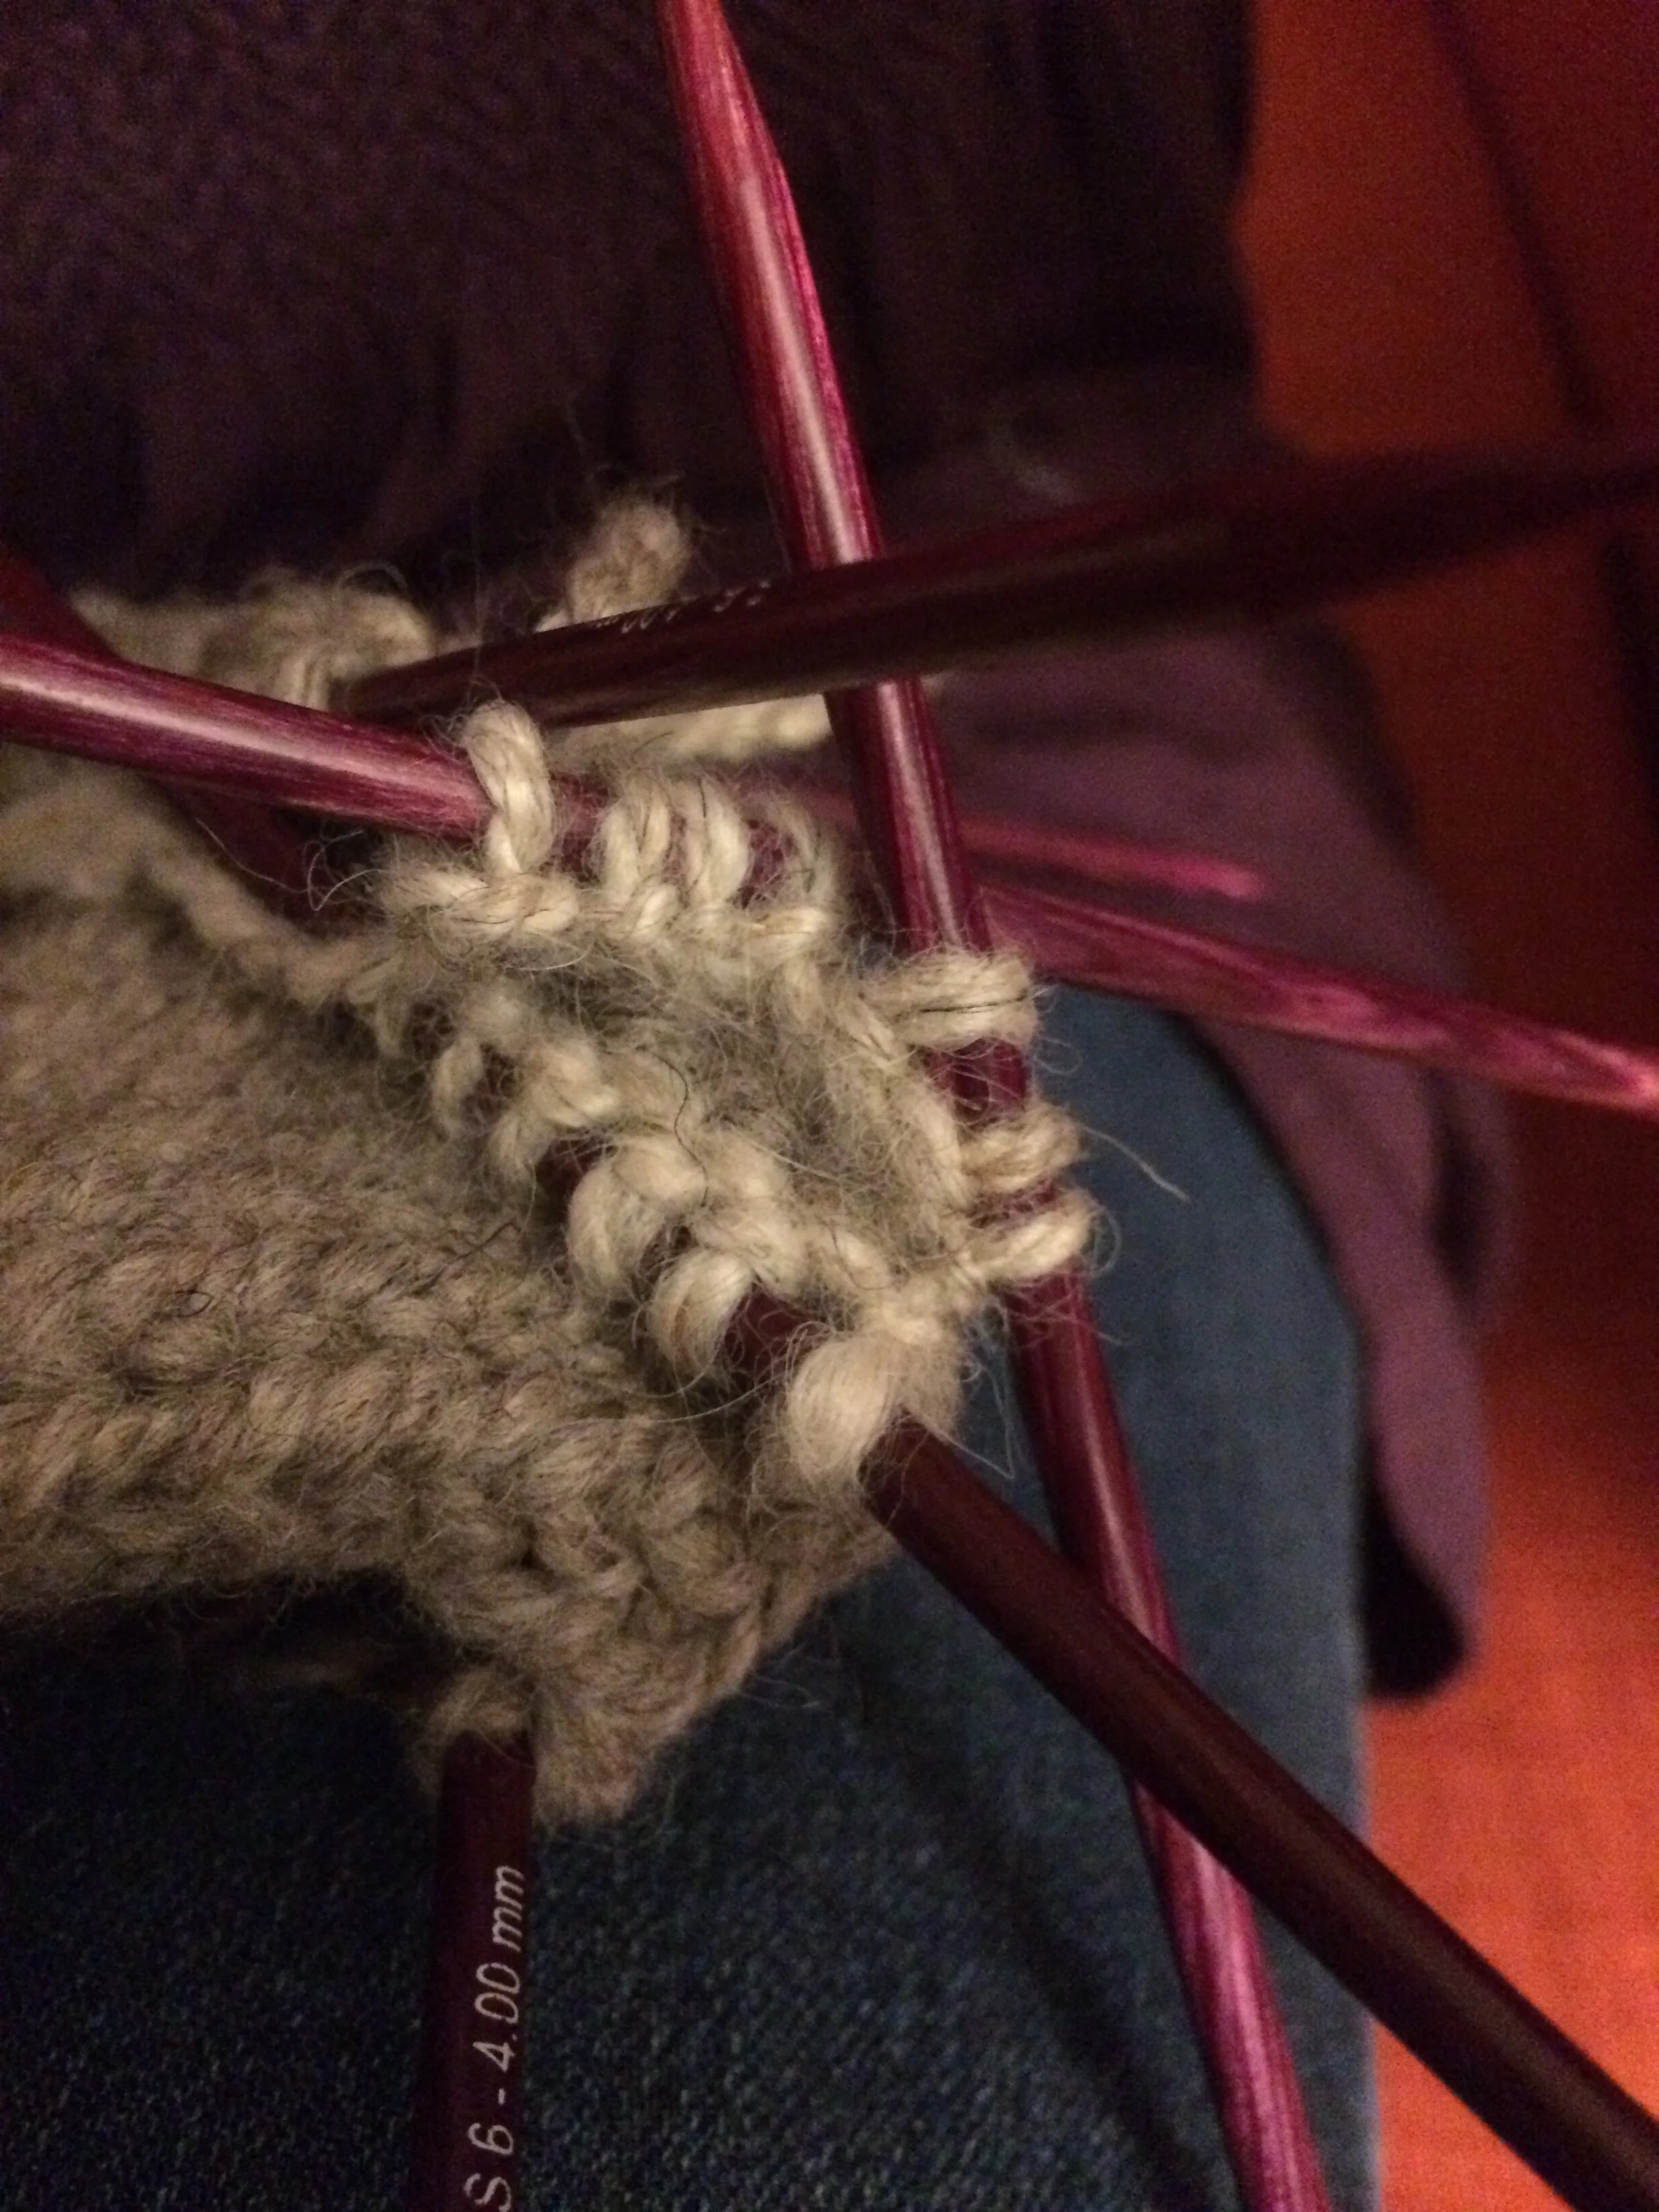
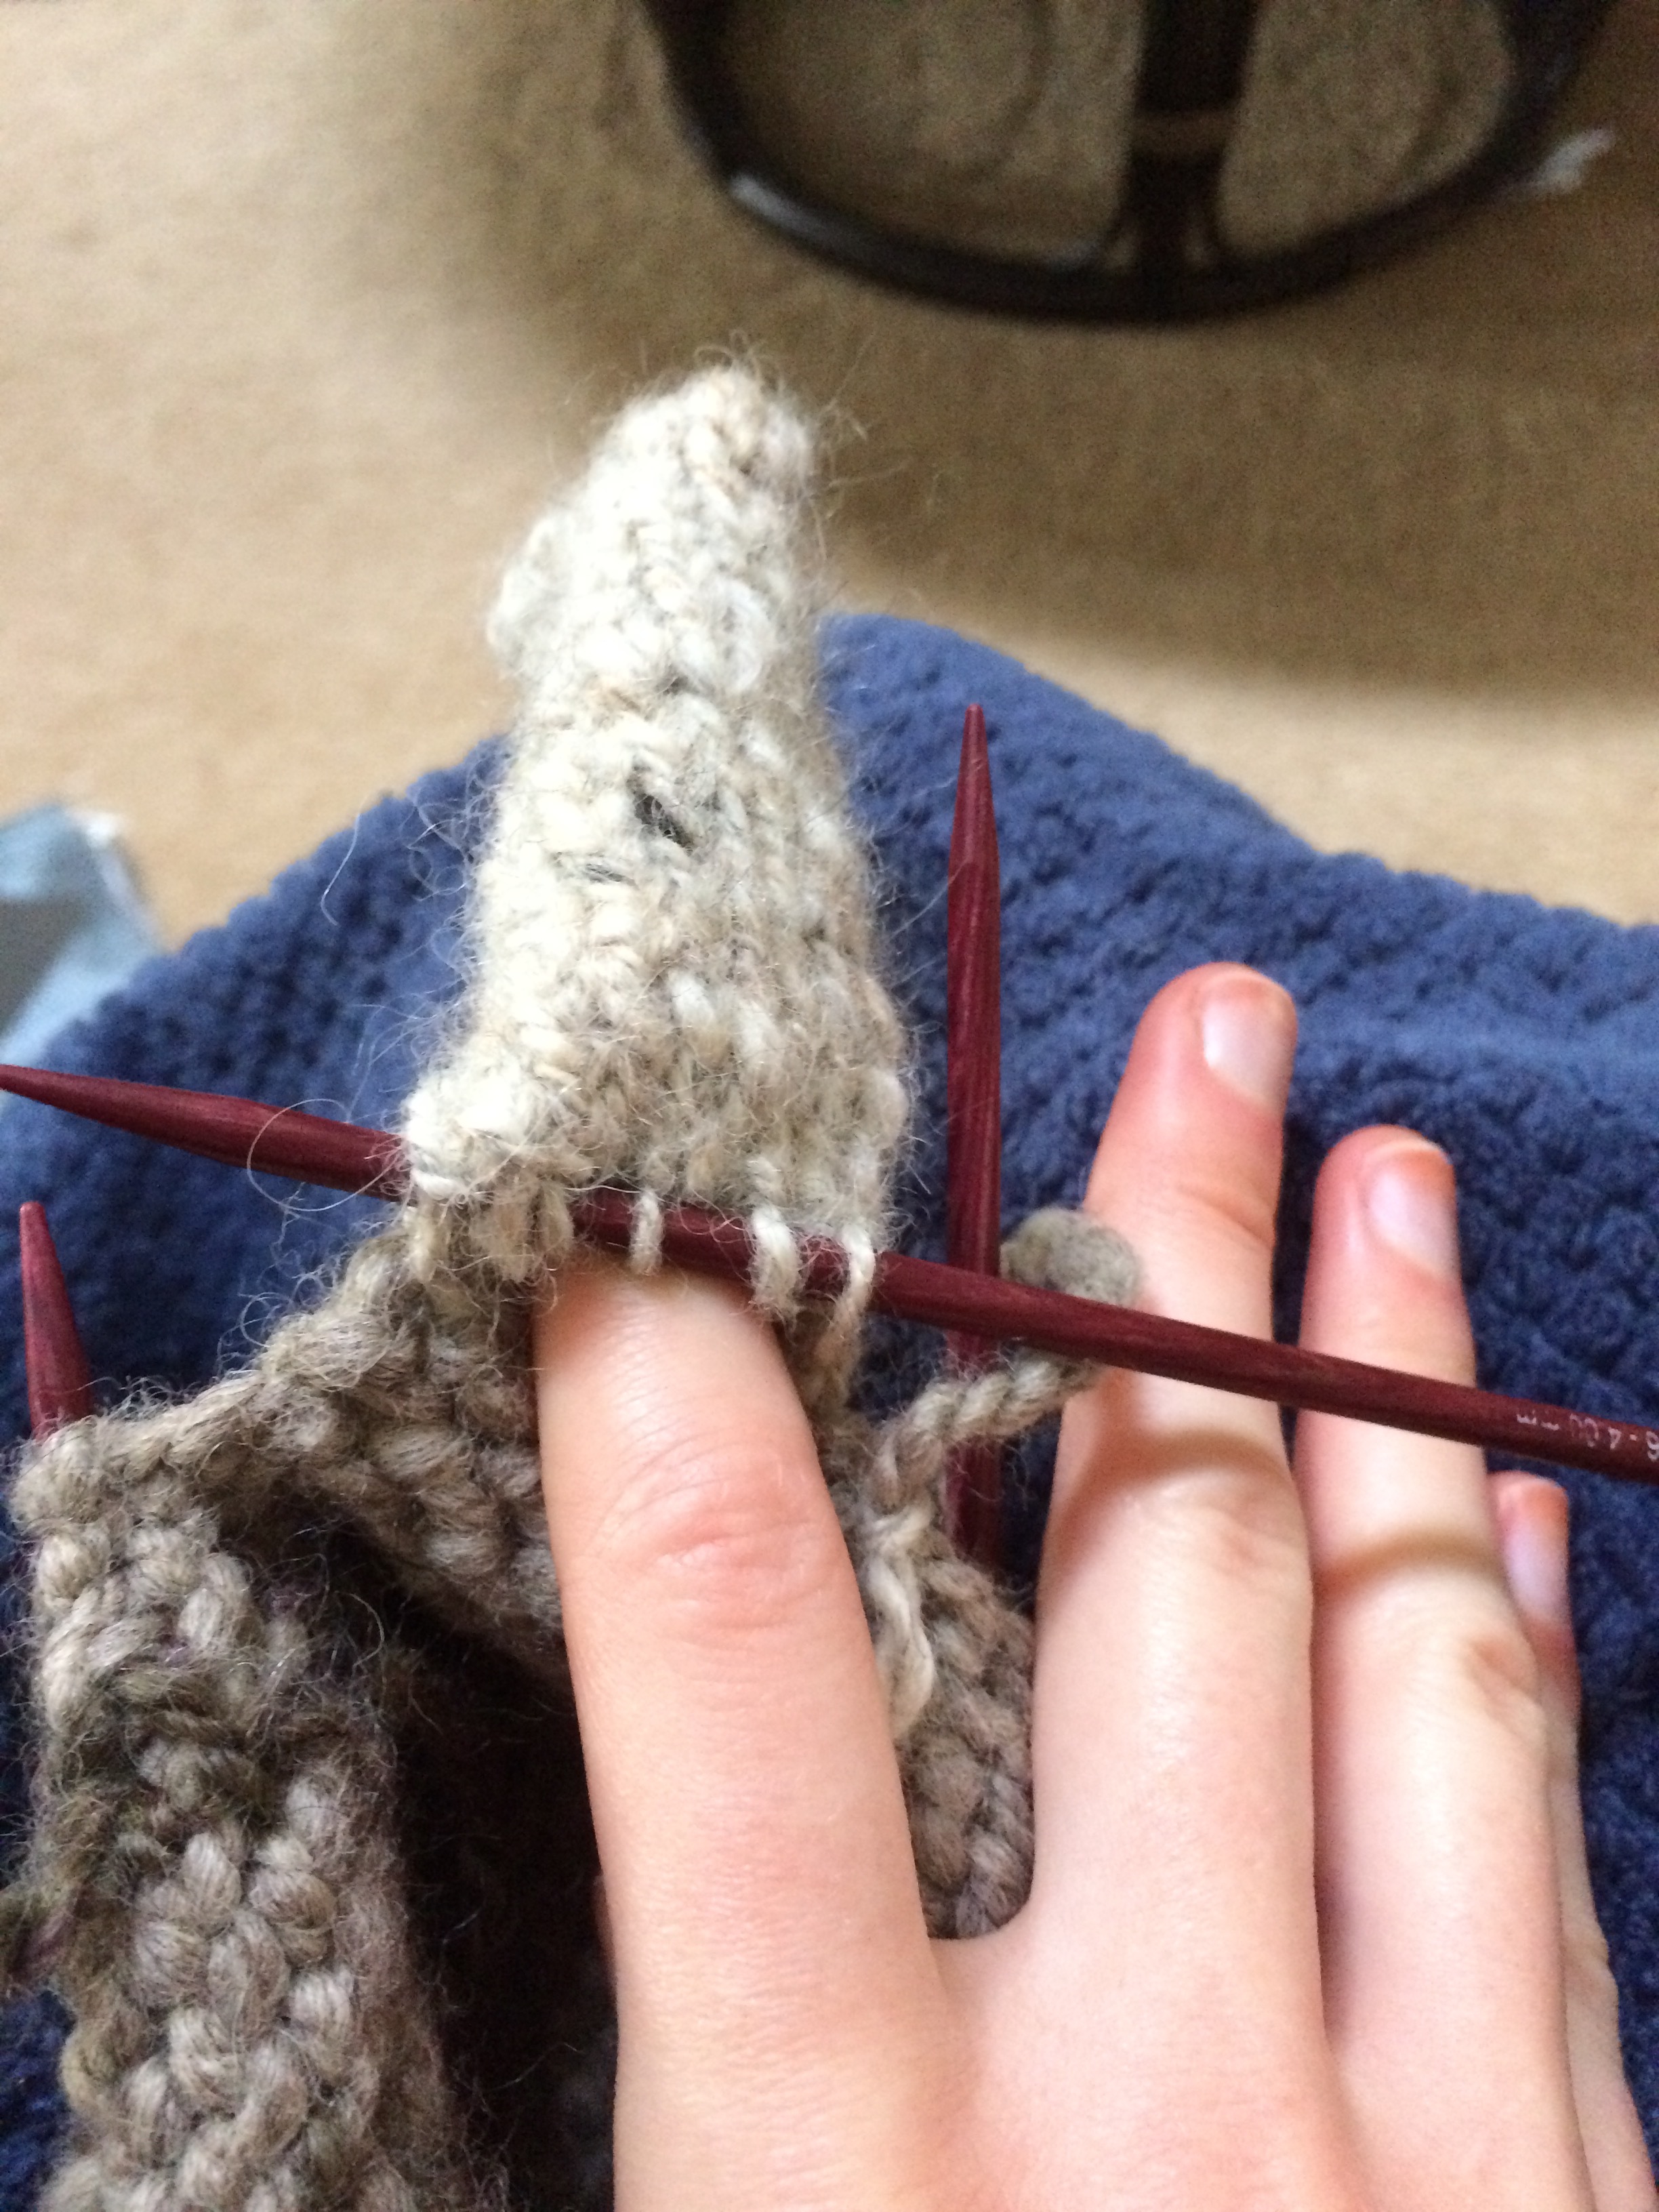
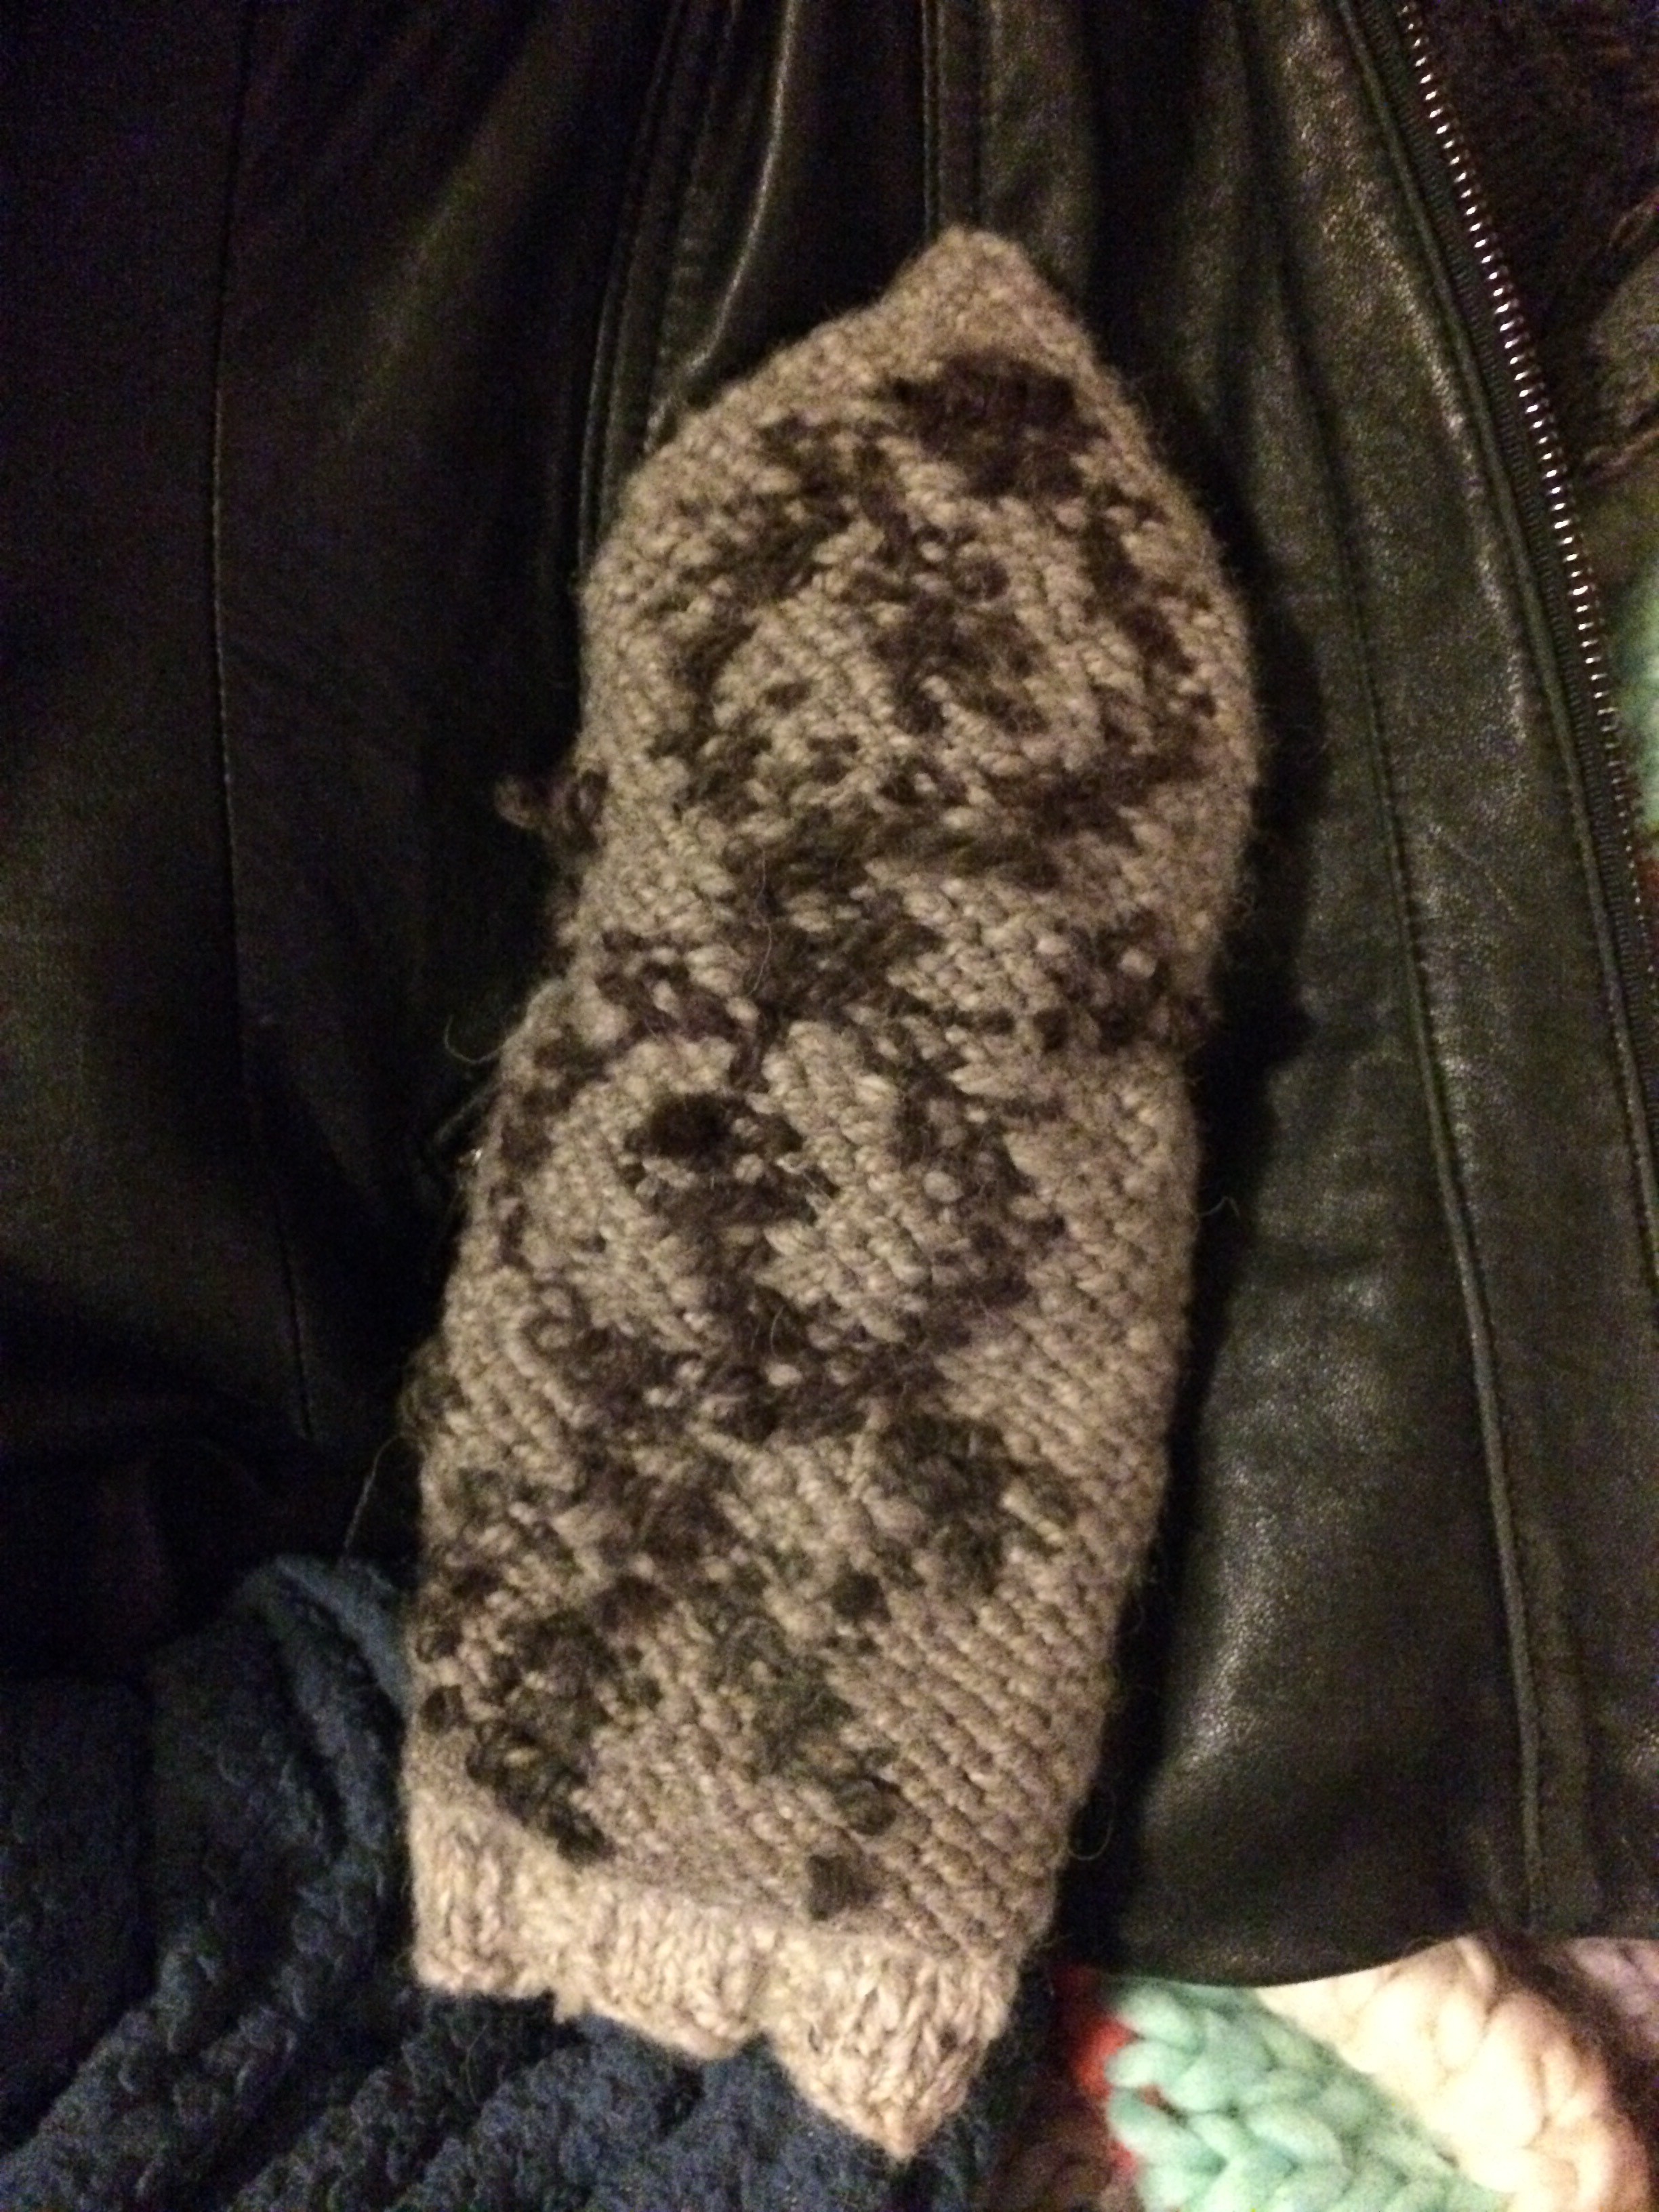
The sleeves came together quickly, which was good and bad because I got halfway through on both only to find out I needed to make the next size up for my sleeves and had to tear it back to where I started and then try again.  

Silver lining:  I needed bigger sleeves because of my biceps being too big for the x-small sleeves.  Which is definitely something I take a lot of pride in!

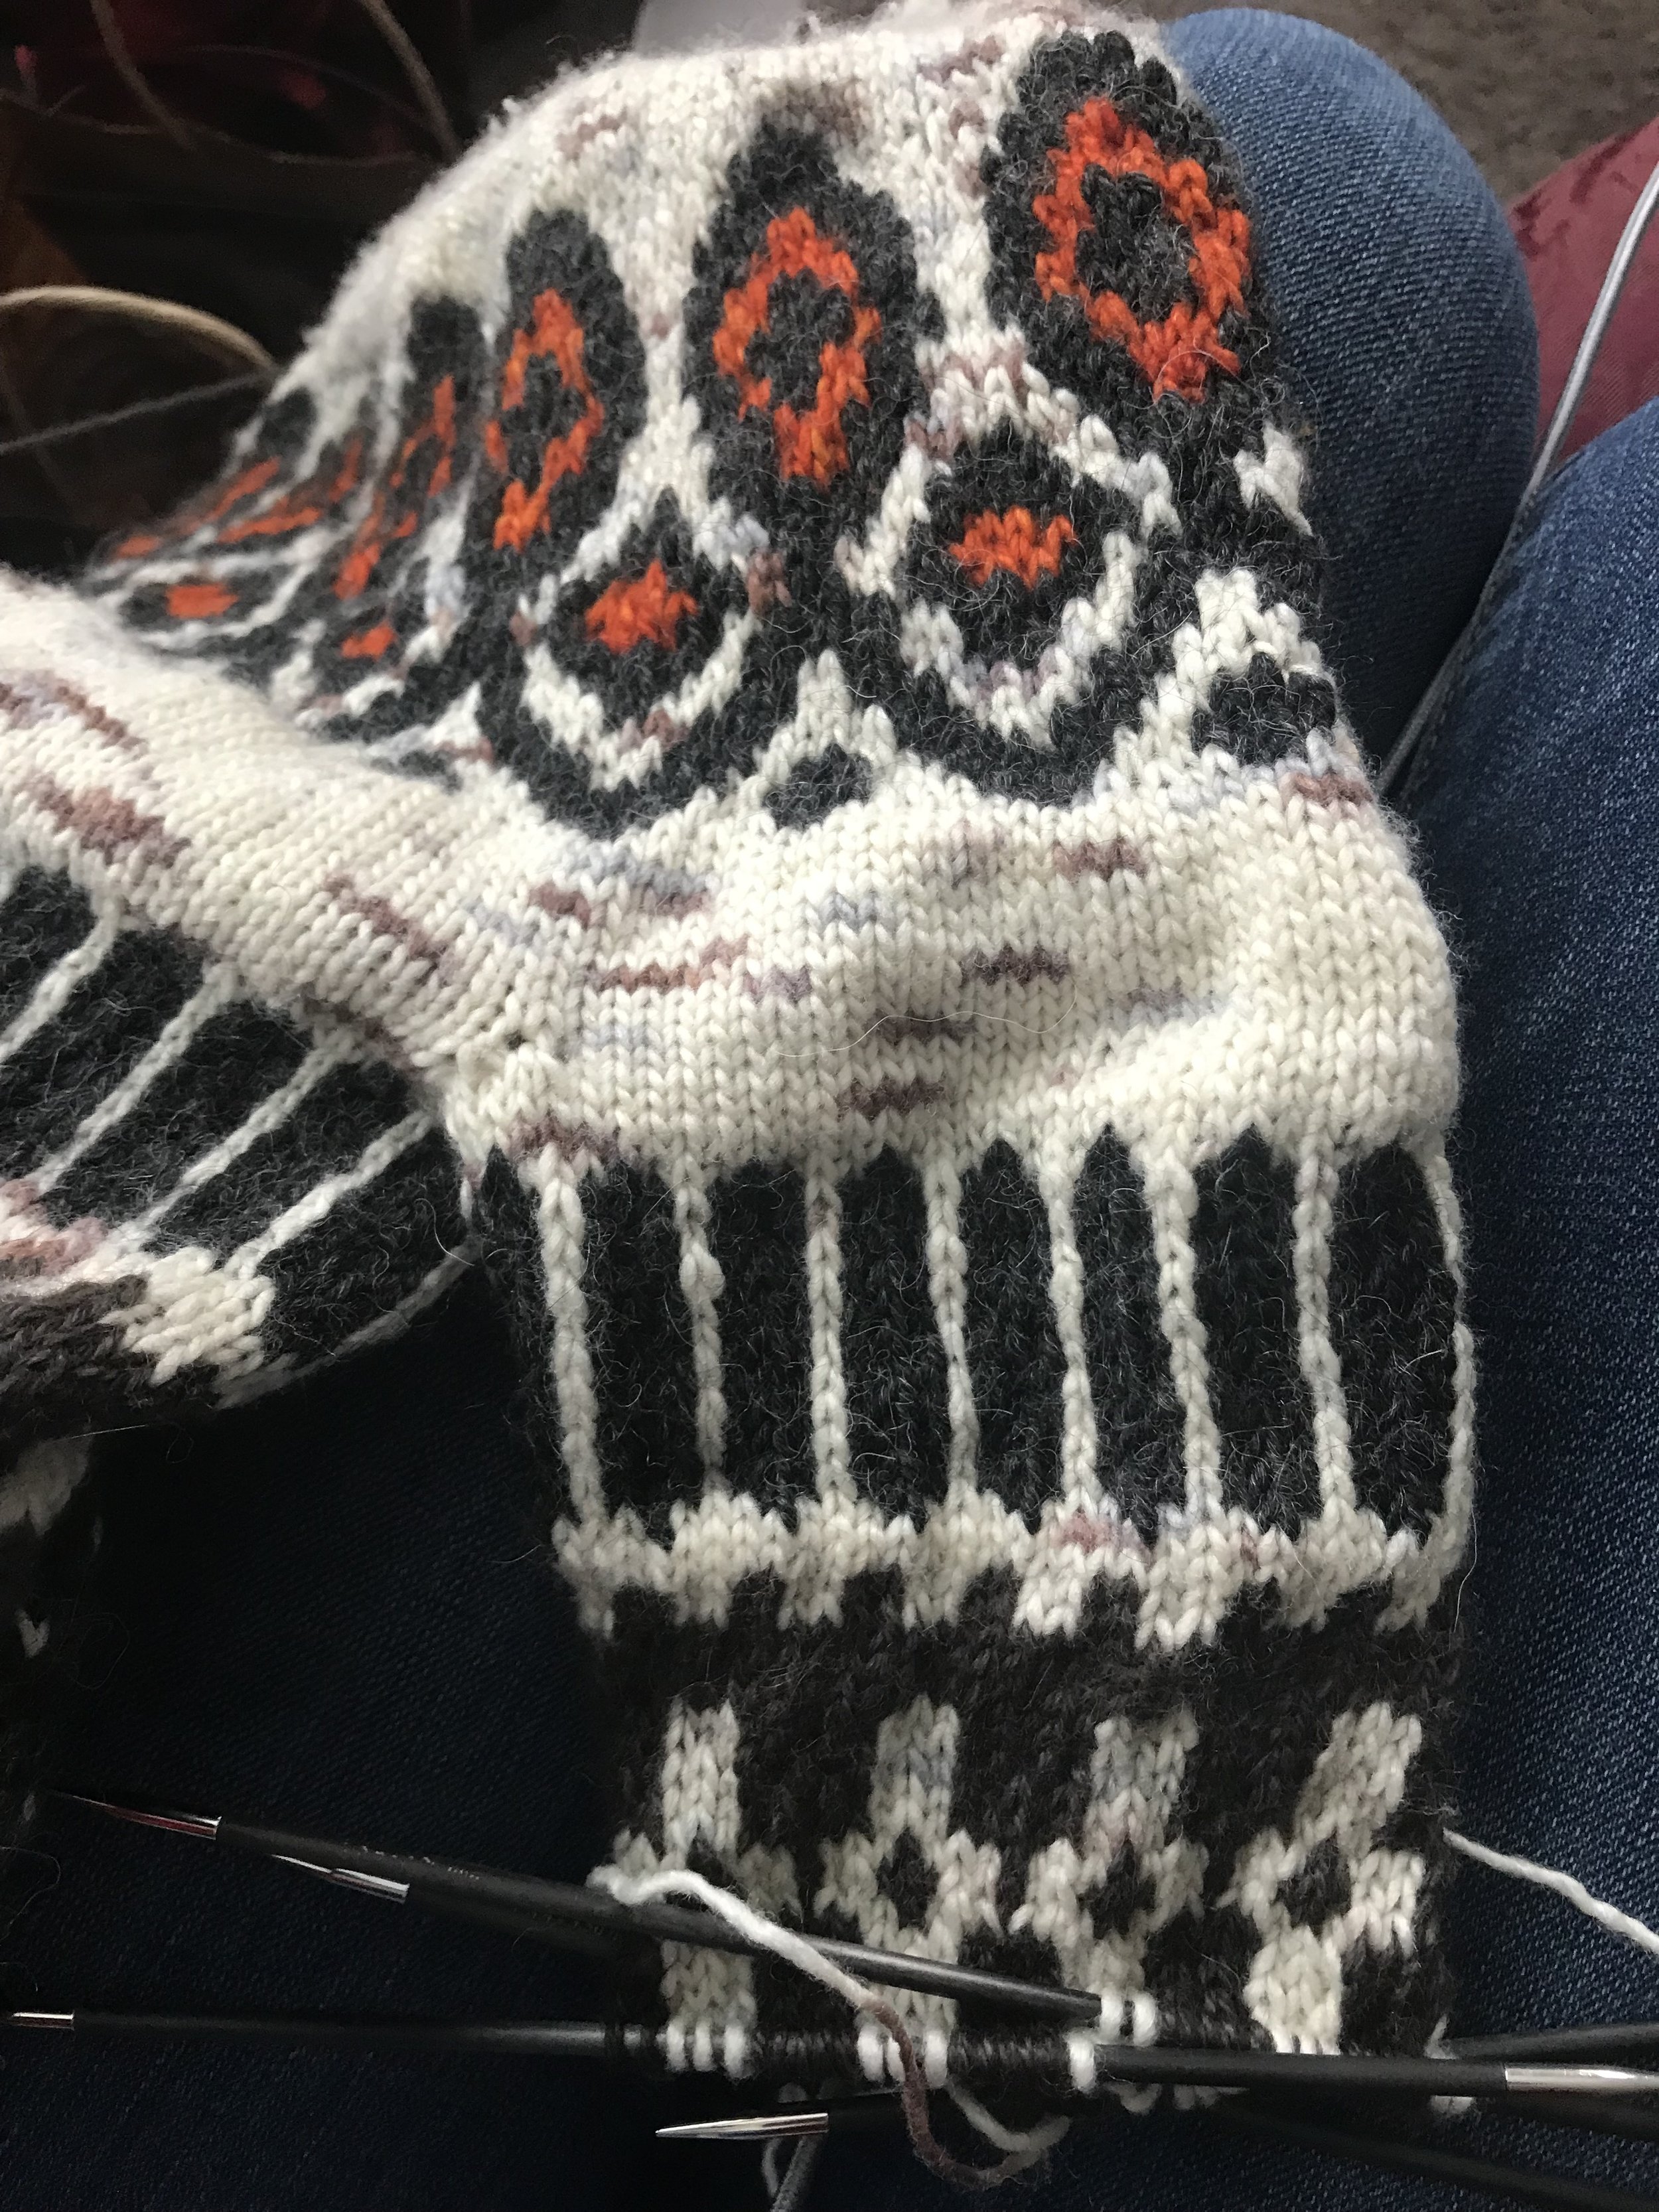
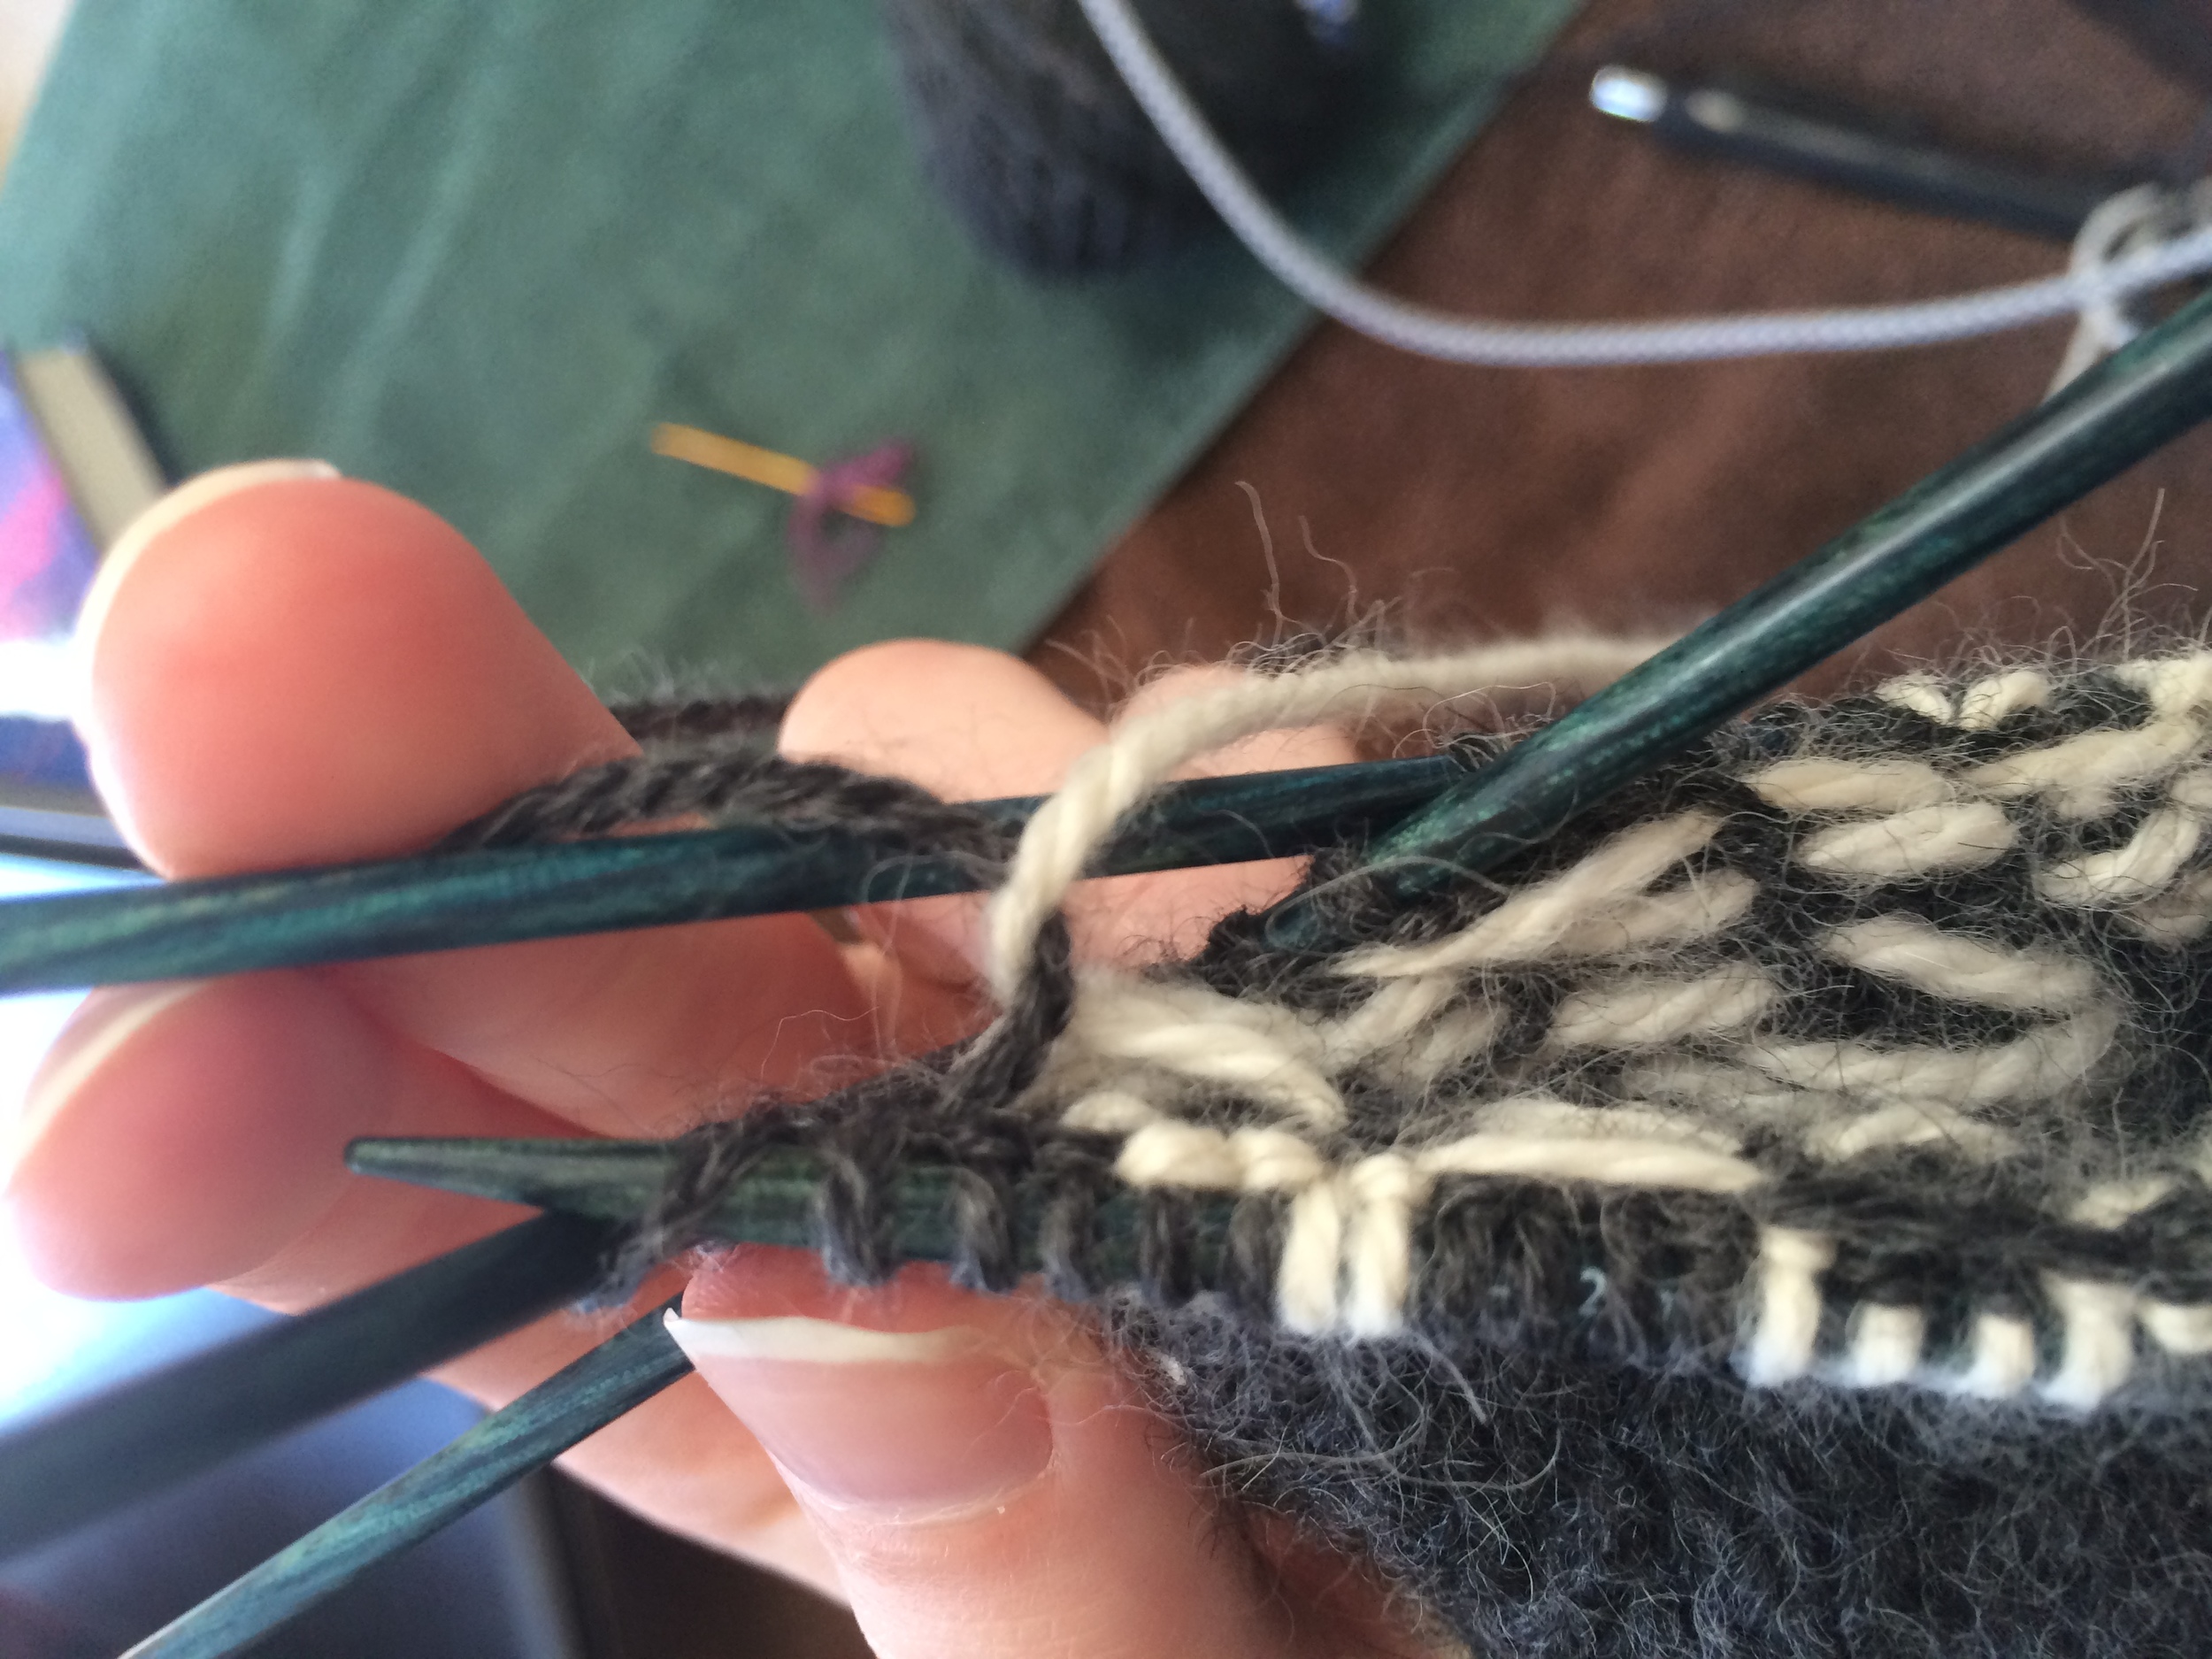
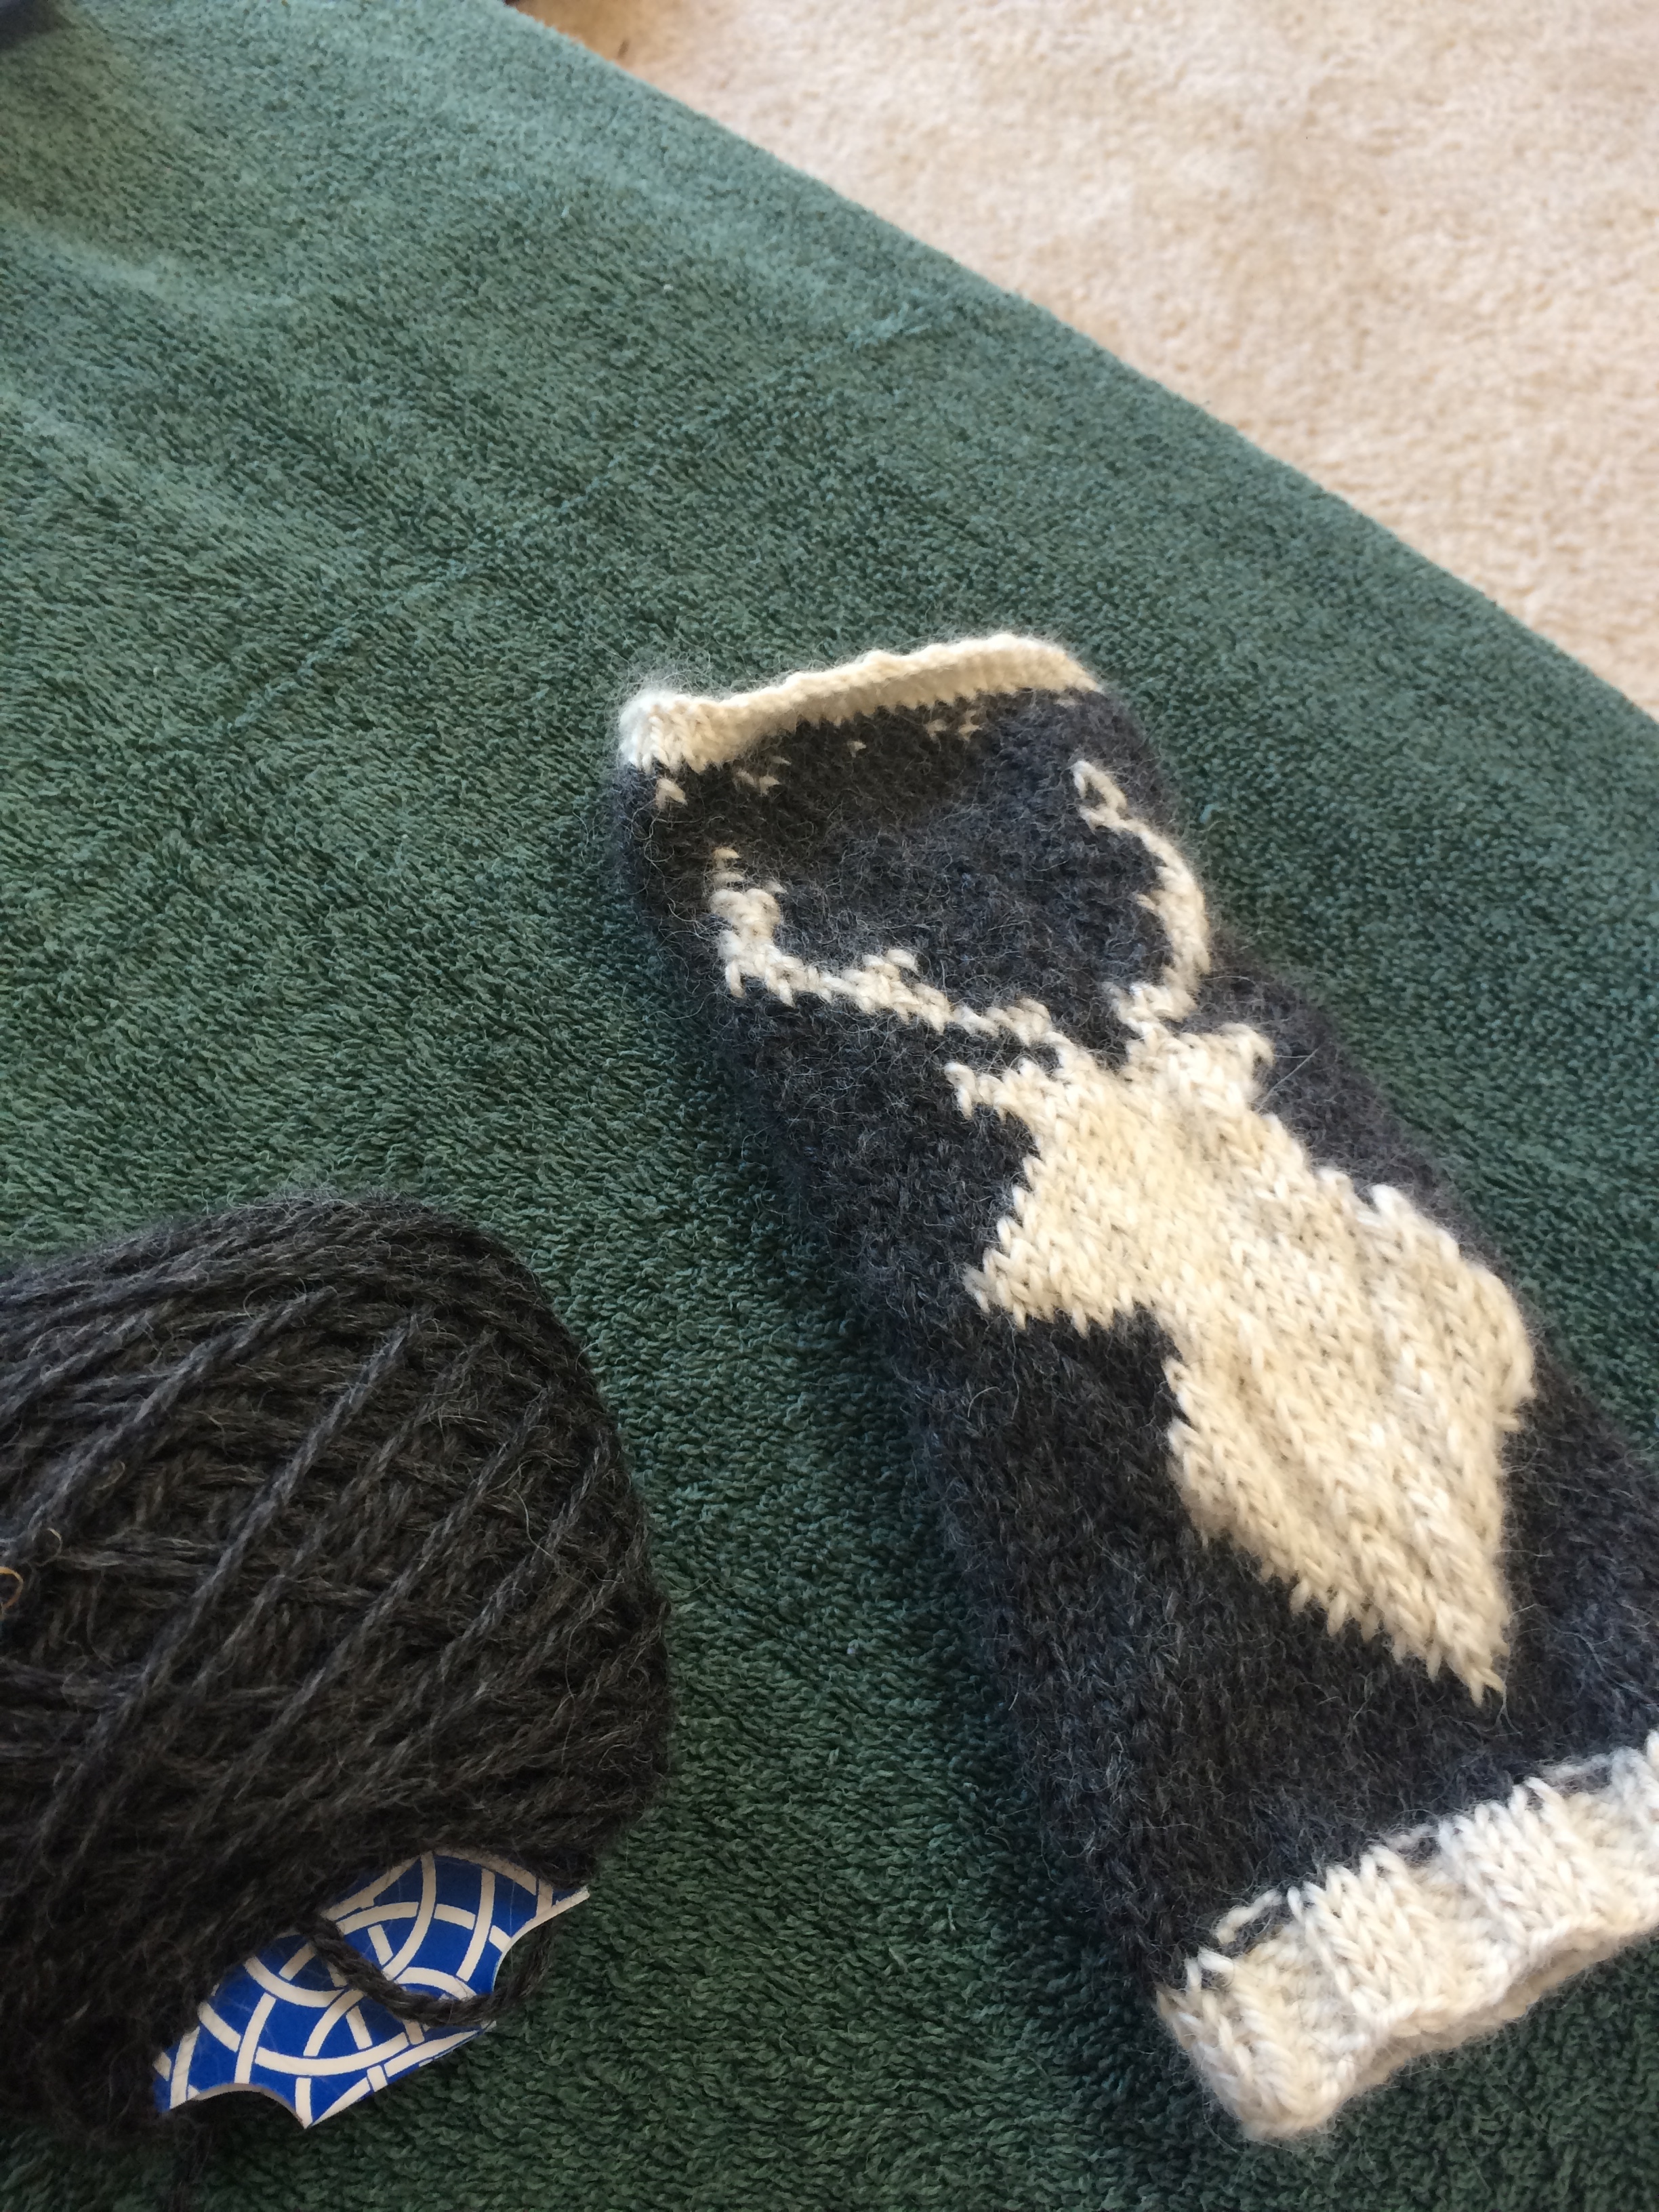
I decided for the final detail of the sweater I would stray from the pattern a bit- the cuffs are supposed to be only 1" but I far prefer long cuffs, so I did several inches of cuff.  Otherwise though, I successfully followed the pattern all the way through.

IMG_2341.JPG

No tantrums, just glowing tears of joy to have seen this remarkable project through.  The sweater that I have now had numerous dreams over and couldn't be more happy to be able to wear.

IMG_2388.JPG

In fact, a friend who is deeply dear to my heart is now the official godparent of this sweater because let's face it, while the miracle of childbirth is unparalleled and rightly so, this sweater is a treasured piece of my soul brought to life.  If something happens to me, I need to know it will be taken care of and loved by someone who understands what it took to get here.  

IMG_2372.JPG

Obviously with the posts from the Lunar Phase MKAL I've been working on other patterns now, and have broken free from the odd impatience I had, and I plan to do more of Boyland Knitworks' patterns because clearly Caitlin Hunter is a magnificent genius who works hard to make amazing patterns and I need more of that on my needles and in my closet.

Until next time- stay sweet, stay crafty, and stay tuned.

A Bit of Colour Work for the Holidays

Now and then I feel like my knitting takes longer than it reasonably should.  It's not particularly fair of me since I always get drawn to big projects that are bound to take forever, but it doesn't particularly help with morale.  I often end up feeling like a turtle wading through molasses and as one might imagine- I get a bit frustrated.  Not to say I don't knit for the fun of it, because I definitely do, but I also like to be productive.

So what do I do?  I decide to make a couple of small projects all at once to make me feel a little more effective when it comes to my passion.  Including a pair of nice hats, and the one I'll focus on is this colour work beauty.

IMG_1191.JPG

I decided to do a bit of speckling fading into the next colour with this hat.  I thought it would be a fun way to do some Fairisle, and make the transitions into the starkly different colours a little less jarring.  

What I didn't realise is that the colour work made me knit notably faster than I had for the previous hat that was all grey.  I came to notice that I got excited for the transitions and pattern development, so my hands worked a lot more quickly.  The grey hat took me 2 weeks of intermittent work while this hat took me less than one week of intermittent work.  

IMG_1204.JPG

Now that I've noticed this, I see that projects that I do Fairisle with, or the yarn has colour variation that I want to see expressed, knit up far more quickly in my hands than their more basic counterparts.  Which is a blessing and a curse because while I love the changing colours, I also love very basic and simple knitting projects that let the yarn speak for itself- but the knitting hands want what they want, and that's challenge and change.  

IMG_1213.JPG

So here's to the next year of challenge and change (at least in moderate doses).  I hope all of you have had a wonderful winter, and that you set the New Year off right- with lots of projects brewing in your head and inspiration guiding your forward.

Stay sweet, stay crafty, and stay tuned.

Tara Maefairisle, colour work, hats
Hats Off To My Partner

I am lucky enough to be with someone who is endlessly supportive of the odd and lovely life I love to live (excuse the alliteration, I get excited).  He is kind enough to spend hours upon hours of his personal time editing my blog posts to make sure that I sound coherent, he listens as I ramble to no end about all of the things I want to create and all of the alpacas I want to snuggle, and he's part of what makes my crafterlife so sweet, so obviously he's going to have a plethora of knitted and quilted things that serve as my wee crafty heart’s expression of love and appreciation;

This one happens to be a hat.

IMG_7714.JPG

He picked out his own yarn, and I snagged the dark grey from my stash because I went through all of the careful deliberation of making a pattern only to realise I would need 4 different colours as opposed to 3.  Lucky for me, the grey was a welcomed addition.  

When first attempting the fairisle for this hat, I tried the method of having separate bundles of the colour I was working with in the back so that each section would have its own ball.  I was hoping that by doing this that I would prevent any undesired bunching or tightness from running the secondary colour (blue) behind the primary (purple).  I found that I had a hard time not relaxing my hands enough on my fingerless gloves, and wanted to steer clear of that same mistake.

That being said, after getting most of the way through the trees with the separate balls method, the work actually became more messy and ended up with disastrously bad tension so the secondary stitches would either be completely invisible or loose and sloppy looking.  To solve this I ripped it all back and ran the blue behind each purple stitch like I did with my hooded scarf. 

IMG_7716.JPG

It was exactly what I needed to do.  The pattern stayed crisp this way, and running the secondary colour behind each stitch kept it from getting too tight and losing the flexibility it had.  

Running two colours behind the primary colour was a little more challenging but still worked out, and ultimately kept the pattern bright and clear as I finished up the last of the multi-strand work.  

I did however run into some speckling from where the 2 secondary colours were poking through which I fixed by taking a darning needle, and some of my leftover purple yarn, and looping around each speckled spot to pull it back and give the room in between the stitches a purple base.

By the time I had finished the pattern, I was worried the hat was a little too long to be practical, so I tried a couple of decreasing techniques to cast off more quickly, e.g. decrease by two stitches as six set points, decrease by many fixed points, and adding decreasing points after having already set fixed points to decrease from.  These all ended up making too drastic of a change, and made the top of the hat lumpy and sad.  After the third time ripping it back, I made peace with it being a more elongated hat, only to find out that the length made it the perfect size -- go figure.

So at last it's finished, and I've finally knitted something for my partner to help keep him warm in the chilly months we still face, and hopefully for many more years to come.

Thanks for reading.

Stay sweet, stay crafty, and stay tuned.

Tara Maefairisle, knitted hat
Smitten with Mittens

This tends to be a stressful time of the year.  The potential of holidays aside, I think the clamour of getting things ready for winter is enough to make most of us just want to curl up and stay home.  Seeing as this has been my experience, I decided to sit down and make an adorable pair of mittens.

This idea was sparked when I was snooping around Pinterest and I found this link to a beautiful pair of mittens.  

I scaled and changed the the design of the pattern to better suit my wishes and to complement the bulky yarn I had spun.

With 40 stitches all the way around I made sure that the mittens would be blissfully bulky, and I would have plenty of room to create the pattern.  The contrasting colour didn't show up terribly well at first, but I soon found out that sticking with it was the right call.

The more of the pattern I did, the more obvious the design became.

Before I knew it, I was working on the thumb.  

To do the thumb I used the same yarn as I did for the cuff.  I had 6 stitches isolated on two sides to make the pattern I was working on uninterrupted on one needle, and still make it easy to knit in the round.  Taking those 6 stitches on one side I started knitting with the lighter grey and then casted on 9 more stitches on two new needles.  From there I just knit in the round to create a nice and cozy home for my thumb.

I made sure that the stitches I had cast on were in towards the center (where the hole for my hand is) so that when I picked up the stitches on the bottom, I could continue knitting up for the main body of the mitten.

It was all much of the same after that -- though that doesn't mean I didn't mess up on my Fairisle stitches and have to go back a handful of times.  


IMG_7587.JPG

Now for the pointed ends!

For 5 rows I decreased stitches by 1 on both sides of the mitten taking from alternating sides so that the front and back would continue to have even stitches.  Then for the remaining rows I decreased in the same spots by 2 on both sides.  I did this by taking the 2 stitches that marked the perfect halfway point for the front and back to be even, and took in the closest stitch.

This created delightfully pointed mittens.

To tie it all together, I ran in this jumble of ends.

And made something far more pleasant for my fingers to slip by.

Here are my happy and cozy mittens.

I hope as December starts rolling into the frantic season that you keep warm, keep cozy, and keep close to those you love.

Stay tuned.

Staggering Results!

Oh deer...

I have finally come to Fair Isle knitting.  I've always been enchanted by it, and here I am now- working on the bust of a stag and trees in fingerless glove format.

The design I've used is based on one that I found on  braceletbook.com.  I took the pattern and altered it a bit to fit more of what I was looking for, and then designed a very basic tree shape.

I transferred and designed the tree for my patterns on stitchfiddle.com, which ended up being endlessly useful, as it has a function that allowed me to select which row I was focusing on and highlighted it while dimming everything else but still leaving it visible.  This is probably old hat to most everyone else, but I was plum thrilled to not have to keep making various marks to know where I was at.


Curled under my Halloween quilt, I chipped away at the first fingerless glove. Despite a couple of hang ups in figuring out my own rhythm with multiple strands, it started to come along quite nicely.  

I did quickly realise as I was knitting along, however, that knitting as tightly as I normally like to was both my greatest ally and greatest foe.  Keeping the stitches tight made sure nothing was disproportionate to the rest, yet pulling either of the strands too tight would make it so that I would end up with unfortunate puckering and a lack of stretch around.  I found though that carrying the non-active strand consistently behind the active strand helped keep me from feeling like the non-active was too loose.  I did this by twisting the two strands so that the non-active would be caught with the active, but as I created the stitch, only the active would show.  


The dark grey is the active strand while the white is the non-active.

Pulling Only the active strand through.


Only the dark shows.


Yet the white is close and makes it so that I don't shred these within a couple of months because I keep getting my fingers stuck in big loops.  

The end result of this strange adventure of Fair Isle was elating - it was remarkably satisfying to be able to turn the blocked-out pattern that I had adjusted to fit my wishes into this beautiful, and incredibly soft, creation.


I've found that what I love most about quilting, knitting, spinning, et cetera is that I can create all of the beautiful things I think of.  It's an expression of the soul and grants me the ability to give myself something I want.  I can take something I think is beautiful, and make it into something unique that holds that same beauty while being something that’s entirely my own.

Thank you for reading, and stay tuned for more projects!