IMG_1612.jpg

Blog

Posts tagged knitted socks
The Haunting and Enchanting Socks

It's a little late I know, but l would be lying if I said I didn't always want Halloween to last a little longer, and to my credit I did start these at the beginning of October!

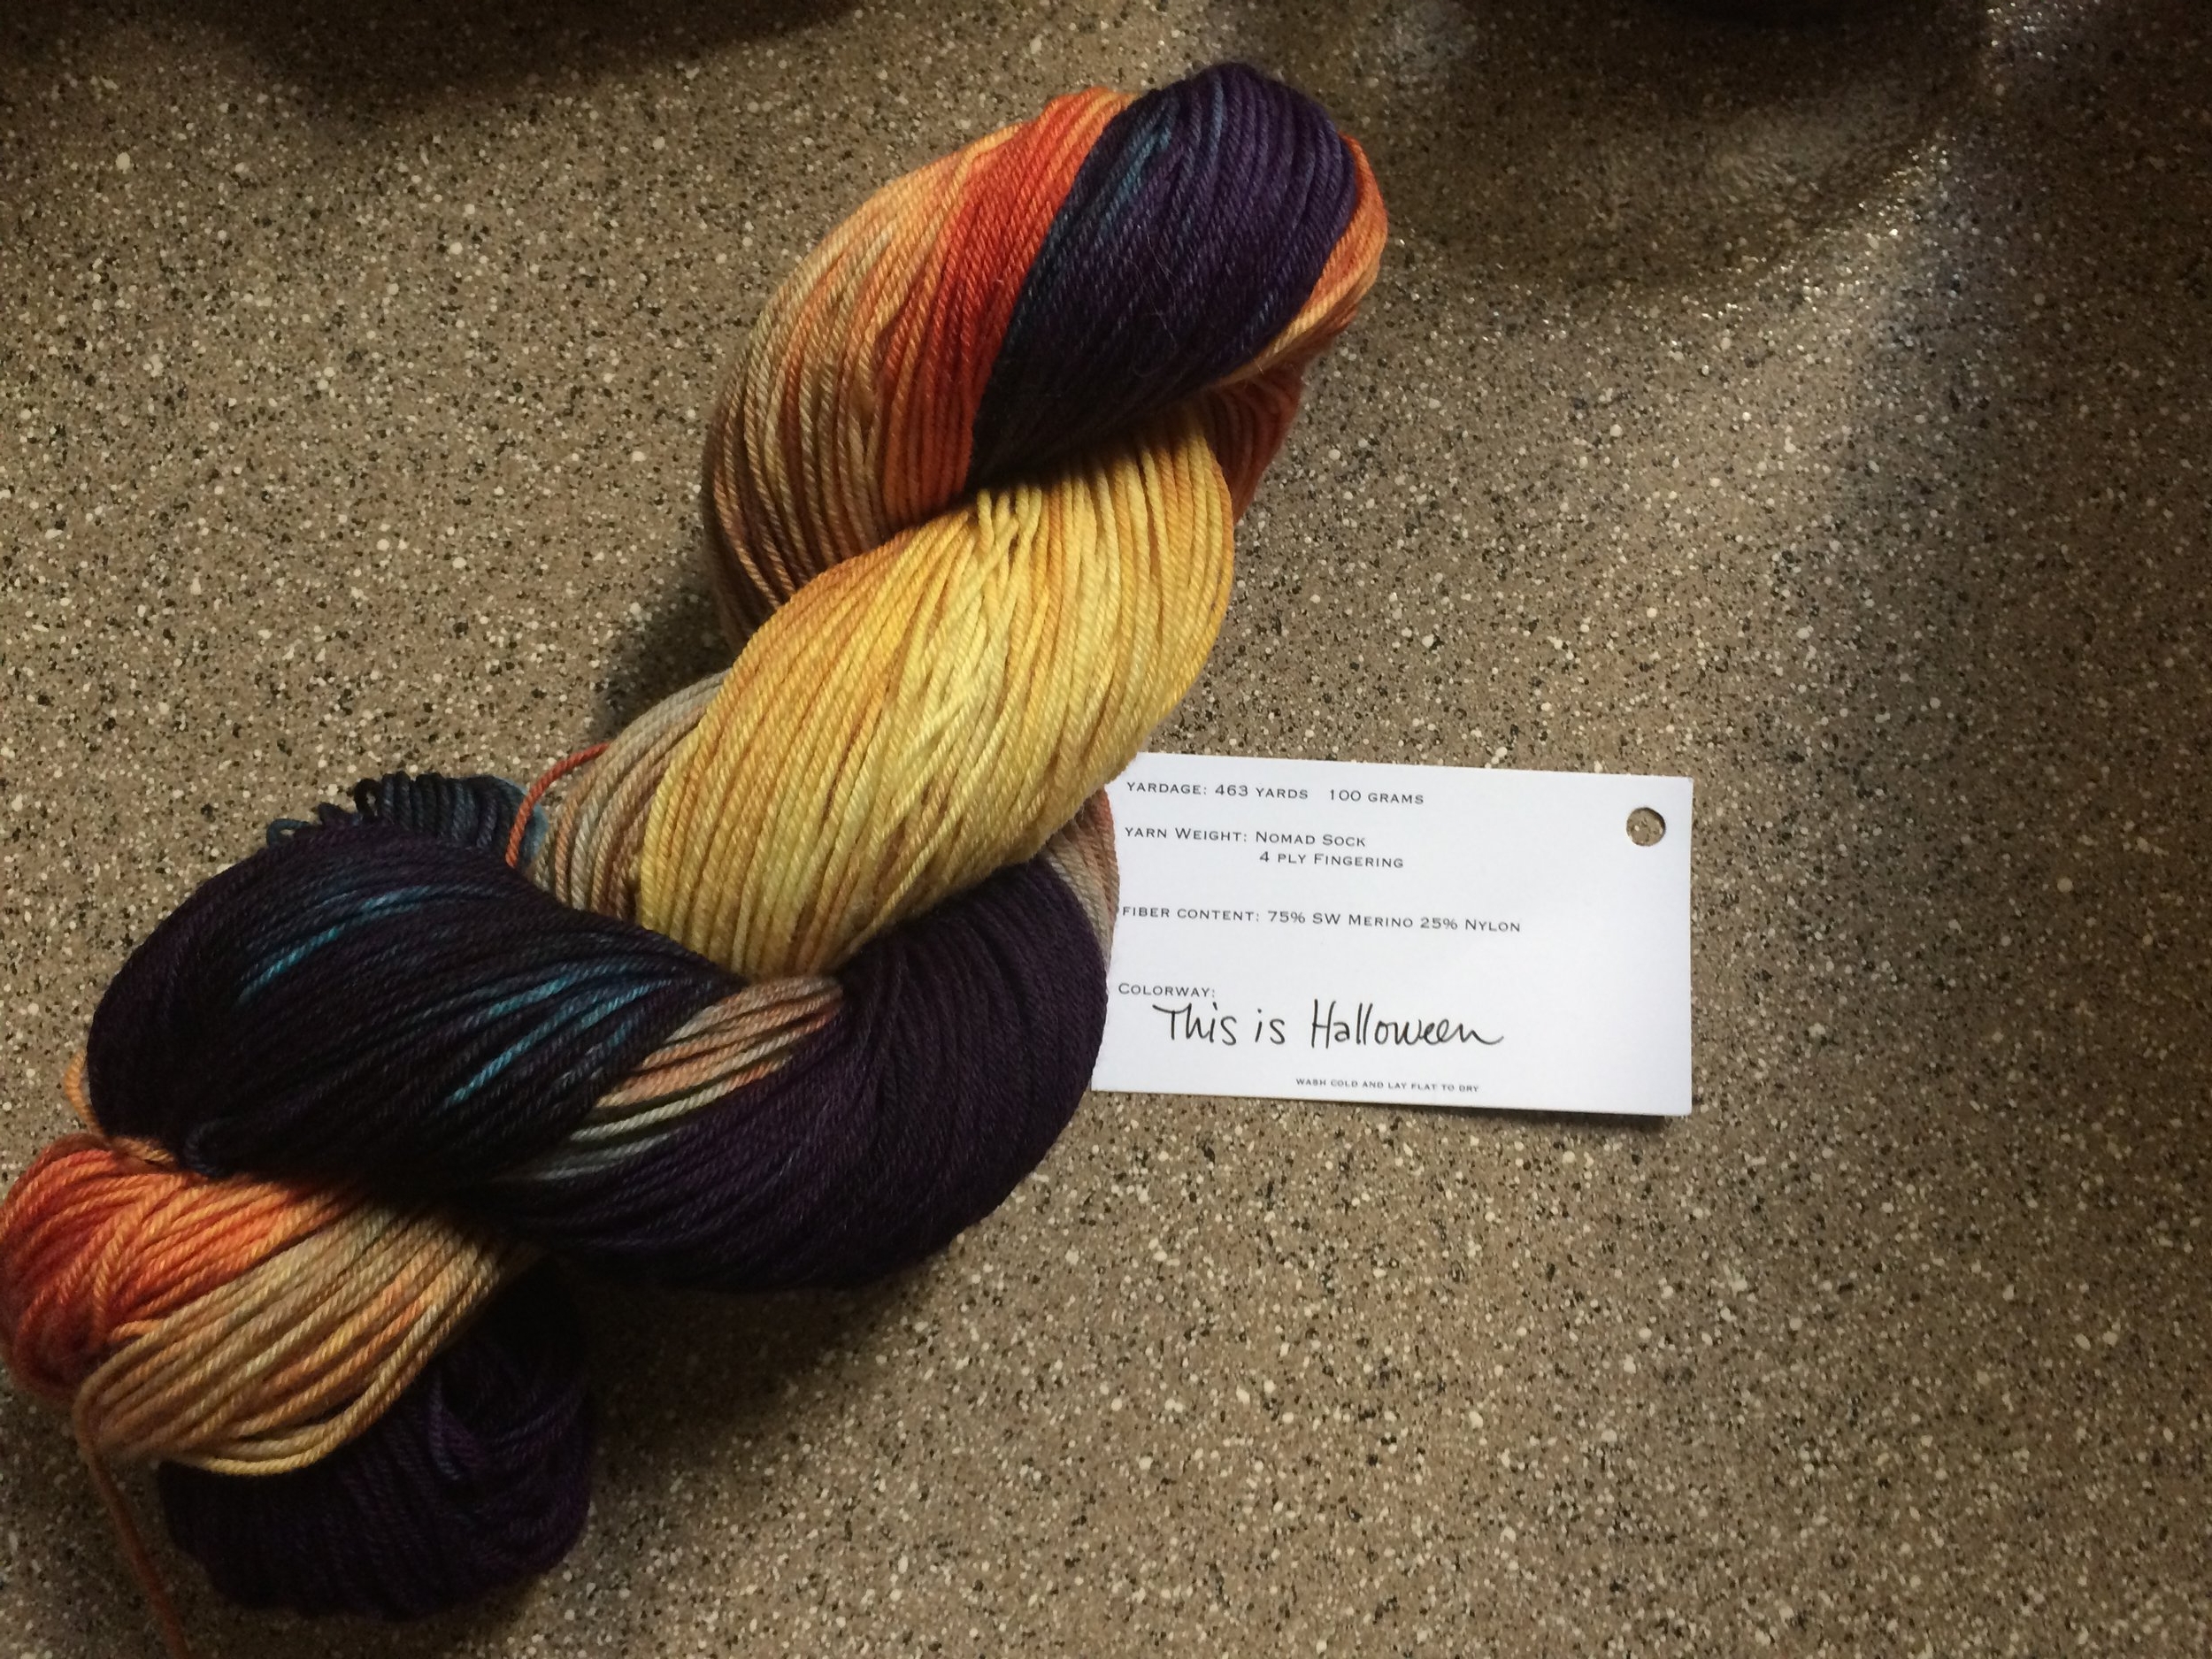
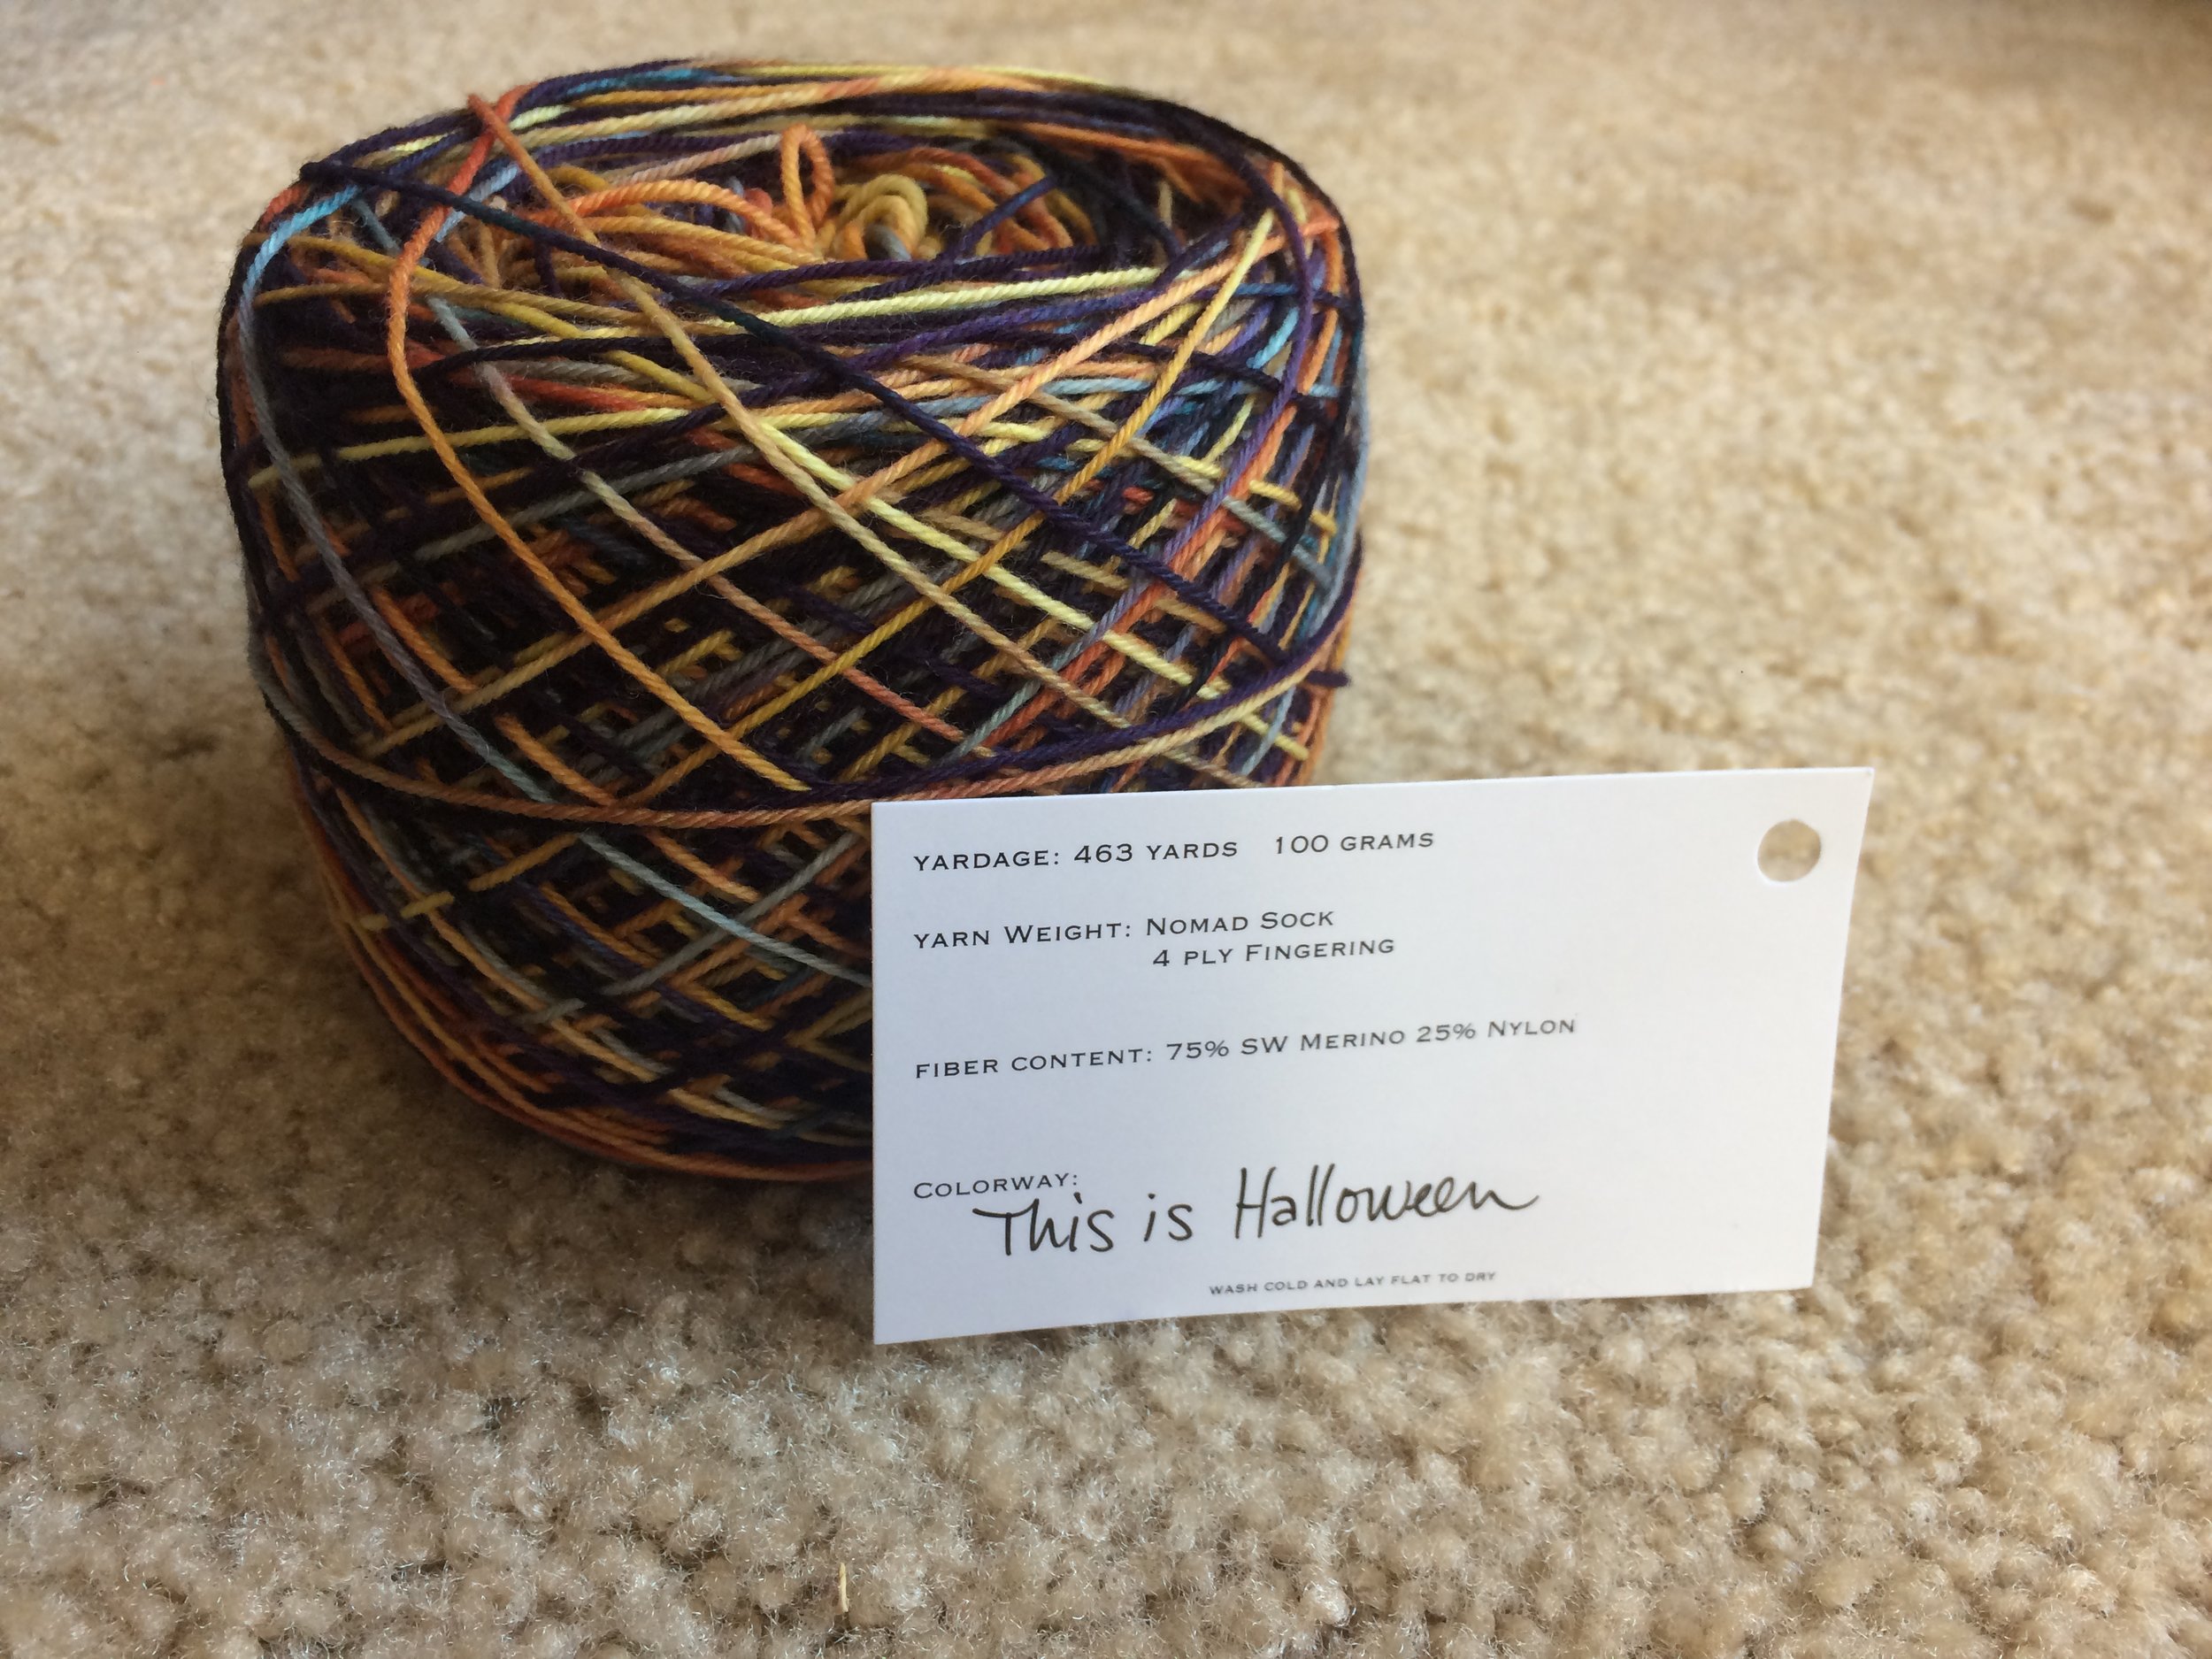
I bought this sock yarn on Etsy.com because it was inspired by the Nightmare Before Christmas, which happens to be one of my favourite films, and also because who doesn't want a sweet pair of Fall-oween socks?  The Etsy link will take you to the shop I bought it from in case you wish to peruse this lovely shop.

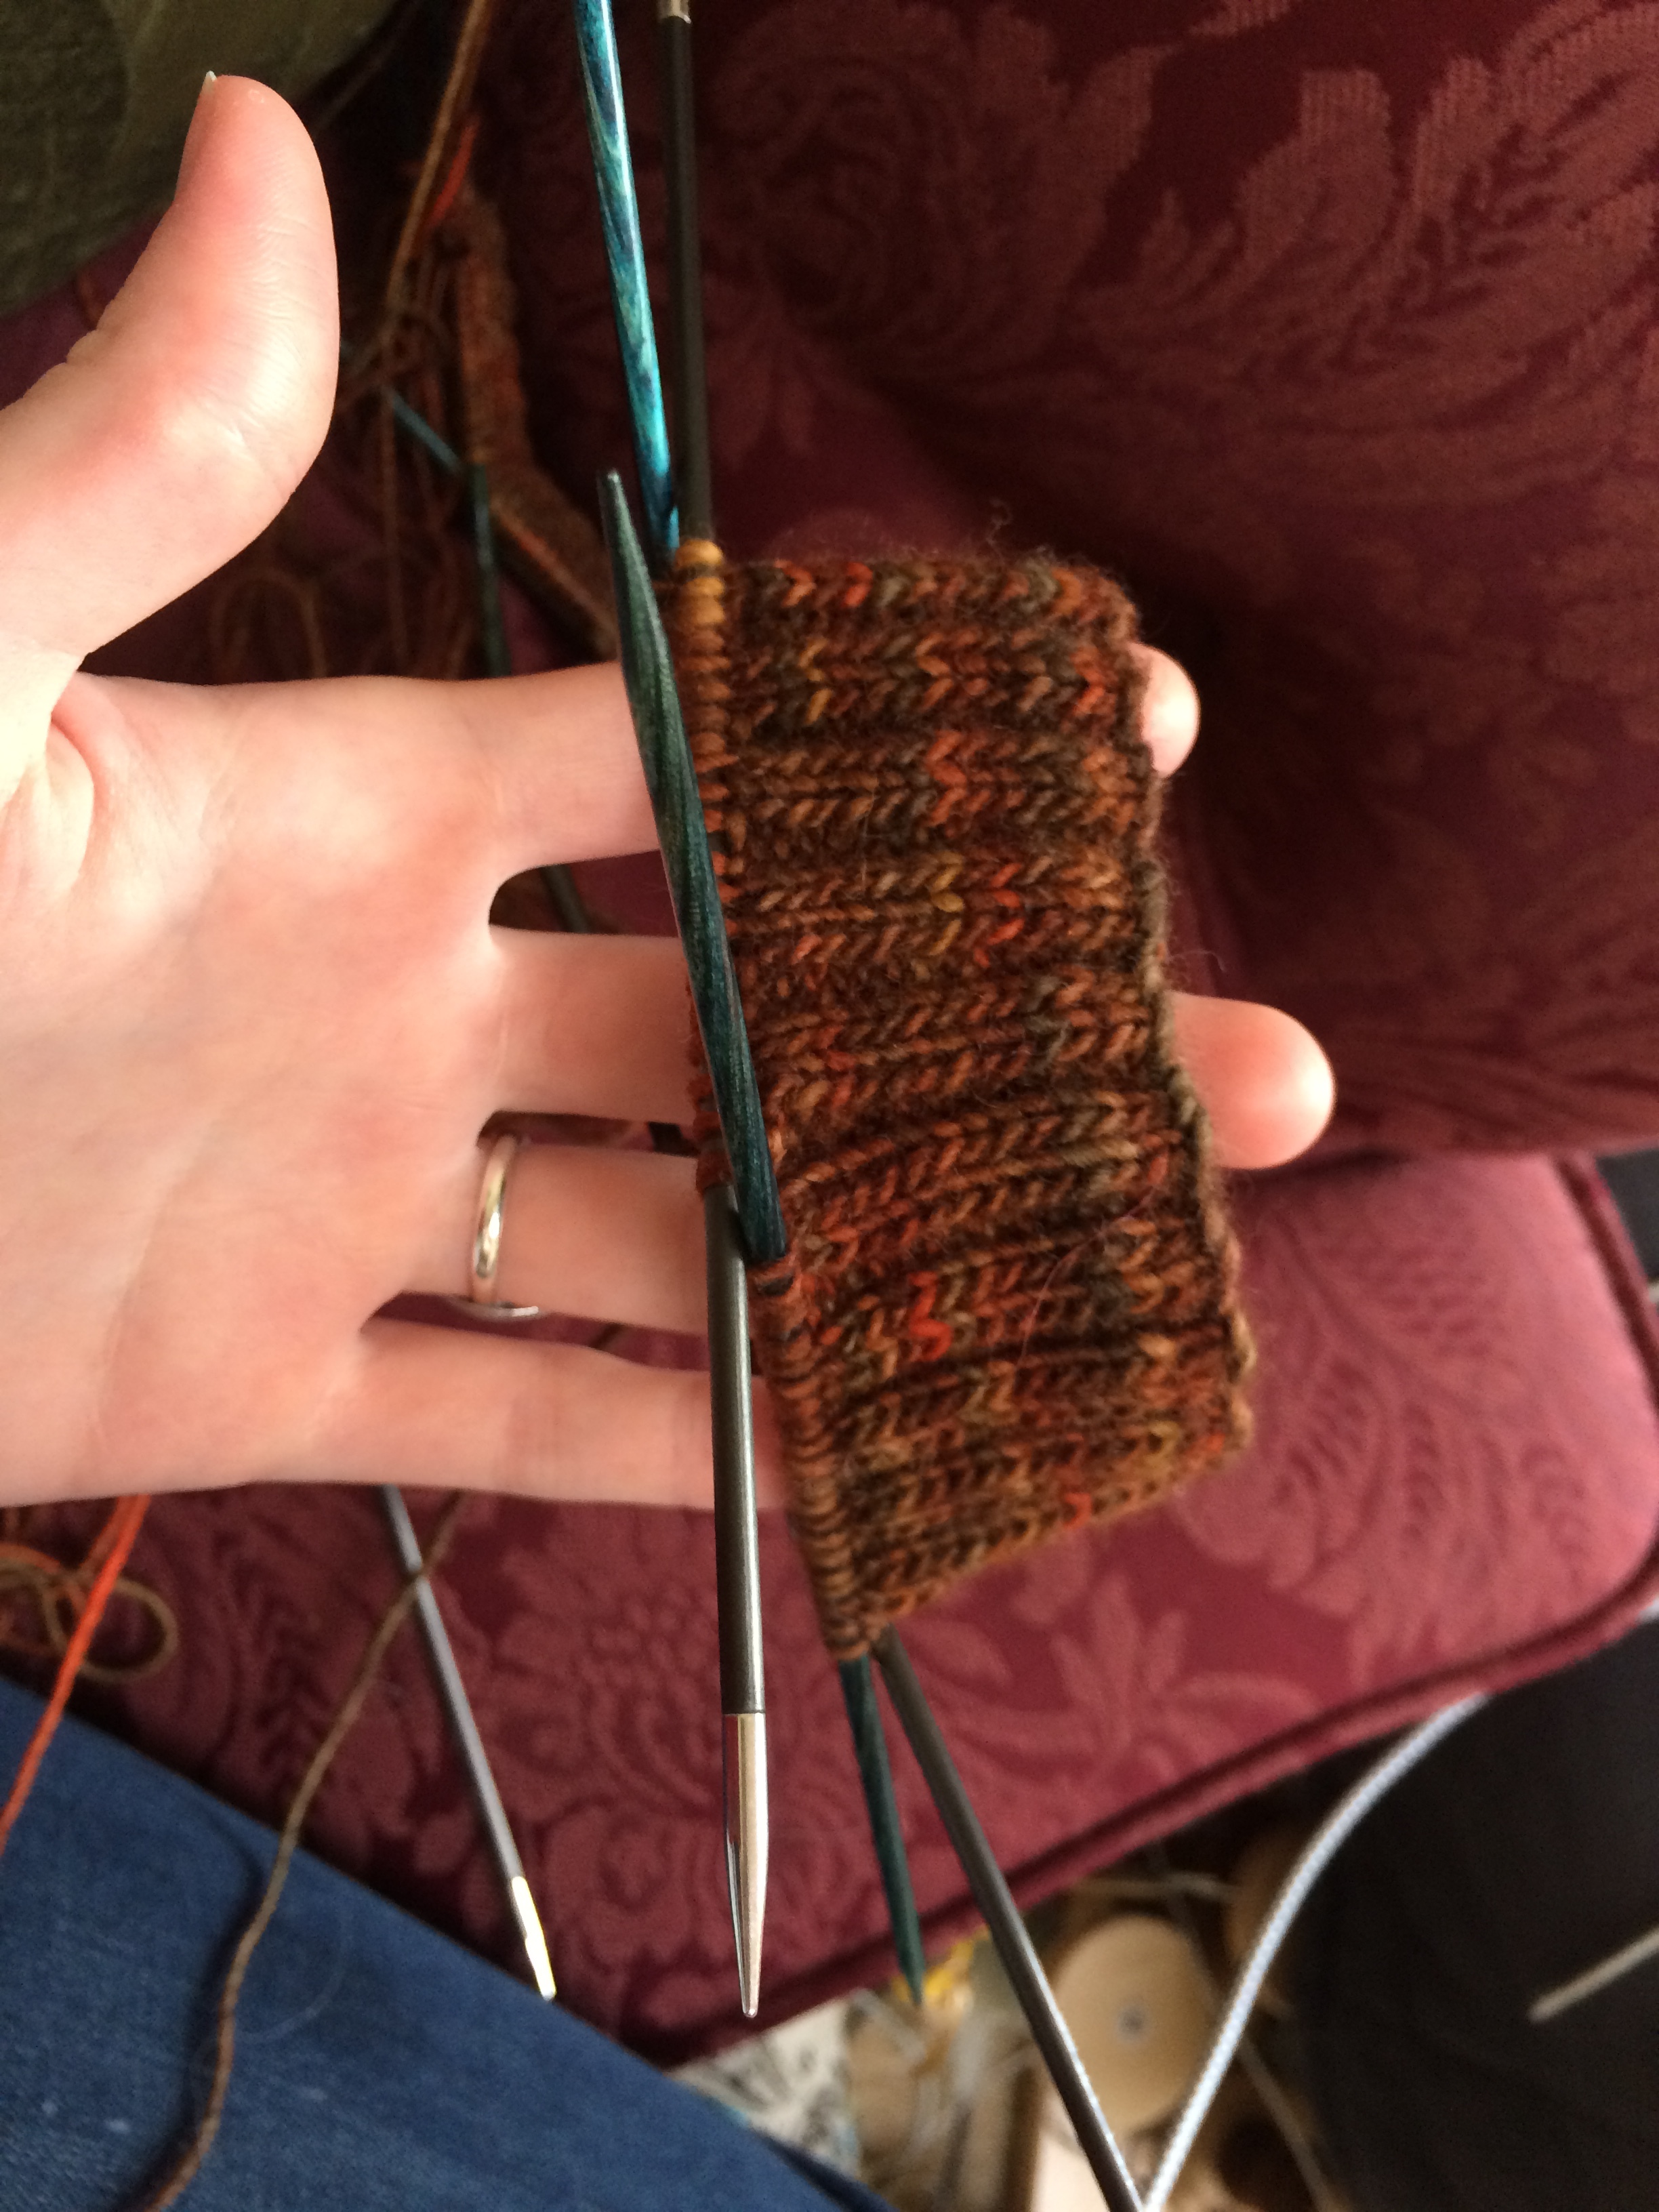
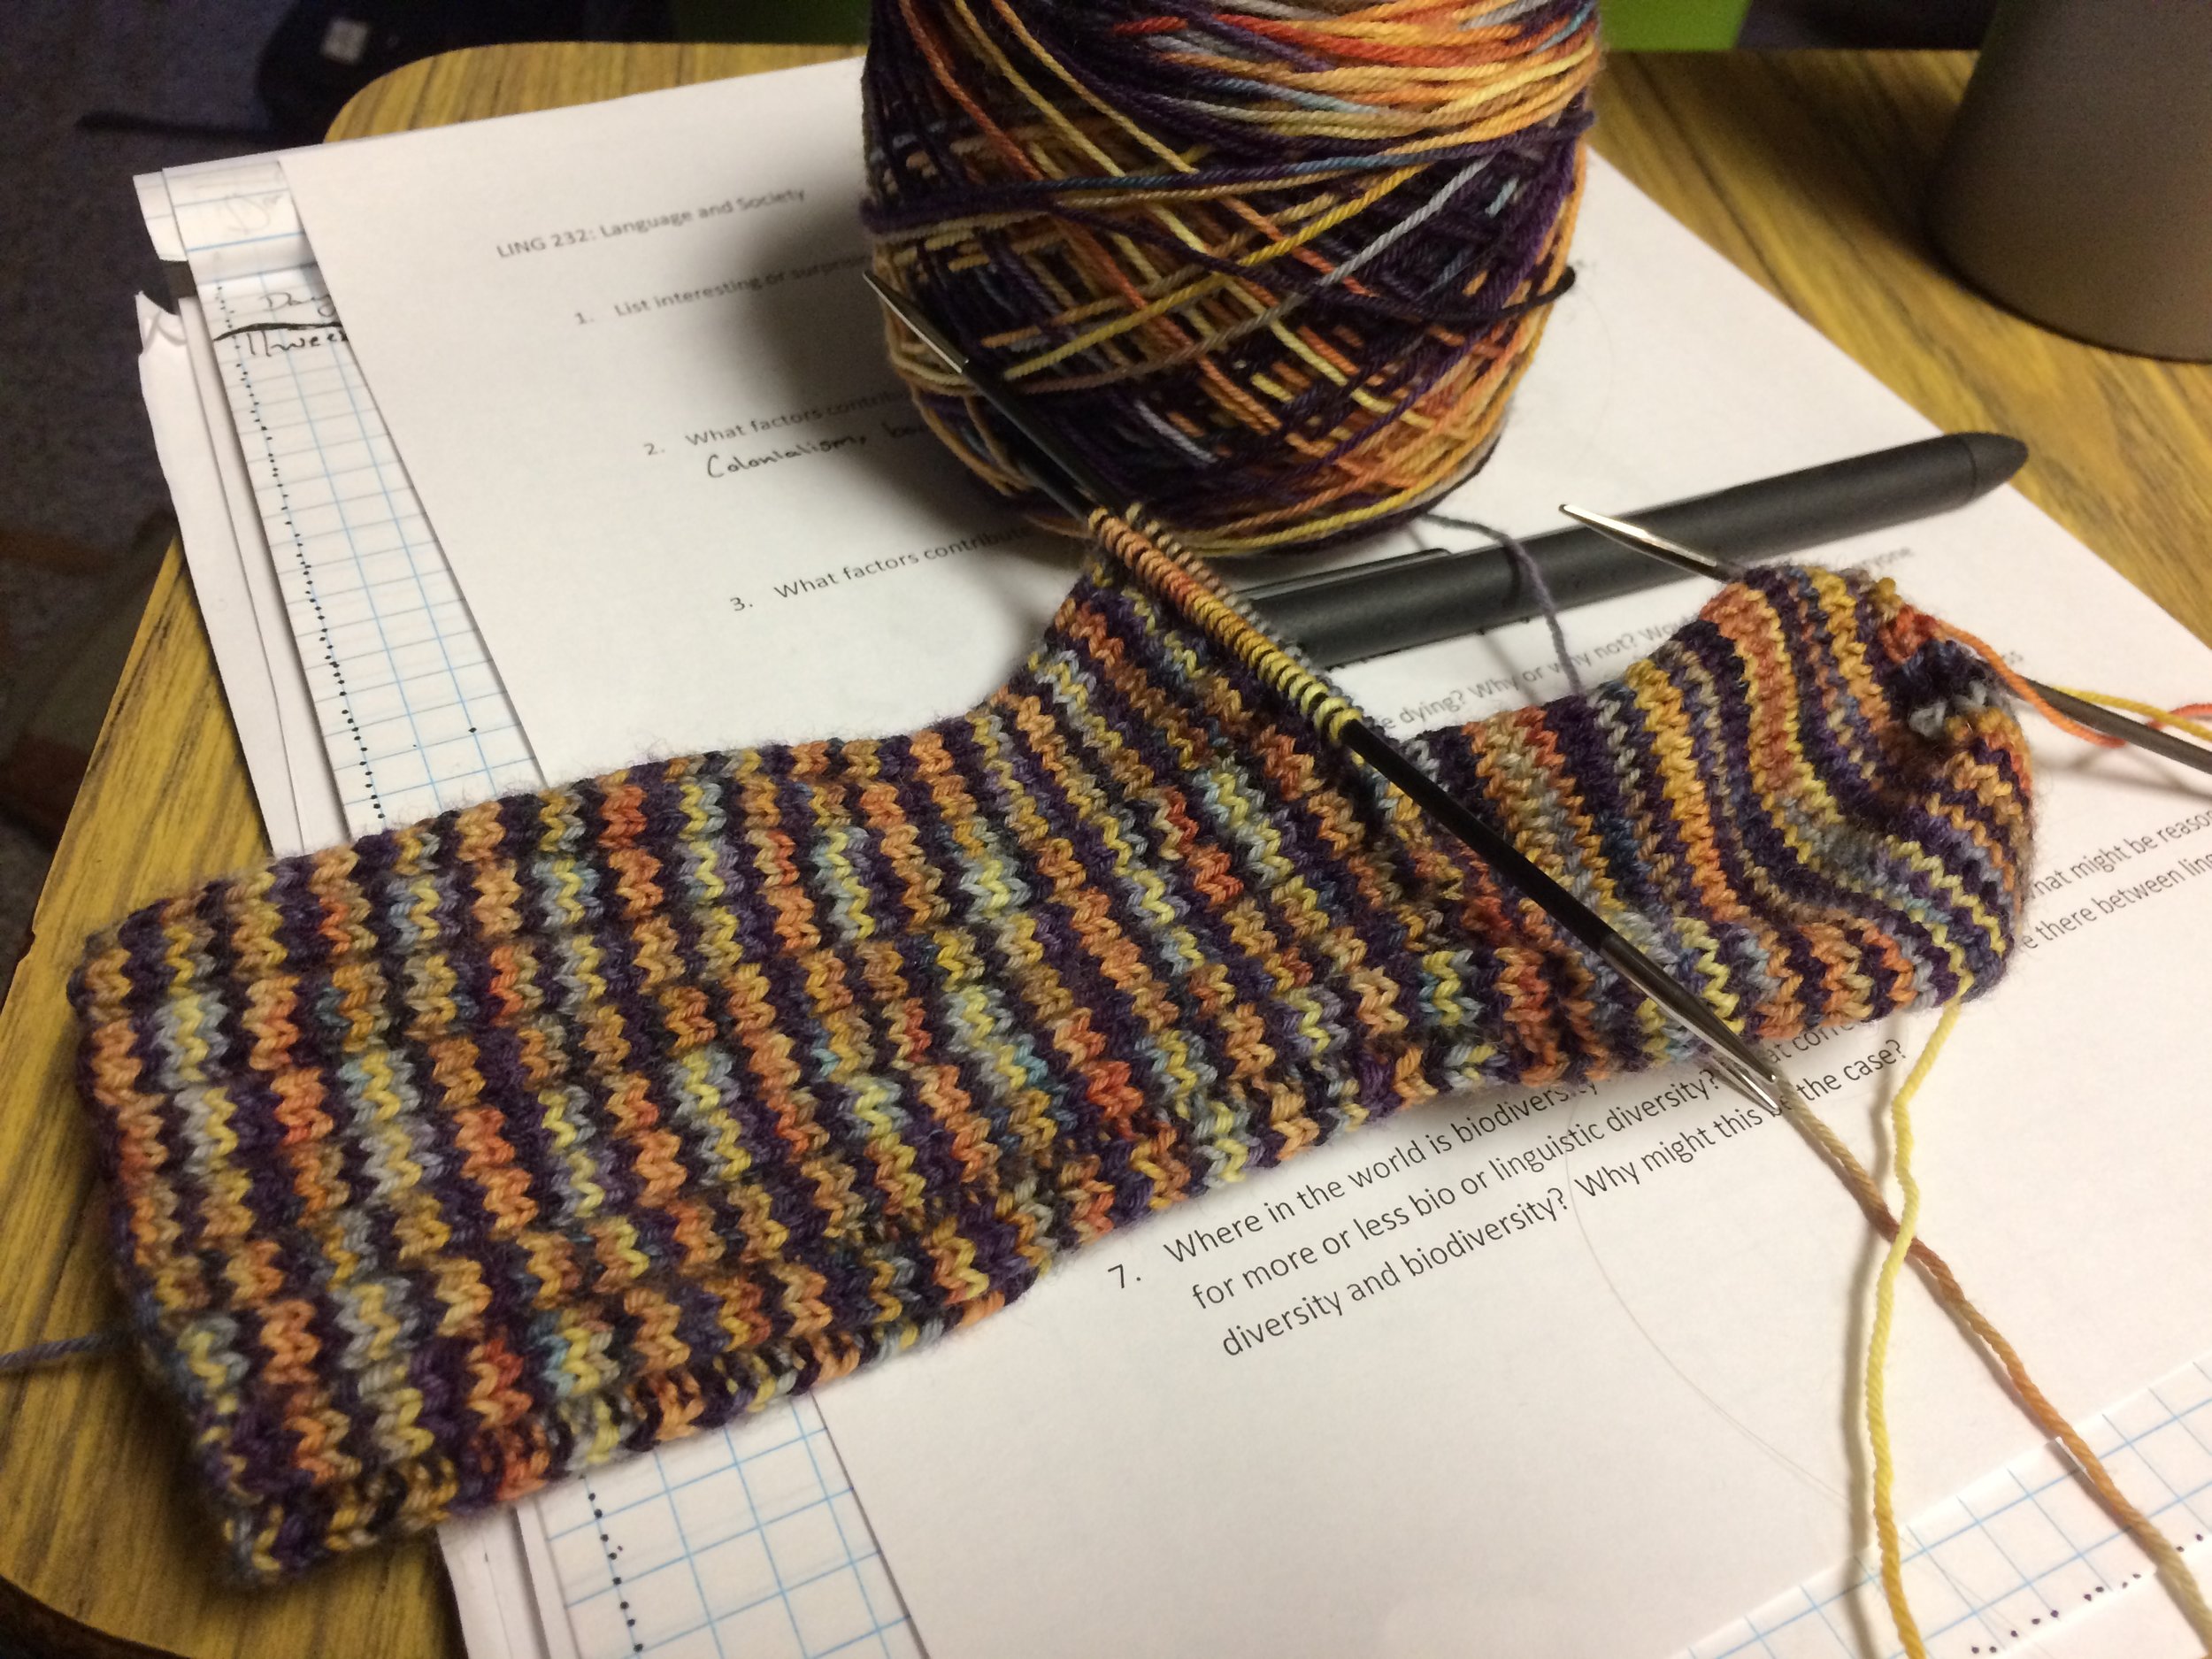
For the cuff I did a simple knit 3 purl 3 because I was working on size 2 US needles and wanted to actually have a decent ribbing to keep them up.

IMG_7529.JPG

These socks started out as my purse project, which is something that's small that I can tote around in my purse and work on whenever I have a spare moment to knit.  This project ended up drawing a lot of attention everywhere I went.  In one class this creation inspired a young man to ask me if I would be willing to teach him how to knit, and in my other class a few lovely souls would ask to see my sock and thoughtfully inquired about the progress I was making. They even asked if I would finish the pair so they could see them completed.  

The first sock took me the better portion of October and a bit of November, but the second sock came along far more quickly -- only taking the last three weeks to make.

It has been very fun and rewarding to have people rooting for a project.  To have friendly faces checking in with anticipation to see how much closer it was to the finish.  

When the first sock was finished it got passed around to the entirety of one of my classes, including the professor, and now I get to wear the pair to the last day of class.

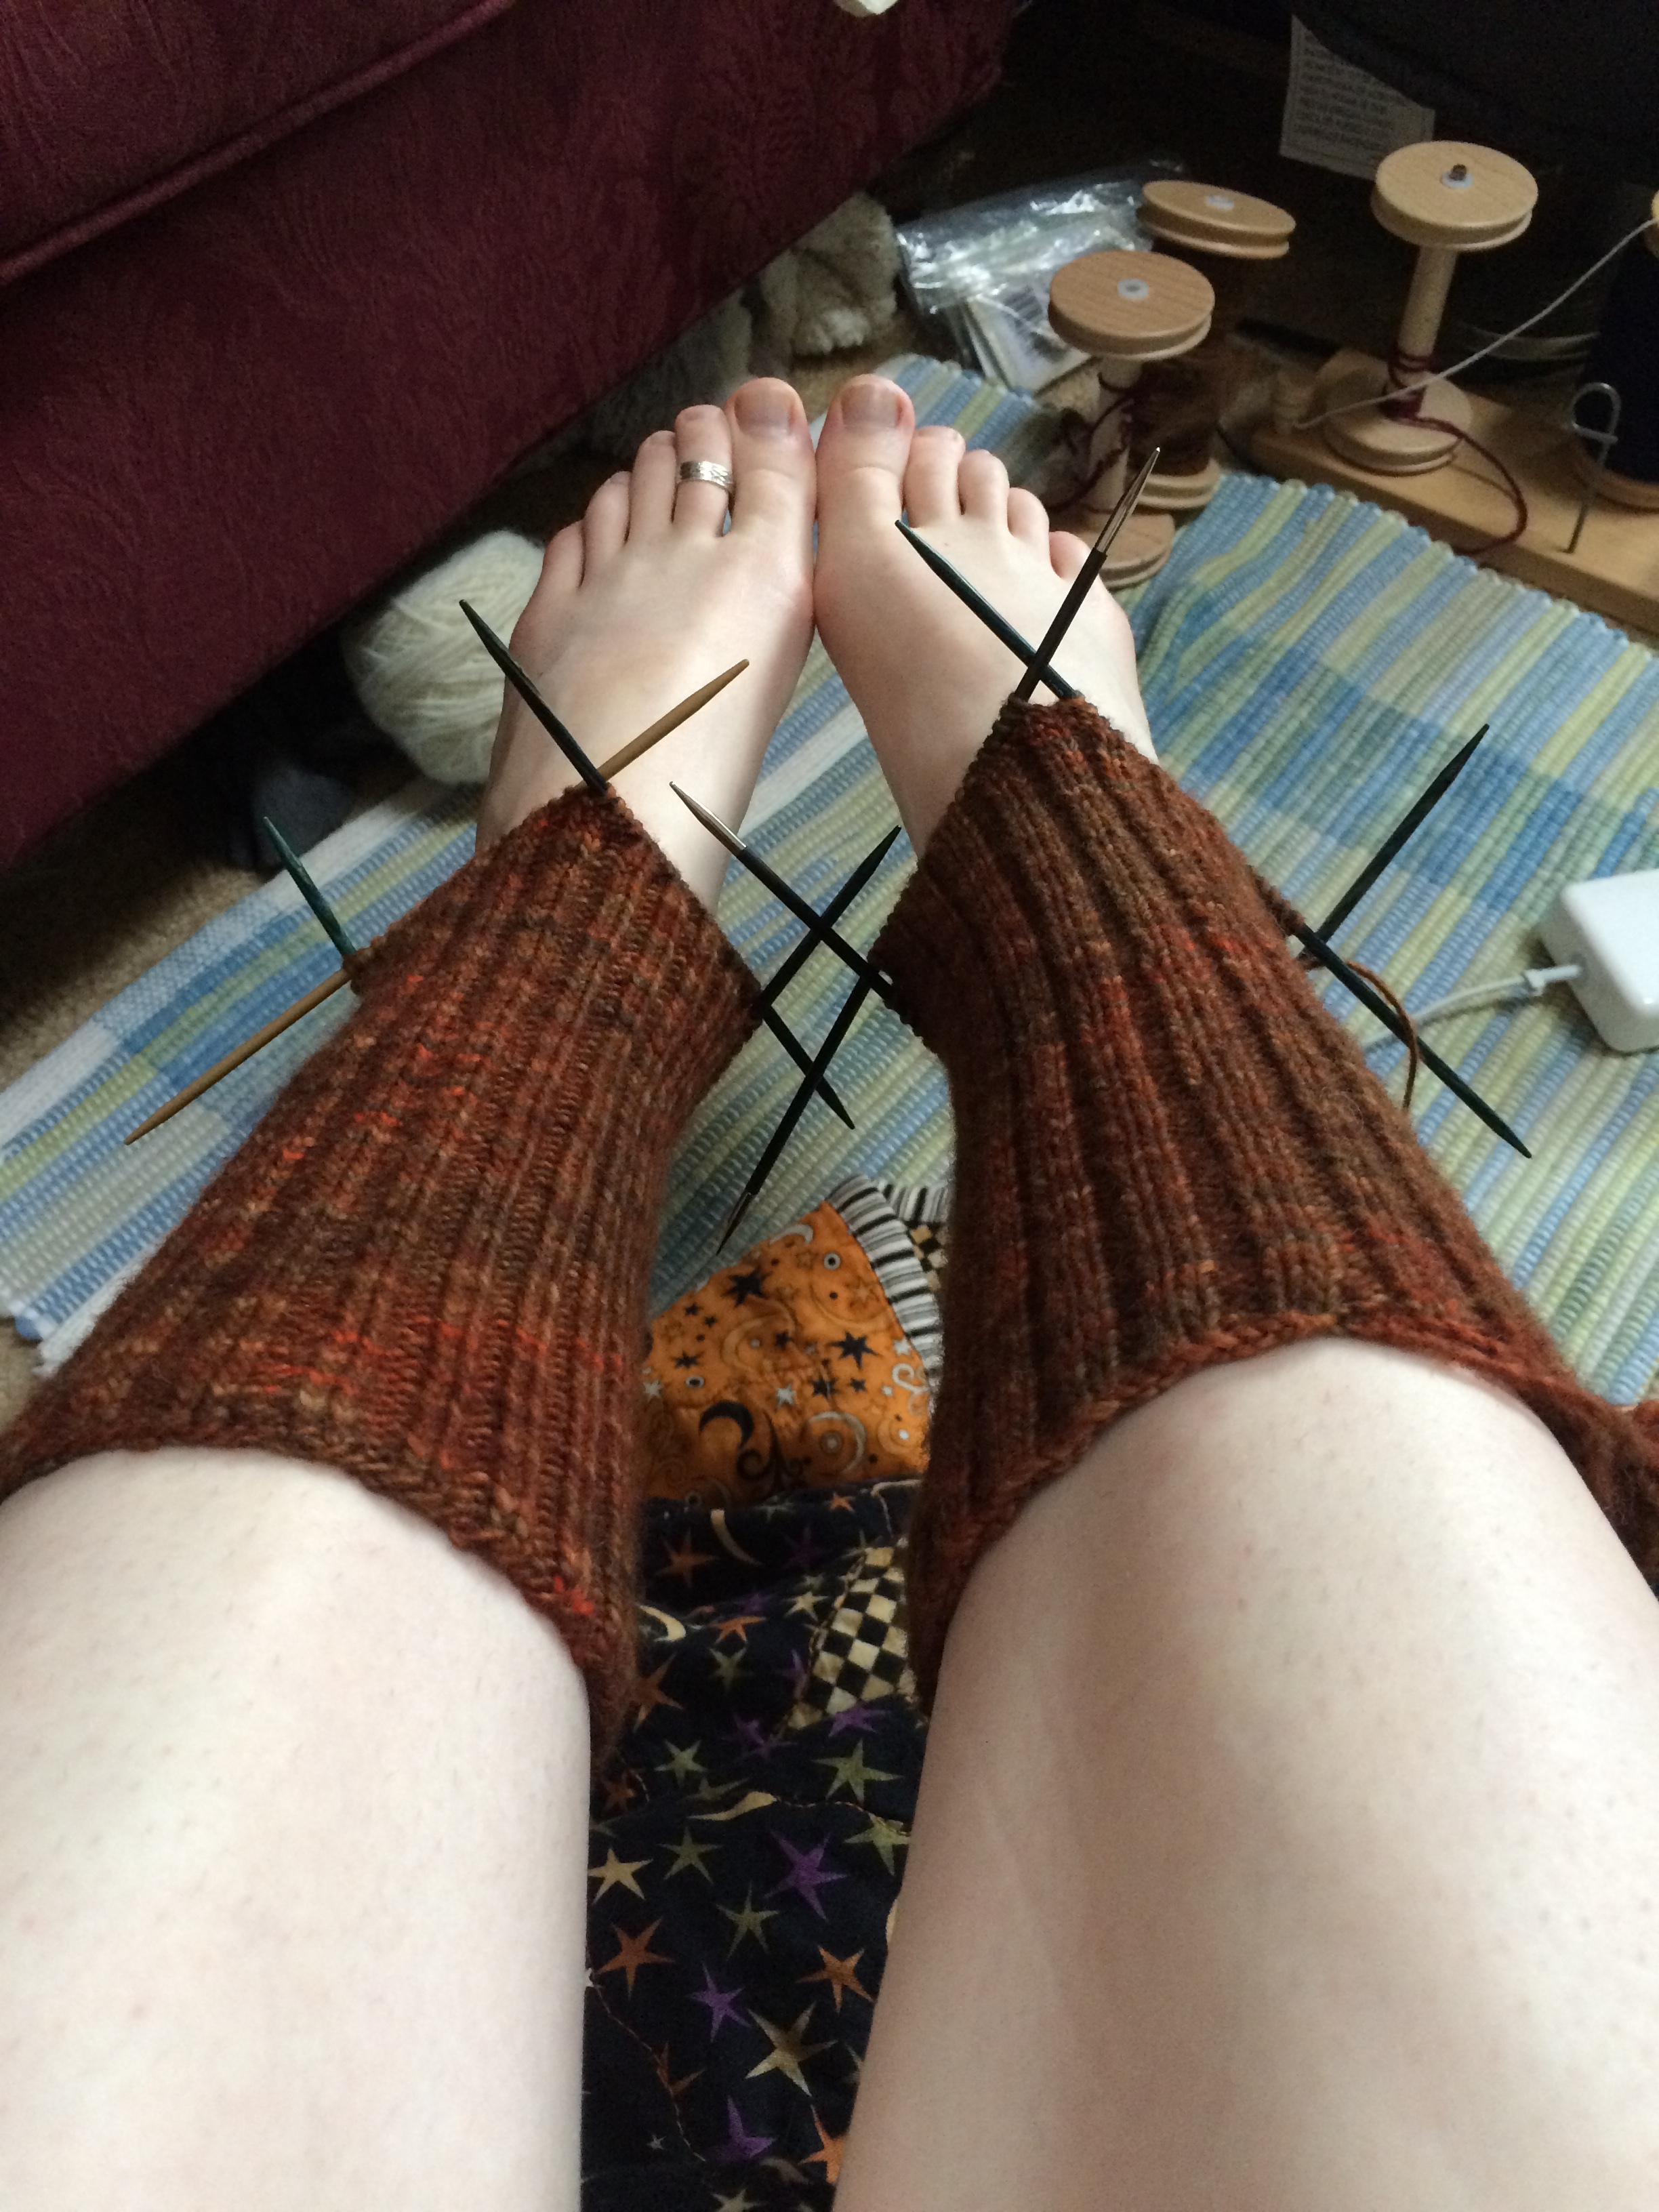
The socks both turned out beautifully and while the first one has a bit of colour pooling it actually adds a nice effect to the sock.  An interesting serpent stripe if you will.

The second sock I made a little tighter to my foot, and I ended up not having the pooling problem.

Now before you ask, no, it's not great to have socks two different sizes, but it's slight and trying to make socks for my wee pointed elf feet is taking some practice.  It's all about learning and both socks fit, so I'm not going to fuss over it.

That's something nice I realised this project;  There are some things worth ripping out, like when I didn't make the toe pointy enough for the first sock, but other things, like a slight difference around the foot, that isn't worth worrying about unless personally bothers you.  In crafting, like all of life, you must pick your battles and know what's worth fussing over.

I just added this next picture because I like how it looks like they're snuggling.  

Here they are- in their much awaited and splendid glory.

IMG_7570.JPG

There's not a whole lot to say otherwise for these socks, they were fun and turned out beautiful, and they reminded me yet again how special it is to share what you love and what you create with those around you.  

Stay sweet, stay crafty, and stay tuned.

There's Something Crafty Afoot...

Socks are this strange beast that seem to rarely have good instructions.  I wasn't too terribly concerned about any particular part except for the heel.  I've never made socks before, and thought that maybe reading a blog or two, or watching some youtube tutorials would be my solution in figuring out what exactly I needed to do.  

14 blogs and about 8 videos later, I found that for whatever reason every single one of them skipped the part that shows or explains the actual turning of the heel.  I went to the knitting for idiots websites and still wound up with nothing.  Yet, upon visiting my parents this summer and griping about the nature of the mysterious heels to my mother, she sat me down and explained the simplicity of it all in a few short sentences.  

If you or someone you love has been a victim of void or confusing sock patterns, for the most basic of explanation, then you've come to the right place- I'm going to talk it through.

It's finally getting to the seasons I usually dress for- Autumn and Winter, so I decided to make some fun fall socks out of this glorious orange and brown yarn, along with the leftover grey and white from my stag fingerless gloves.  


I worked on both of the cuffs at the same time so that I would have an even distribution of the orange yarn to be sure that each cuff could be as long as possible.

I did a classic knit 2 purl 2 for the cuff to make sure that it would have a bit of grab, because few things infuriate me like having my socks constantly slipping, and this way it will also look nice if I fold them over and have them poke out of the tops of my boots.  This yarn is a little too beautiful not to share just a smidge. 

After several days of working on these lovely cuffs, I came face to face with the beast.  The heel.

To make the heel flap, I took half of my stitches and knitted a rectangle that would fit my heel.  It ended up being quite small as I have wee elf feet.  

Sadly though, my first attempt at turning the heel was heinous.  As you may be able to see, I have some weird gaping going on, and felt like I couldn't decrease stitches fast enough in order for the sock to actually fit my foot.  Frustrated, and slightly defeated, I called upon my partner for words of encouragement, and proceeded to rip it back to my heel flap to try again from there.  

This wasn't a time to quit.  People need good socks and they need the knowledge of how to make them.

IMG_6468.JPG

The second attempt was far more smooth.  Each needle had 20 stitches on it, so to shape the heel, I left 15 stitches on either side of the heel flap, and created a center needle with the remaining 10.  

IMG_6478.JPG

I knitted back and forth on the center needle, picking up the stitches from each of the sides for every row, and combining the outer-most stitch from the center needle with the stitch I just picked up from the side needle (knitting two stitches into one).  This created a seam and folded the sides in, since I was always taking the stitch that was closest to the center needle's stitches.

IMG_6482.JPG

From there, I picked up the end stitch from each row on either side of my heel flap with two new needles, and continued to knit all the way around again- decreasing stitches as needed to make it the right circumference, without decreasing so much that it would create gaping like my first attempt.

This is the part that mentally I had a hard time wrapping my head around when there were any sites that I could fine to explain it well.  Though, as soon as my mum described this, it made perfect sense- and as an anthropologist, I'm glad I can find at least one missing link in life.

IMG_6486.JPG

The rest was simple enough, as I just knitted in the round, and constantly decreased for my narrow narrow feet.

IMG_6494.JPG

Finally, I finished it off with a nice and pointy toe to suit my particularly pointed feet, and reminded myself to call my mother when she's back from vacation so I can thank her for making this so much less painful than it could have been.

IMG_6498.JPG

I'm typically always going to thank you for reading this, that's my sign off because I like to make it clear that I care about the people reading this.  I care that people take the time to read through my triumphs and failures with the crafting life, and hopefully take some sort out of amusement out of my whole circus.  I try to thank my partner often for the love and support he provides when ripping out projects breaks my heart and makes me want to put the project in the corner, but I would also like to thank you.  It's easier to get back on the horse when I feel like I can make something good of it for other people, as well as myself.  It's easy to be annoyed with myself and sometimes even just walk away, that gets a lot harder when I go back on my word with people.  So thank you for your time, you patience, and all of that morale support that gets me through the sad little moments that I have to pull it back or break out the seam ripper.  All of you help to make it worth it to start again and see it through. 

Take care.