IMG_1612.jpg

Blog

Colours to Make My Heart Swoon

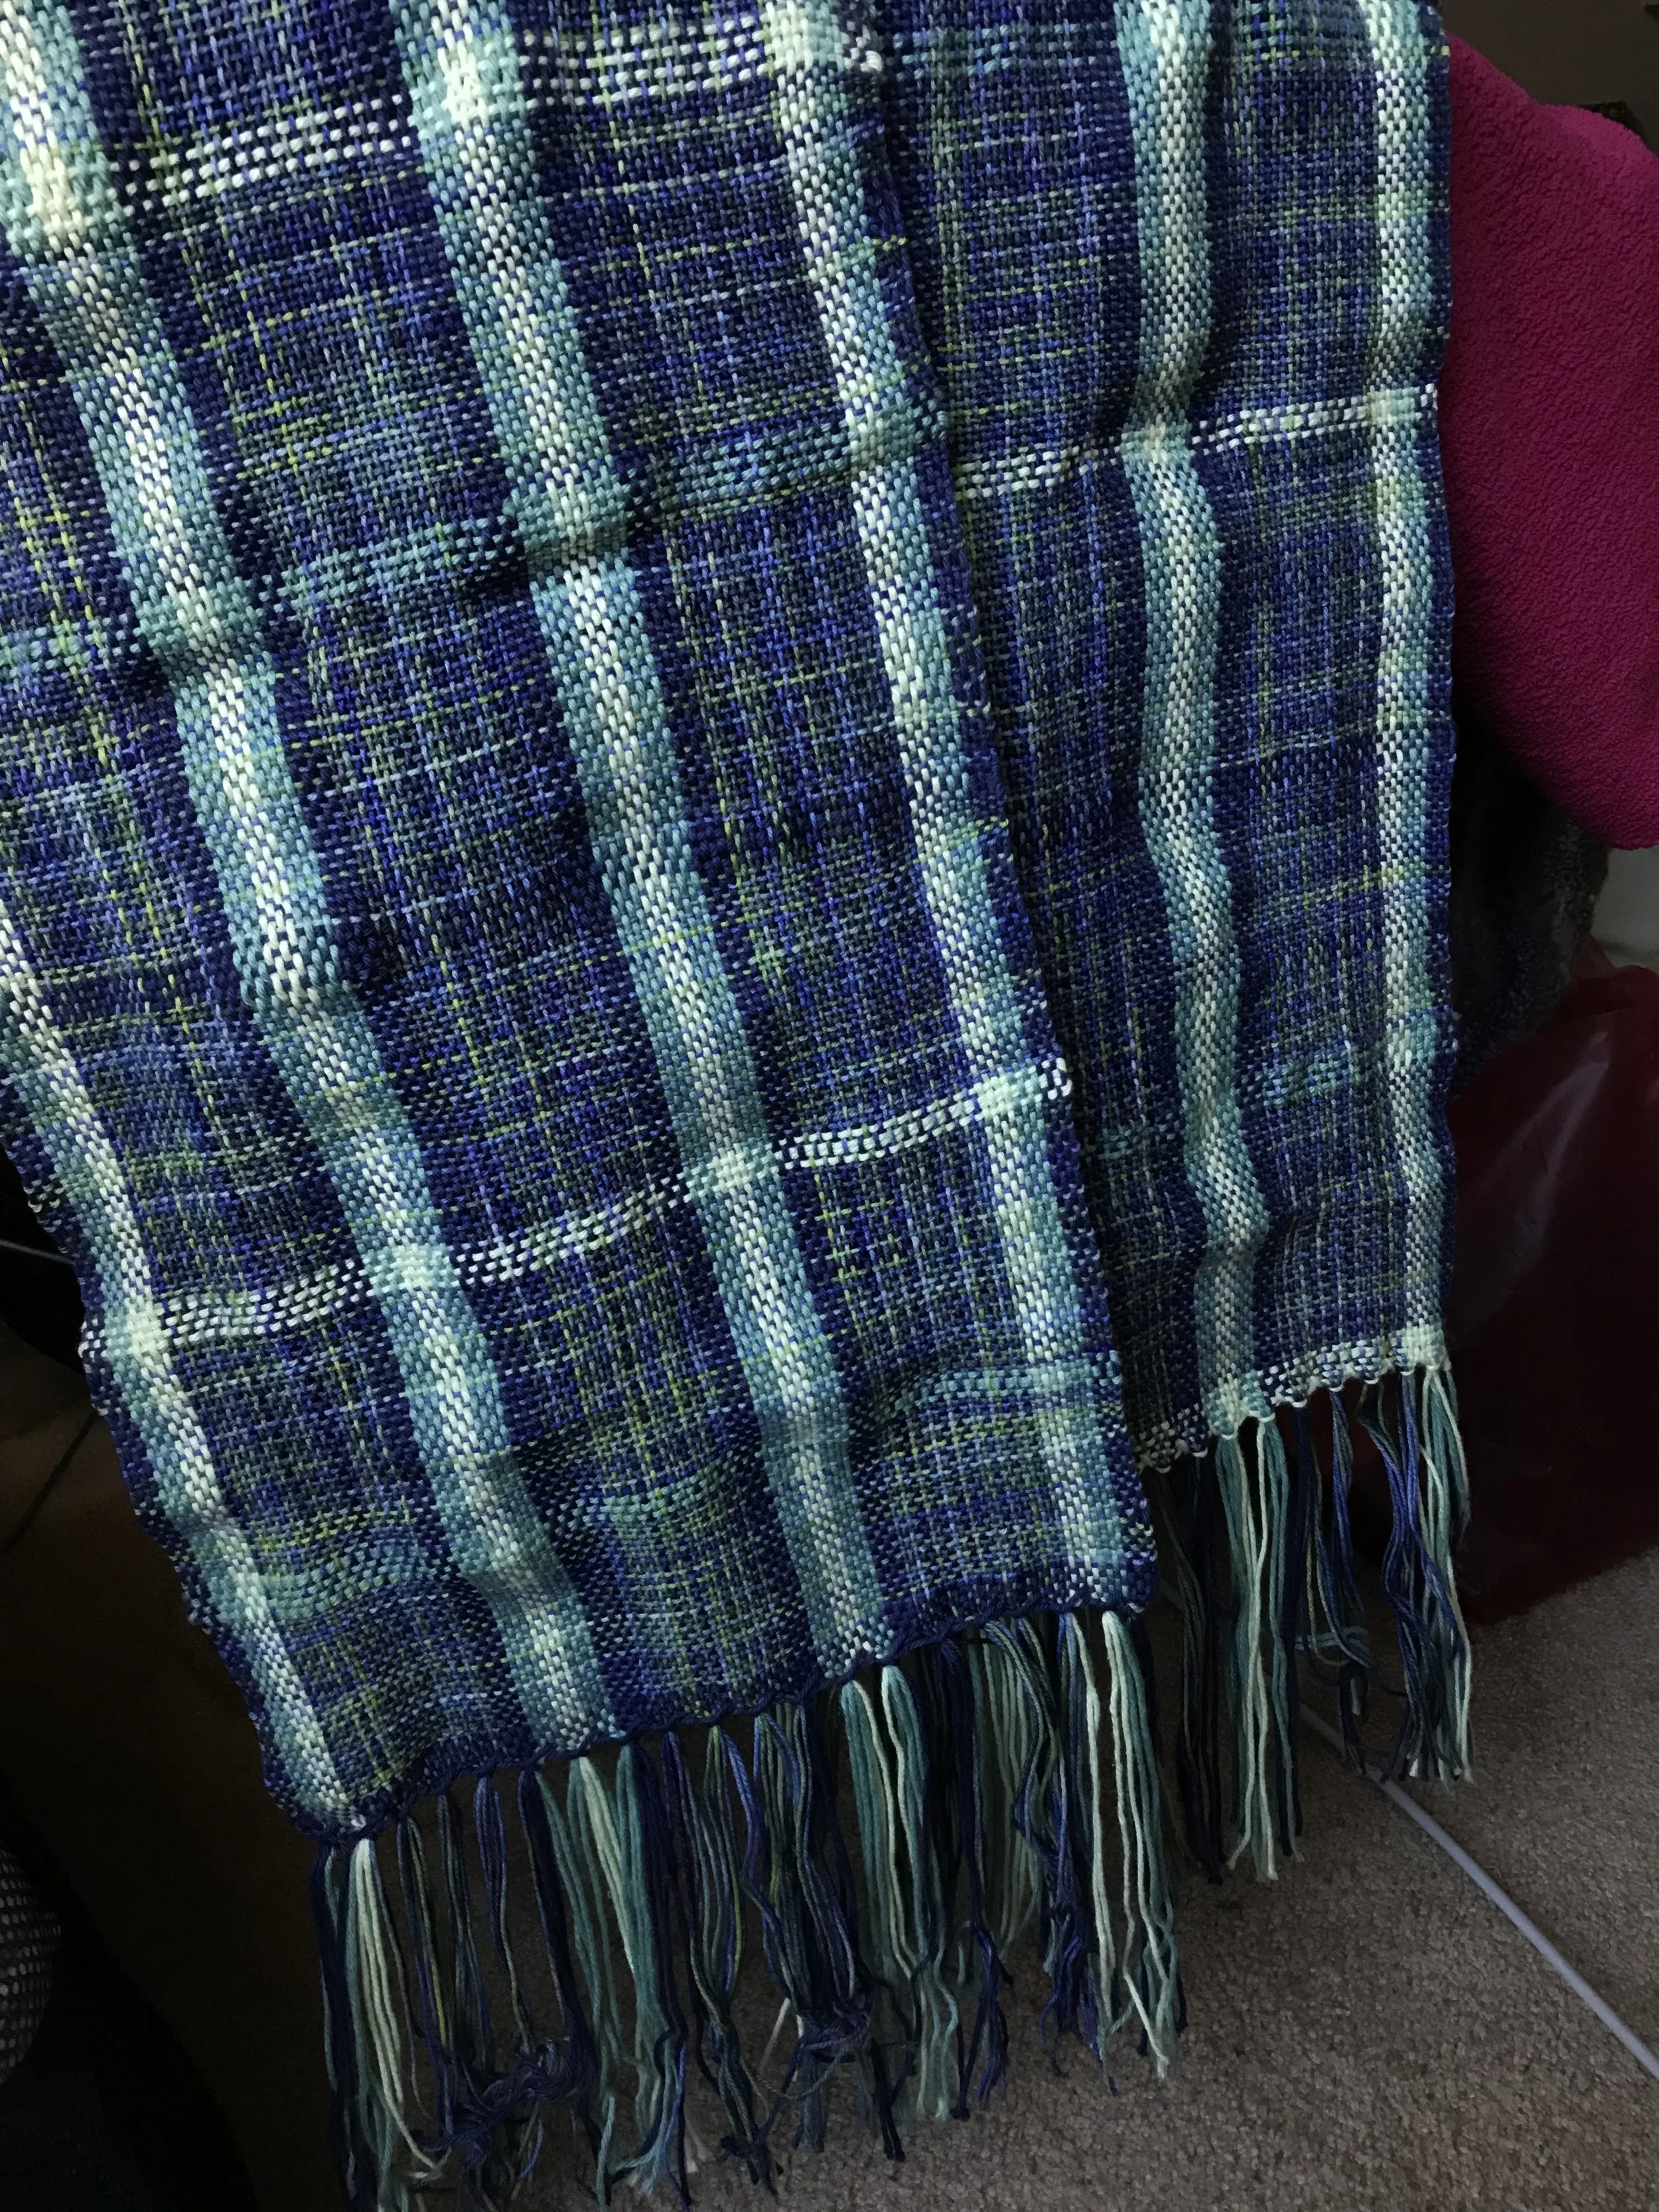
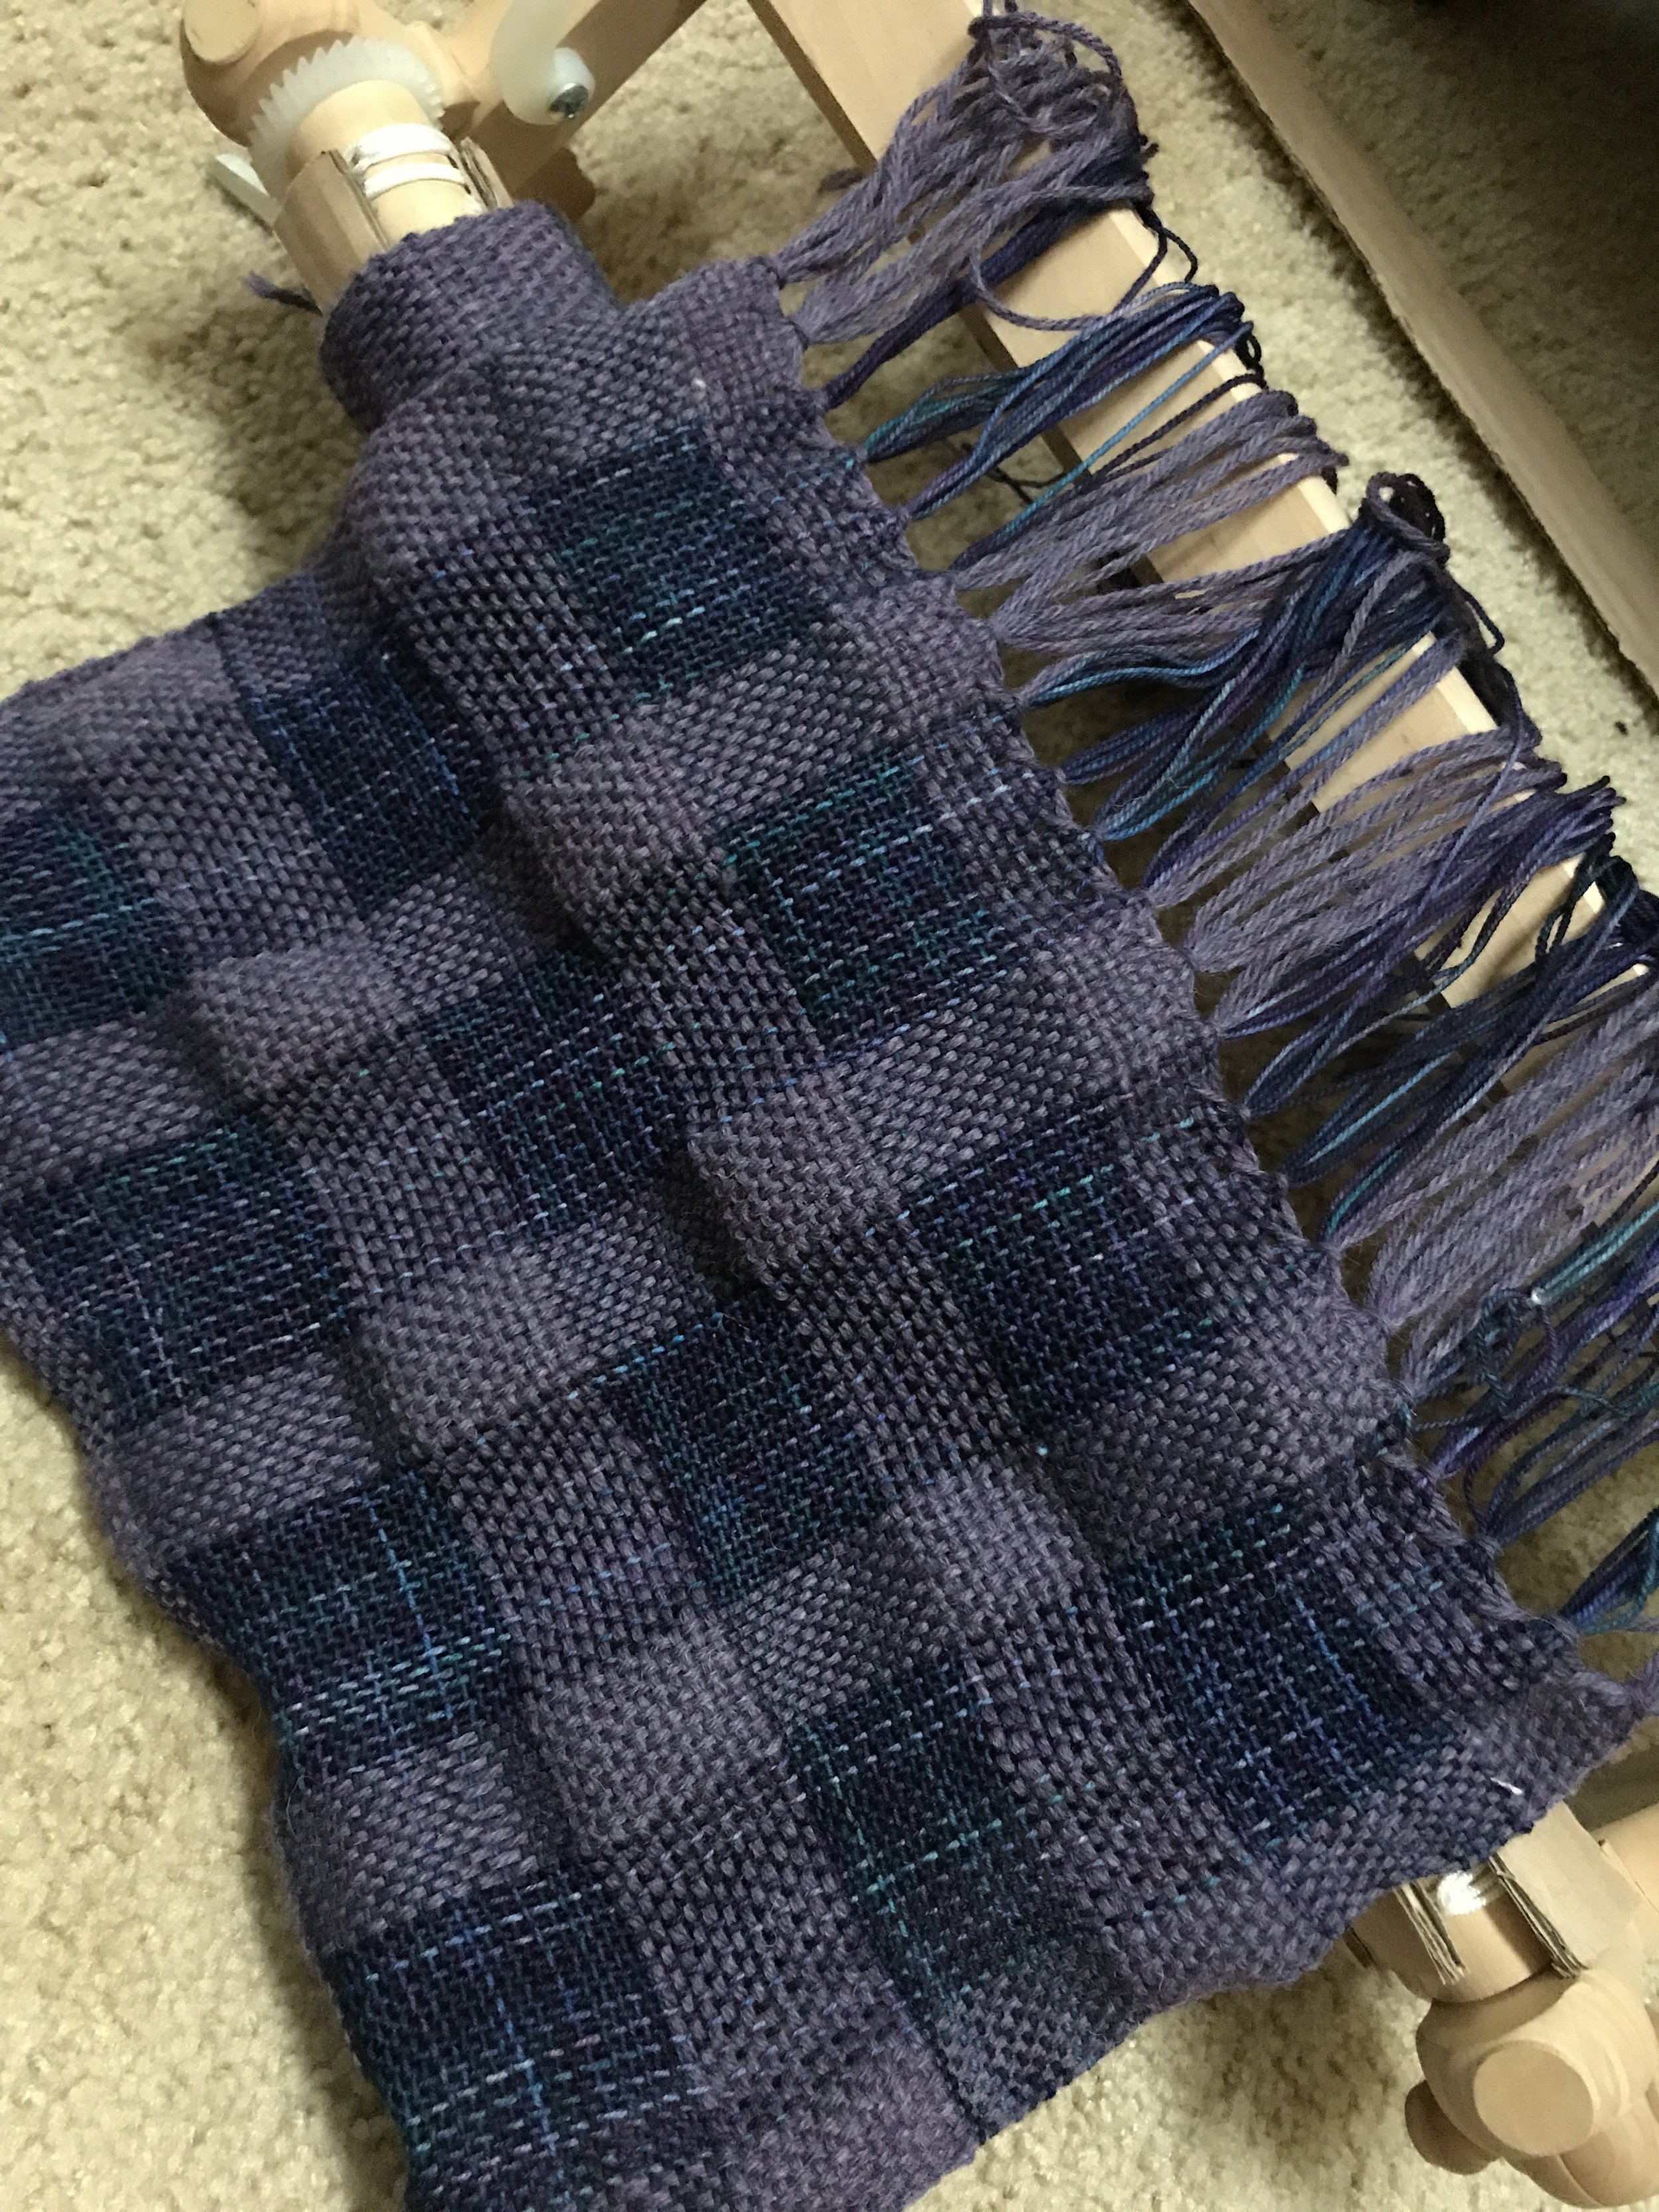
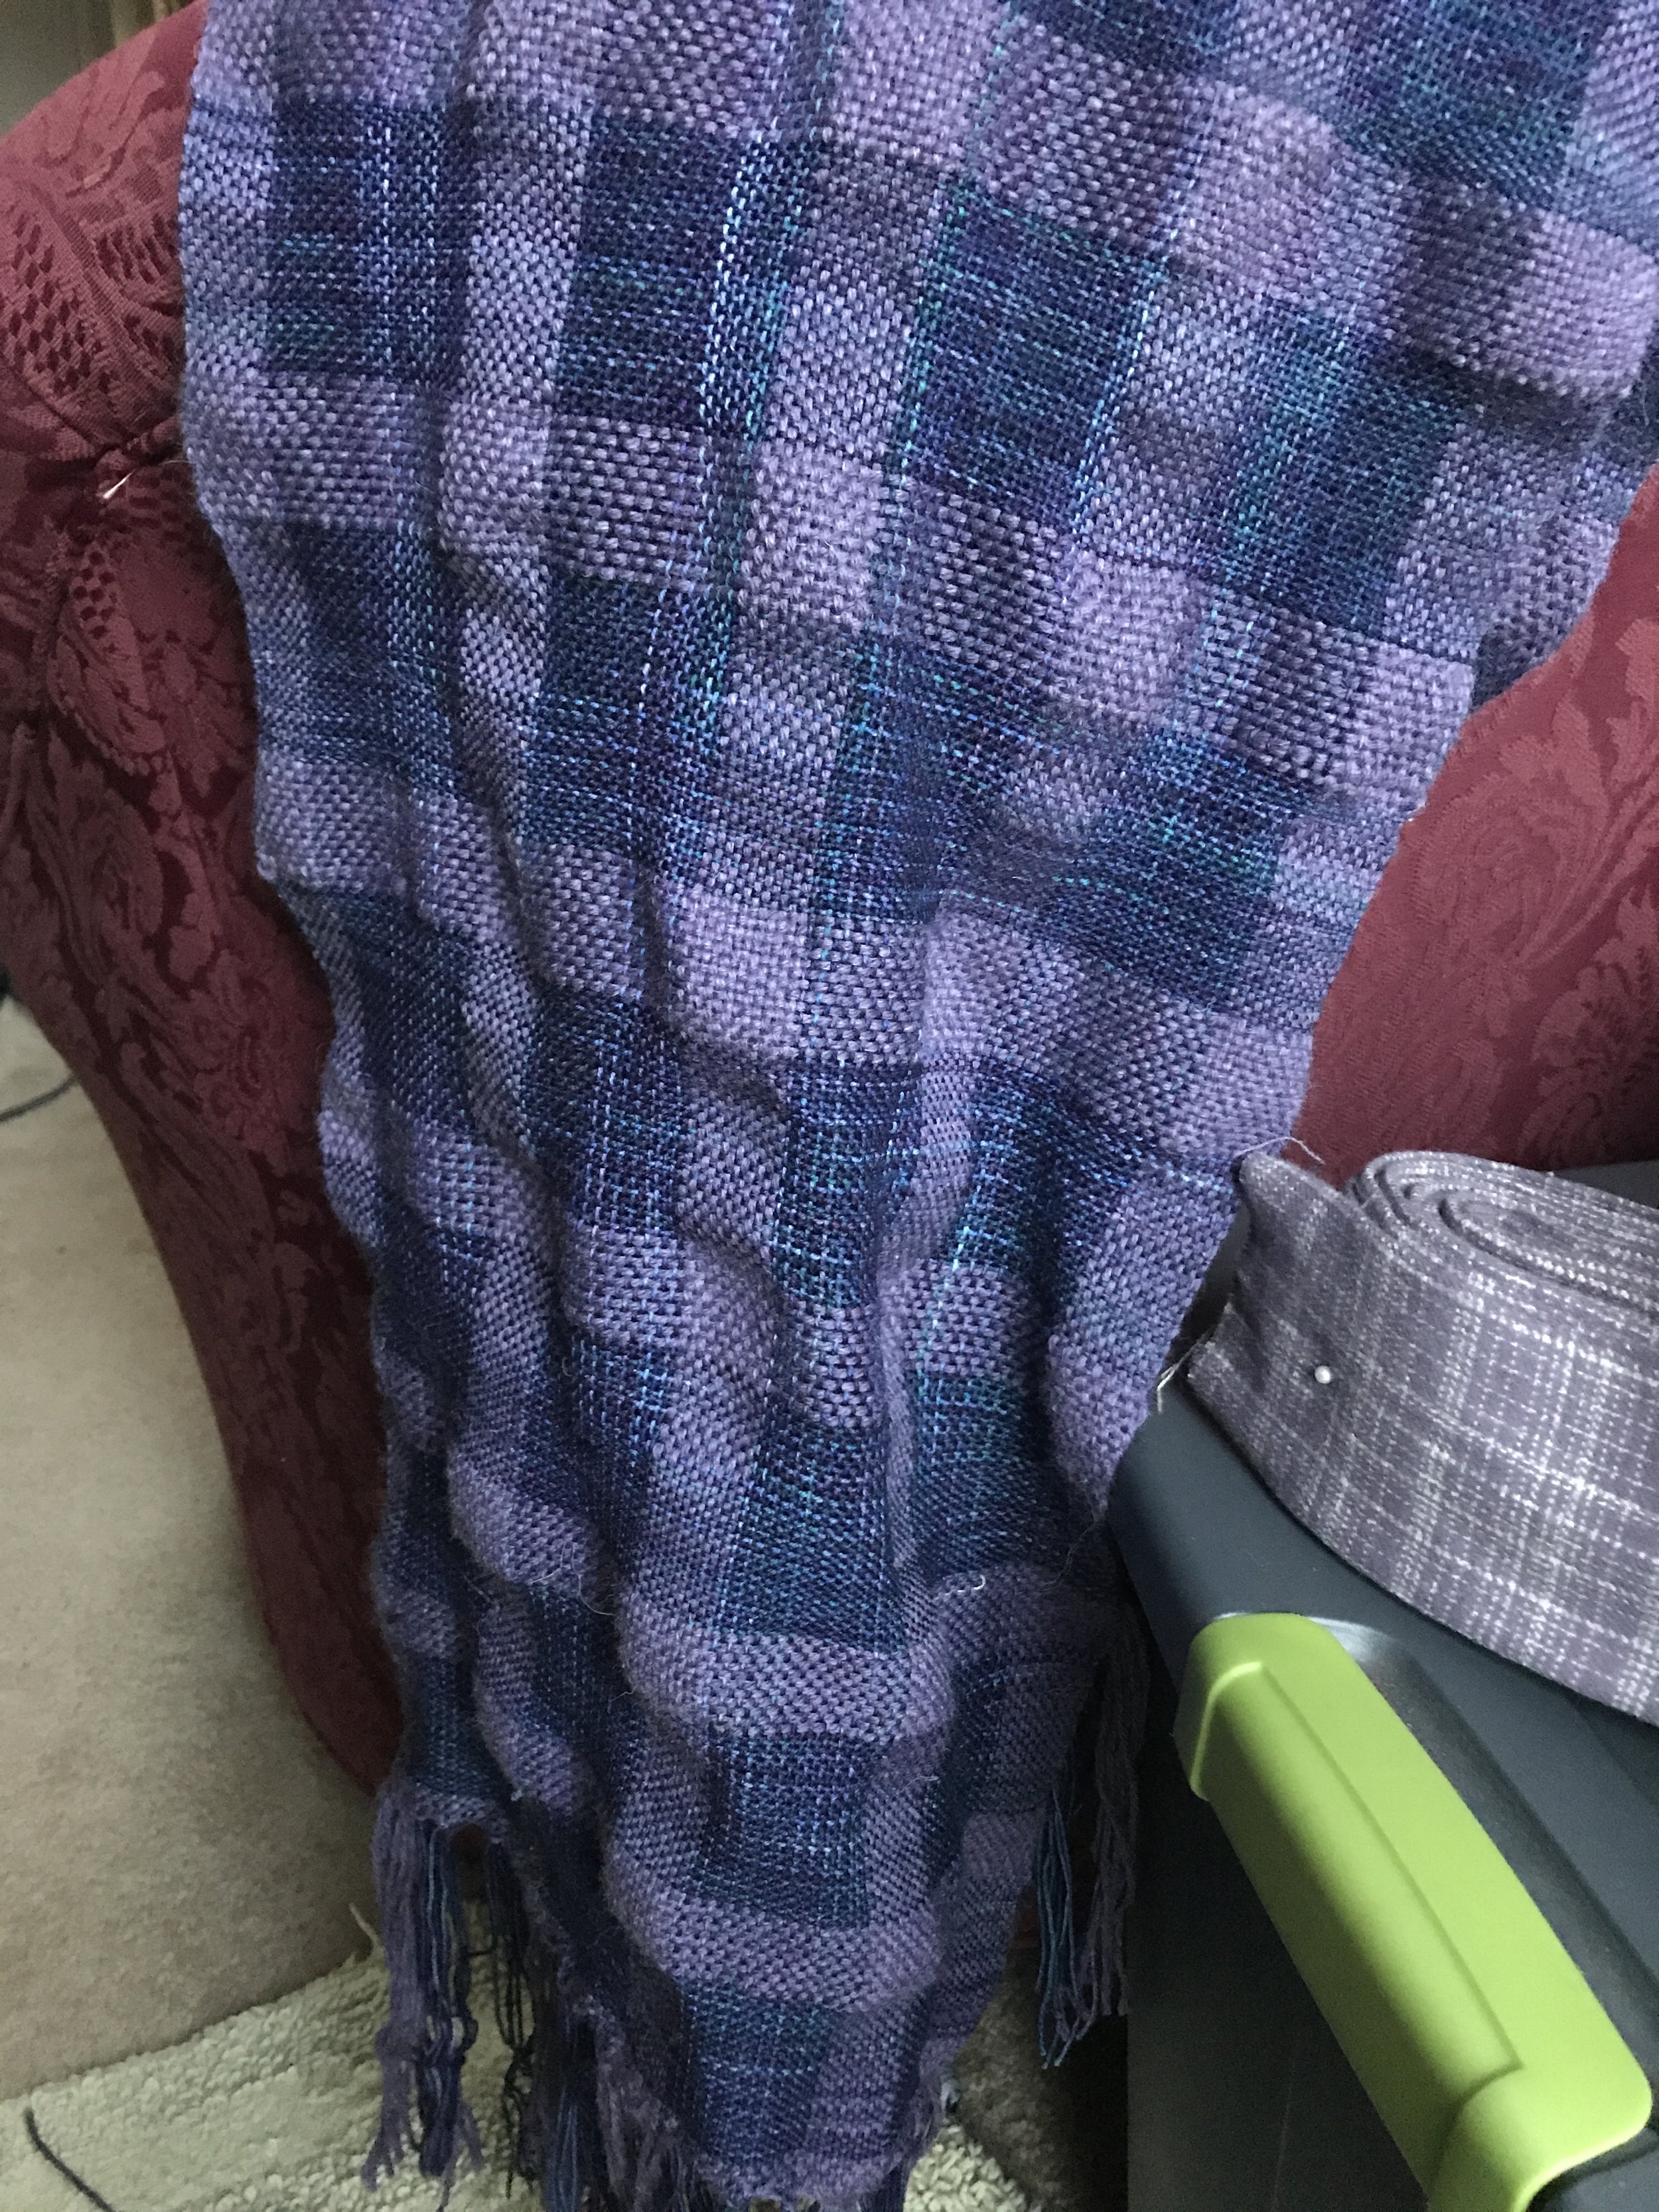
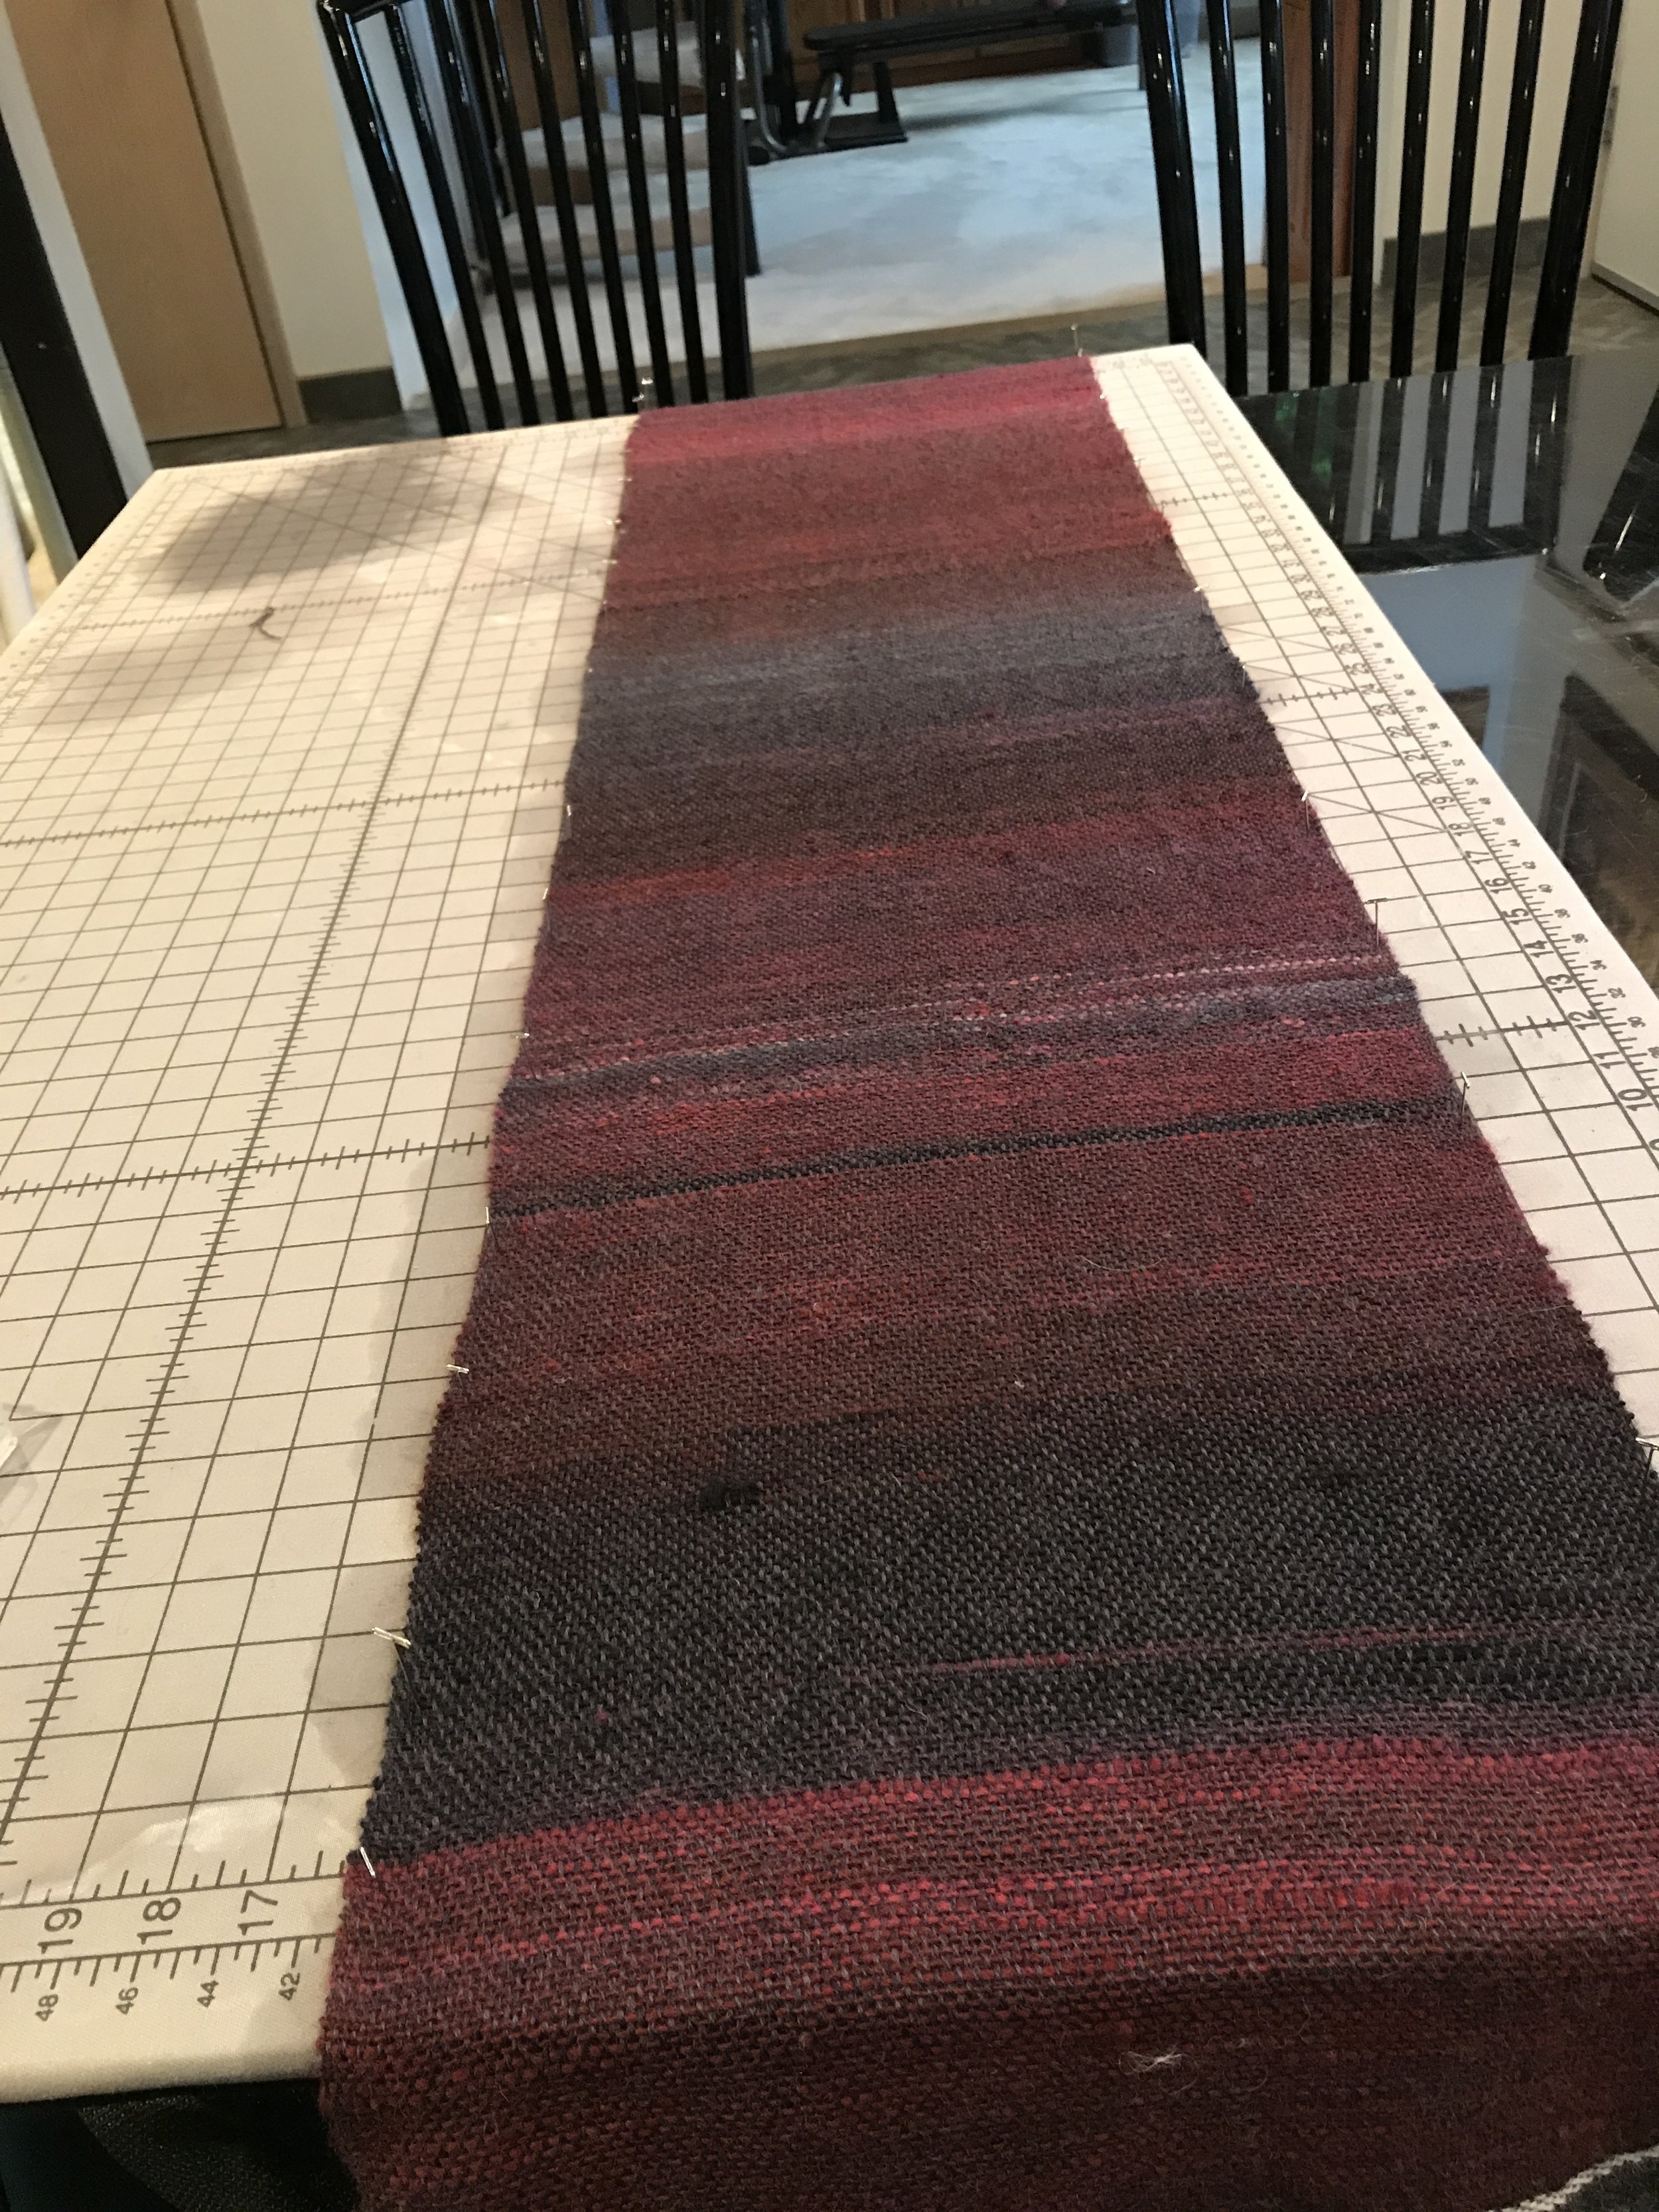
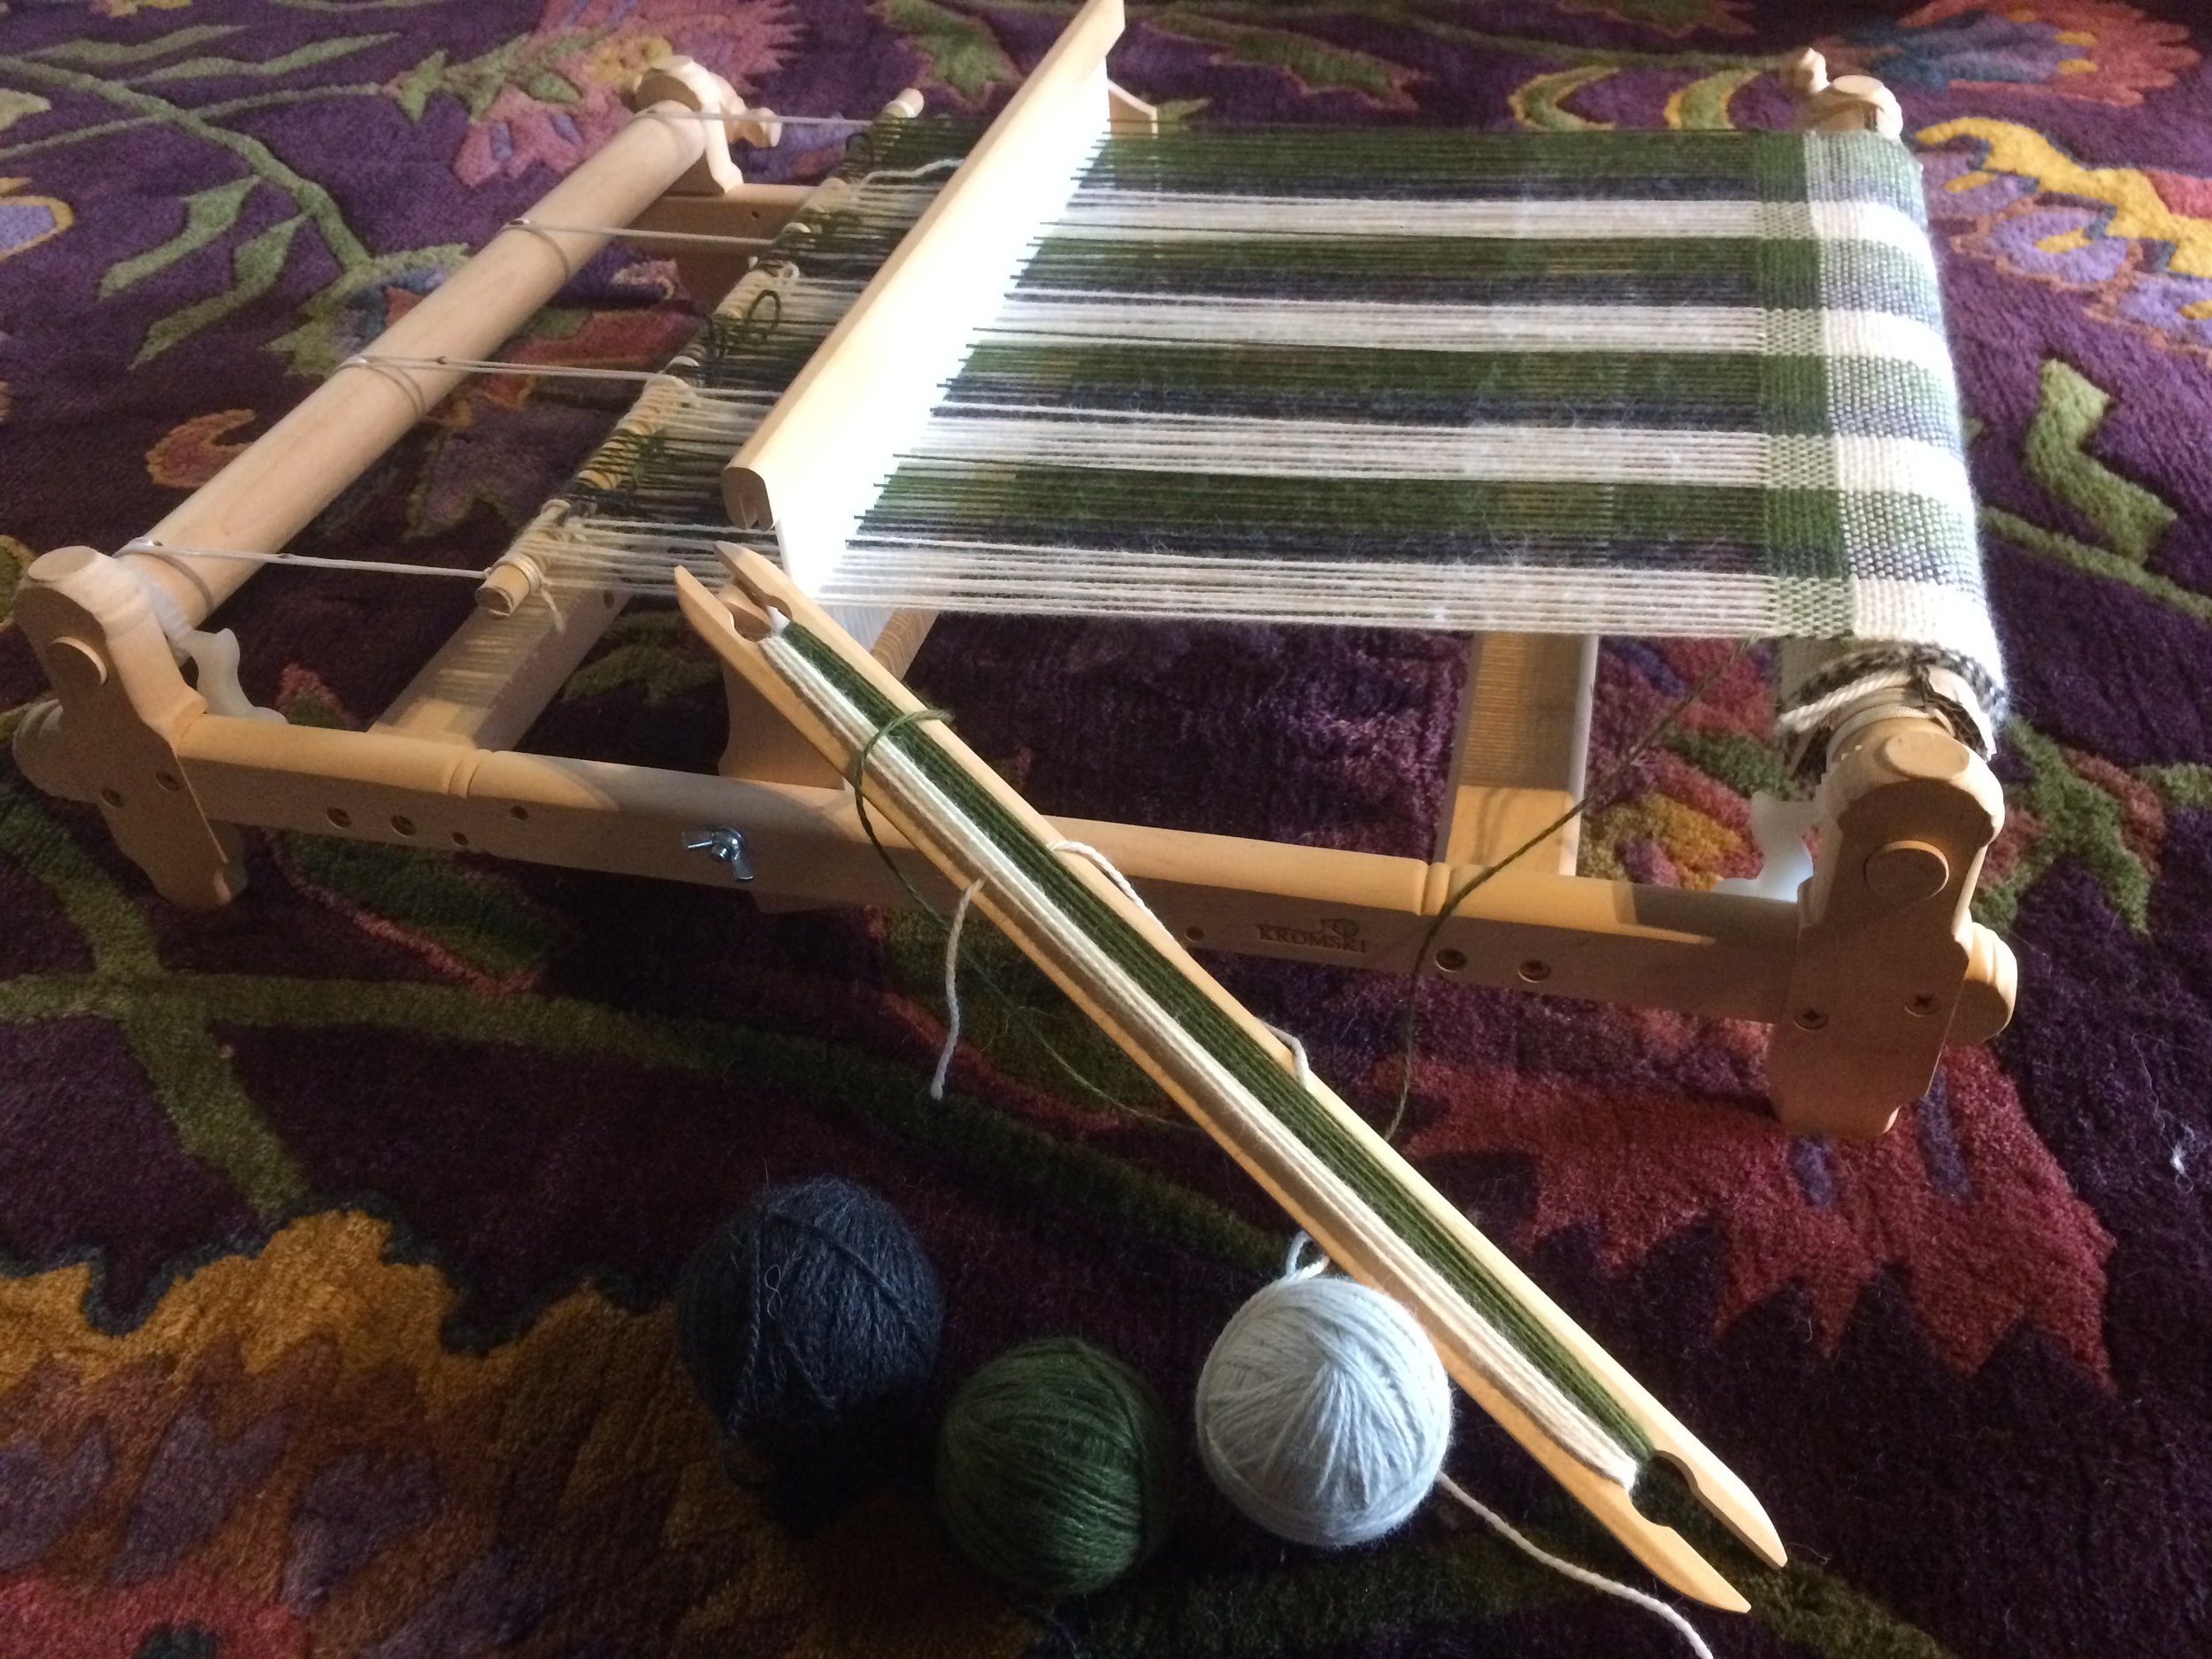
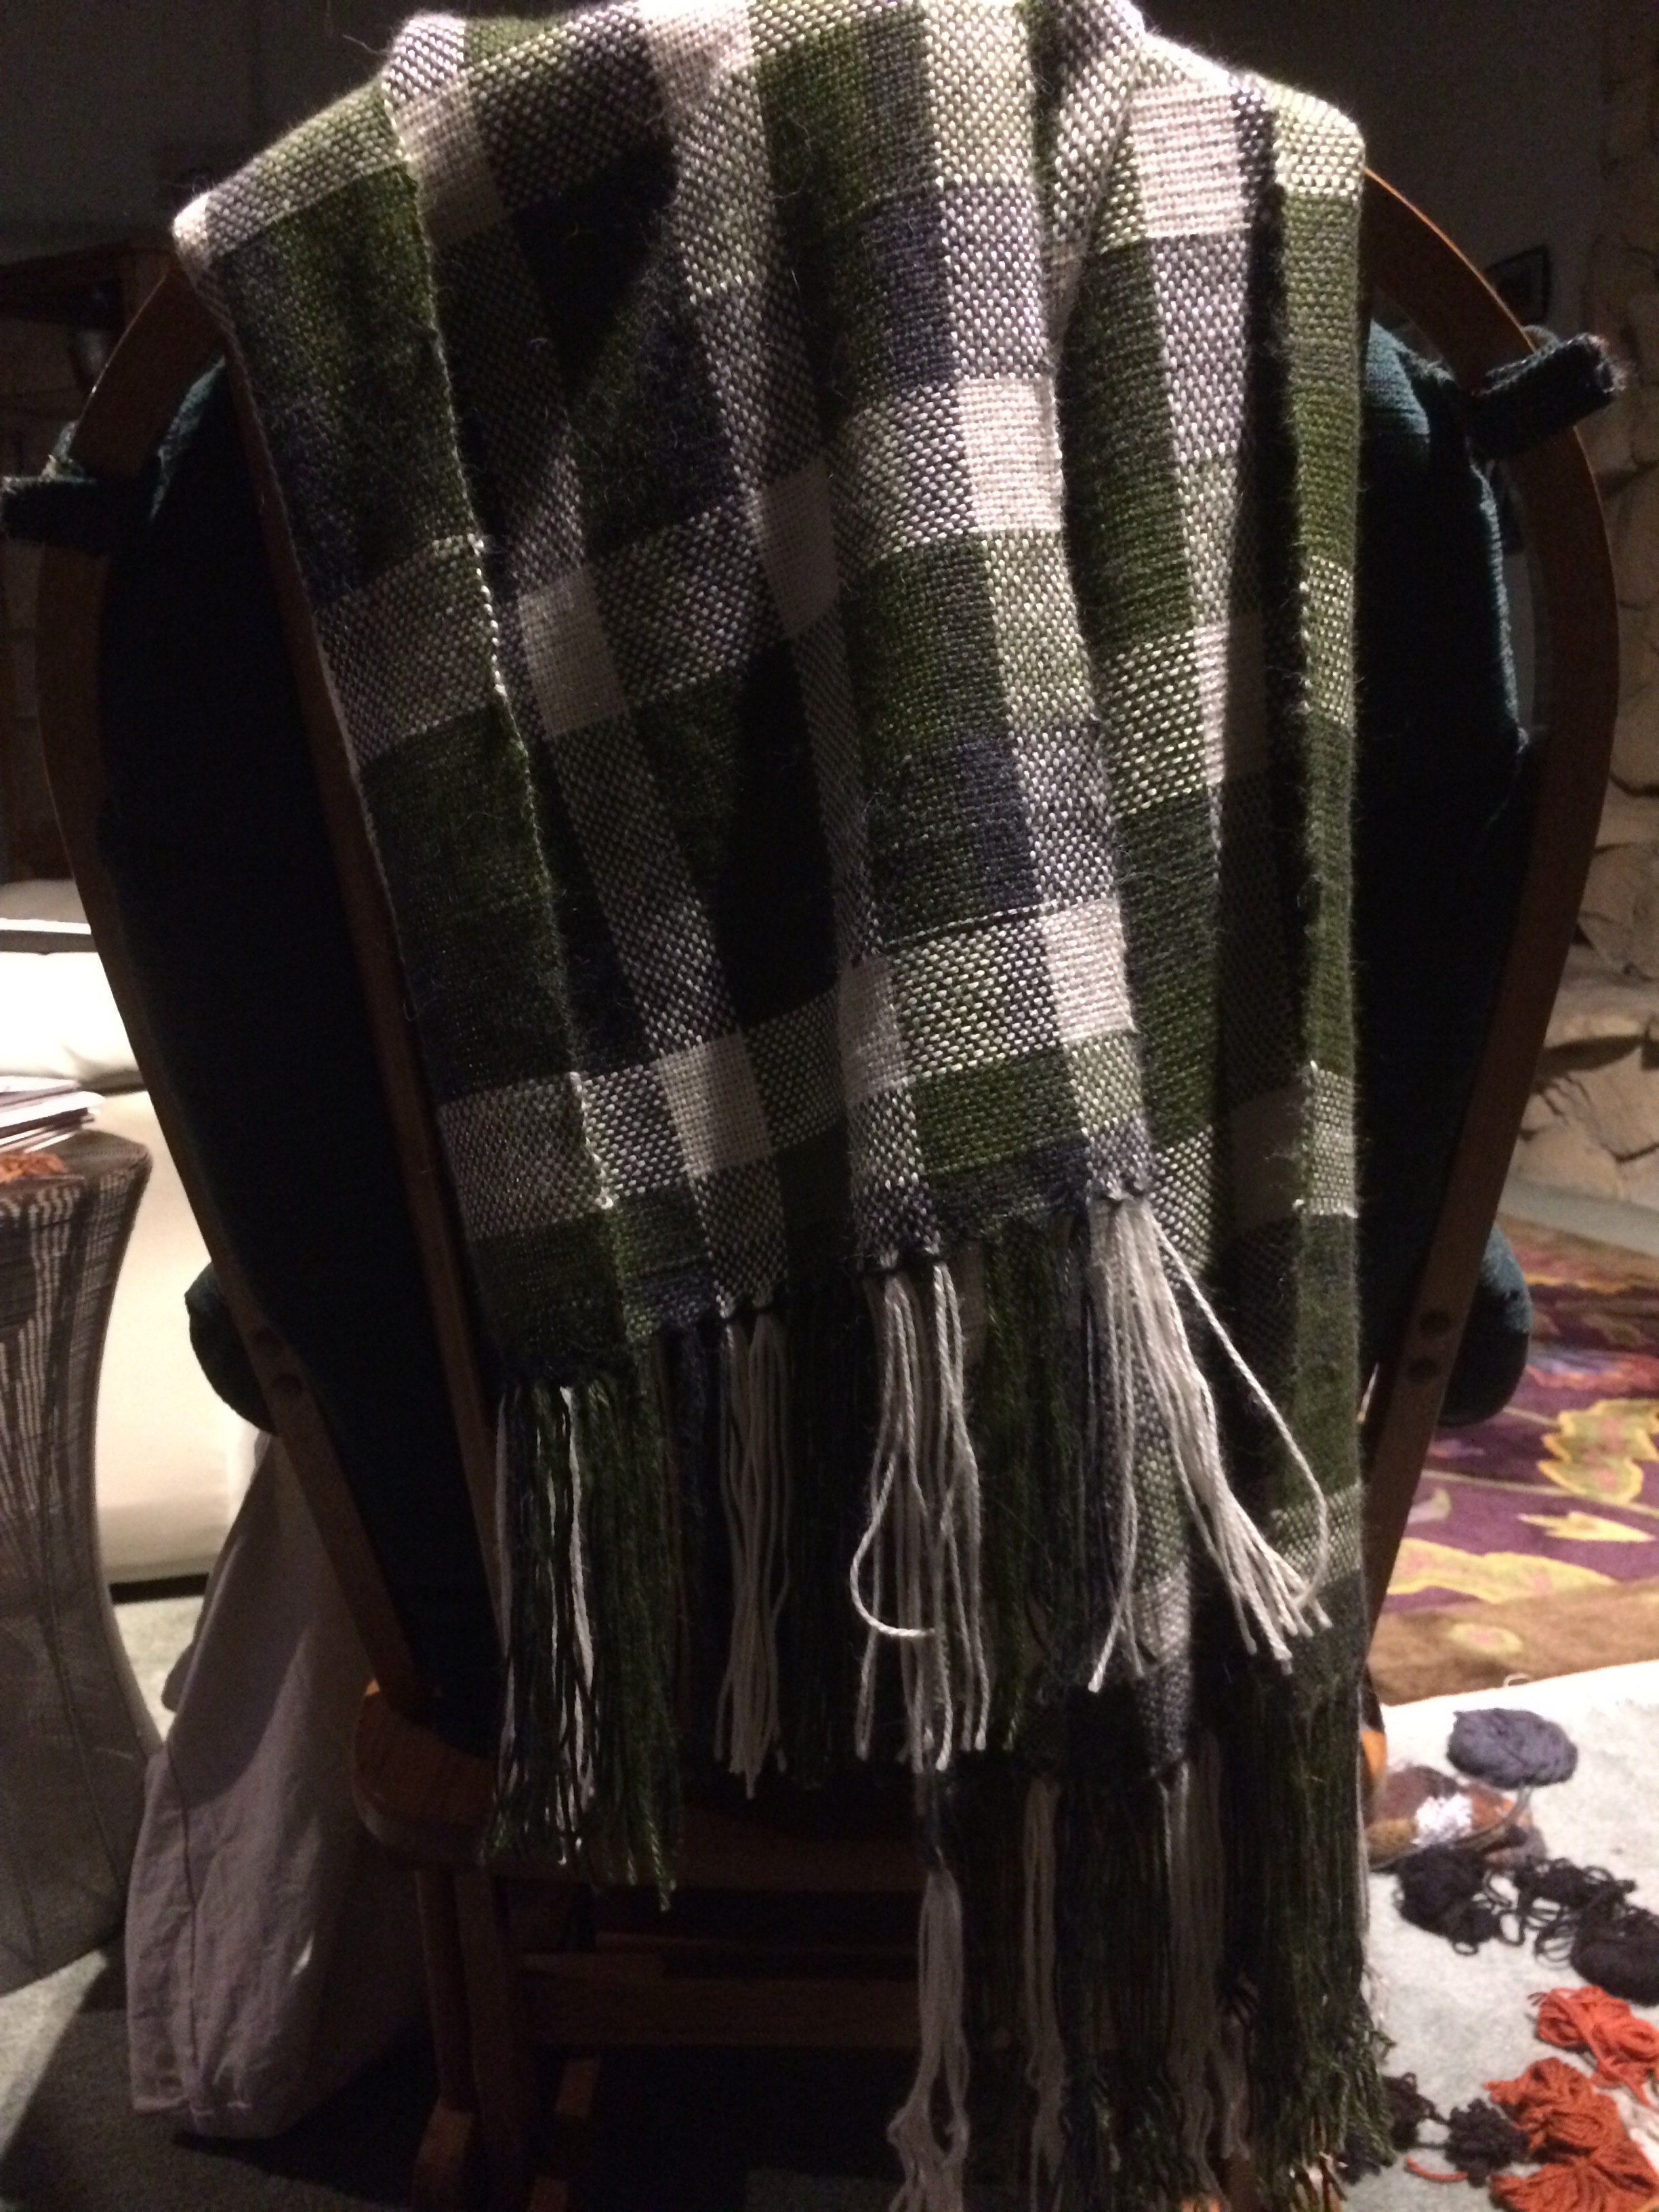
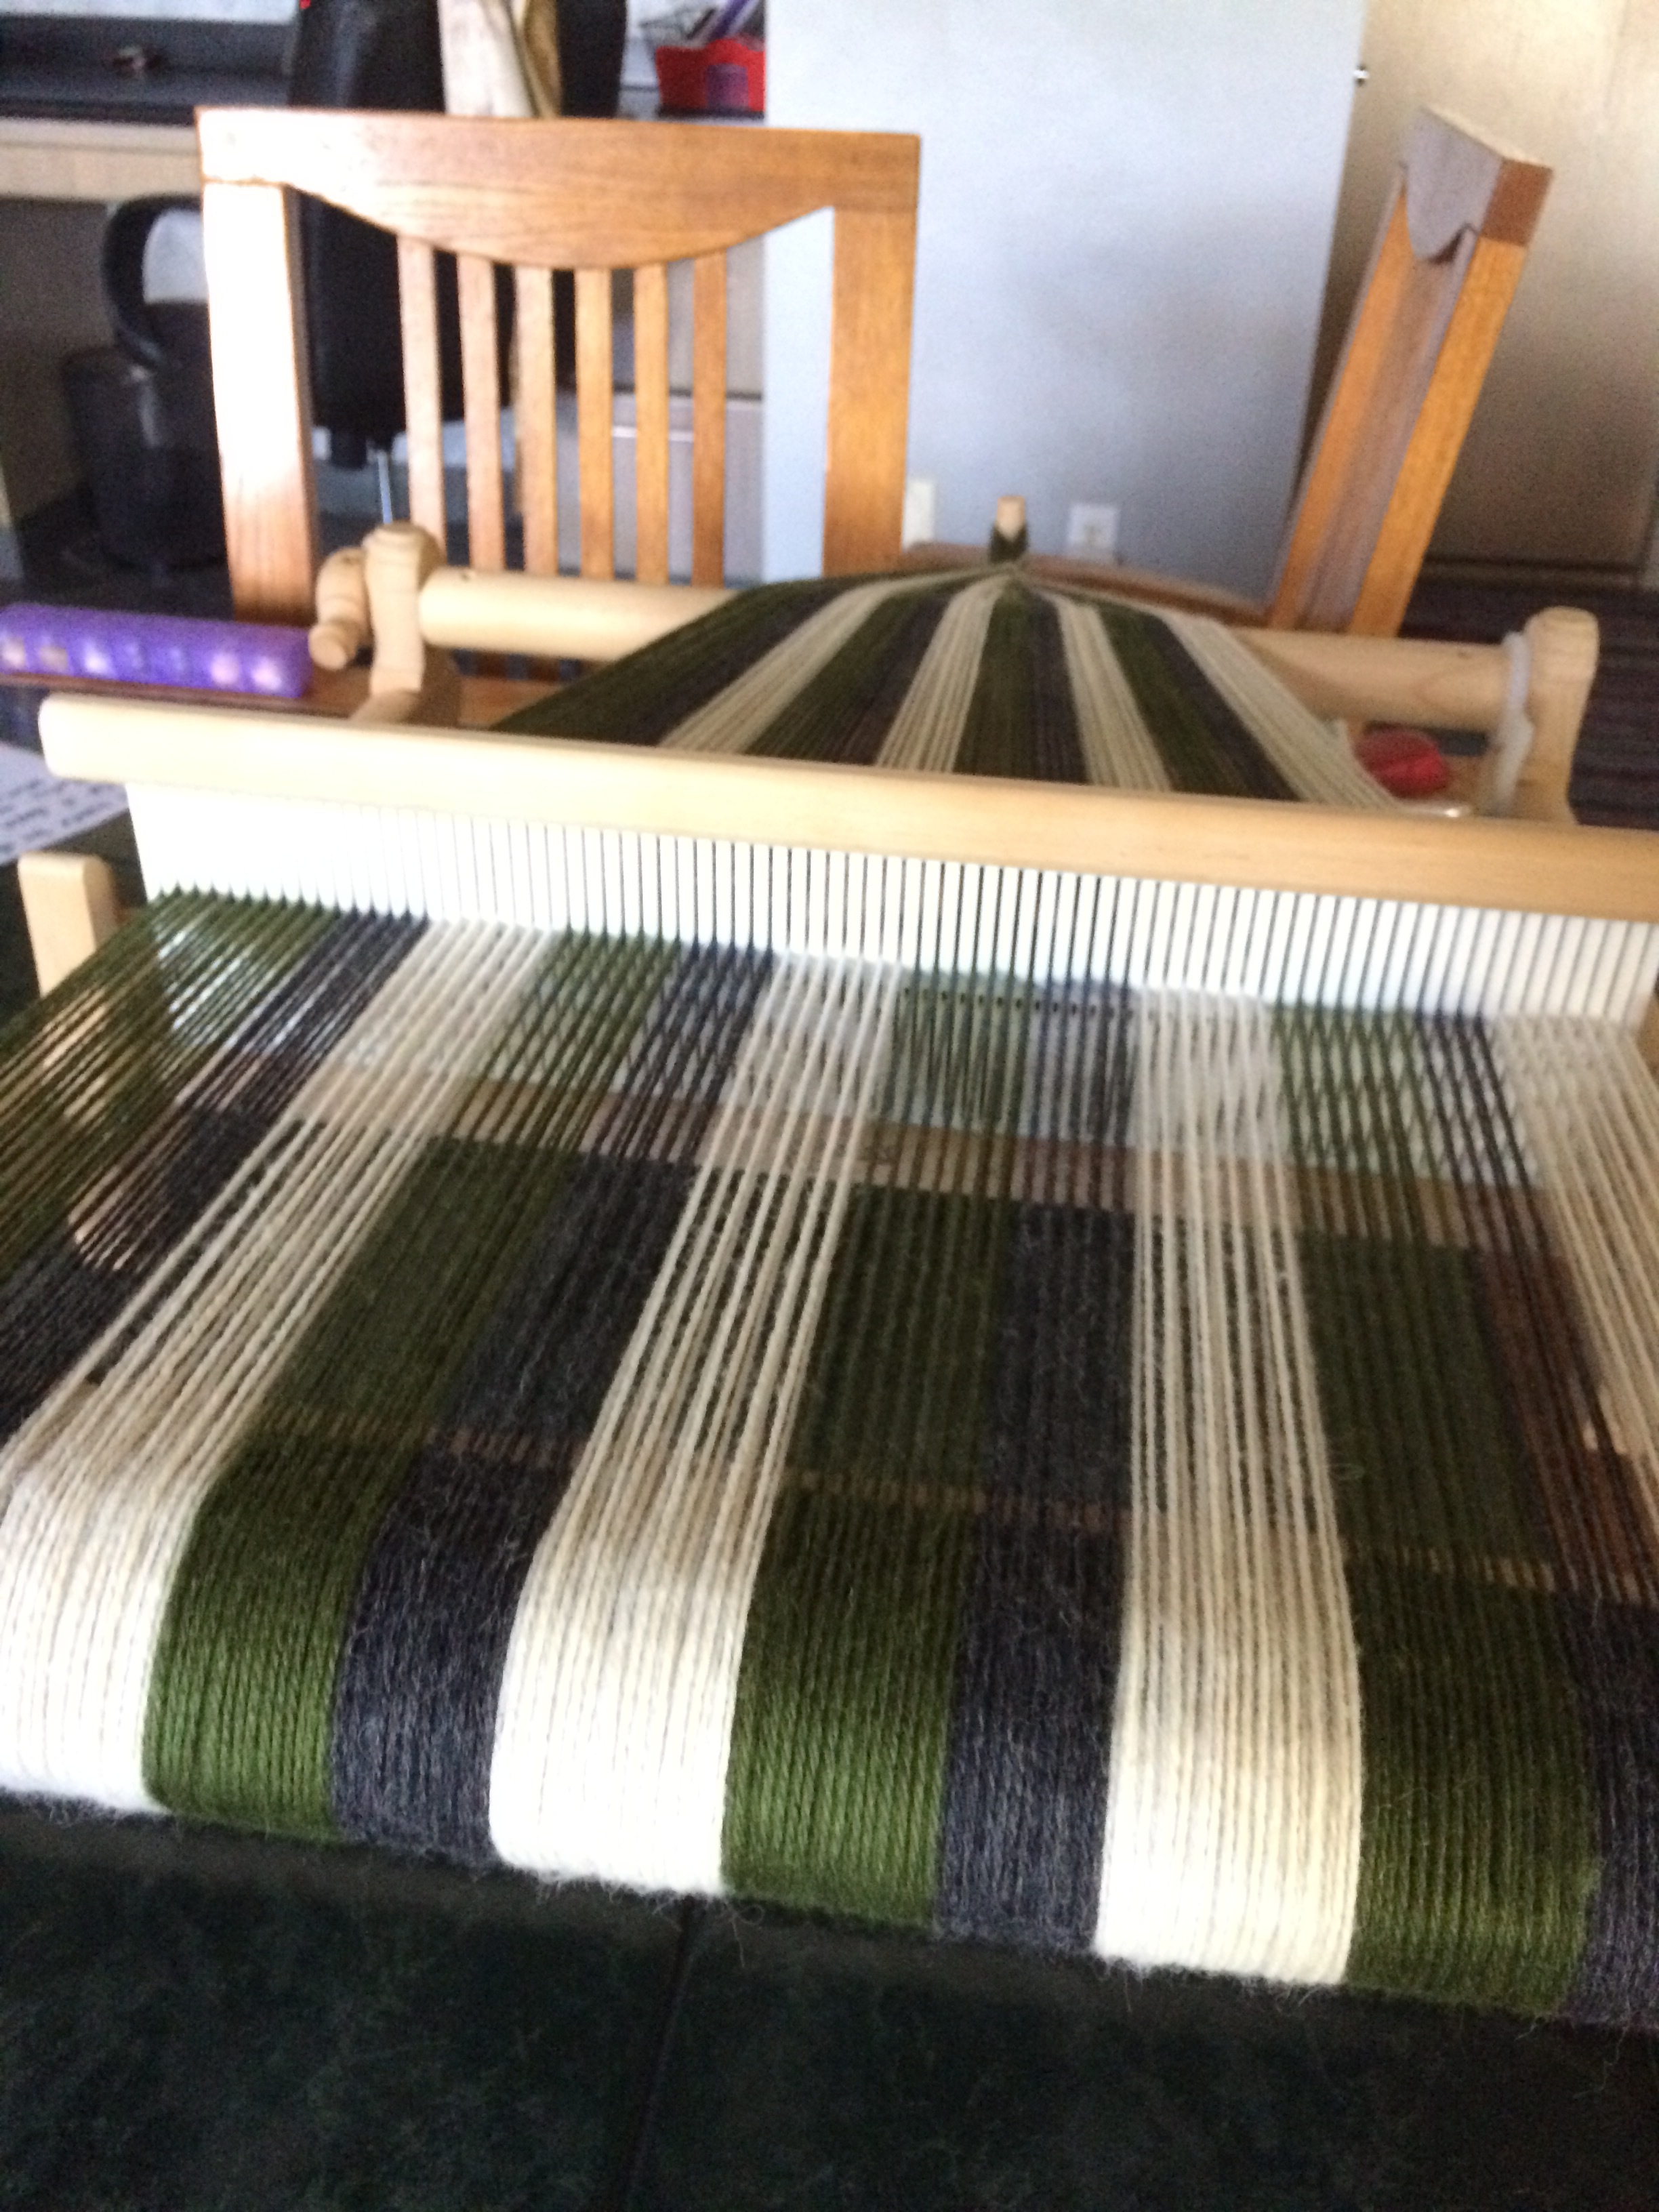
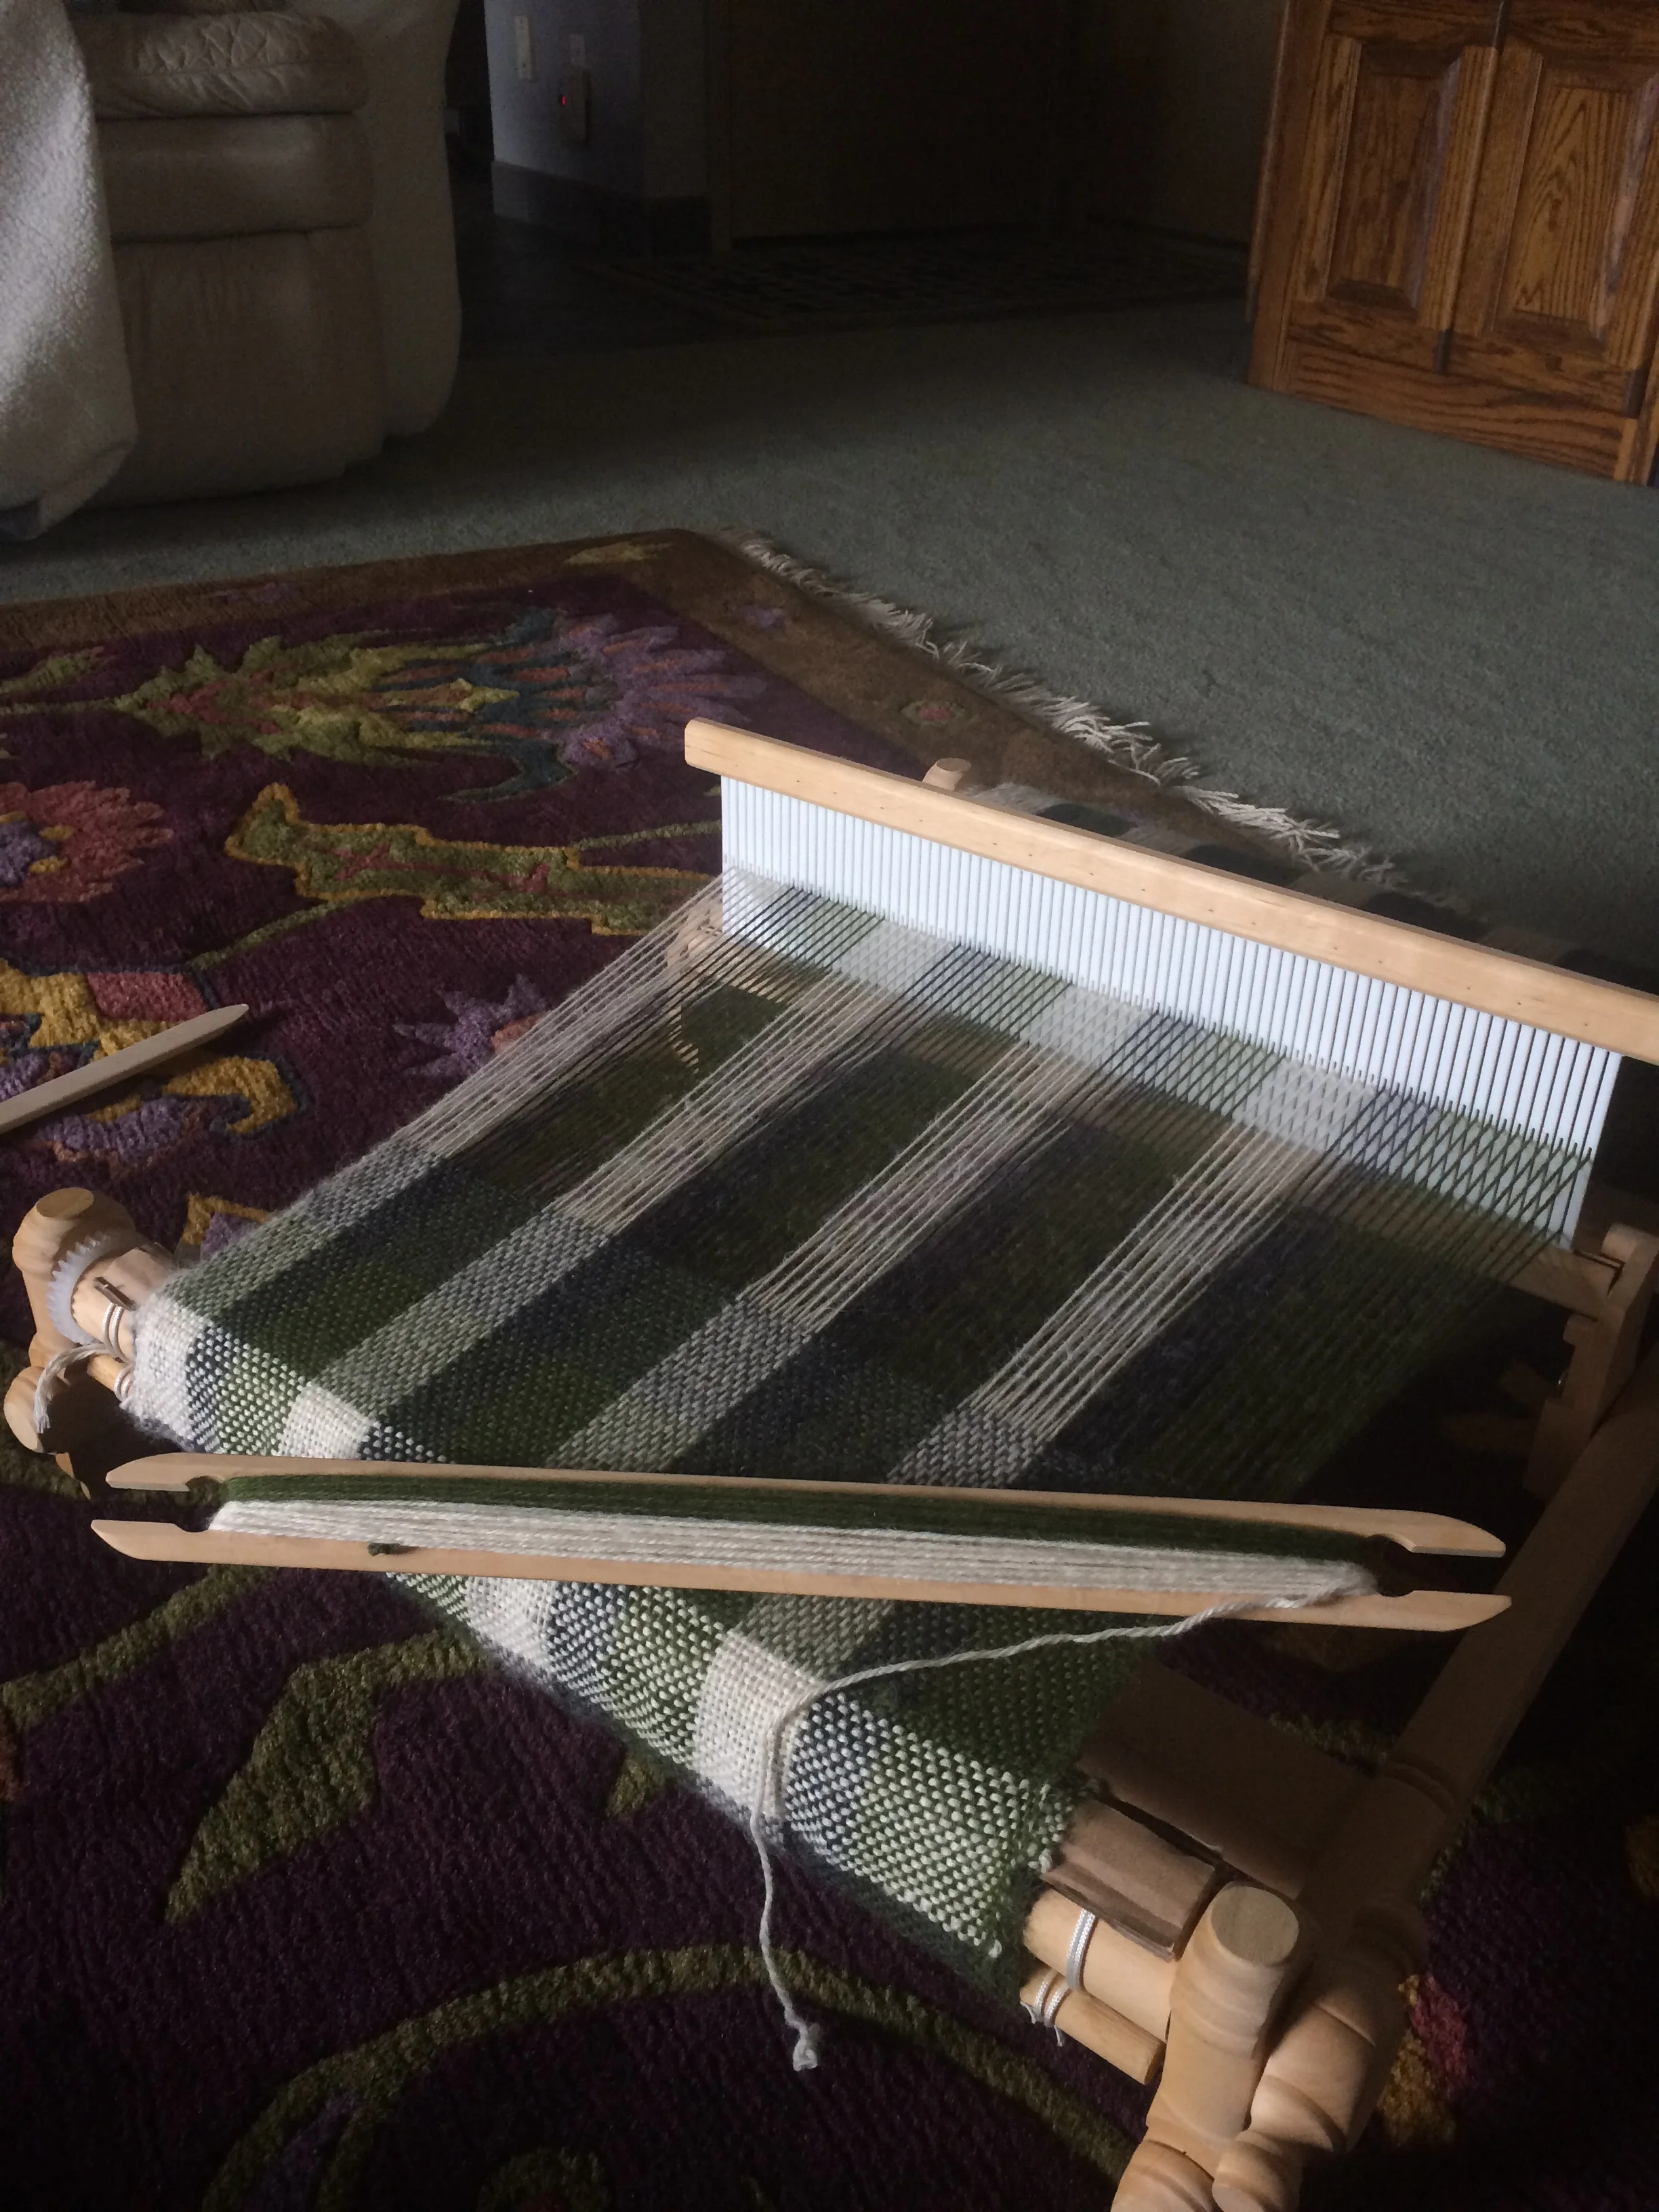
I decided to switch things up a bit this week and showcase for one of the many woven scarves I've made lately (can you hear the sarcasm?).  As I work to finish many long term knitting projects I have found that my one woven scarf a week cleverly tricks me into thinking that I'm still making progress on my crafts, though it's quickly turning my blog into a woven scarf blog exclusively.  New things are working their way down the pipes, I'm just a faster weaver than anything else.


Despite how much I've been weaving recently, I continue to learn something new with each one.  This time it was something that seemed so glaringly obvious that I'm amazed I didn't think about it before.  

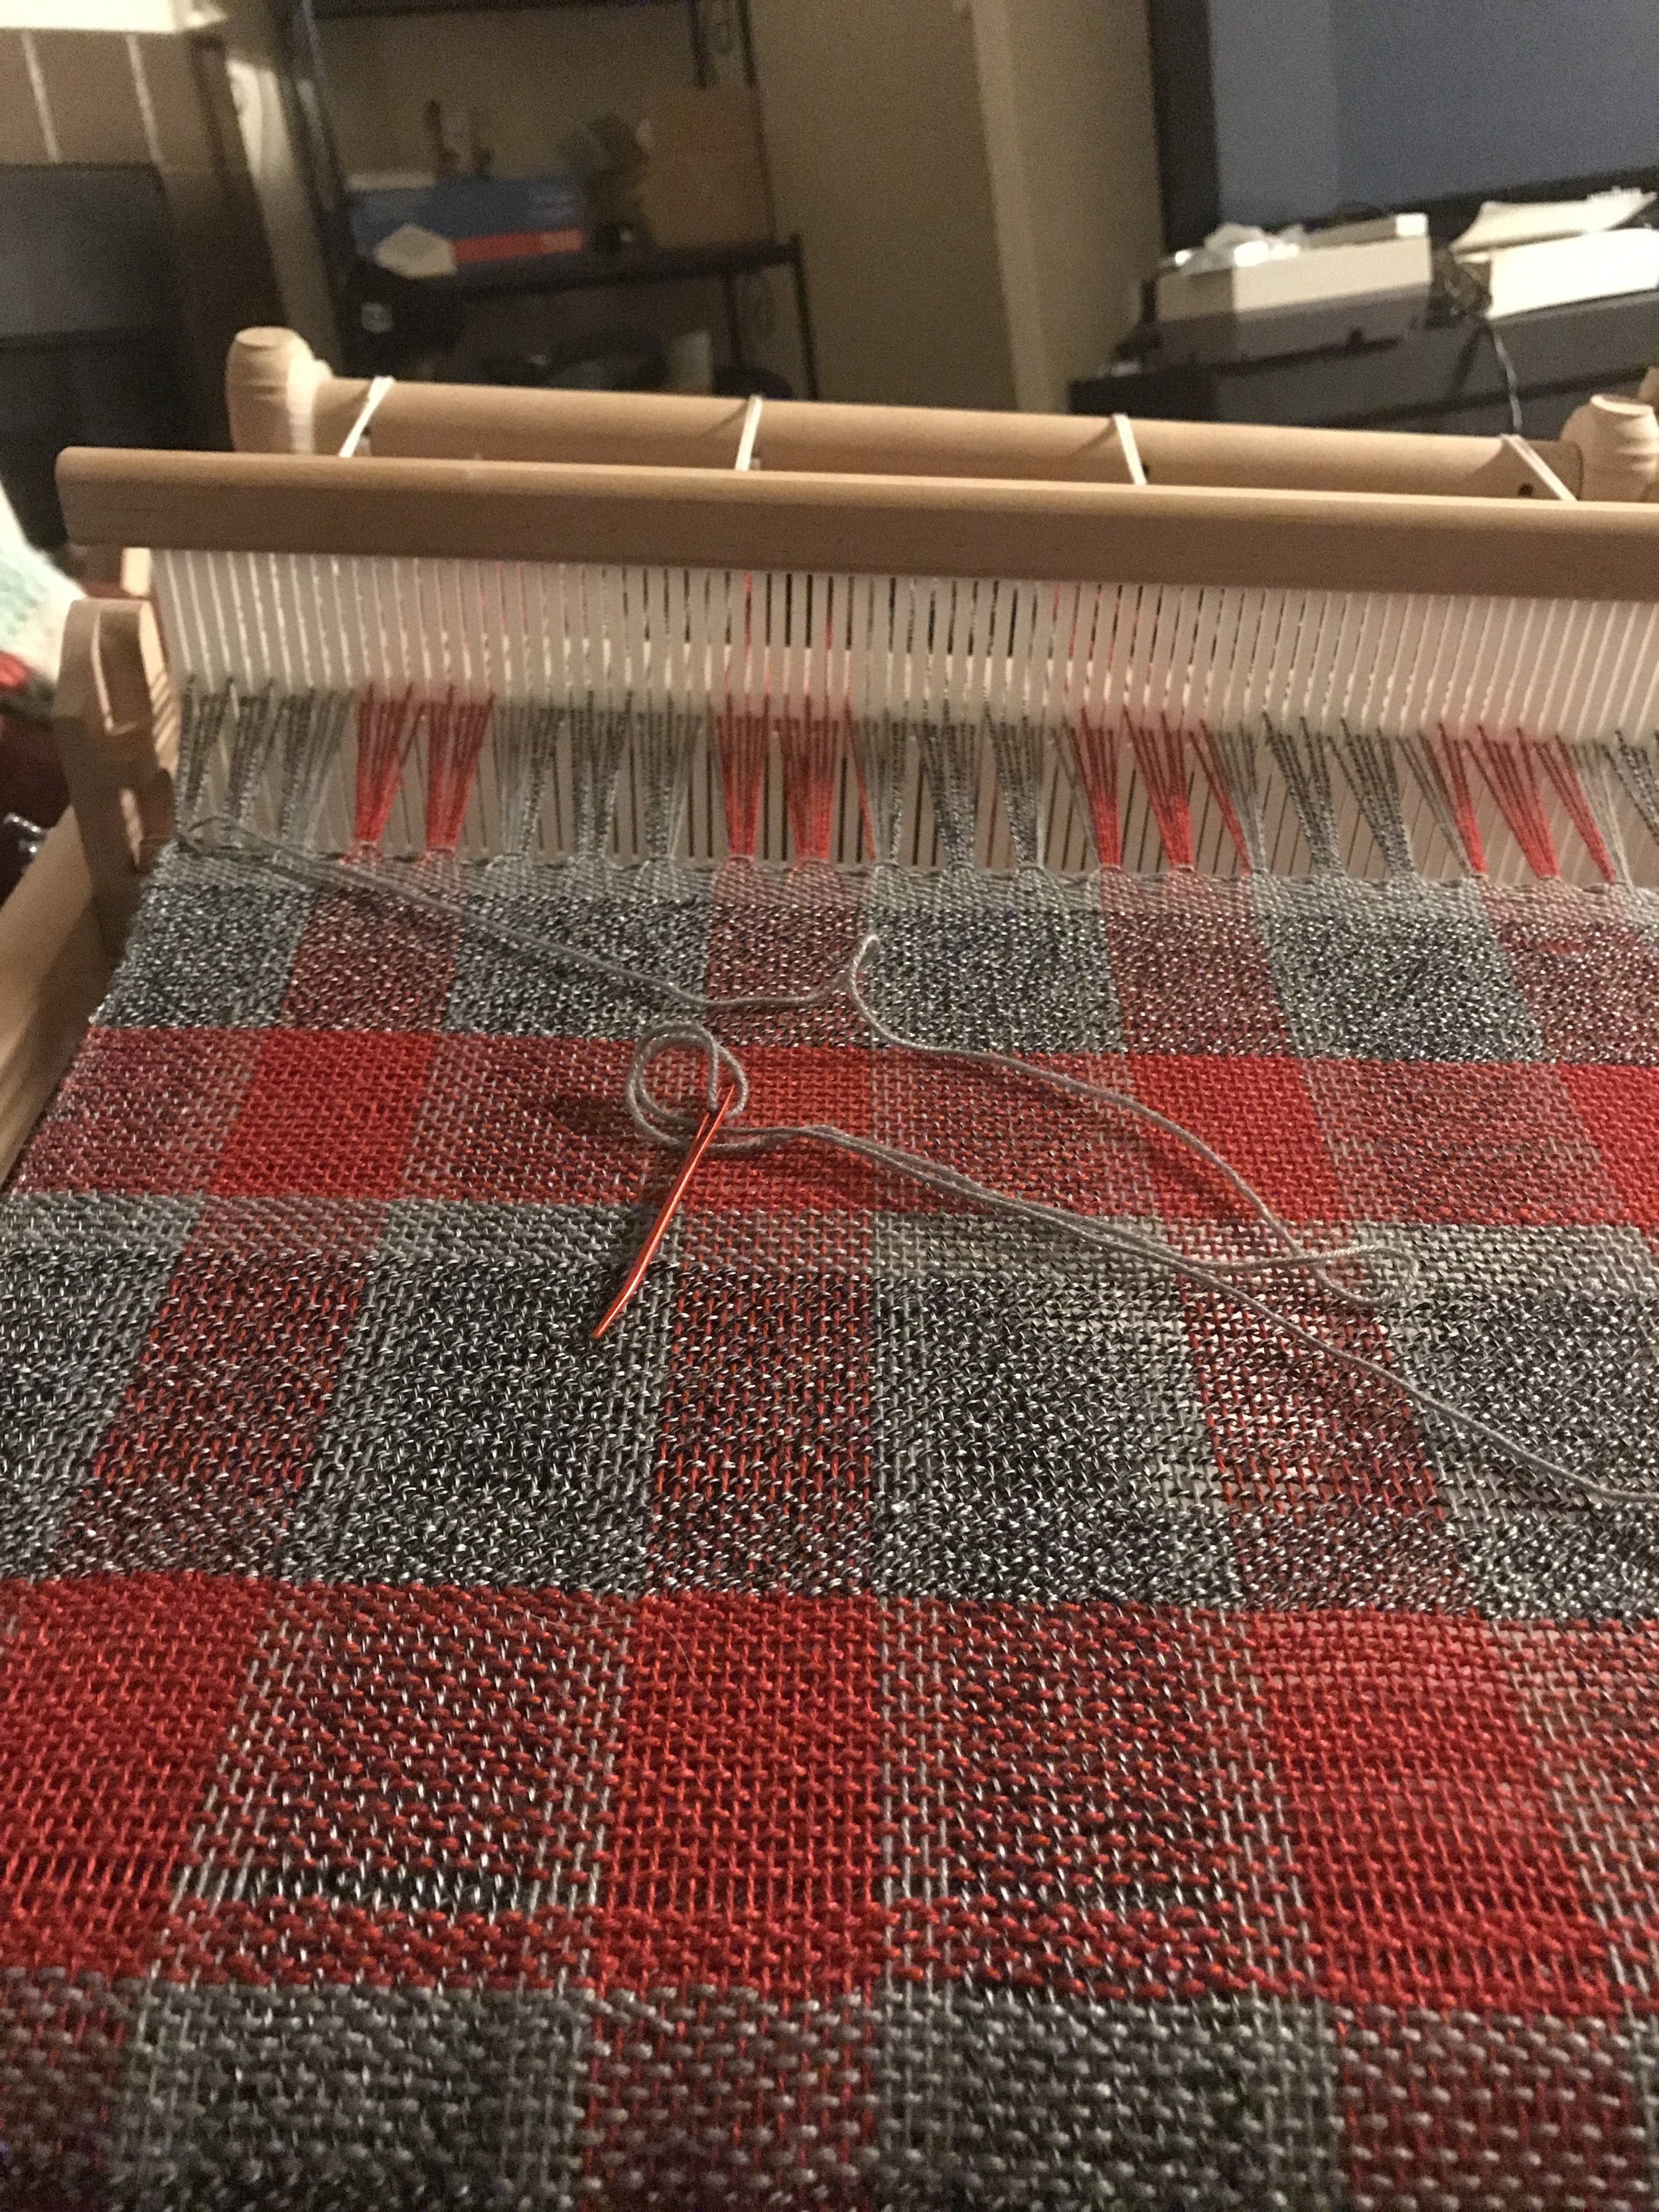
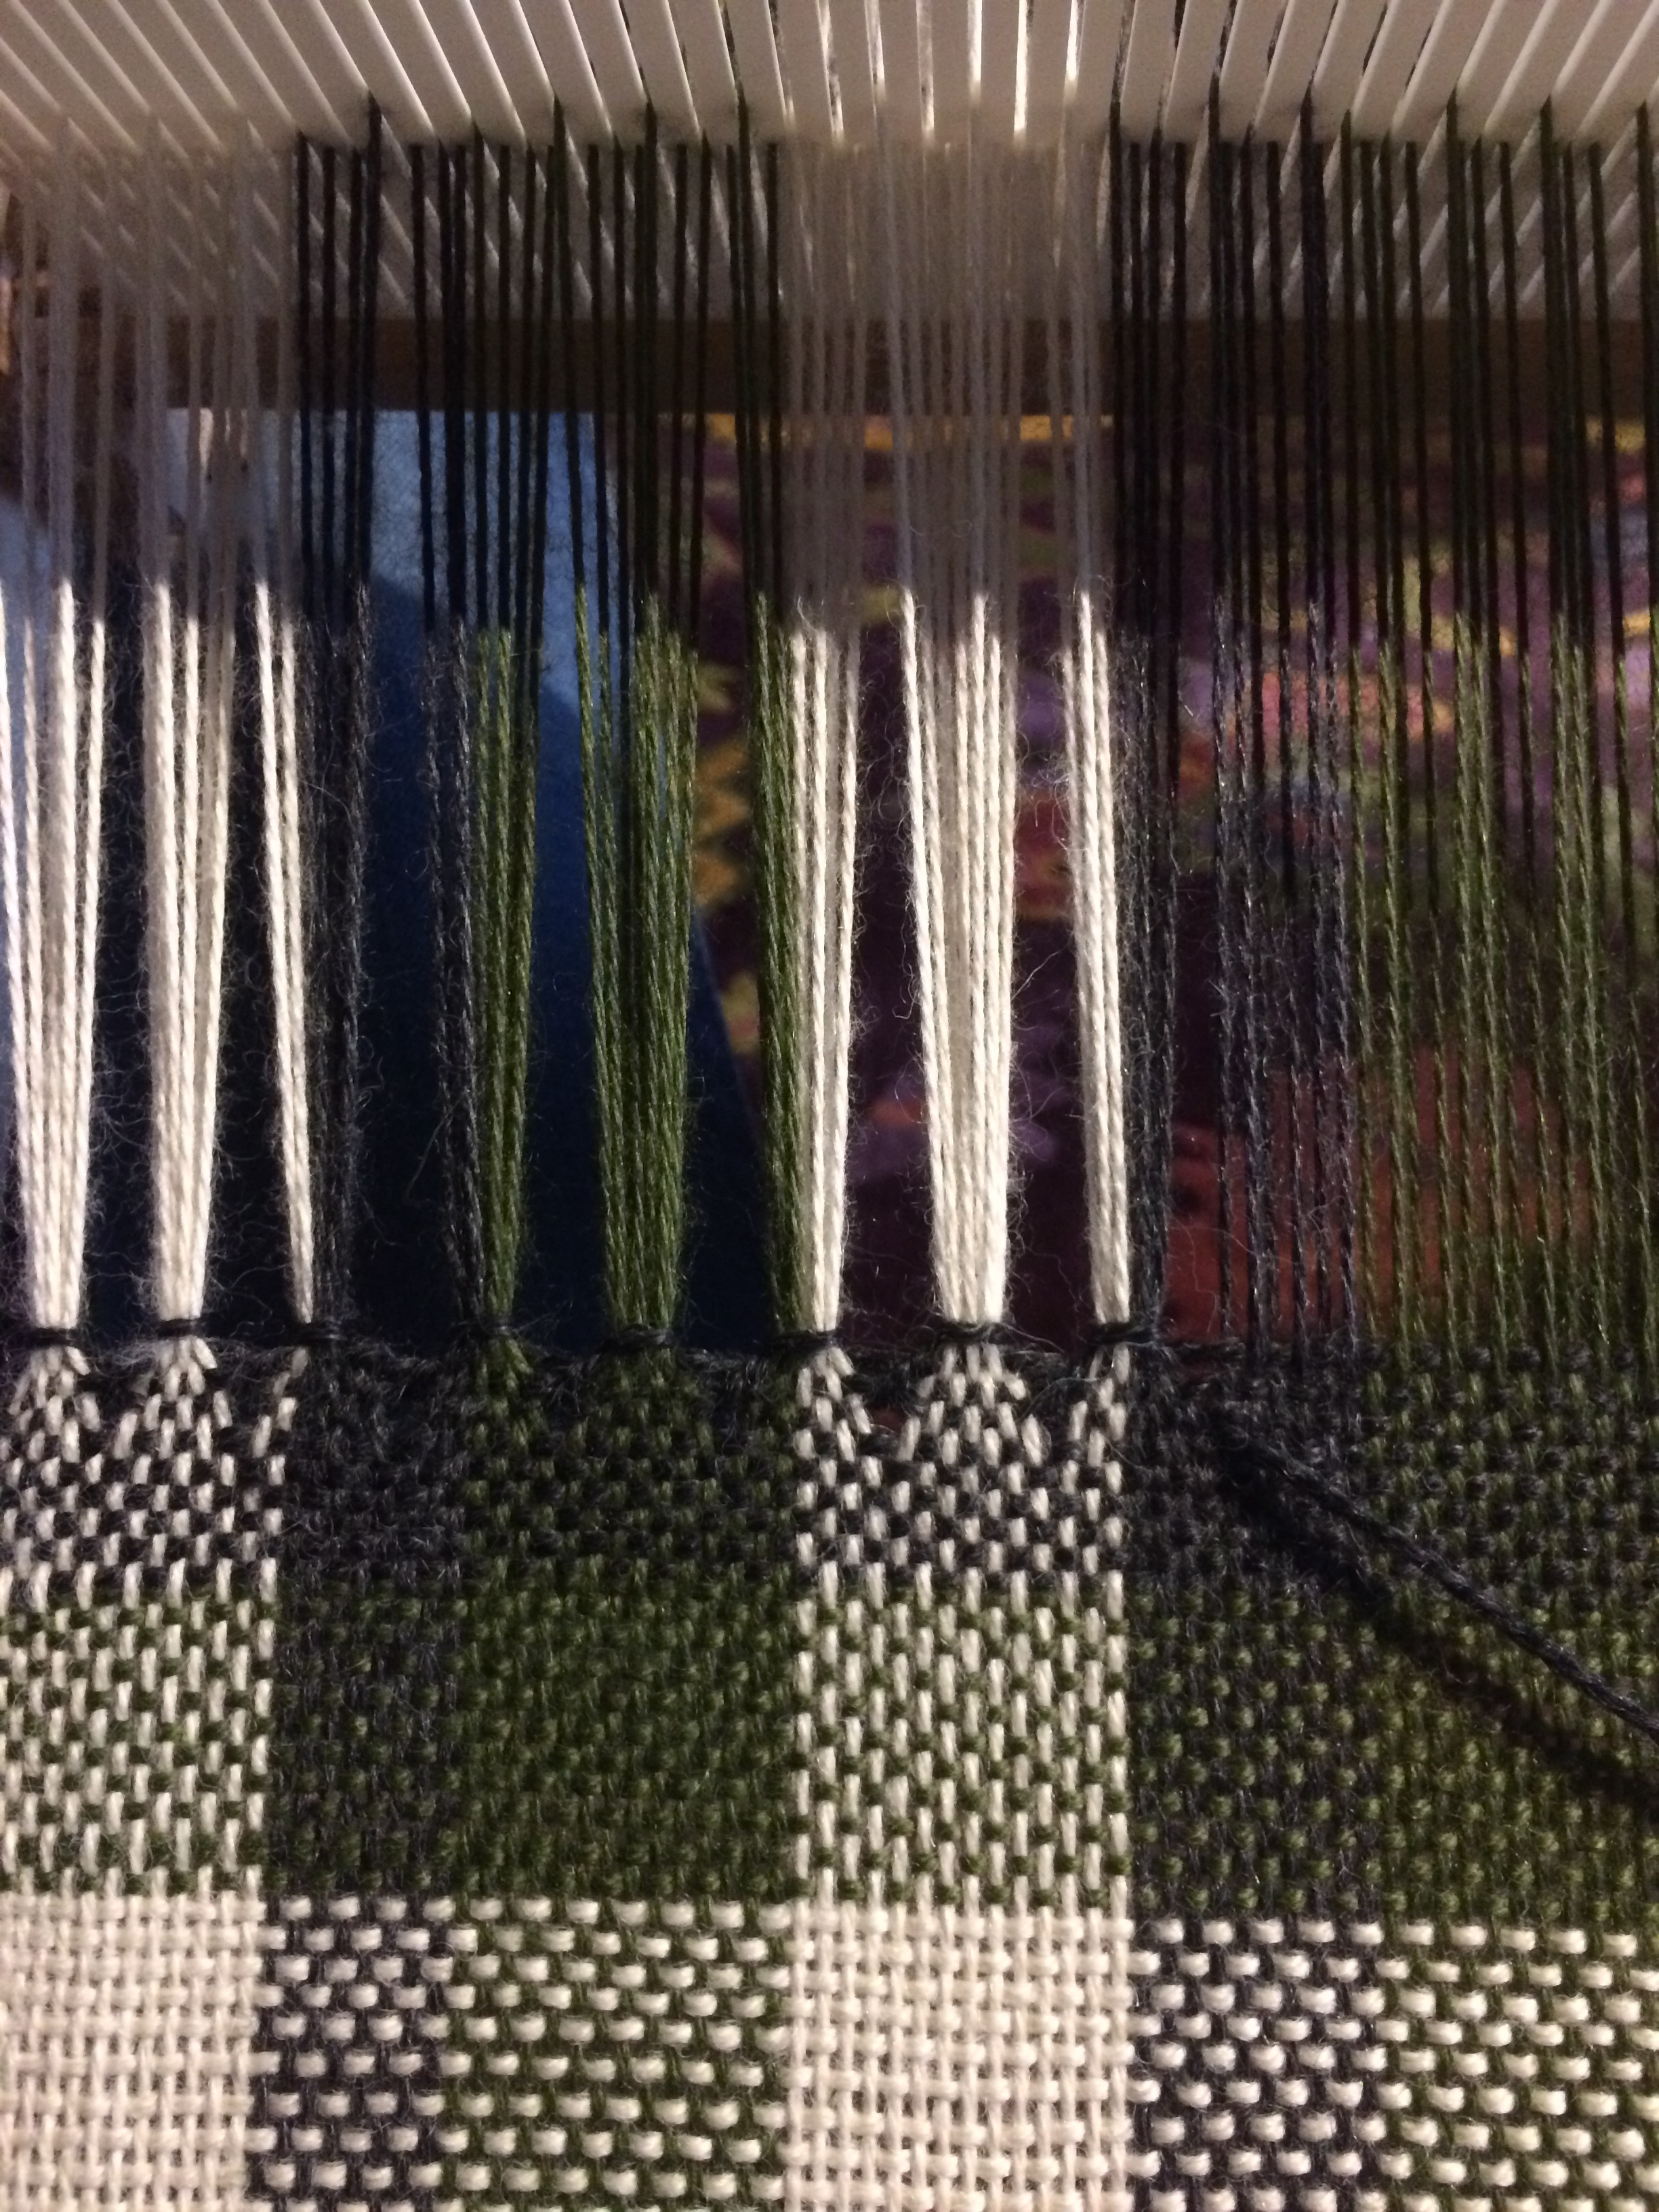
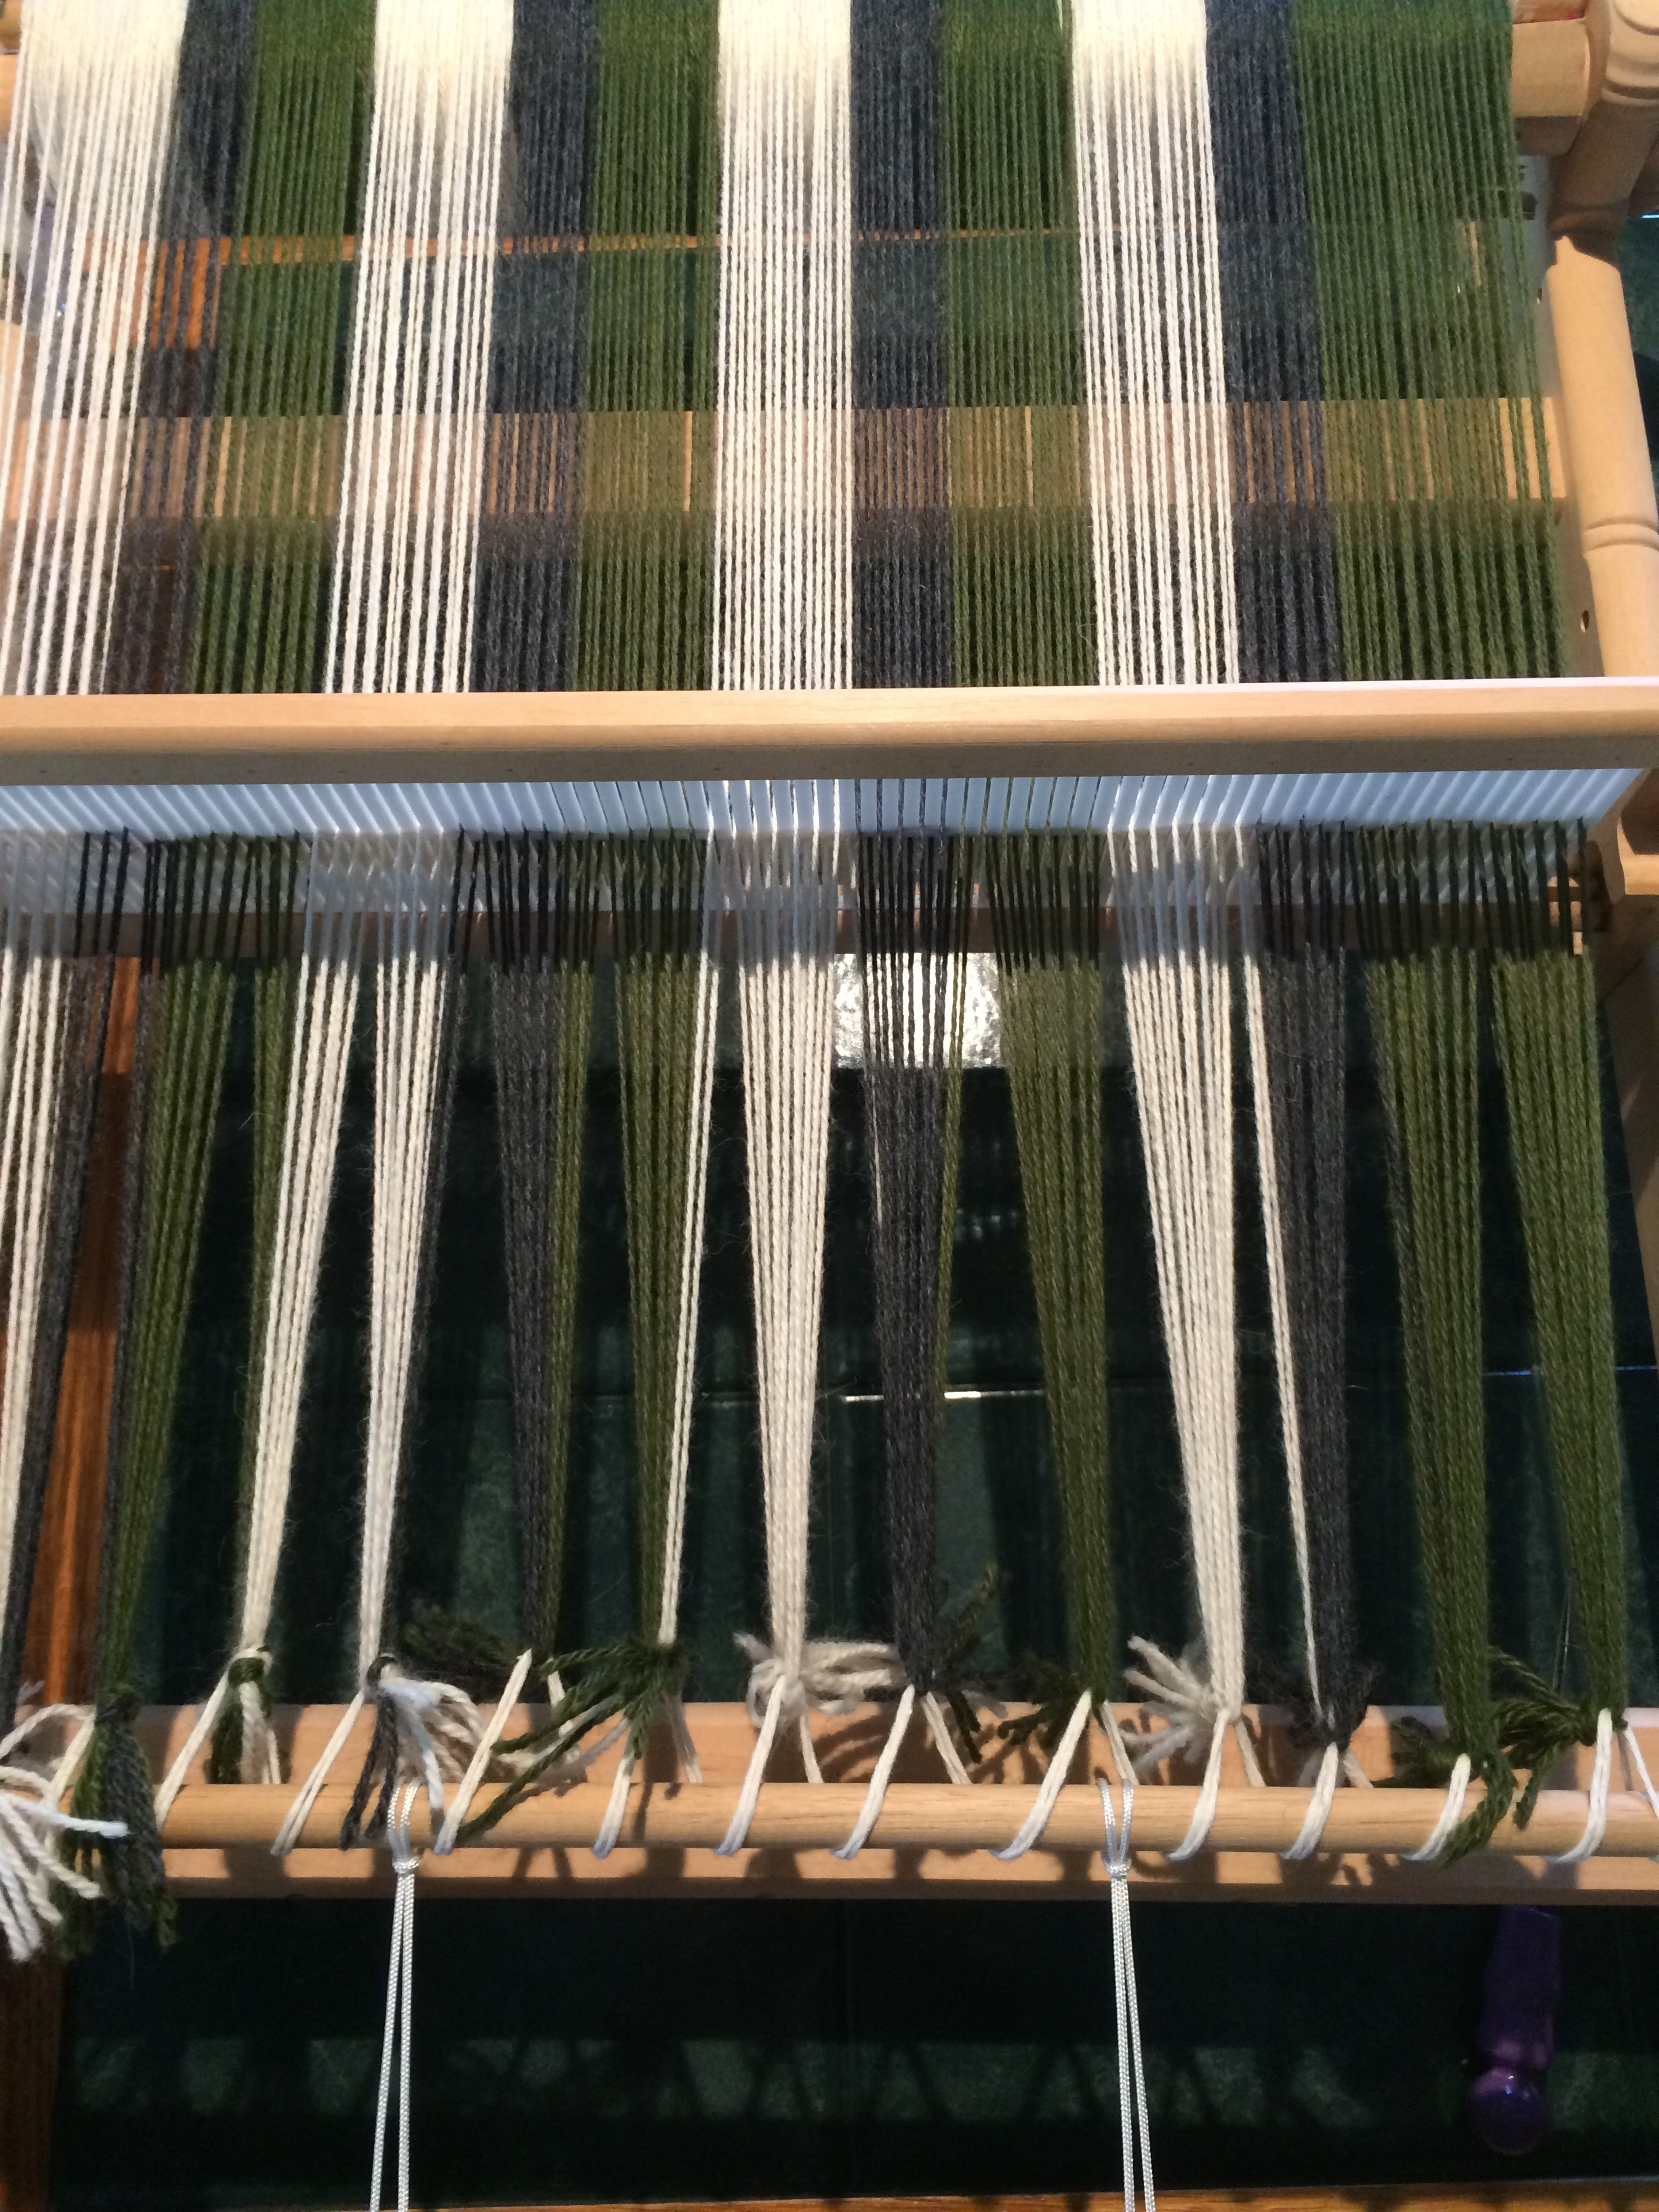
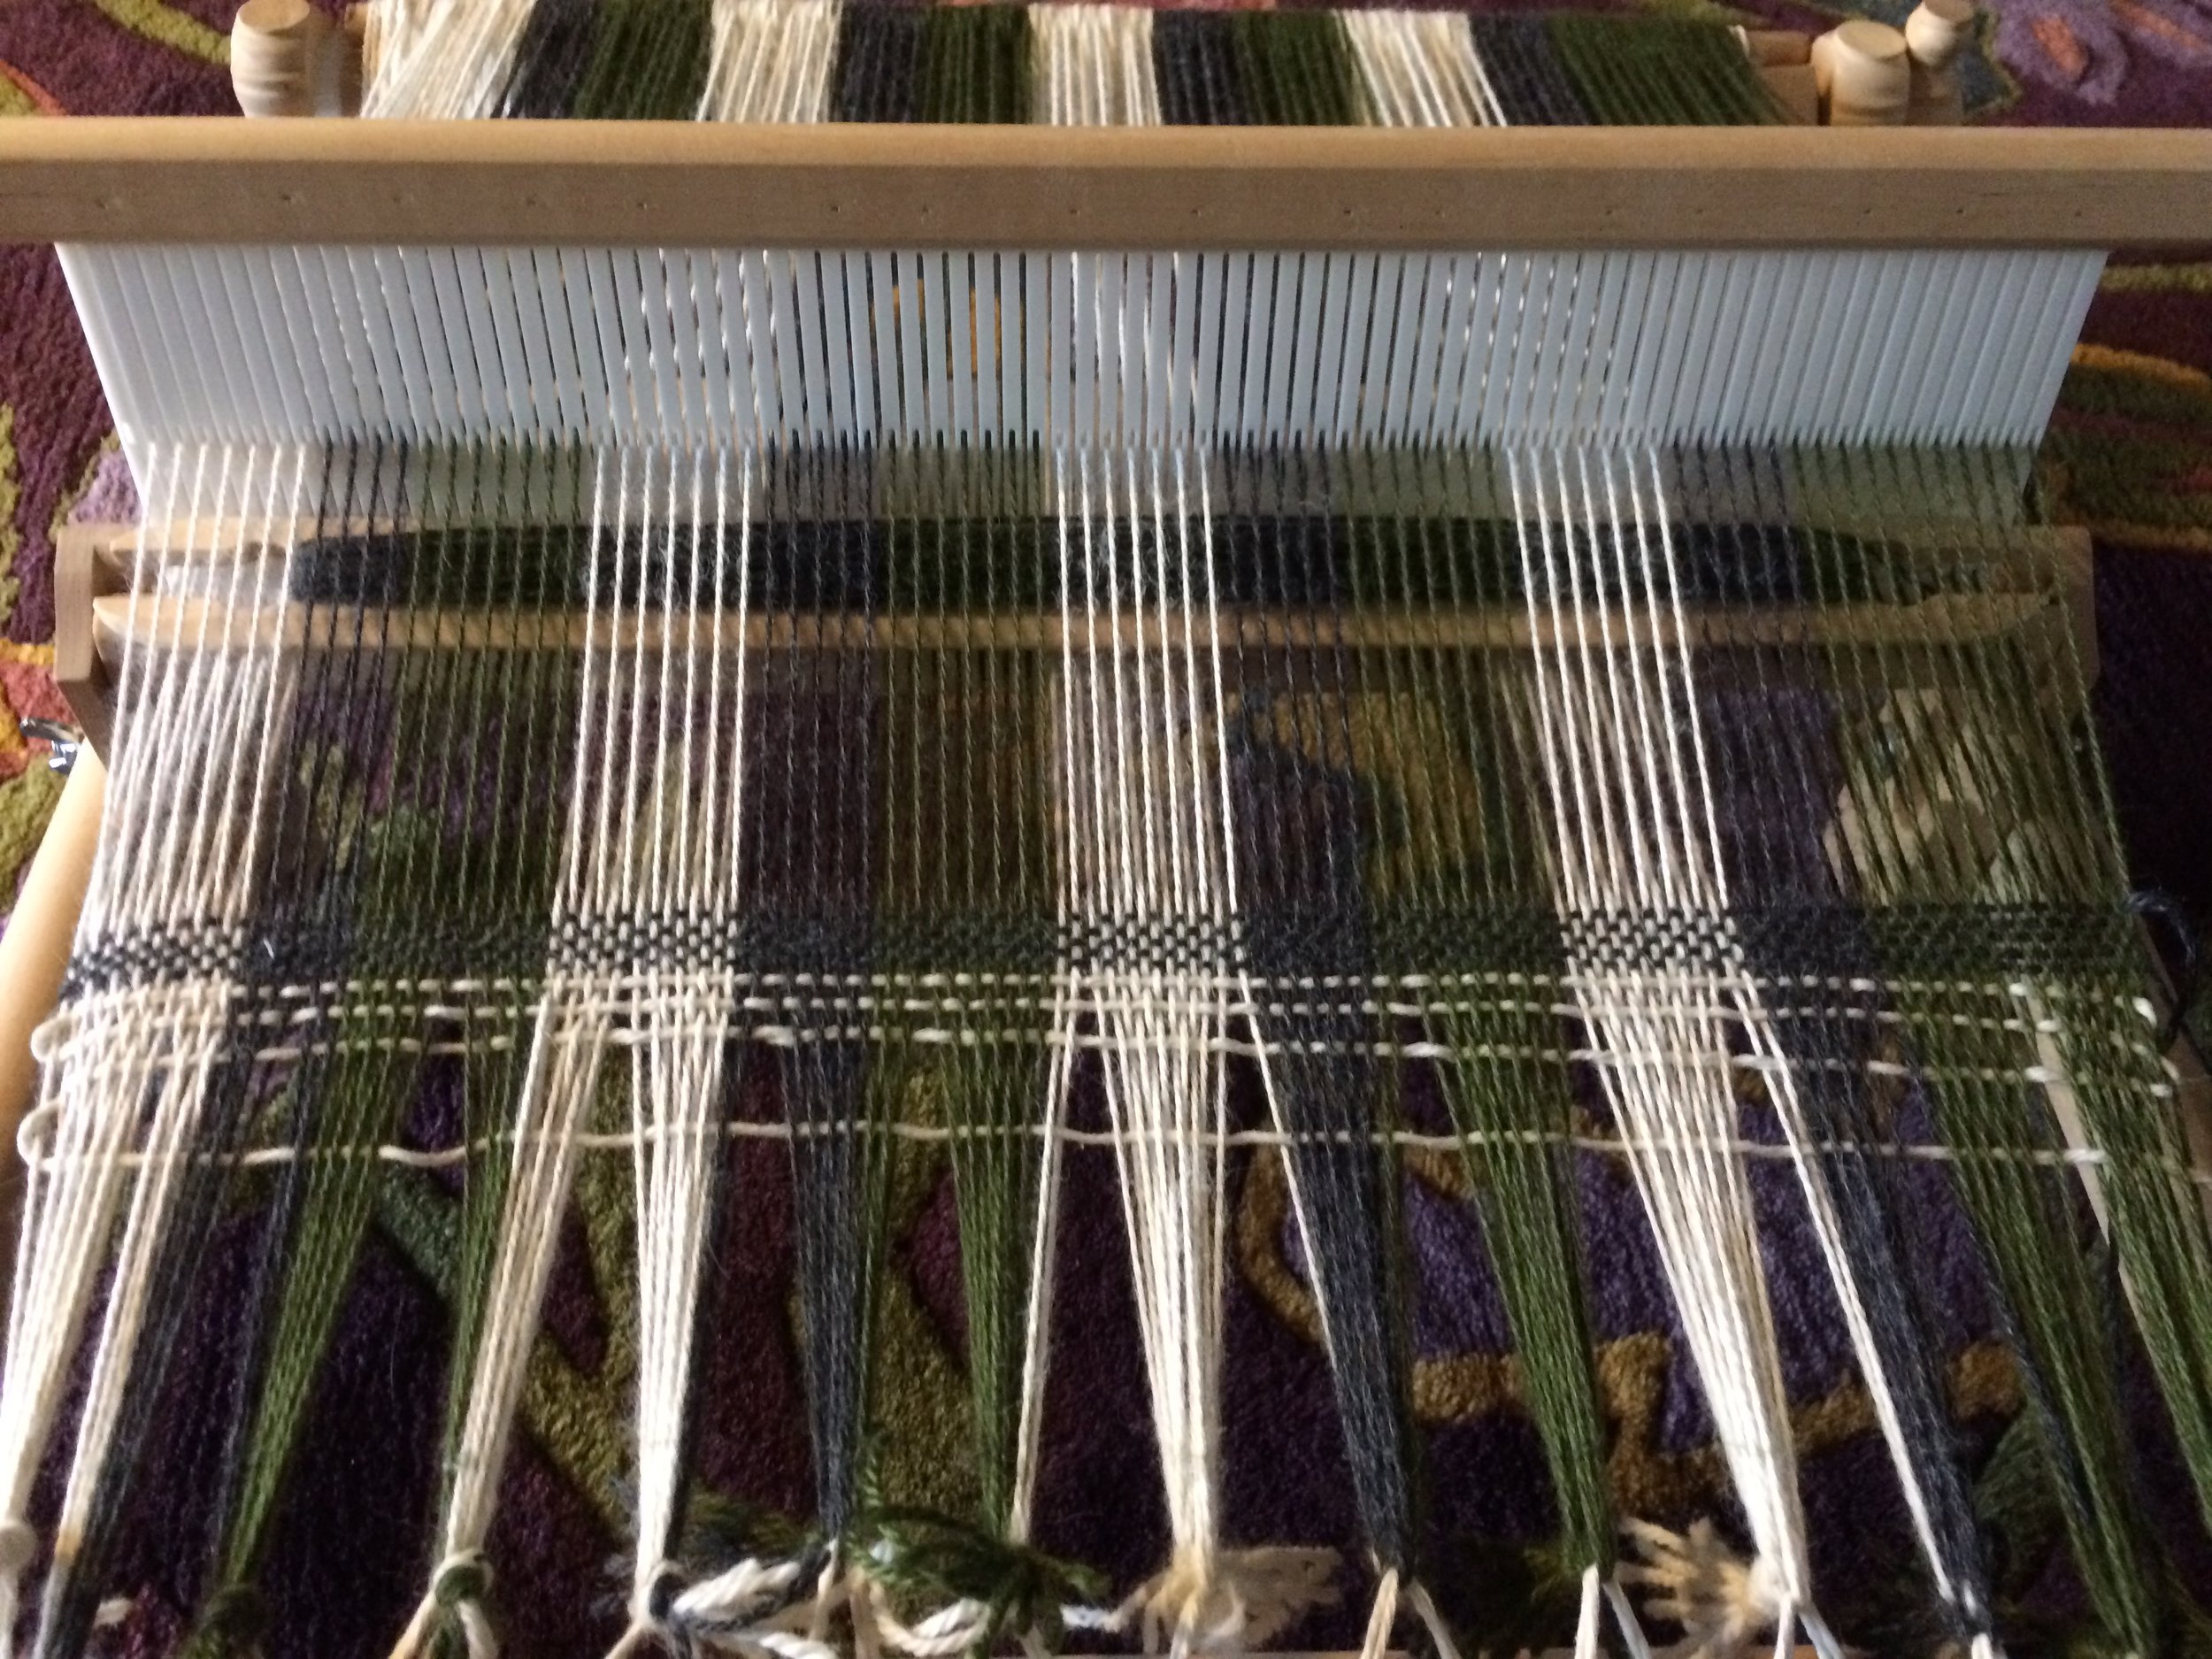
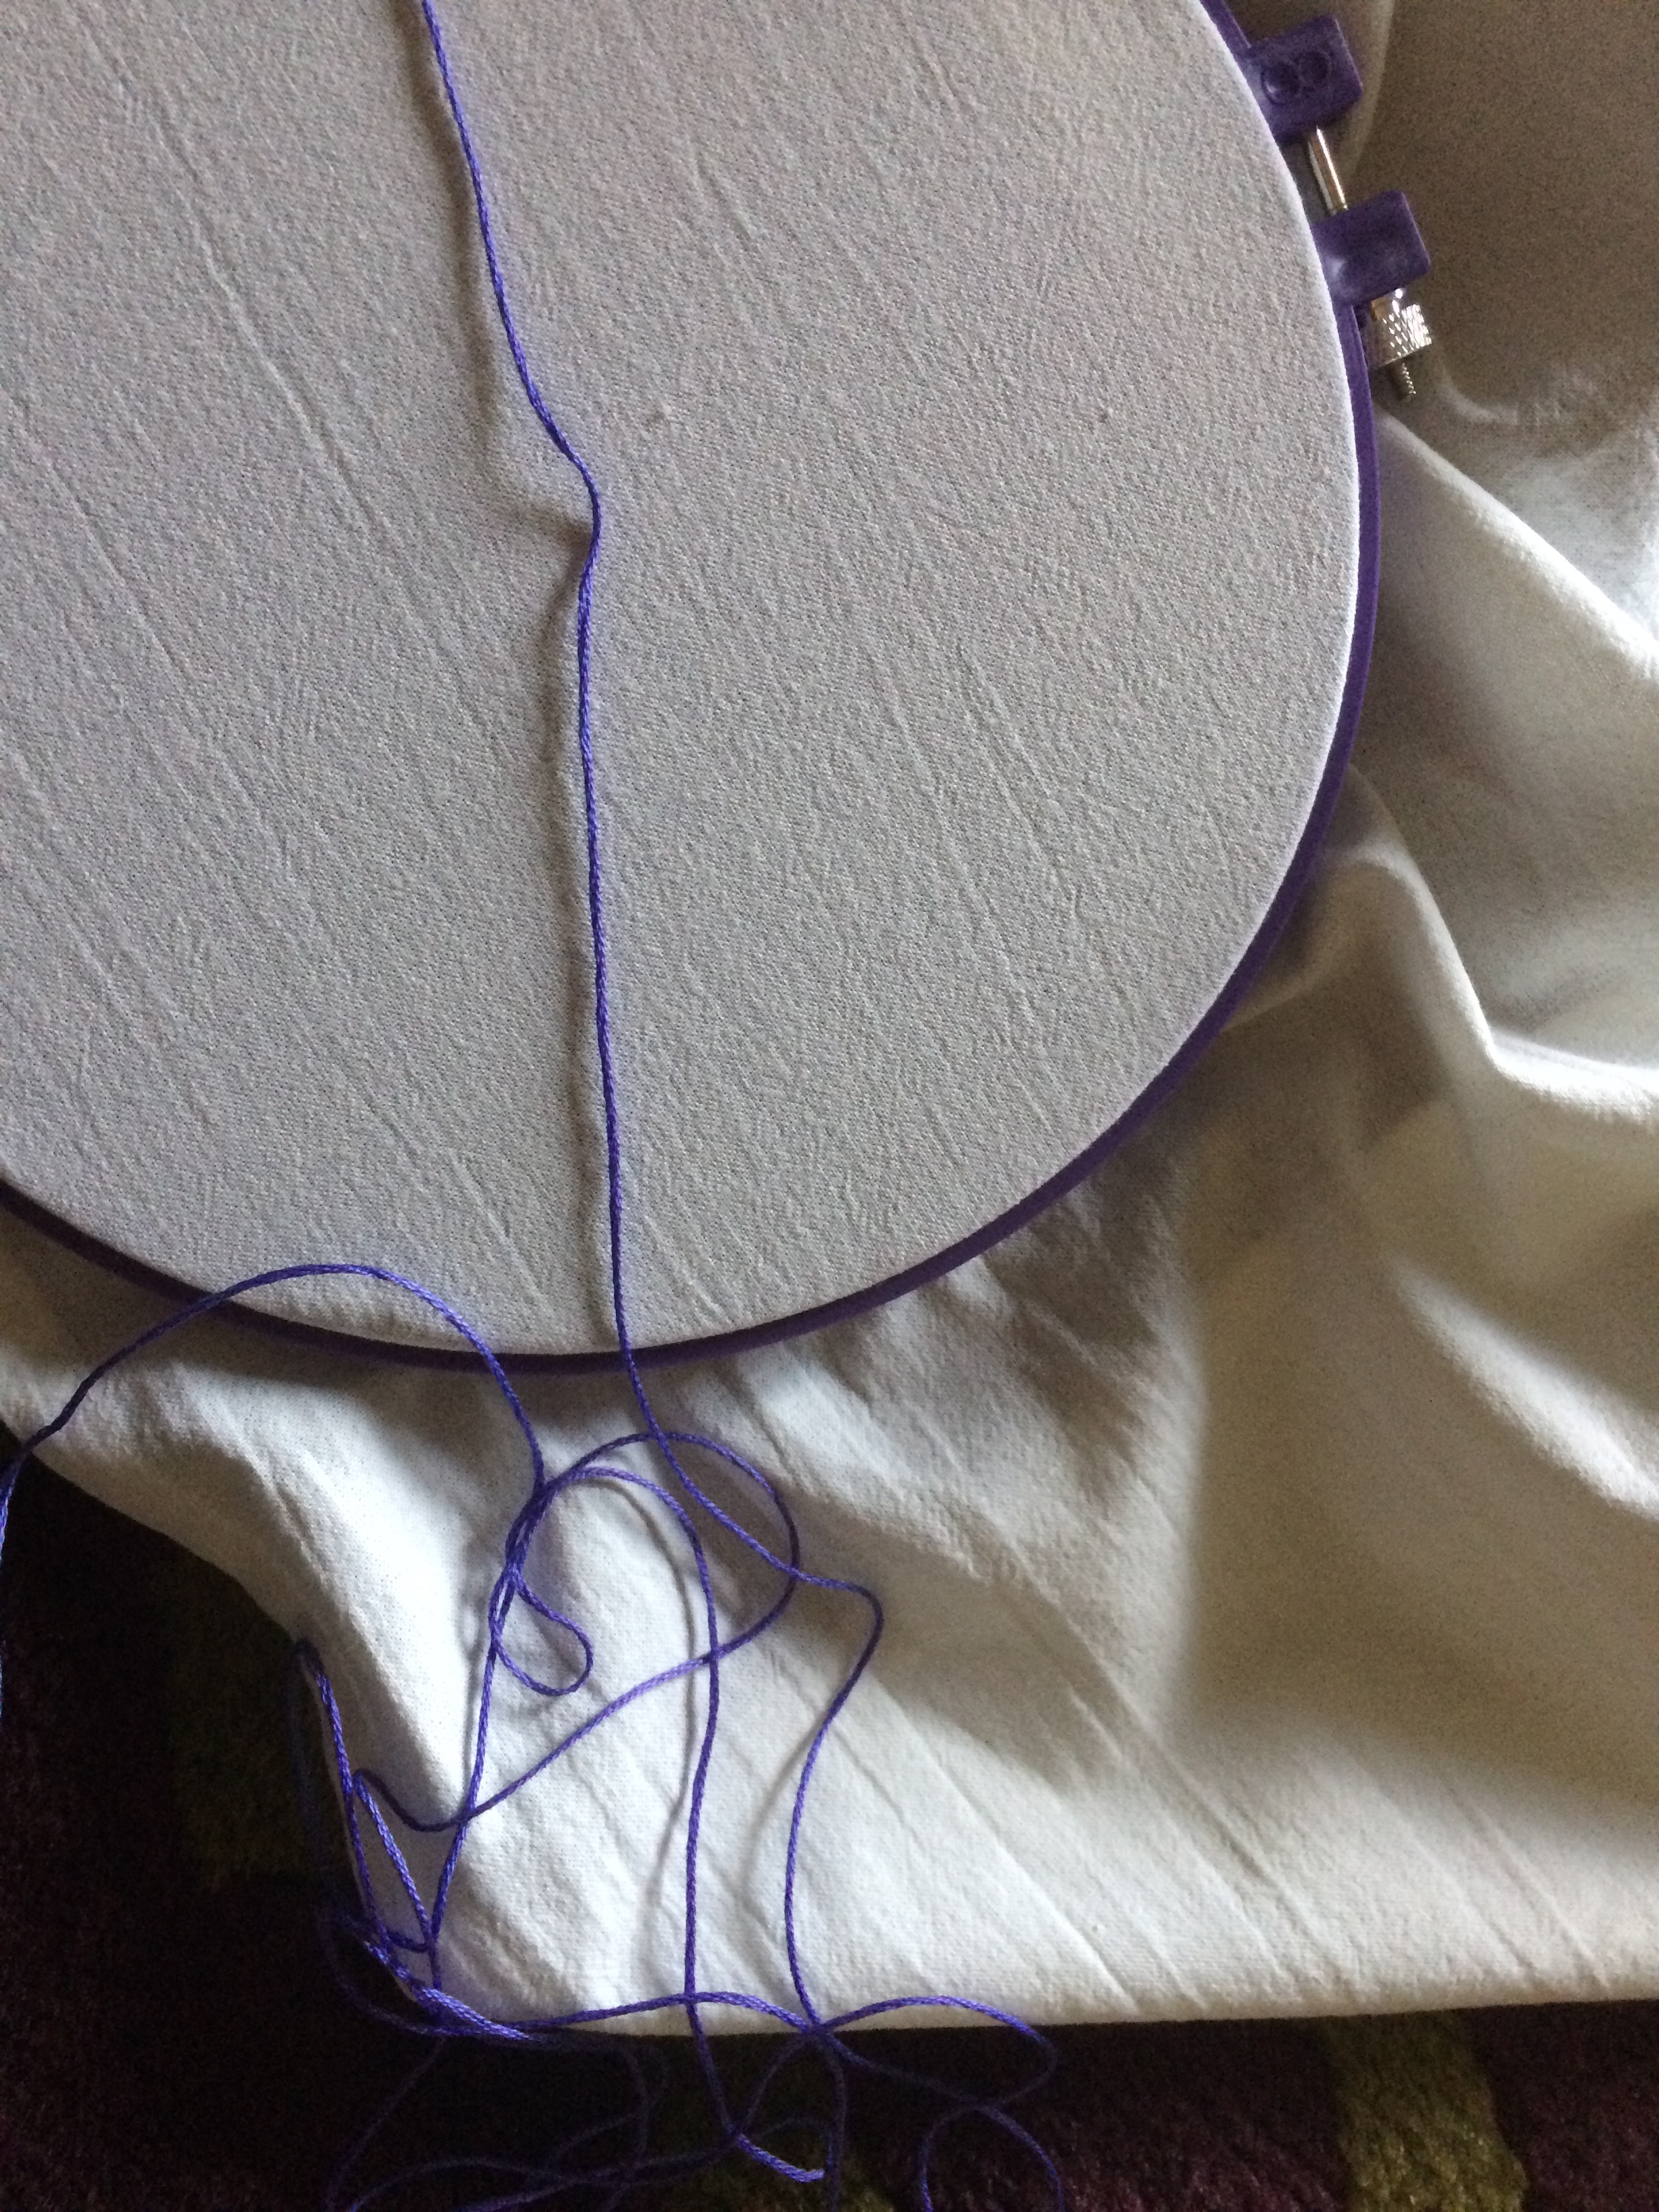
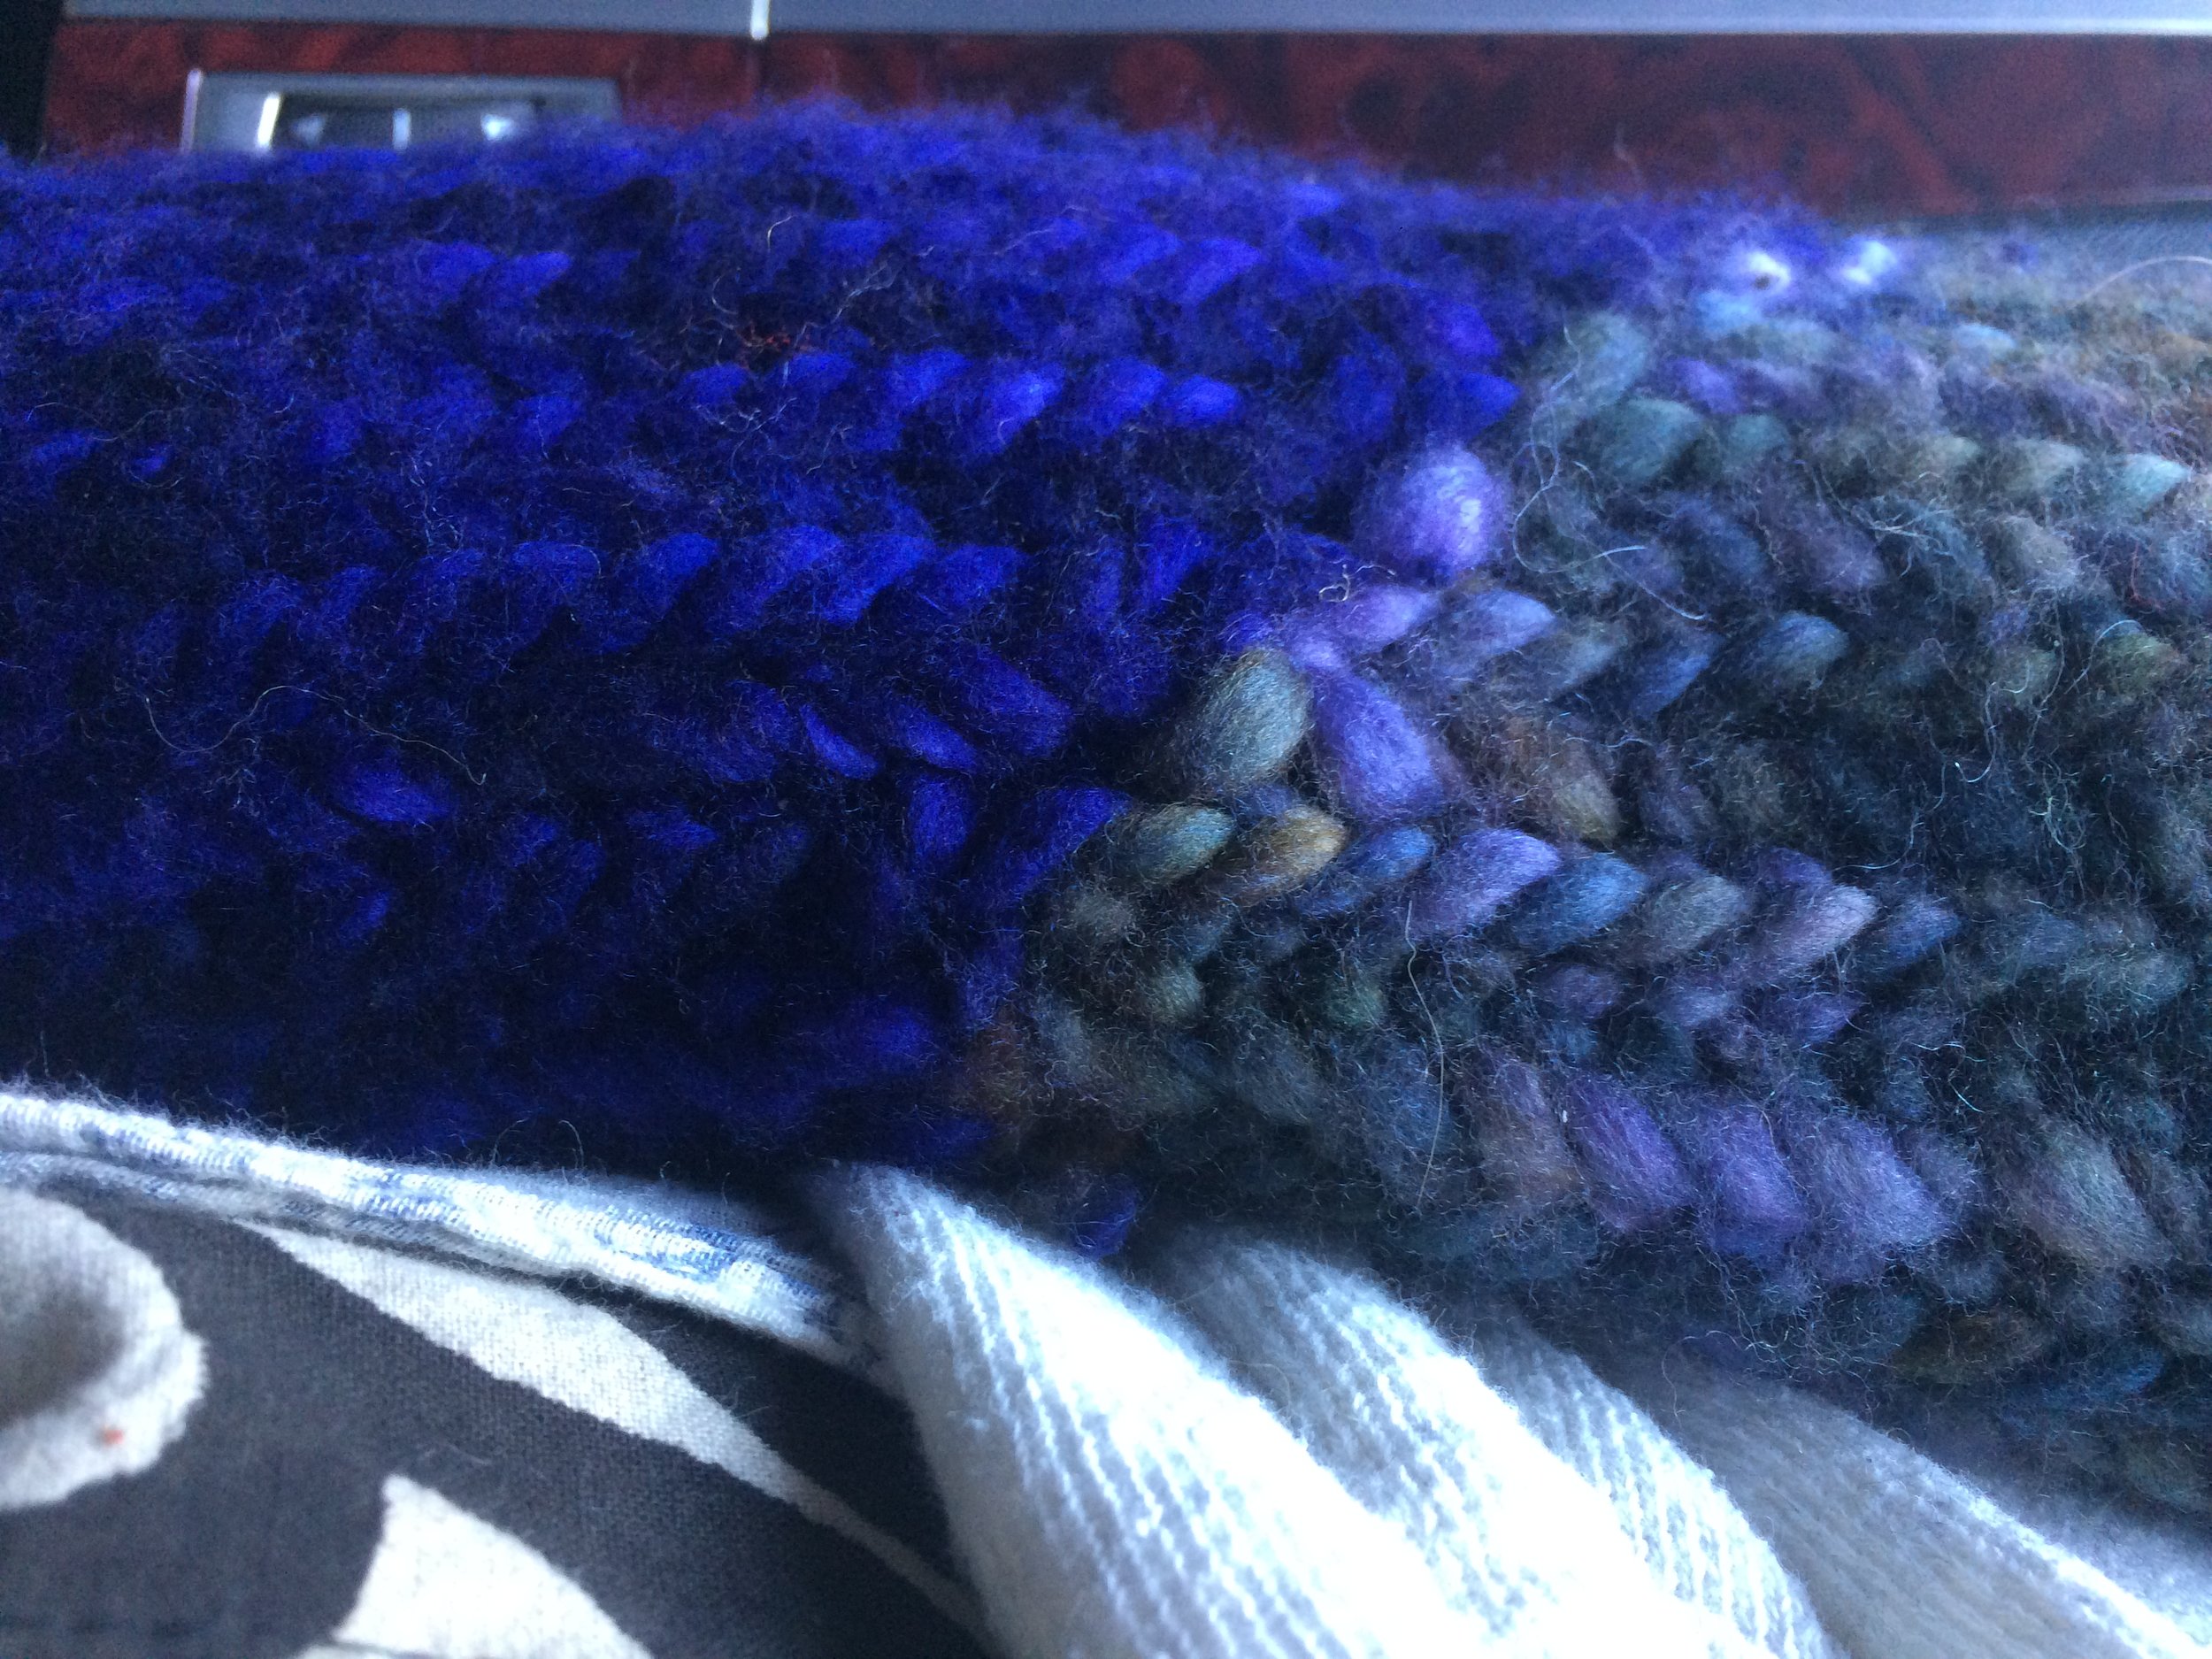
What is it that I learned?  It's far easier to do the fringe/hem stitching after doing a couple of rows when starting, than it is to do the hem after the weaving is finished.  I have been awkwardly holding the beginning of the weavings tight ALL THIS TIME, just because I didn't consider doing it after weaving several rows in.

IMG_9969.JPG

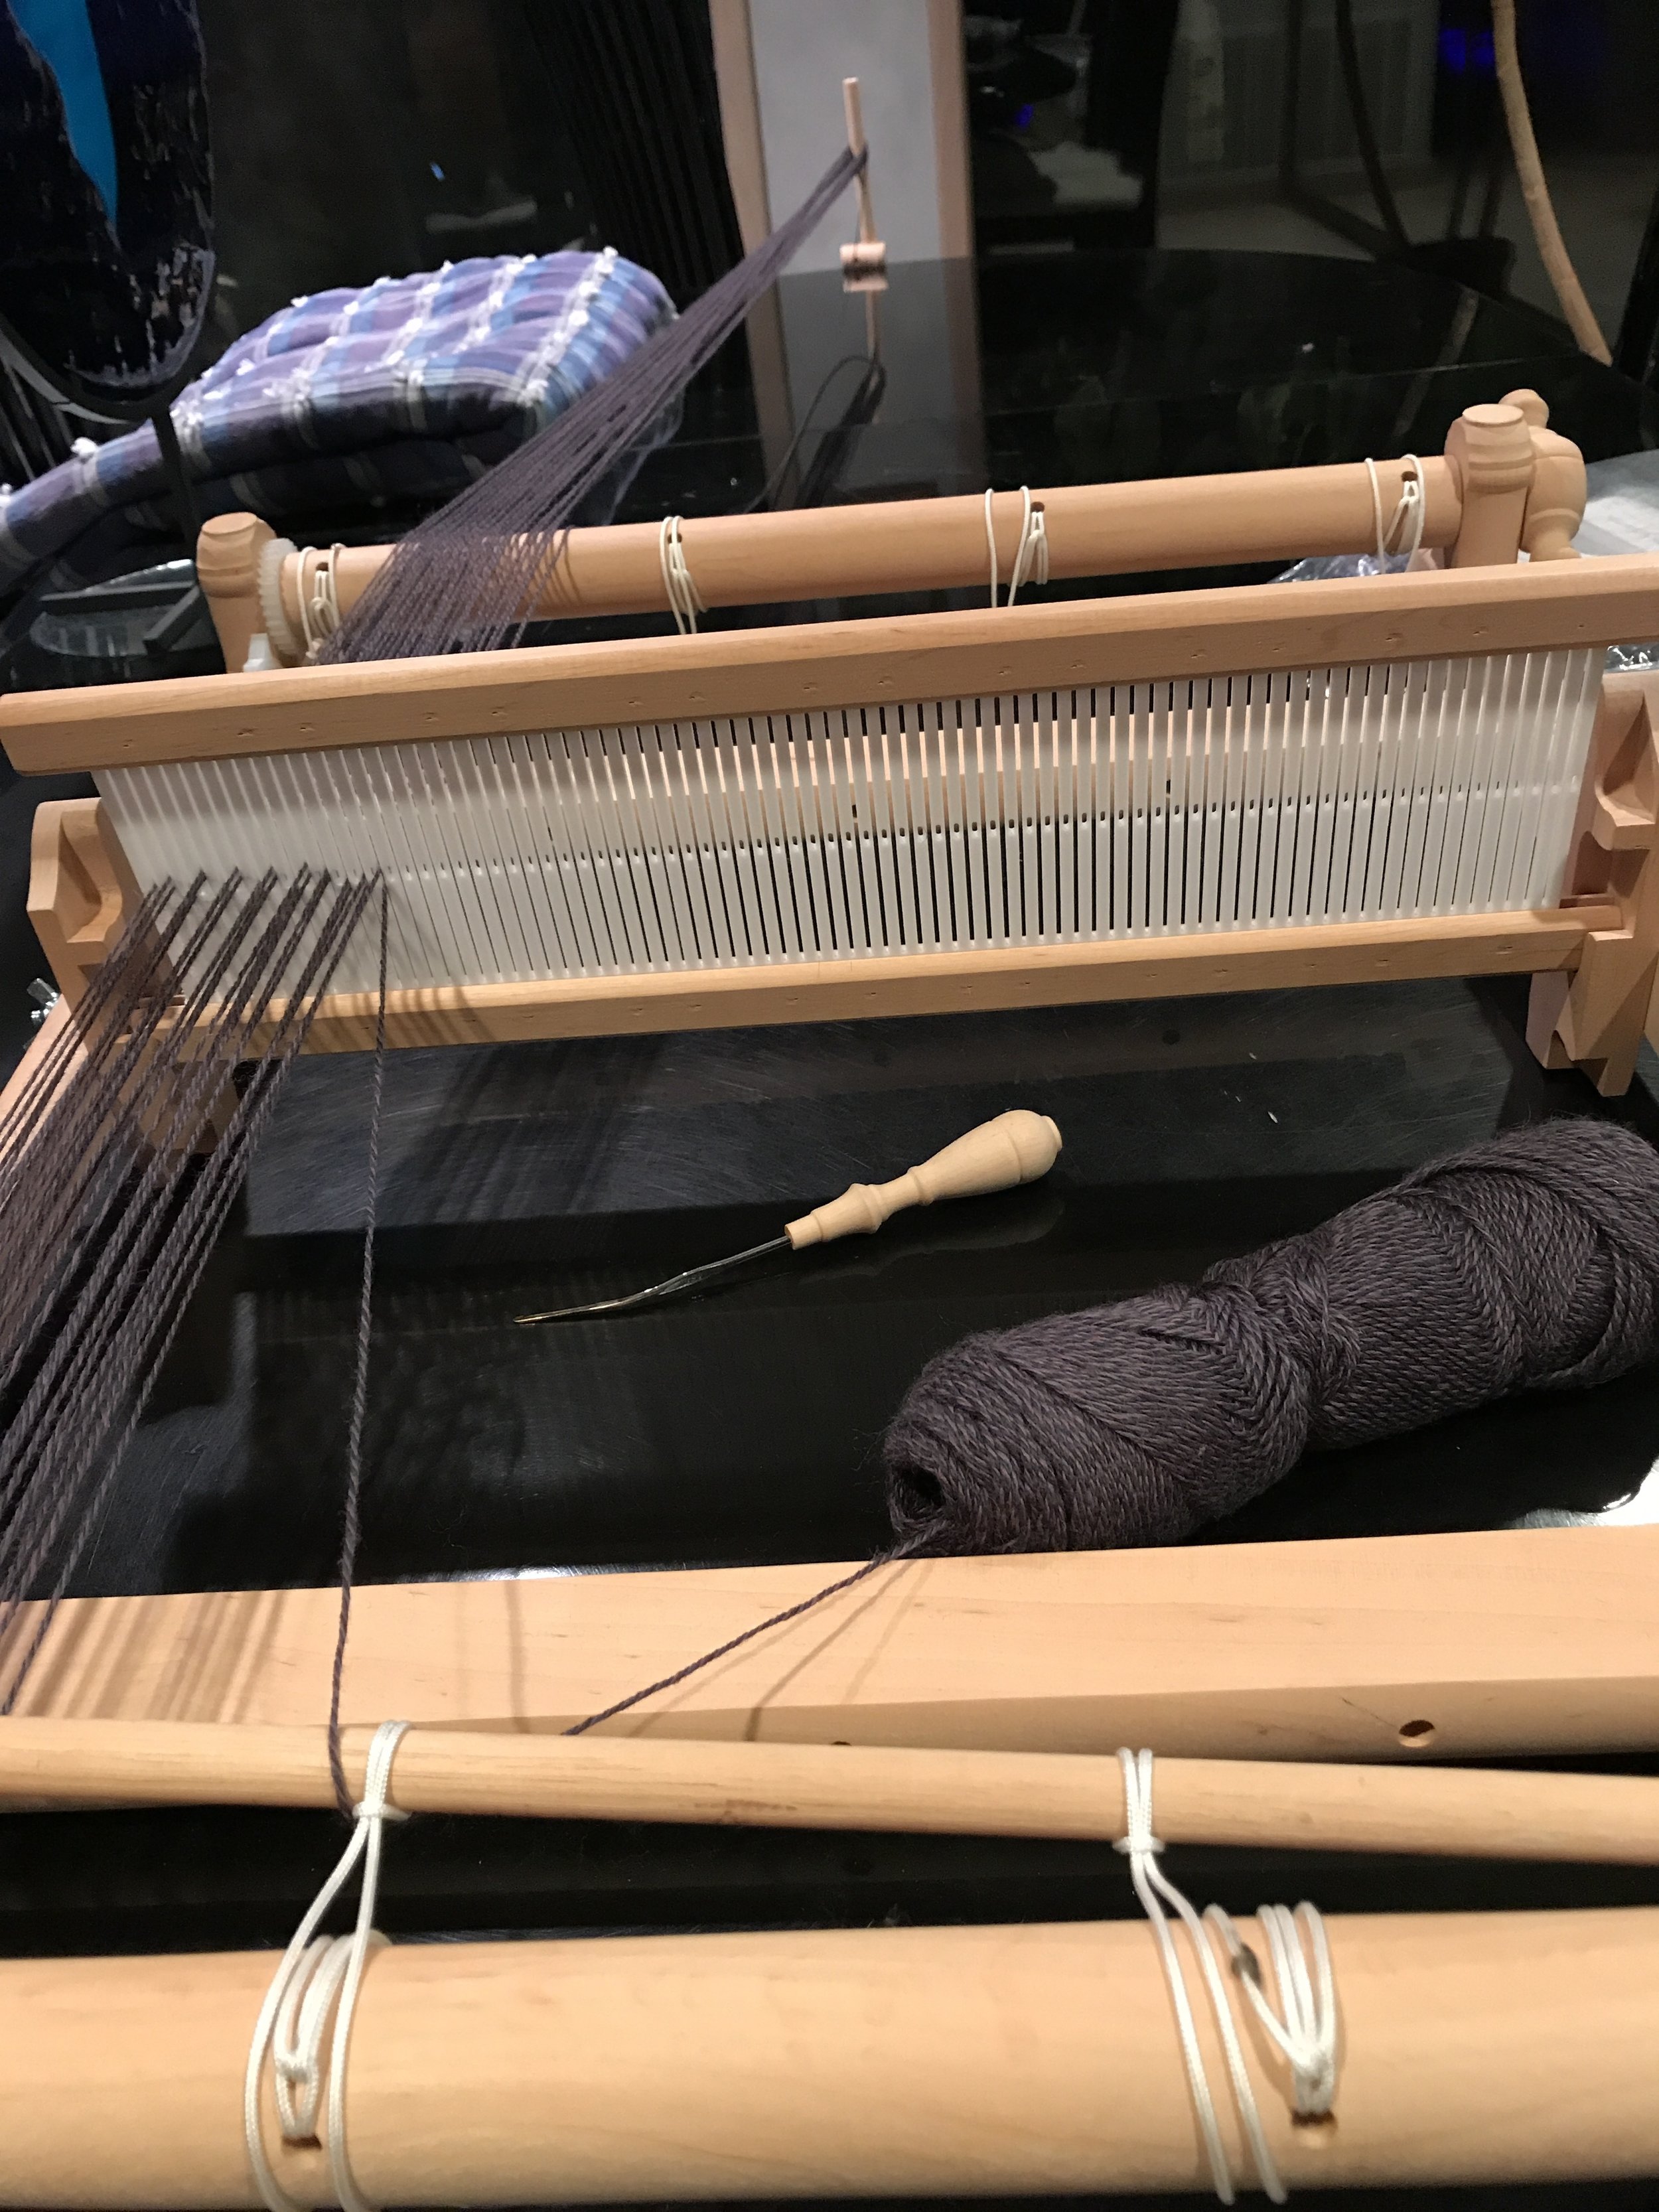
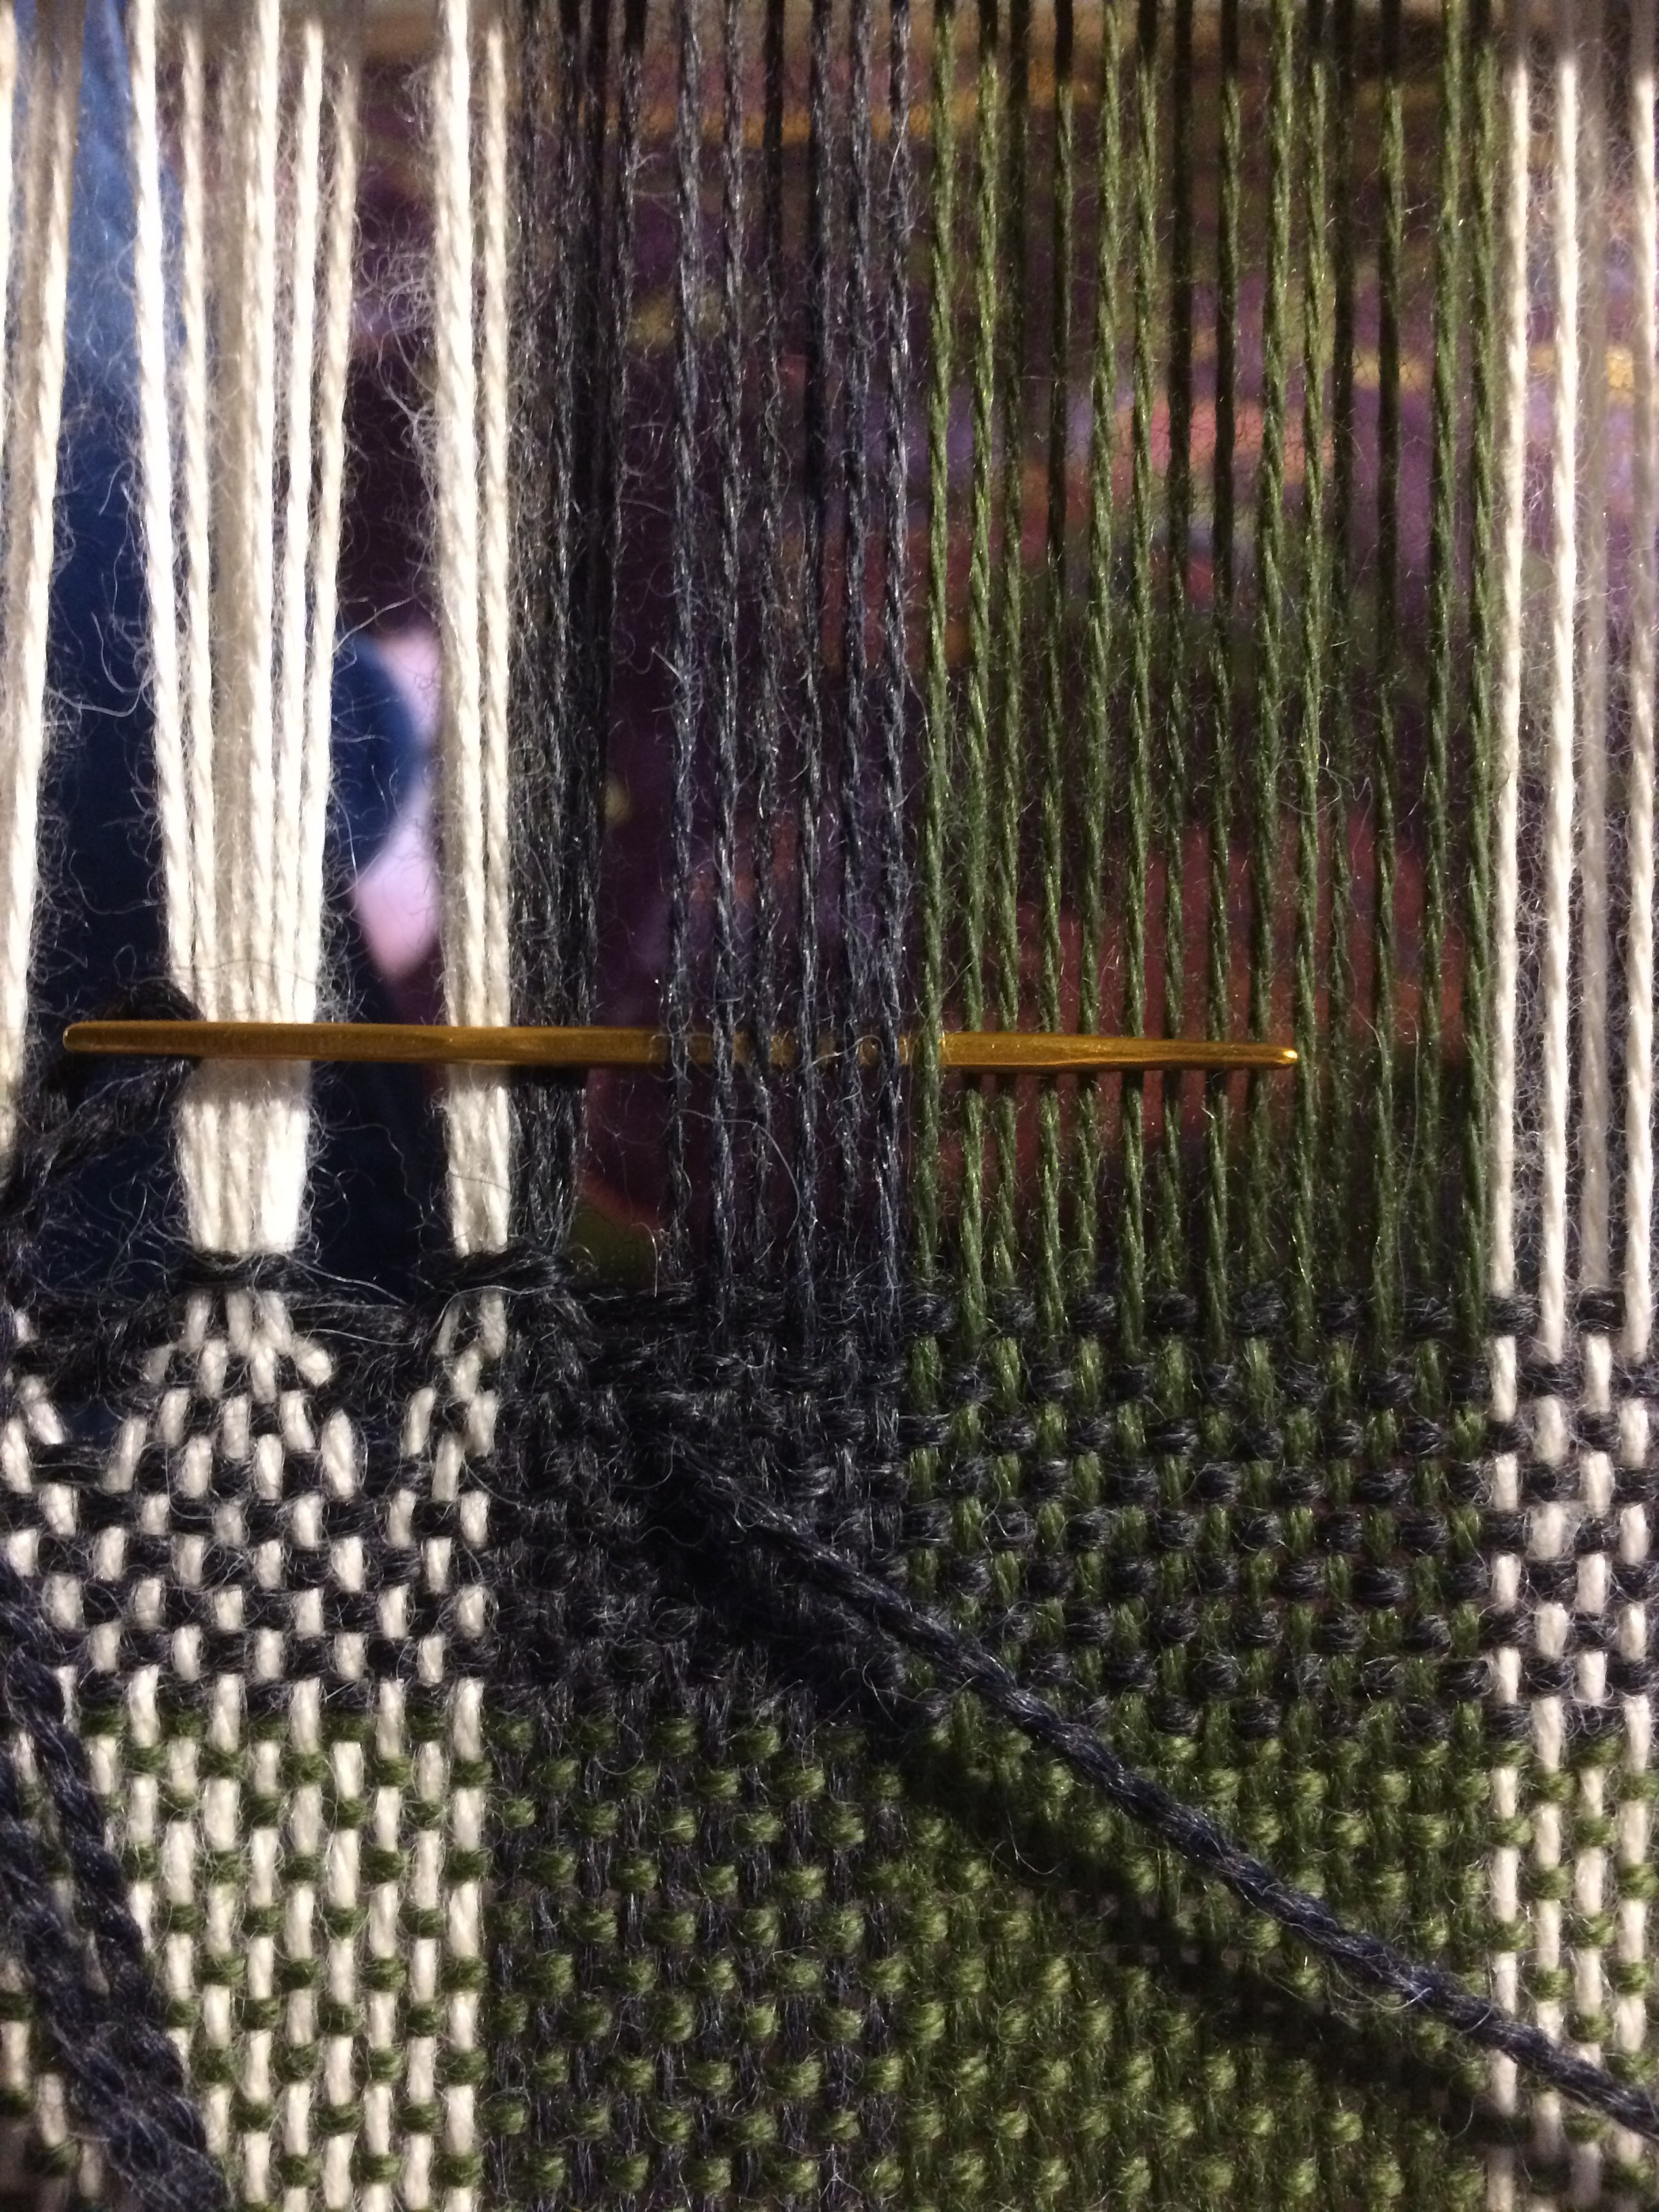
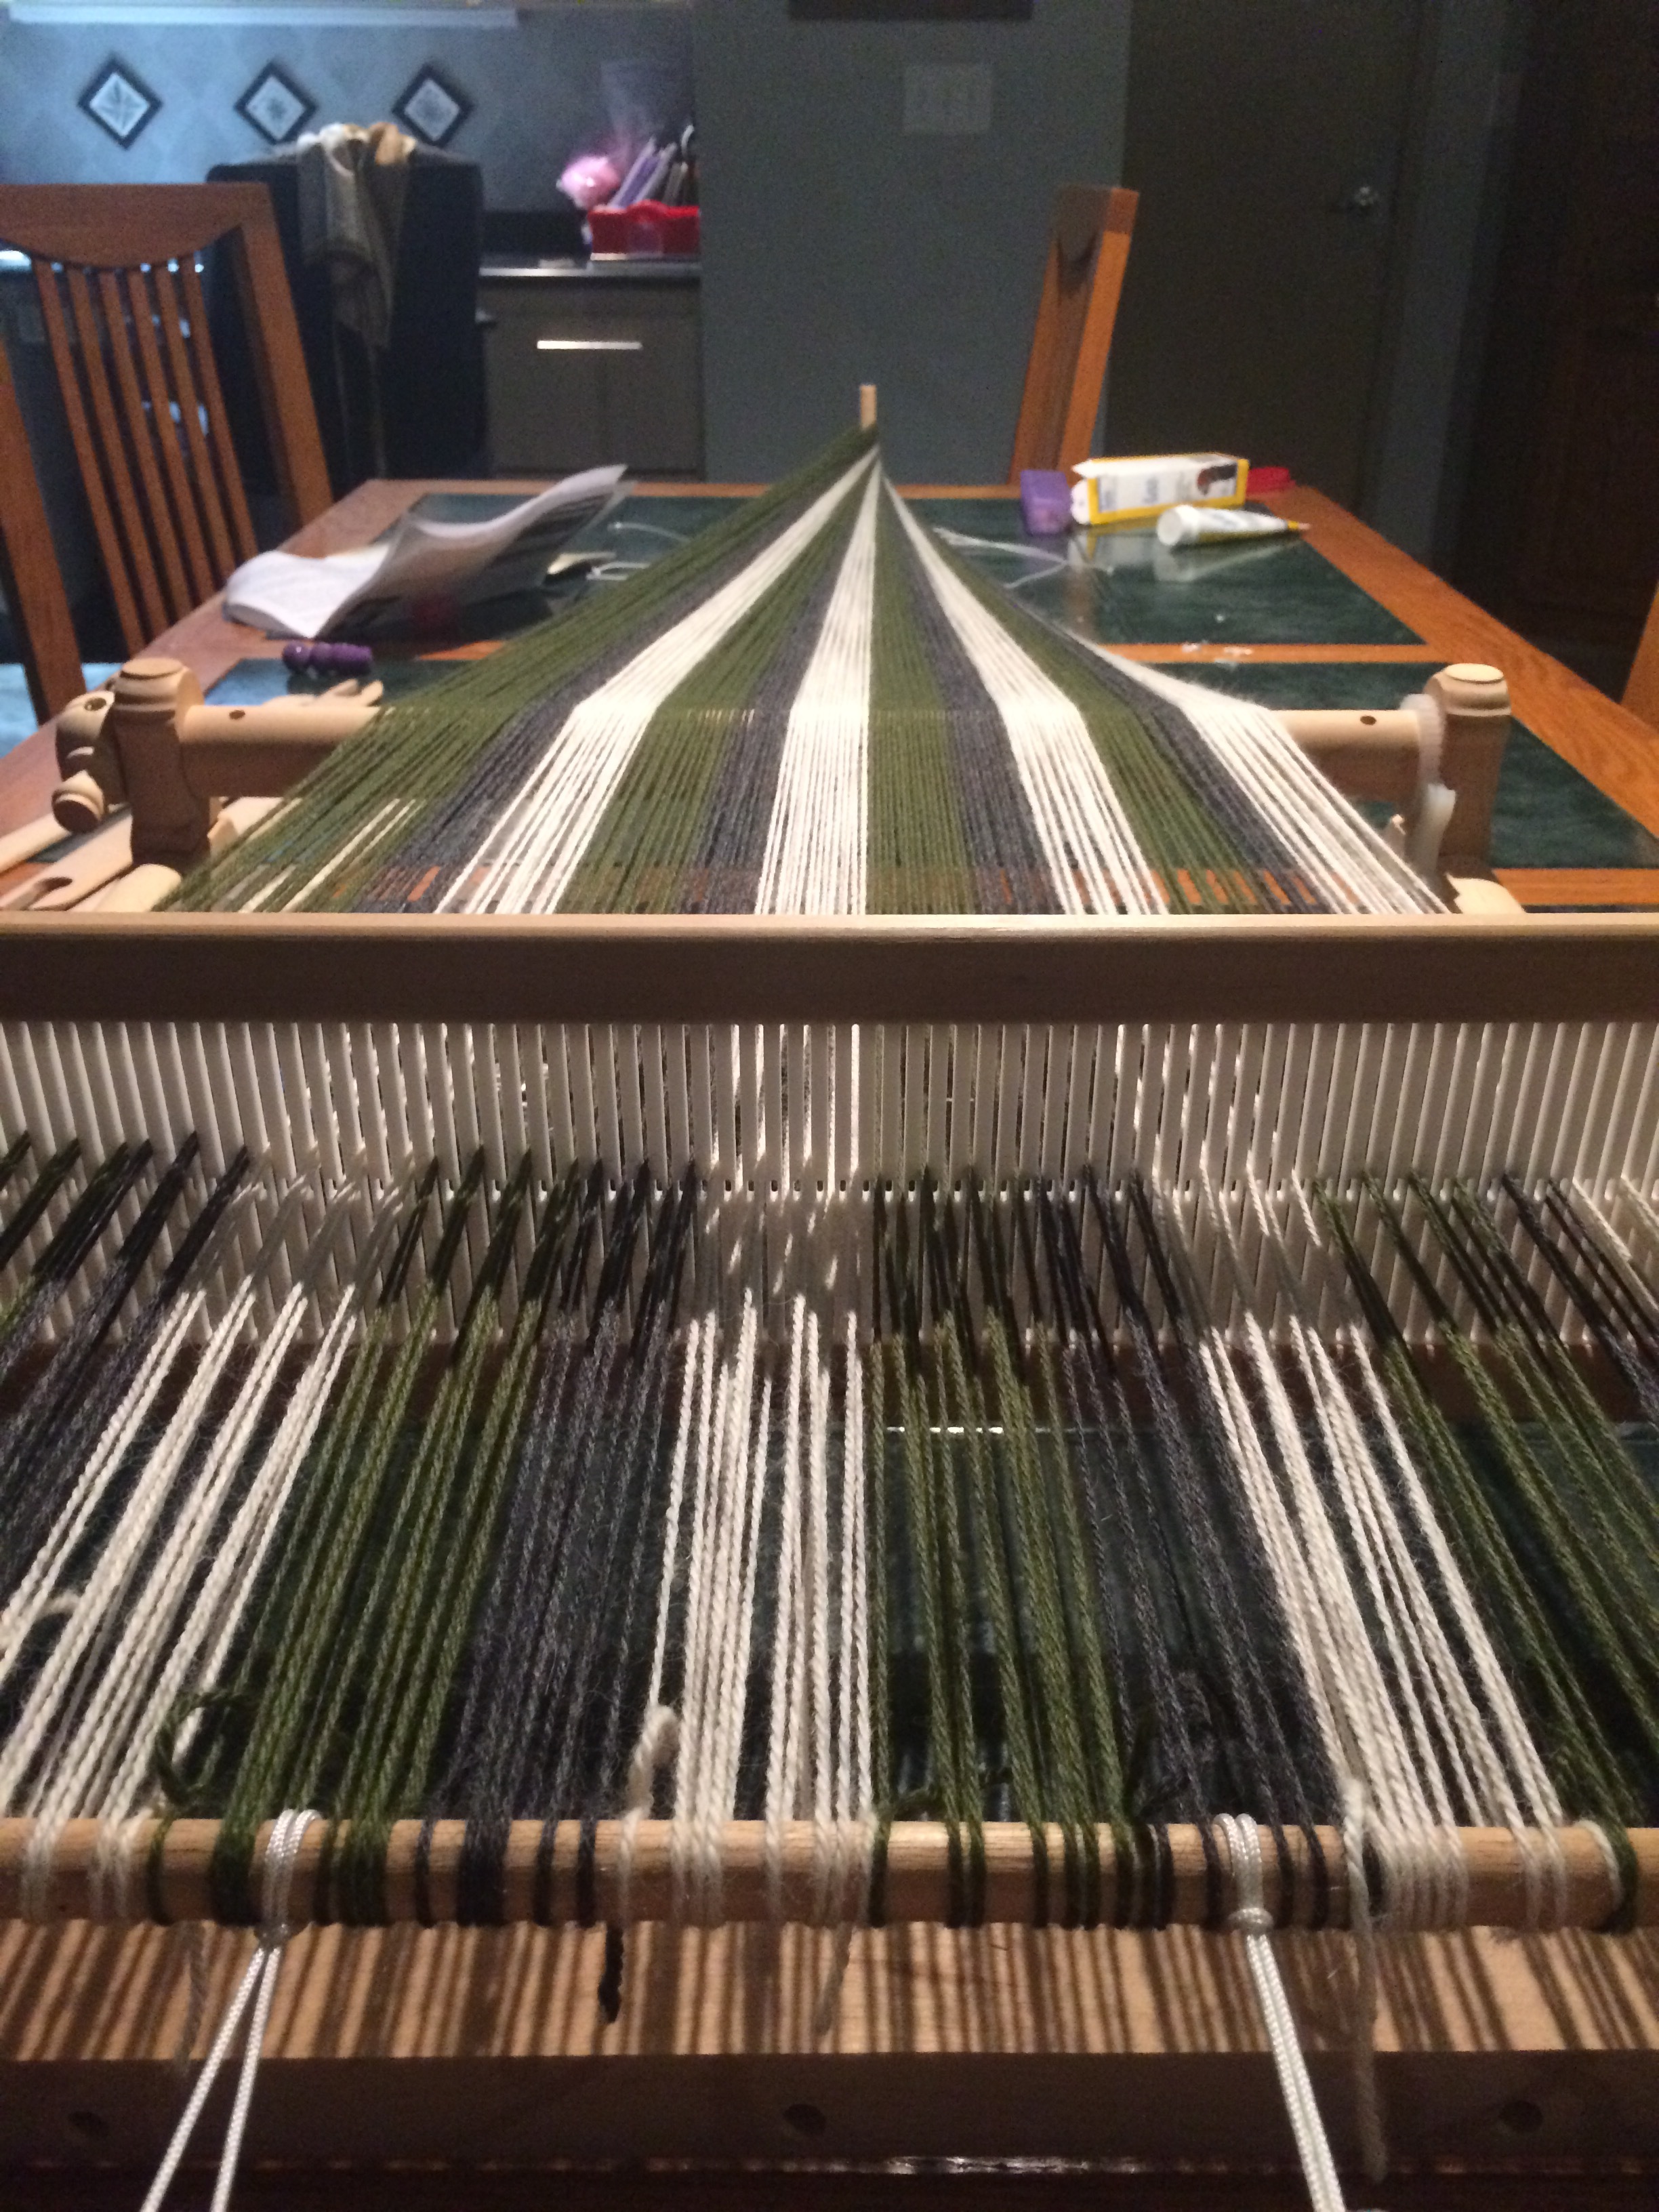
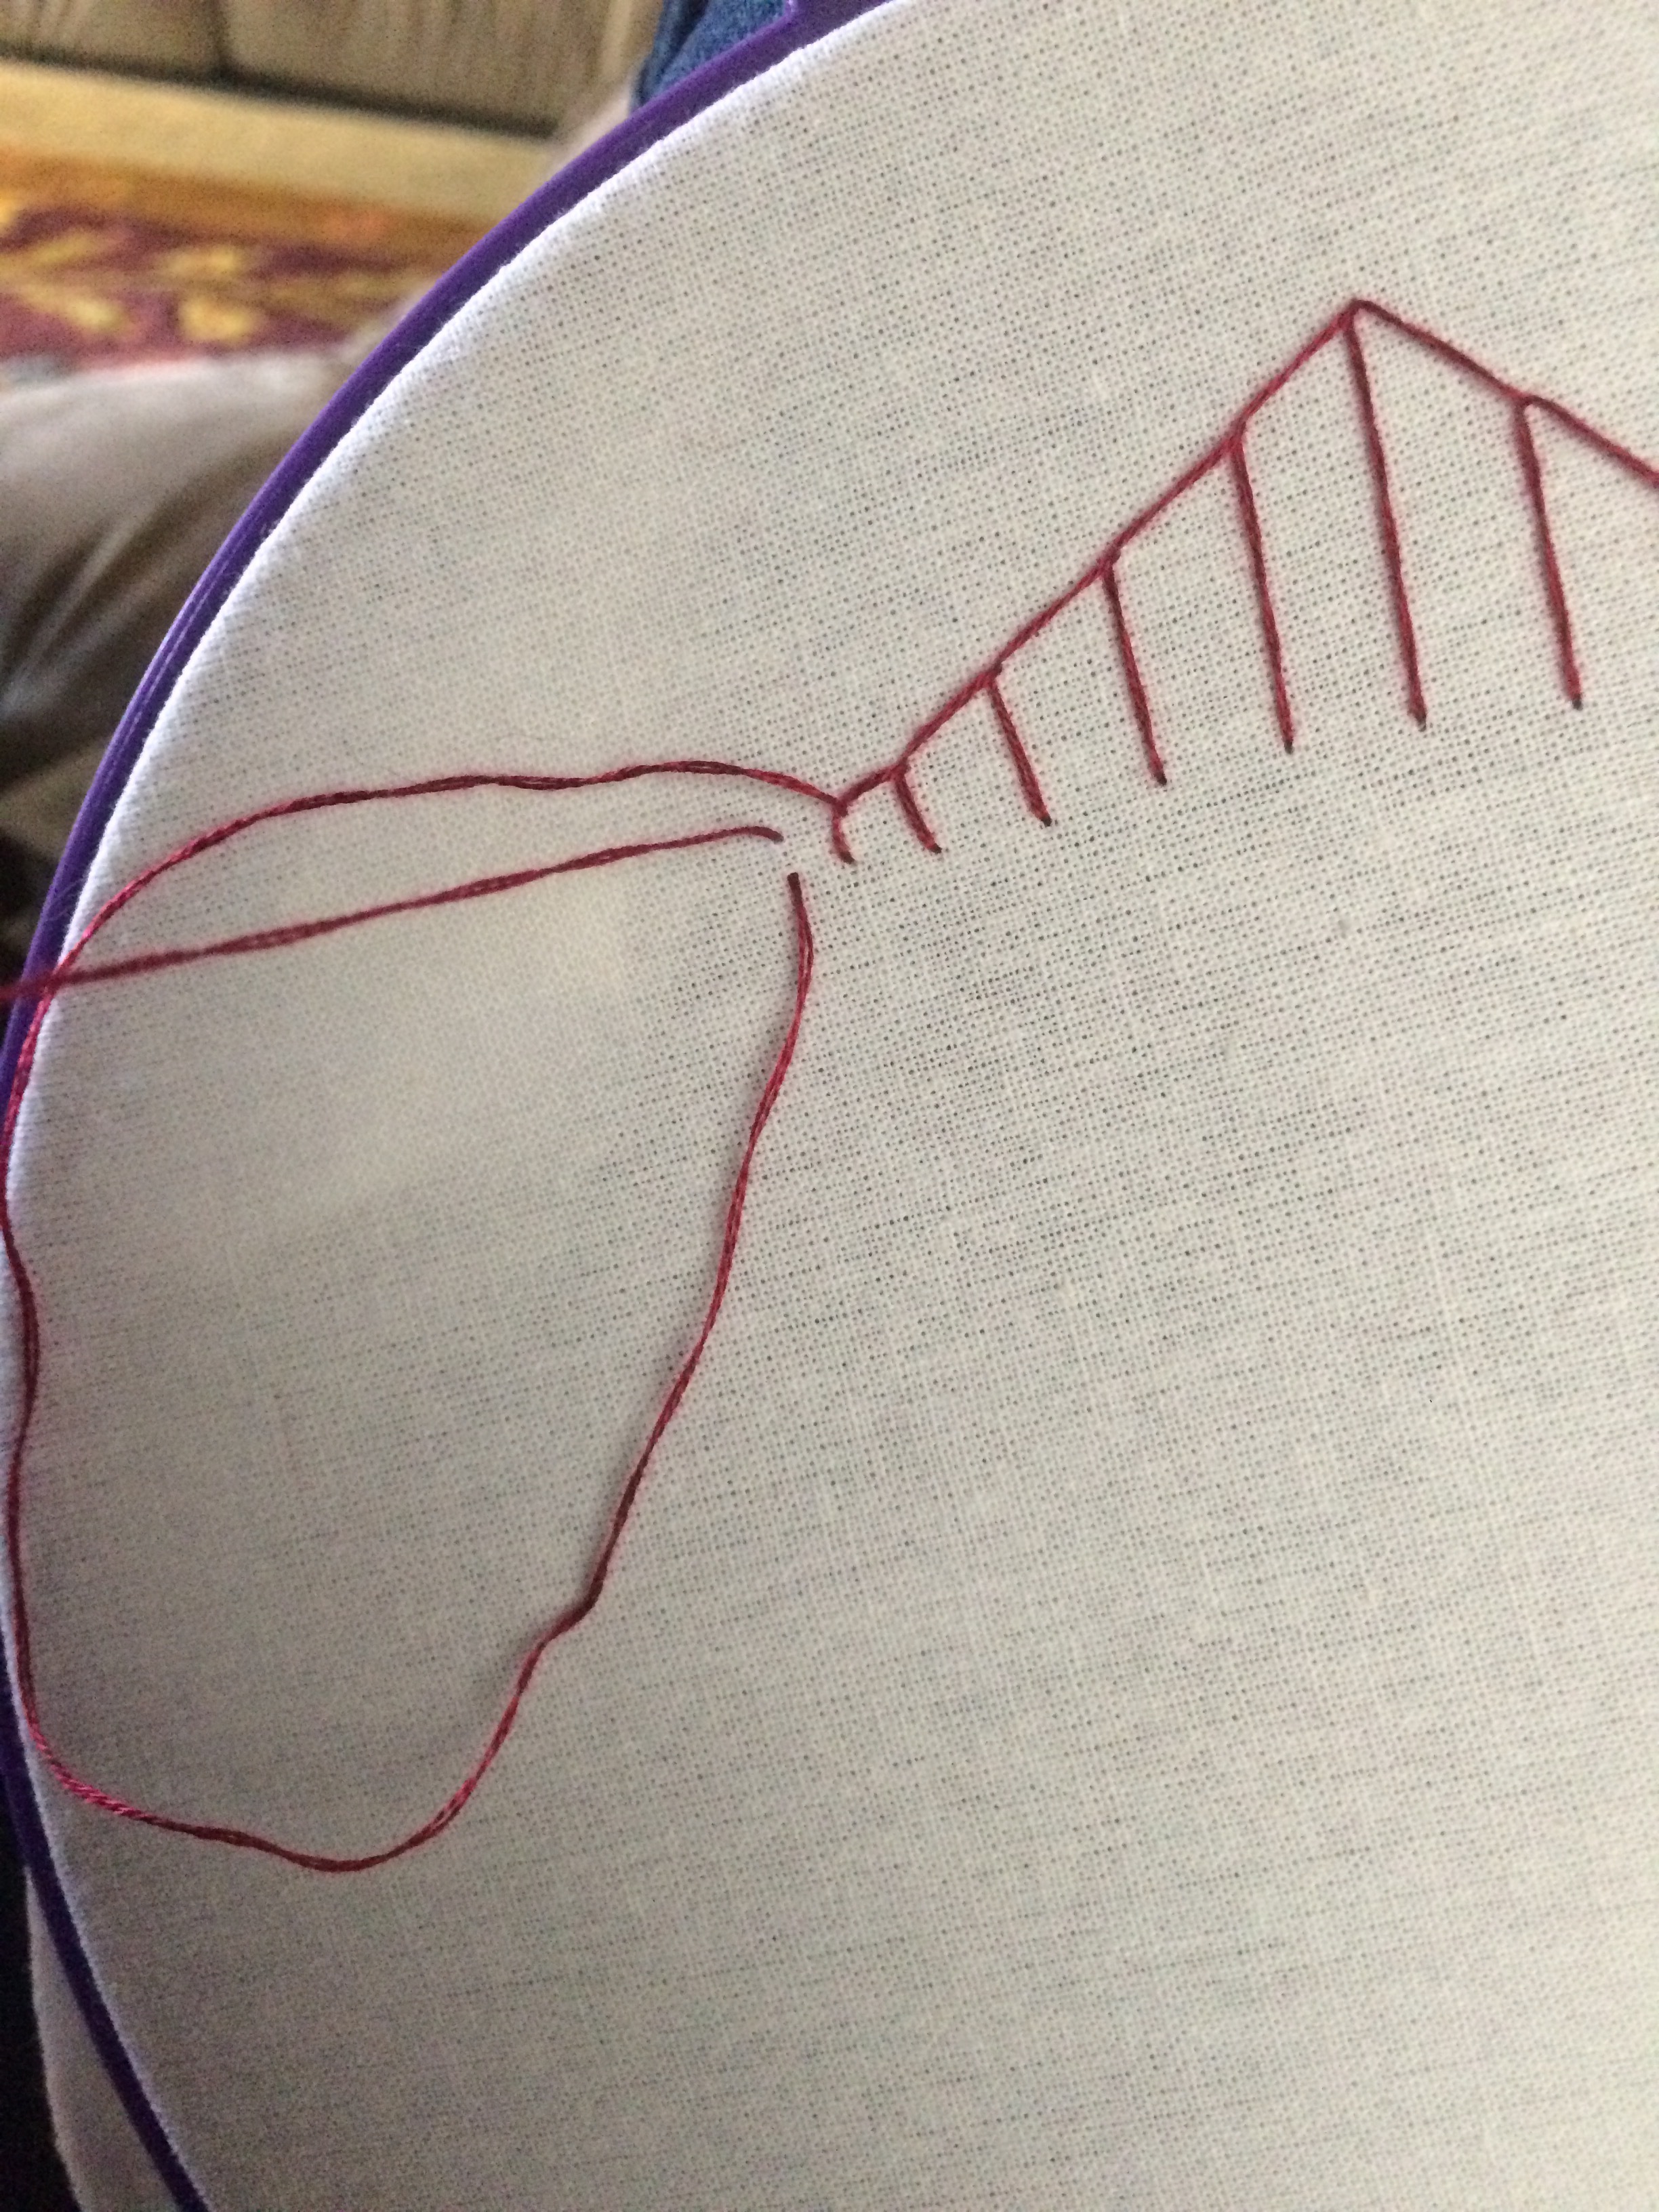
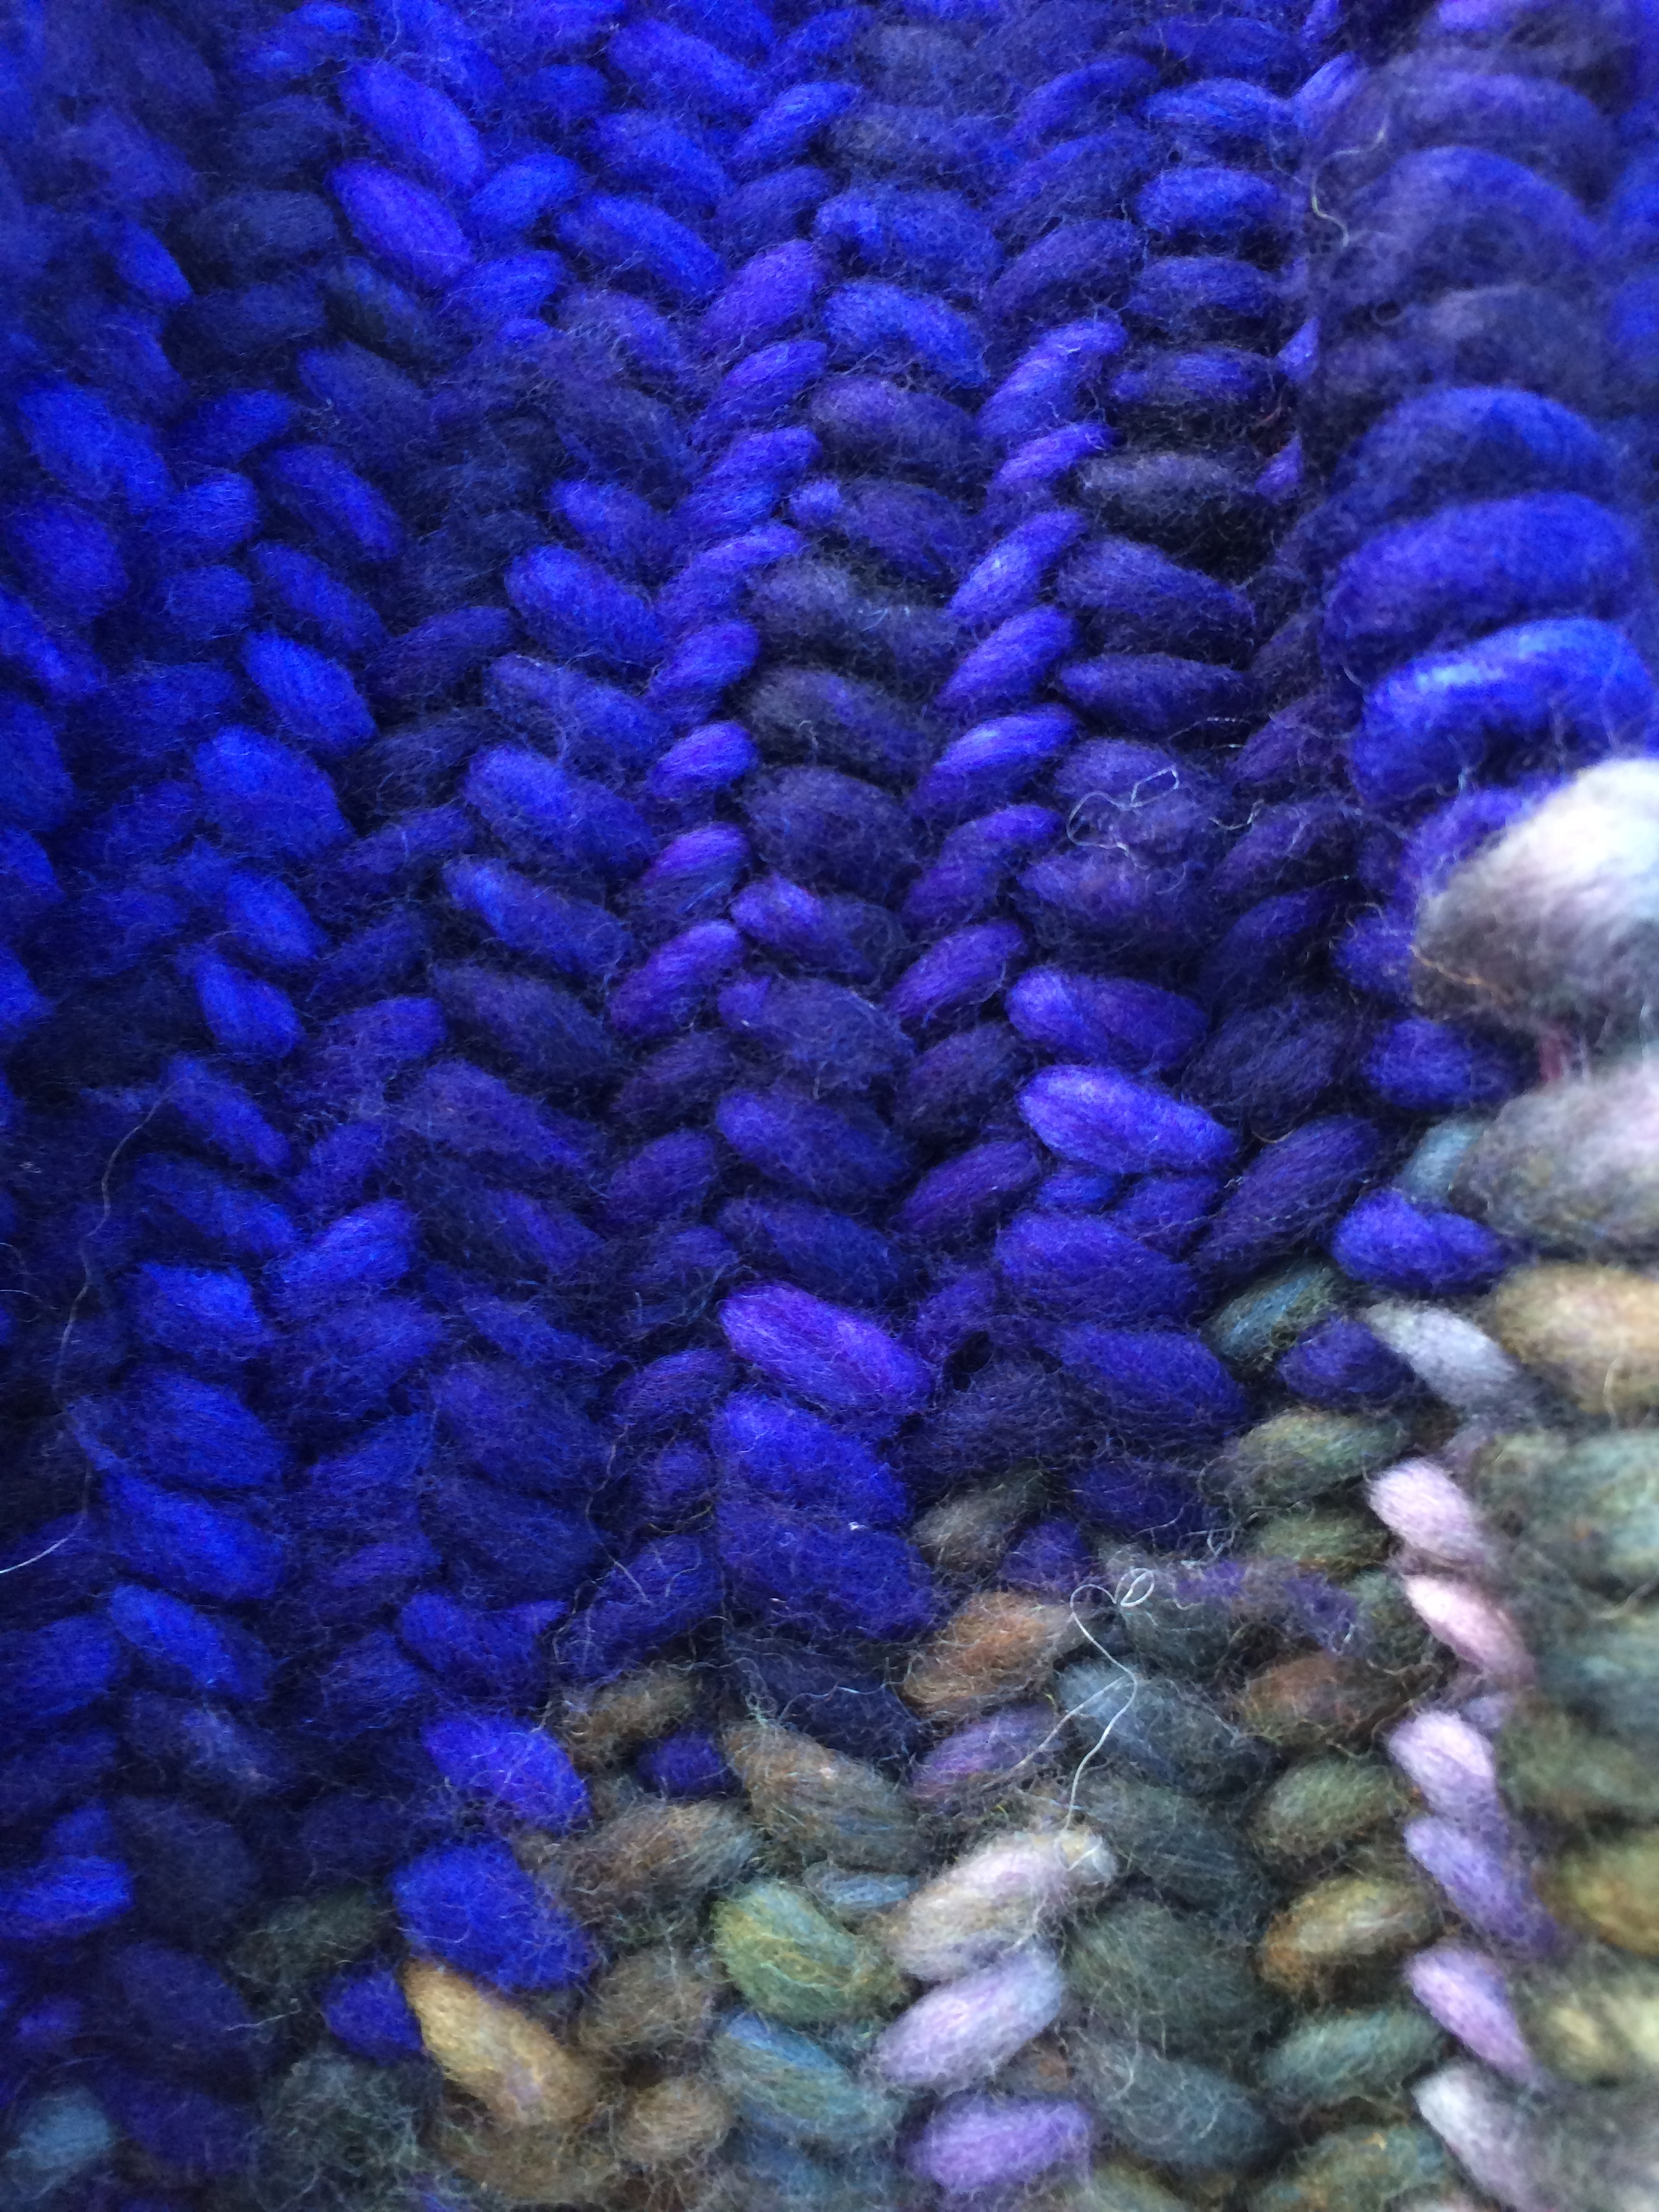
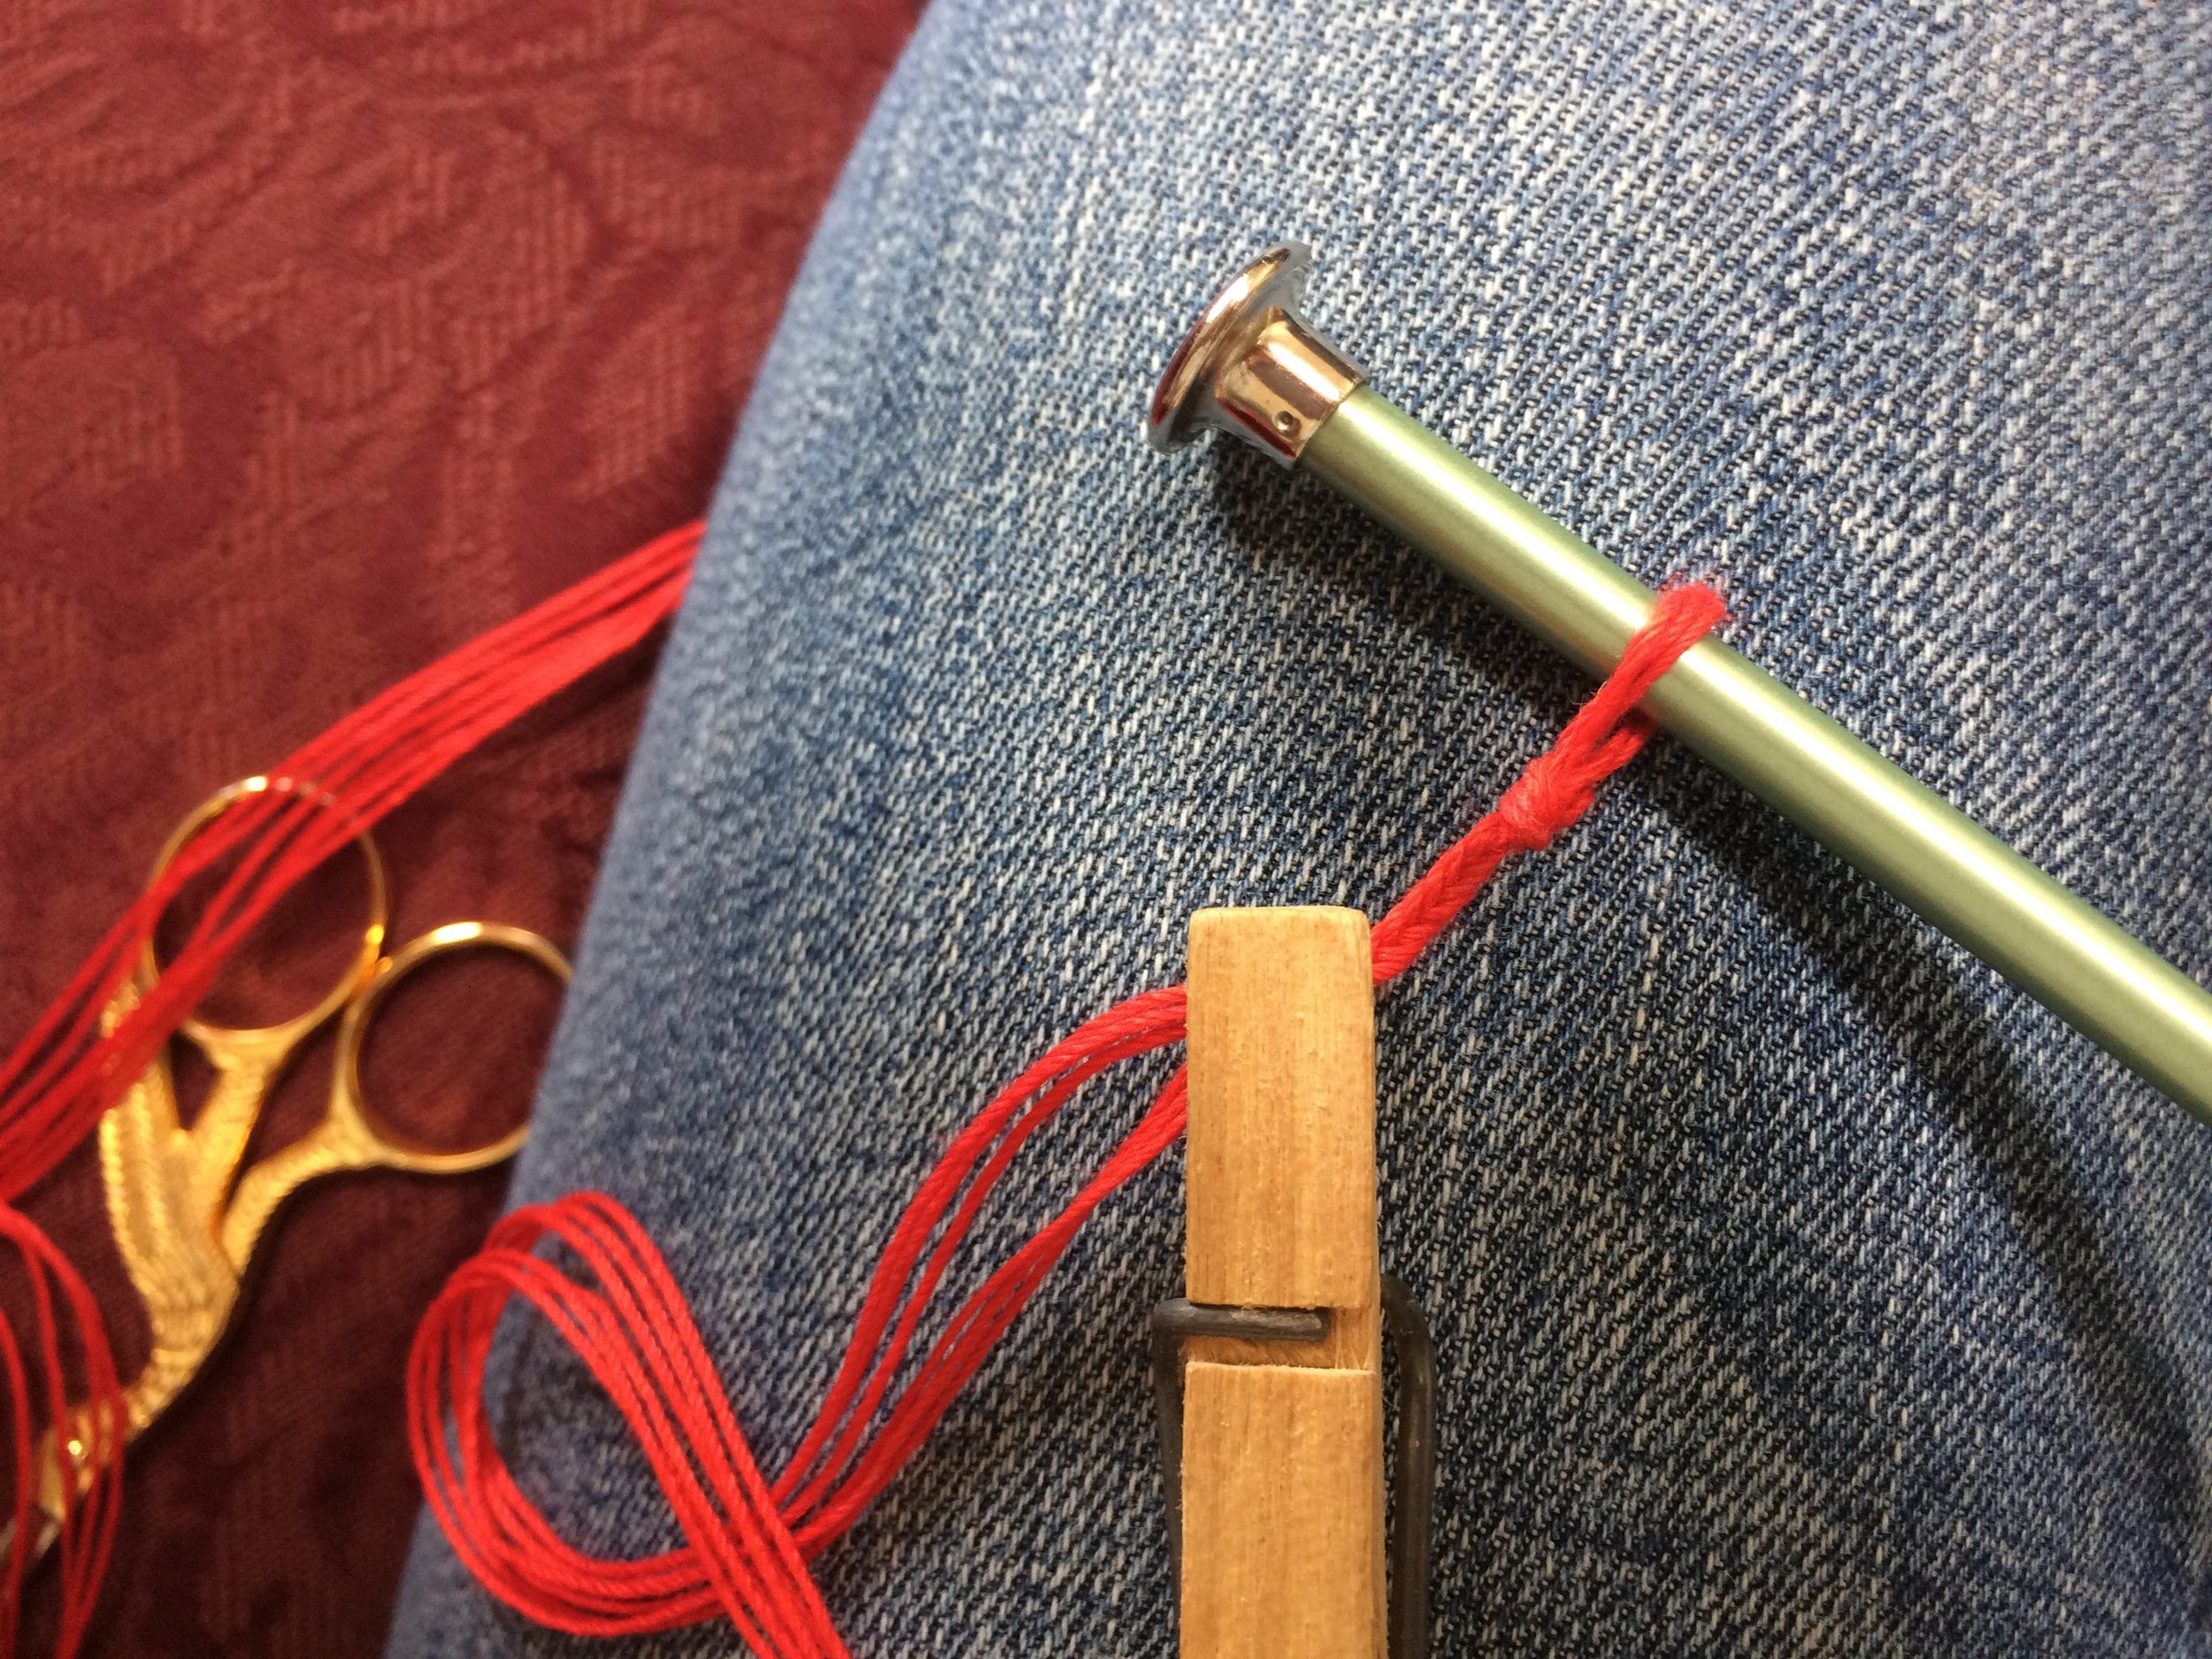
For this hem, I did hem stitch (fittingly enough).  I stuck in the darning needle so that it was in by two rows for the warp and the weft. 


IMG_9970.JPG


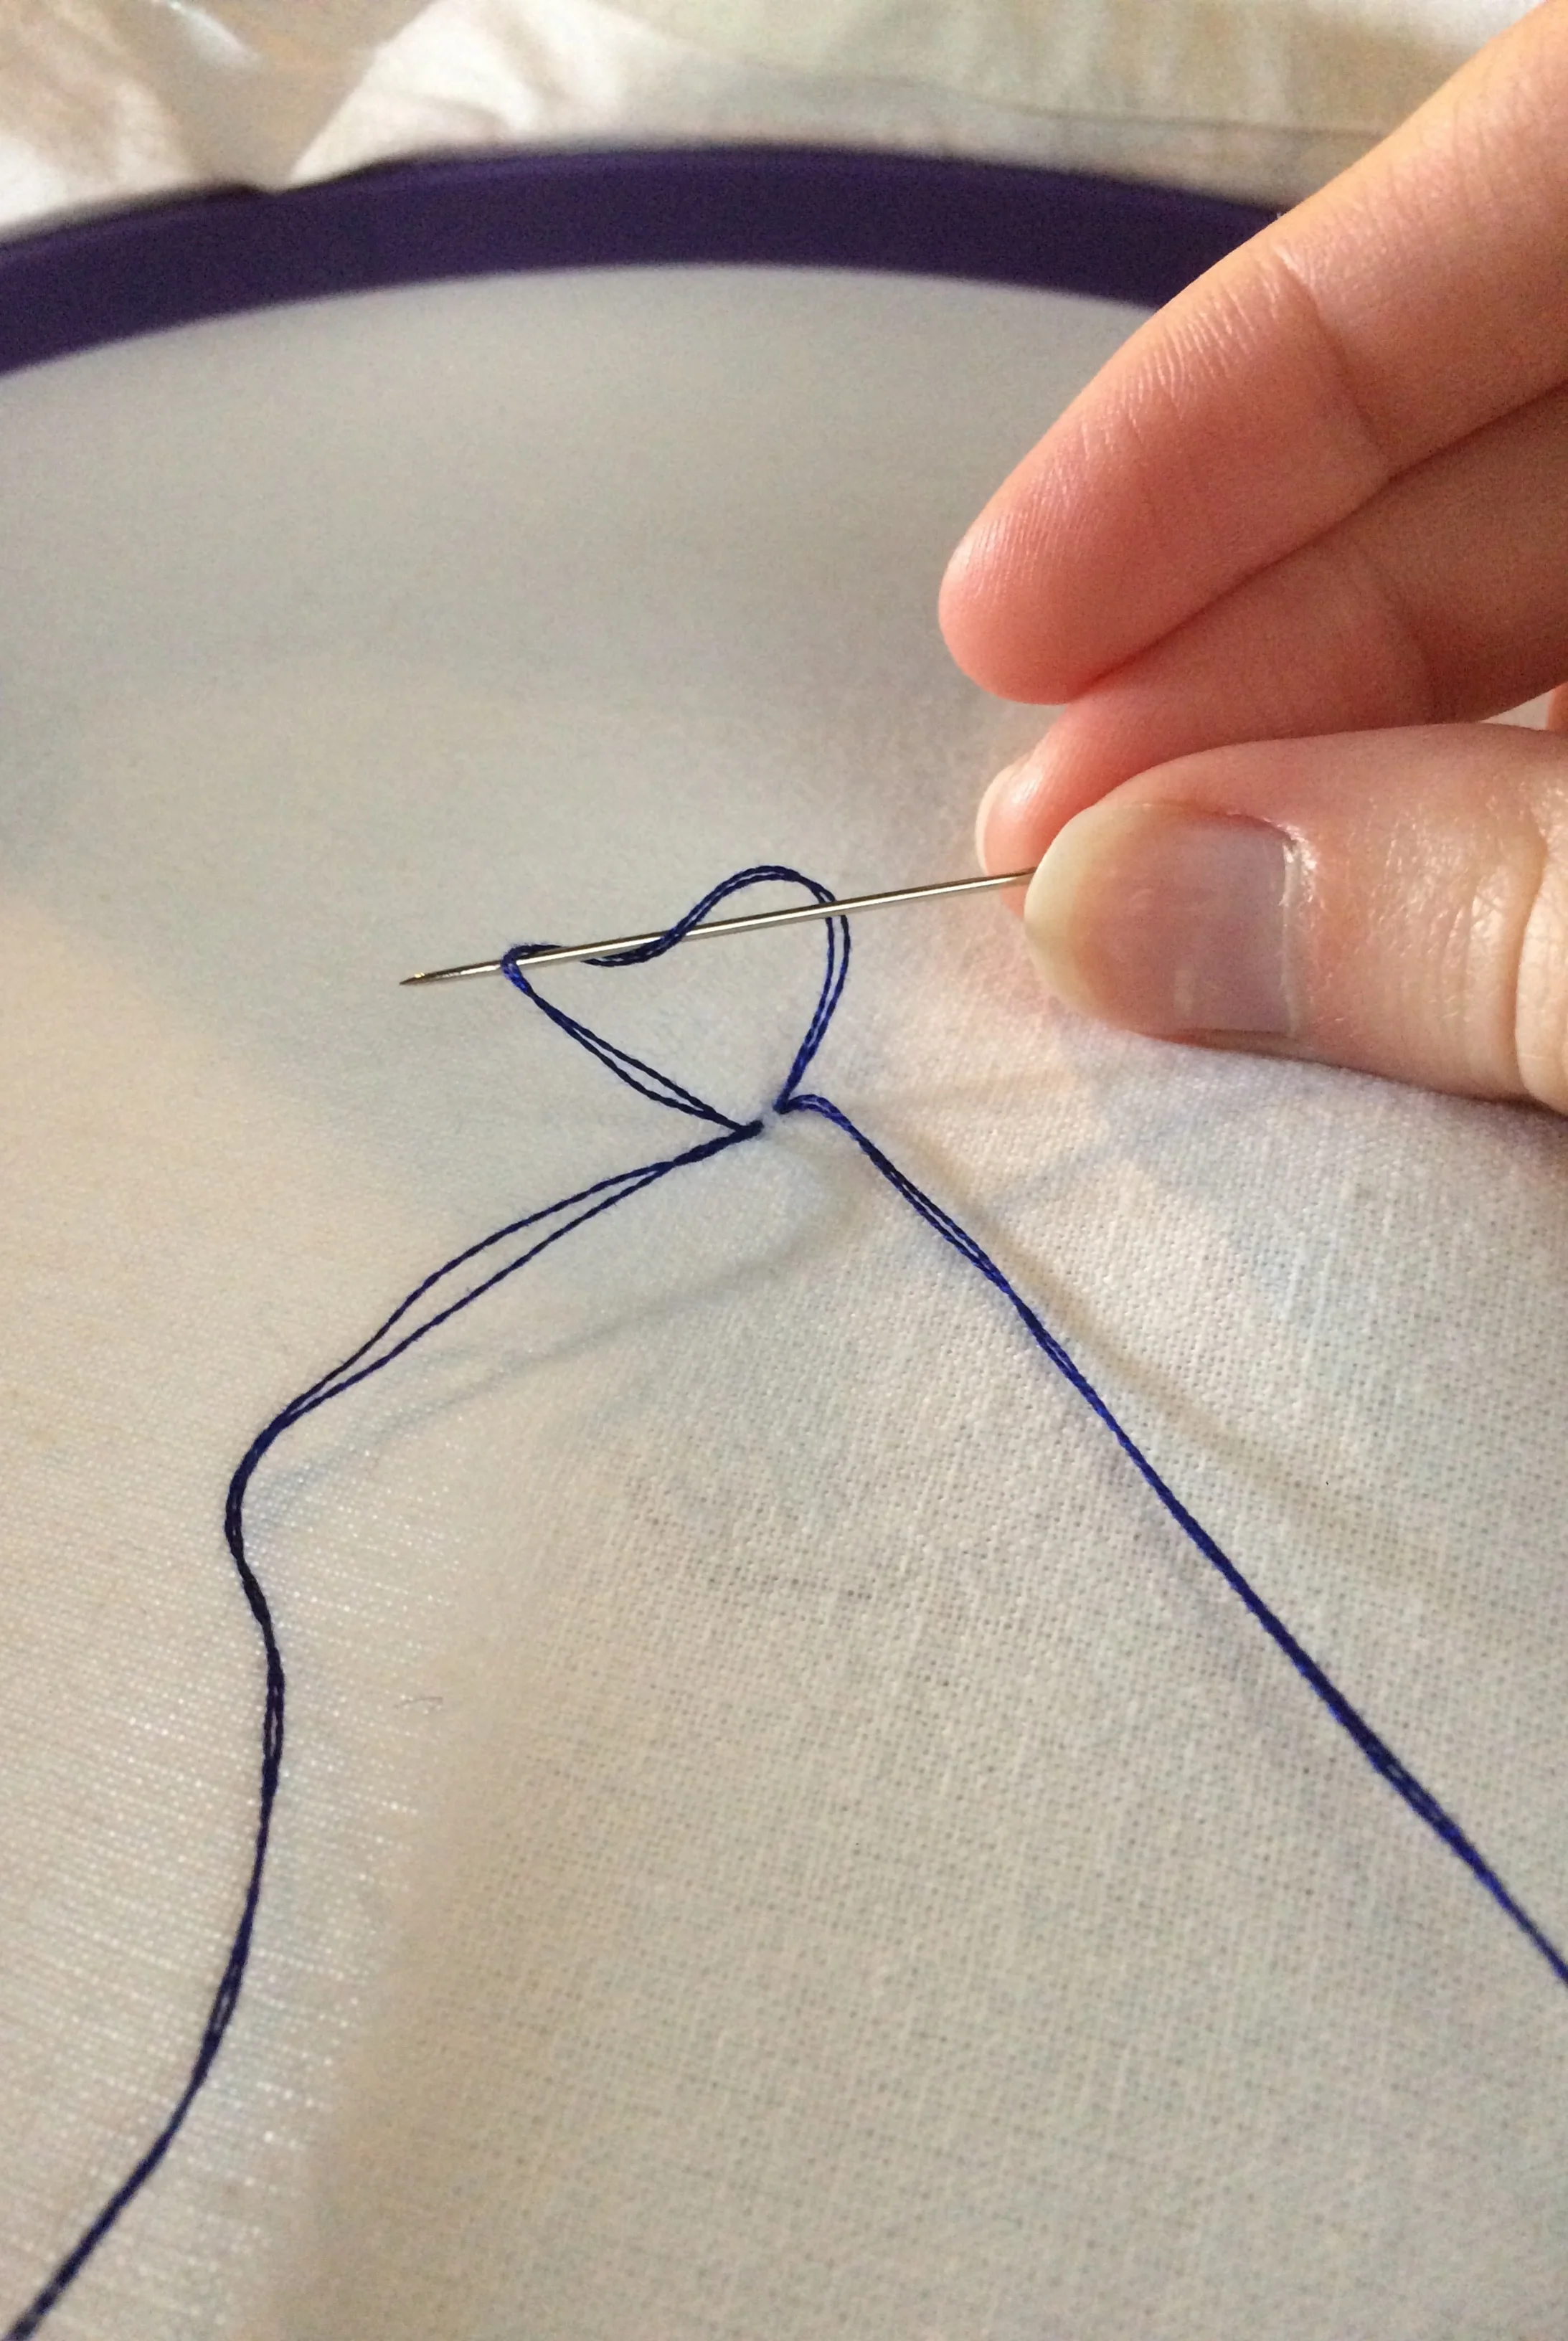
I then pulled it through, and using the tail by the base of where the yarn just came out, I created a c shape, went under the same two strands of the warp (but on the outer edge), and then made sure the loop created would be under my needle when pulled tight.  


IMG_9971.JPG


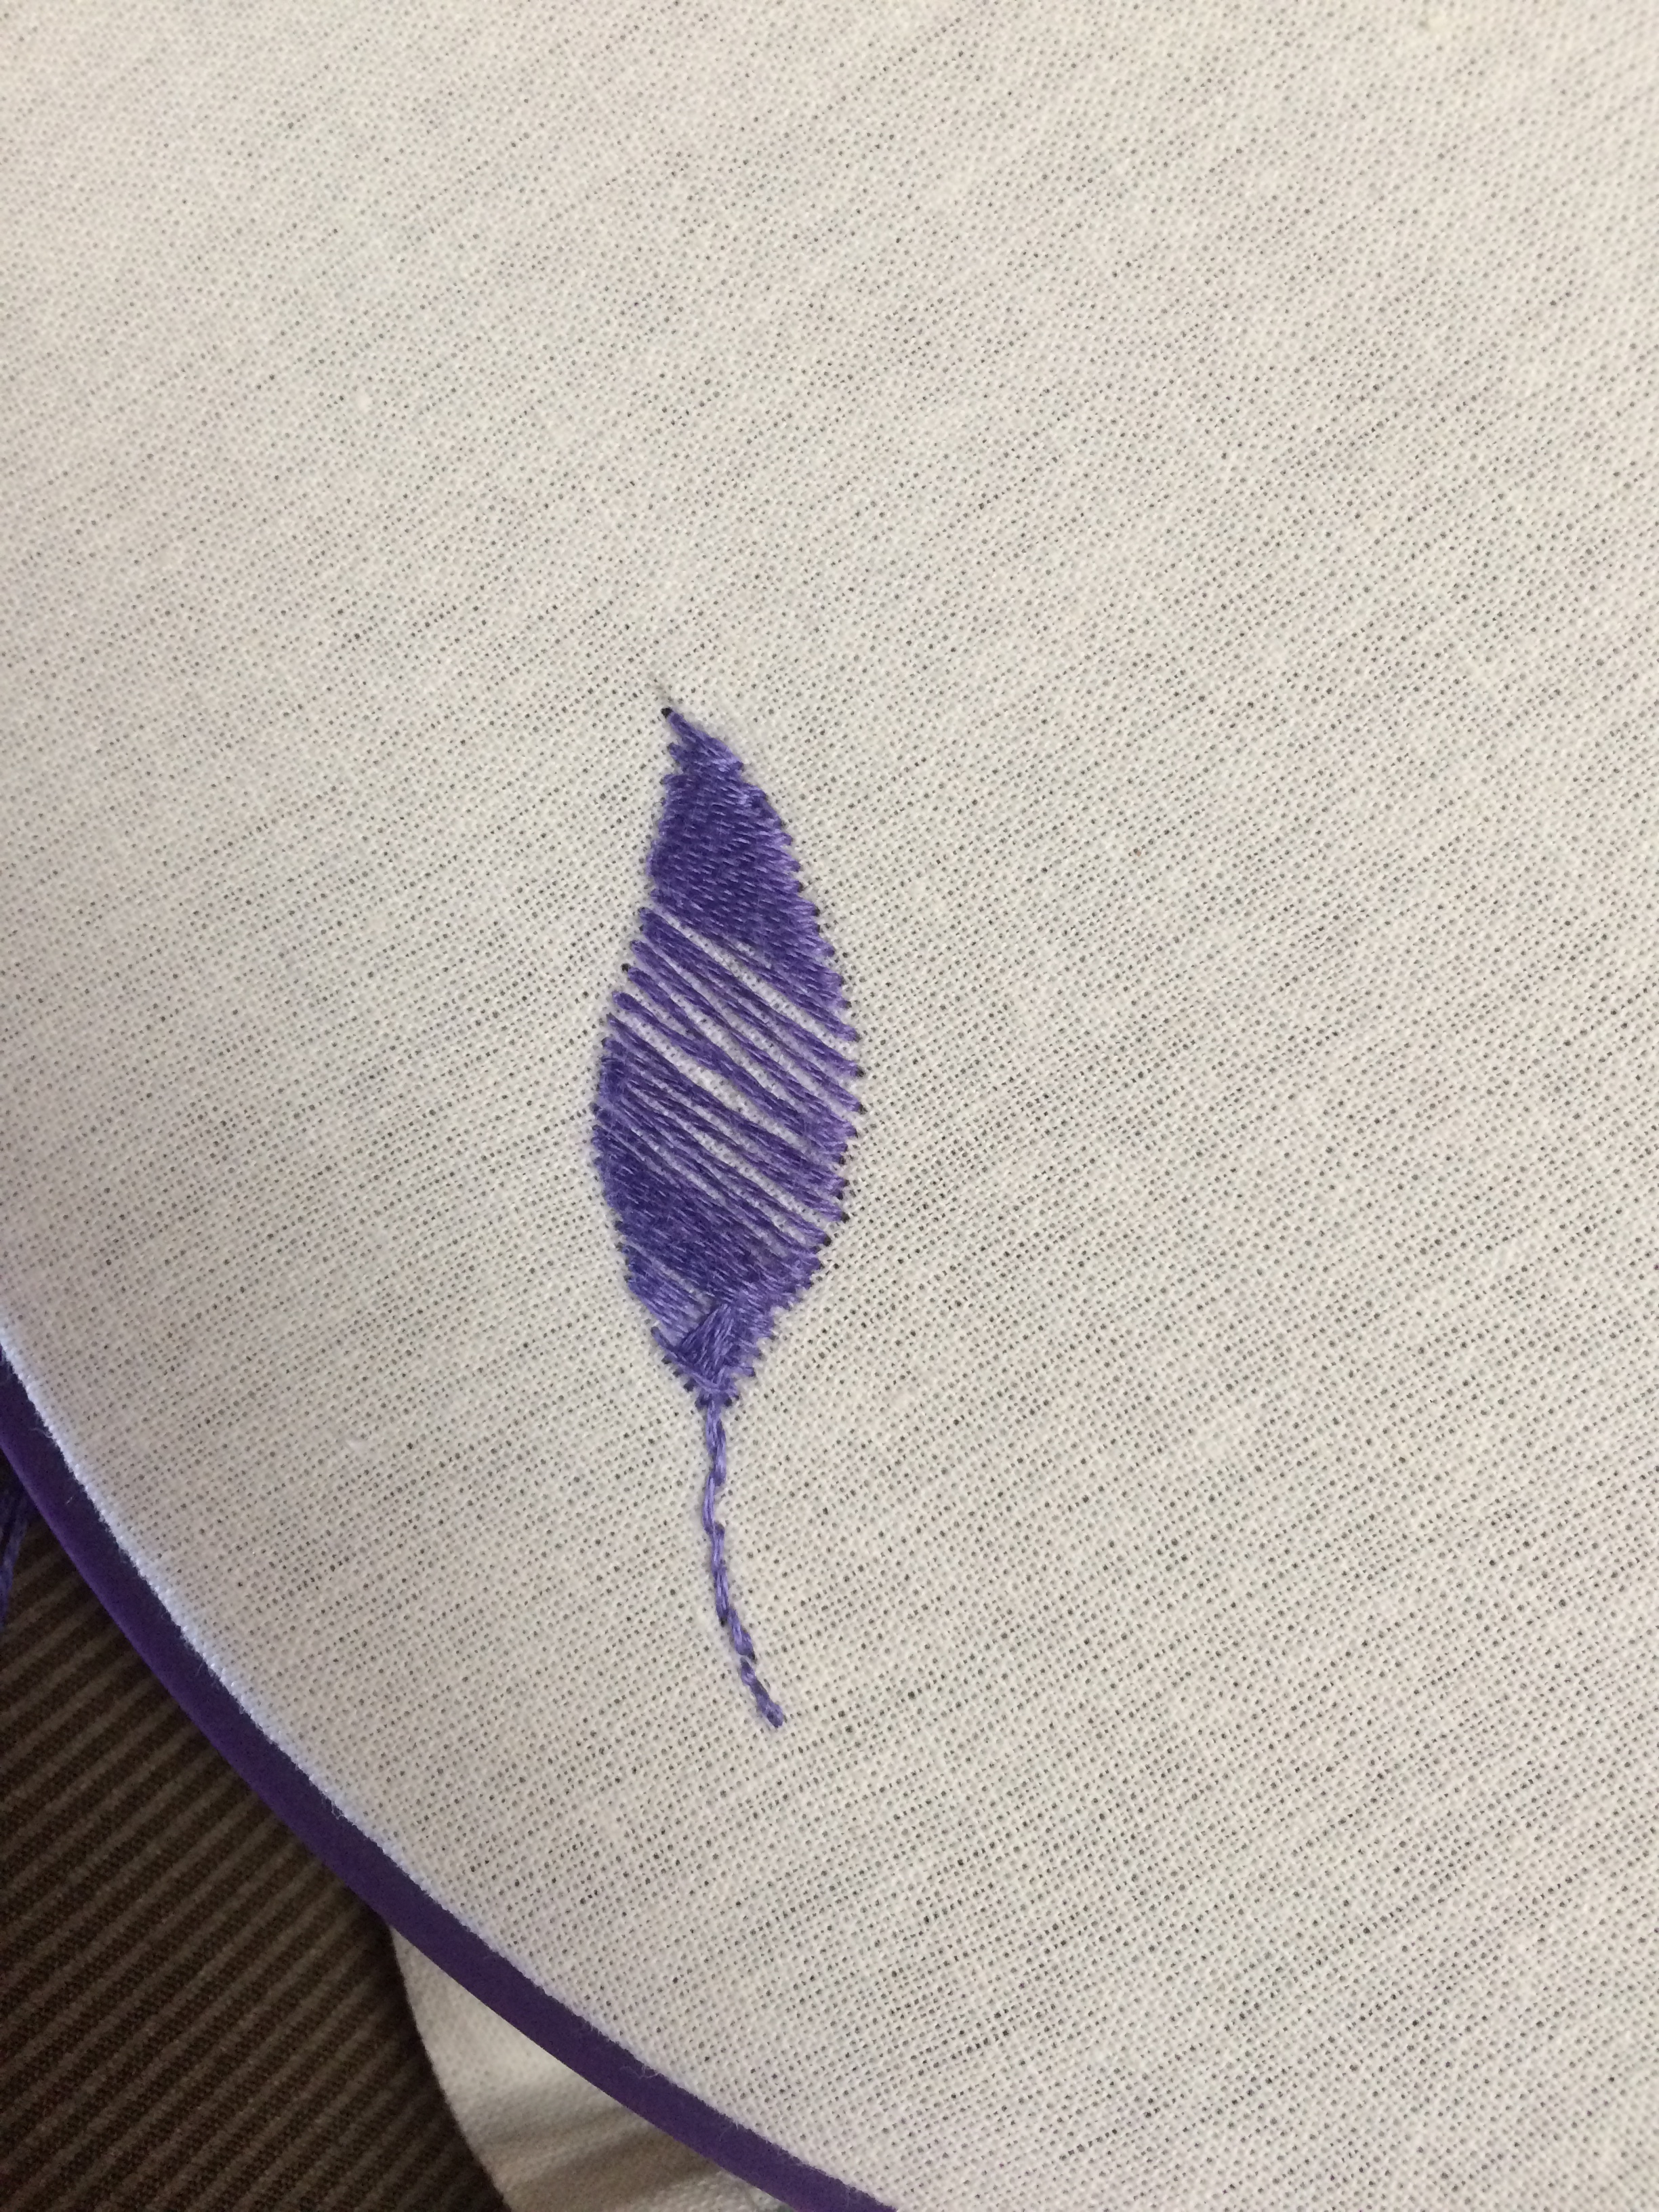
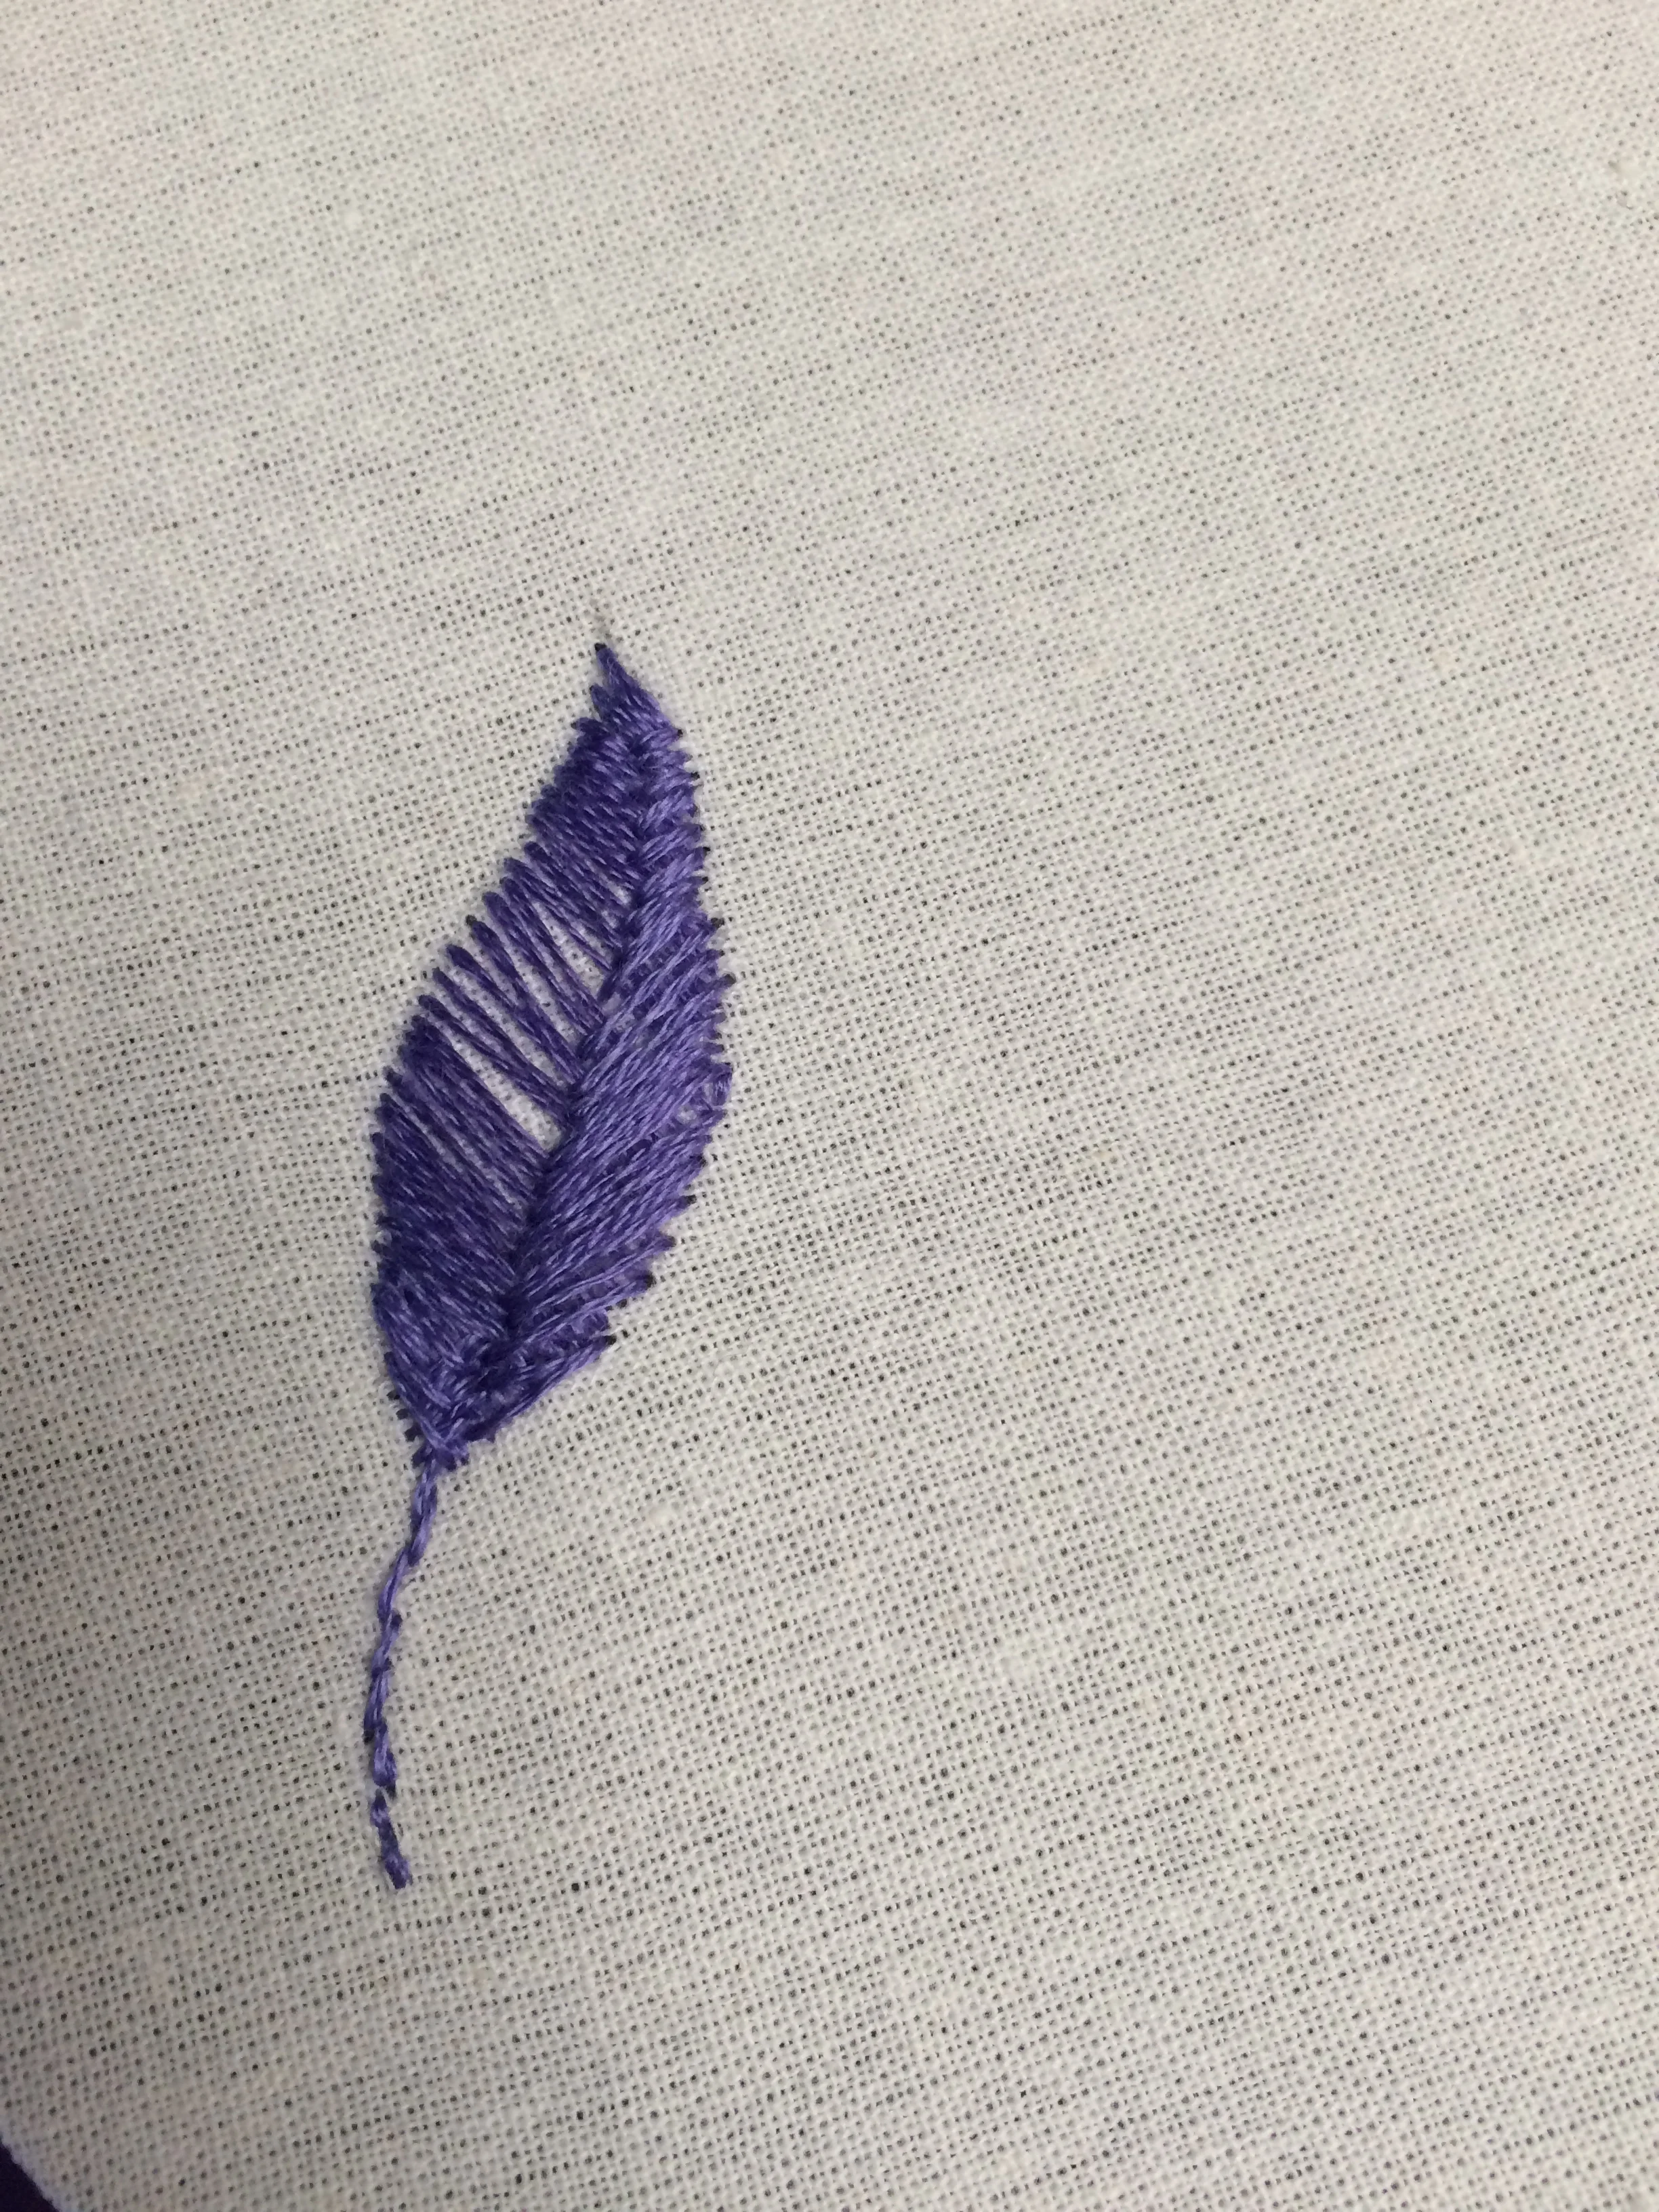
It creates a nice and tight stitch when done properly, and feels the most secure of all of the tying of methods I've tried.


IMG_9972.JPG


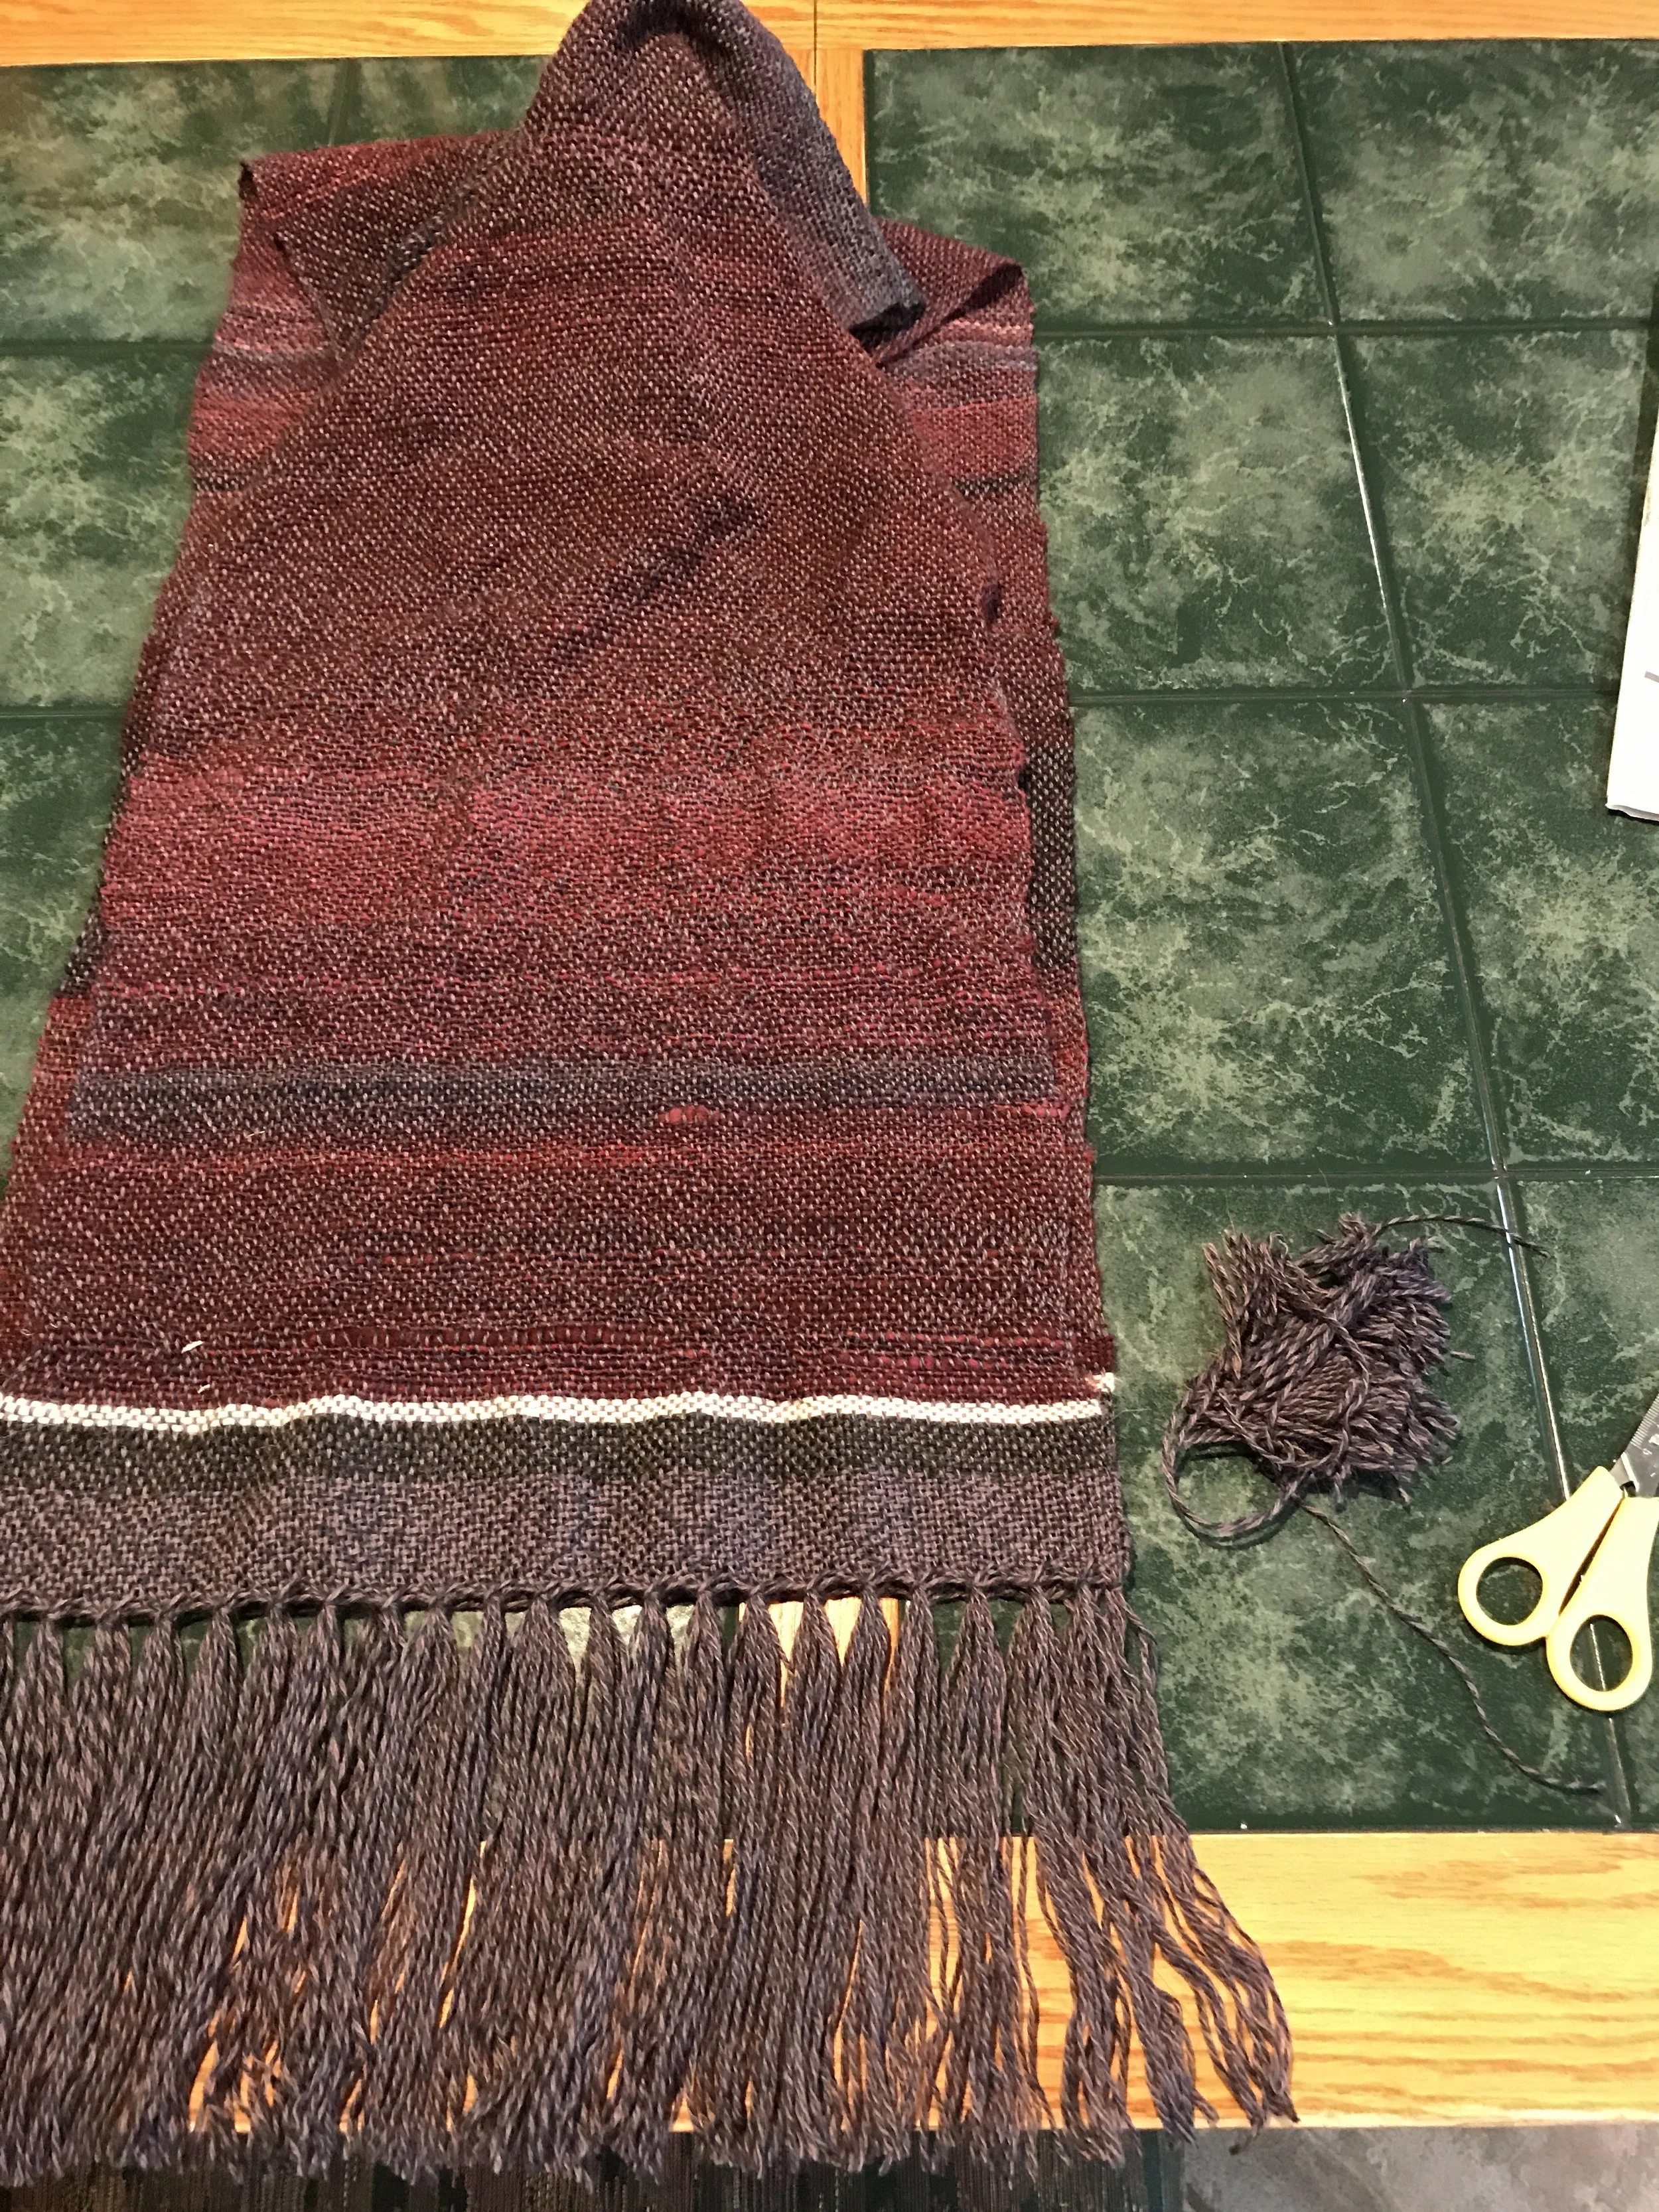
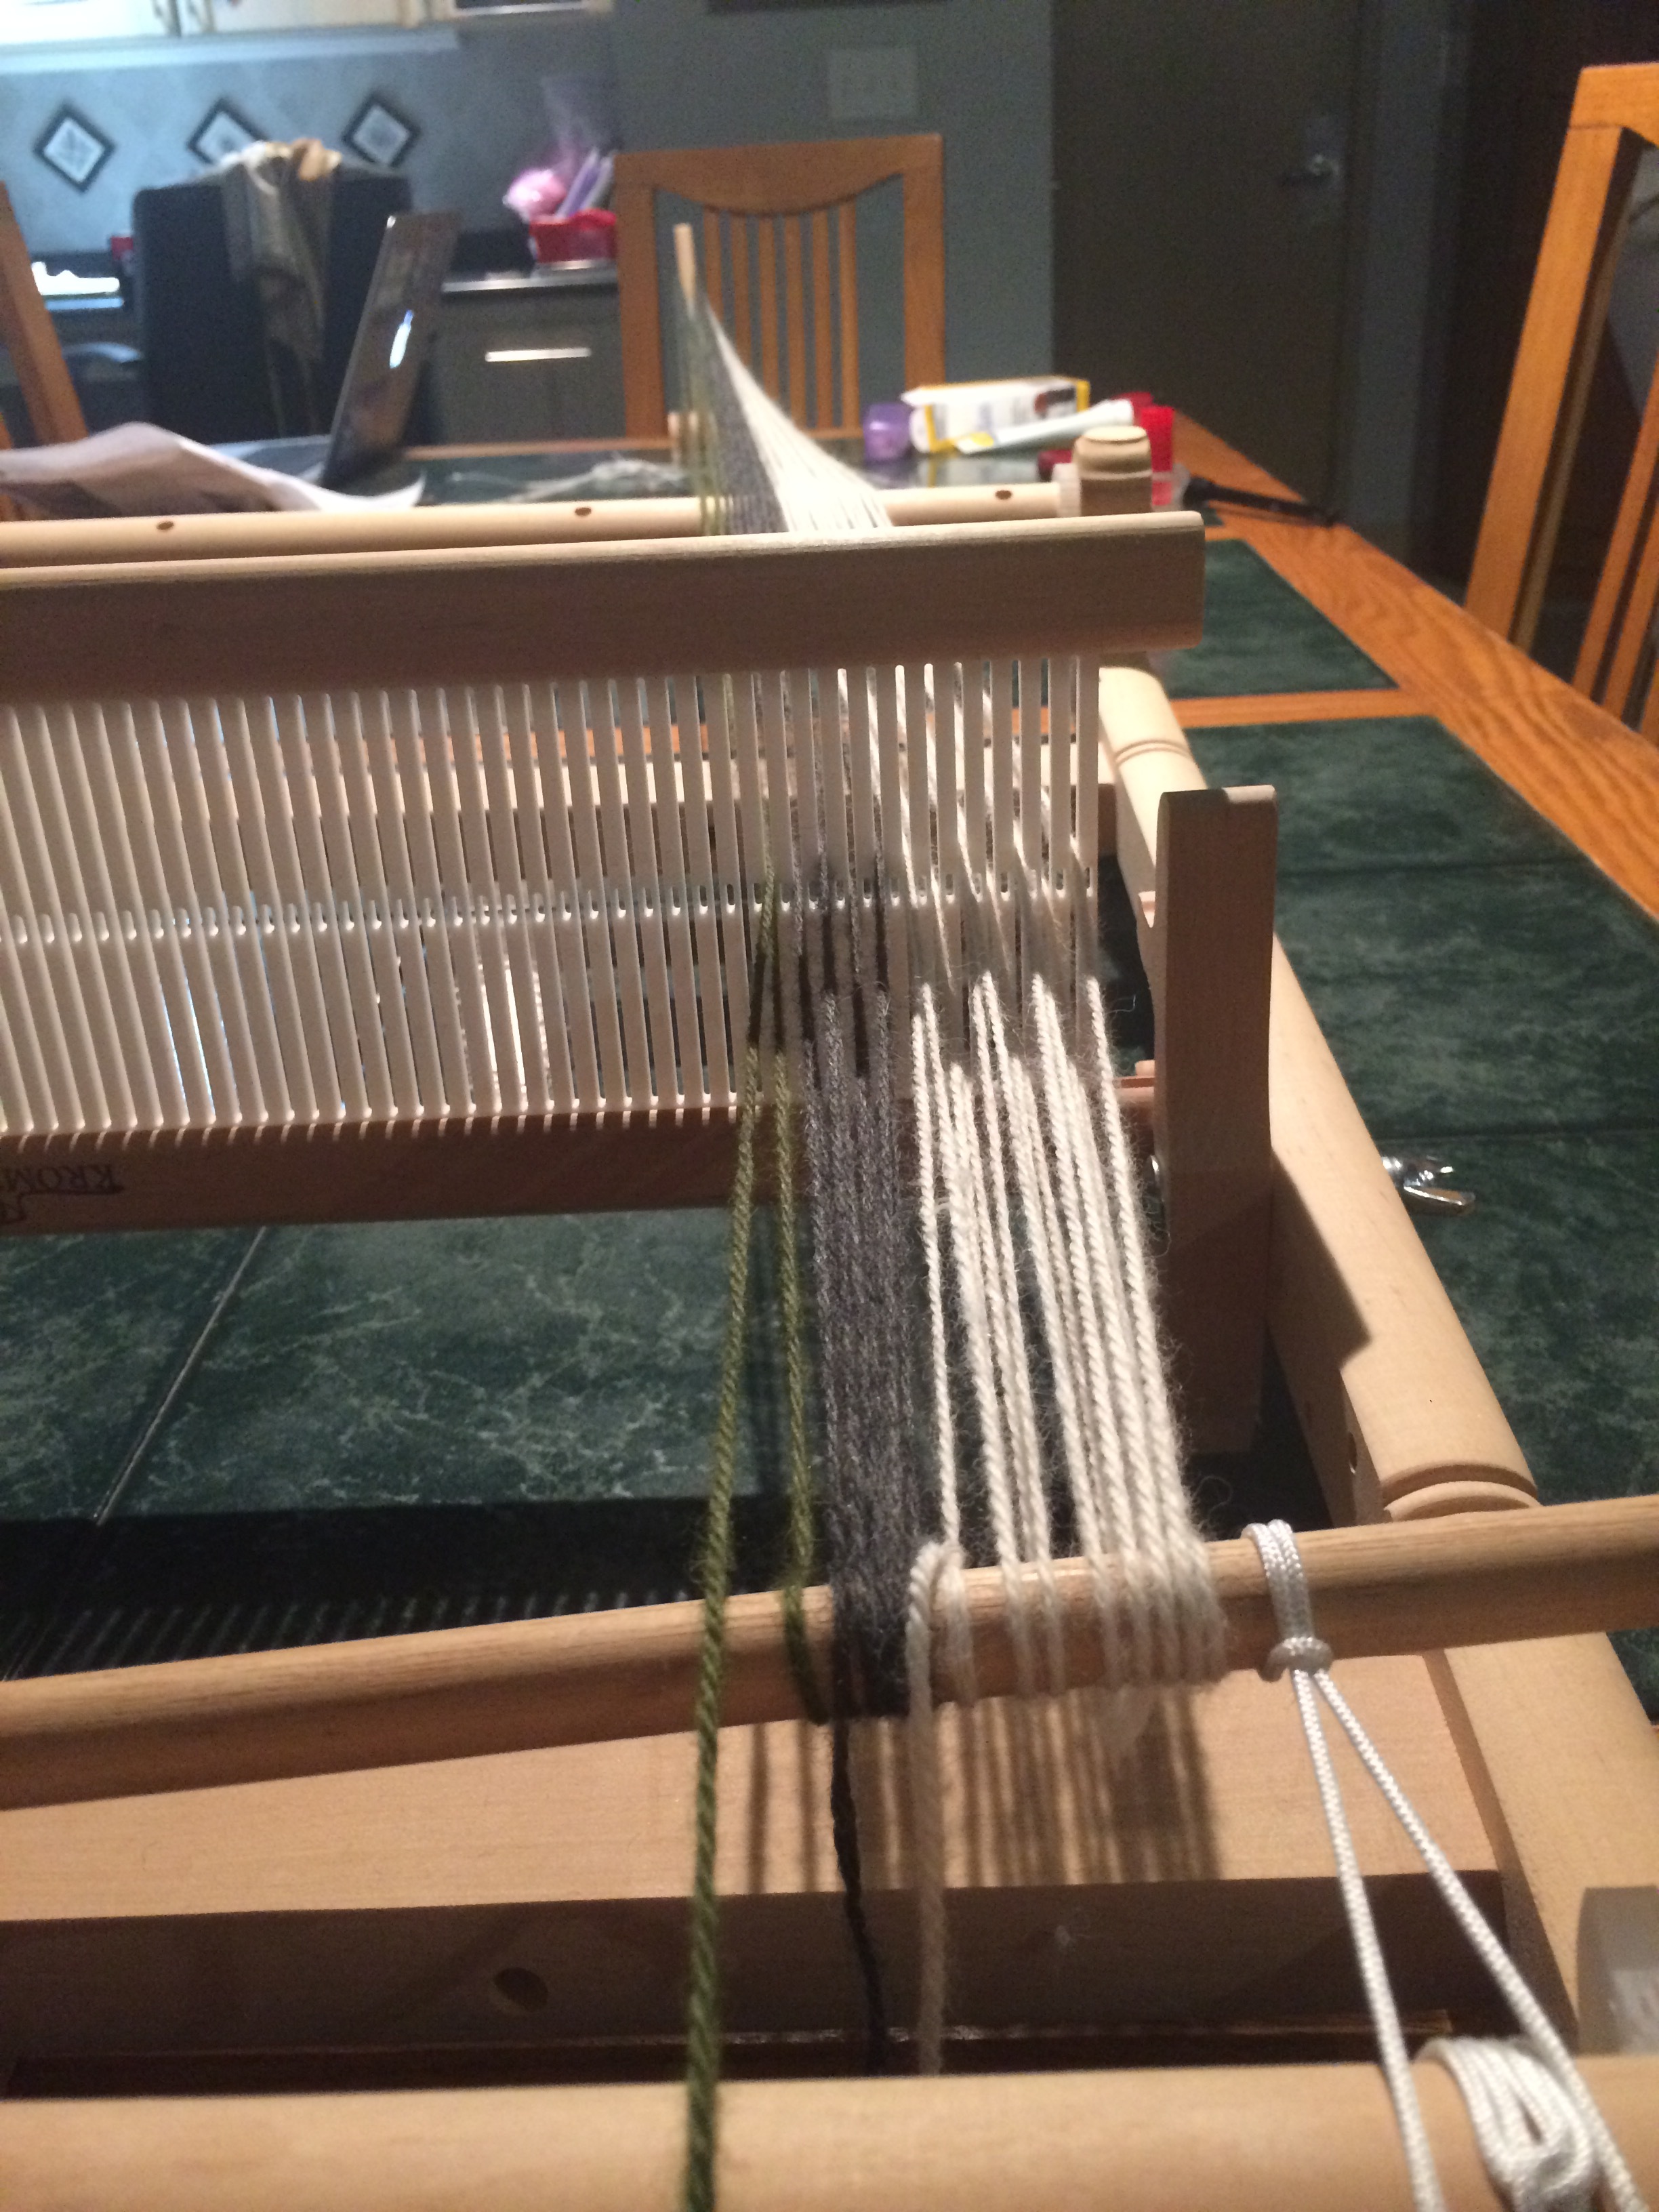
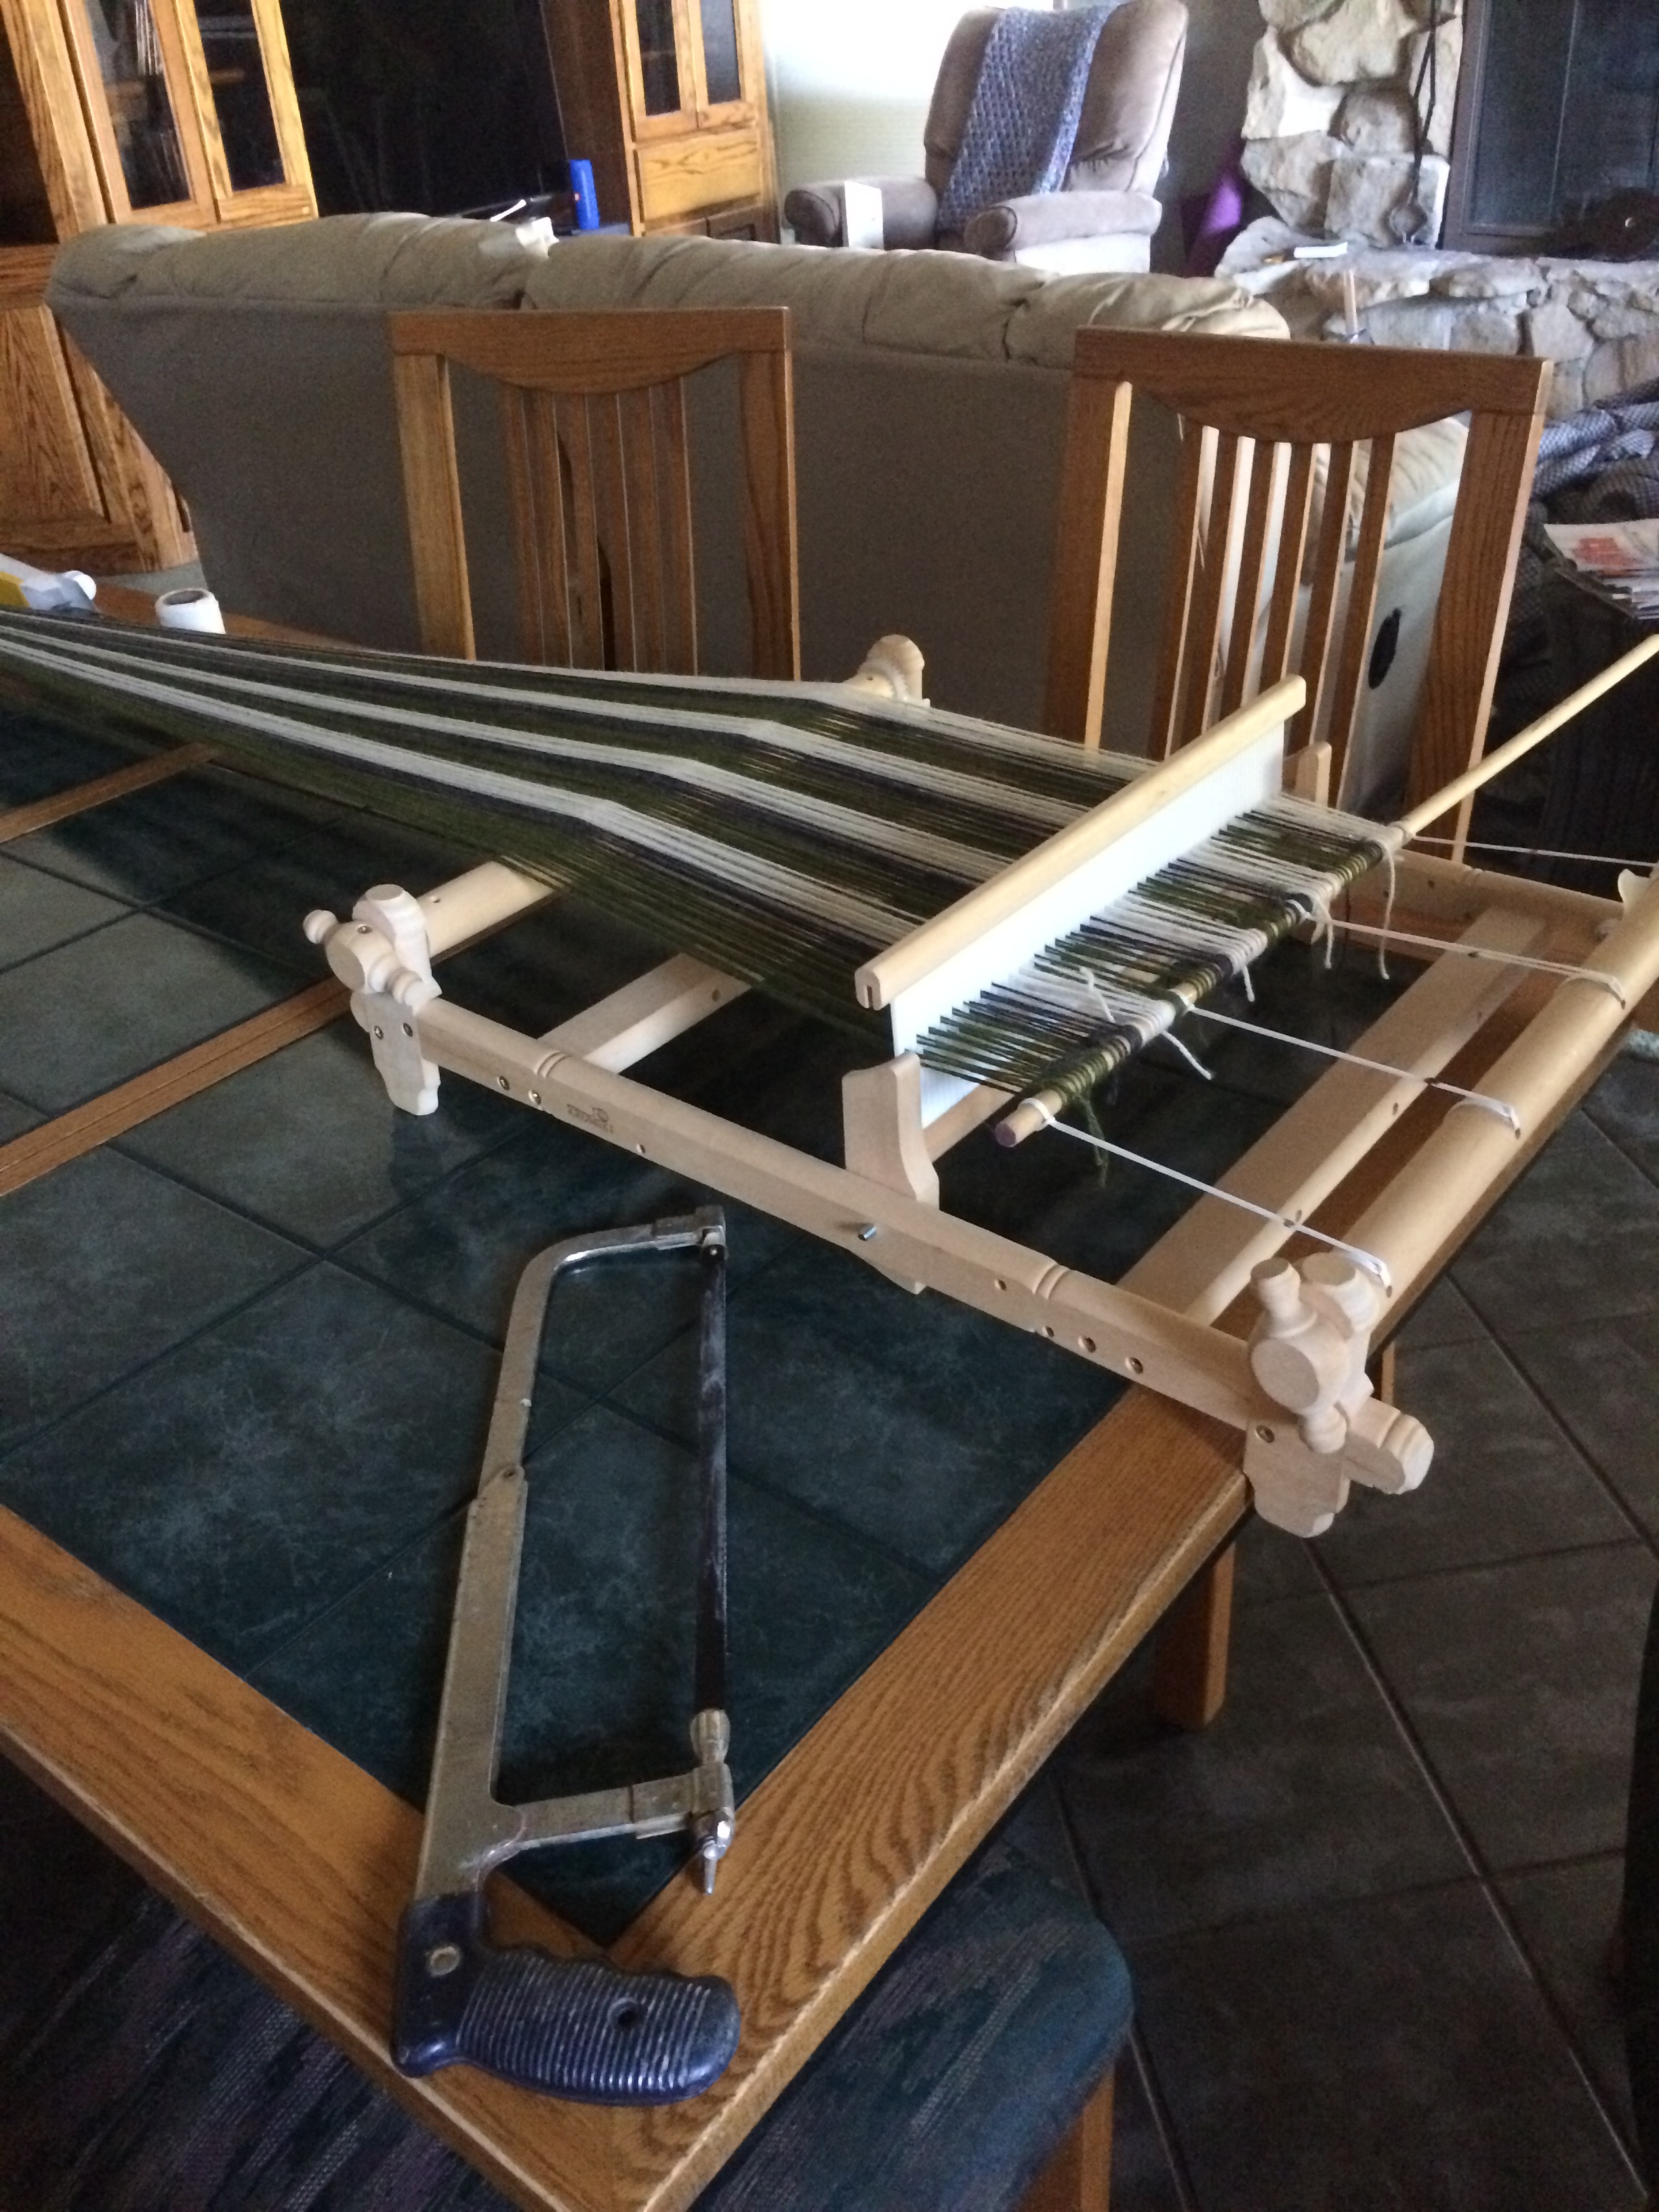
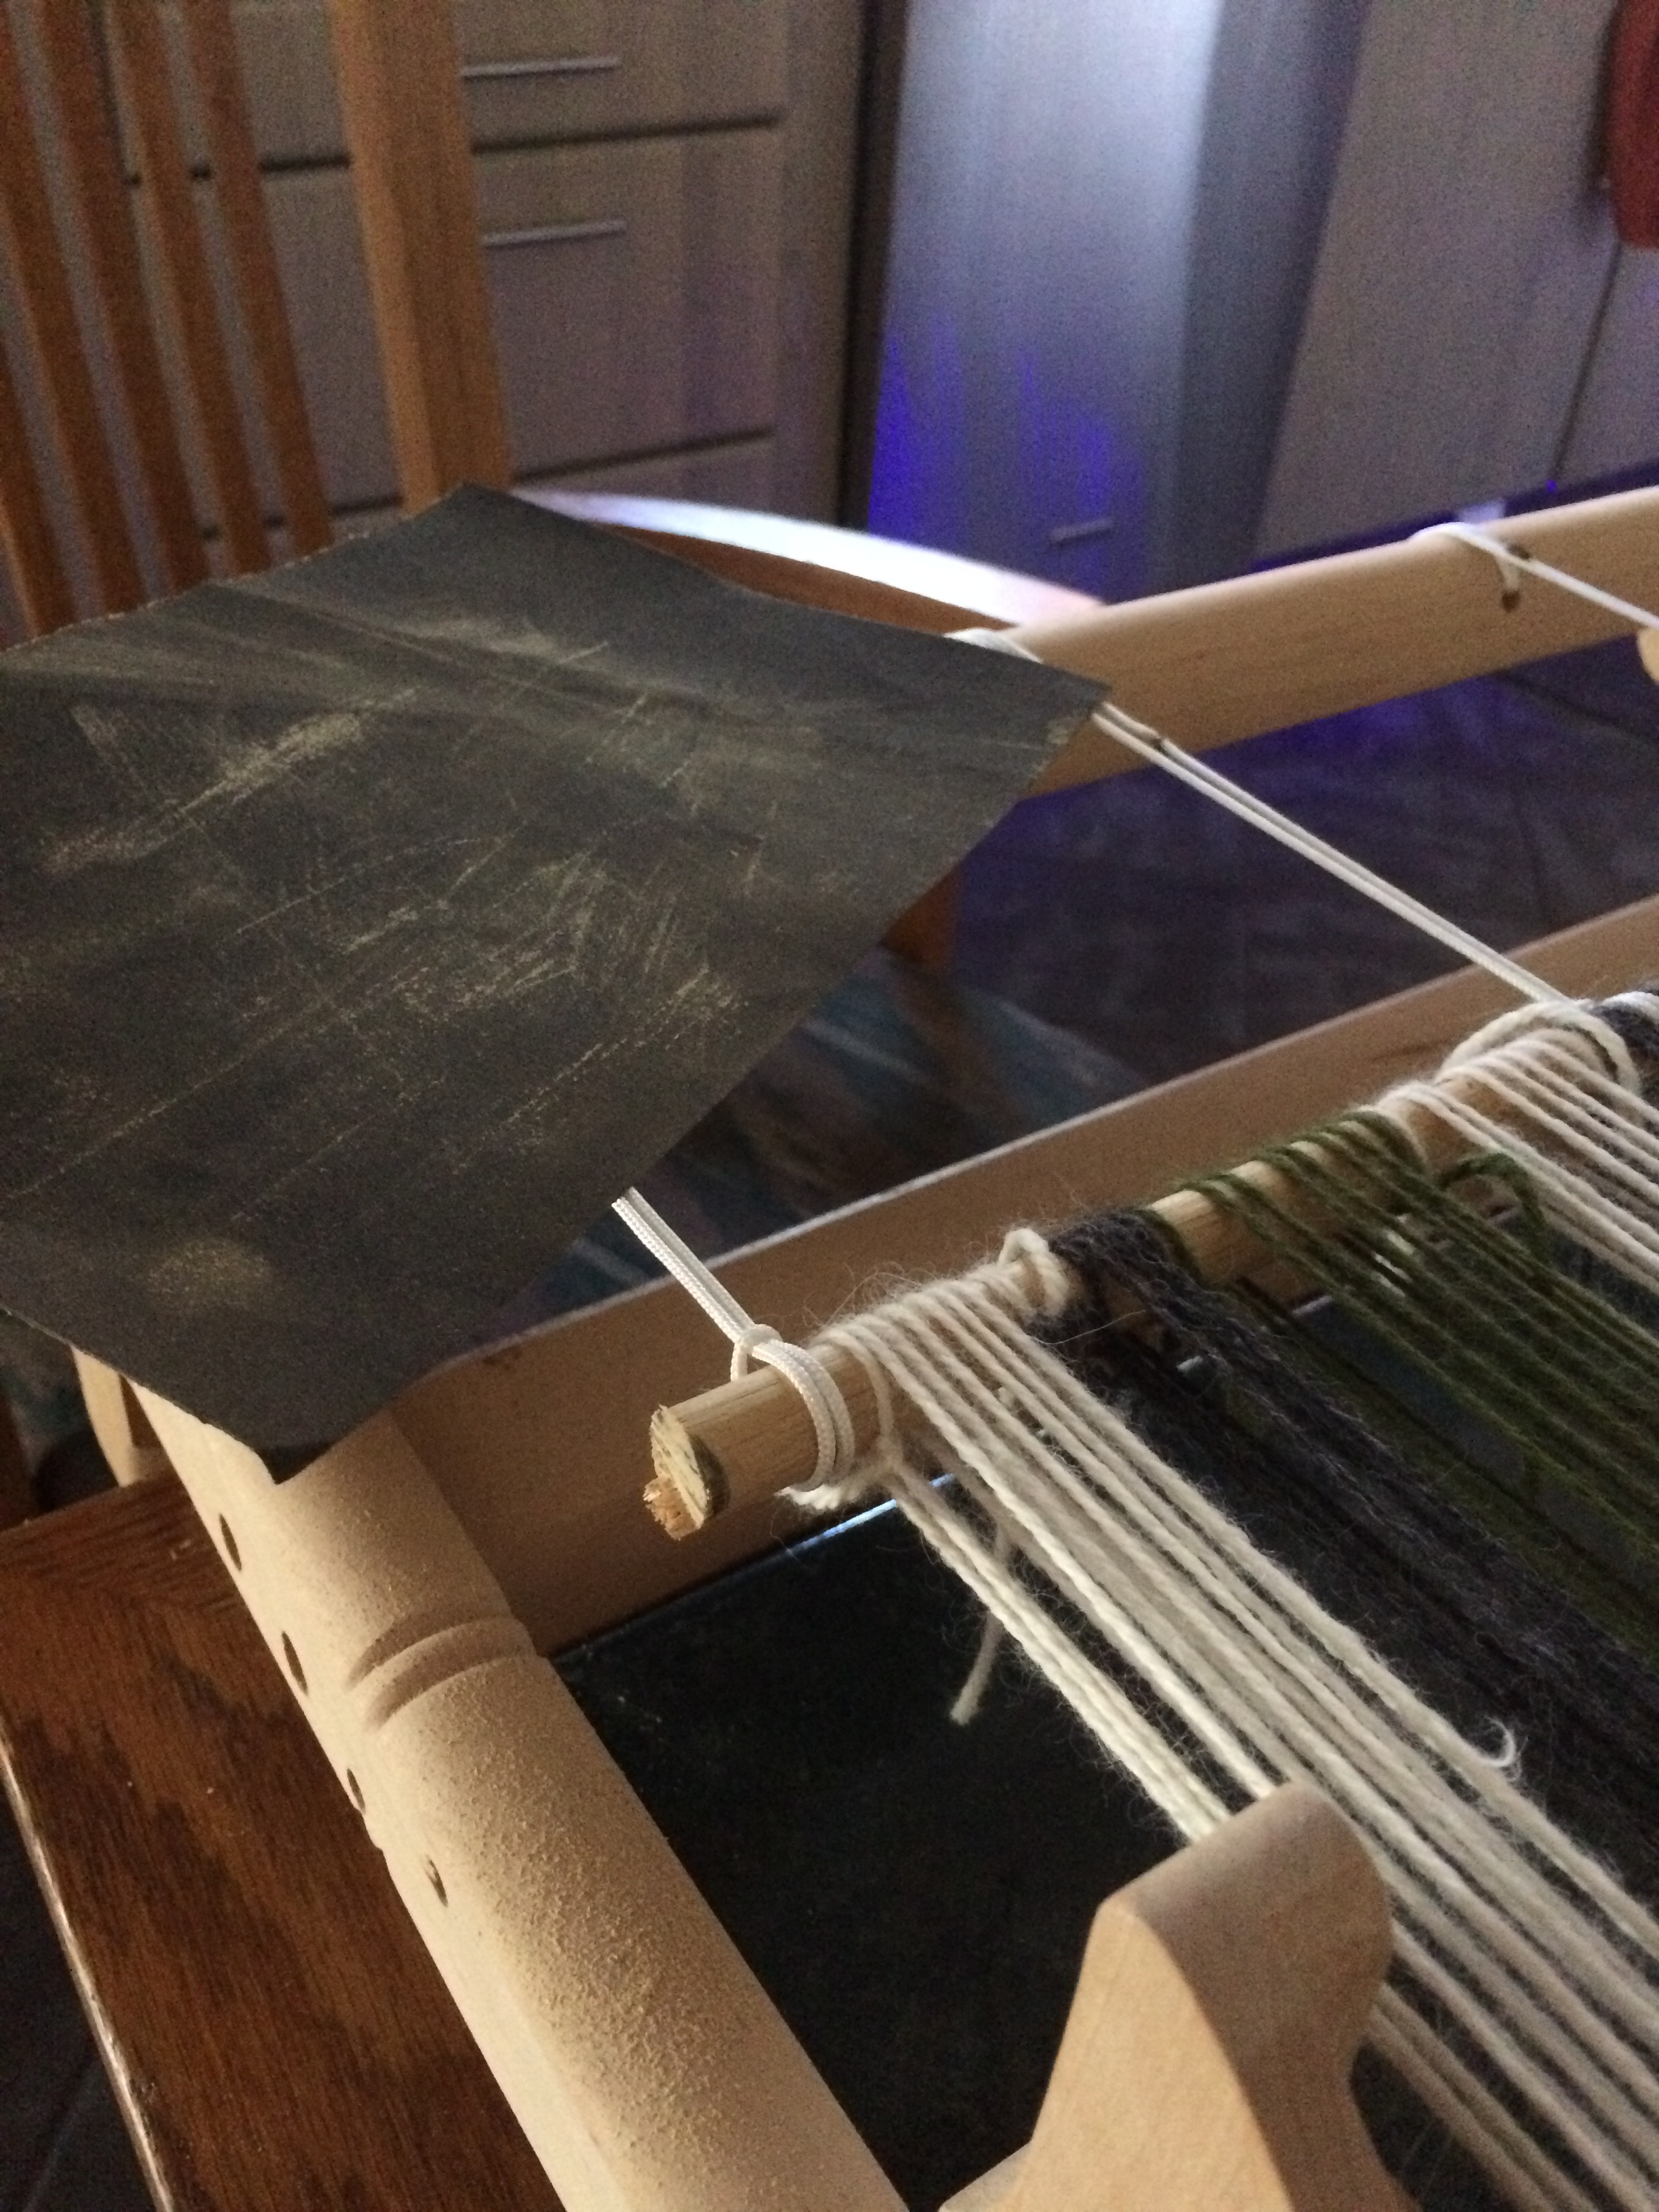
But all of these intelligent solutions and more efficient rhythms couldn't go unpunished.  As I got towards the last stretch of this scarf I found that the gremlins had knotted my warp.  

I spent the next 2 hours navigating the knot, eventually cutting the very ends of where the warp was effected, and had to knot it unceremoniously to make things works.  Then after such a hassle I had to fix the tension on my warp since it was pathetically limp in some spots, and outrageously tight in others.  

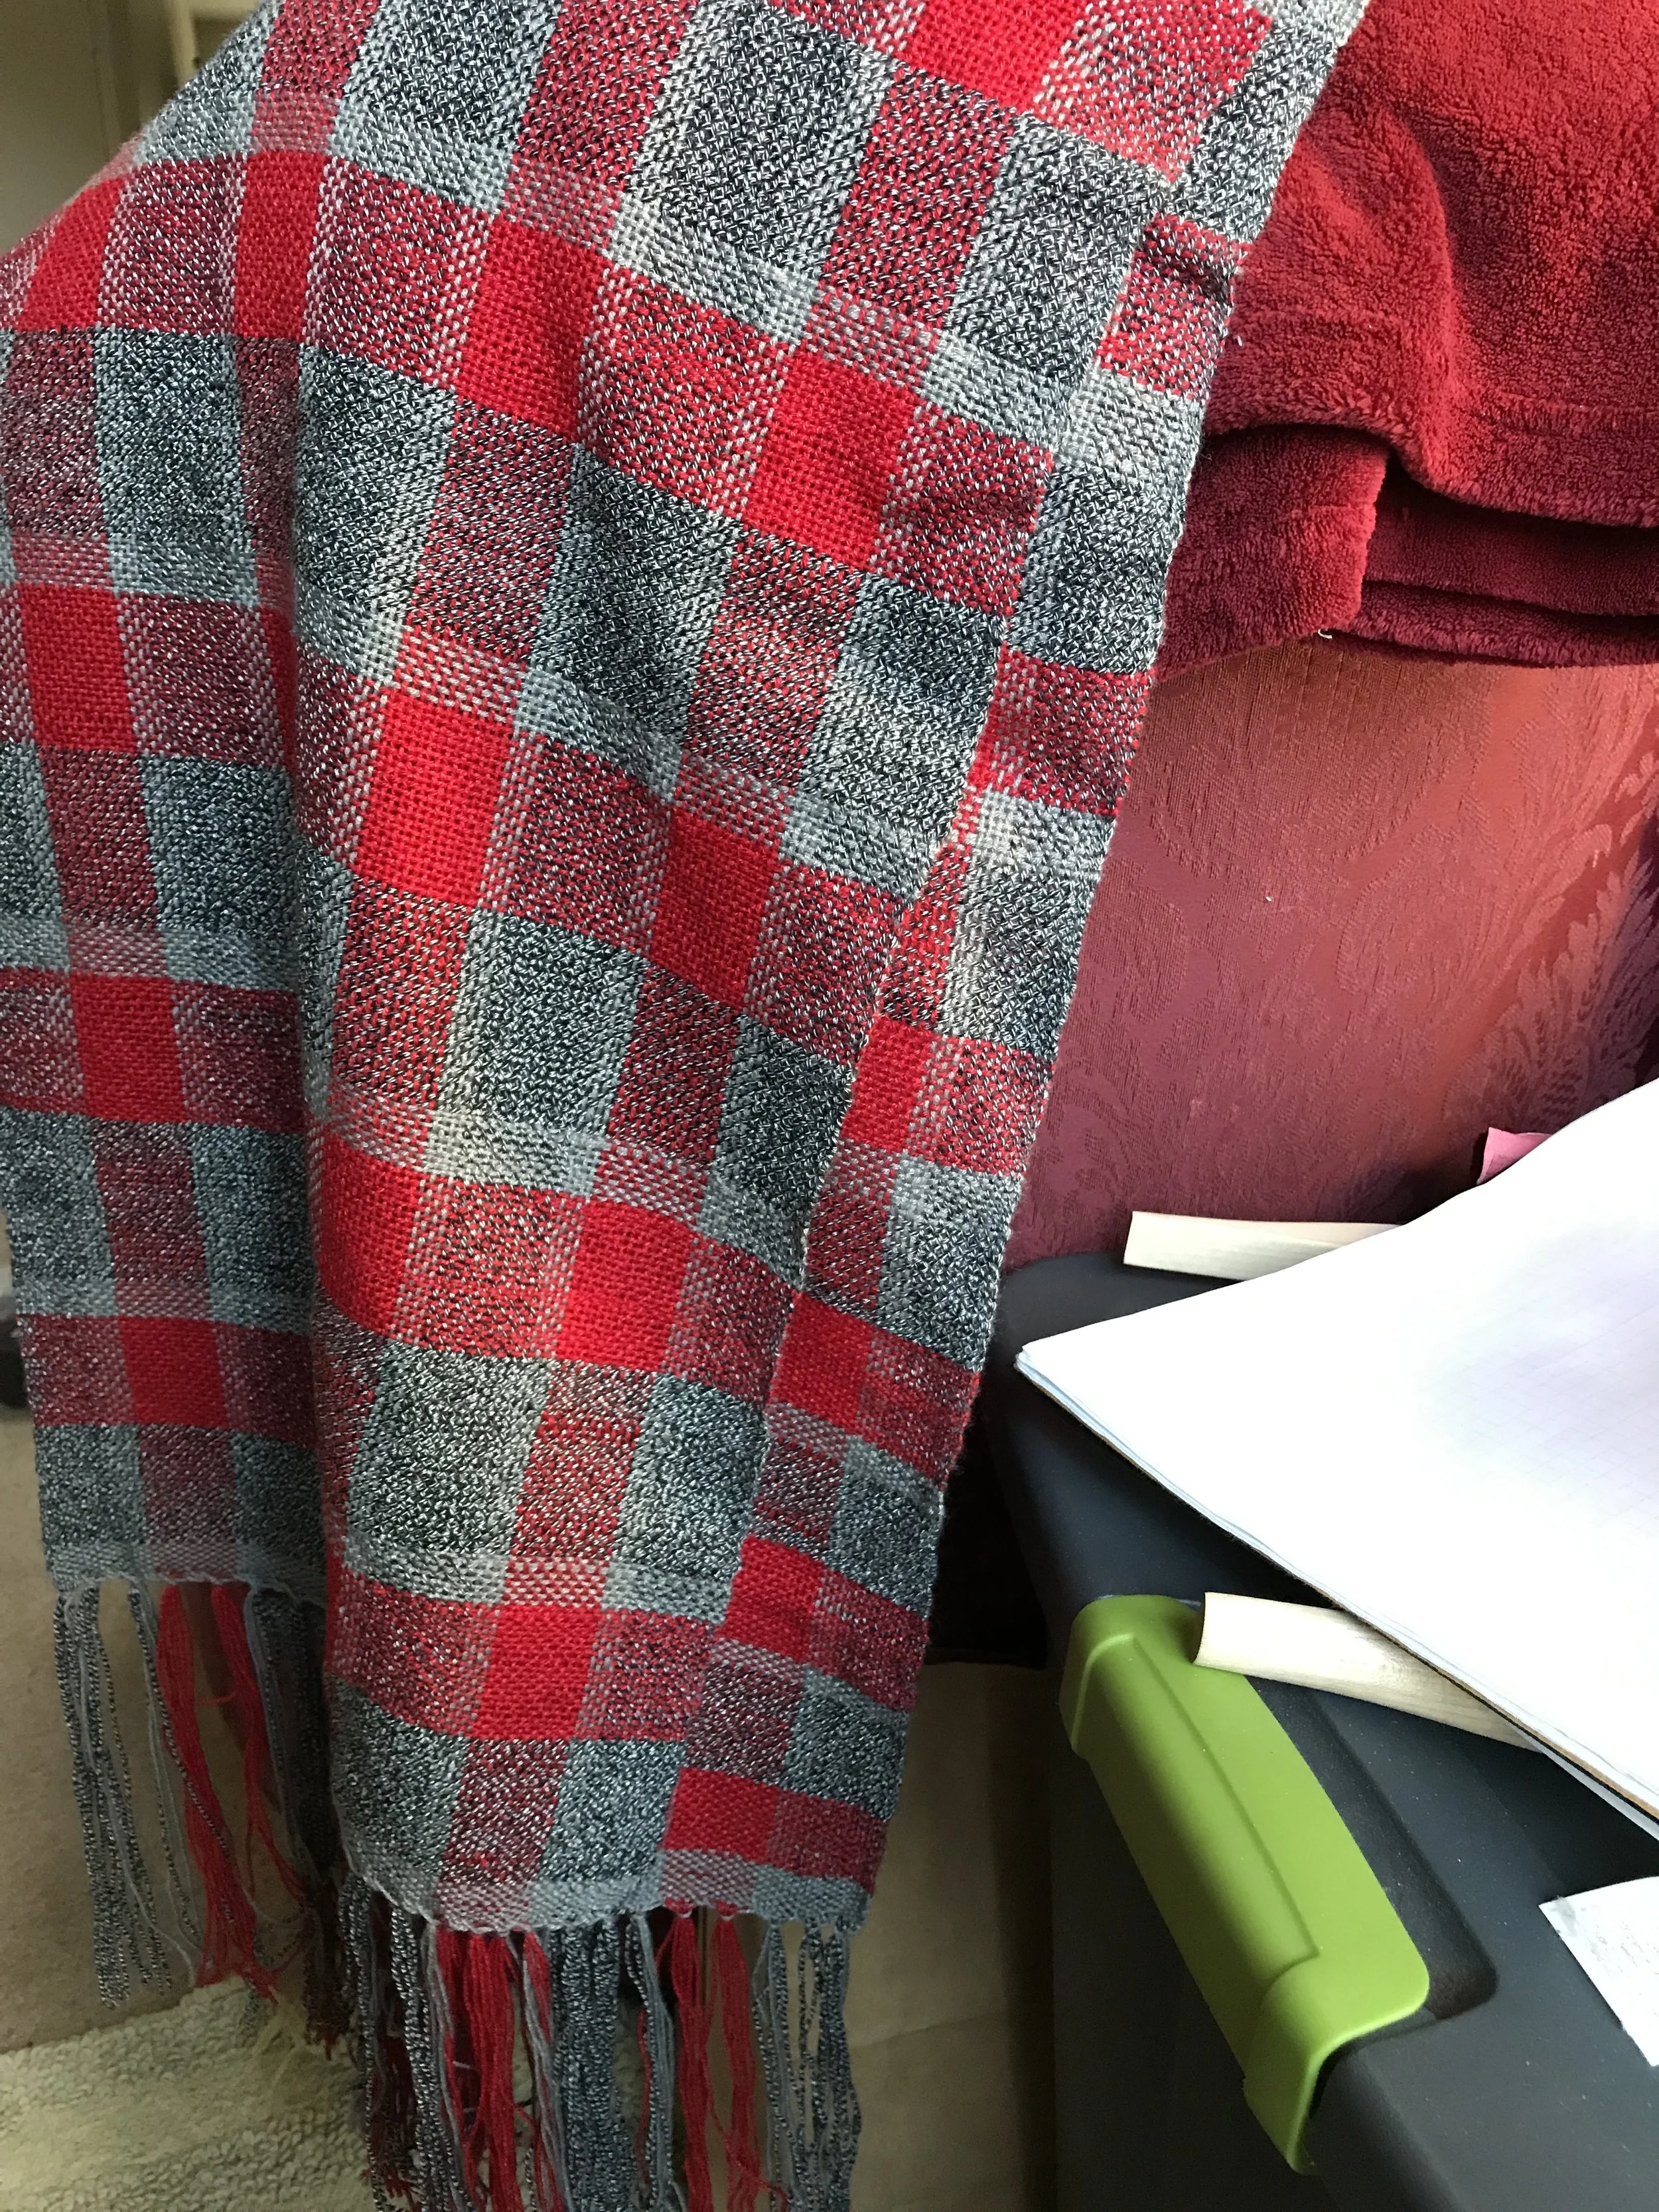
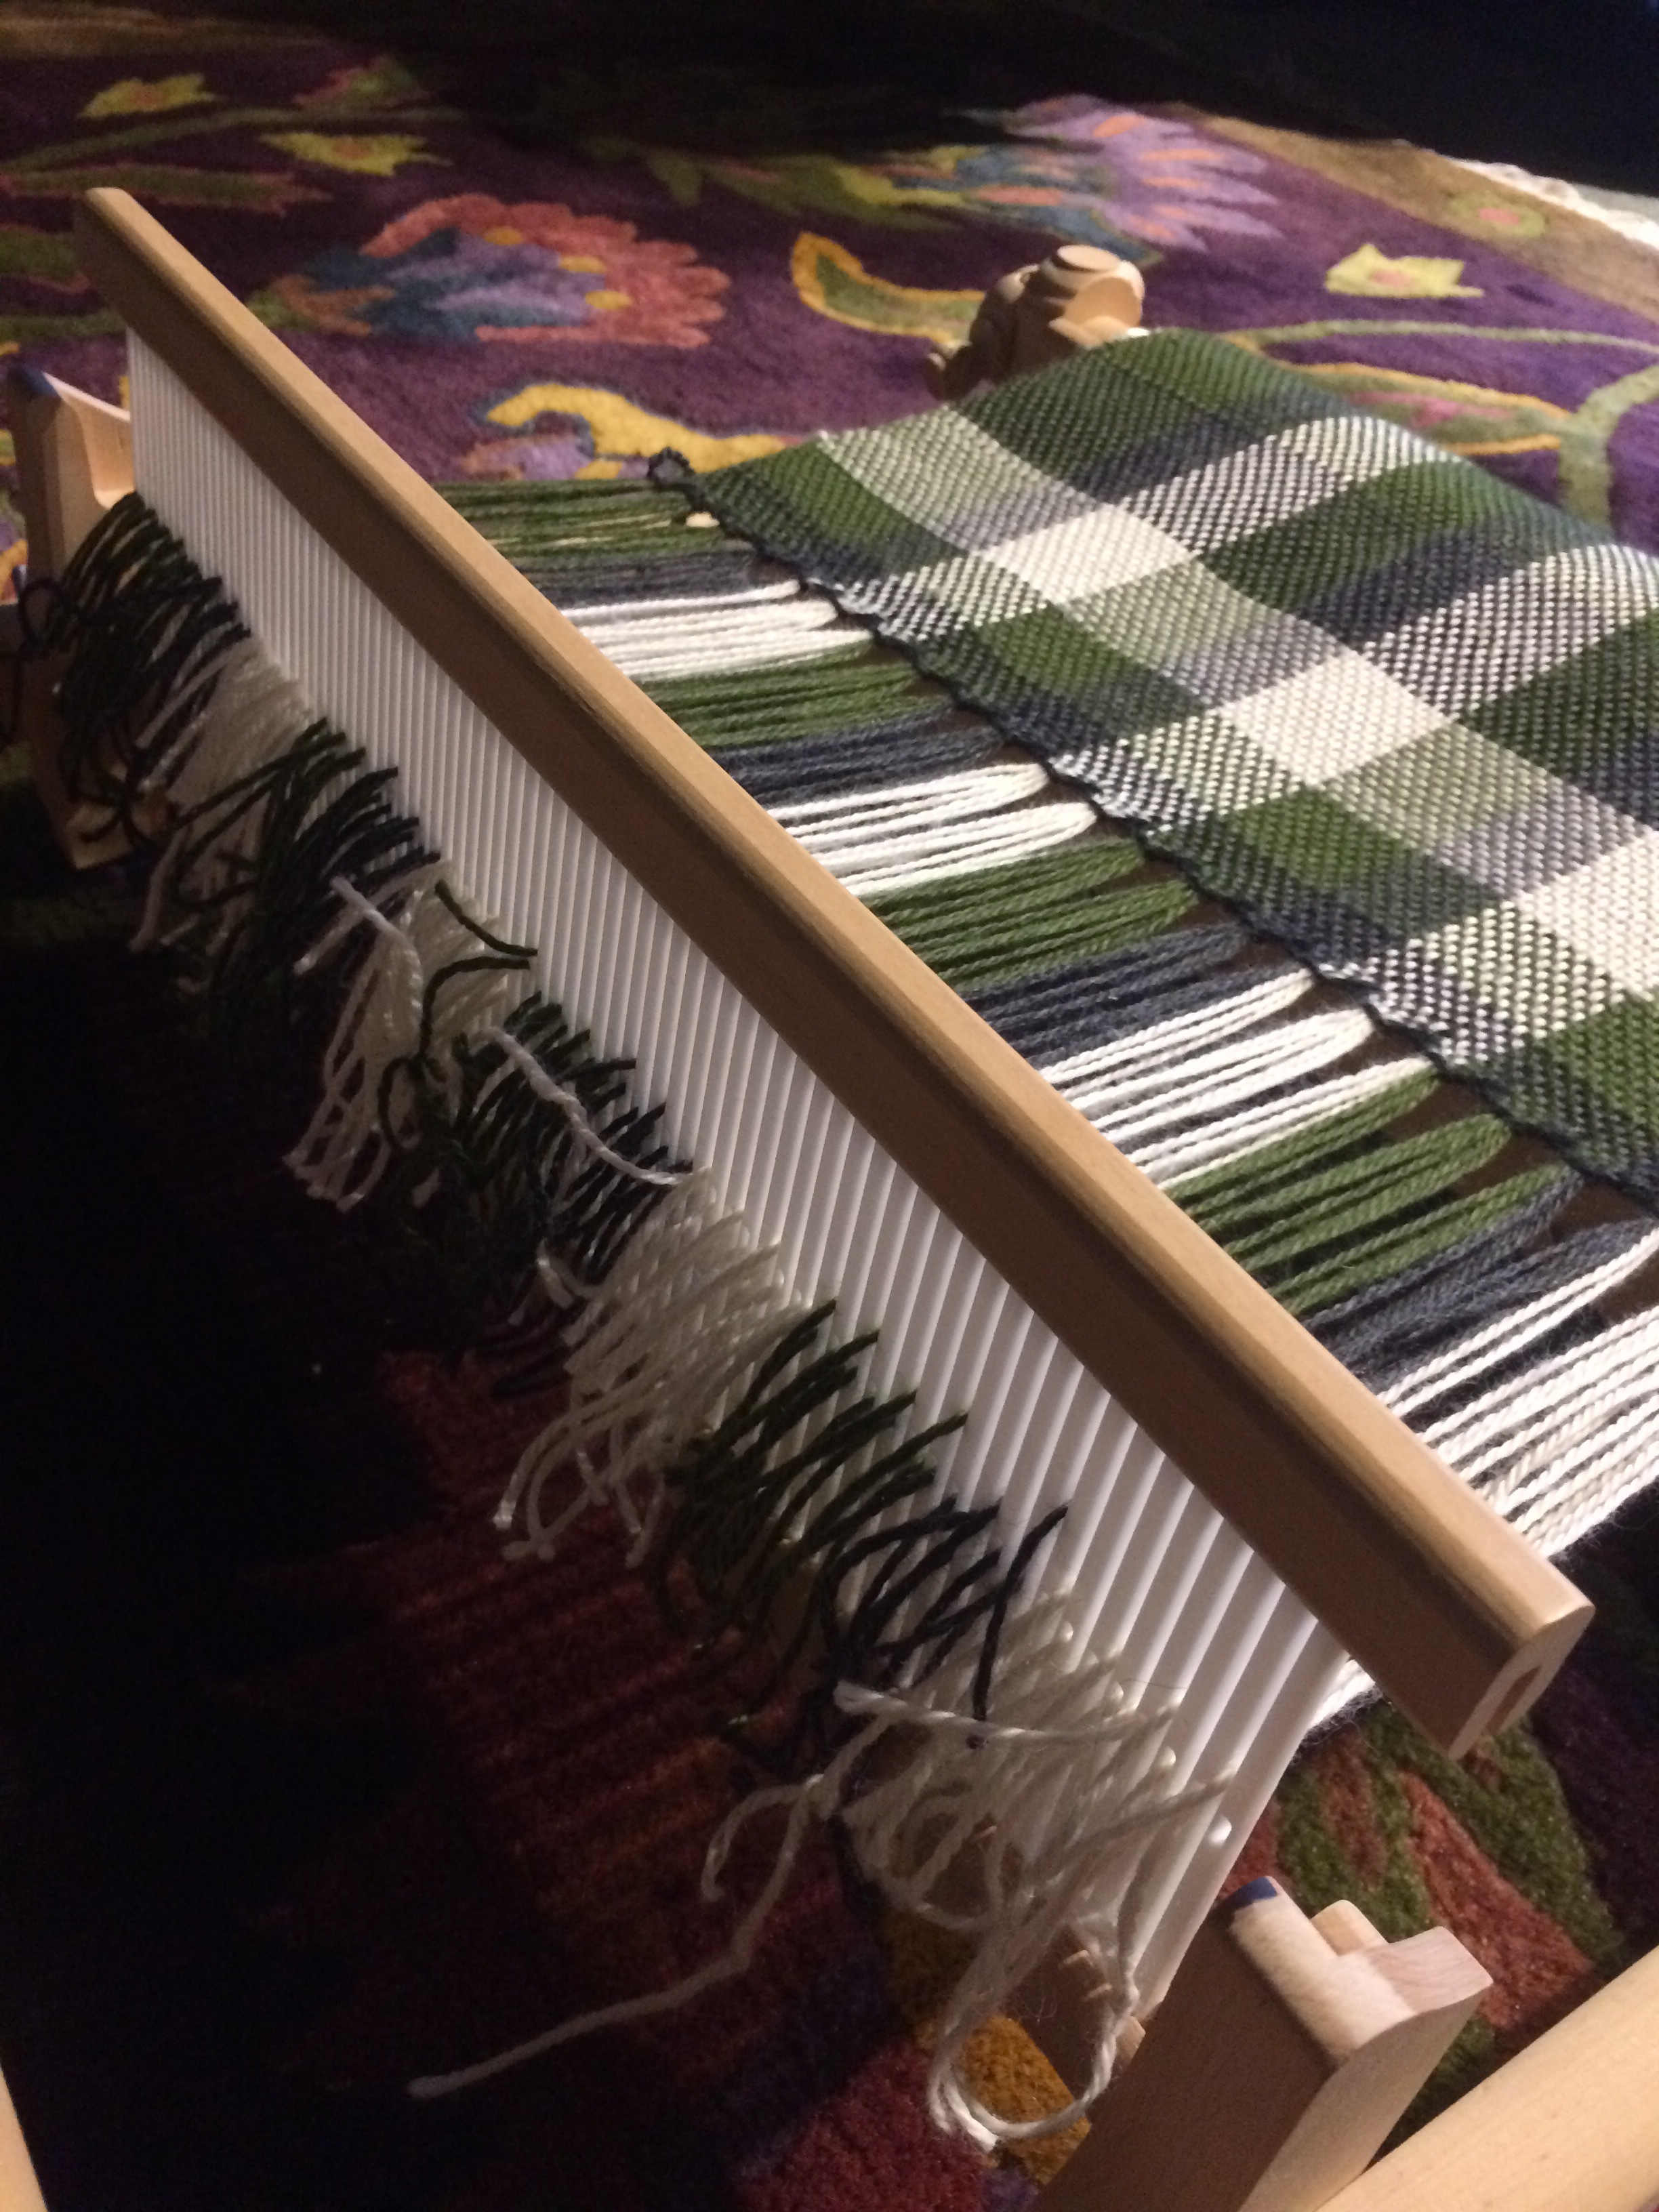
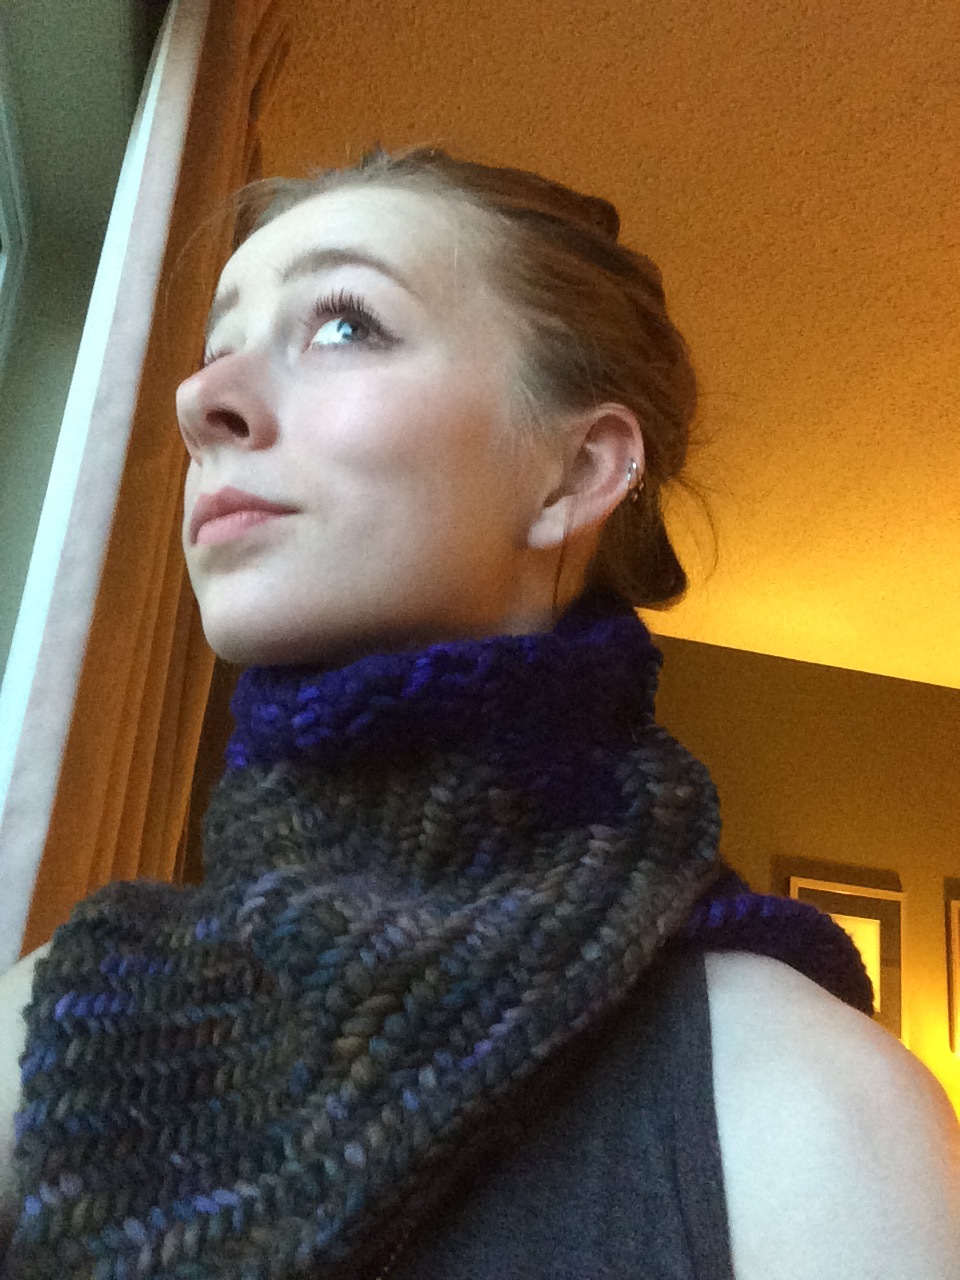
This scarf was not finished in the usual week.


IMG_9983.JPG


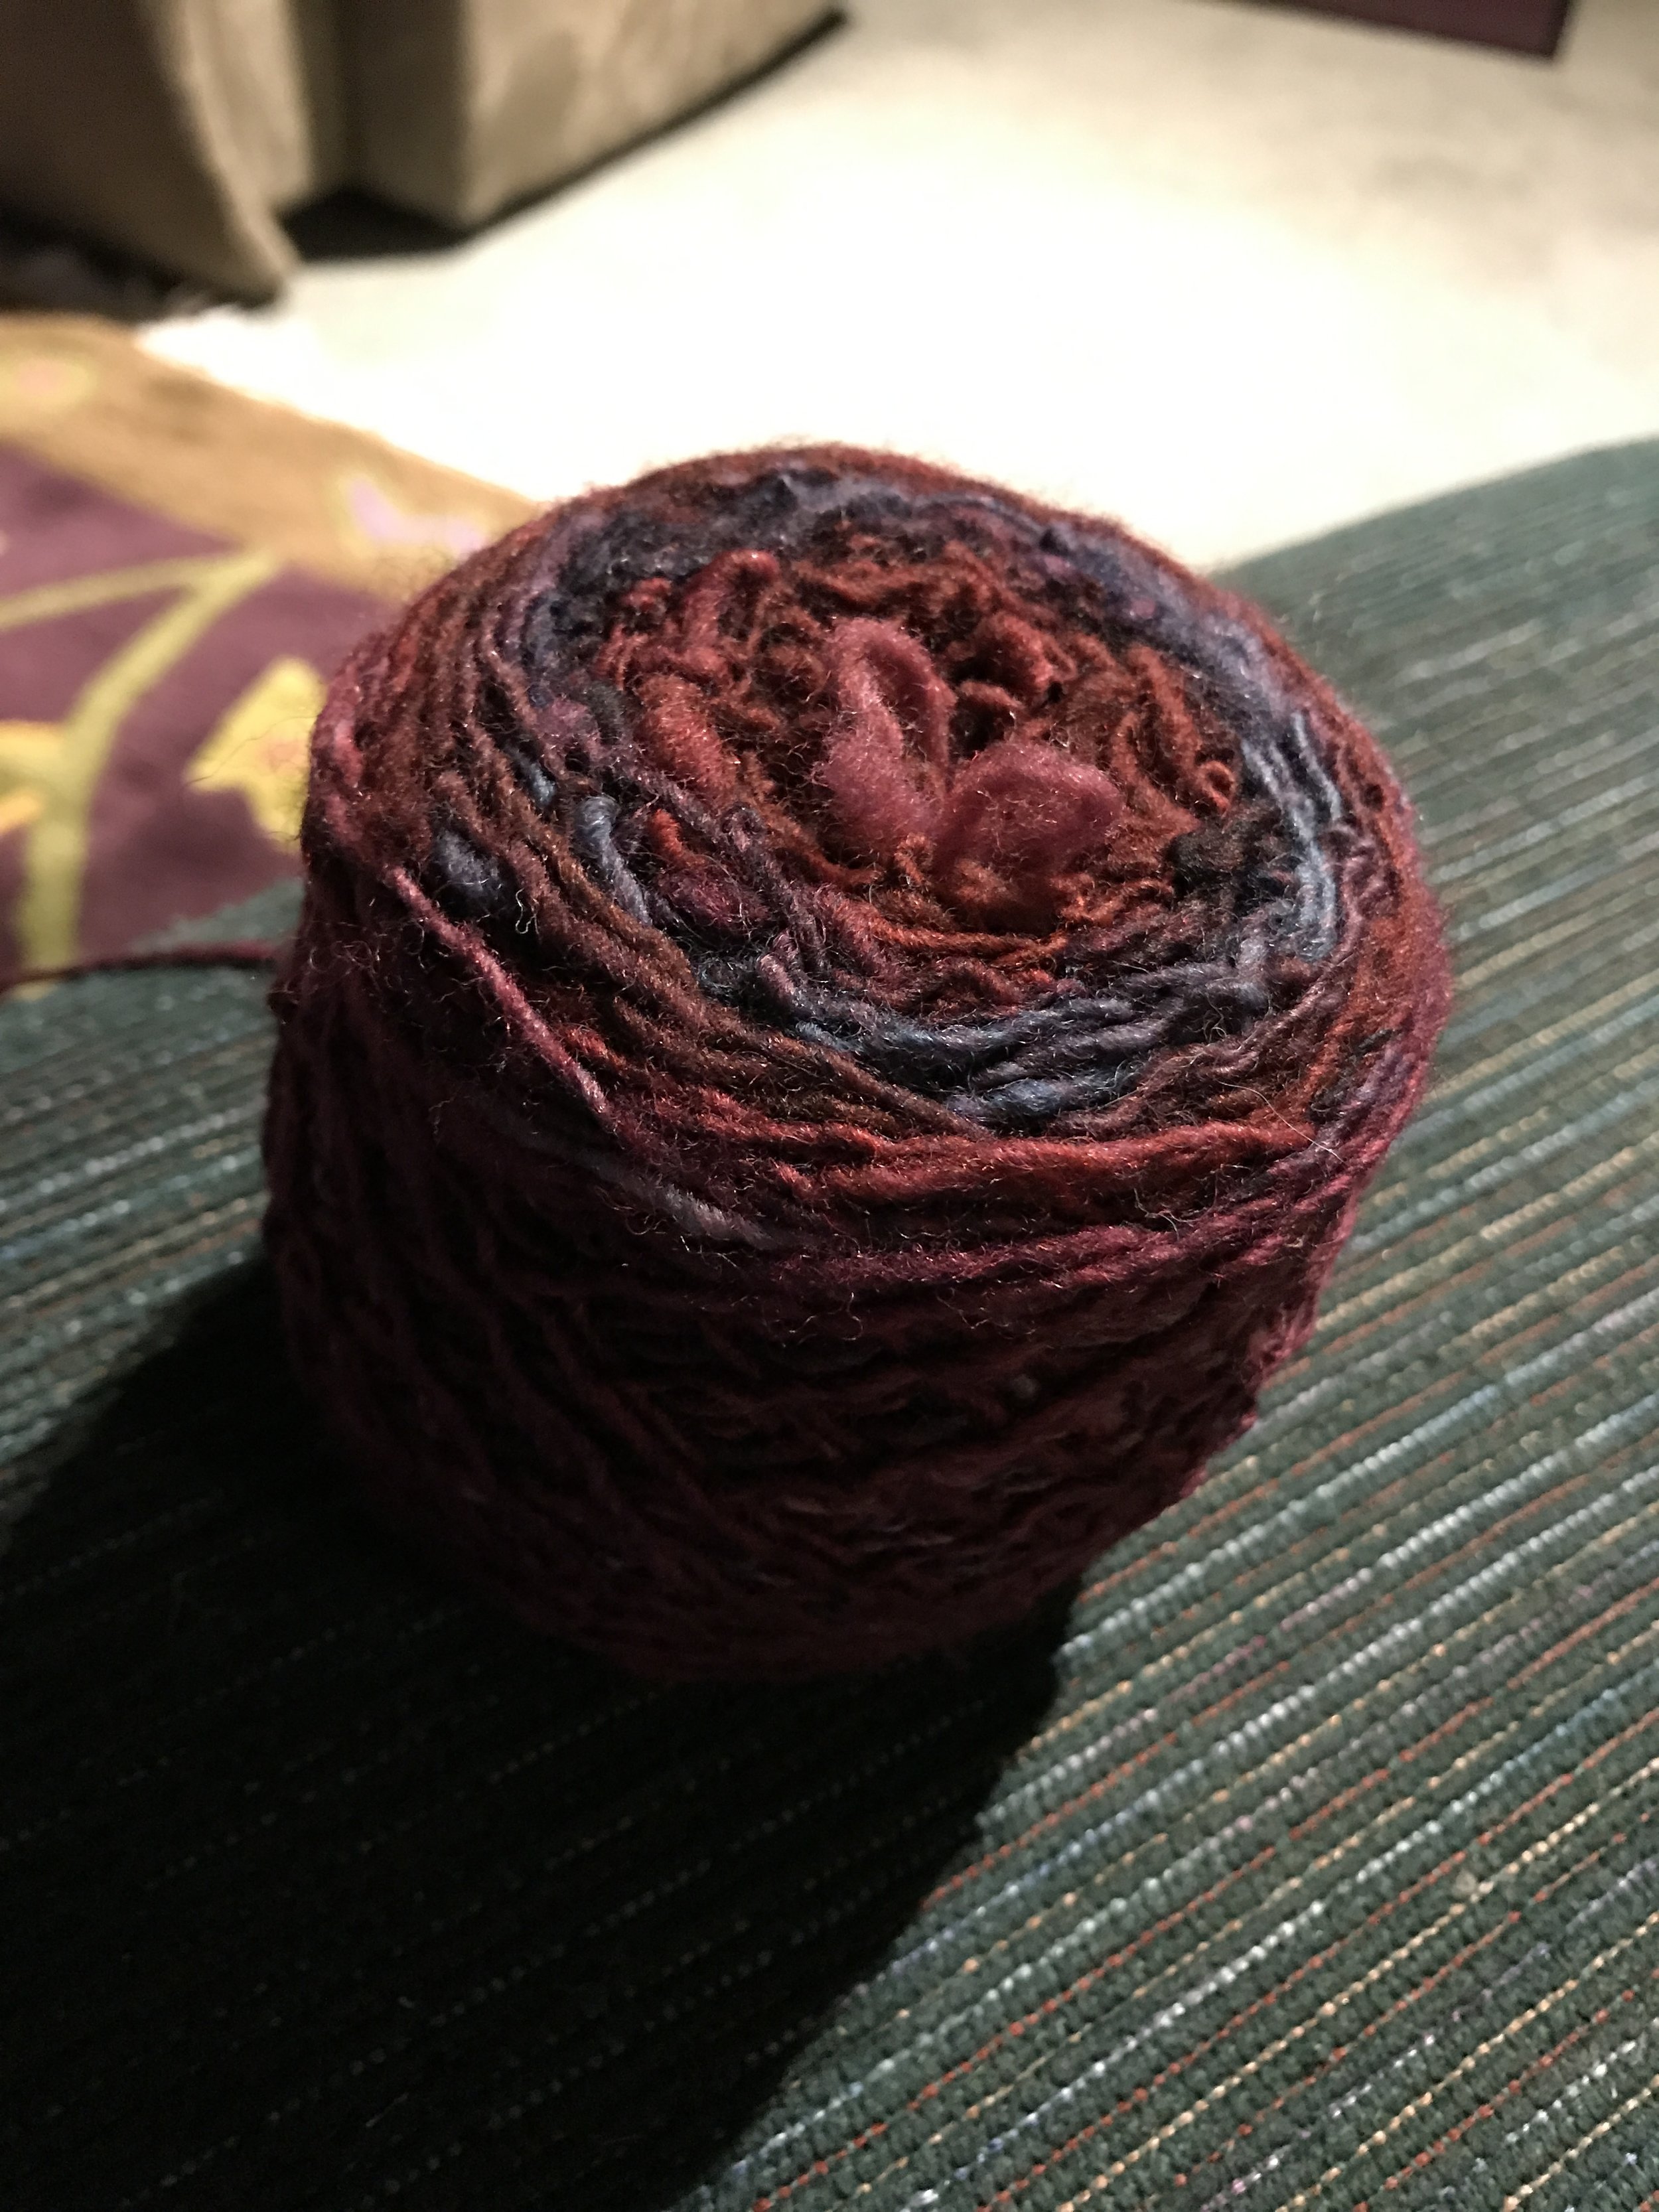
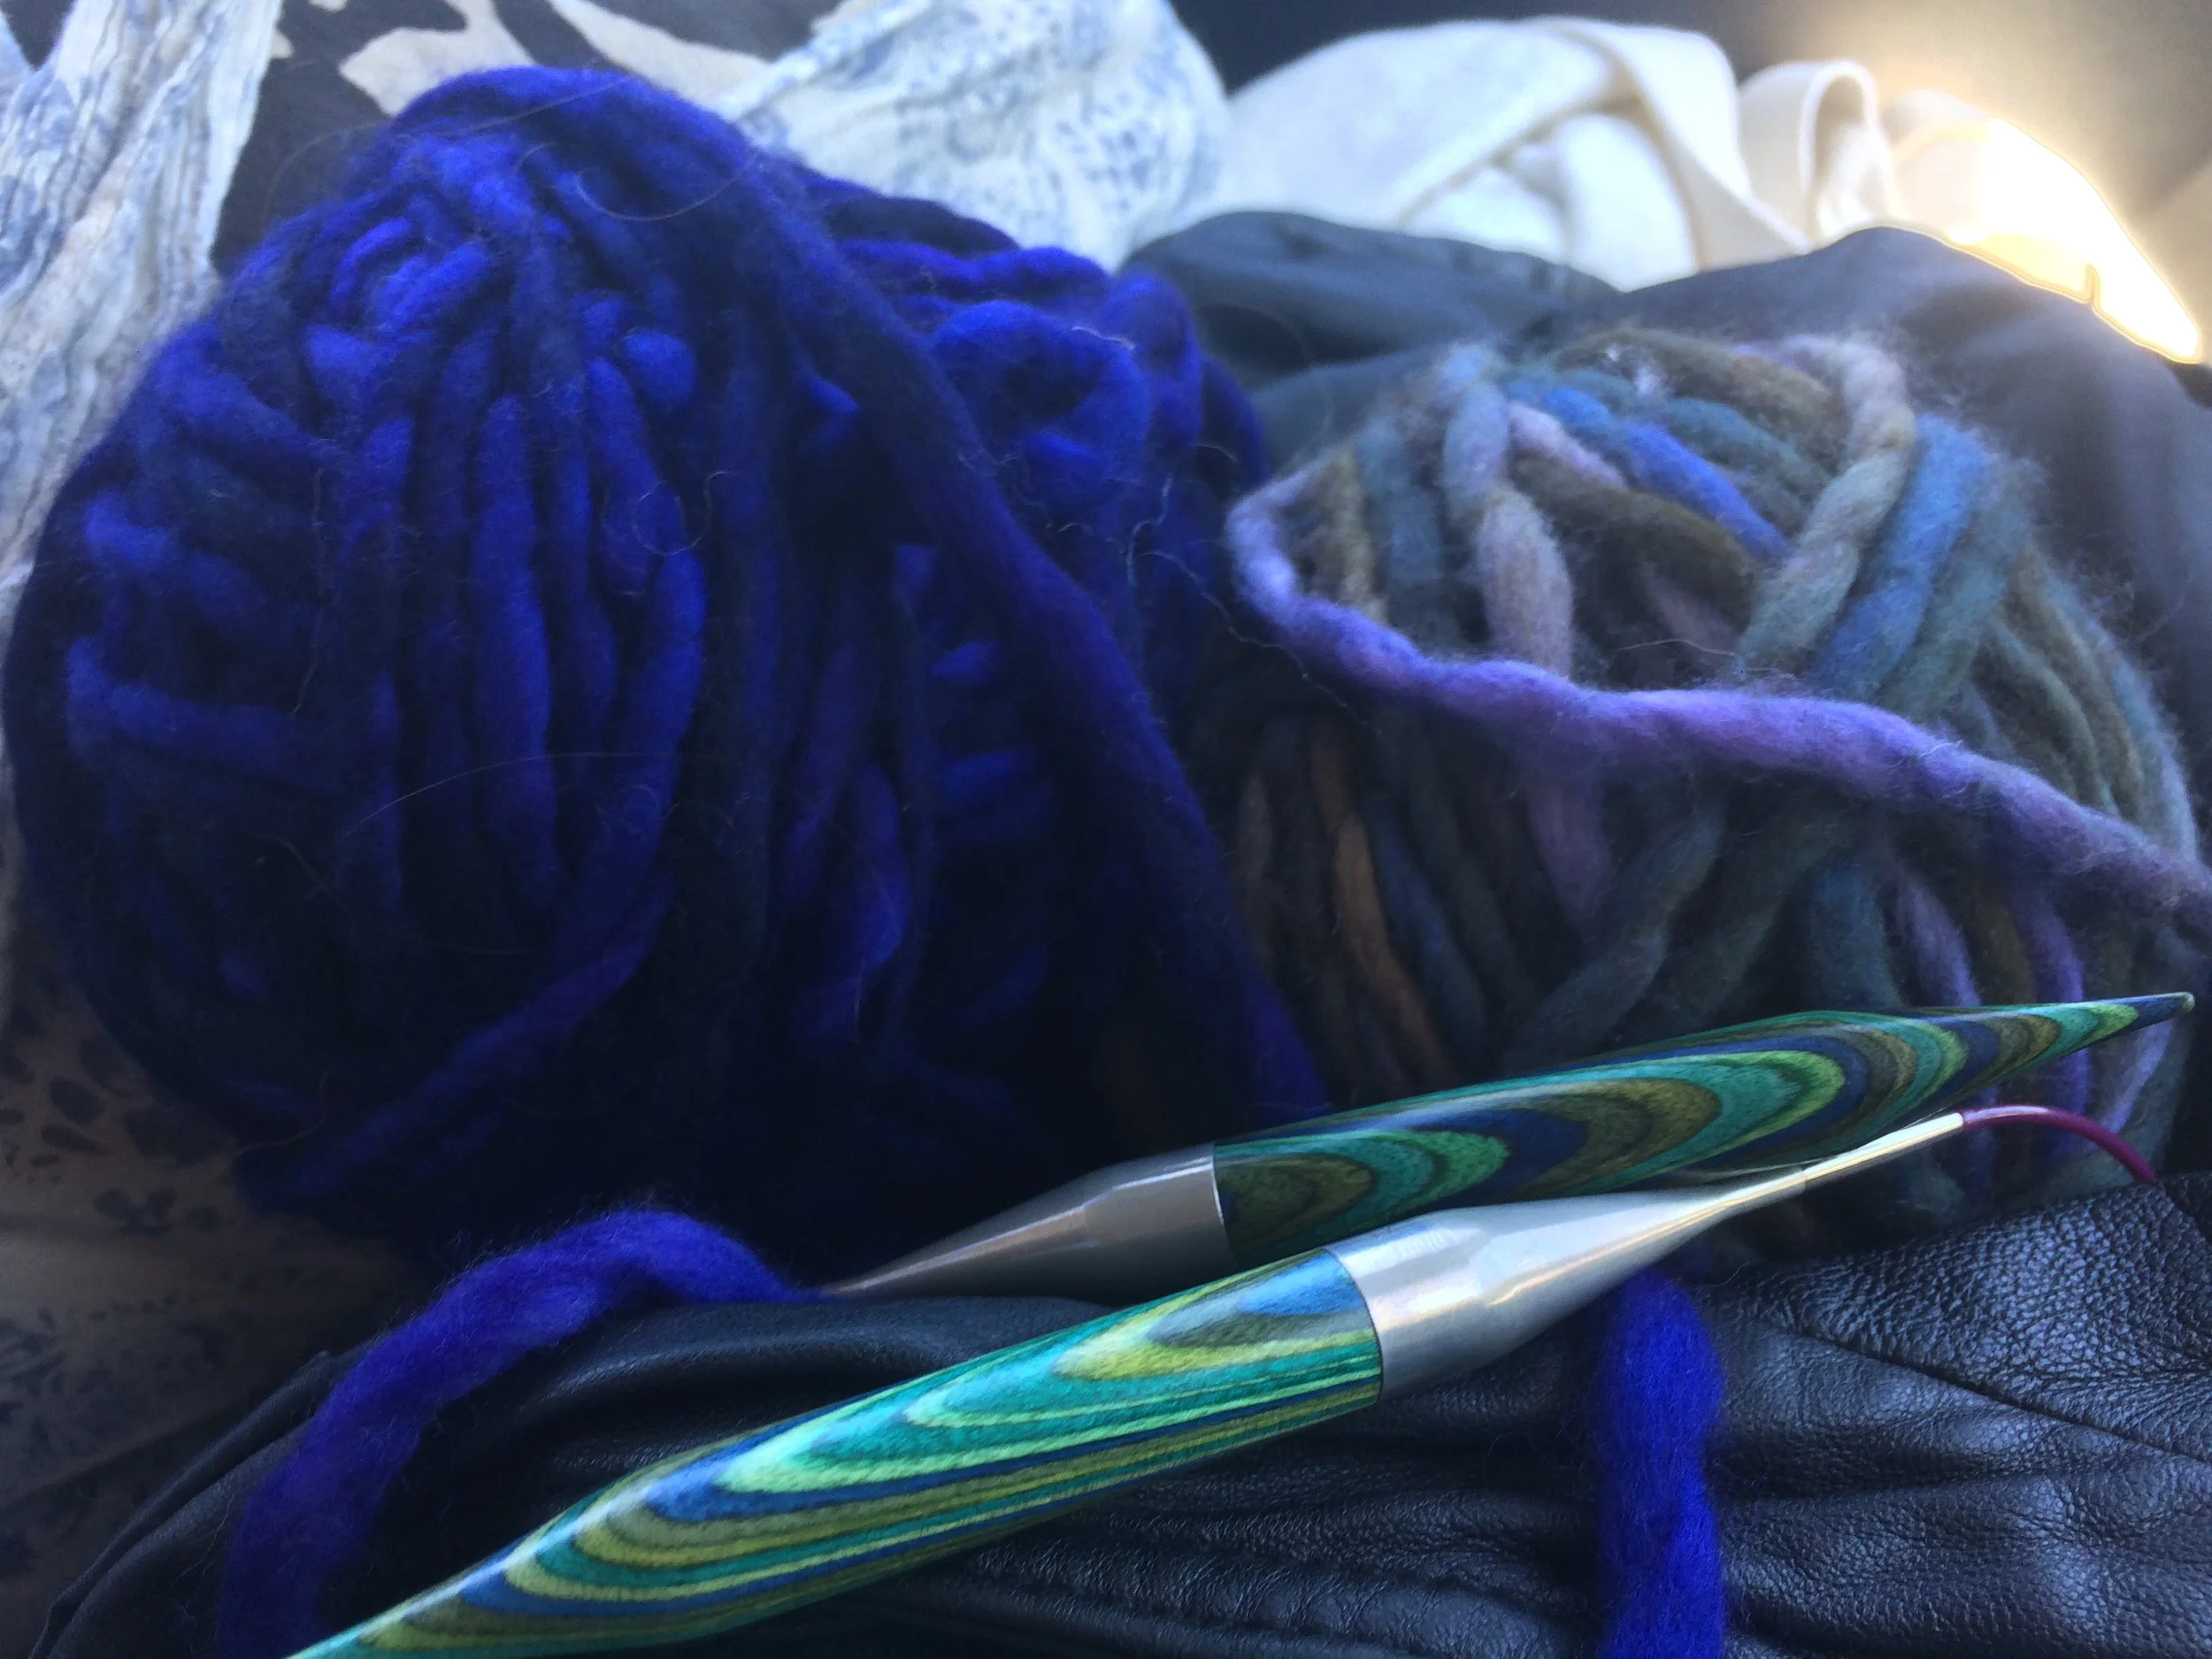
Yet, all in good time it was finished.  It may have been an arduous test of my patience, but this bulky yarn wrapped me in sweet and tender love as the autumn chills crept in overnight and claimed my busy little city.


IMG_0022.JPG

Stay sweet, stay crafty, and stay tuned.

Tara Mae
Red-y for Fall

It is properly cooling down now, and I thought a breathable yet warm bamboo scarf would be just the ticket to celebrate the beautiful season change.

I haven't worked with bamboo much before, especially when it's not blended with anything else.  This yarn is 100% bamboo, and consequently is silky soft, has a nice gentle shine, and has just enough stretch without being too giving.

I was also impressed to find that the weight and warmth of the scarf are rather impressive given that the yarn is so lightweight, which is exactly what fall demands of our apparel.  Something warm for the mornings and evenings, but not suffocating for the sunny afternoons.

The only qualm I have in working with this is that the radiance of the colour and shine of the fiber is superbly difficult to capture in a picture (at least with my camera it is).

When my shop goes up, this will be one of the pieces that will go on sale.  Unless it catches someone's eye beforehand of course.  

IMG_9931.JPG

Finally, as has been evident in the last couple of weeks, I have changed my blogpost day to some Thursdays but mostly Fridays.  I have a new schedule that is making the Wednesday night blogposts a touch too tricky to manage, so I have pushed it back officially.  Thank you for your patience.

Stay sweet, stay crafty, and stay tuned.

Oregon Flock and Fiber Festival 2017

Yet again I was able to attend the festival of my dreams and buy enough alpaca that my partner questions if we will become drowned in the fibery wonderment.

My dear friend, who accompanies me on all of these adventures, wandered through this center of shared interest and joy.  We admired sweet animals that DEFINITELY would be just fine living in apartments, ceremoniously kneaded every yarn and bag of fiber that caught our over-grown cat eyes, and made many trips to and from the car to drop off the glorious bounty of our findings.  

IMG_9943.JPG

I didn't take many pictures throughout the day, as I was quite mesmerized with the colours, crafts, and creations surrounding me- but rest assured it's an event worth visiting.  

I was also busy catching up with some of the very women who inspired me to be this veracious crafter that we've all come to know and casually observe on the internet.  It was wonderful to see familiar faces among the many phenomenal sellers at the festival, and be reminded that with the kind of hard work and dedication these women have invested in their businesses- a life of craftiness is possible.

IMG_9953.JPG

At the end of the day I ended up with 4 massive bags of grey alpaca, 1 large bag of grey llama, 3 braided rovings from Greenwood Fiberworks (Check her out on Etsy, she has an eye for colour that some of us could only dream of), 2 braided rovings from Judy's Novelty Wool as well as 3 pounds of her undyed roving for future purposes (she also has some of the most gorgeous fiber you've ever seen), a couple other charmingly dyed roving braids from Spinner's Candy, a bar of soap that is so minty it makes my nose tingle, and a little knitted sheep key chain because I totally have impulse control, and don't get immediately dazzled by something cute and small...

Needless to say, I'm going to have fiercely strong calves and plenty to do in the upcoming months! 

IMG_9948.JPG

And a relevant little side note: if you enjoy crafting, go to events like this.  This is the kind of community that will inspire you and love you through thick and thin, and will always be a second home to you.  With people that put that much love into what we do, it's hard not to put love wherever we are and whoever we're with.  

Till next time- stay sweet, stay crafty, and stay tuned.

Saying Goodbye to Summer

In my neck of the woods we have just traded the oppressive heat for cool and gentle gusts, the gruesome sun for foggy colossi slumbering in the hills and valleys, and my overheated lethargic corpse for an invigorated spirit, ready to create and explore.

Though summer is not all bad (I guess), and I thought I would pay tribute to it with a woven scarf that's a little more spring-coloured, but still honouring the parting season.  

IMG_9429.JPG

One by one the yarn lined up to the loom and I set the warp.  

IMG_9861.JPG

I thought of the beautiful flowers, the smell of freshly mowed grass, vast blue skies, and gentle starlit nights.  

Trying to complete repress the thought of being so tediously warm for days on end.

IMG_9862.JPG

This scarf uses three solid-coloured yarns and one variegated.  Despite the picture's unwillingness to cooperate, the variegation showed up quite nicely on all three of the solids, though the variegated on variegated sections were certainly the pieces that stole the show.  


IMG_9886.JPG
IMG_9889.JPG

However, with that being said, it was nice to have the solid colours.  They lent themselves to a nice and consistent shaping to the scarf and took up more room so that I would feel encouraged- there's few things I love like progress!

IMG_9934.JPG

And despite my moaning and groaning, I do like summer (a little) and it's nice to remember it for all the wonderful thing it harbours.  However, I am certainly ready for autumn.  

IMG_9898.JPG

I look forward to sharing many autumn projects with you all, and hope you all had a lovely summer! 

Stay sweet, stay crafty, and stay tuned.

Tara Mae
Investment

As my dear friends' special day approached, the forecast started speaking a language none of us were terribly excited to hear.  It was going to be hot from dawn to dusk.  Which left the flannel shirt I made for the occasion a total non-option- unless one of the brides wanted to get heat stroke.   

Worried about how to keep the aesthetic of the wedding together, the lovely bride I made the bow for suggested a vest, if I would be willing to make it in such a short time.  

I immediately accepted the challenge and set to work the very next day.  

IMG_9663.JPG

I hadn't realised how much the sleeves delayed me in the first garment until I worked on one without such tubular time eaters.  The body of the vest was easily cut and pieced together within an hour or two.  

In the afternoon I started working on the details.  Trying my best to make sure that this didn't look like it was hacked together within 10 hours.  Even though it was briskly cut and stitched together in that time...

IMG_9668.JPG

Seams slowly looked happier and as the evening sunk its teeth into my long day, I attached the lace around the neck to give it the kind of flourish the wedding day deserved.  The kind of love that the brides deserve.  

Before not too long the vest was finished, and despite it not wanting to look nice on the hanger it turned out well.  No heatstroke for the brides, and I didn't hack apart a buttonhole like I did last time.  All that was left was to tailor it better to the inspiring and radiant woman that was going to wear it.  

IMG_9672.JPG

No, not me.  The bride is that woman- I'm just modeling out of vanity.  


IMG_9804.JPG

The accents of shirt and the vest complemented each other beautifully, and if it's ever -20 out the pieces can be worn together to create a charming old-fashioned look.

IMG_9816.JPG

The wedding was beautiful, and a day to cherish by all.  Even in the stress and mania of the event, both of the brides still looked after and lent their abundant love to all those who surrounded them for their special day.  There were struggles and strains, as any wedding day has, but when it came down to it- the day was all about love, and that's the memory that lasts.

I feel endlessly fortunate to have been able to be a part of such a wonderful day, and be a part of the lives that made it happen.

Stay sweet, stay crafty, and stay tuned.

Tara Maewedding sewing, wedding, vest, lace
Dearly Gathered

Several months ago two dear friends approached me about making a button up shirt and a long-tailed bow for their wedding.  Feeling honoured to be the crafty friend they thought of, I happily agreed to such a thing.  Entirely ignoring the fact that I had never made a button up shirt before, because it didn't seem important at the time.  My friends had a dream, and with the amount of love and support they send my way all the time I couldn't say no.

I had a shirt that I based the pattern off of, since it fit my friend and looked absolutely lovely on her.  With a few minor alterations to the original decision, I set to work cutting out the fabric and hoped to any power that might be listening that I could make this work.

I went crazy with pins to make sure everything was symmetrical and matched to other pieces.  I had to ensure that I was telling the truth when I told my friends that my blood, sweat and tears went into this- and with how often I stabbed myself while pinning I wasn't too far off base.

Piece by piece I began making something that actually looked like a shirt.  

Believe it or not, up until this moment I hadn't made a single mistake.  The years of fearing sewing clothes started to fade as I found a rhythm.  

IMG_9313.JPG

I had a couple of odd hiccups to navigate, but really it all was easy to manage.

Word of advice- do the stylistic narrowing of the sleeve by the cuff BEFORE you sew the seam all the way down.  It's a tight fit and at a certain point of sewing down that tube I fully got to experience the phenomena of tunnel vision.

Like I said before though, minor setback.  I sewed on the cuff by flipping the raw edge in and matching it up with end of the sleeve, then sewed across with a 1/4" seam.  

Now here is where my heart stopped.  I was working on the button holes (as one does with button up) and on the meticulously crafted sleeve I tore straight through the fabric with my seam ripper.  

I walked down stairs, away from the scene of the crime.  I drank a glass of water, did some weaving, plotted all of the cheaty ways to sew over it and ignore it, and then I thought of my friends' wedding.  I thought about how they deserved perfection in every detail, and even if they never knew I messed up, I would know.  

I took a deep breath, channeled all of that determination and strength my mother so lovingly imparted upon me, and I went back upstairs to pick that whole section of the sleeve out and start again.  

IMG_9516.JPG

I had to unpick the cuff and three thick lines of stitches, but not too long after the whole section was replaced, and it was done right.  

Did I want to cry when I tore through my hard work?  Yes of course, but a moment of sacrifice is worth it to do something right.  Even if its awful and makes you want to howl so loudly that your neighbours lock their doors on the full moon.

IMG_9524.JPG

After the main pieces of the shirt were assembled, the details fell into place quickly.  I only had the one seam ripper incident, and all of my buttons were easily reinforced (wrap the thread around all of the threads that went through the holes when you're finished, between the button and the shirt- I don't know if it really works but oh well).

IMG_9528.JPG

One of the fun challenges of this shirt was to add a corset backing to it.  I used the selvage (so it wouldn't fray) from the flannel to create the loops and then laced it with ribbon.

IMG_9531.JPG

The other fun touch was lace sewn into the cuffs of the sleeves to give it a romantic and fun look when the sleeves were rolled back.

I couldn't have been more happy about how it turned out. 

IMG_9723.JPG
IMG_9761.JPG

The bow, while seeming to be a smaller detail, also proved to be quite satisfying to finish.  I don't think I appreciated its value until it was tried on with the dress.  I suddenly saw this vision these two remarkable people had about their ceremony for starting their lives together.  I got so busy with the challenge of making the shirt that I didn't see the magic until these items were given to their rightful owners.

IMG_9655.JPG

My heart glows to be a small part of this enchanting moment.

Stay sweet, stay crafty, and stay tuned.

Dotting My I's

Despite the rule that saves me heaps of money and prevents me from having unhealthy life approaches, I still occasionally take home things I'm certain I can fix. 

IMG_9555.JPG

This time it's a $5 shirt from Goodwill that had polka dots that look like stars to me, and I mean really?  5 bucks?  I can definitely justify making it a project shirt if it's so cheap and so beautiful.

Side note, I'm a terrible person to pay attention to if you have the pesky issue of taking home "fixer-uppers".  I do not follow my rule.

My first course of attack was to take in the shirt by half an inch on each side repeatedly until the body started actually fitting closer to my actual form.

IMG_9568.JPG

When narrowing down the sleeves of a garment be especially careful not to make the sleeves too small.  Wrists tend to be smaller on everyone, and shirts typically account for that.  At a certain point for my tailoring I ran my stitch lines into the ones I made before.  This makes it so that the sleeve is the same size for around your elbow as it is around your distal forearm and close to your wrist.  

These adjustments alone were enough to make the shirt more flattering to my shape and save me from drowning in inexpensive shirt (what a way to go), but these alterations further illustrated that the shoulders were woefully out of place and needed to be promptly relocated for maximum flattery.

IMG_9586.JPG

I took in nearly two inches for this- taking fabric only from the shoulder, and none out of the sleeve to ensure that they would still be a proper length.

The only issue with this dramatic of difference was that it is difficult to take that same amount all the way around the seam where the main body of the shirt connects to the sleeves.  Which would be even more problematic since it was disrupt the cut of the shirt and likely make it bunch around the arm in a horrifically gross way.  I wanted better for this shirt.  

Instead, I ran pleats down from the shoulders in the front and back to create sharp lines.  This served two purposes:

One, it took care of the excess fabric without creating repulsive bunching atrosities;

And two, it makes the shirt lend itself more to my body shape.  It gives me accents and shaping in what was formerly a shapeless sack.  

IMG_9621.JPG

The fit is now drastically different, and no longer looks like the oversized men's shirt that it was.  It doesn't cling to me, but it still lends itself to my body to create an elegant figure.

IMG_9643.JPG

So at the end of the day, no- you really shouldn't take home every single thing that is in dire need of your help, but occasionally you get a sweet shirt that no one could fathom once tried to swallow you.  They're too busy appreciating that you're covered in stars.

Life is a fun mystery.  

Stay sweet, stay crafty, and stay tuned.

Weft to My Own Devices

Having started weaving again has become a little addictive.  It has been a whole new way to play with colours and palettes, so it's all I've wanted to do lately.  Luckily for this week I do have some fun developments in technique for weaving as well as some news to share!

IMG_9294.JPG

Let's start with the tool/technique that has made it easier to set the warp for my ongoing weaving obsession.

Here at my apartment I don't have a proper dining table, let alone one that's long enough to set a decent sized warp.  Lucky for me, I do have this long board (Home Depot- about $15) that was once a stand in for my old bed.  Propping up the end that holds the post, and setting the other end against one of the bars running horizontally on the bottom of my loom, I am able to set a long and consistent warp.  

IMG_9303.JPG

 Now to the news!  

Scarves like this one will soon be for sale on my website.  

I will also be looking into setting up an Etsy shop, as a lot of people have recommended that for the ease of buyers and better visibility of my products.  Don't worry though!  Everything I make and plan to sell will be posted here first.  I deeply appreciate all of you who read my blog, and would like you to get the best opportunities and advantages.   With the amount of craft-crazy ramblings you take in, you deserve it.

I am also going to be experimenting a bit more with the weaving in the upcoming weeks, and hope to share some fun trials and errors with all of you, as well as finding some innovative ideas that may make an appearance in the shop.

Now back to this lovely scarf! 

This dear darling was quite the lesson in paying attention to different weights of yarn in weaving.  I wanted to experiment with two starkly different weights and found that it can create a funky and beautiful "bubbling" effect in the places where the heavier weight yarn was paired with itself in contrast to the lighter weight yarn.  

I plan to block a bit to make it a tiny bit more even, but overall it is quite a fabulous texture to the scarf that gives it a lot of life.  Having the two weights didn't make it inconsistent on the sides of the weaving, but still had a noticeable effect on the shaping within.  

Don't forget to follow the Sweet Crafterlife on Instagram if that's your cup of tea, and either way:

Stay sweet, stay craft, and stay tuned.

Tara Maeweaving
Using the Technology

This week, instead of sharing with you some crafty adventure or miraculous triumph over evil, I wanted to share a somewhat small but exciting development in my crafty world.   

I have started an Instagram account for my business and other crafty adventures.  If you use this site, feel free to join me in a little bit of the behind the scenes of what I do, tantalising looks at what is currently being worked on, and of course more groan-worthy puns.  

If you're not the social media/Instagram type, don't fret!  All of my main work and projects will still be posted here, and those who follow the blog will be the first to know when the shop opens to the public!  

And in the meantime- stay sweet, stay crafty, and stay tuned.

Tara Maesocial media
Purple Painted Promises

After seeing my first attempt at weaving a scarf, my magnificent mother requested that I make her a woven scarf as well out of some luscious purply grey sock yarn and some of her magical handspun yarn.

I did the warp all in the sock yarn so that when it came to the weft, the beautiful variation and colour could be fully appreciated all on its own.

It was magnificent to work with the variation in this yarn- though I will warn any weaver that works with handspun yarn that single ply will in fact try to pull the sides in and make the project look rumpled and sad when first pulled off of the loom(even when it's such a beautiful colour).  

Do not accept defeat though, if you choose the path of single ply.  A little bit of water and acupuncture into a blocking board can save this rumpled, bumpled friend. 

Then you can simply sit back and appreciate the rich and vibrant colours you've put on display.

IMG_9233.JPG

When this scarf was blocked and had dried, my mother was thrilled and quickly made it clear that it's hers forever.  After all the creations she made that I.... claimed...  I figured that was only fair.

Stay sweet, stay crafty, and stay tuned.

A Bit of a Stretch

I try to adhere to the rule that I'm not allowed to buy something under the promise that "I can fix it".  If it has to be fixed, I should not buy it.

But am I good at following that rule?  Of course not.

I found this beautiful skirt at one of the most magnificent yard sales I've been to in my life.  I ignored the worn out elastic in the back and focused on the beautiful water colours that enchanted my heart.

Replacing the elastic in the back of skirts like this is relatively easy, and can size down just about any skirt without it looking too bulky.  

To replace it, I took a seam ripper to all of the stitches going across the elasticated part in the back and then took out the stitches on the sides where the elastic ends on both sides on the inside (so that if I messed up it wouldn't be so obvious).  

It took a bit of time, but the old elastic slid right out after all of the stitches were removed.  The old elastic was so tired it had a millimeter of give.

To put in the new elastic I ran the new belt of elastic into the old hole, and sewed down one end.  

After that I tried it on and pulled the elastic in to the point where the skirt would comfortably sit at the small of my waist.  Then I cut the free end to the desired length and sewed it into the other side.

I also decided not to do the stitching across the elastic because I had images of how much I would hate myself if I had to replace it again, and had to pick out all of those stitches. 

The skirt is now a perfect fit and can sit right above my hips or on my hips (thanks to the newfound stretch).

While I don't recommend buying things with the thought they can be fixed, I do think that one shouldn't be discouraged if they find something they totally love at a second hand store or estate sale because a lot of stuff can be fixed.

Within reason.

Stay sweet, stay crafty, and stay tuned.

Tara Mae
A Looming Presence

It seems like it couldn't be possible that I was just setting up the warp for this project last week, yet here I am talking about finishing the last stretch of the first bit of weaving I've done in years.

Being totally elated to be so tantalizingly close to finishing this project I just about snipped the warp before my mother intervened and told me that I really should make sure that my creation would be properly secured before severing it from the loom.  I often wonder if she ever tires of being persistently right.  

After a little bit of online research I decided to go with small bunches of fringe at the end to secure the weaving and to be aesthetically pleasing. 

It's a simple securing method that just requires a tapestry or darning needle and a long tail connected to the weaving.  You select your bunch (I recommend small bunches) and slide your needle underneath.

Then you loop the tail over the top and poke the needle in three rows away from the edge in the same location where your bunch ends.

IMG_9146.JPG

It simply piggy backs from there until you reach the end and you wrap the tail around the last bunch and loop it into a knot so that the tail will go in the same direction as the fringe.

All that was left was to even out the fringe with some scissors and oogle it with delight.

The sides turned out a little wonky since I was pretty inconsistent with the tension, but it started evening out the further I went.  I decided to chalk it up to the pains of being a beginner and love it anyway.

You will soon be seeing more woven creations as my mother has requested I now weave her a scarf too.

Stay sweet, stay crafty, and stay tuned.

Tara Mae
A Warped Perspective

With my knitting, sewing, spinning, wood burning, drawing, and newly founded embroidery among the countless other crafty and artsy skills that I've acquired over the years I realised something......

I could really use another thing to do.

Years ago my mother got me a loom, because at the time I did a lot of weaving on those itty bitty kids' looms and she thought I might want something a little bigger for when I was older.  Sadly I got distracted from weaving and ended up investing more time in sewing than just about anything else.  Yet, being a smart woman, my mother kept the loom- knowing in the way only mothers do that someday I would return to this old friend.

I lit a candle for ambience and to connect my nylon cords to finish assembling the loom, and with the might weaving spirits watching over me I set to work.

However, the weaving spirits appeared to be angry with me (or at least wanted to give me a hard time for giving up the noble art) for as I commenced setting up the loom, problem after problem ensued.  The first being that I burned my fingers dreadfully when connecting the ends of the nylon cords together.  The directions I was following ensured me that I should be fine to press the molten hot nylon together to make the long strand one continuous loop, but they were sorely mistaken.  Then again, maybe they think purple thumbs is a good time- I'm not one to judge.

My next issue was that I had the case of the missing dowels for the loom.  Everything except one wing nut and the dowels were present, so I had to raid the house for a dowel and hope that the wing nut was something I could temporarily live without.  Lucky for me my mother has a plethora of dowels and generously parted with one for me.  

Then with the wind in my sails I began to set the warp for my loom.  

Most of the warp was easy to get ready, except for the part where the weaving spirits gave me a dose of humility by letting me skip one of the slots on the loom.  I only had redo 20 rows, but I did start to feel concerned that the weaving spirits would show no mercy for me.  

Not to be discouraged though, I persisted well into the night to finish setting my warp and rediscovering this amazing art.

Feeling foolishly confident I got ready for the next step, only to realise that this dowel I scavenged was far too long to wrap around with the warp.  

At this point it was 3 in the morning, and I thought wielding a hand saw maybe wasn't my best decision after the series of mishaps.  I went to bed and decided to leave the wood working for the morning.  

In the morning, bright-eyed and bushy-tailed, I grabbed my family's hand saw and went to town on the dowel.  

I could tell that the weaving spirits were starting to humor when I sawed the dowel so that it would be small enough, and left enough of the off piece to hold the other ends of the warp and still be able to wrap around the warp beam.  

All I had to worry about after it was sawed off was to sand it down, which is not a problem!  

I rolled the warp in on the warp beam and got ready to start thready the warp into the eye holes of the reed.

I started getting excited, though a little envious of how easy it was to thread these eye holes compared to the sewing needles I use.  Working with the baby alpaca yarn soothed my heart and made me feel a little more confident about how the weaving spirits felt towards me.  Perhaps they had forgiven me for my absence.

Next I sectioned out the warp inch by inch, knotted the ends at all the same length, and prepped myself for the first weaving I've done in almost 10 years.

I used some thick cotton garden post thread to start out and get the warp where it needs to be, and then set up my shuttles to run my sweet baby alpaca yarn through.  

I messed up a couple of times in the beginning by missing the warp in a few places, but eventually the weaving hands remembered and took over.  

After a great deal of practice to work out the kinks I hope to get to a point where I can put the woven creations in my shop here- so keep you eyes pealed!  And as always-

Stay sweet, stay crafty, and stay tuned.

Tara Maeweaving
Learning the (Very Small) Ropes

Last week I decided in the face of a new project and years of interest inspired by Pinterest to start embroidery.  This week I worked on some of the basic stitches to get rolling in my journey with embroidery.

One of my first lessons in the past week was that the fabric that's being embroidered needs to be taut like a drum or a trampoline, depends on your life experiences.  Point being, it has a little bit of give, but ultimately is smooth and tight.

Since this looping stitch is a classic in finishing edges and creating shapes in embroidery, I thought it would be a good thing to focus on to get the hang of thinking in terms of how things are made in this crafty art.

This stitch is relatively simple but still managed to warp my brain a couple of times.  Basically all that you have to do though is start with the needle at the bottom (wherever that is for you) and then poke it through to wherever you want the top, then pull the slack under the needle to the direction where it will be caught by the new stitch.  

And if that sounds like a bunch of nonsense words to you, the picture below is a bit better at explaining than I am.

IMG_9026.JPG

After trying out my hand at the new stitch I tried something a little basic but stylised to accent the mountains I made.

After which I promptly returned how to do these sort of chain stitches.  

This stitch is a lot like the one I did in red except instead I kept the stitches closer together to make a more clear chain out of the thread.  

This created a nice textured effect that made some happy flowing grass for my mountains and star.

While this all seems basic to many, I'm excited to share the progress made just in the last week, as well as the other things that will be coming soon as I satisfy my learning itch! 

Stay sweet, stay crafty, and stay tuned.

Stitch Witch

I know what you're all thinking...  I definitely need another hobby.  I'm getting boring and stagnant, and need something new to vex and humble me.  

This week it's embroidery.

I decided to do something small and also something that would still be useful if it was a catastrophe once I finished, so I decided to embroider a dish cloth.

This blasted dish cloth tried to tell me that this was a worthless venture with words written in endless wrinkles that would not iron, wash, or press out.  Yet I persevered, because if I'm going to let a tea towel push me around this early in the game, I may as well not try at all. 

My next test of courage came in the form in splitting my embroidery floss.  I found a Y pattern was the most effective (and efficient).  I would take my desired number of threads in one hand, and the rest in the other, then with completely in-tact strand held between my knees (or toes) and was able to pull it apart cleanly.  

Below is the kind of simple knot I made to start (as seen from the back).

I started to notice as I worked on it that embroidery floss has a lot to teach hand-sewing thread, as it rarely gets tangled, and when it does it's an easy fix that doesn't appear to compromise the thread.  

I'm also greatly liking embroidery in that it reminds me of pointillism.  Even if the dot seems like it doesn't fit or work with the larger piece, it typically ends up being perfectly wonderful.  Many times I felt like I made a mistake with this first feather/leaf and each time I chalked it up to beginner's lament and carried on.  Much to my surprise, despite all the seemingly heinous mistakes, it turned out beautiful.   

That being said, I do hope I see vast improvement as I work on this tea towel and the next, and I look forward to sharing all these adventures with you all.

Thanks for joining me in this first step in a whole new adventure.

Stay sweet, stay crafty, and stay tuned.

Tara Mae
Missoula Mountains on the Mind

As a celebration for graduating and getting my degree, my family thought it would be fun to take a drive and go to some of my favourite parts of the world: Wyoming, Montana, and Canada.  

So as our fearless leader, my mother, drives us to all of these beautiful parts of these countries, I have knitted and watched the stunning scenery passing by.  

At first this project was simply going to be triangles created by the two beautiful Malabrigo yarns and yet... As I watched the mountains passed I saw them reflected in my knitting.

Perhaps it was because the mountains were so beautiful, or because I was becoming vaguely deranged from being in the car so long- but I felt like this cowl started representing the wonderful view surrounding me.   

The lighting makes it a wee bit tricky since I'm taking this from a hotel room, but instead of having this be an exact line across, I gave the brown/green/lavender yarn a bit of tapering so that it looks like the mountains I've been watching dreamily these past several days.

IMG_8893.JPG

Plus this was a lovely excuse to use my herringbone stitch again!

I realise this is a day earlier than my usual posting date, but since I had a spare moment I thought I would share the creation of the day.

Stay sweet, stay crafty, and stay tuned.

Tara Mae
The Case of the Faulty Zipper

Why do zippers go bad seemingly so often?  One would think that such a simple technology would have been mastered by now.  

Alas, it's just not the case, but at least you can protect yourself from it in small ways.

Most zippers go wrong because they're like the one above.  They are typically used for trendy and sleek zipper-needs, but are designed so poorly it's devastating.  The reason they invariably fail is because they are simply a wire twisted around and stitched together with two lines of thin thread.  That means that as soon as the metal of the zipper wears down the thread or the wire gets distorted, the zipper can and will stop functioning.  

The good news is that there are zippers that work long term.  

The zipper I put into this backpack has teeth that are independent from one another and are attached by cable that runs through a hole at the bottom.  That way the zipper isn't constantly running over the only thing keeping it all together.   It also means that if one of the teeth gets pulled or twisted in a weird way it won't compromise the rest of the teeth.

They're relatively easy to find, either on Amazon or in any place you can get sewing supplies.  Usually called luggage zippers, they are made to last longer while withstanding more stress put on them.   

To replace this zipper in particular I used a seam ripper and finished cutting the threads that held the old zipper to the bag.  After that I pinned and sewed the new zipper to the old one's fabric.  That made it so I didn't have to do as much work to put the zipper in, and could just use what was already integrated into the design of the backpack.

Sewing in zippers can be difficult, it requires working with a lot of strange angles and a narrow foot (I used my free motion foot so I could sew in any direction).  

Despite it being difficult, it is better to get the tight and precise stitches of the machine so that the zipper lasts- the teeth are only as good as what they're attached to.  

In short- always keep an eye out for how zippers are made.  My friend spent good money on this bag and the old zipper only lasted a month or two.  Then again, he's friends with crafty people- so I guess he didn't really risk much!  

Stay sweet, stay crafty, and stay tuned.

Red Strings

As one might imagine, the finals week of 21 credit term doesn't leave a whole lot of room for crafting, but I did manage to do something small to mark the end of an era in my life and the beginning of a new one.  And since I'm partial to folklore, I thought make a bracelet of red string would be a good touch.

The design is fairly simple- it's like braiding except with multiple strands.  It takes an even amount of strands, and then folds the furthest piece out to the center.  It's a little more symmetrical than a typical braid- and actually resembles the fishtail braids that people do.

Also, in case you're ever unable to braid something small like this all in one go- clothespins work remarkably well at keeping everything in its place for when you return.

It turned out smooth and beautiful, and will serve as a great reminder that I'm taking my first steps into a new adventure.

"There's a thread you follow.  It goes among

things that change.  But it doesn't change.

People wonder about what you are pursuing.

You have to explain about the thread.

But it is hard for others to see.

While you hold it you can't get lost.

Tragedies happen; people get hurt

or die; and you suffer and get old.

Nothing you do can stop time's unfolding.

You don't ever let go of the thread."

-William Stafford, from The Way It Is, 1998


Stay sweet, stay crafty, and stay tuned.

Tara Mae
Reflections

This week as I chip away at my final assignments and projects to complete my Bachelor's of Arts in Anthropology I've been thinking a lot about what I want to do with my life.  This business has also led to me being unable to craft as much as I like, and so since I've been thinking about what I want out of my life, I thought it would be special to share with all of you one of the projects I'm most proud of.  

A little backstory, this was the wedding present for a couple of friends of mine where I decided to be as daring as I deemed reasonable.  Note: I tend to aim high when it comes to artistic goals.

As friends of mine do, one night we were sitting around discussing our ideal quilt, and my friend foolishly said that a perfect quilt would be one that is 120" x 120" (10 ft x 10 ft) because you would never run out of blanket when huddled with a bunch of people on a couch in the winter, and it would give the proper weight that quilt should have.  I silently took notes as my friends detailed this perfect quilt, and later I set out to buy the fabric to make it in time for their wedding.

I love each and every quilt I make, but this one was special.  It was the first quilt I made where I gave myself unlimited freedom to try whatever I wanted with it.  So as it came together, I got to watch a dream come to life.

Those that were spectators of the construction of this center (pictured below) weren't sure if this was going to be lovely or a catastrophe, and at points I wasn't sure myself.

Yet at each step I felt more and more love for what it was becoming, what it did to me to make it, and the way it made people's faces light up.

I particularly enjoy this photo (below) because it shows off my fussy little seams that just about no one but me gets to see normally.

When it was finished the quilt weighed over 10 pounds and caught every single eye it encountered when I took it to the Spin Laundry Lounge to give it a good wash.  

While some of it is definitely covered and clouded by shadow in this photo, it's my favourite photo of the quilt.  It captures how happily the colours worked together and reminds me of the wonderful people the world has.  I don't know a single one of these men kindly holding my quilt, but in a moment of uncharacteristic bravery I asked them to hold it up for me so I could get a picture.  They all were quite excited to see what it was about, recalling stories of grandmothers and mothers making quilts as well and taking pictures of their own- I offered them a round of beers after being so helpful but they politely declined.  They said they were simply happy to help. 

Now that I'm looking at the rest of my life beside the things I've created I know now more than ever that crafting will always be a place I call home.

Prepare for quilts, crafts, and calamities as I move toward my first steps of making my way in this world.

Stay sweet, stay crafty, and stay tuned.

So There Was This Needle Pulling Thread...

As I have been chipping away at my honeycomb quilt I've become increasingly aware of how much I have to learn about handsewing, including but not limited to the difference between handsewing thread and machine thread.  Don't know the difference?  You're in the right place.

I'll start with what I'm used to- machine sewing thread.

  • Soft in texture and doesn't hold any particular stiffness or shaping.
  • Easy to find.
  • When it comes to machine sewing, it has been remarkably reliable.
  • With relatively little gusto, however, I can snap it by pulling it in two different directions.
  • After not terribly long durations of handsewing with it, it will invariably get worn down to the point where it can and will snap.  After sewing more than three 2 1/2 inch sides of a honeycomb, the thread will snap if it hasn't already.

Now here's what makes handsewing thread different:

  • Relatively coarse and holds the same sort of curling around that it is held in on the spool.
  • I have used it for sewing machines before, and it seems to not pose any problems whatsoever.  
  • Doesn't appear to wear away all that quickly if much at all.
  • I can rarely snap this thread between my two hands.  The attempts have resulted in failure, pain, and cut-into fingers- I don't recommend trying this at home, I'm just a stubborn woman doing the science for you.  Misplacing my scissors had nothing to do with the experiment...
  • I have only had this thread snap while sewing once, and that was after using the same strand for six 2 1/2 inch sides of the honeycombs, tying many knots at the end of each side, and pulling away with immense force after stabbing myself with the needle. 

Though it may already be clear why handsewing thread is the way to go for my honeycomb quilt, I would like to take this moment to highlight something I address often in the crafting world.  Doing things right the first time around often saves a lot of heartache.  I'm feeling so much better about spending all this time handsewing these delightful hexagons together knowing that they will last longer because of the more durable thread.  Yes I had to order the thread online and wait a while, but this ensures a lot of peace of mind when this quilt is finished and becomes an heirloom for my family.  

Stay sweet, stay crafty, and stay tuned.

Tara Mae