IMG_1612.jpg

Blog

Posts tagged natural dyeing
Dusty Rose Alpaca

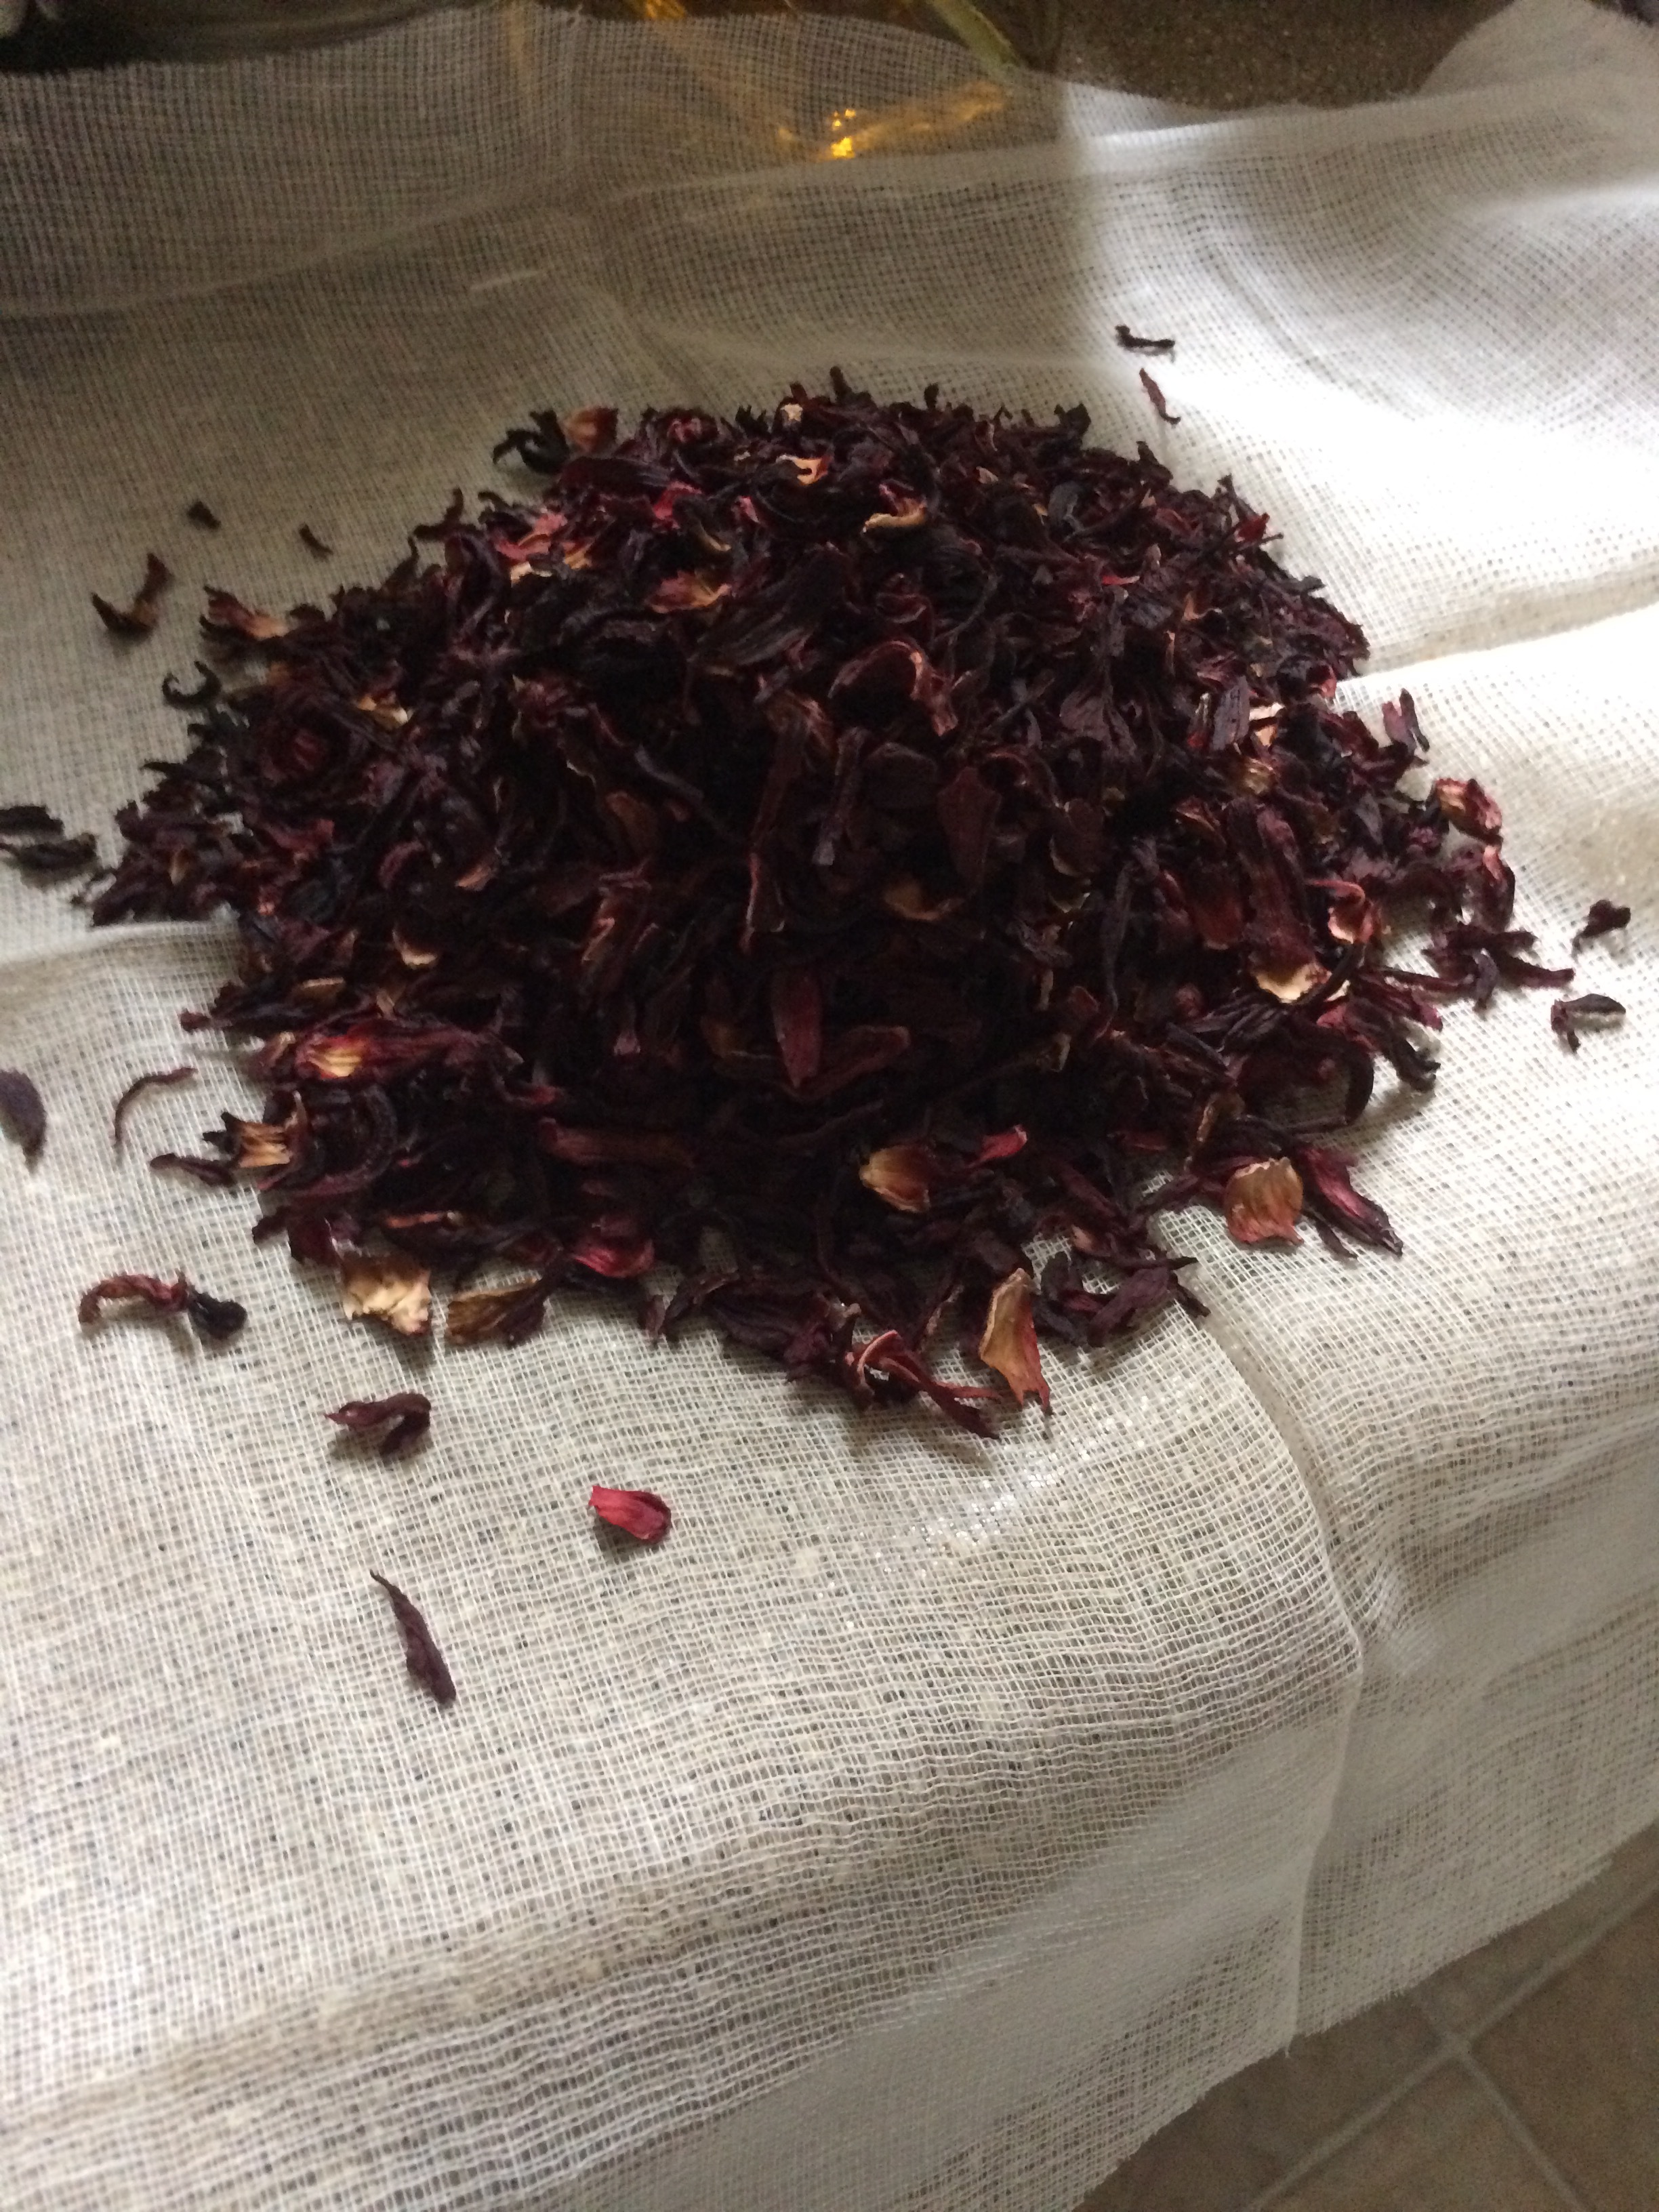
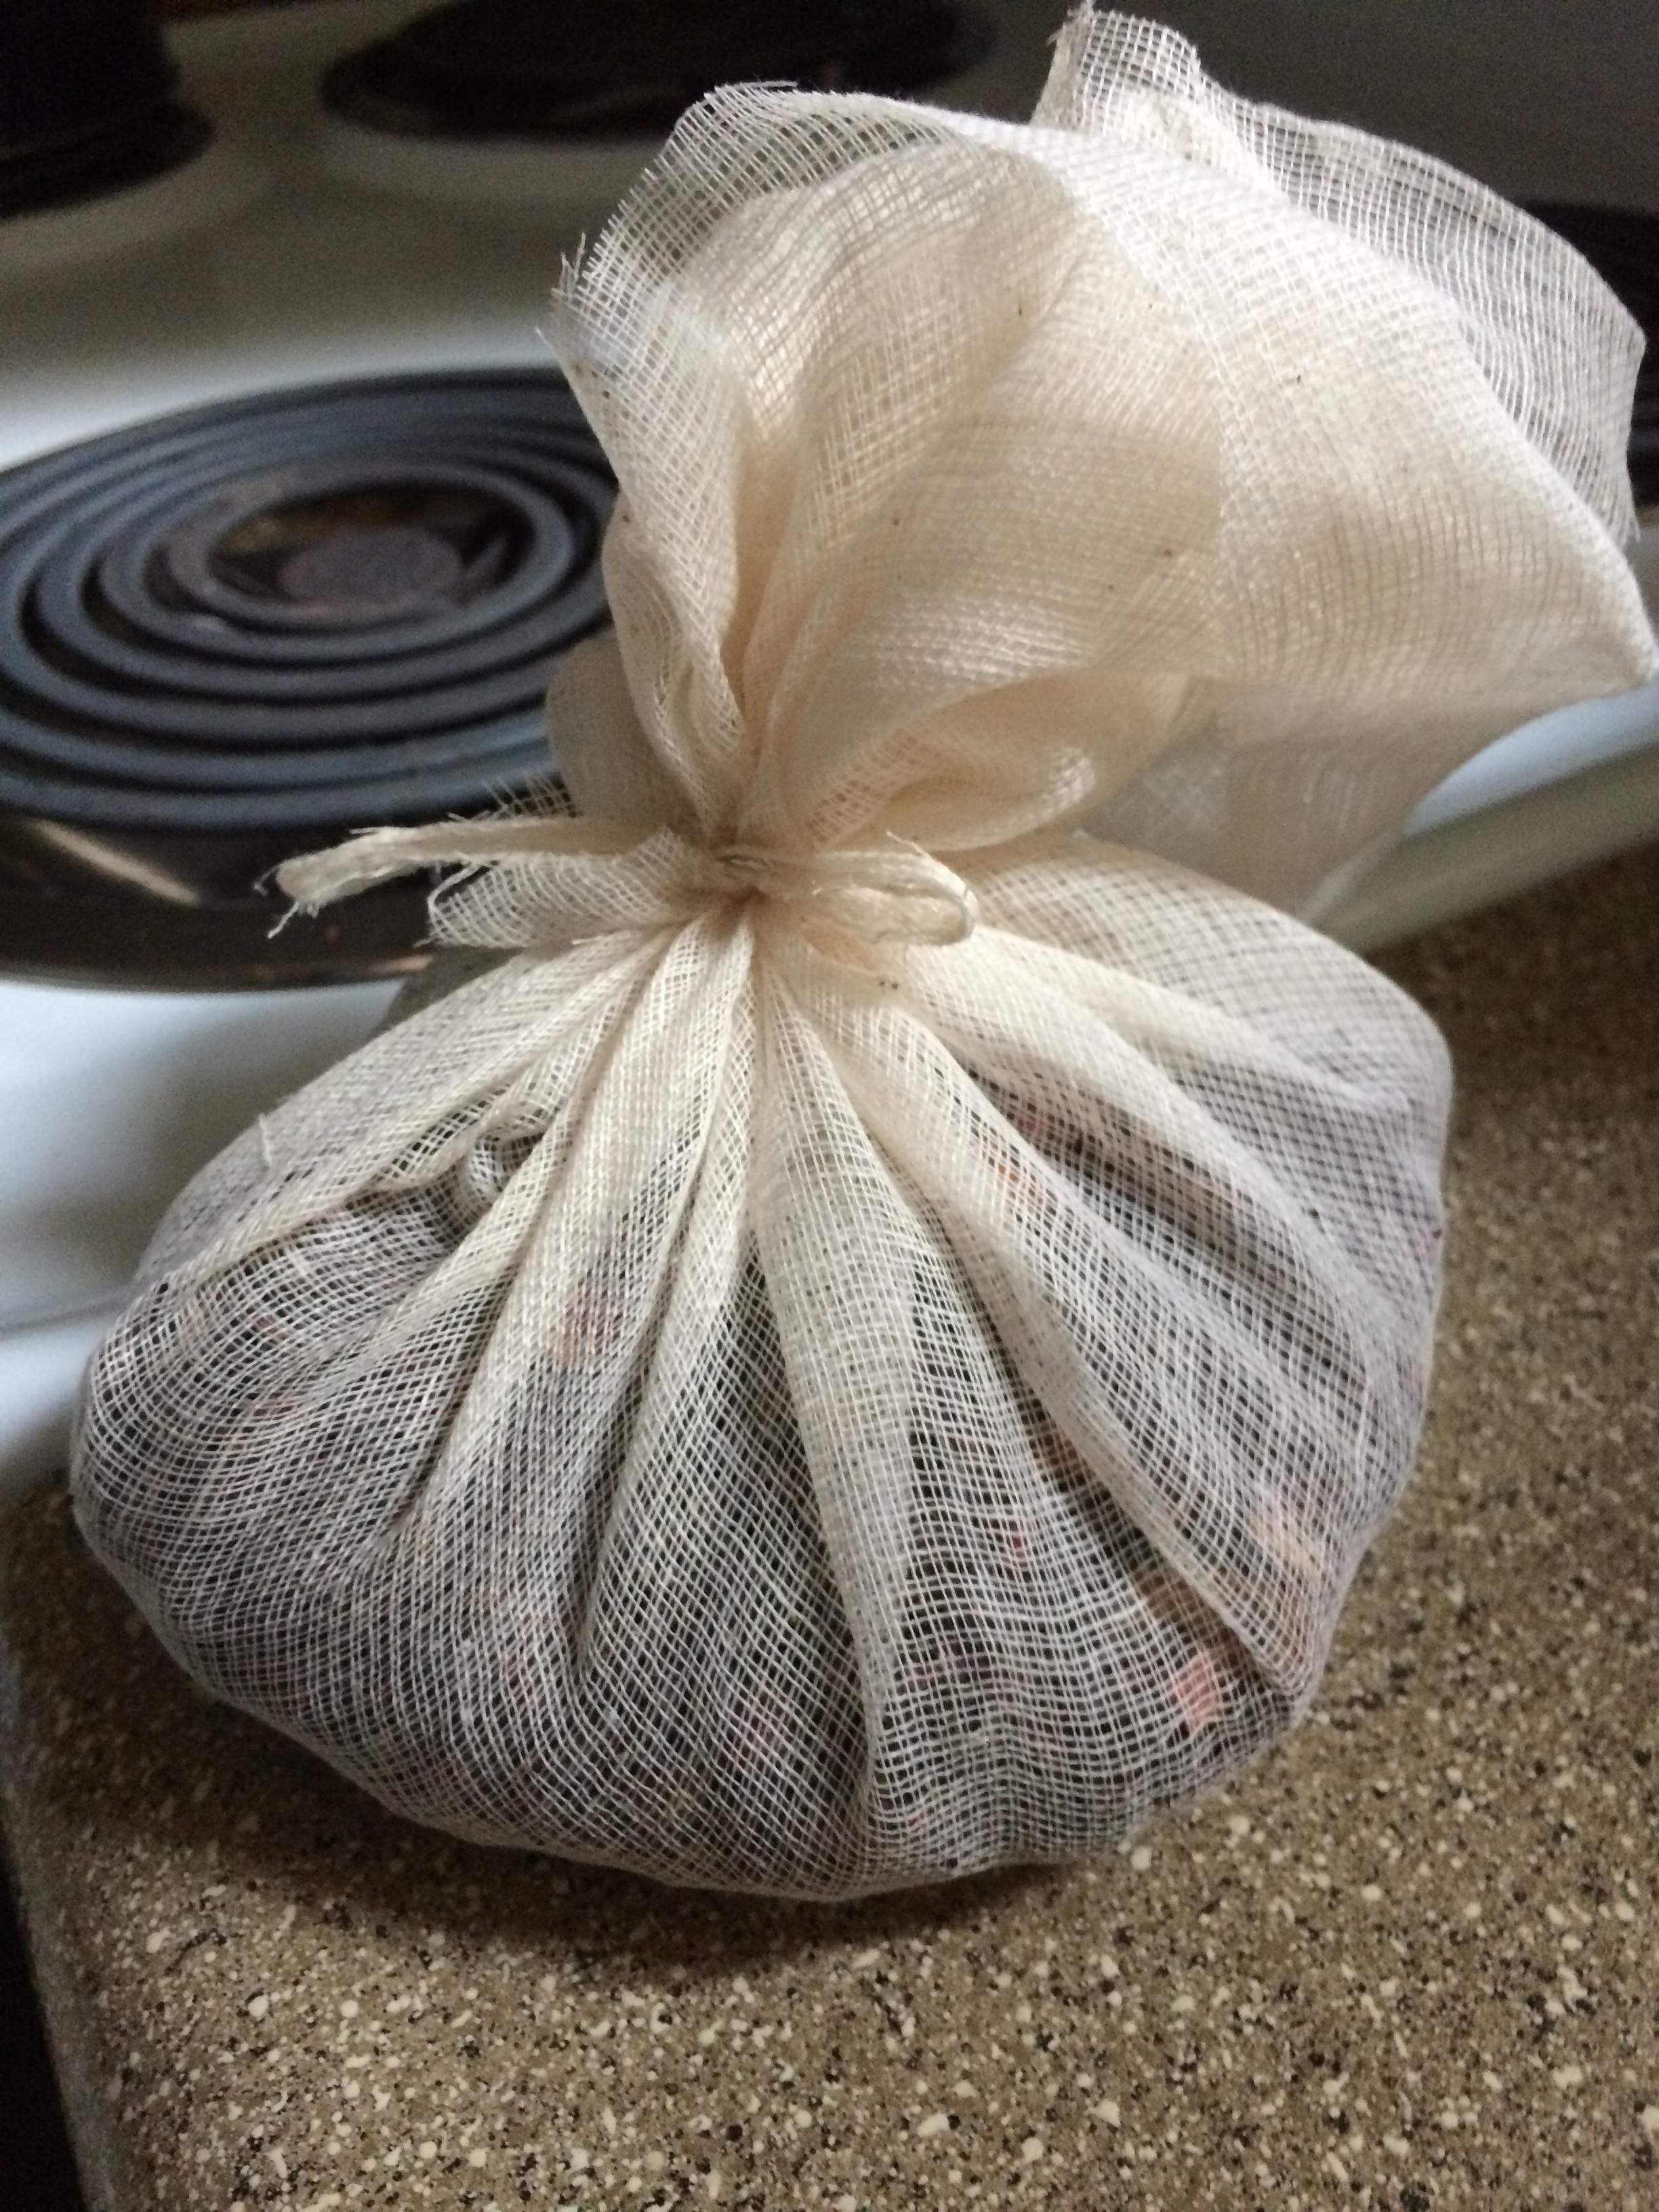
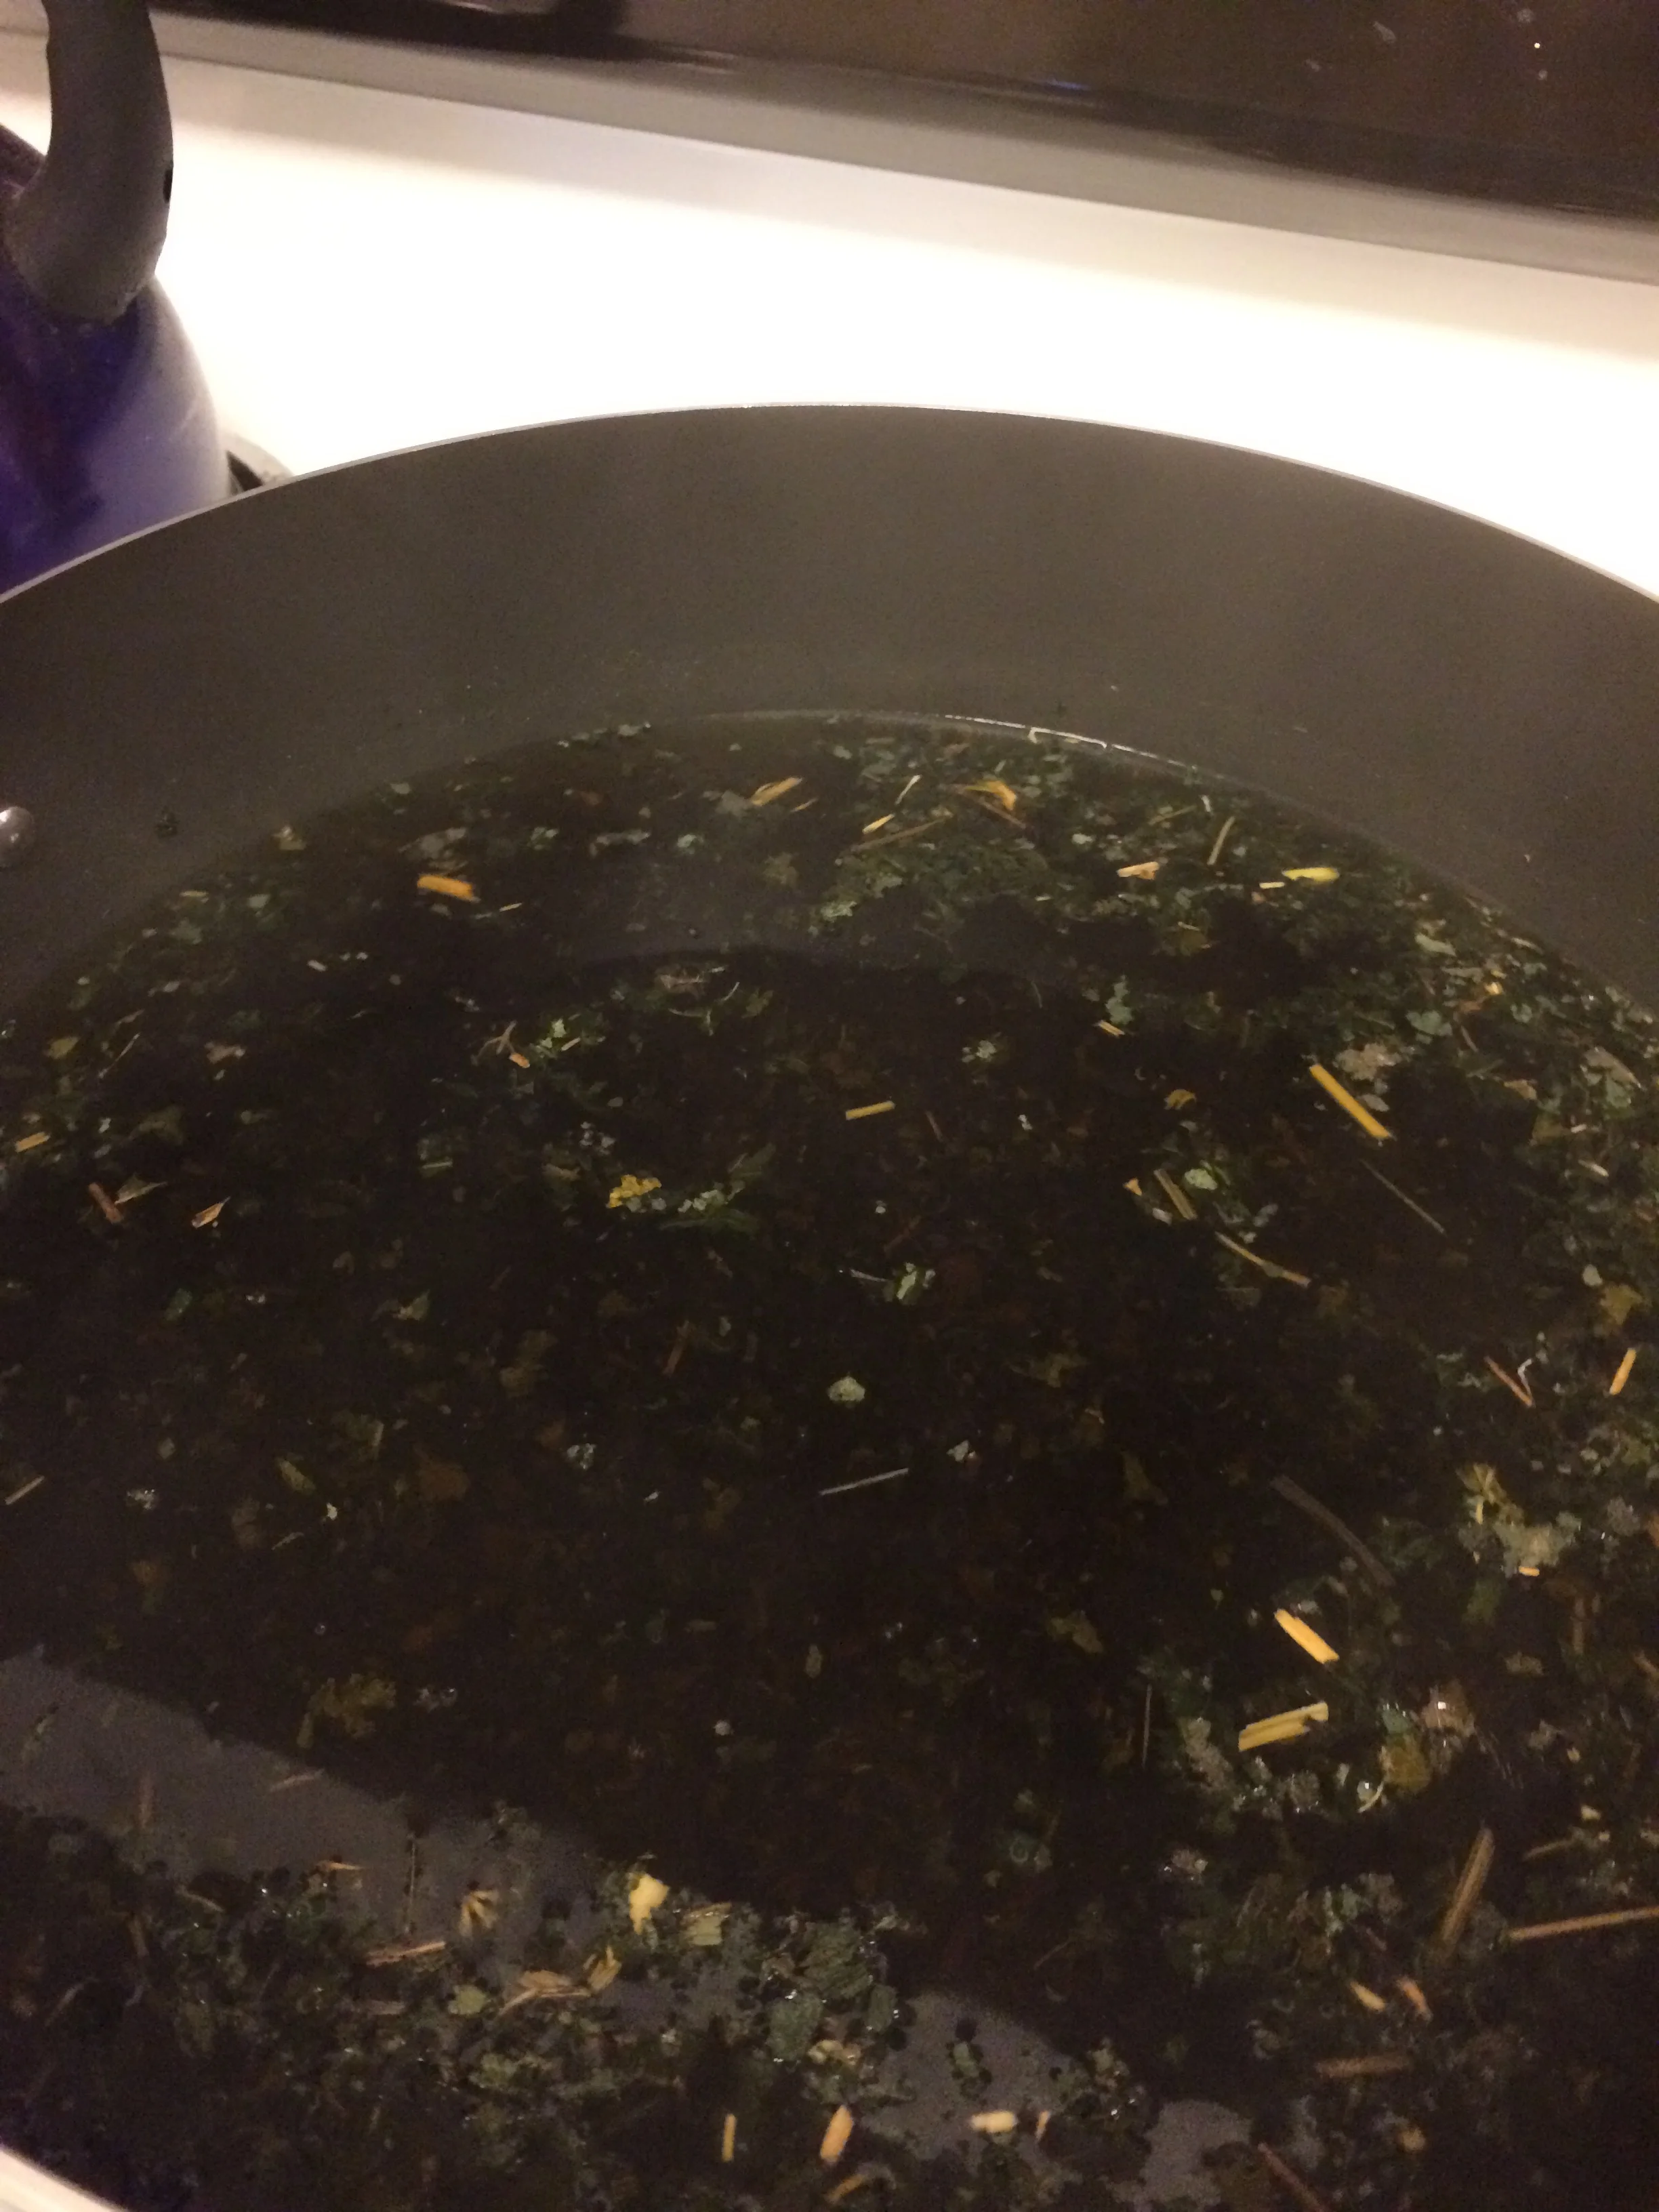
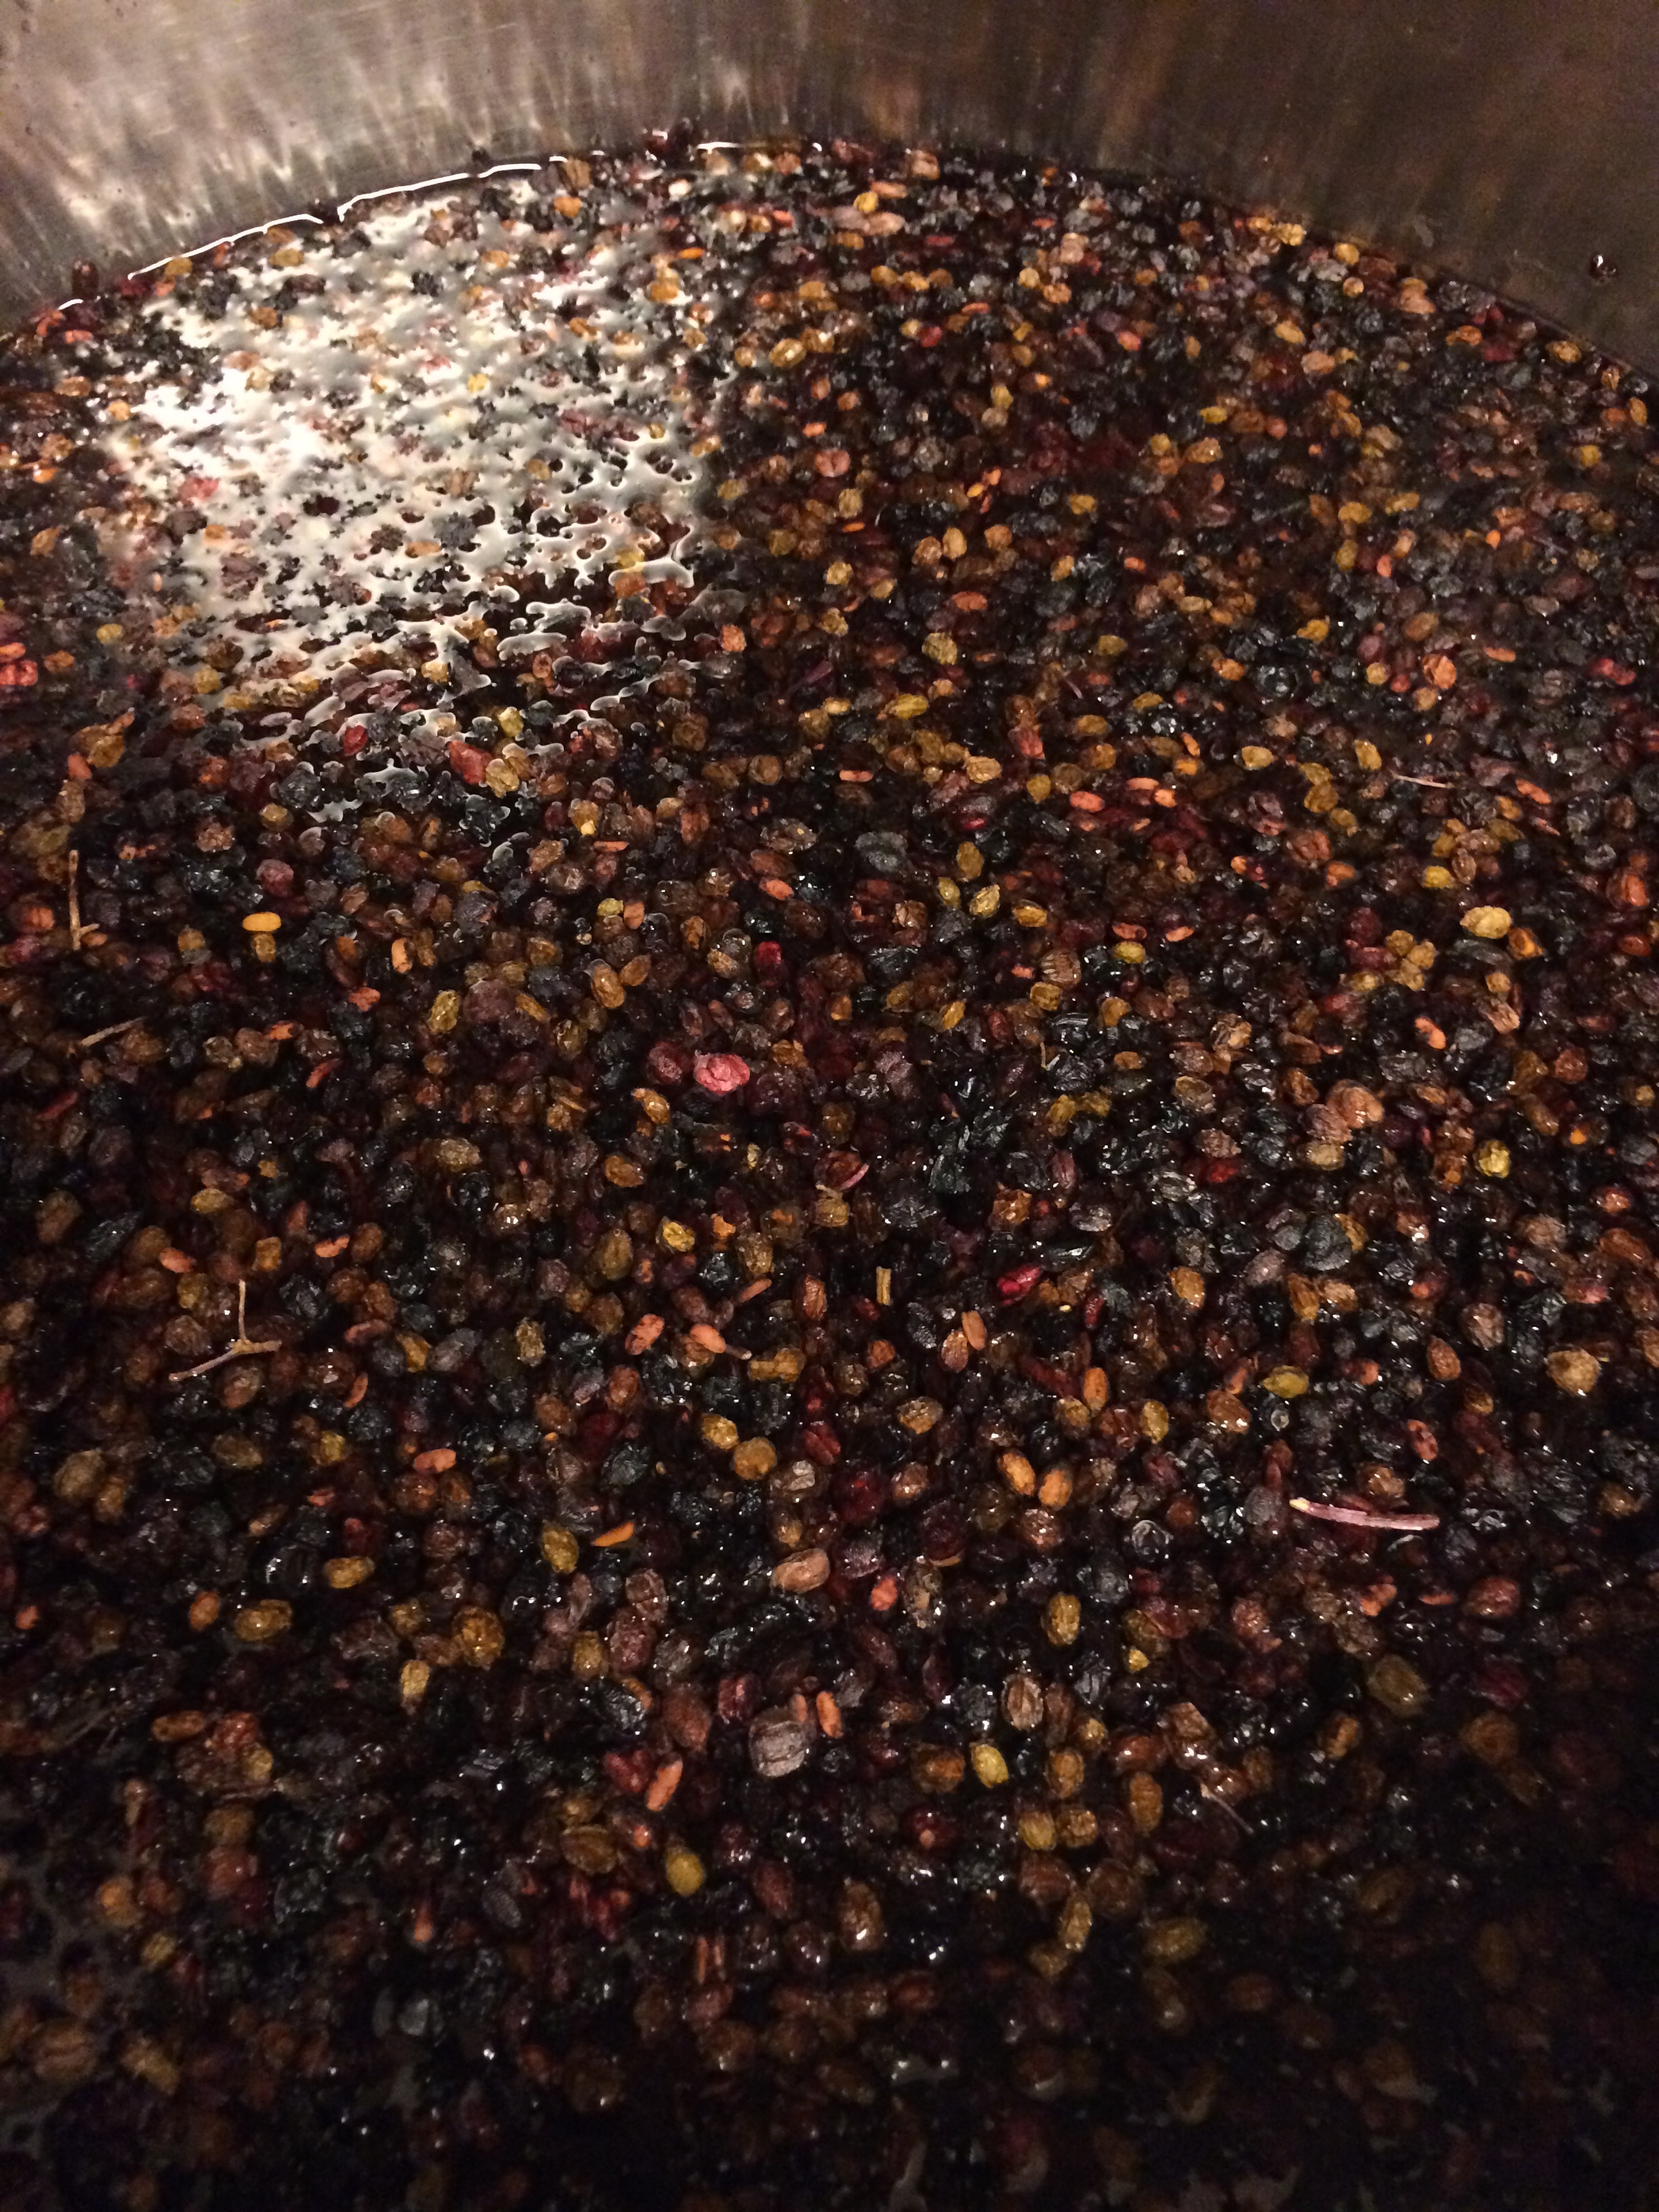
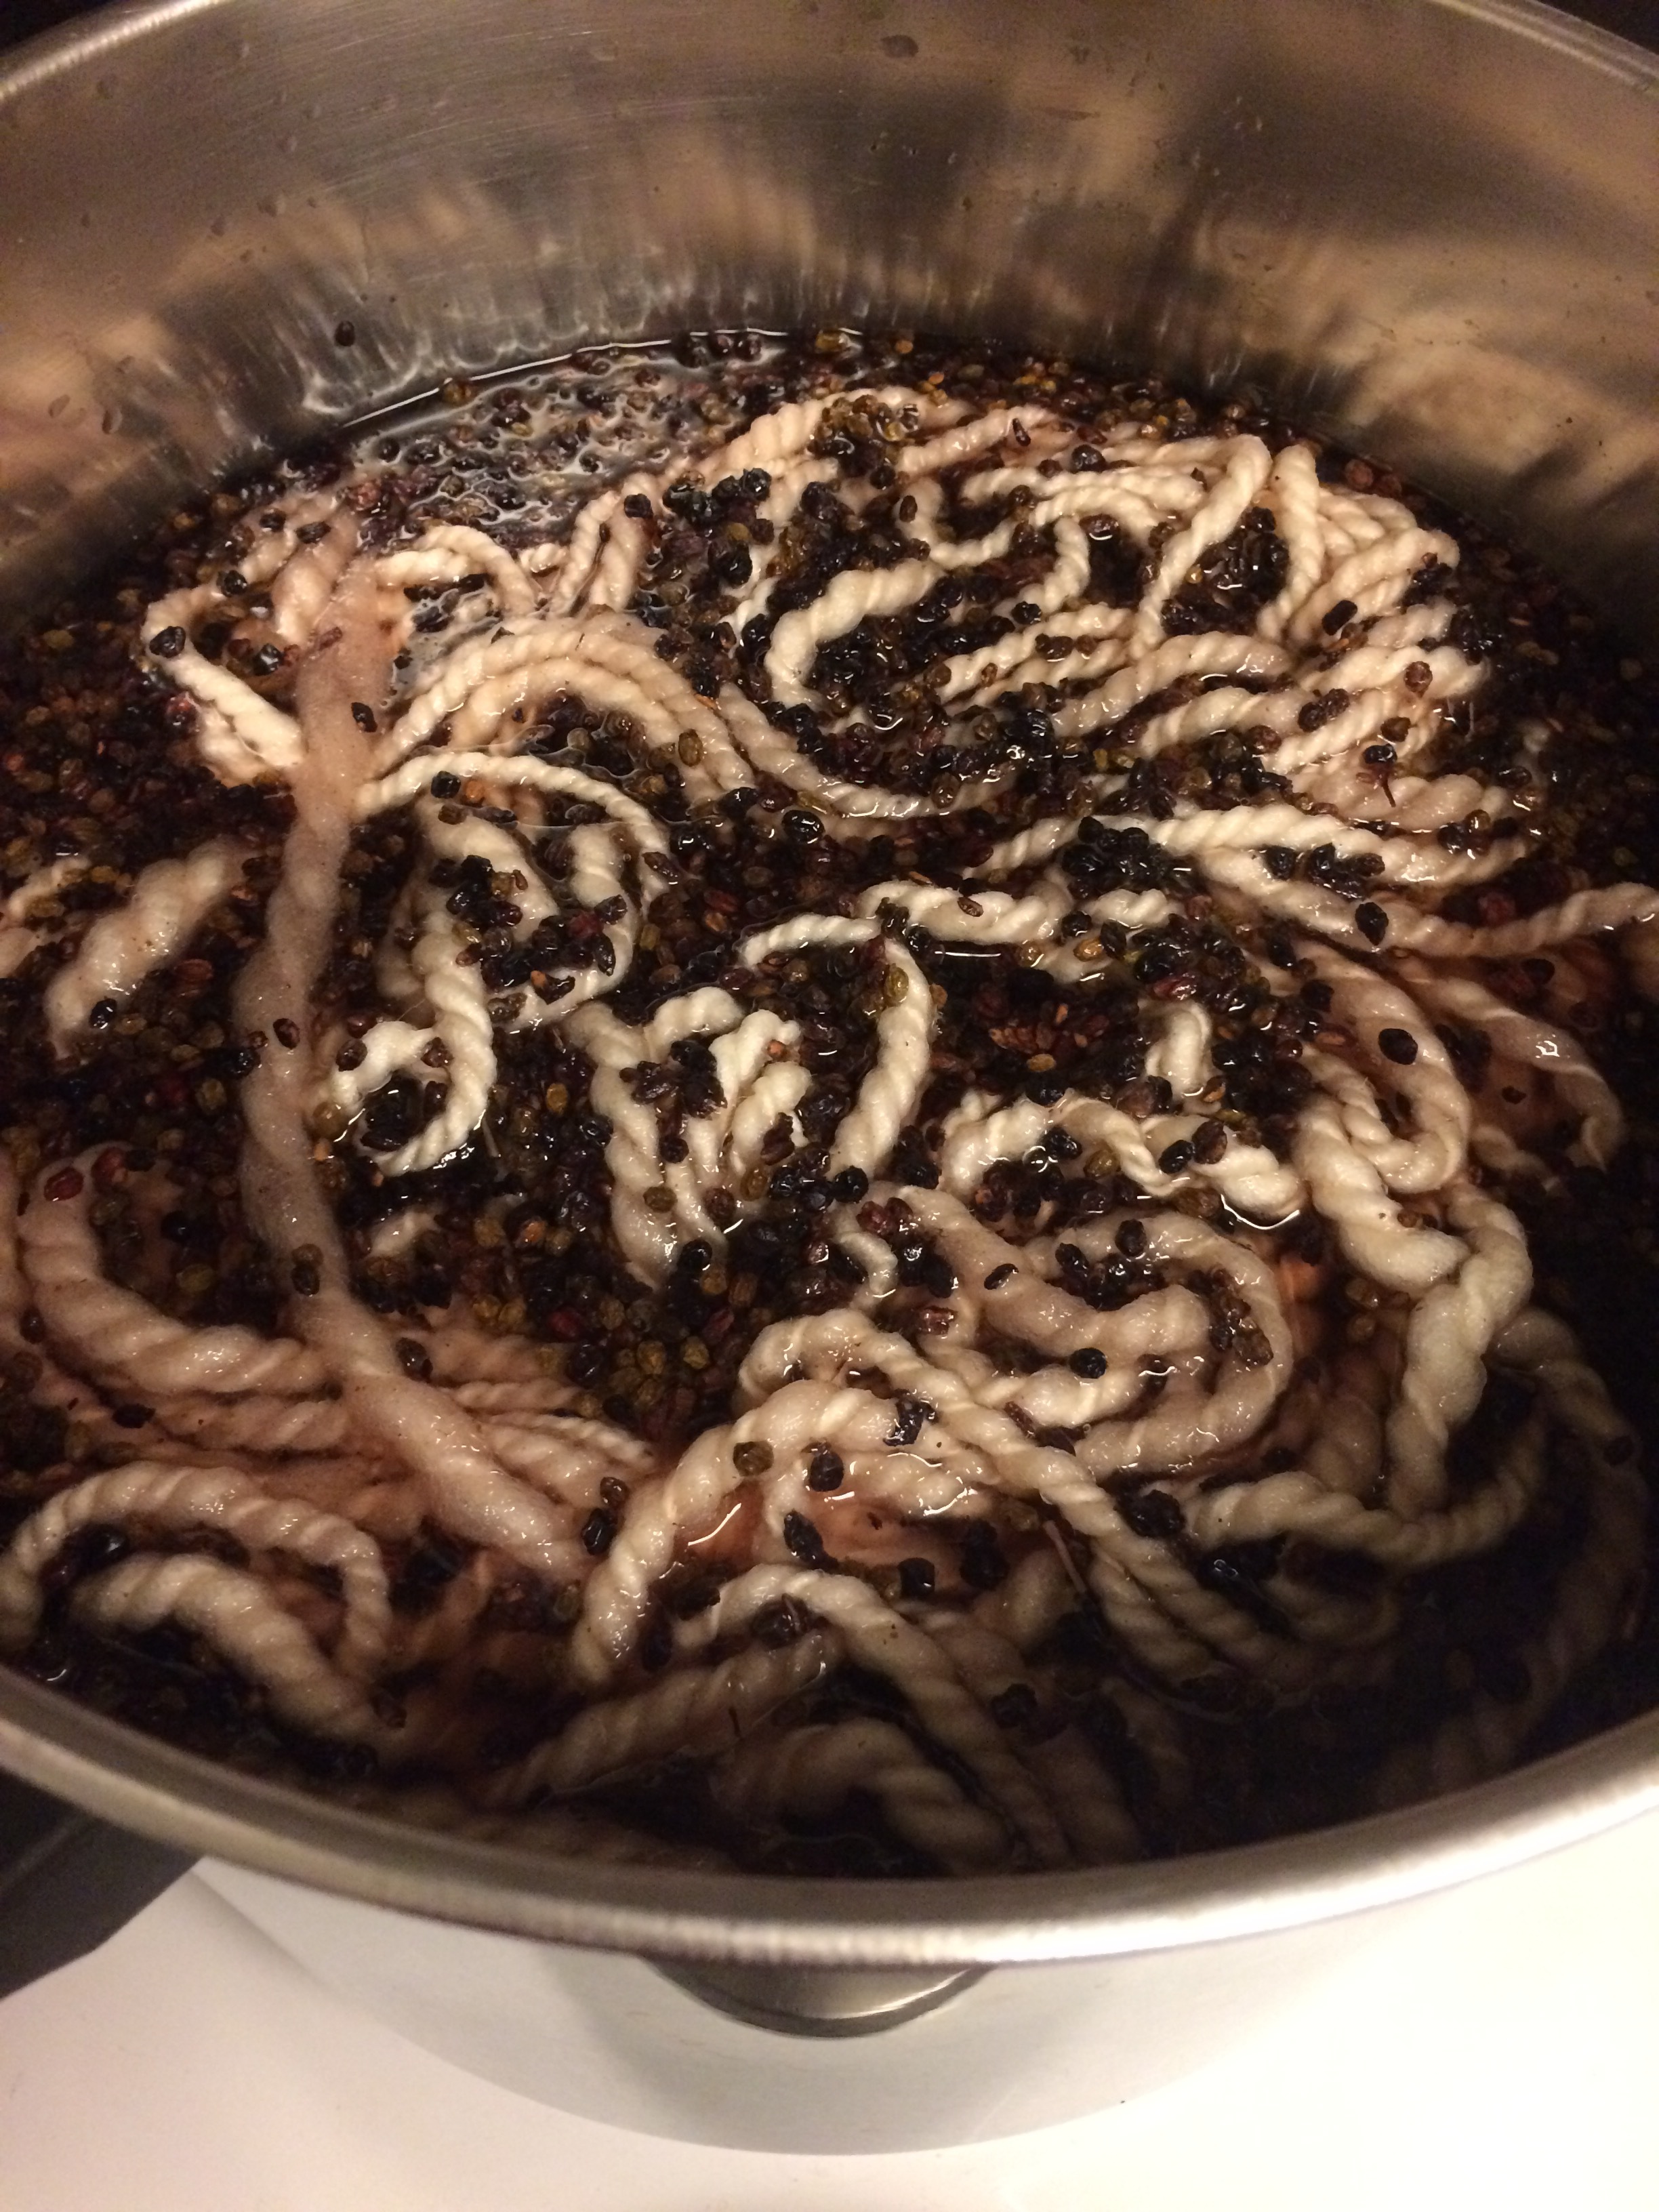
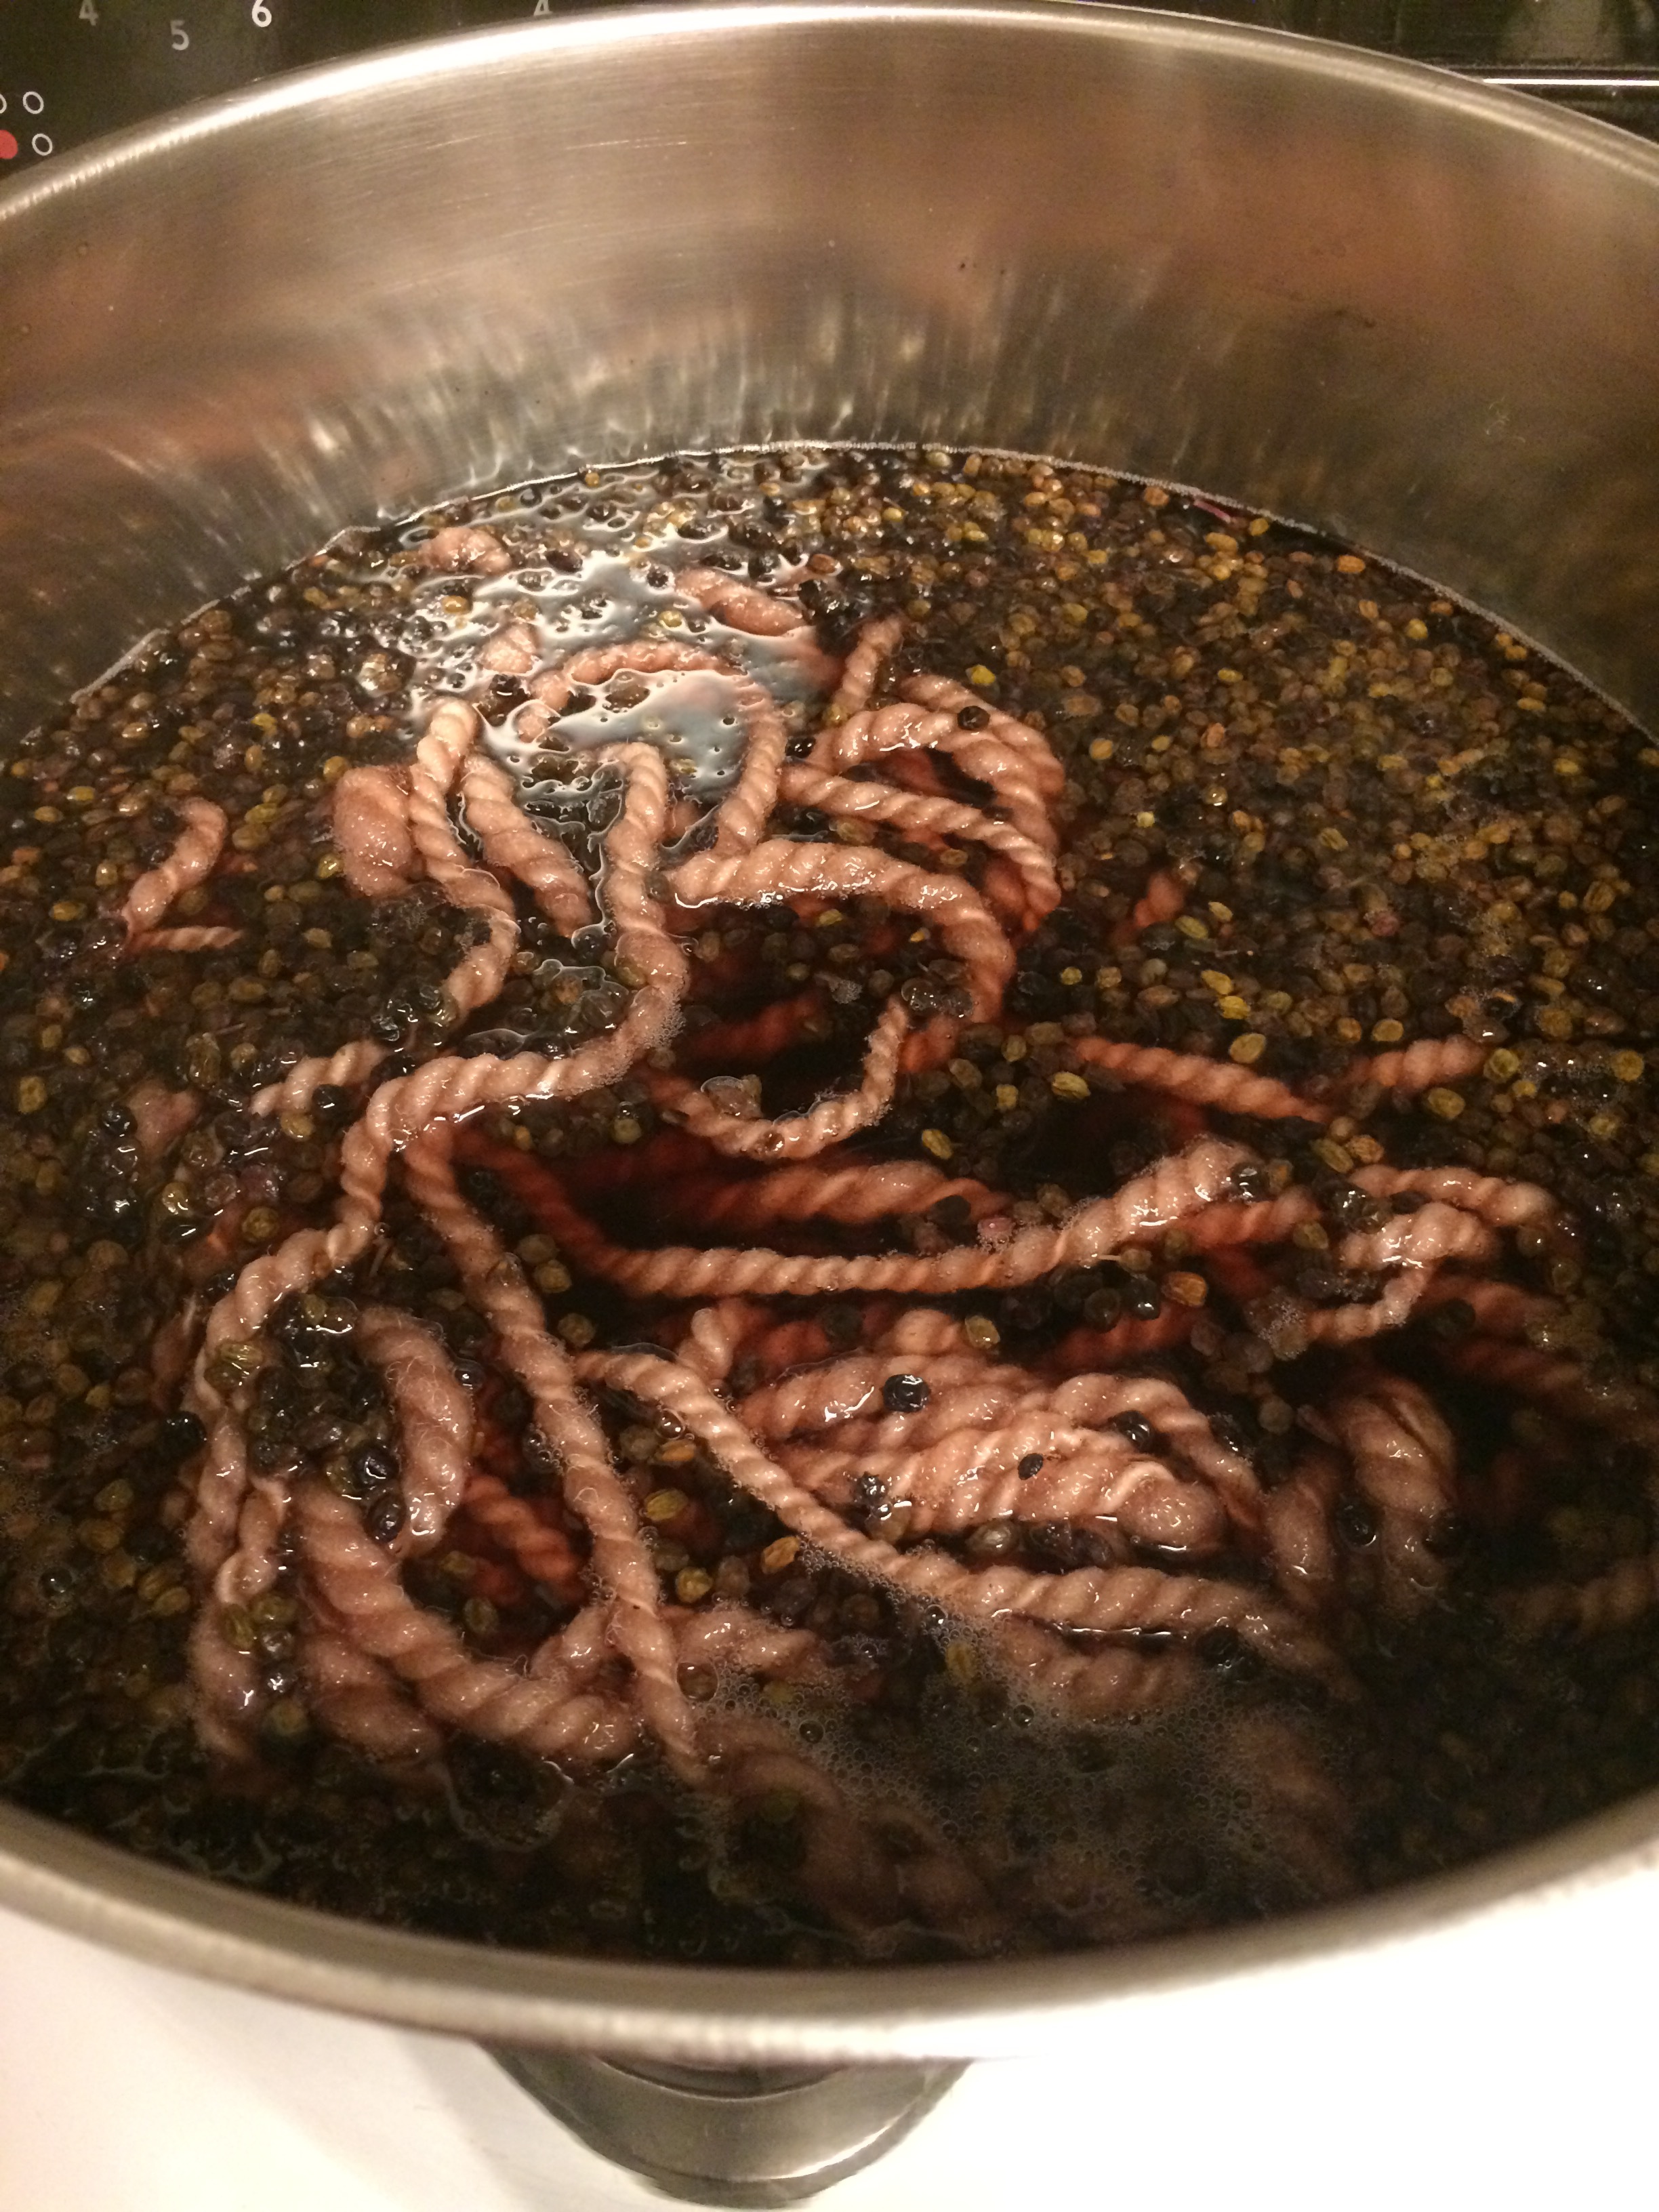
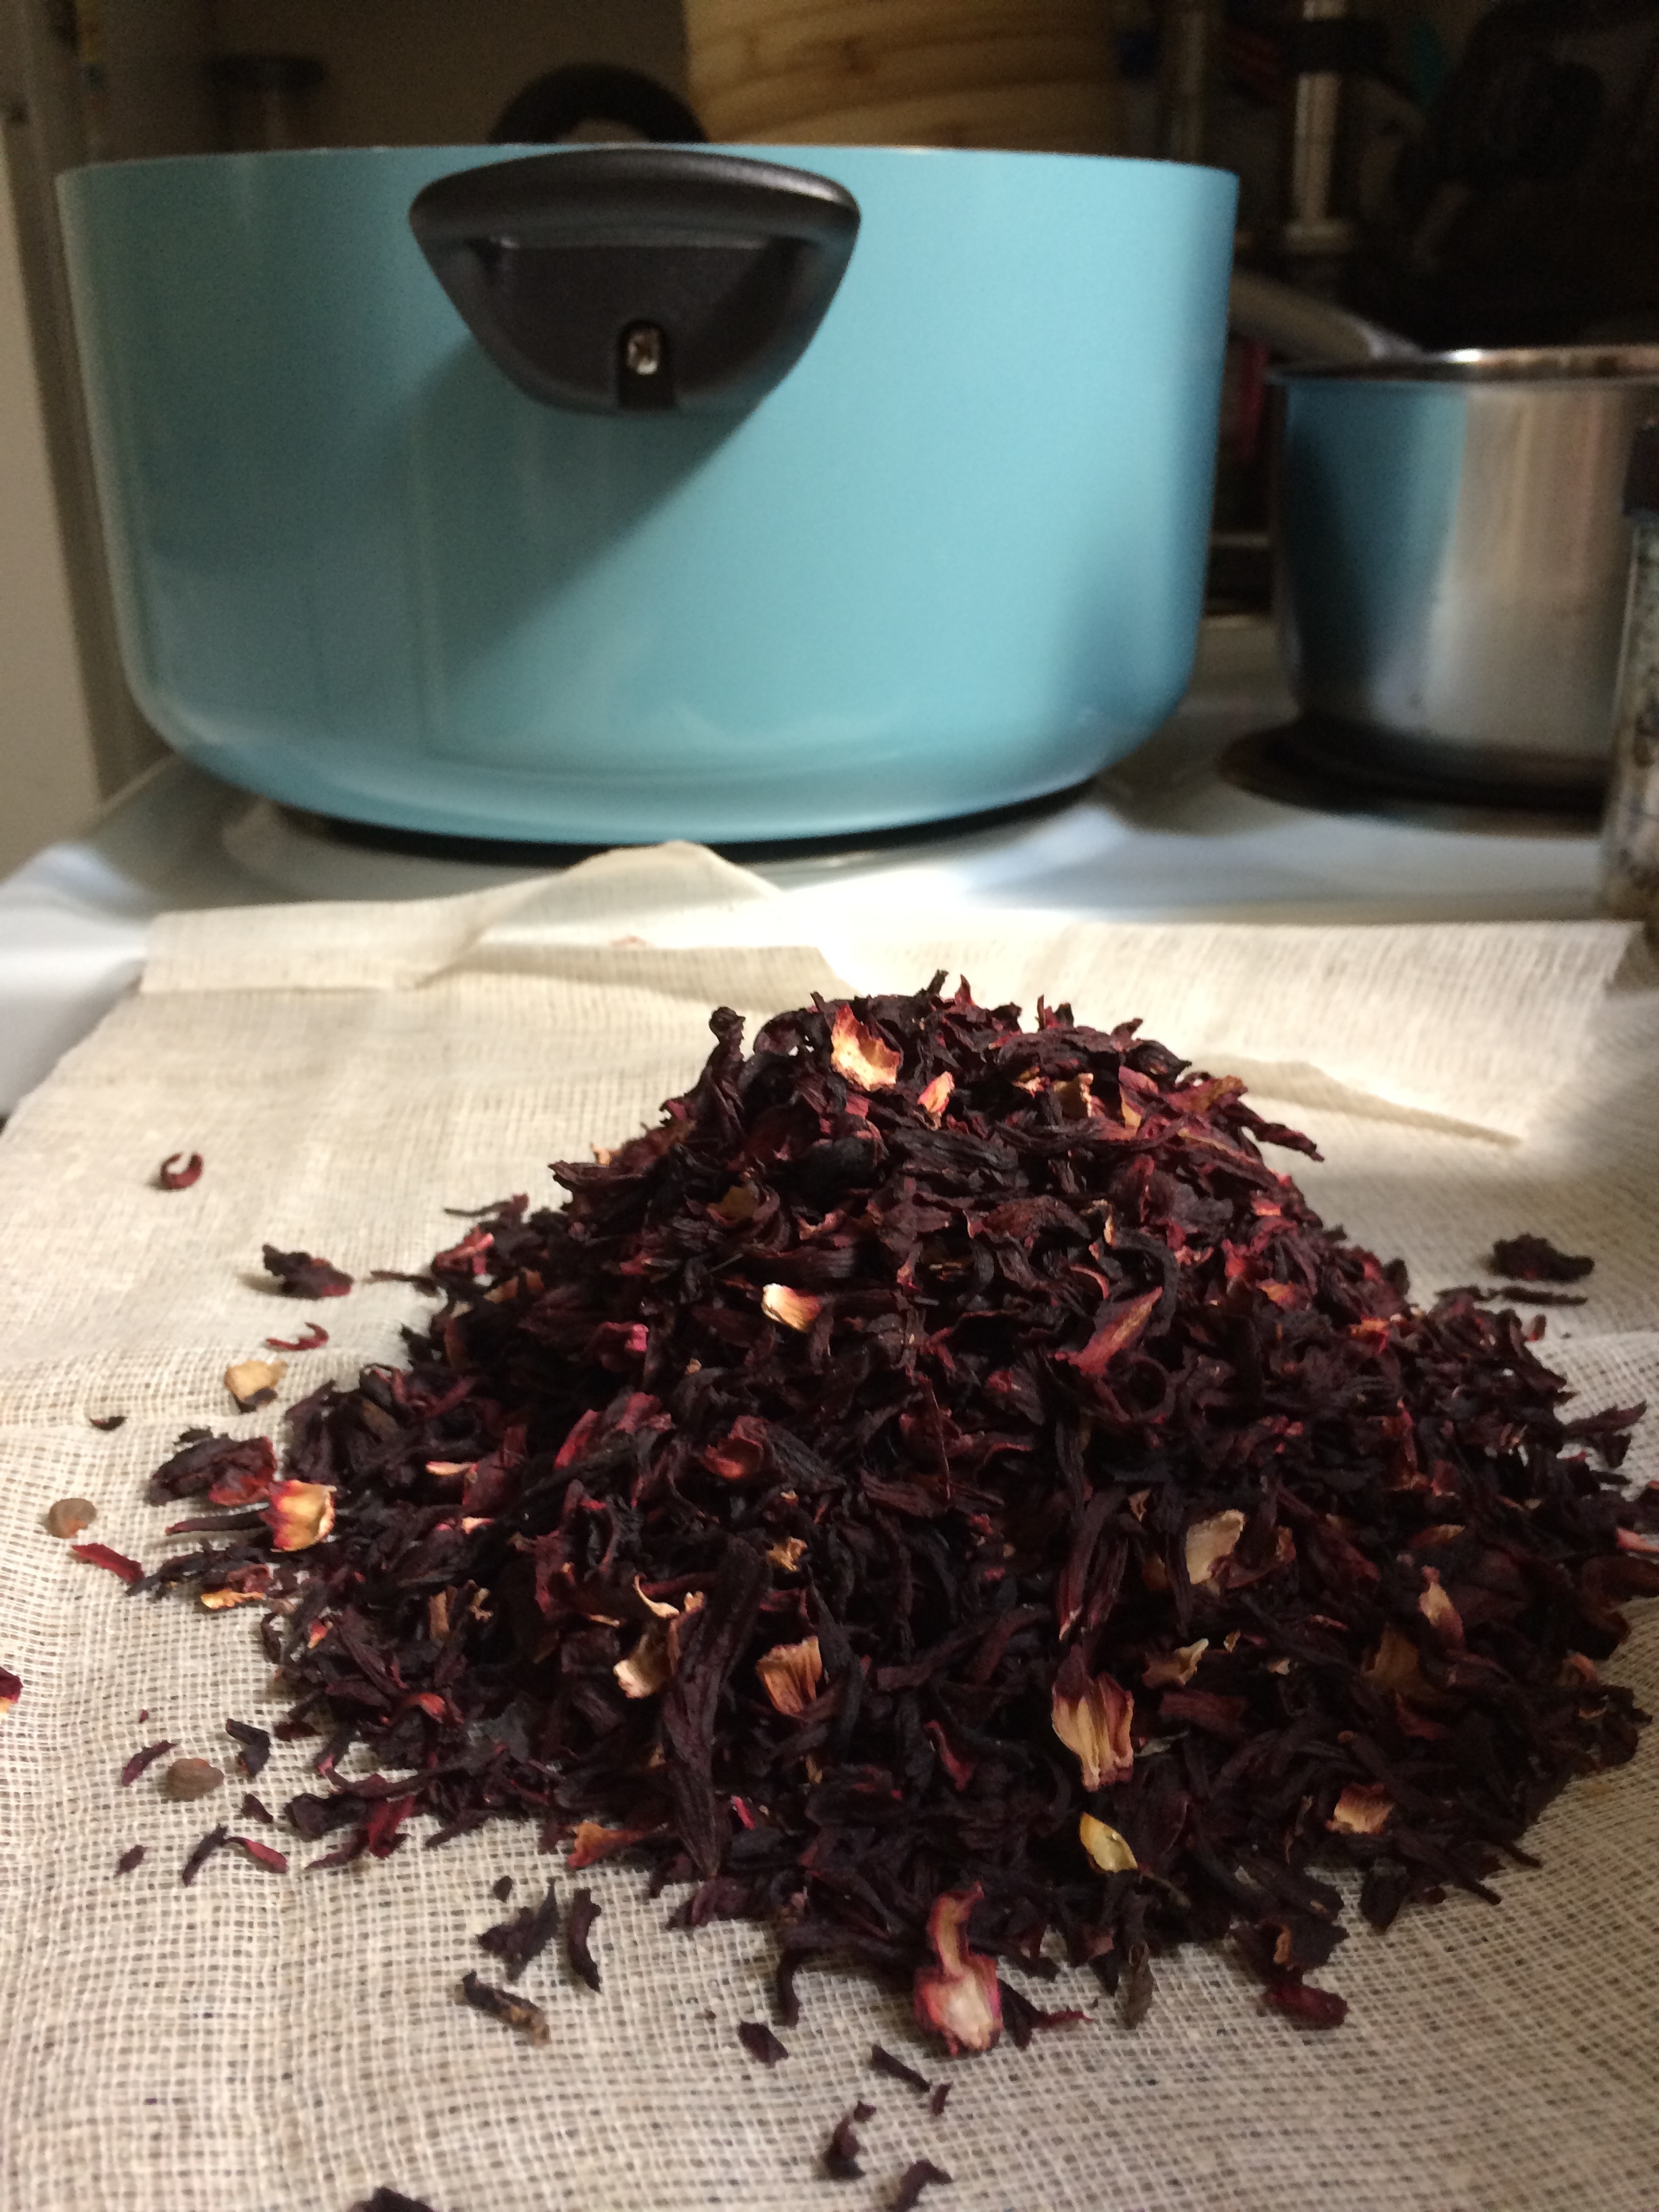
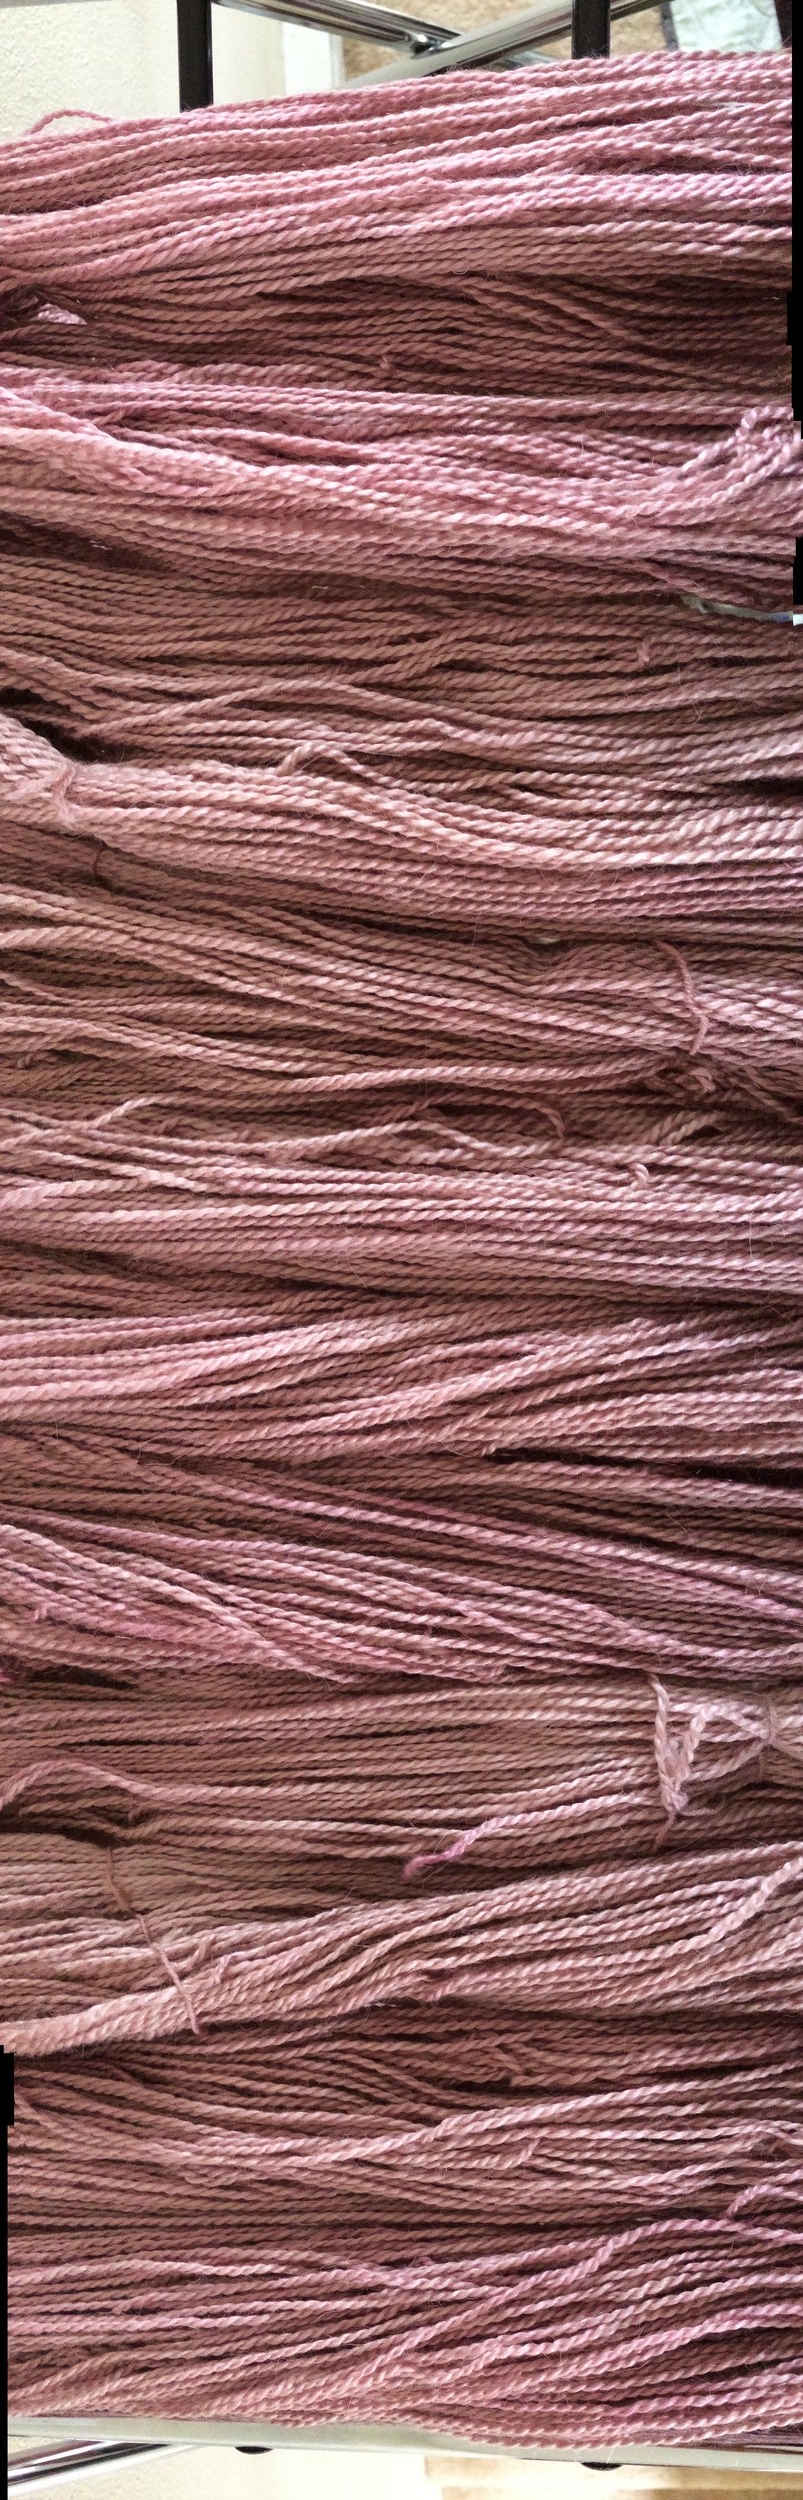
Not so long ago I found out that hibiscus petals make for a beautiful dusty rose colour, and because it's such a hard colour to find I decided to take the liberty of getting a bunch of alpaca yarn, and dyeing it such a splendid colour to make something magical.

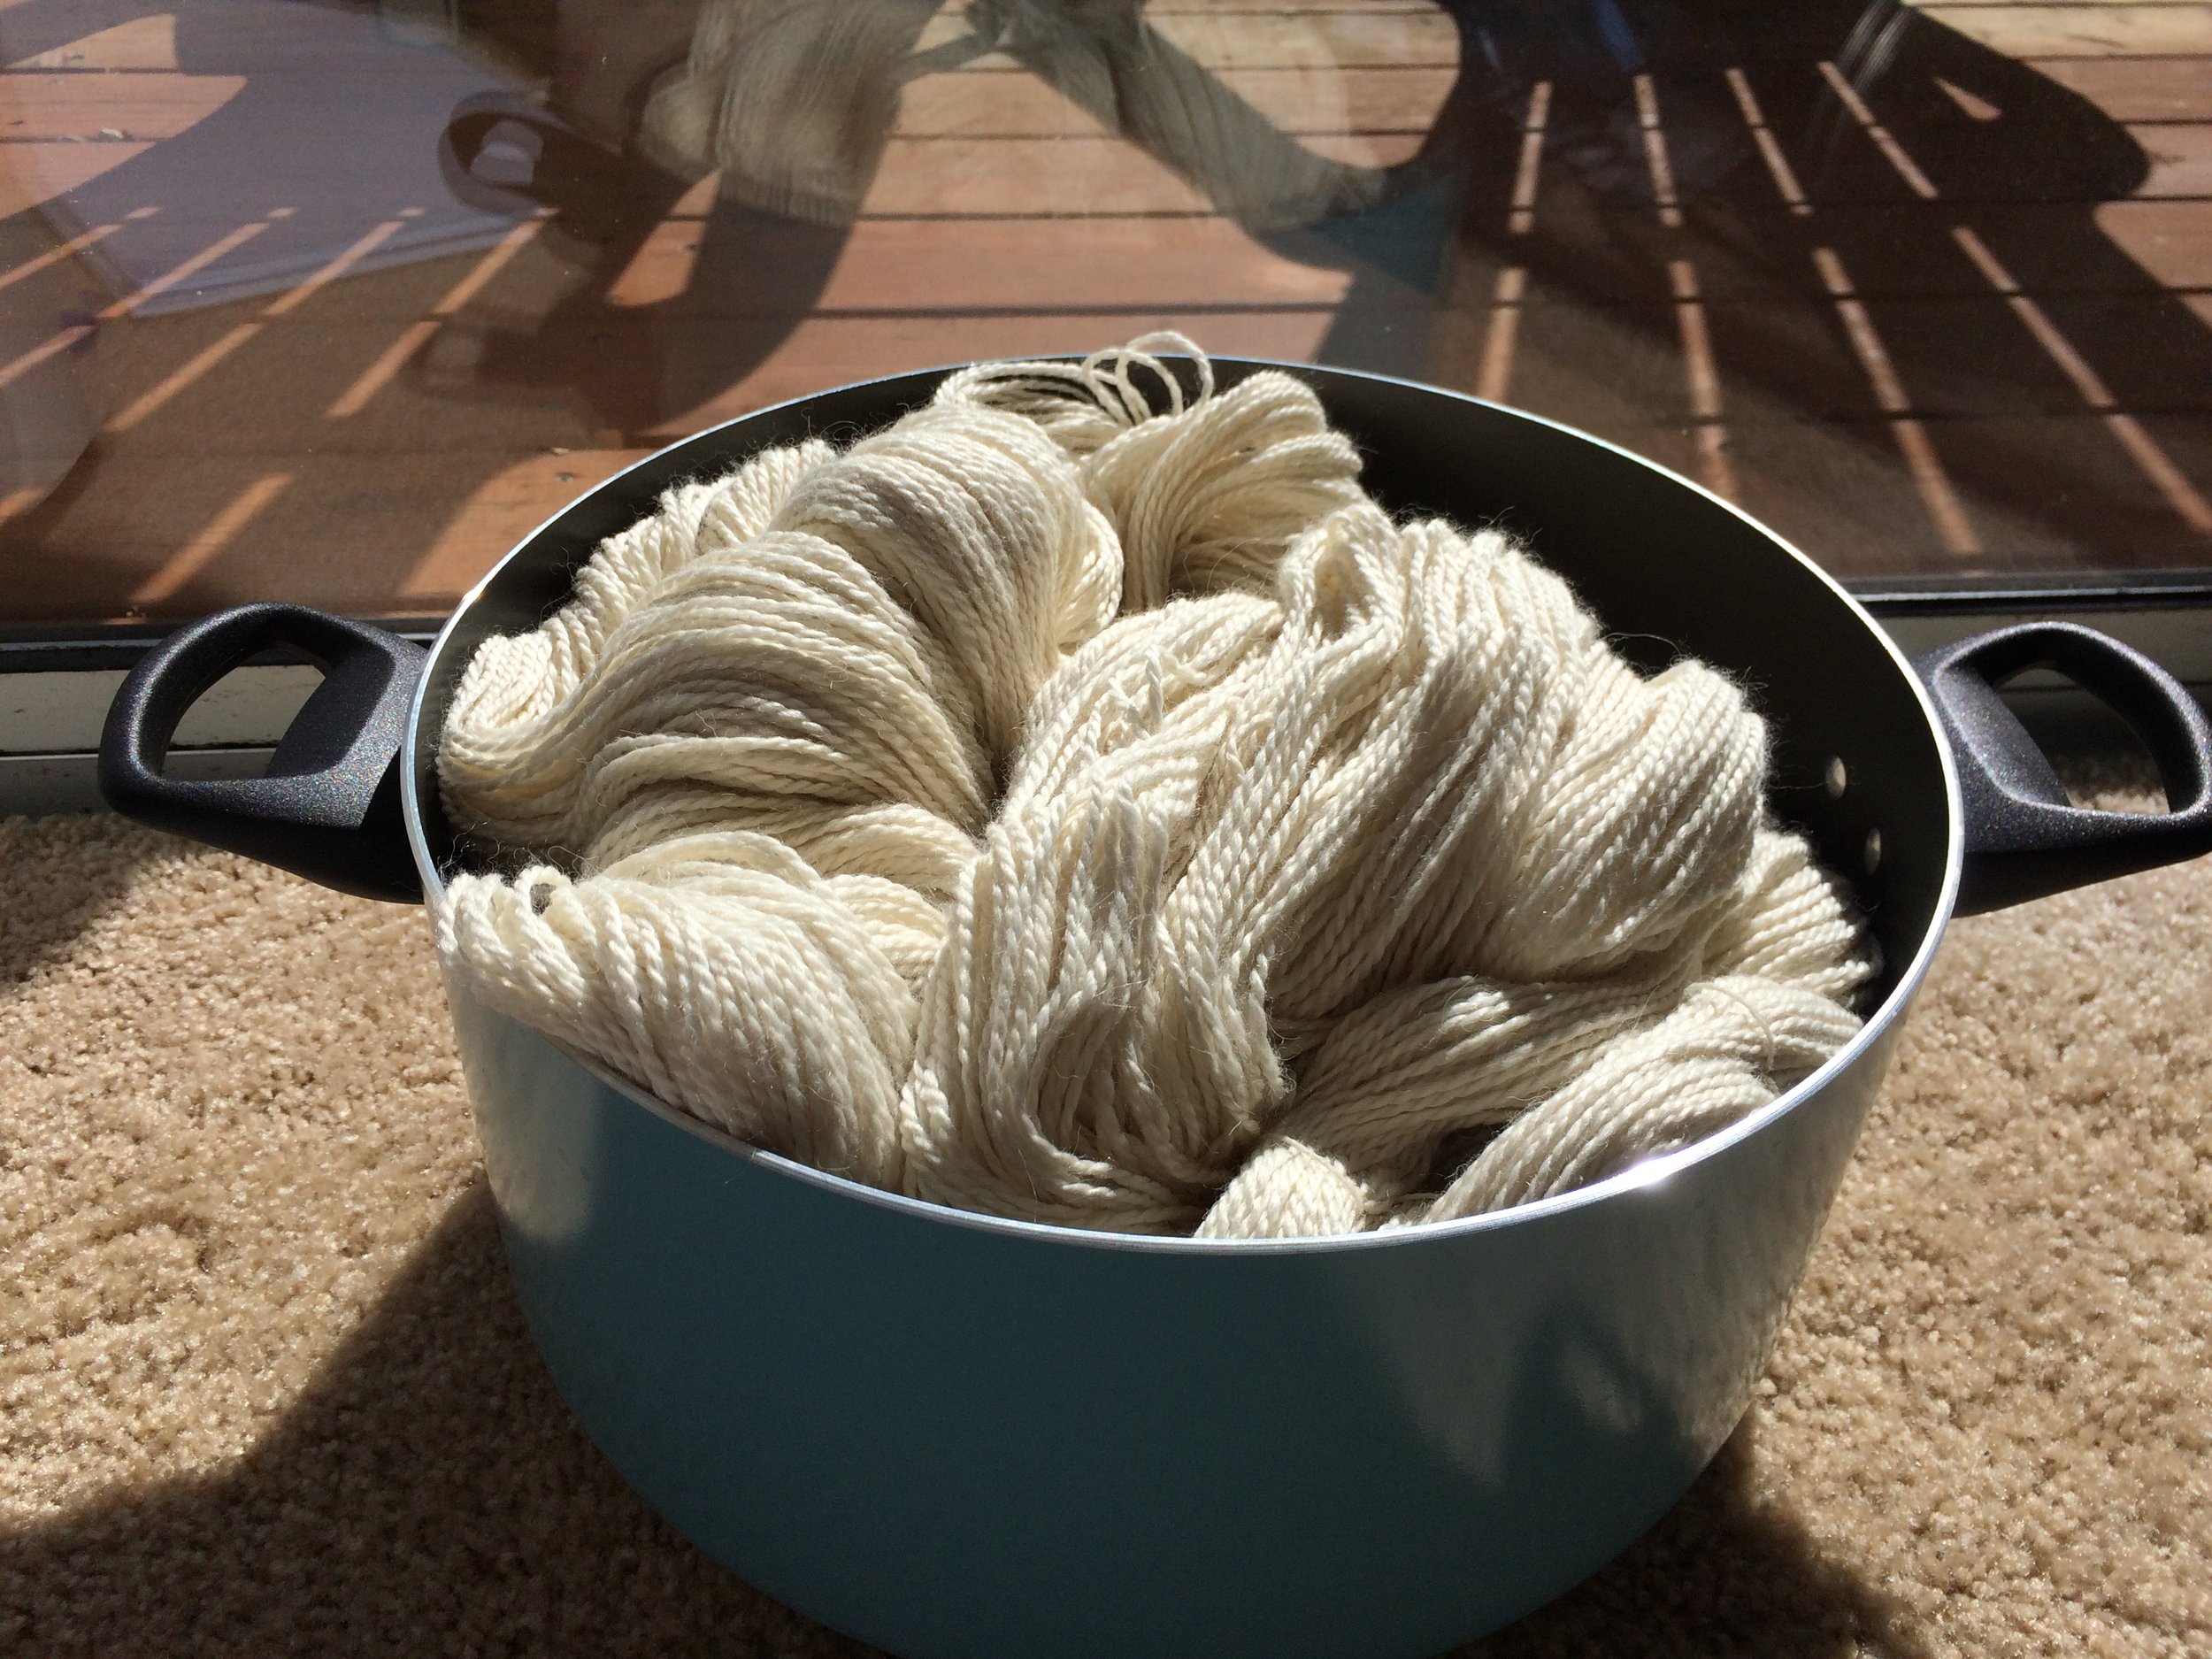
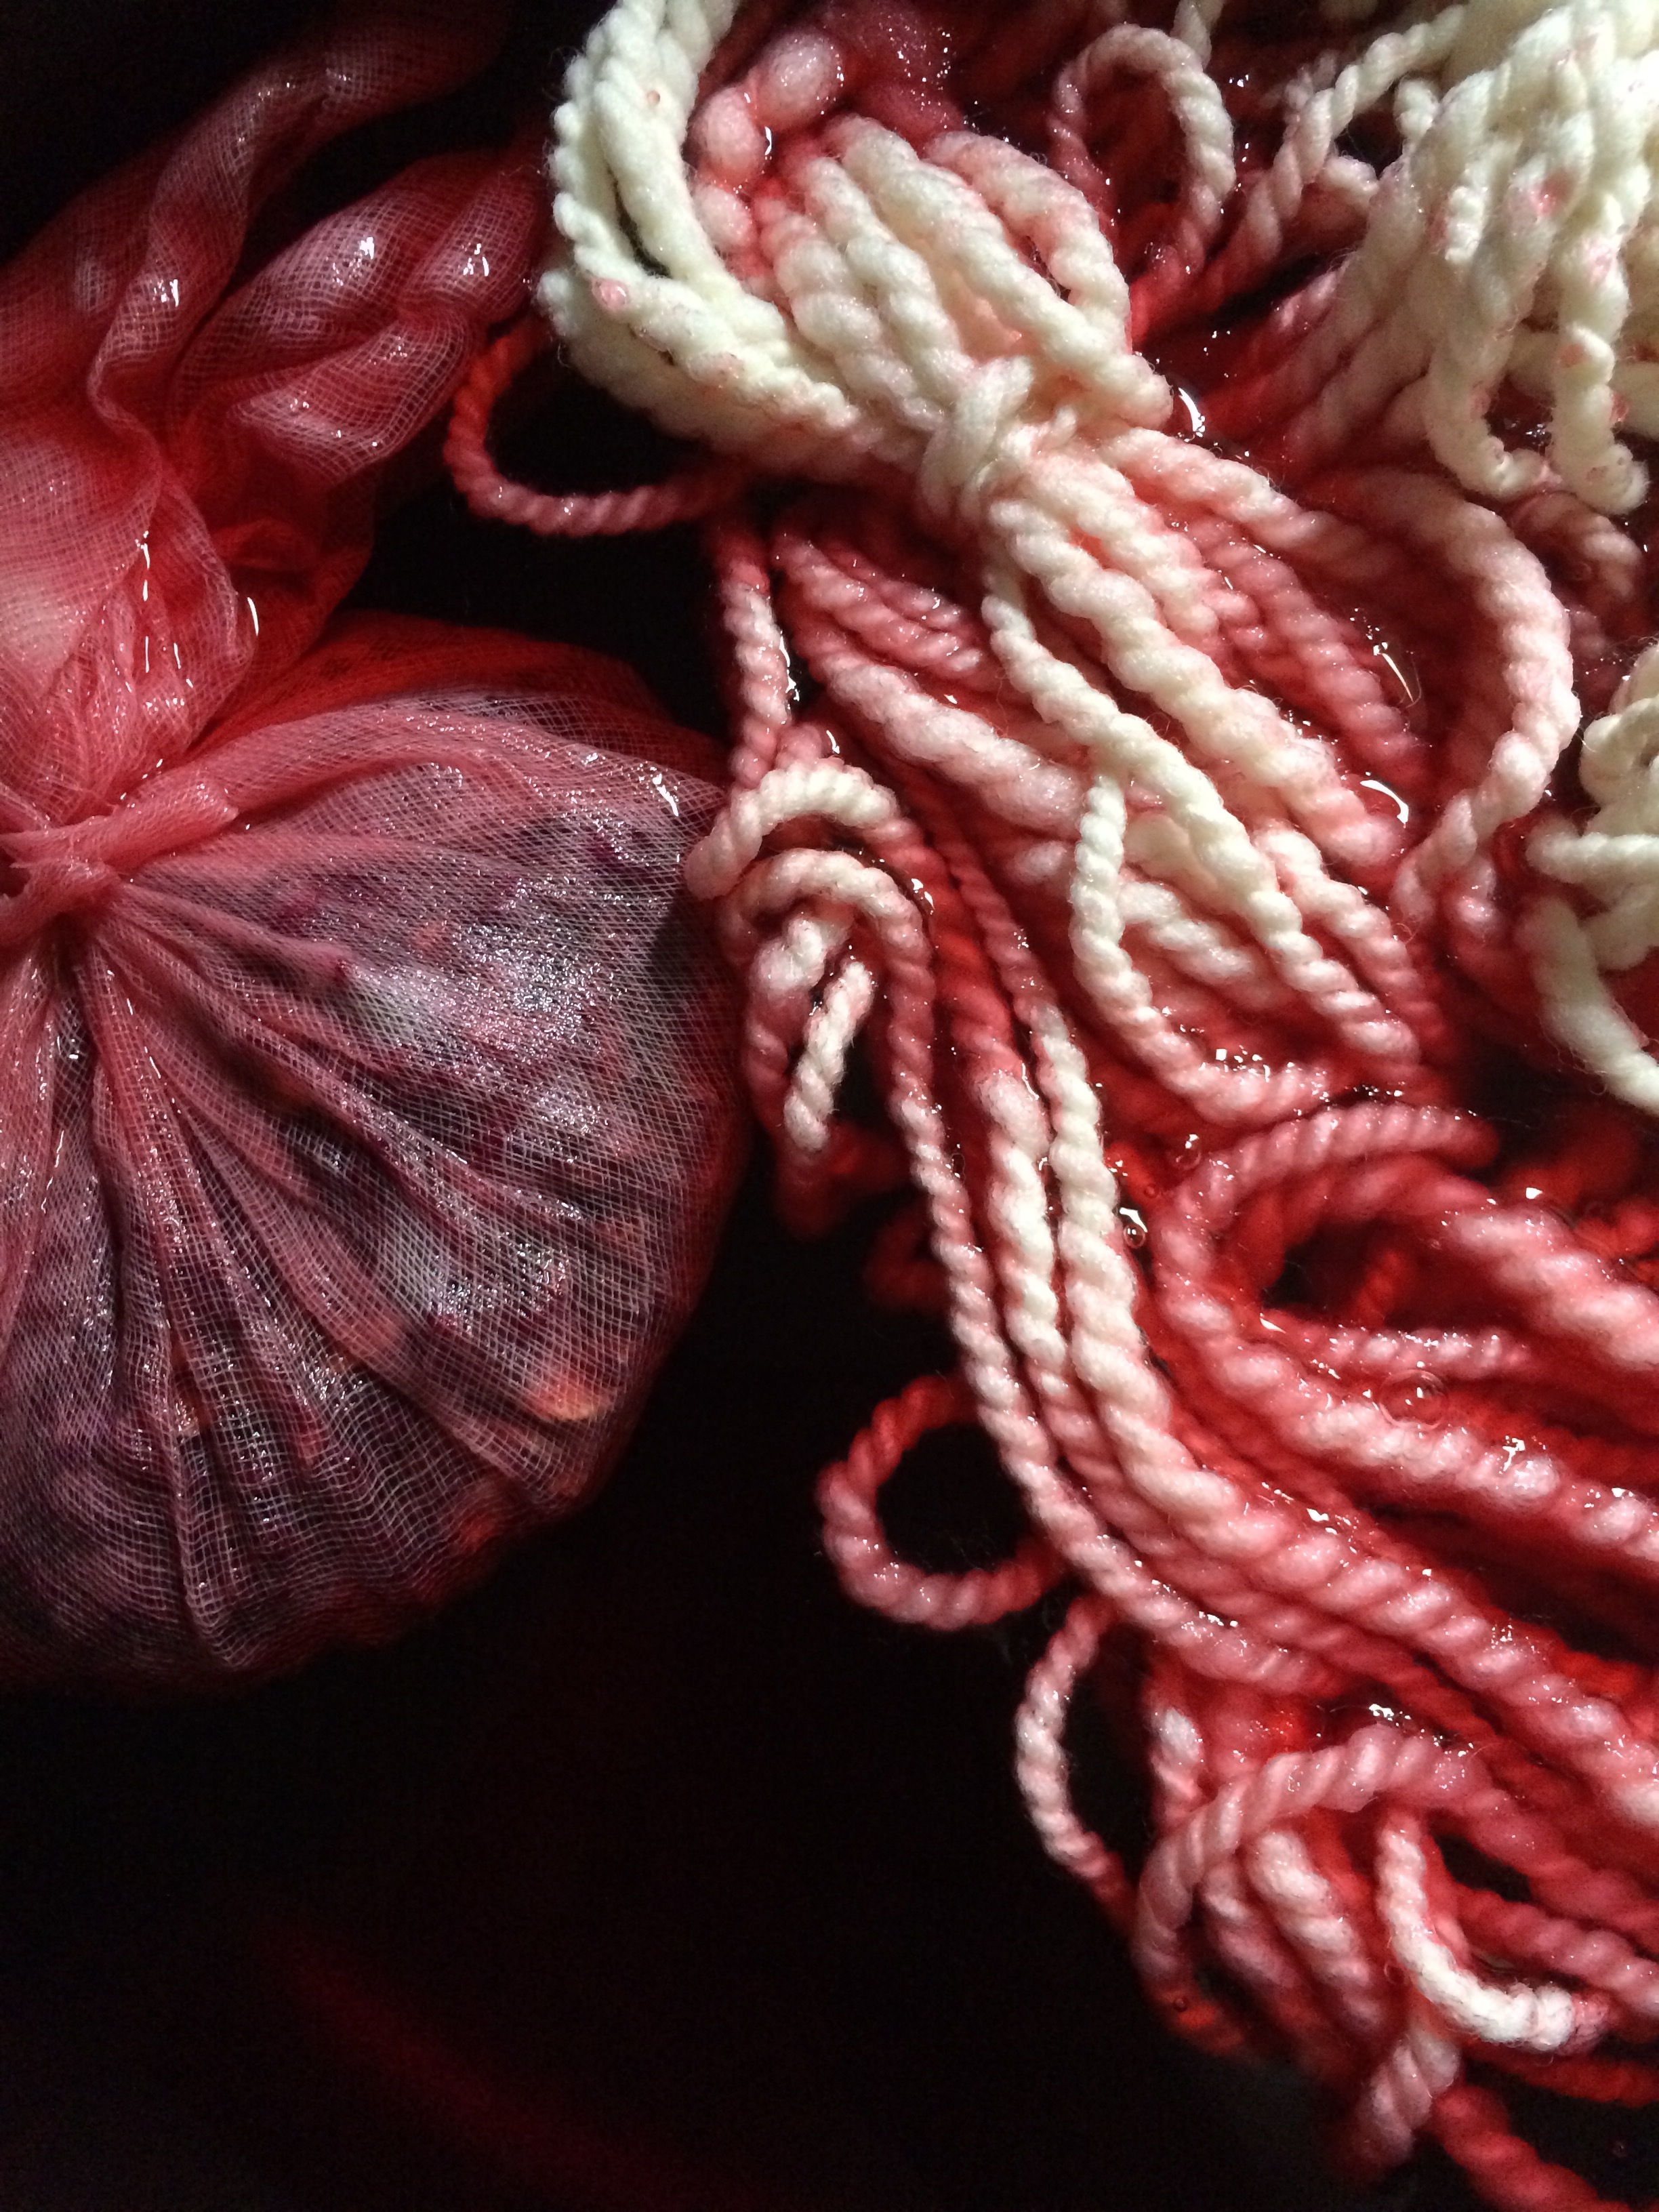
This fiber is 45% Alpaca, 25% Merino Wool, and 30% silk.  

And yes, it is positively luscious.

Since I've already worked with this dye, and have been doing a good bit of natural dyeing in general, I thought for this blogpost I would talk about how the different fiber made for a very different experience than the 100% wool I've been using before.

So here's how it varied

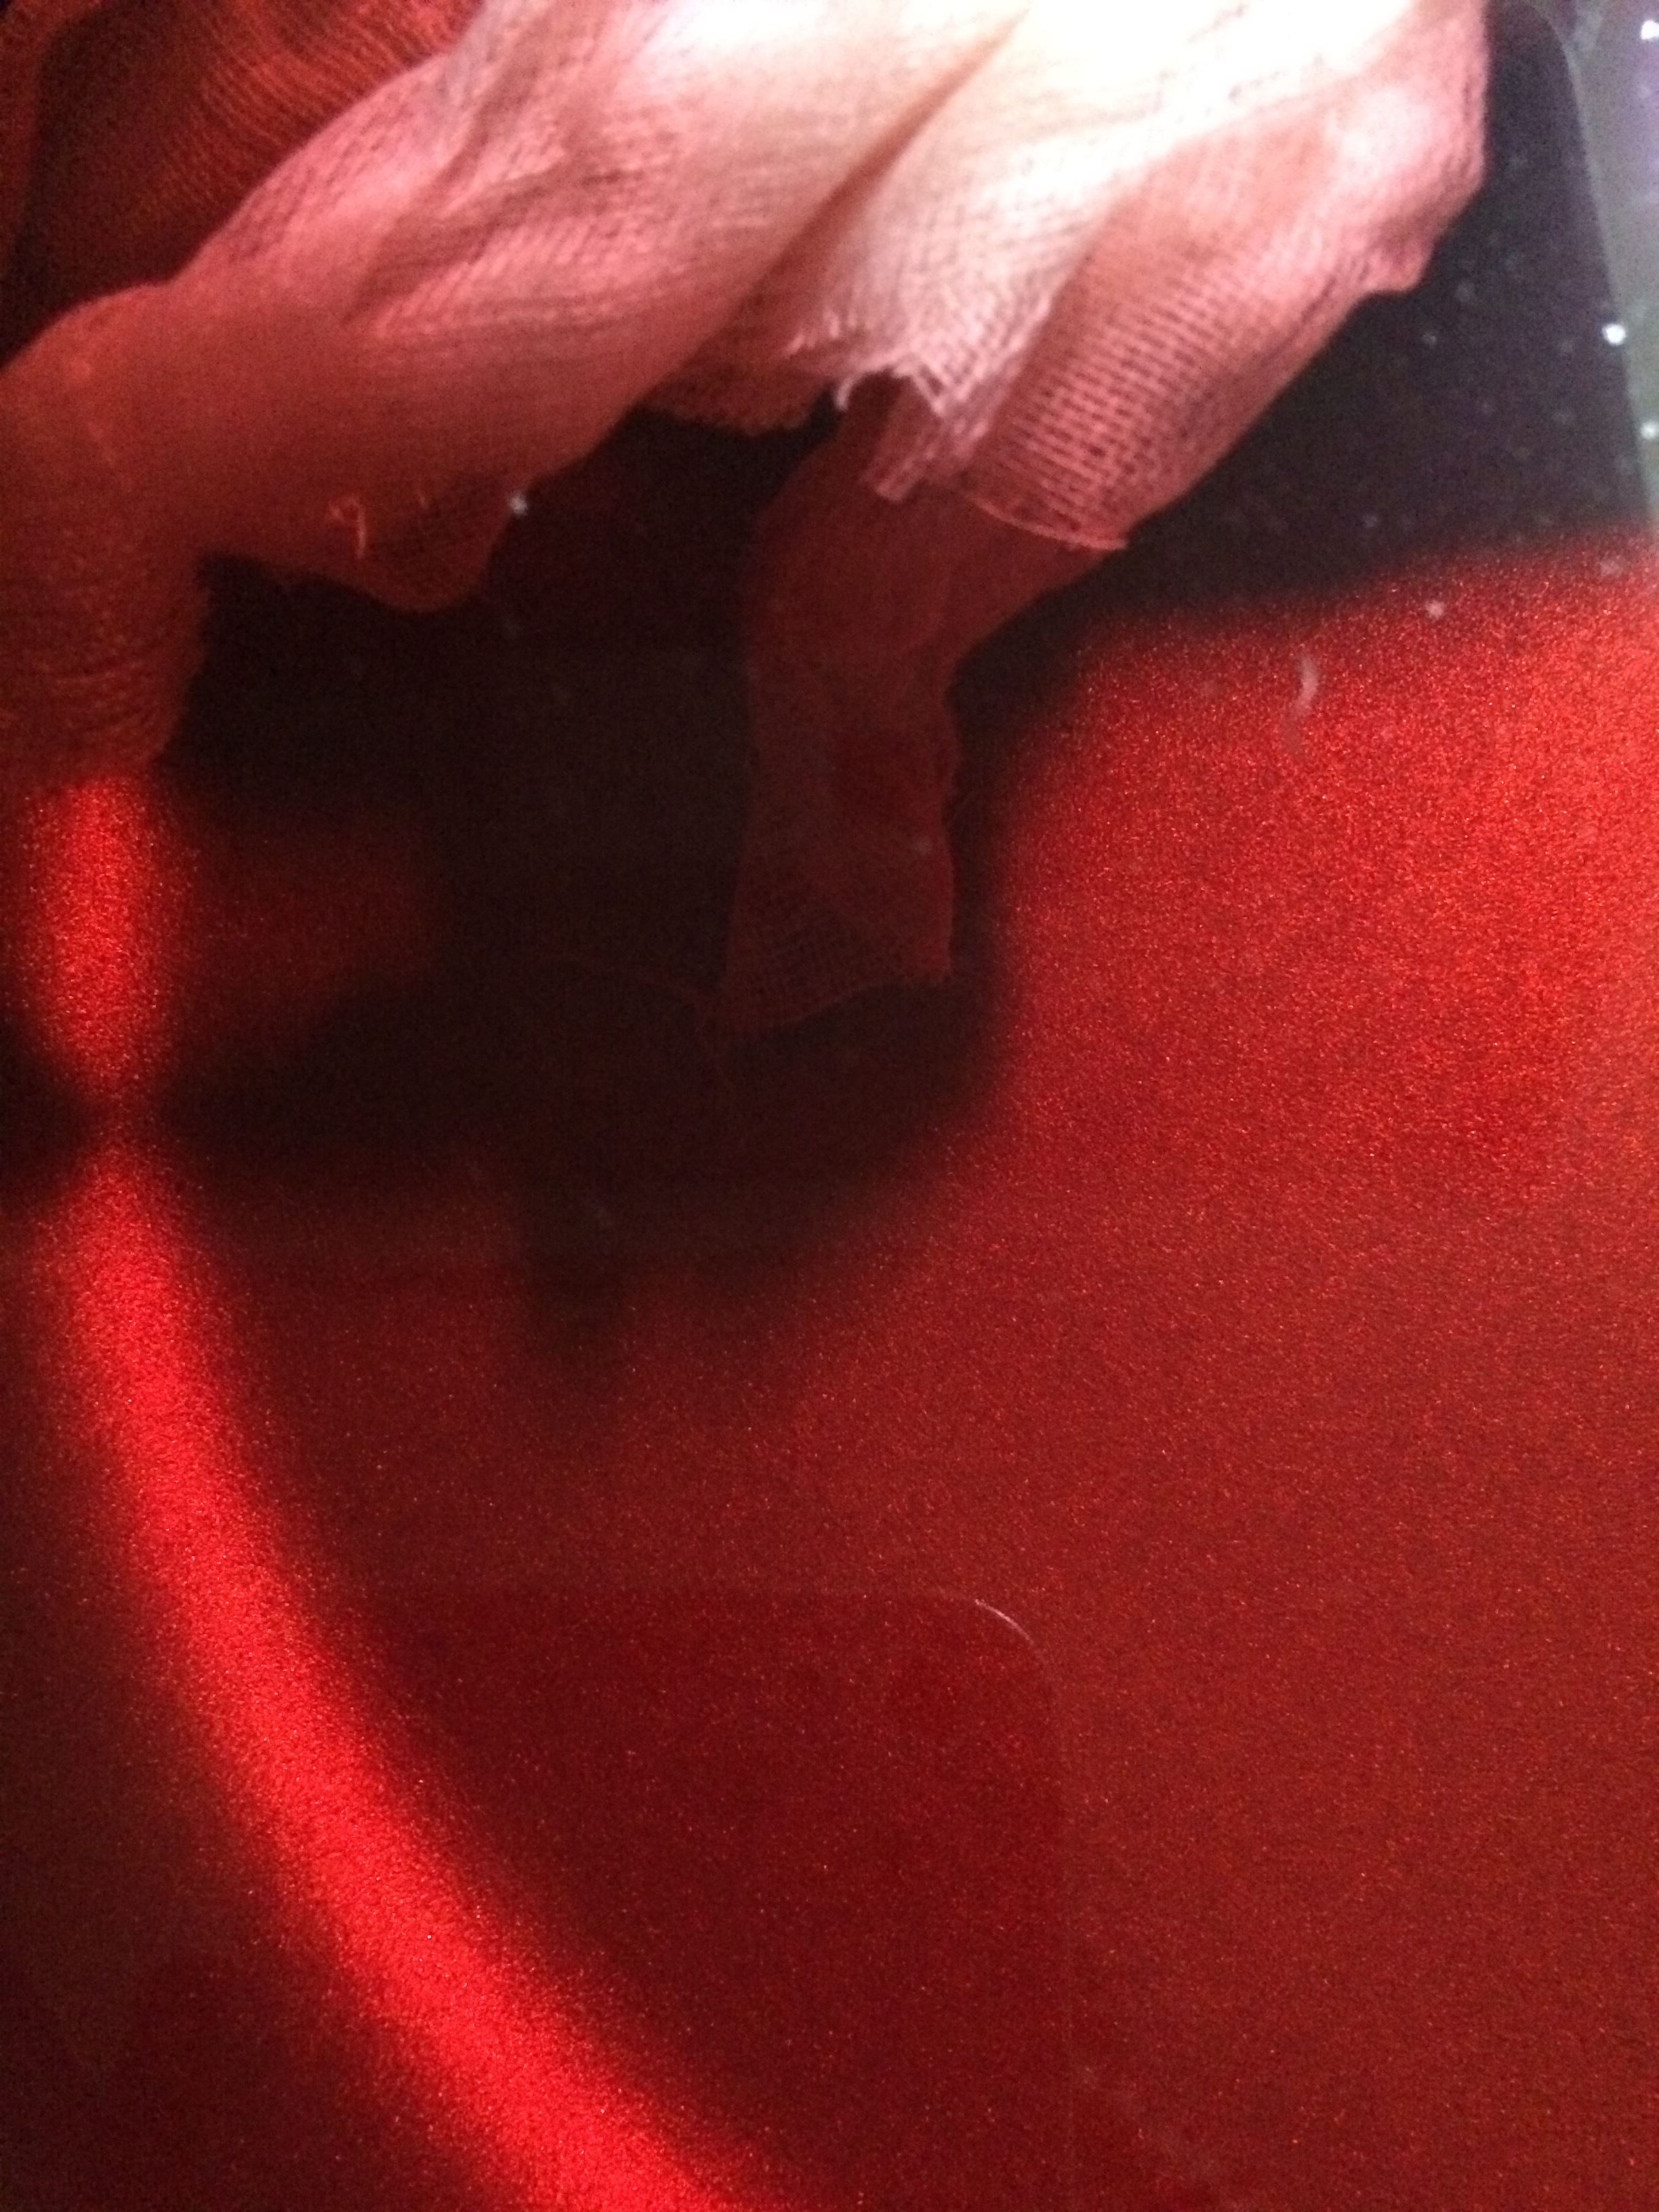
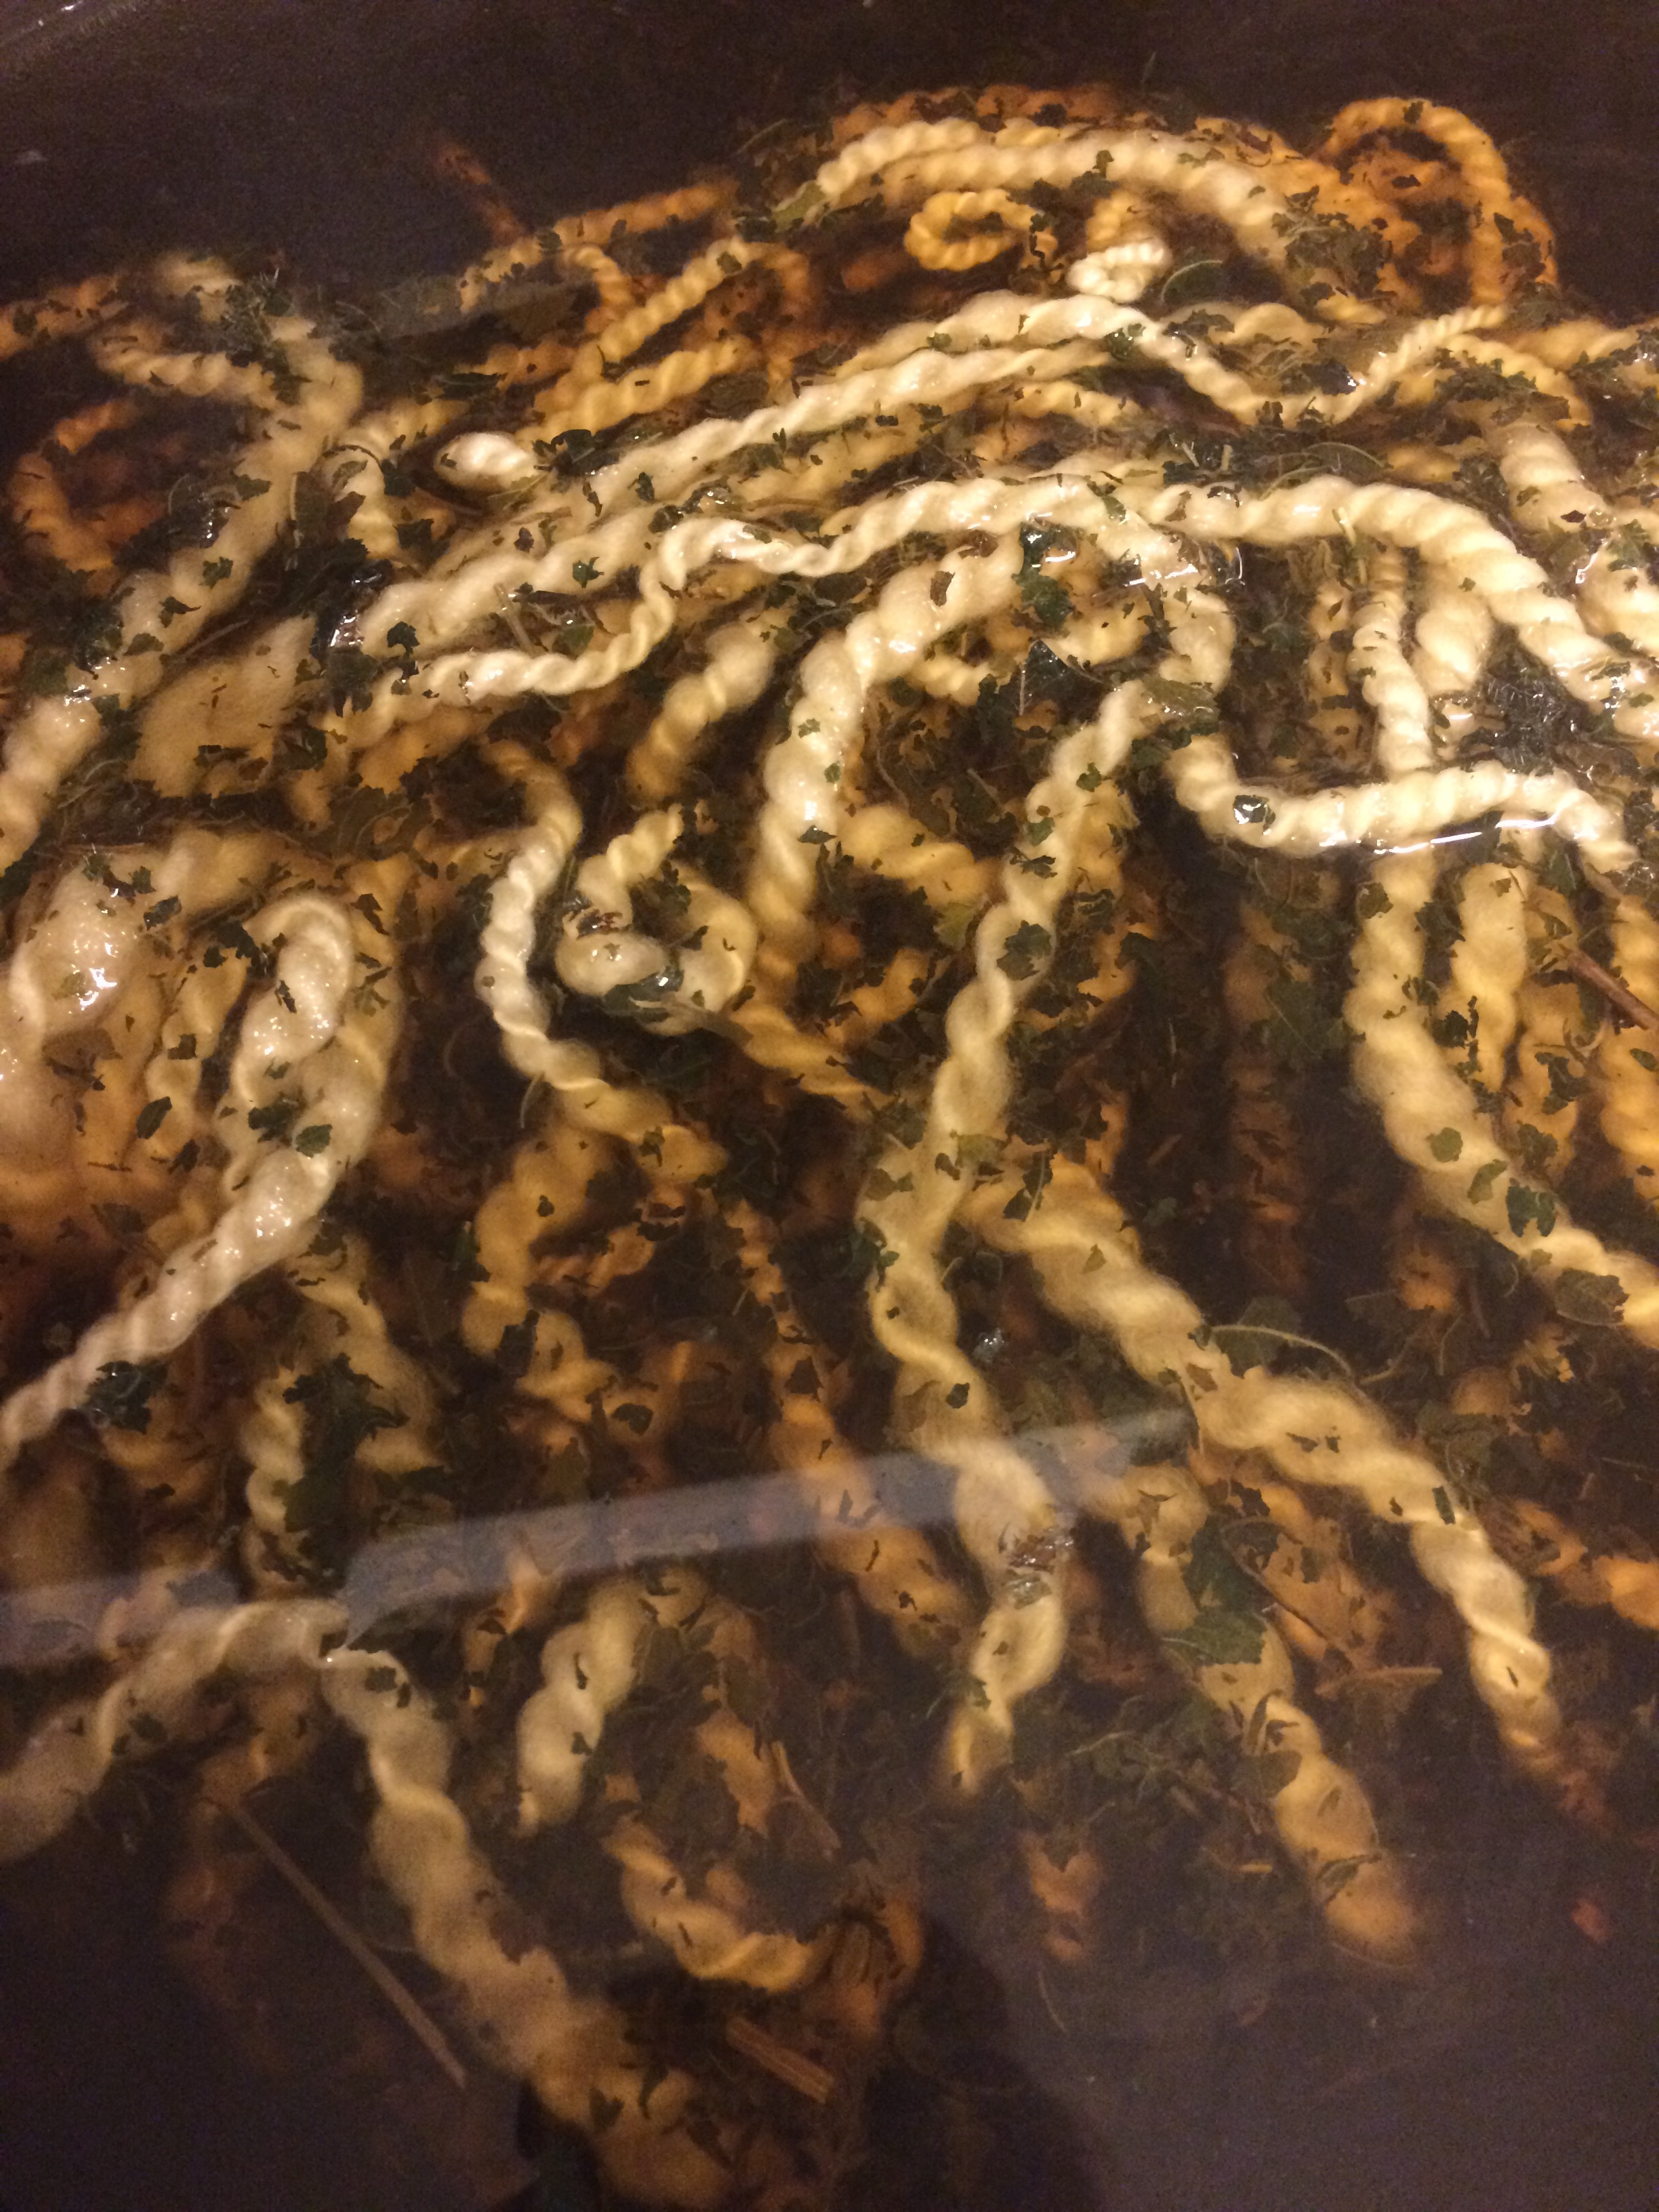
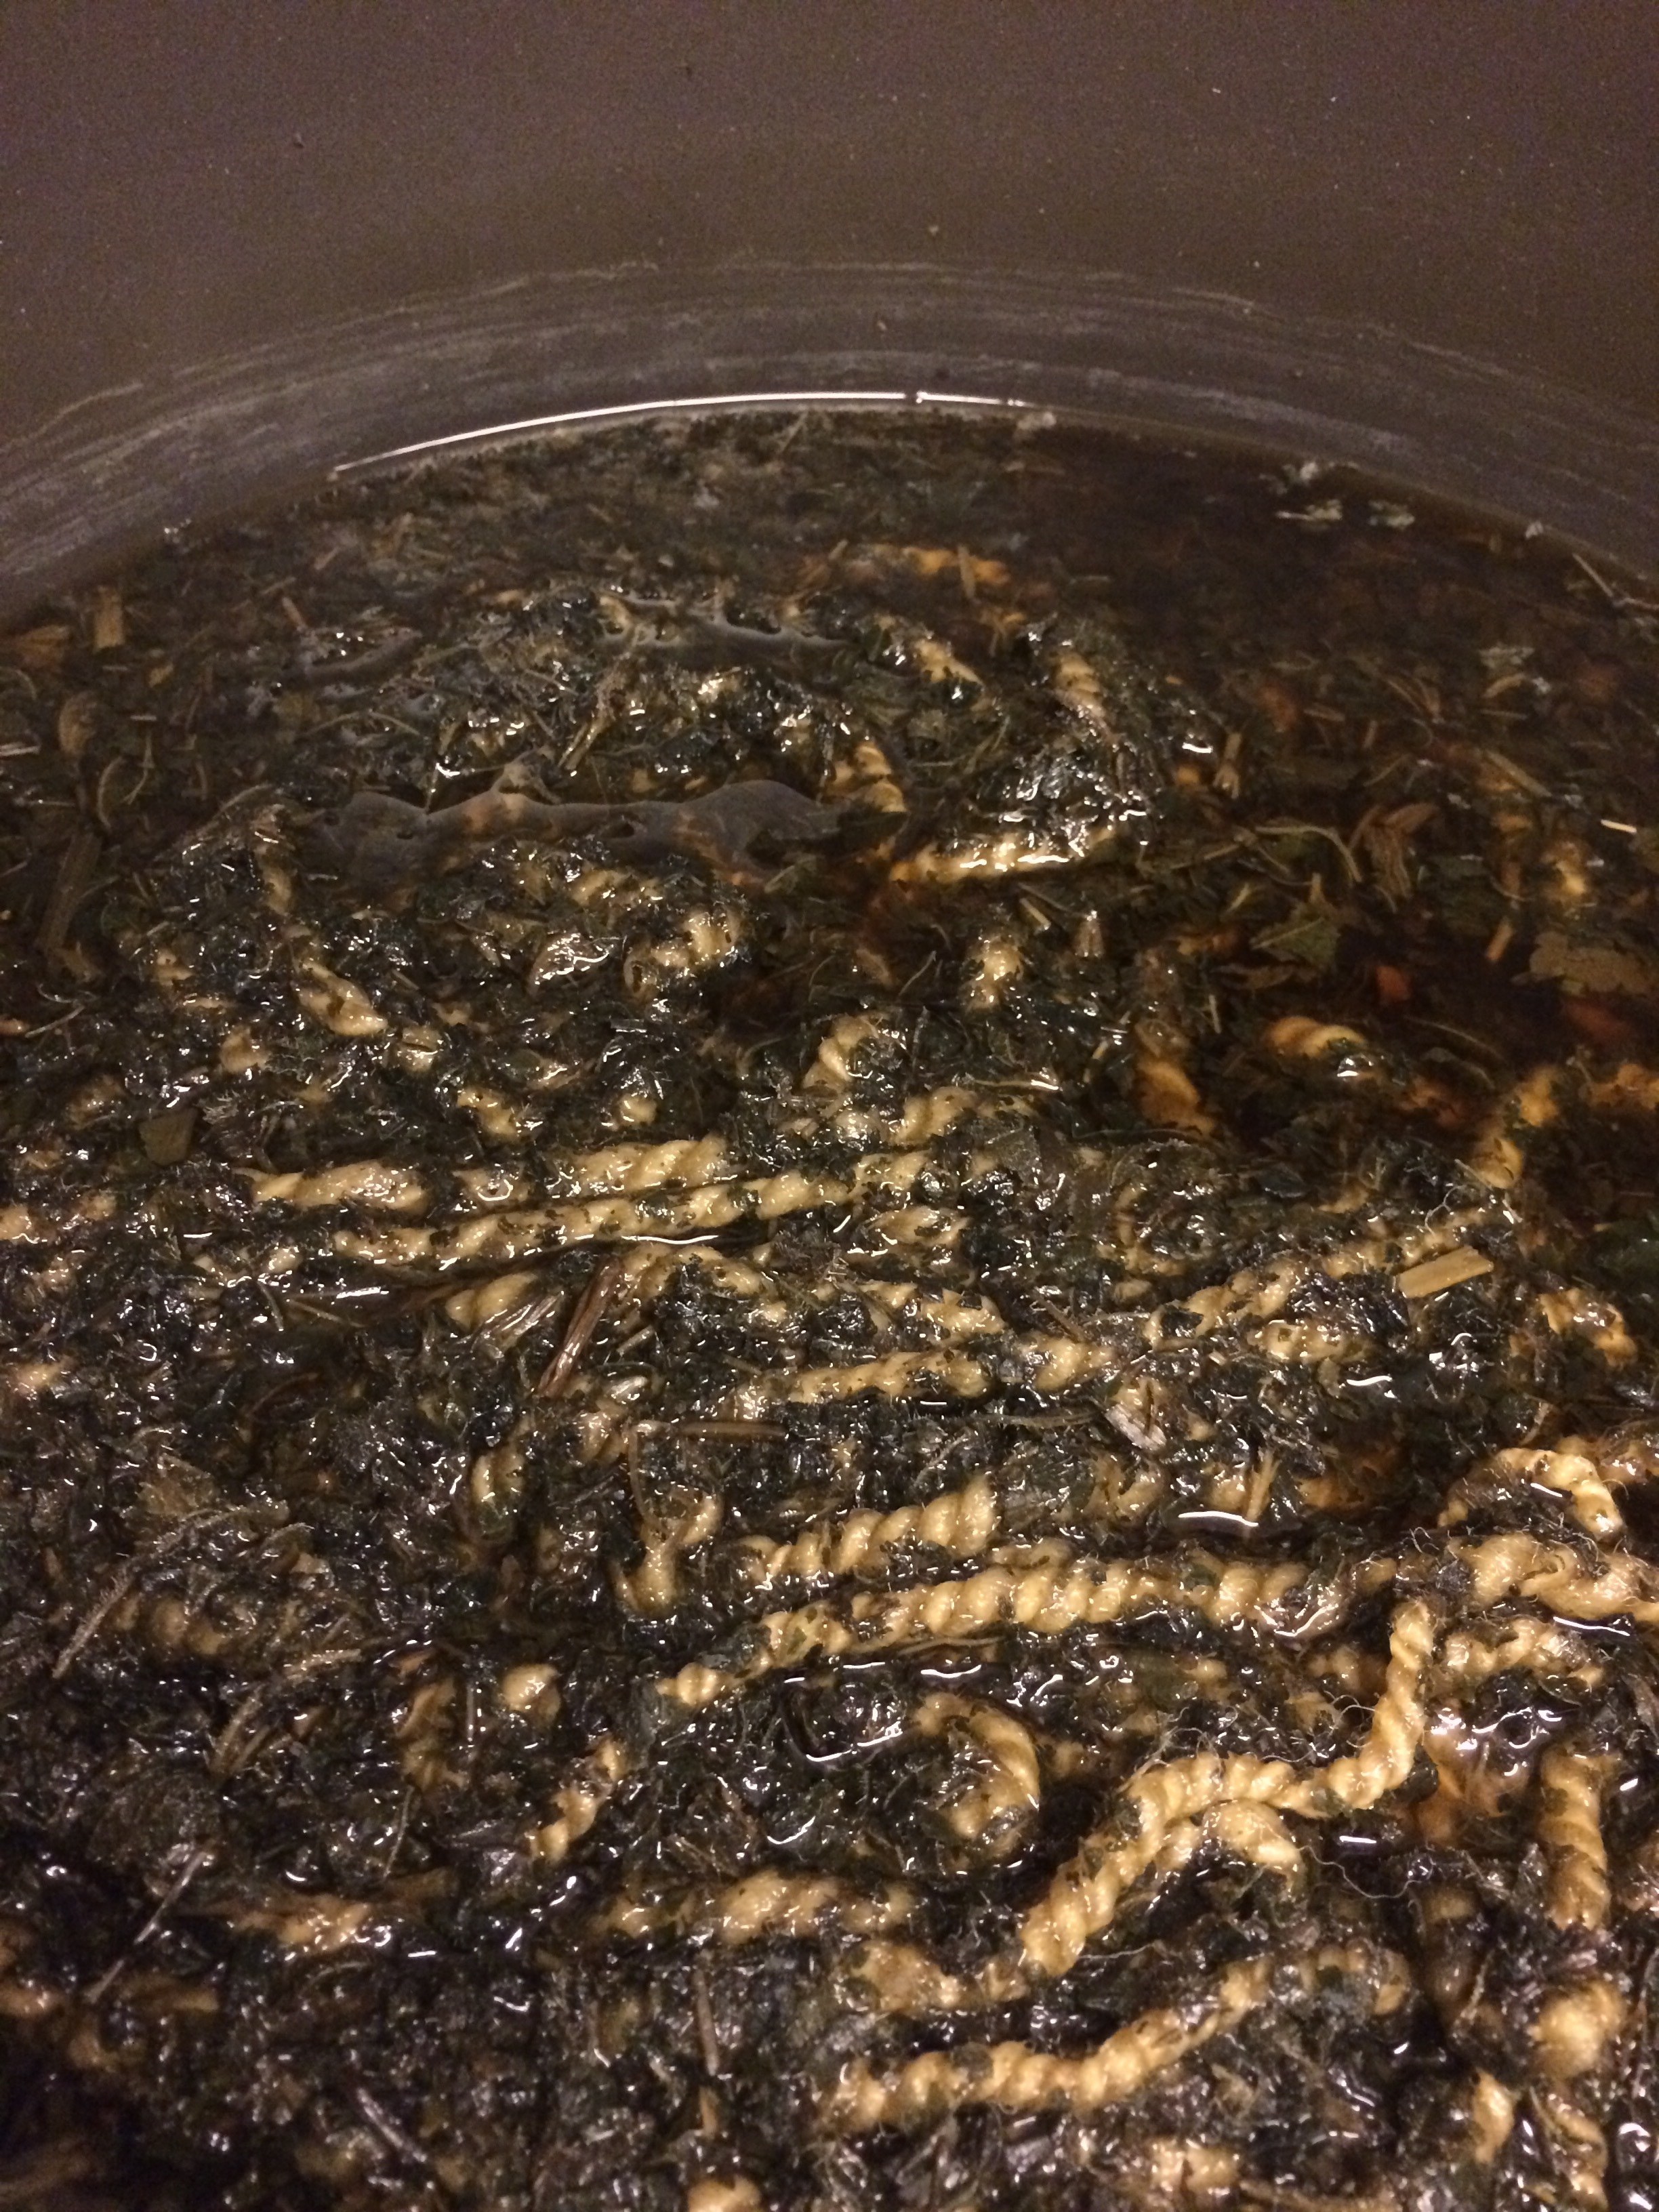
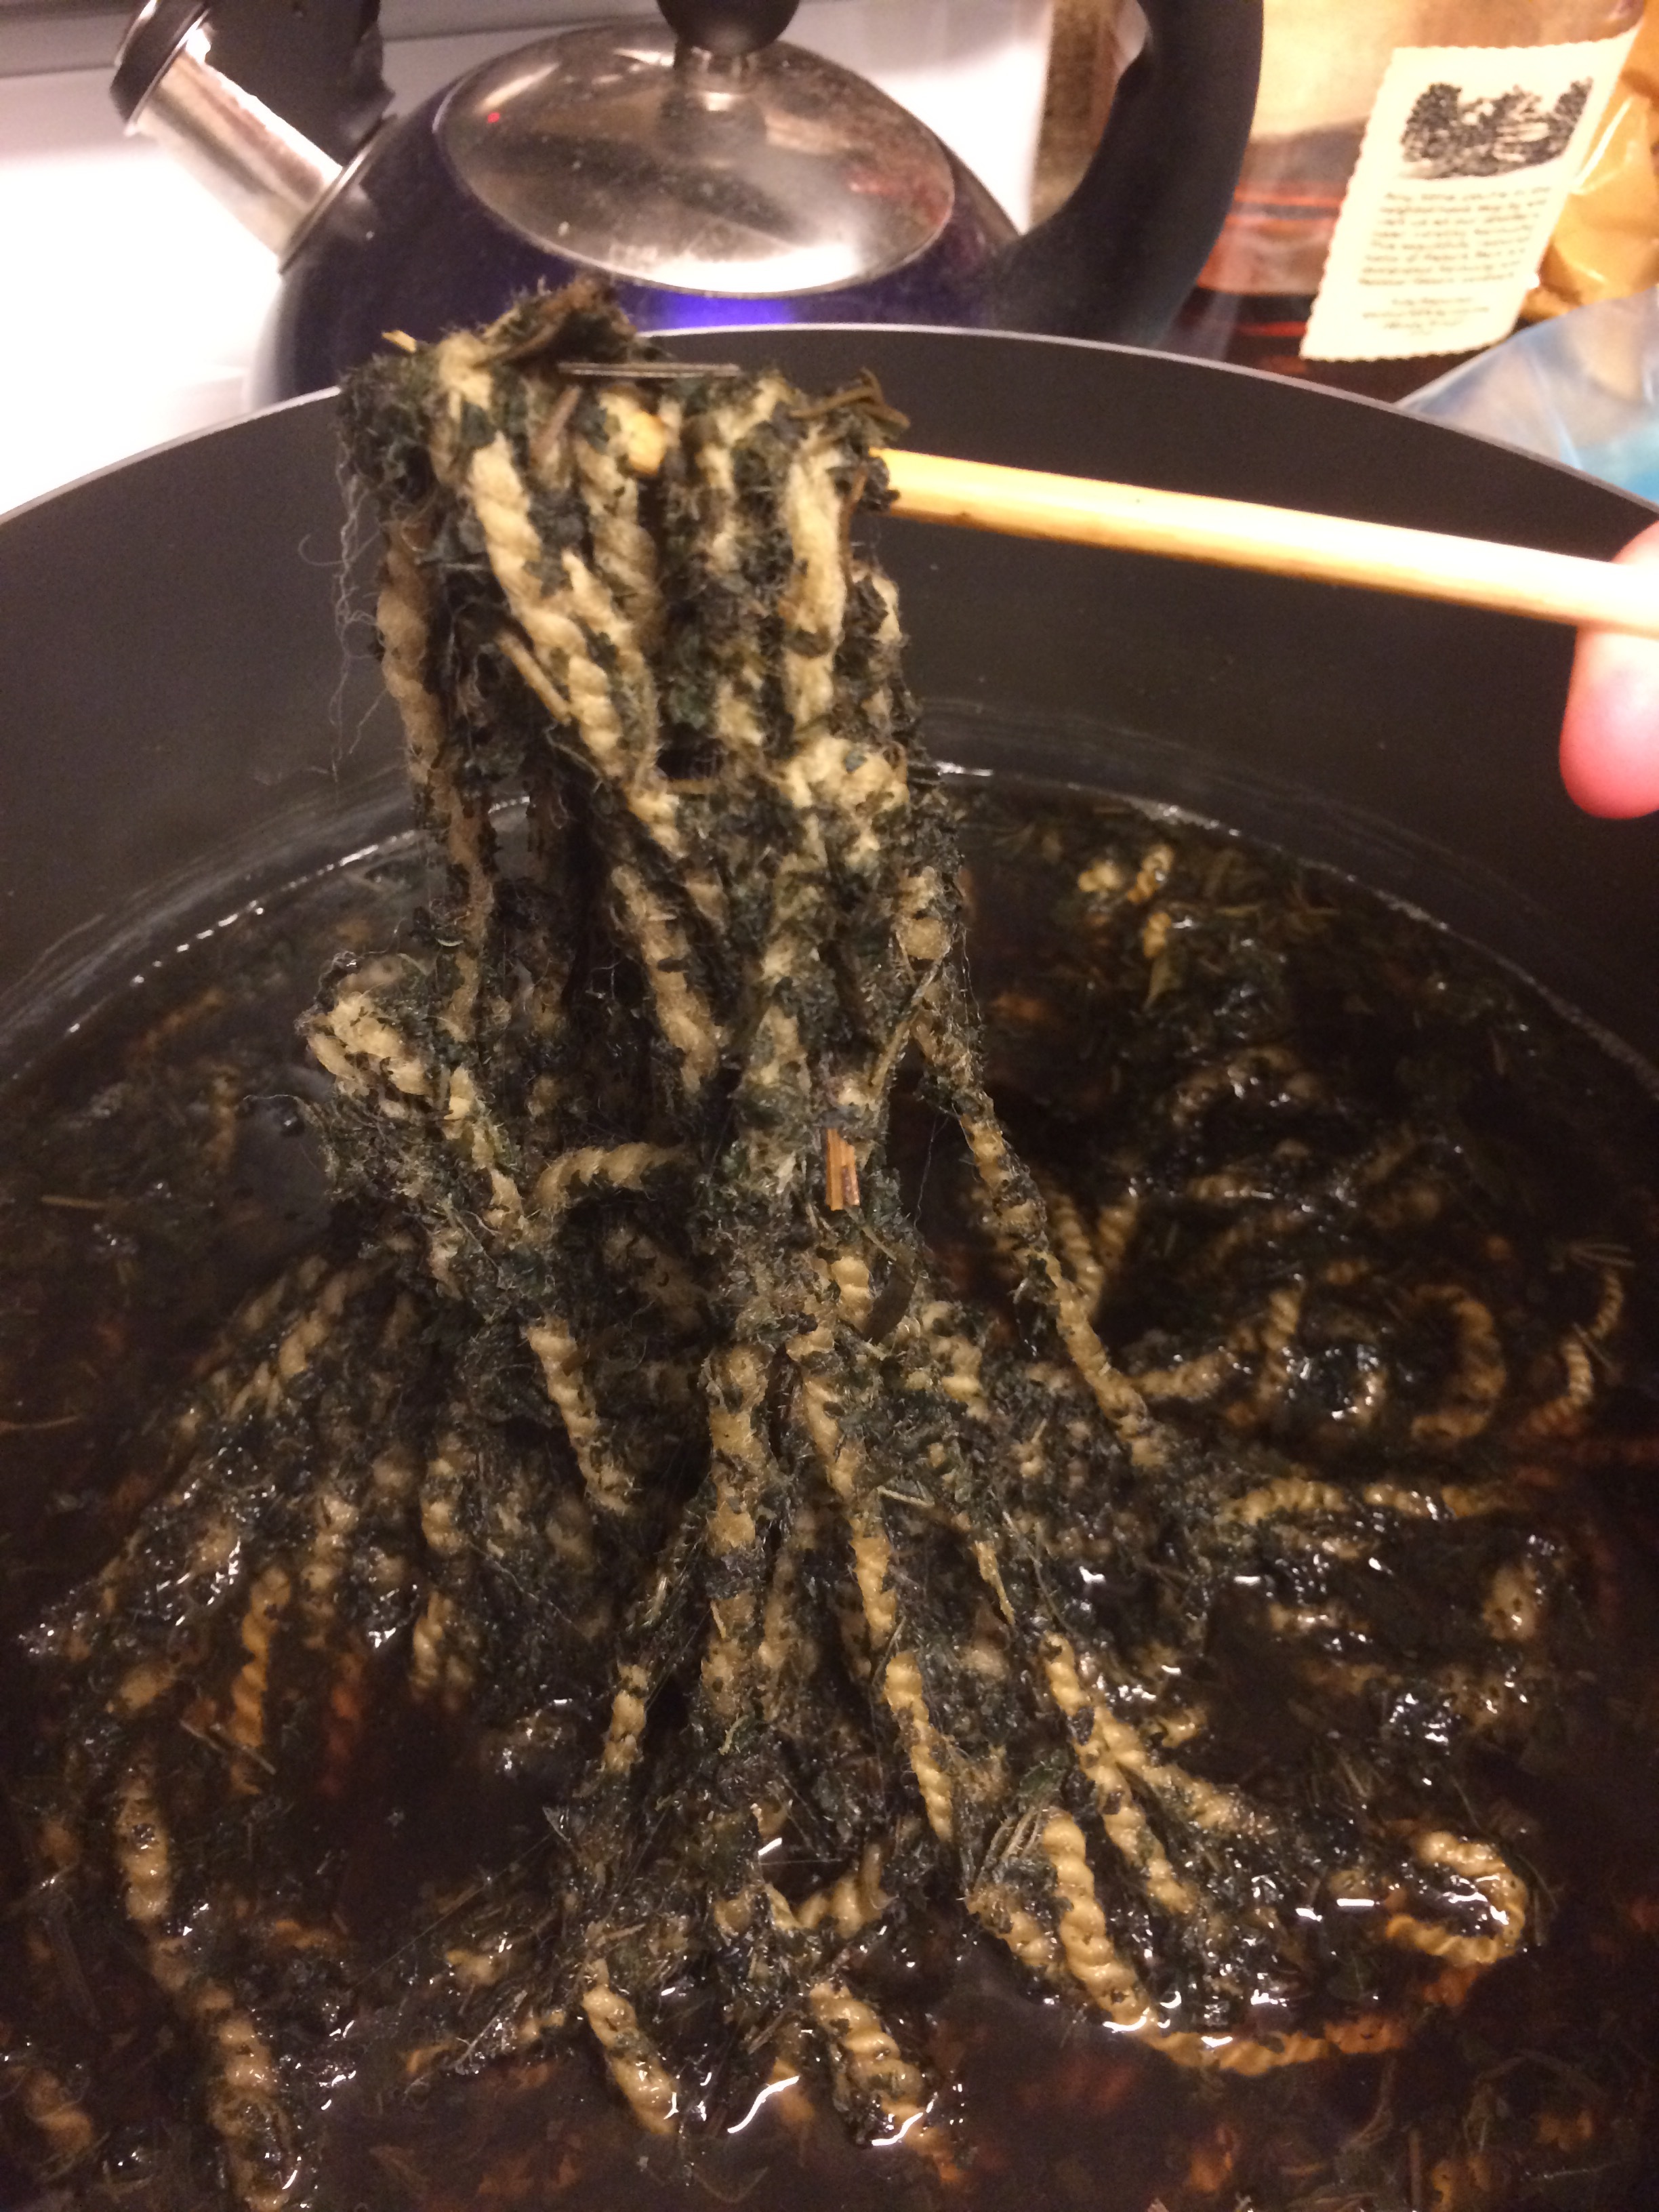
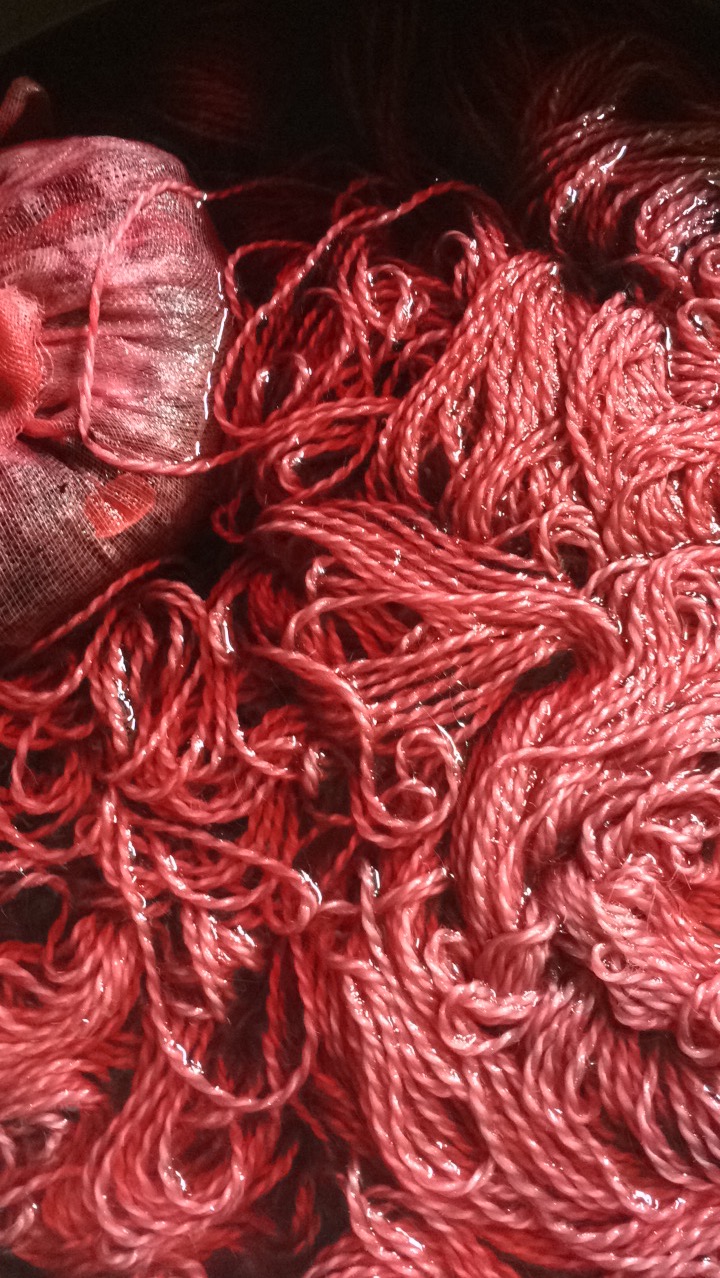
  • To start, the alpaca blend absorbed the colour far more quickly than the wool.  With the wool I was letting it sit on heat for about 5 hours and then let it cool with the water over night to get the dusty rose colour, the alpaca blend soaked up this colour within 3 hours of being on heat.
  • The smell of this dyeing process was far less pervasive than the times I dyed wool.  Its smell was fairly mild throughout the process whereas the wool left my entire home smelling.... questionable.
  • The colour turn out was also far more bright with the alpaca blend.  Comparing the two side by side (alpaca blend to wool) made me realise that the wool created a bit of a browning effect, whereas the alpaca blend didn't have any muddying undertones.
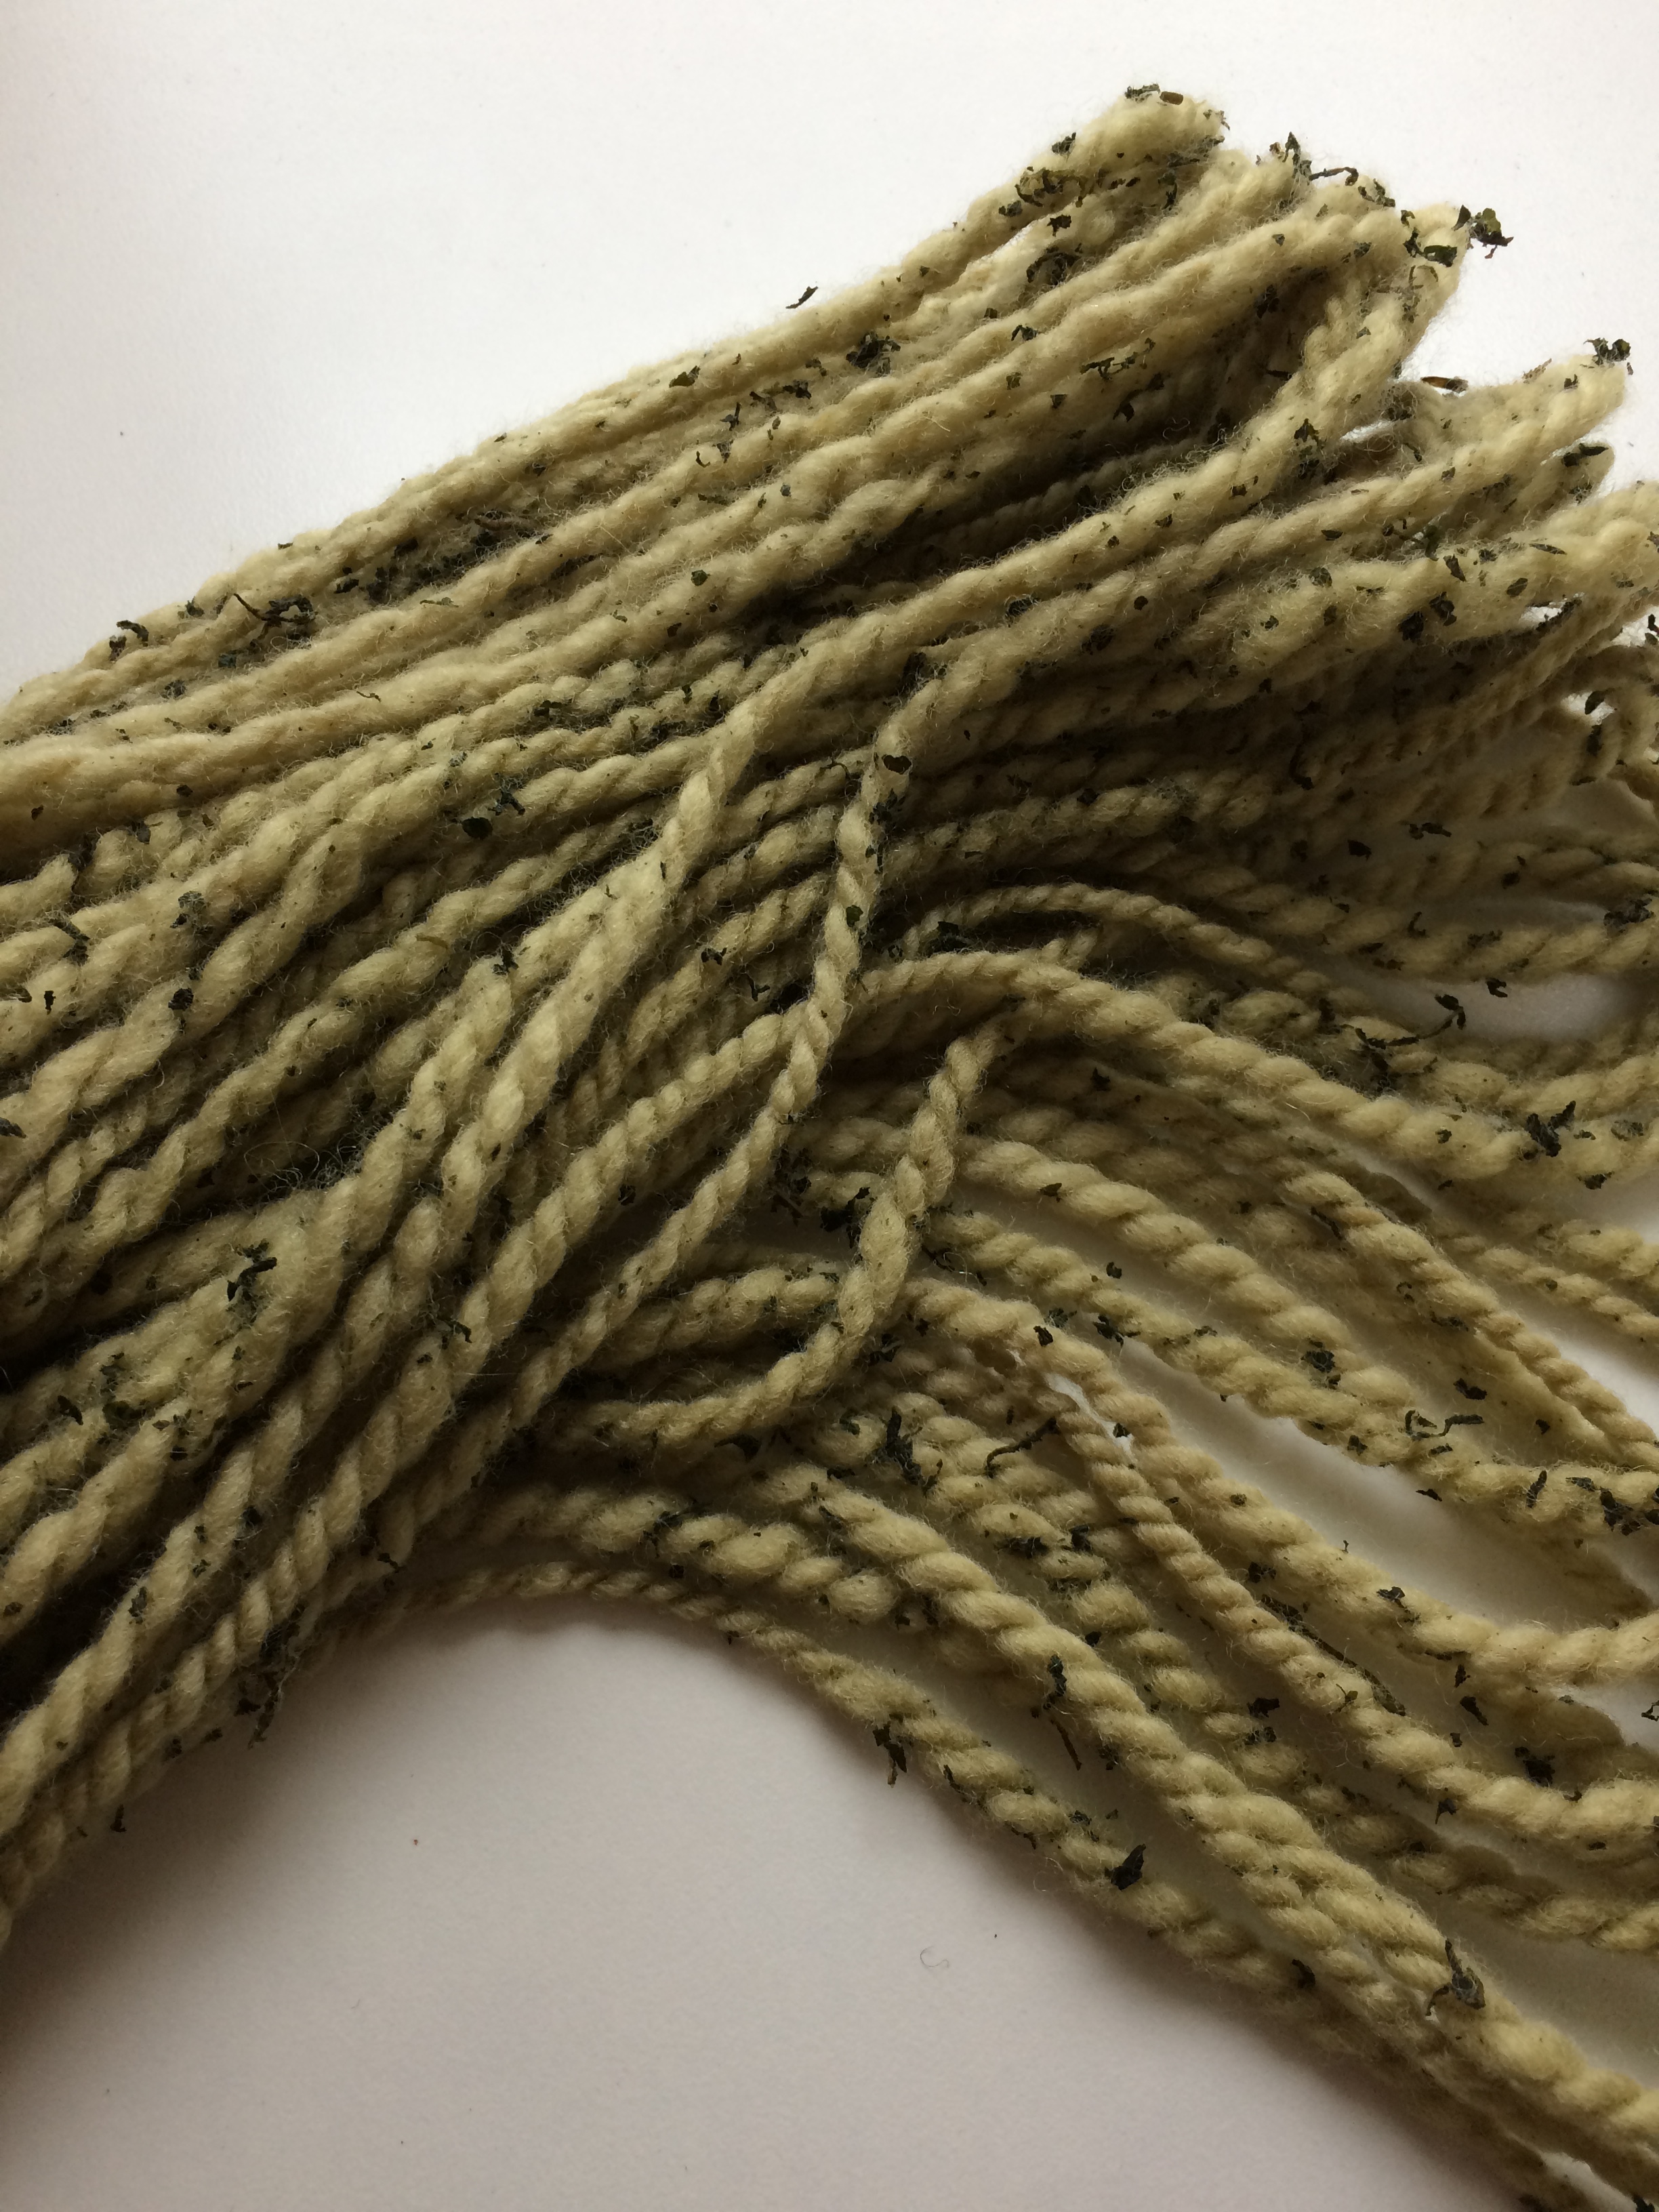
  • Lastly, the alpaca wasn't as surprising when I gave it a rinse.  The wool bled out a lot, making it so that I lost a lot of the beautiful colour, where the alpaca blend didn't fade much at all after the post-dyeing rinse.

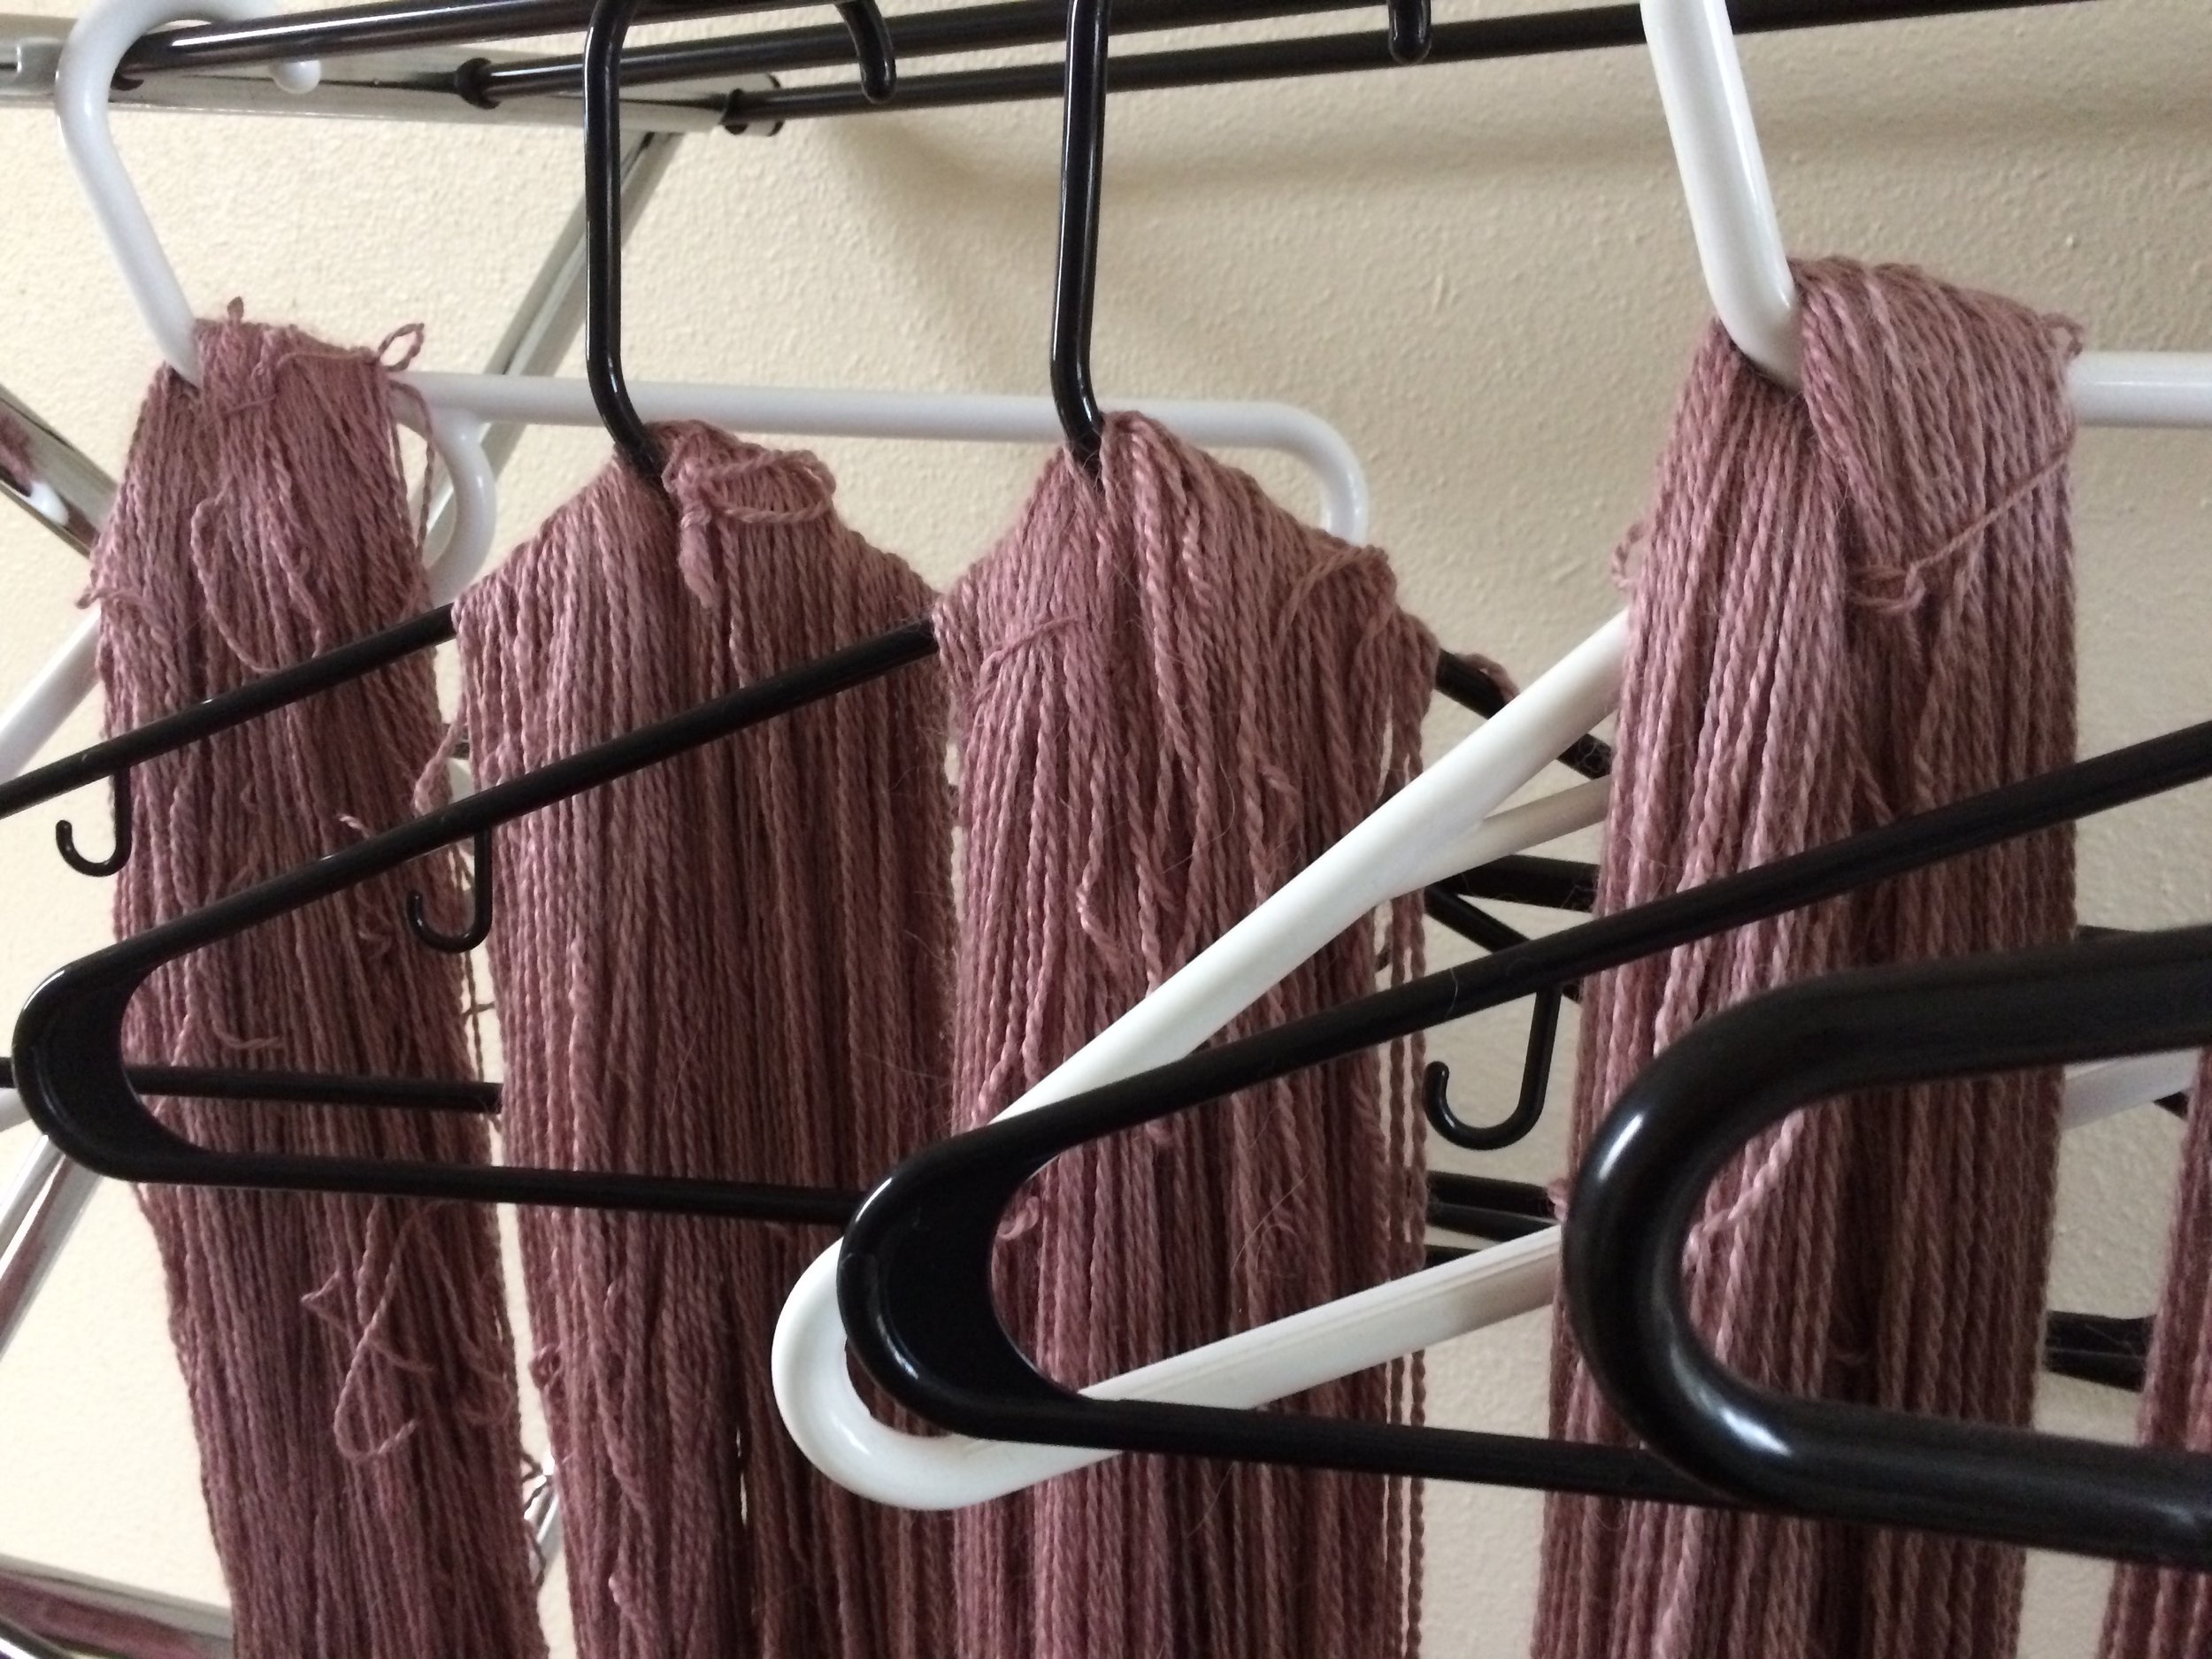
I will say that the alpaca did get slightly lighter after drying for a bit (as would be expected), but still was fairly consistent in how I thought the colour would turn out.

Now I have six skeins of beautiful dusty rose alpaca blend yarn that I'm positively dyeing to knit into something fun and springy!

Stay sweet, stay crafty, and stay tuned.

Tara Maenatural dyeing
Hibisc(yes)

I decided to try some more natural dyeing, and this time be a little smarter and put all of the leaves/flowers in an unbleached cheese-cloth pouch so I didn't have to fuss with getting them out of the fiber.

This time around, as you may have been able to tell from my cringe-worthy pun title, I decided to use hibiscus petals.

For this blogpost I'm simply going to talk about the pros and cons of natural dyes that I've found so far.  

Pros:

It has given me a bit of a new perspective on the multitude of uses everyday plants possess.  The more I researched which plants did what, the more I was surprised by what plants had to offer.  Bay leaves, for example, supposedly turn fiber yellow, and I would have never known that unless someone was dyeing to tell me that fact, or I started learning natural dyes myself.

  • Even though I trust a lot of non-natural dyes everyday, there's something that feels a little extra safe and clean about natural dyes.  
  • If I get splash up when I'm messing with the water and putting the fiber in, the dye is for sure washing out.  I could take my dear sweet time to put it in the wash, and would still have nothing to worry about.
  • The colours turn out subtle and pretty.
  • (If you're into this) there's something very enriching about realising how much work our ancestors put into dyeing their garments.  Think of the time, resources, and labour it took to make their clothing different colours, and investing what could be eaten (sometimes) into something that was mostly impractical.  That's a lot of dedication to make something nice for day to day life.

Cons:

  • Bold colours tend not to happen.
  • It takes a long time.
  • As nice as the natural dye agent might smell, adding wool fiber to that can often make it smell a little gross.  The people I live with are patient, but I've noted I should space out how often I do these dye pots just so I don't make other people's lives difficult and smelly.

Main takeaway:

Natural dyes can be remarkably fun, but going into the process you have to accept that the colour is probably never going to be what the water around it looks like.  It's a fun process, and if you like more mellow colours it's your dream boat, but if you're going for bold, you might want to go elsewhere.

For me, this outcome was really exciting and I have full intentions of using it in future projects, so you will absolutely be seeing this colour again in the future.

It's the perfect dusty rose colour that I can rarely ever find clothing in, and I think I would be a fool not to make myself something in this colour.

I hope this might help in future natural dyeing experiments, and as always- 

Stay sweet, stay crafty, and stay tuned.

Colours to Dye For!

At the beginning of this year I decided I would try my hand at dyeing, especially natural dyeing, as I've always been interested in it and wanted to give it a go.  So this week I got a good sized pot, a couple of skeins of white wool that I had spun up several months ago, did some research, and tested my luck.

For the first batch I decided to try out stinging nettle.  I did not measure how much because for this first round I just wanted to have some fun and see if it would actually work.  

The only regret I have is that I didn't use cheese cloth to keep the leaves in a confined place.  I thought by making it so that the leaves were free floating around that it would be easier to get the colours to work their magic, and while that may have helped, it was almost certainly not worth the hassle of all of the little itty bitty leaf chunks that appear to be forever entangled in this yarn.

That being said, it definitely made for some beautiful pictures and it was fun to look like I was making some of witchy and nefarious concoction on my stove top.  Life just gets so busy and stressful, it's sometimes the simple pleasures, like saying "boil, boil, toil and trouble" over a cauldron of fiber, that makes all of the weight of the day ease off.  

Another thing I learned during this process is that no matter how well the colour looks like it's taking in the pot, it's always good to hold it up and let the water drain out of a section to see what it really looks like.  There were several times where I thought it was the colour I wanted, only to find out there was barely any colour there at all.

Next pot, same mistake of not using cheesecloth, but useful for pretty pictures.

These are elderberries!  

The darkness that the elderberries gave to the water were especially deceptive in making my think that colours were taking more quickly than they were.  However, it did provide a nice reprieve as the stinging nettle ended up making my home smell like a hamster cage, and the elderberries had a lovely floral scent to them that did its best to mask the hamster-ness.  

For the dyeing process itself I put the water on a medium heat for both and let them sit on heat for about 4 hours, then left both skeins in the water overnight.  

As you can see, the stinging nettle really clings onto the fibers, but I'm not particularly upset as it was my own fault and they did produce a beautiful colour.

The elderberries created this lovely dusty rose colour, and were significantly easier to shake off than the stinging nettle.

Definitely be expecting more posts like this, as I had heaps of fun and learned a lot from this first round.  I am also planning on trying some non-natural dyes in the future as well -- the natural dyes were just the most enticing to start out with.

Stay sweet, stay crafty, and stay tuned!