
Twisted Stitch
A little while back I promised to show a (hopefully) clear way to do twisted stitch, and now here I am to deliver!

Twisted stitch, in my opinion, is remarkably beautiful and gives you some neat options to make interesting designs and patterns- like this one, where I made myself some sweet dragon scales.

To do a stitch that slants away from your working needle (the needle you are knitting stitches onto), you pick up the stitch that's behind the one closest to the point from the back and make a stitch, not letting any stitches slip off in the process.
In the picture below, the needles are positioned like they would be right in front of me.

Then pickup both stitches from the back and let the two slide off onto the second stitch you make. If done correctly, you should have the same number of stitches as you started out with, and you should probably notice a slant on the stitches you just knit. Unless of course you're working with lace weight yarn, for finer weights it sometimes takes a few more rows to really notice the slanting effect.

For a twisted stitch point toward the active needle (note: this is left handed knitting now, so the left needle is the active one) this is what you do:
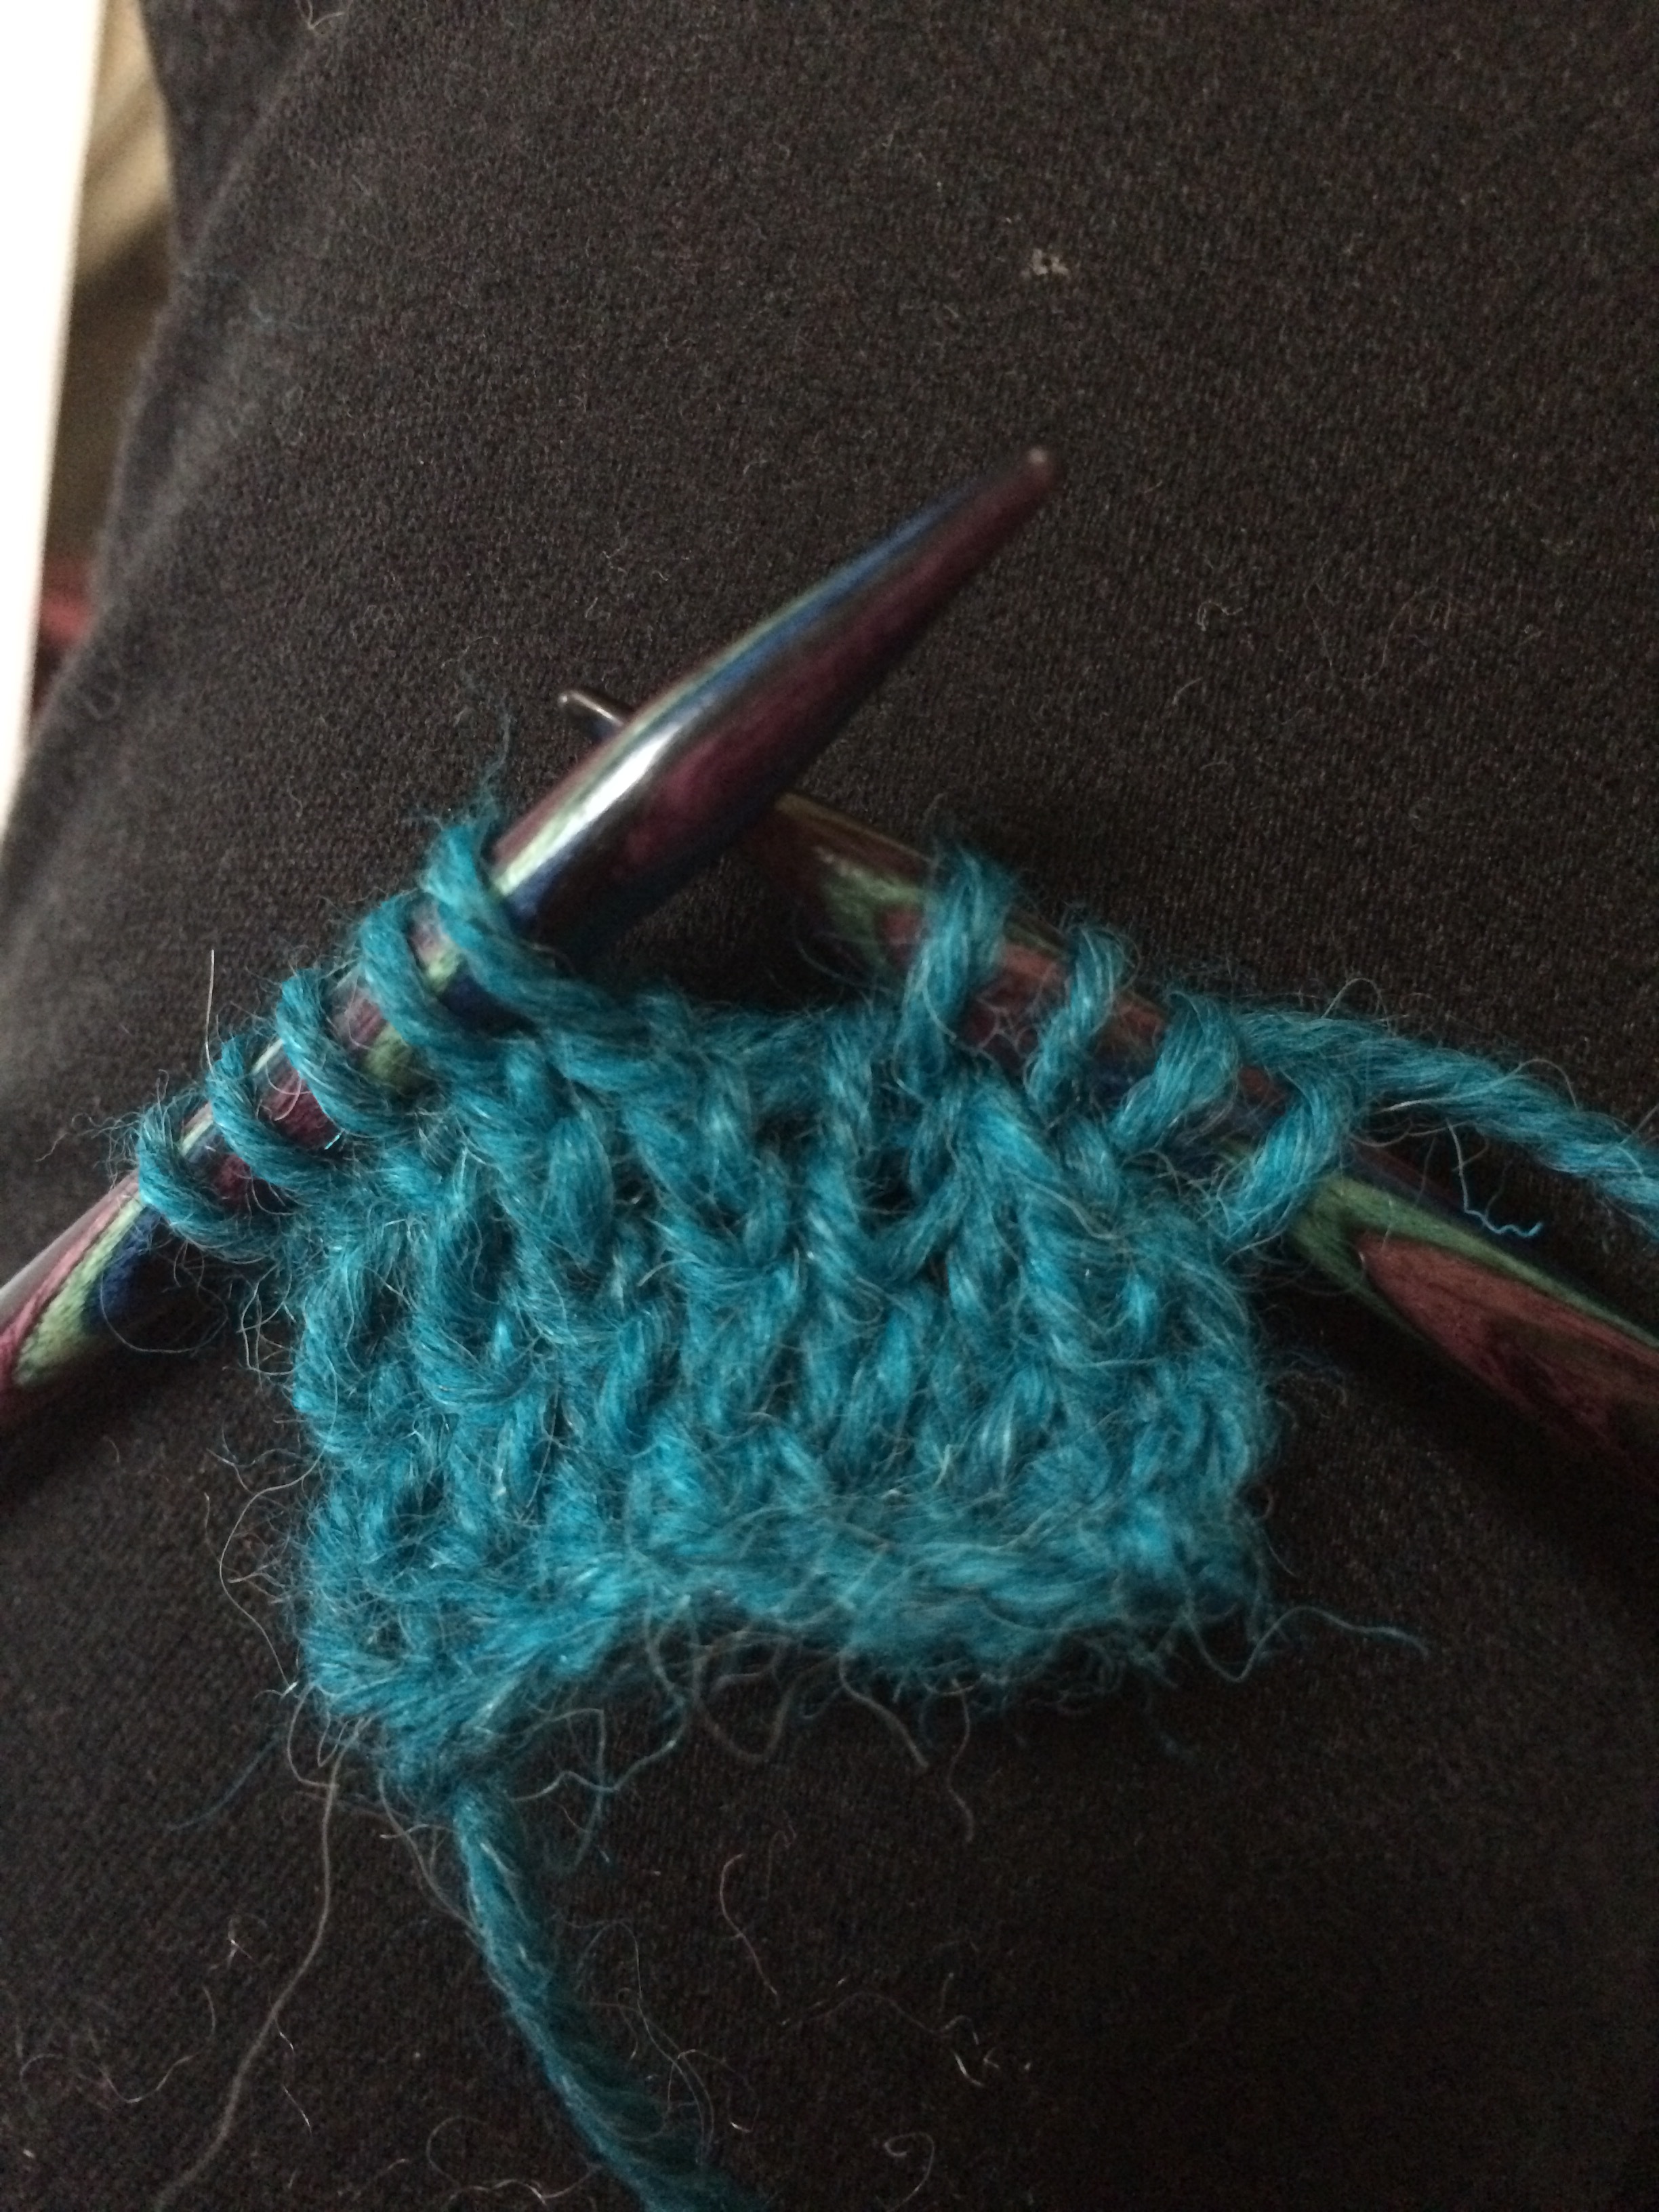
First you're going to make a stitch by picking up two stitches as if you're going to knit them together.

Leave both stitches on your needle though, so it looks a little bit like this.
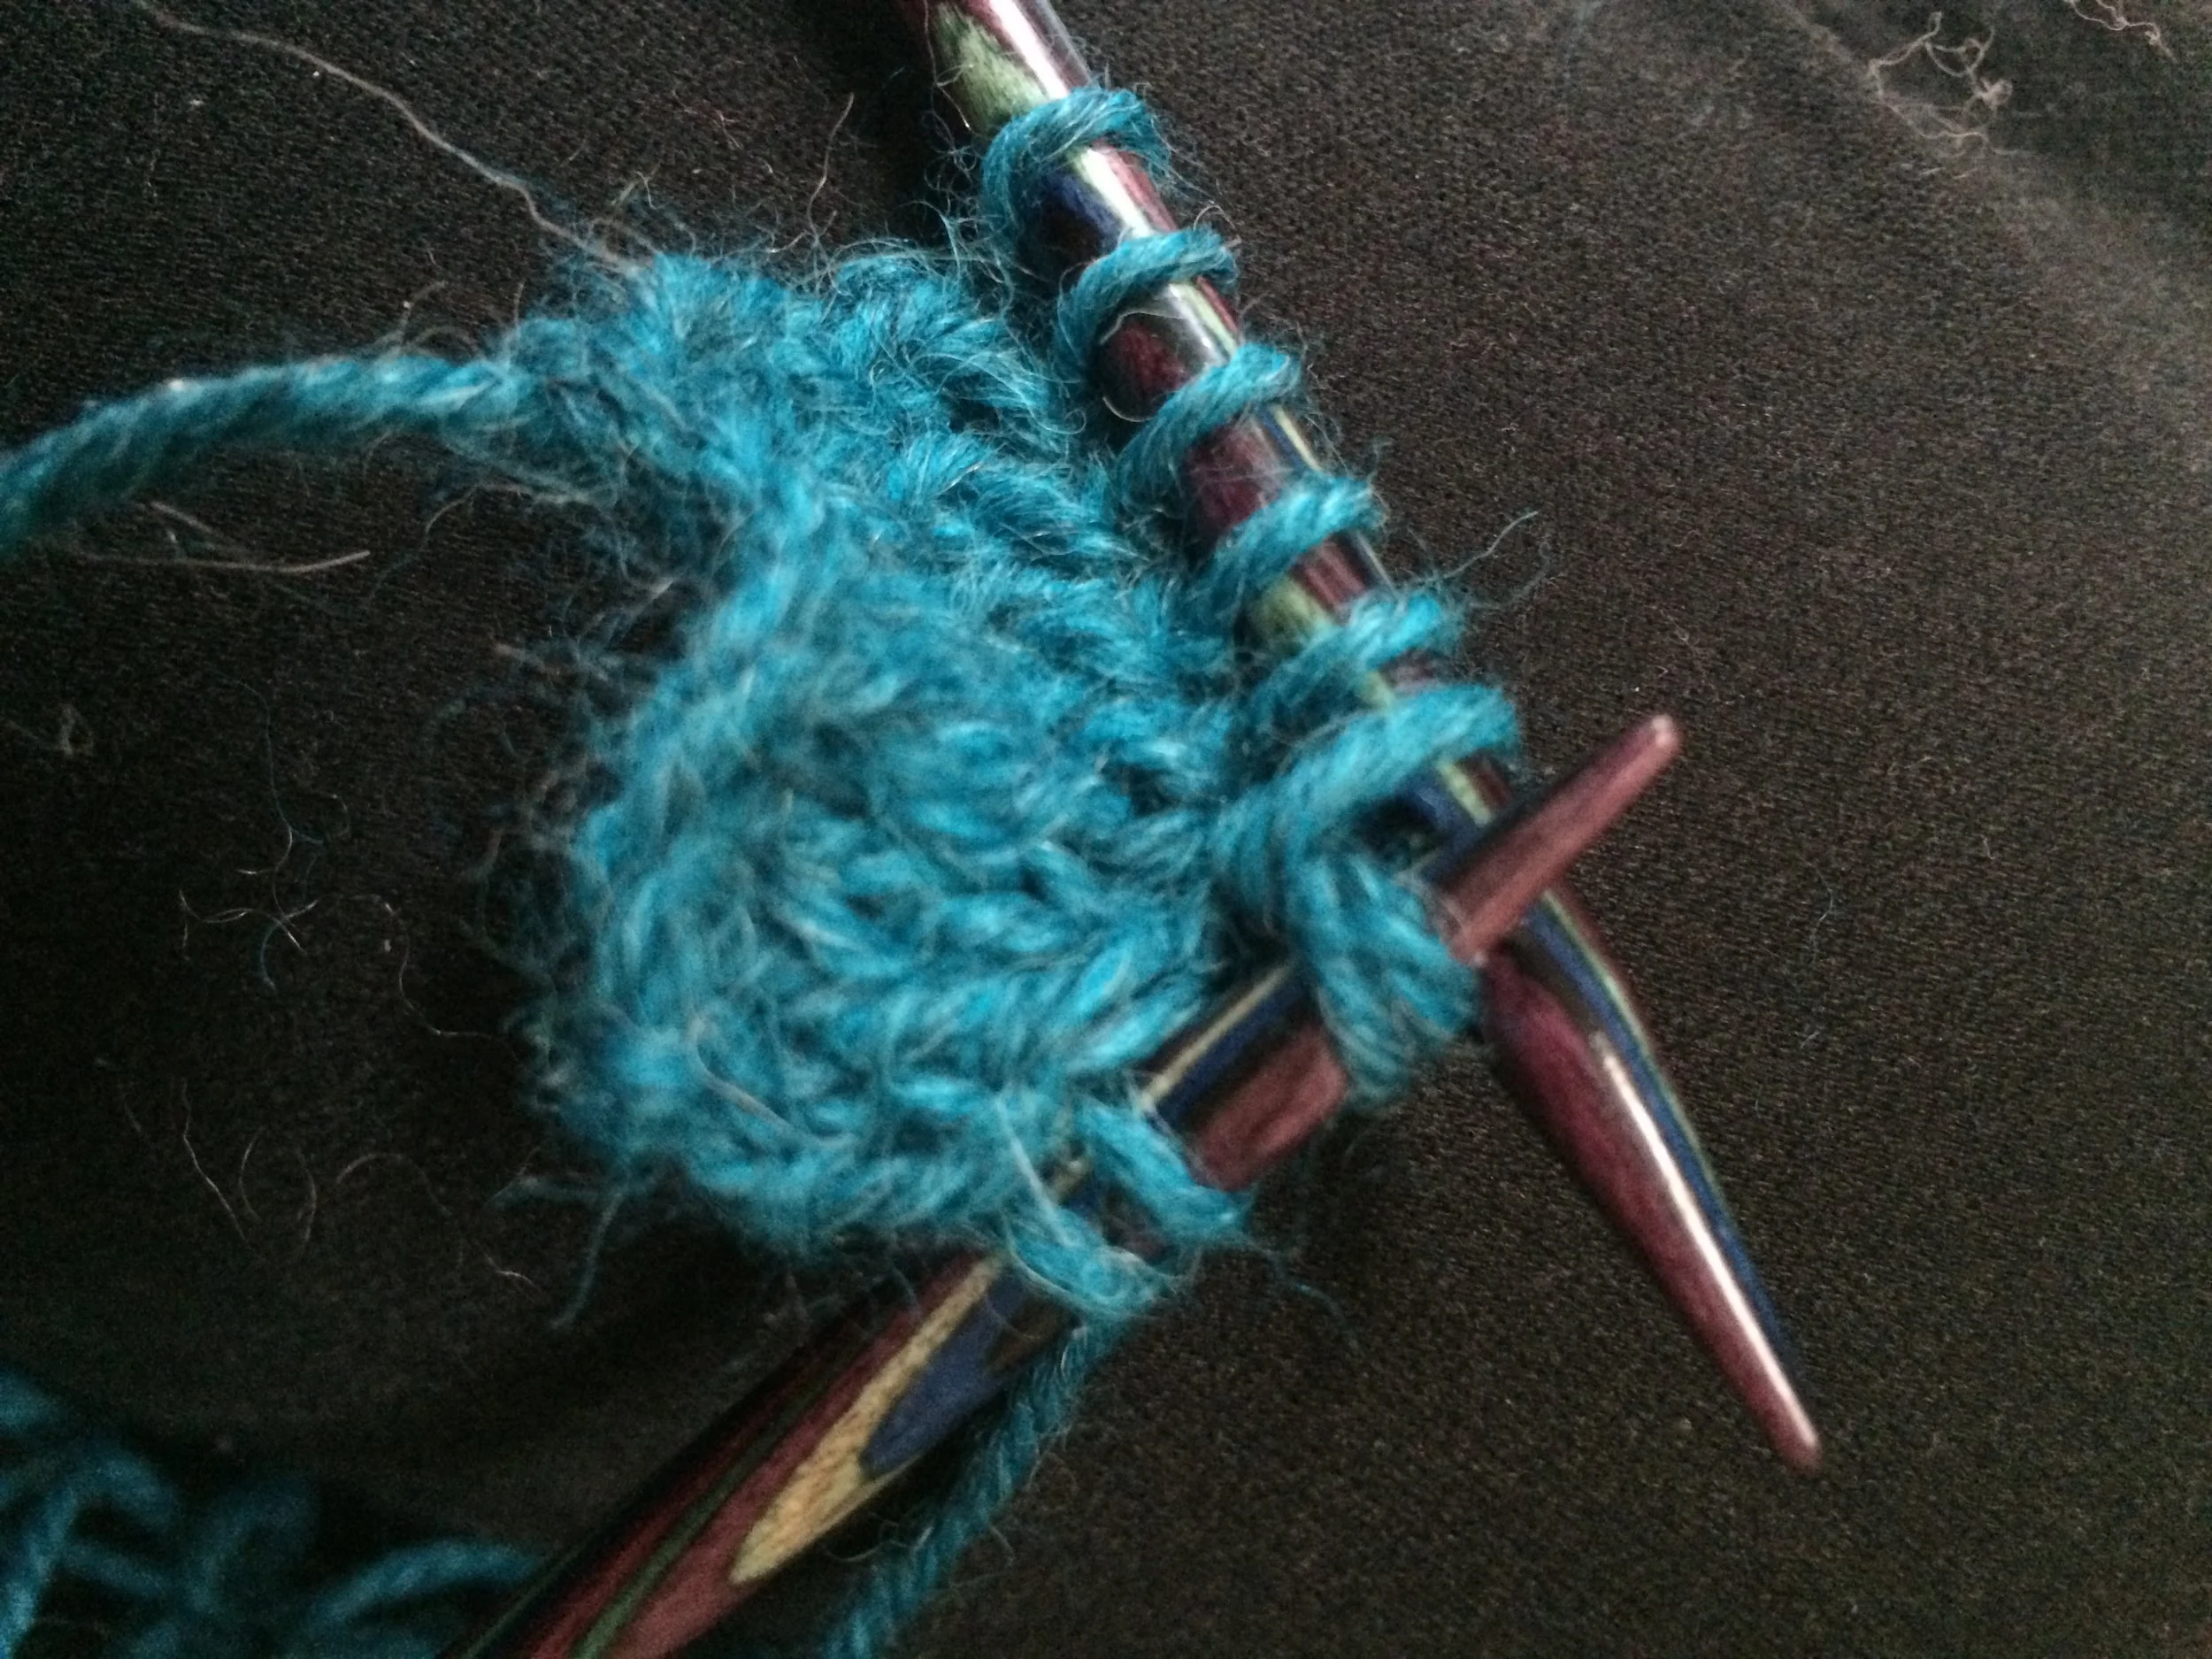
Then make a knit stitch with only the stitch closest to the point, after which you can slide the two stitches off. Not the ones you just made, but the ones that you originally went to knit together.
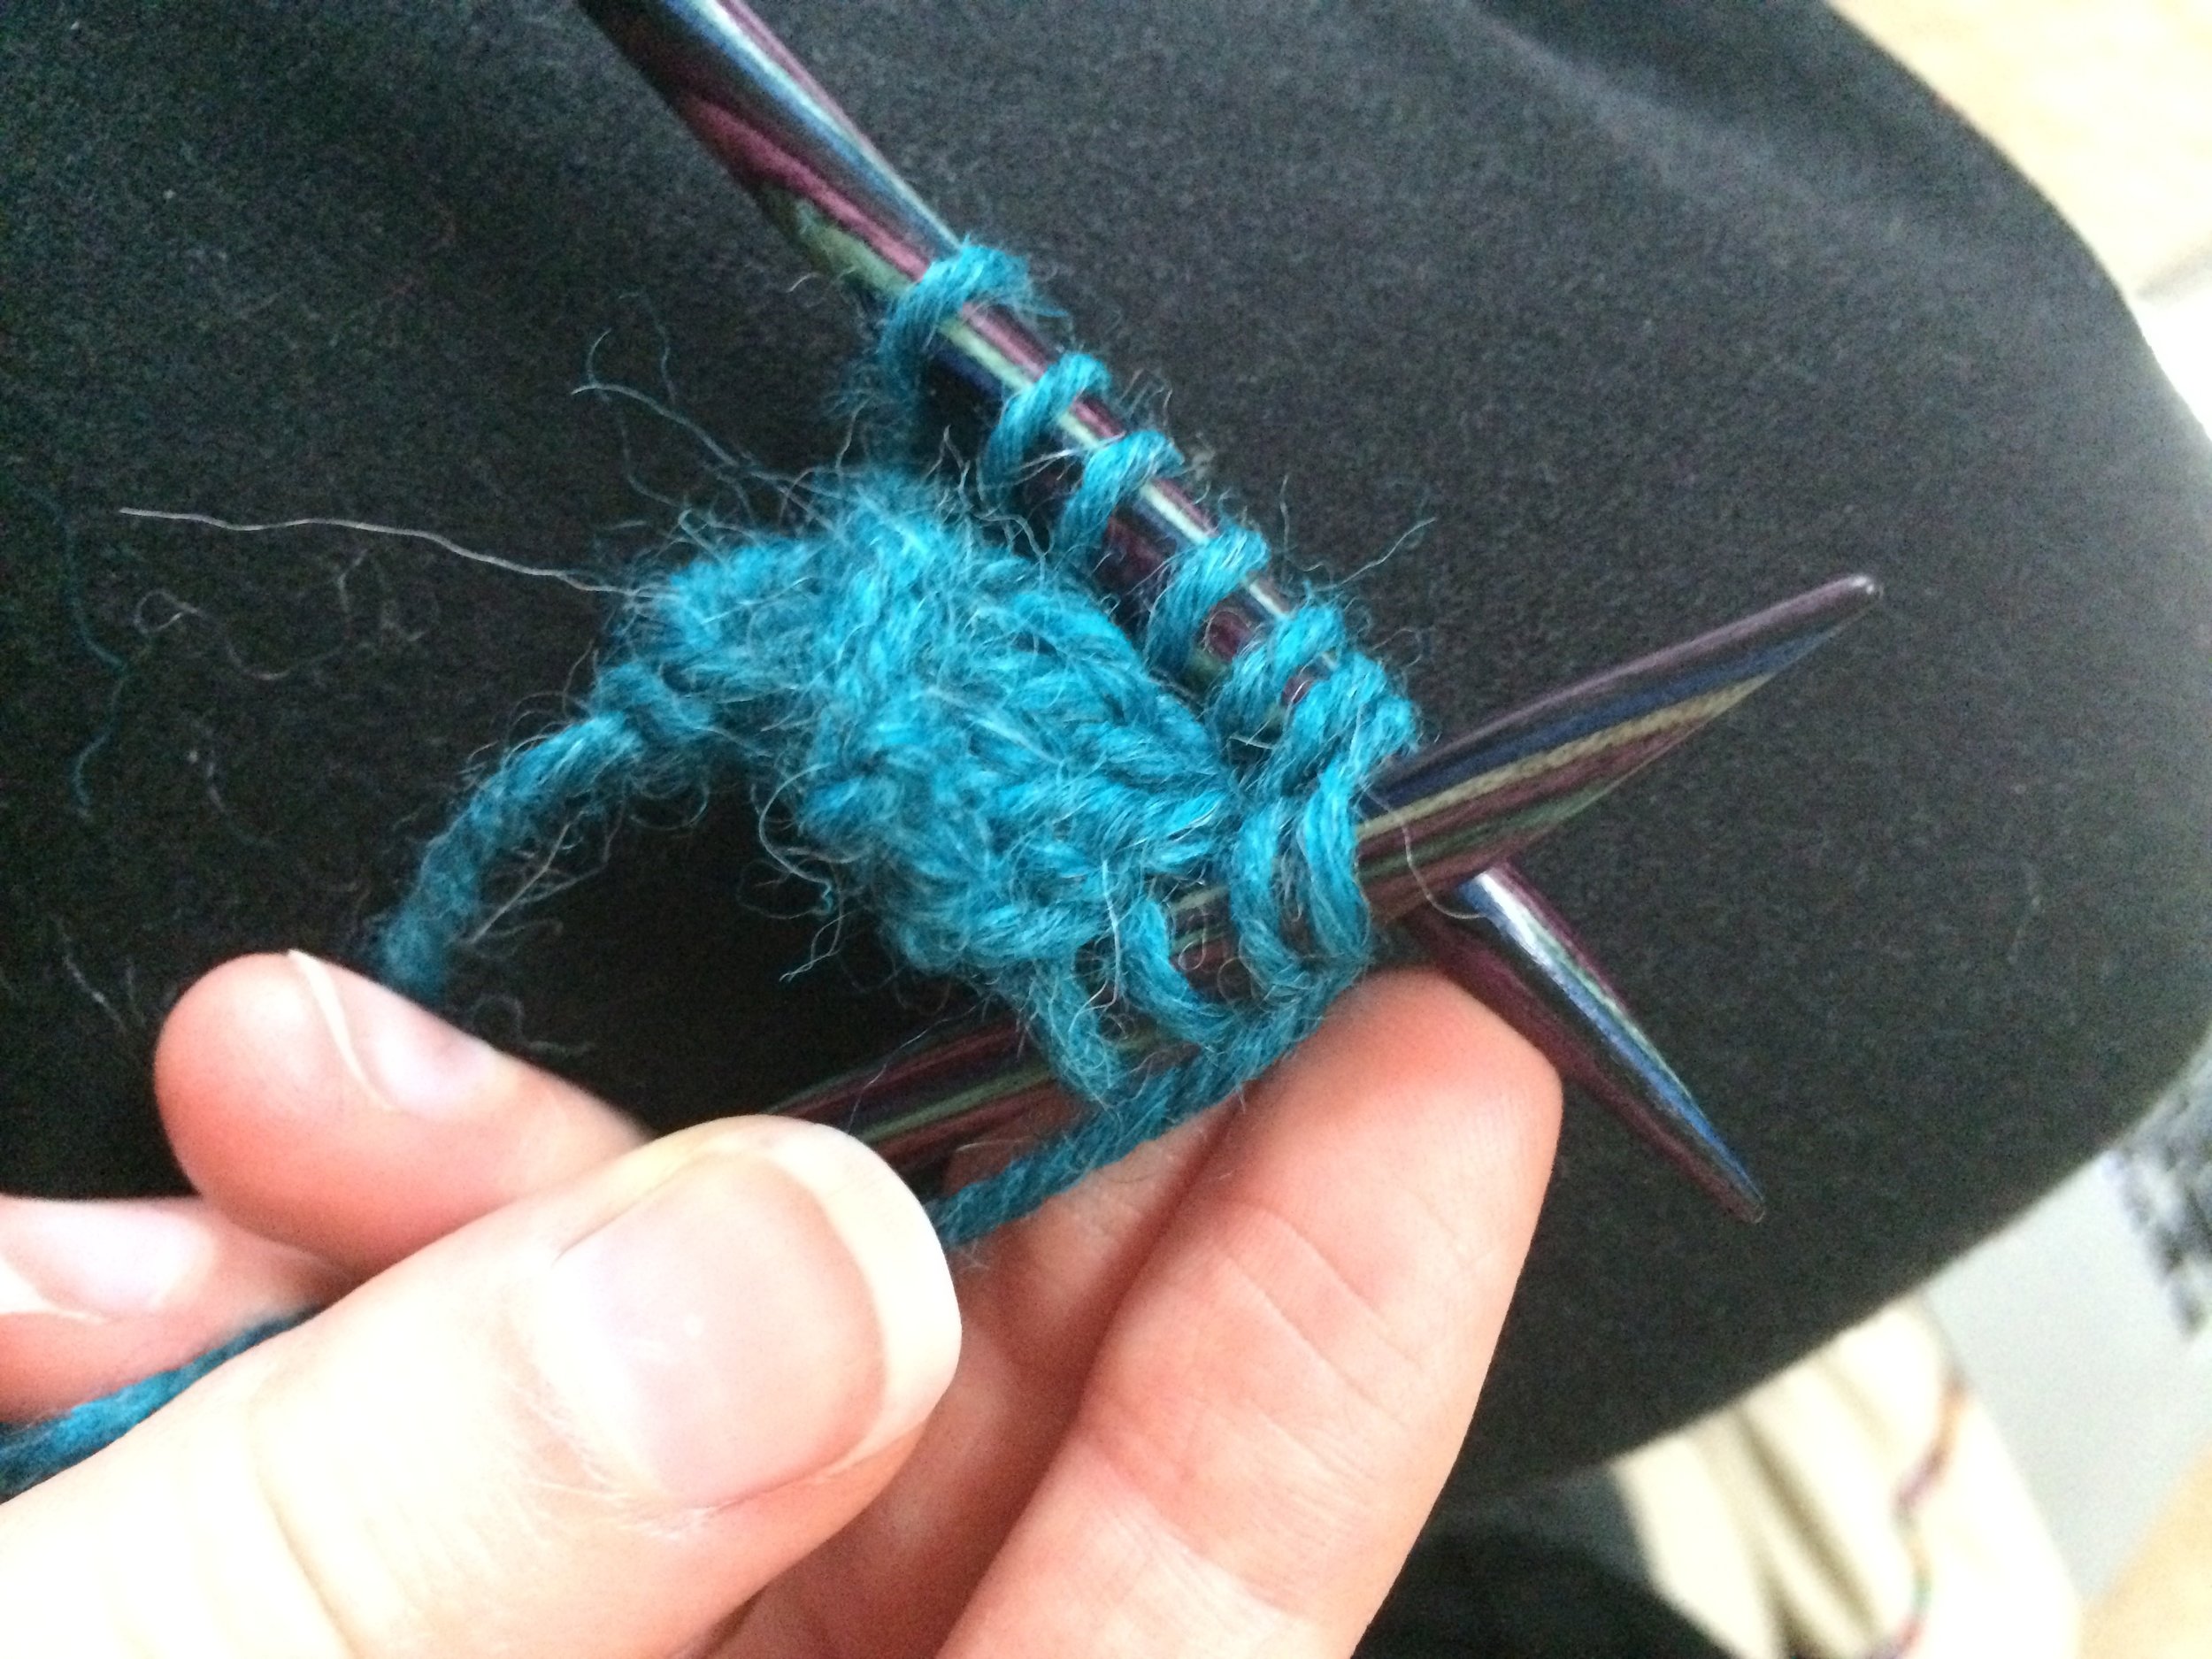
There you have it!
Note: To make the slanting lines that go across what you're working on, all you have to do is start the twisted stitch a little further/closer (depending on which direction you plan on going. So for this little demo piece, I started with one stitch on the right side that wasn't part of the twisted stitch, then on the next row there were 2 on the right that weren't part of the pair that makes the twist, then 3, then 4- you get the picture.

Hope this was helpful, and as always-
Stay sweet, stay crafty, and stay tuned.